How to Troubleshoot Your Wireless Internet Connection
Is your wireless internet acting up? Don’t panic! It’s frustrating when your Wi-Fi suddenly stops working, but there are several steps you can take to troubleshoot and get it back up and running. In this guide, we will walk you through some common troubleshooting steps to help you diagnose and resolve the issue.
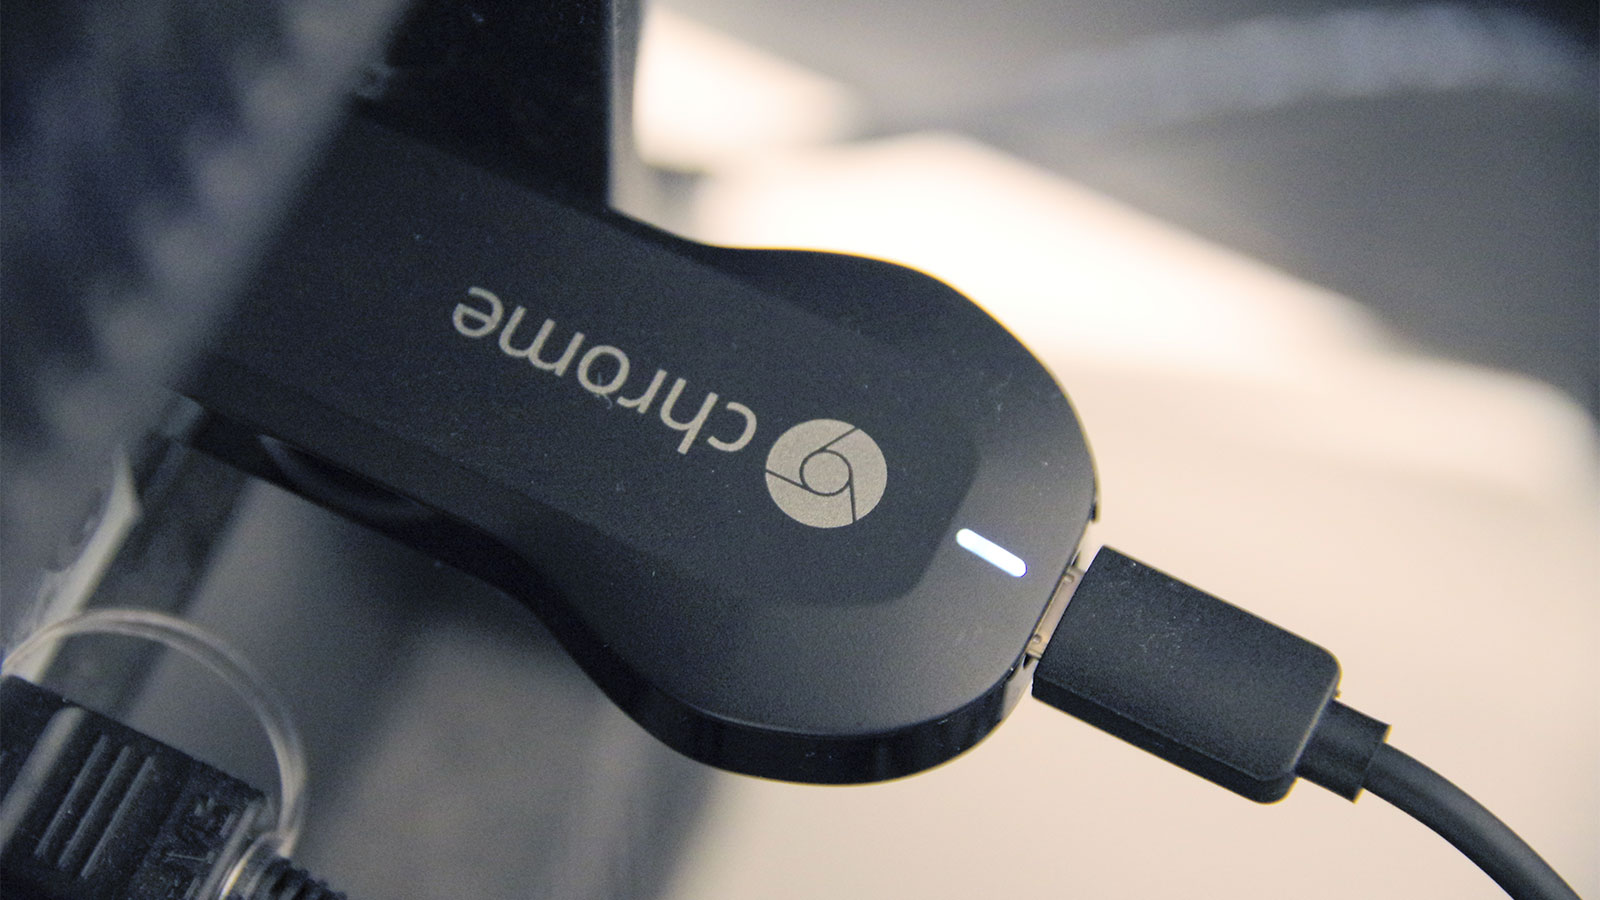
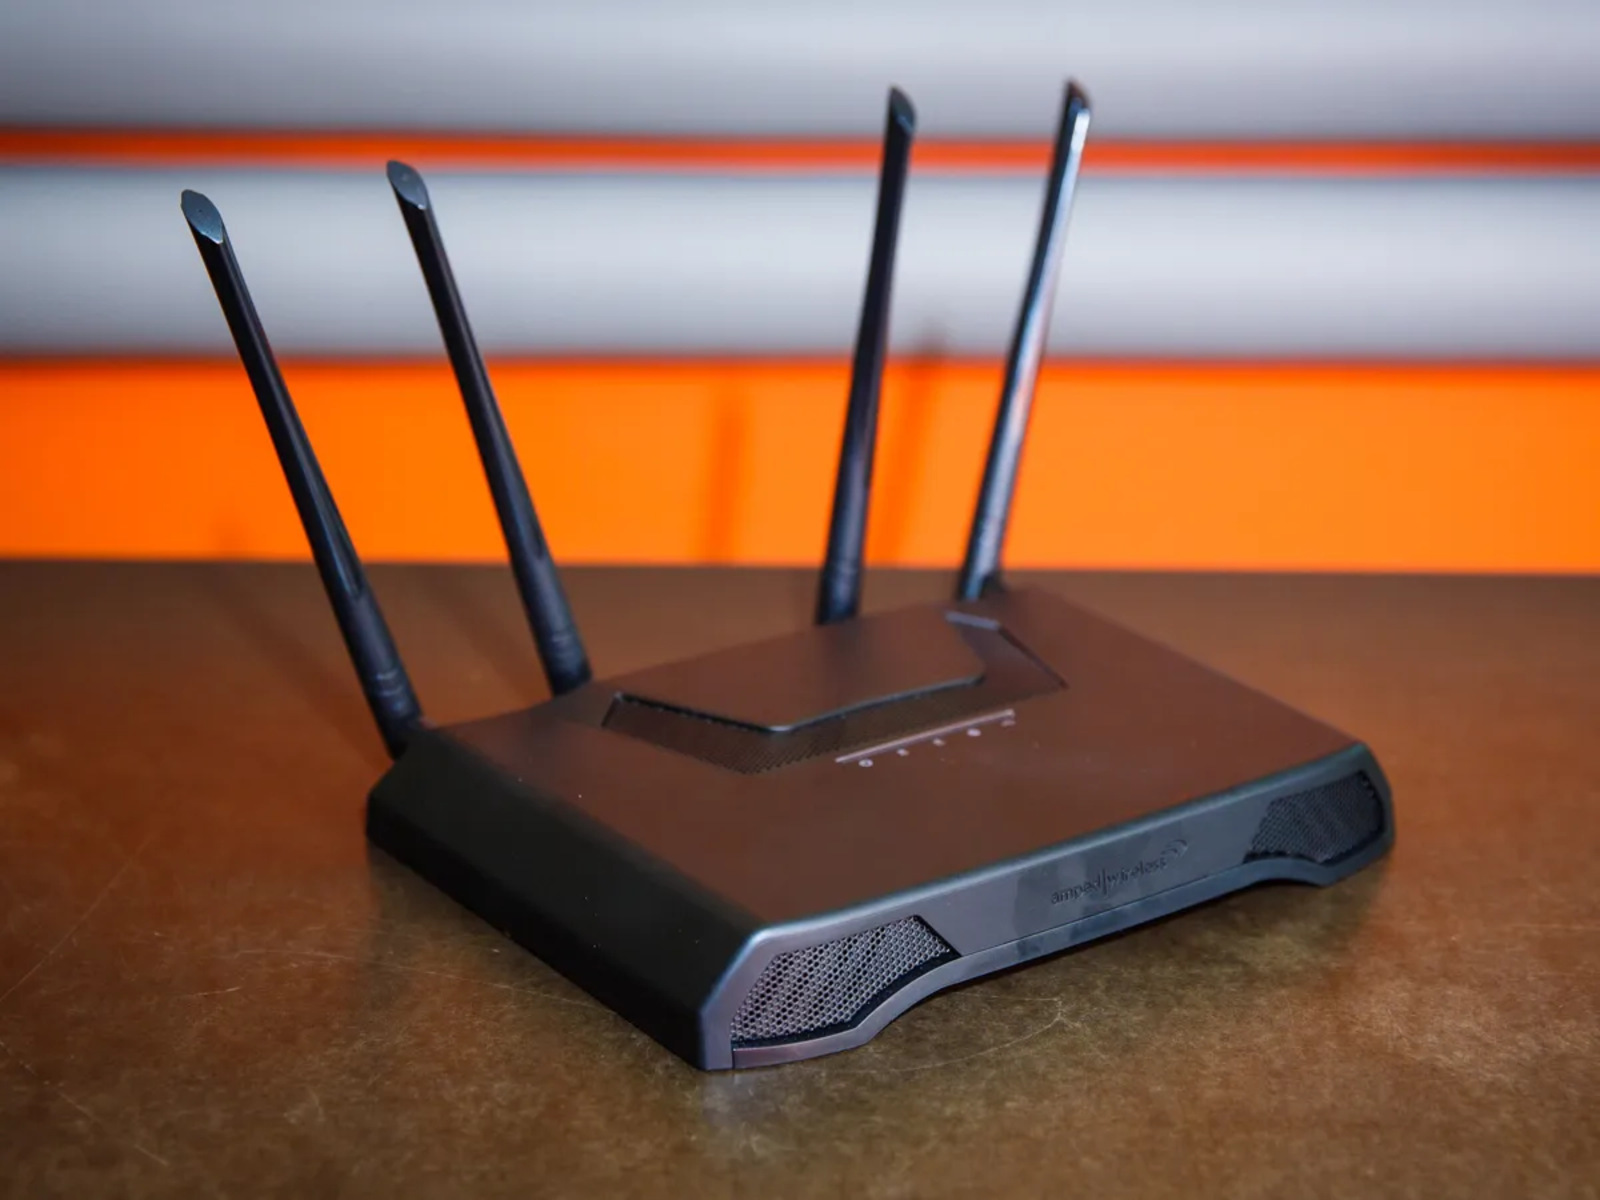
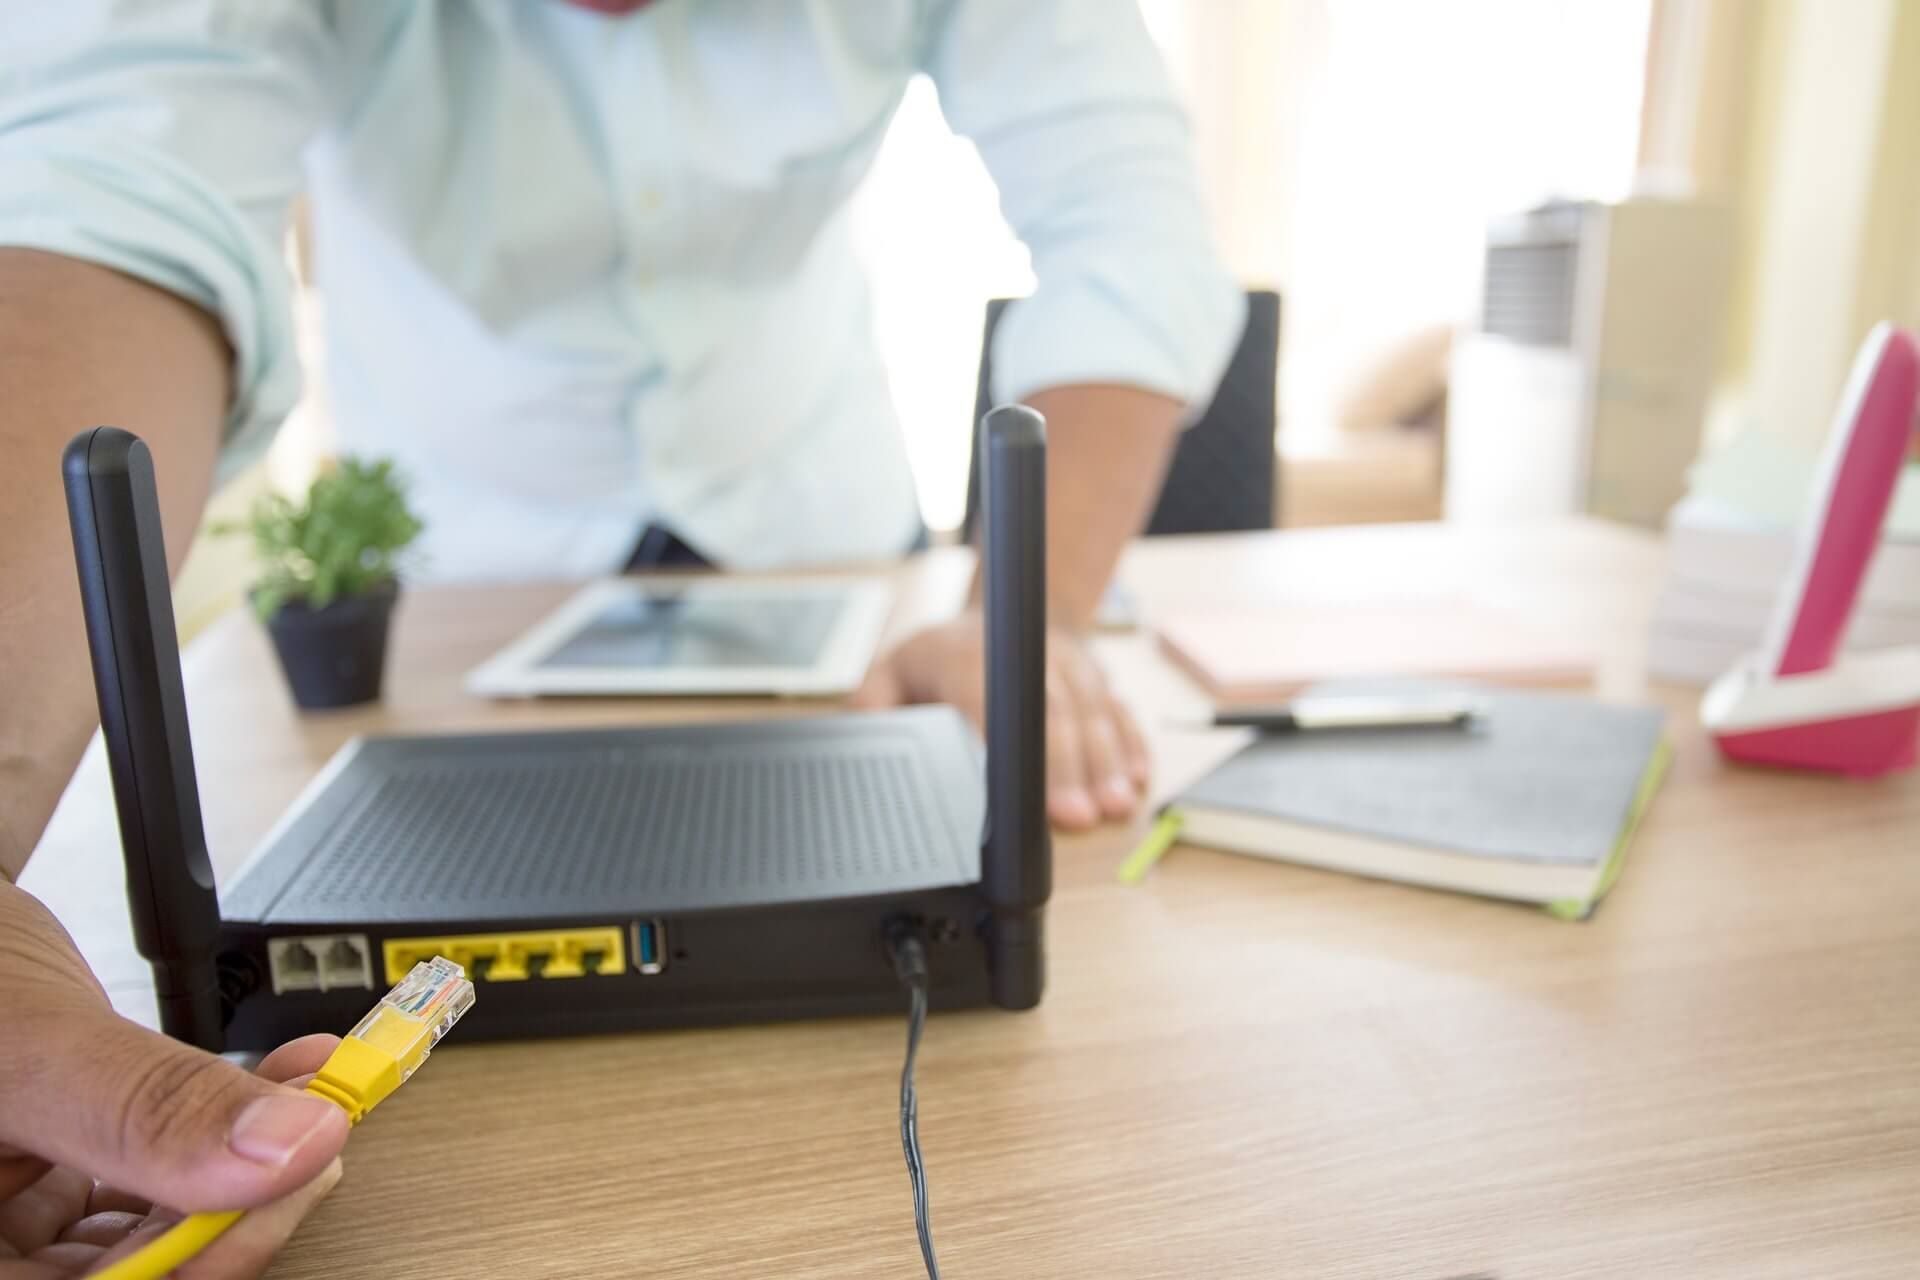
1. Check your wireless router: Start by ensuring that your wireless router is powered on and properly connected. Check the indicator lights to see if there are any signs of a problem.
2. Restart your computer or device: Sometimes, a simple restart can resolve connectivity issues. Turn off your computer or device, wait for a few seconds, and then turn it back on. This can help refresh the network connection.
3. Verify your Wi-Fi settings: Double-check that your device is connected to the correct Wi-Fi network. Ensure that you have entered the correct network password. Additionally, check if your Wi-Fi is set to airplane mode or if the Wi-Fi toggle is turned off accidentally.
4. Reset your wireless router: If the above steps don’t work, try resetting your wireless router. Look for a small reset button on the back or bottom of the router and press it using a paperclip or a pin. This will restore the router to its default settings, so you’ll need to reconfigure your Wi-Fi network afterward.
5. Run a diagnostic test: Many routers have built-in diagnostic tools that can identify and fix common issues. Access your router’s administration panel through a web browser and look for the diagnostic or troubleshooting section. Follow the instructions provided to run the test.
6. Contact your internet service provider (ISP): If the problem persists, reach out to your ISP for assistance. They may be able to identify if there is a broader issue in your area or provide additional guidance on troubleshooting steps specific to your setup.
7. Consider getting a Wi-Fi extender: If you experience weak Wi-Fi signal in certain areas of your home, a Wi-Fi extender can help amplify the signal and improve coverage. Place the extender in a strategic location to extend the reach of your Wi-Fi network.
8. Check for nearby interference: Other electronic devices or appliances can interfere with your Wi-Fi signal. Keep your router away from cordless phones, microwaves, and other potential sources of interference. Additionally, check if there are any new devices in your vicinity that might be causing interference.
9. Update your device’s drivers: Outdated or incompatible network drivers can sometimes cause connectivity issues. Visit the manufacturer’s website of your computer or device and look for driver updates specific to your Wi-Fi adapter. Install the latest drivers to ensure optimal compatibility and performance.
10. Reset your device’s network settings: If nothing else works, you can try resetting your device’s network settings. This will erase all saved Wi-Fi networks and their passwords, so make sure you have them handy. Go to your device’s settings, find the network or Wi-Fi section, and look for the option to reset network settings.
By following these troubleshooting steps, you can often fix wireless internet connection issues on your own. However, if you continue to experience problems, it’s best to reach out to professional support or your Internet Service Provider for further assistance. Stay connected!
Check your wireless router
When your wireless internet stops working, the first step is to check your wireless router. The router is the device that connects your devices to the internet and manages your Wi-Fi network. Here are some troubleshooting steps to follow when checking your wireless router:
1. Power and connections: Make sure that your router is powered on and plugged into a power source. Check if the indicator lights on the router are on and functioning properly. Also, ensure that the Ethernet cable connecting your modem to the router is securely connected.
2. Restart your router: Sometimes, the router can encounter temporary glitches that can be resolved by simply restarting it. To do this, unplug the power cord from the router, wait for about 10 seconds, and then plug it back in. Give the router a few moments to boot up and establish a stable connection.
3. Check network cables: Examine the Ethernet cables running between the modem, router, and any other devices. Ensure that they are not damaged or loosely connected. If necessary, try swapping out the cables with known working ones.
4. Location: The placement of your router can affect its performance. Make sure that it is positioned in a central location, away from obstructions such as walls, furniture, or other electronic devices that may interfere with the signal. Elevating the router or using Wi-Fi extenders can also help improve coverage.
5. Firmware update: Check if your router’s firmware is up to date. Manufacturers release firmware updates periodically to address bugs and improve performance. Visit the manufacturer’s website to see if there are any available updates for your router model. Follow the instructions provided to install the latest firmware.
6. Change Wi-Fi channel: If you live in an area with many Wi-Fi networks around you, interference can cause signal degradation. Access your router’s administration panel through a web browser and look for the Wi-Fi channel settings. Experiment with different channels to find one with less interference and better performance.
7. Reset your router: If all else fails, you can try resetting your router to its default settings. Keep in mind that this will erase any custom configurations and Wi-Fi passwords, so you will need to reconfigure everything. Look for a small reset button on the back or bottom of your router, press it using a paperclip or pin, and hold it for about 10 seconds. Release the button, and the router will reset.
By following these steps, you can perform a thorough check of your wireless router and identify any issues that may be causing your internet to stop working. Remember to take note of any changes you make during the troubleshooting process in case you need to refer back to them.
Restart your computer or device
When your wireless internet stops working, one of the simplest and most effective troubleshooting steps is to restart your computer or device. A restart can help resolve connectivity issues by refreshing the network connection and clearing any temporary glitches. Here’s how to restart your computer or device to troubleshoot the Wi-Fi problem:
1. Save your work: Before restarting your computer or device, make sure to save any important documents or files you are working on. This will prevent any potential data loss.
2. Close applications and programs: Close any open applications and programs on your computer or device. This will free up system resources and ensure a smoother restart process.
3. Shut down your device: Click on the “Start” menu (Windows) or the Apple menu (Mac) and select “Shutdown” to turn off your device. If you are using a mobile device, such as a smartphone or tablet, press and hold the power button until the shutdown option appears.
4. Wait for a few seconds: Once your device is powered off, wait for about 10-15 seconds before turning it back on. This brief pause allows any residual power to dissipate and ensures a complete restart.
5. Power on your device: Turn on your computer or device by pressing the power button. Wait for the operating system to load and the device to fully boot up.
6. Connect to Wi-Fi: After your device has restarted, navigate to the Wi-Fi settings and reconnect to your wireless network. Enter the correct Wi-Fi password if prompted.
7. Test the internet connection: Once you are connected to Wi-Fi, open a web browser and visit a website to check if your wireless internet is working properly. If the issue persists, proceed to additional troubleshooting steps.
Restarting your computer or device is a simple yet effective step in troubleshooting wireless internet connection issues. It can often resolve temporary software or network glitches that may be causing the problem. If restarting doesn’t solve the issue, continue with the next troubleshooting steps to further diagnose and resolve the Wi-Fi problem.
Verify your Wi-Fi settings
When your wireless internet stops working, it’s important to verify your Wi-Fi settings to ensure that everything is configured correctly. Sometimes, small errors in the settings can lead to connectivity issues. Follow these steps to check and verify your Wi-Fi settings:
1. Check Wi-Fi connection: Make sure that your device is connected to the correct Wi-Fi network. Look for the Wi-Fi icon in the system tray (Windows) or menu bar (Mac) and confirm that it displays the name of your network. If it is connected to a different network or not connected at all, select the appropriate network from the list.
2. Confirm Wi-Fi password: If your Wi-Fi requires a password, ensure that you have entered it correctly. Passwords are case-sensitive, so double-check for any capitalization mistakes. If you’re not sure about the password, you can find it on the label of your router or consult your internet service provider (ISP).
3. Disable airplane mode: In some cases, the Wi-Fi may be turned off or set to airplane mode accidentally. Check your device settings to ensure that airplane mode is disabled. On most devices, you can find this option in the control center or quick settings panel.
4. Adjust Wi-Fi properties: Access the Wi-Fi settings on your device and examine the properties or advanced settings. Make sure that the settings are configured correctly, including the IP address allocation (DHCP), subnet mask, DNS server, and gateway. For home networks, it is usually advisable to use automatic settings (DHCP) unless you have specific requirements.
5. Renew IP address (Windows): If you are using a Windows device and experiencing connectivity issues, you can try renewing your IP address. Open the command prompt by typing “cmd” in the search bar and pressing Enter. In the command prompt, type “ipconfig /release” followed by “ipconfig /renew” and press Enter. This will release and renew your IP address.
6. Restart Wi-Fi router: If you have verified your device’s Wi-Fi settings and are still experiencing issues, it’s worth restarting your Wi-Fi router. This can reset the router’s settings and establish a fresh connection. Simply unplug the power cord from the router, wait for a few seconds, and plug it back in. Allow the router to fully restart before checking the Wi-Fi connection.
By verifying your Wi-Fi settings, you can ensure that your device is properly connected to the correct network and that the settings are correctly configured. If the issue persists after verifying the settings, proceed to the next troubleshooting steps to further diagnose and resolve the Wi-Fi problem.
Reset your wireless router
If you’ve tried other troubleshooting steps and your wireless internet still isn’t working, it may be time to reset your wireless router. Resetting your router can help resolve issues related to configuration errors or software glitches. Here’s how to reset your wireless router:
1. Locate the reset button: Look for a small reset button on the back or bottom of your router. It is usually recessed to prevent accidental presses. You may need a paperclip or a small tool to press the reset button.
2. Power off the router: Before resetting, turn off the router by unplugging the power cord from the wall outlet. This ensures a clean reset and avoids potential damage to the router.
3. Press and hold the reset button: Insert the paperclip or small tool into the reset button hole and press and hold the button for approximately 10 to 15 seconds. Keep the reset button pressed until you see the router’s lights flash, indicating that the reset process has started.
4. Release the reset button: Once the router’s lights have flashed, release the reset button. The router will now be reset to its default factory settings.
5. Reconfigure your router: After resetting, you’ll need to reconfigure your router. Typically, this involves connecting to the router’s web interface using a web browser. Consult your router’s manual or the manufacturer’s website for detailed instructions on how to access and configure your router’s settings.
6. Set up Wi-Fi again: Once you’ve accessed the router’s settings, you’ll need to set up your Wi-Fi network again. Configure the network name (SSID) and password to your preference.
Note: Resetting your router will erase any custom configurations you have made, including port forwarding or DNS settings. Make sure to document any custom settings before resetting, so you can easily reapply them after the reset is complete.
Resetting your wireless router should fix any software-related issues and allow your devices to connect to it again. However, if the problem persists even after resetting, there may be a hardware issue with the router. In that case, you may need to contact the manufacturer’s support or consider replacing the router.
Run a diagnostic test
If you’re experiencing problems with your wireless internet connection, running a diagnostic test can help identify the root cause of the issue. Many routers have built-in diagnostic tools that can pinpoint common problems and suggest potential solutions. Here’s how to run a diagnostic test on your wireless router:
1. Access the router’s administration panel: Open a web browser on a device connected to your Wi-Fi network and enter the router’s IP address. The default IP address is often printed on the router itself or can be found in the user manual or documentation provided by the manufacturer.
2. Log in to the administration panel: Enter the router’s username and password to access the administration panel. If you haven’t changed these credentials, they are typically set to the default values specified by the manufacturer. Common default usernames are “admin” or “administrator,” and the default password is often blank or “admin.”
3. Look for the diagnostic or troubleshooting section: Once logged in to the administration panel, navigate to the section or tab labeled “Diagnostic,” “Status,” or “Troubleshooting.” The exact location may vary depending on the router’s firmware and interface.
4. Run the diagnostic test: Within the diagnostic or troubleshooting section, look for an option to run a diagnostic test. Click on it to start the test. The router will perform various checks on the network, including signal strength, connection status, and possible interference.
5. Review the test results: After the diagnostic test is completed, review the results provided by the router. The test may identify potential issues, such as a weak signal, high interference, or a problem with the internet connection. Pay attention to any error messages or warnings that are displayed.
6. Follow the recommended solutions: Based on the diagnostic test results, the router may suggest solutions to address the identified issues. These recommendations could include relocating the router, changing Wi-Fi channels, or contacting your internet service provider (ISP) if there is a problem with the internet connection.
7. Apply the suggested remedies: Implement the recommended solutions to resolve the issues identified by the diagnostic test. Follow the provided instructions or consult the router’s user manual for detailed steps on how to adjust settings or address the specific problems.
Running a diagnostic test can help you identify and address common issues affecting your wireless internet connection. By following the guidance provided by the router’s diagnostic tool, you can take the appropriate steps to improve your network’s performance and resolve any connectivity problems. If the diagnostic test does not provide a solution or if the issues persist, consider reaching out to your ISP or seeking professional assistance for further troubleshooting.
Contact your internet service provider (ISP)
If you’ve tried troubleshooting your wireless internet connection and are still experiencing issues, it may be time to reach out to your internet service provider (ISP) for assistance. Your ISP can help diagnose and resolve any problems related to your internet connection. Here’s what you can do when contacting your ISP:
1. Gather relevant information: Before contacting your ISP, make sure you have the necessary information ready. This may include your account details, the type of internet connection you have, and any error messages or symptoms you’ve encountered. Having these details on hand will help the support representative assist you more efficiently.
2. Check for service outages: Visit your ISP’s website or check their social media accounts to see if there are any reported service outages in your area. Sometimes, internet connectivity issues can be caused by broader network problems that the ISP is already aware of and working to resolve.
3. Contact customer support: Look for the customer support contact details of your ISP, such as a phone number or email address. Call or email their customer support team to explain the issue you’re experiencing. Be patient, as you may need to go through some troubleshooting steps with the representative over the phone or provide additional information via email.
4. Follow their instructions: Listen carefully to the instructions provided by the customer support representative. They may guide you through additional troubleshooting steps specific to your internet service or ask you to perform certain tests to diagnose the problem accurately.
5. Schedule a technician visit, if necessary: If the issue persists after troubleshooting with your ISP’s customer support, they may suggest sending a technician to your location to investigate further. Coordinate with the representative to schedule a visit at a convenient time for you.
6. Keep records of your communication: Make sure to record important details of your communication with the ISP, such as the date, time, and the names of the representatives you spoke to. This can be helpful in case you need to refer back to the conversation or escalate the issue later.
7. Follow up if the problem persists: If the issue continues even after contacting your ISP, don’t hesitate to follow up with them. Provide any additional information or updates on the problem so they can continue working towards a resolution.
Remember, your ISP is there to assist you with any internet connectivity issues. They have the knowledge and resources to help resolve complex problems that may be affecting your wireless internet. Be cooperative and provide accurate information to ensure a smooth troubleshooting process.
Consider getting a Wi-Fi extender
If you’re experiencing weak Wi-Fi signal in certain areas of your home or office, consider getting a Wi-Fi extender. A Wi-Fi extender, also known as a wireless repeater or range extender, can help amplify and extend the reach of your Wi-Fi network. Here’s why you should consider getting a Wi-Fi extender:
1. Improved coverage: A Wi-Fi extender can enhance the coverage of your wireless network, allowing you to access the internet in areas that were previously out of range. This is especially useful in larger homes or spaces with multiple floors, where the Wi-Fi signal may weaken as you move further away from the router.
2. Easy installation: Wi-Fi extenders are typically easy to set up and install. Most models come with a user-friendly interface and step-by-step instructions to help you get started. Generally, you can connect the extender to a power outlet, sync it with your existing Wi-Fi network, and adjust settings as needed.
3. Flexibility of placement: Wi-Fi extenders can be placed strategically throughout your home or office to maximize coverage. You can position them in areas with weak signal strength, such as rooms farthest from the router or areas with thick walls or obstacles that interfere with the Wi-Fi signal. Experimenting with different locations can help you find the best placement for optimal coverage.
4. Seamless connectivity: With a Wi-Fi extender, you can enjoy seamless connectivity as you move around your space. As you transition from the router’s range to the extender’s coverage area, your devices will automatically switch connections without interruption. This ensures a smooth experience, whether you’re streaming videos, playing online games, or working remotely.
5. Cost-effective solution: Wi-Fi extenders are often more affordable than investing in more advanced networking solutions, such as upgrading to a mesh Wi-Fi system. They provide a cost-effective solution to extend your Wi-Fi coverage without the need for additional cables or complex setup.
6. Compatibility with most routers: Wi-Fi extenders are designed to be compatible with most routers and Wi-Fi standards. This means you can easily integrate them into your existing network setup without compatibility issues.
7. Access for multiple devices: With a Wi-Fi extender, you can support multiple devices connected to your network simultaneously. This is especially beneficial in households or offices with multiple users, allowing everyone to enjoy fast and reliable internet access without congestion or slowdowns.
Before purchasing a Wi-Fi extender, research different models and read customer reviews to find one that matches your needs and offers reliable performance. Remember that while a Wi-Fi extender can improve coverage, it won’t address underlying issues with your internet connection. If you’re still experiencing issues, it’s recommended to contact your internet service provider (ISP) for further assistance.
Check for nearby interference
If you’re experiencing issues with your wireless internet connection, one possible cause could be interference from other electronic devices or neighboring Wi-Fi networks. Interference can negatively impact your Wi-Fi signal and result in a weak or unstable connection. Here’s how you can check for nearby interference and minimize its effects:
1. Identify potential sources of interference: Look around your environment for electronic devices that could be causing interference. Common culprits include cordless phones, microwave ovens, baby monitors, Bluetooth devices, and even fluorescent lights. These devices operate on similar frequencies as Wi-Fi, and their signals can disrupt your wireless connection.
2. Relocate your router: Ensure that your router is situated away from potential sources of interference. Place it as far away as possible from cordless phones, microwaves, and other electronic devices. Also, consider elevating the router to a higher position, such as on a shelf or mounted on a wall, to reduce obstructions and improve signal coverage.
3. Change Wi-Fi channels: If there are multiple Wi-Fi networks in close proximity, they can interfere with each other. Access your router’s settings and try changing the channel of your Wi-Fi network. Experiment with different channels to find one that is less congested and provides a more stable connection. You can use Wi-Fi analyzer applications on your smartphone or computer to identify less crowded channels.
4. Use the 5 GHz band: Most modern routers support the 2.4 GHz and 5 GHz frequency bands. The 2.4 GHz band is more susceptible to interference due to its popularity and the presence of other devices. If your devices support the 5 GHz band, switch to it as it generally offers less interference and faster speeds, especially in areas with numerous Wi-Fi networks.
5. Enable Quality of Service (QoS): Some routers have a QoS feature that allows you to prioritize certain types of internet traffic. By enabling QoS, you can allocate more bandwidth to activities that require a stable connection, such as streaming or online gaming, while reducing the impact of background tasks or downloads that can cause interference.
6. Update firmware and drivers: Make sure your router’s firmware is up to date and that your devices have the latest Wi-Fi drivers installed. Manufacturers release firmware and driver updates to improve compatibility, performance, and security. Check the manufacturer’s website or the router’s administration panel for available updates and follow the instructions to install them.
7. Test in different locations: If interference persists, try moving your devices to different locations within your home or office. Sometimes, a simple relocation can significantly improve the Wi-Fi signal strength and reduce interference.
By minimizing interference, you can greatly improve the stability and performance of your wireless internet connection. Follow these tips to identify and address potential sources of interference, allowing you to enjoy a more reliable and consistent Wi-Fi experience.
Update your device’s drivers
If you’re experiencing issues with your wireless internet connection, outdated or incompatible network drivers could be a possible cause. Drivers are software components that allow your computer or device to communicate with the hardware, including Wi-Fi adapters. Updating your device’s drivers can often resolve connectivity problems and improve the performance of your wireless internet. Here’s how to update your device’s drivers:
1. Identify your Wi-Fi adapter: Determine the make and model of your Wi-Fi adapter. You can find this information in the device manager on Windows or by accessing the system report on Mac. Alternatively, check the manufacturer’s website or the documentation that came with your device for the adapter details.
2. Visit the manufacturer’s website: Go to the website of the manufacturer that produced your device. Look for the “Support” or “Downloads” section, where you can find driver updates for your specific device model.
3. Locate the correct driver: Navigate to the driver downloads page for your device model. Typically, you’ll be able to search for drivers by entering the model number or selecting the appropriate product category and version.
4. Download the latest driver: Find the latest driver version that is compatible with your operating system. Download the driver and save it to a convenient location on your computer or device.
5. Install the updated driver: Double-click on the downloaded driver file and follow the on-screen instructions to install it. Make sure to carefully read any instructions or prompts during the installation process.
6. Restart your computer or device: After the driver installation is complete, restart your computer or device. This allows the changes to take effect and ensures that the new driver is fully integrated into the system.
7. Verify driver installation: Once your computer or device has restarted, verify that the updated driver is installed correctly. Go back to the device manager (Windows) or system report (Mac) and check if the driver version has been updated for your Wi-Fi adapter.
8. Test your wireless internet connection: After updating the driver, test your wireless internet connection to see if the issues have been resolved. Open a web browser and visit websites or perform tasks that previously showed connectivity problems. If the internet connection is stable and performing well, you can have confidence that the driver update was successful.
Keeping your device’s drivers up to date is essential for optimal performance, including your wireless internet connection. By regularly updating your Wi-Fi adapter’s driver, you can ensure compatibility, fix bugs, and take advantage of performance enhancements provided by the manufacturer. If issues persist after updating the driver, consider contacting your device manufacturer’s support or seeking further assistance.
Reset your device’s network settings
If you’re still facing connectivity issues with your wireless internet after trying various troubleshooting steps, resetting your device’s network settings can often help resolve the problem. Resetting the network settings clears any saved Wi-Fi networks, passwords, and other network configurations, allowing you to start fresh. Here’s how to reset your device’s network settings:
1. Backup important network information: Before resetting your device’s network settings, make sure to note down any important network information, such as the Wi-Fi network name (SSID) and password. This will help you reconnect to your preferred networks after the reset.
2. Access device settings: Navigate to the settings menu on your device. On most devices, you can find the settings app on the home screen or in the app drawer.
3. Find network or Wi-Fi settings: Look for the network or Wi-Fi settings within the device settings. This may vary slightly depending on your device and operating system.
4. Locate reset network settings option: Scroll through the network or Wi-Fi settings until you find an option to reset network settings. The exact wording may differ depending on your device, but it should be clear that this will reset all network-related settings on your device.
5. Confirm the reset: Once you’ve found the reset network settings option, tap on it to initiate the reset. You may be asked to confirm your decision. Read the warning message carefully before proceeding.
6. Enter device passcode (if required): Some devices may prompt you to enter your device passcode or pattern before allowing you to reset the network settings. This is an additional security measure to ensure that only authorized users can make changes.
7. Allow the device to reset: After confirming the reset, wait patiently for your device to process the request and reset the network settings. This may take a few moments.
8. Set up Wi-Fi connections again: Once the network settings have been reset, navigate back to the Wi-Fi or network settings and reconnect to your Wi-Fi networks. Enter the necessary passwords or security credentials for each network.
9. Test your wireless internet connection: After reconnecting to your preferred Wi-Fi networks, test your wireless internet connection. Open a web browser or use various online applications to ensure that your device is successfully connected to the internet and that the connection is stable.
Resetting your device’s network settings can help resolve underlying issues with your wireless internet connectivity. By starting fresh, you can eliminate any misconfigured settings that may have been causing the problem. However, keep in mind that this will also reset other network-related settings on your device, such as VPN configurations or Bluetooth pairings. Make sure to reconfigure these settings if needed after the reset.