Introduction
When it comes to building a computer or upgrading its components, understanding the different types of connectors is crucial. One component that often raises questions is the case fan. Fans play a vital role in keeping your system cool and running smoothly, but many people wonder what type of plug a case fan has and where it needs to be connected.
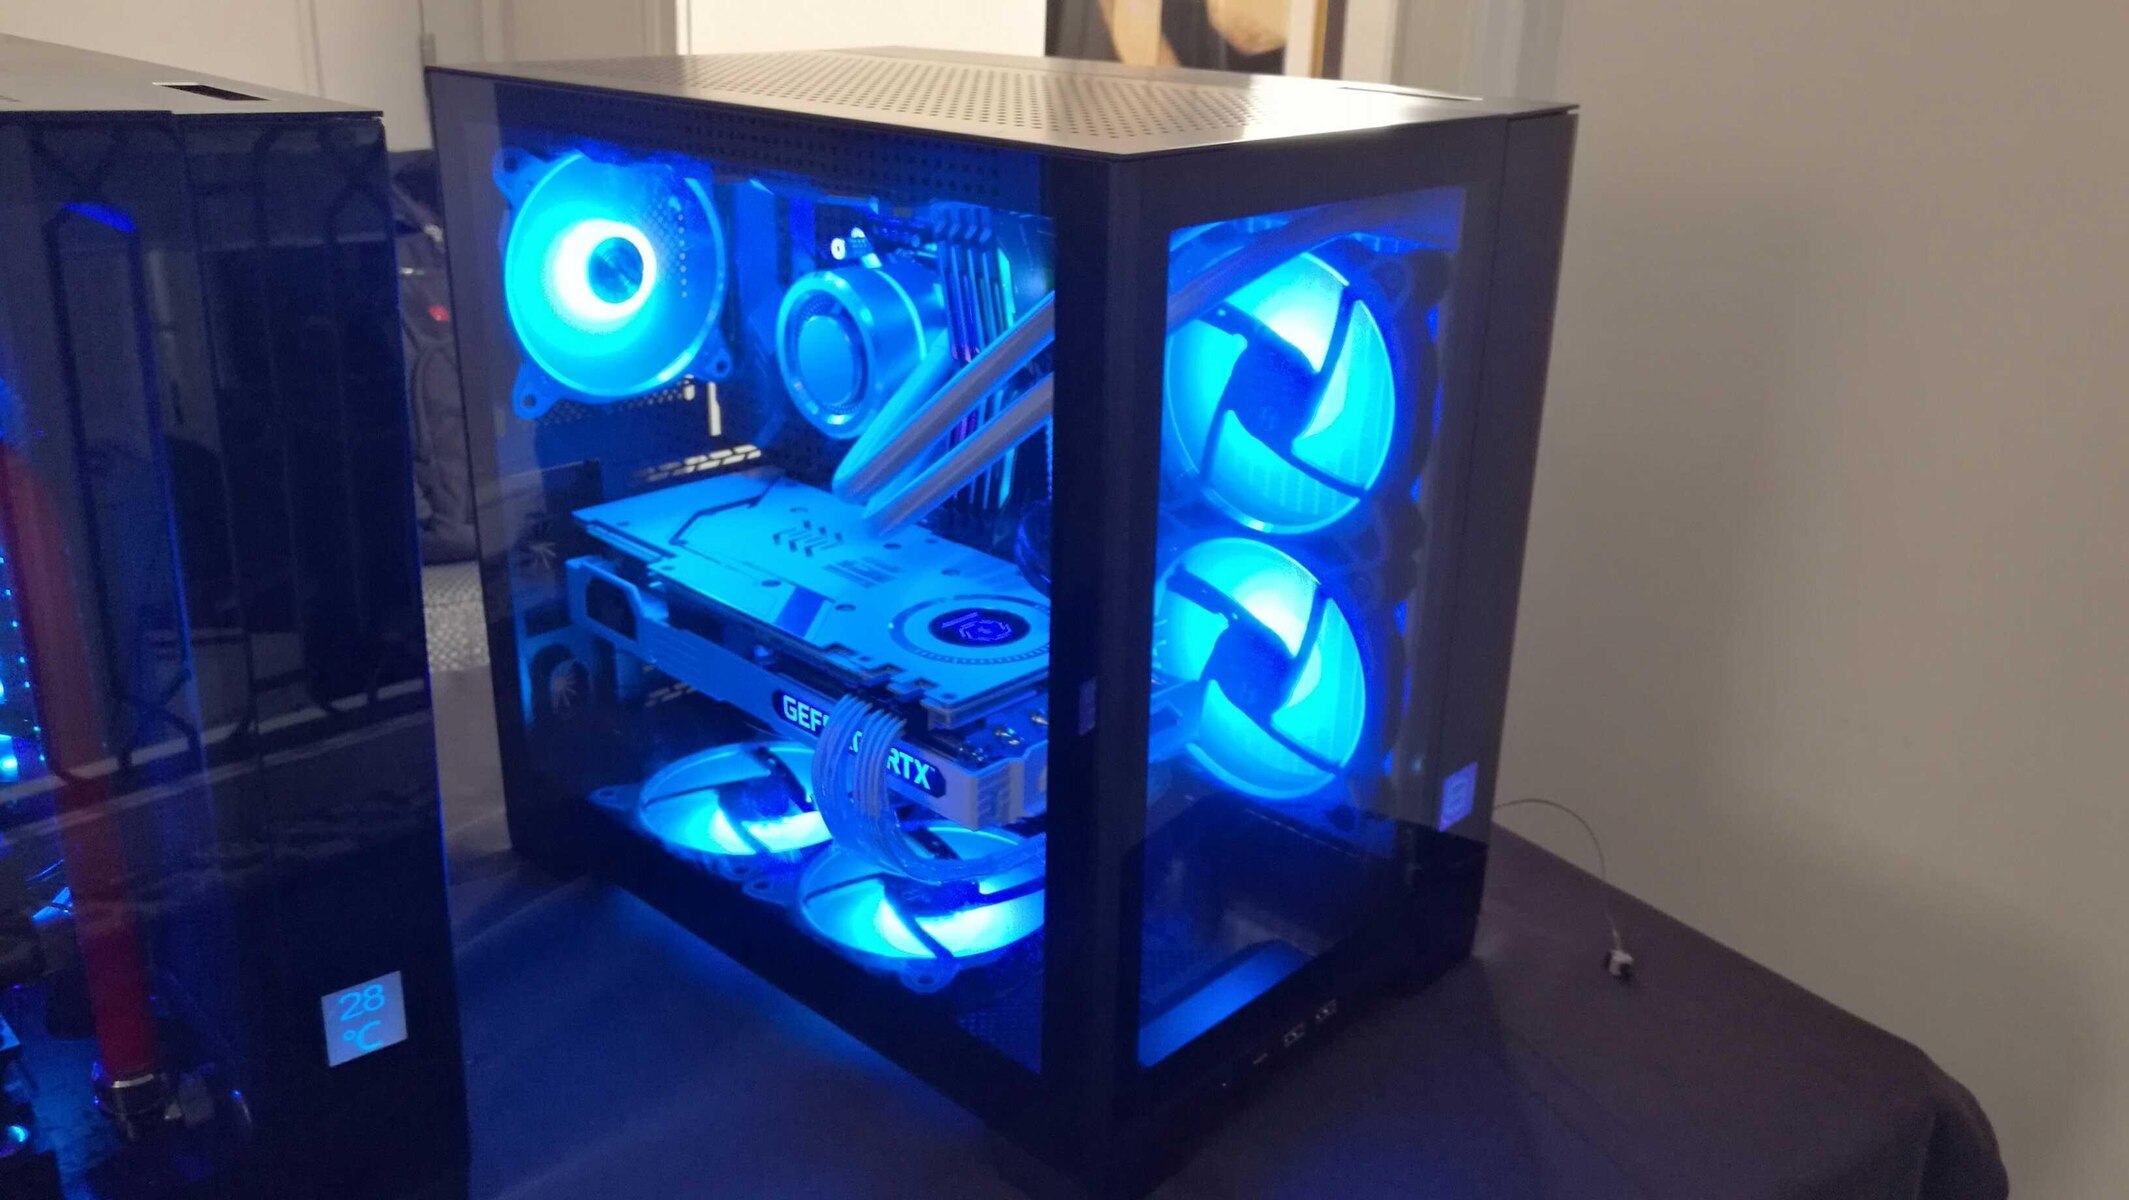
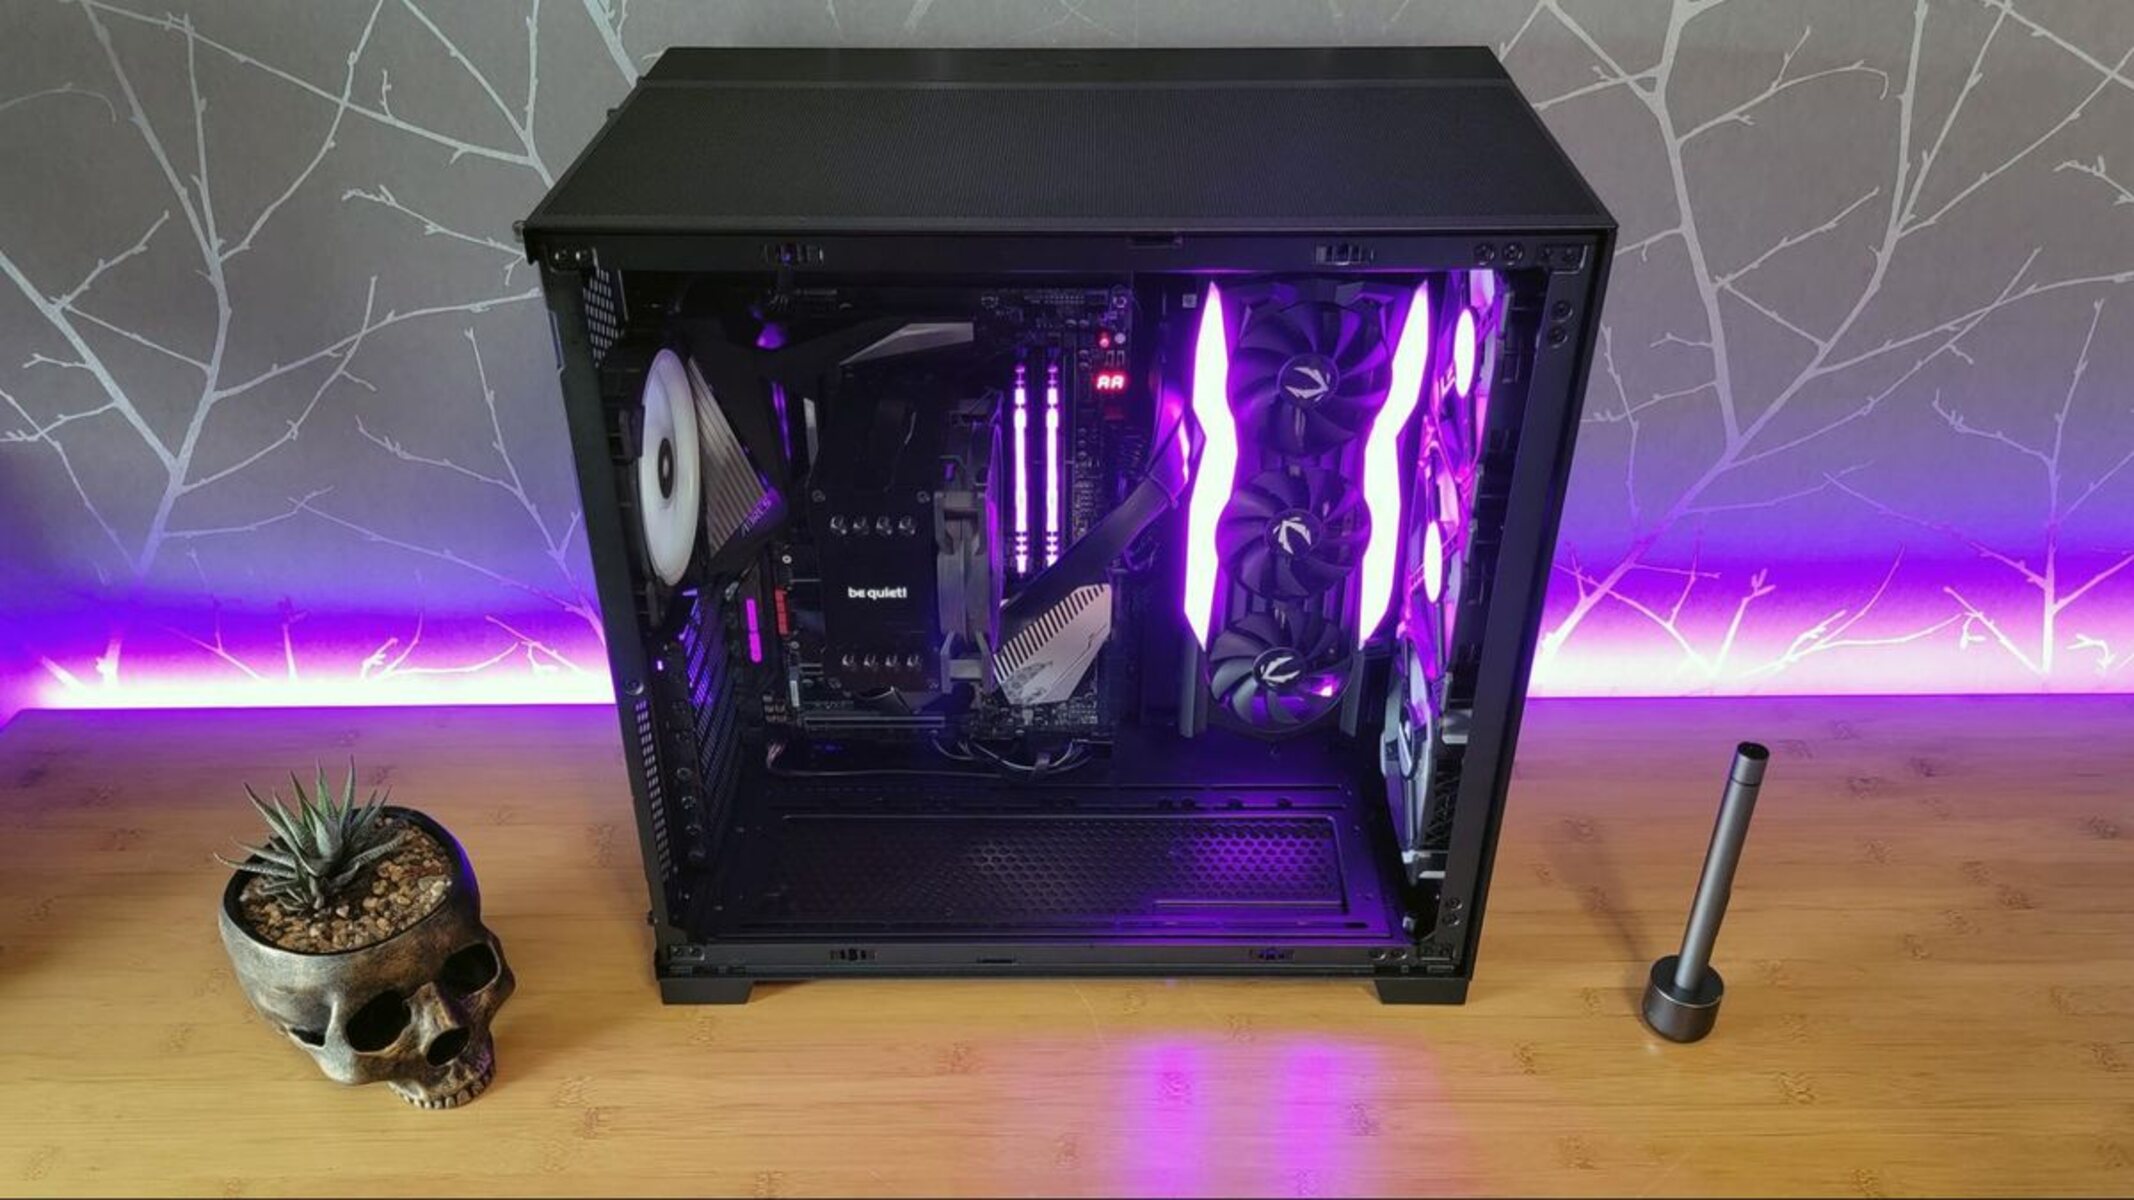
A case fan is an essential part of a computer, responsible for maintaining proper airflow to prevent overheating. It helps to dissipate heat generated by various components such as the CPU, GPU, and power supply. Without sufficient cooling, these components can overheat, leading to reduced performance and even hardware damage.
To ensure that a case fan operates correctly, it needs to be properly connected to the power supply or a motherboard. The type of plug a case fan has determines where it can be plugged in, and understanding this is essential for proper installation.
In this article, we will dive into the different types of connectors that case fans typically have and discuss how to identify each one. By the end, you will have a clear understanding of which connector to use and where to plug in your case fan for optimal performance.
What type of plug does a case fan have?
Case fans typically come with three different types of connectors: 2-pin, 3-pin, and 4-pin. Each connector serves a specific purpose and determines how the fan is controlled. Let’s take a closer look at each type:
1. 2-pin connector: This type of connector is the simplest and most basic. It consists of just two wires and is used for connecting the fan directly to a power source. The fan operates at maximum speed when connected with a 2-pin connector and has no means of speed control. It is commonly found in older computer systems or fans that do not require speed adjustment.
2. 3-pin connector: The 3-pin connector is often referred to as a “fan header” connector. It provides both power and speed control functionality. The three wires in the connector are for power, ground, and the tachometer signal. The tachometer signal measures the fan’s speed and allows the motherboard or fan controller to adjust the speed accordingly. This type of connector offers variable speed control, allowing the fan to run at different speeds depending on the system’s temperature requirements.
3. 4-pin connector: The 4-pin connector, also known as a “PWM” (Pulse Width Modulation) connector, is similar to the 3-pin connector in terms of functionality but offers additional features. In addition to the power, ground, and tachometer signal, the fourth pin is used for PWM control. PWM control allows for more precise speed control by adjusting the fan’s duty cycle. With a 4-pin connector, the motherboard or fan controller can adjust the fan speed dynamically based on real-time temperature readings.
Now that we’ve covered the different types of connectors, let’s move on to the next section, where we will discuss how to identify the connector type.
Types of case fan connectors
Understanding the various types of case fan connectors is essential for proper installation and compatibility. Let’s explore the three main types in detail:
1. 2-pin connector: This is the simplest type of case fan connector. It consists of two pins, one for power (usually labeled “+”) and one for ground (usually labeled “-“). The 2-pin connector directly connects the fan to a power source, such as the power supply unit (PSU). It does not provide any means of speed control or monitoring, and the fan will run at its maximum speed.
2. 3-pin connector: The 3-pin connector is the most common type found in case fans. It has three pins: one for power, one for ground, and one for the tachometer signal. The tachometer signal allows the fan’s speed to be monitored by the motherboard or a fan controller. This type of connector allows for variable speed control, as the motherboard can adjust the voltage supplied to the fan based on temperature conditions.
3. 4-pin connector (PWM): The 4-pin connector, also known as Pulse Width Modulation (PWM) connector, is similar to the 3-pin connector but with an additional pin. It has four pins: one for power, one for ground, one for the tachometer signal, and one for the PWM control signal. The PWM control signal allows the motherboard or a fan controller to adjust the fan’s speed precisely. By modifying the duty cycle of the PWM signal, the fan’s speed can be varied smoothly and dynamically based on the system’s temperature.
It’s important to note that in most cases, a 4-pin fan connector is backward compatible with a 3-pin connector. If your motherboard only has 3-pin connectors available, you can still connect a 4-pin fan. However, the fan will operate in voltage control mode rather than PWM control mode.
Now that we’ve covered the types of case fan connectors, let’s move on to the next section, where we will discuss how to identify the connector type.
2-pin connector
The 2-pin connector is the simplest type of case fan connector available. It consists of just two pins, one for power and one for ground. This connector is commonly found in older computer systems or fans that do not require speed adjustment.
When a case fan is connected using a 2-pin connector, it runs at its maximum speed, which is usually around 100% of its rated RPM (rotations per minute). This means that the fan operates at full power constantly, providing maximum airflow for cooling purposes.
However, because the 2-pin connector offers no means of speed control, the fan’s speed cannot be adjusted based on the system’s temperature or load. This lack of control can result in increased noise levels, especially if the fan runs at high speed unnecessarily.
To connect a case fan with a 2-pin connector, you simply need to match the corresponding pins on the fan and the power source. The positive wire (+) should be aligned with the power pin, while the negative wire (-) should be connected to the ground pin.
It’s important to note that since 2-pin connectors do not provide speed control or monitoring, they are not commonly used in modern computer systems where temperature control and quieter operation are desired. However, they can still be useful for specific applications where maximum airflow is required, such as in certain industrial or high-performance computing scenarios.
Now that we’ve covered the 2-pin connector, let’s move on to the next section, where we will discuss the 3-pin connector in detail.
3-pin connector
The 3-pin connector is one of the most common types of connectors found in case fans. It provides both power and speed control functionality, allowing for variable fan speeds based on the system’s temperature requirements.
A 3-pin connector consists of three pins: one for power, one for ground, and one for the tachometer signal. The power pin (usually labeled “+”) supplies the necessary voltage for the fan to operate. The ground pin (usually labeled “-“) completes the circuit. The tachometer signal pin provides feedback on the fan’s speed to the motherboard or a fan controller.
The tachometer signal is used by the motherboard or fan controller to monitor the fan’s speed and adjust it accordingly. By dynamically changing the voltage supplied to the fan through the power pin, the fan’s speed can be regulated. This allows the fan to run at different speeds, depending on the temperature conditions of the system.
Connecting a case fan with a 3-pin connector is straightforward. Align the pins on the fan connector with the corresponding pins on the motherboard or fan controller. The positive (+) wire should be connected to the power pin, the negative (-) wire should be connected to the ground pin, and the tachometer signal wire should be connected to the appropriate pin.
The advantage of a 3-pin connector is its compatibility with most motherboards and fan controllers. This type of connector allows for speed control and monitoring, providing quieter operation and better temperature management compared to 2-pin connectors. However, it’s important to note that the degree of speed control may vary depending on the motherboard’s capabilities or the fan controller’s design.
Now that we’ve covered the 3-pin connector, let’s move on to the next section, where we will discuss the 4-pin connector in detail.
4-pin connector
The 4-pin connector, also known as a Pulse Width Modulation (PWM) connector, is the most advanced type of case fan connector available. It offers additional features and precise control over the fan’s speed, making it ideal for systems that require optimal cooling and quieter operation.
A 4-pin connector consists of four pins: one for power, one for ground, one for the tachometer signal, and one for the PWM control signal. The power and ground pins provide the necessary voltage and complete the circuit, while the tachometer signal pin reports the fan’s speed to the motherboard or a fan controller. The fourth pin, the PWM control signal pin, allows for dynamic and precise control of the fan’s speed.
With a 4-pin connector, the motherboard or fan controller can adjust the fan speed by modifying the duty cycle of the PWM control signal. By changing the on-time and off-time of the signal, the fan’s speed can be increased or decreased smoothly. This allows for more accurate and fine-tuned speed control based on real-time temperature readings.
Connecting a case fan with a 4-pin connector is similar to a 3-pin connector. Align the pins on the fan connector with the corresponding pins on the motherboard or fan controller. The positive (+) wire should be connected to the power pin, the negative (-) wire to the ground pin, the tachometer signal wire to the appropriate pin, and the PWM control signal wire to the PWM pin.
The 4-pin connector provides a significant advantage over the 2-pin and 3-pin connectors by offering precise and dynamic control of the fan’s speed. This not only ensures efficient cooling but also allows for quieter operation when the system is under low load or in an idle state. However, it’s worth noting that if you connect a 4-pin fan to a 3-pin header on the motherboard or fan controller, the fan will still work, but it will operate in voltage control mode instead of PWM control mode.
Now that we’ve covered the 4-pin connector, let’s move on to the next section, where we will discuss how to identify the connector type.
How to identify the connector type
Identifying the type of connector on a case fan is essential for proper installation and compatibility. Here are a few methods to help you identify the connector type:
1. Visual inspection: The easiest way to identify the connector type is to visually examine the fan’s cable. Look closely at the end of the cable where it connects to the fan. Count the number of pins present. If you see only two pins, it is a 2-pin connector. If there are three pins, it is a 3-pin connector. And if you find four pins, it is a 4-pin connector.
2. Check the product documentation: If you are unsure about the connector type, refer to the fan’s product documentation. The documentation should provide information on the specific connector type and its corresponding functionality.
3. Research the fan model online: If you have access to the internet, you can search for the fan model online to find the connector details. Look for the manufacturer’s website, product reviews, or forums where fellow users may have discussed the fan’s connector type.
4. Consult the motherboard or fan controller manual: If you are connecting the fan to a motherboard or fan controller, refer to the respective manual. It should specify the supported connector types and provide guidance on how to connect different types of fans.
Taking the time to identify the connector type ensures that you connect the case fan correctly and avoid any compatibility or functionality issues. It is always better to be certain about the connector type rather than making assumptions based on appearance alone.
Now that we’ve discussed how to identify the connector type, let’s move on to the next section, where we will discuss which connector you should use in different scenarios.
Which connector should you use?
Determining which connector to use for your case fan depends on several factors, including your system requirements and available hardware. Here’s a quick guide to help you decide:
1. 2-pin connector: If you have an older computer system or a case fan that doesn’t require speed control, you can use a 2-pin connector. It will provide the fan with a constant power supply, running it at maximum speed. However, keep in mind that you won’t have any means of speed control or monitoring with this type of connector.
2. 3-pin connector: The 3-pin connector is the most common type and offers both power supply and speed control functionality. If you want the ability to adjust the fan’s speed based on temperature conditions, a 3-pin connector is suitable. Connect it to a motherboard or fan controller that supports variable voltage control and monitoring.
3. 4-pin connector (PWM): The 4-pin connector is the most advanced and offers precise speed control using Pulse Width Modulation (PWM). If you desire the highest level of control over your fan’s speed and quieter operation, choose a 4-pin connector. Connect it to a motherboard or fan controller that supports PWM control for optimal performance.
It’s worth noting that most motherboards have at least one or two 4-pin PWM fan headers, making them compatible with both 3-pin and 4-pin fans. This means you can connect a 3-pin fan to a 4-pin header and still enjoy speed control, albeit not as precise as with a 4-pin fan.
Before making a decision, also consider the compatibility of the connector with your available hardware. Check your motherboard or fan controller’s specifications to ensure they support the desired connector type. If you’re unsure, consult the user manual or contact the manufacturer for clarification.
By considering your system requirements, desired level of control, and hardware compatibility, you can determine which connector will best suit your needs. Properly connecting the case fan using the appropriate connector ensures optimal cooling performance and a quieter computing experience.
Now that we’ve discussed which connector to use, let’s move on to the concluding section, where we will summarize the key points and wrap up the article.
Conclusion
Understanding the different types of connectors for case fans is essential for proper installation and compatibility. We have explored the three main types: 2-pin, 3-pin, and 4-pin connectors.
The 2-pin connector is the simplest and provides a direct power supply to the fan, running it at maximum speed continuously. This connector lacks speed control and monitoring capabilities.
The 3-pin connector is the most commonly used connector. It offers power supply, speed control, and tachometer signal functionality, allowing the fan’s speed to be adjusted based on temperature conditions.
The 4-pin connector, or PWM connector, provides the highest level of control. It includes power supply, speed control, tachometer signal, and PWM control signal pins. This allows for precise and dynamic speed control, resulting in optimal cooling performance and quieter operation.
When connecting a case fan, it is essential to identify the correct connector type. This can be done through visual inspection, referring to product documentation, conducting online research, or consulting your motherboard or fan controller manual.
Ultimately, the choice of connector depends on your system requirements and hardware capabilities. If you require speed control, the 3-pin connector is suitable, while the 4-pin connector offers even more precise control. The 2-pin connector is appropriate in scenarios where speed control is not necessary.
By understanding the different case fan connectors and selecting the appropriate one, you can ensure proper installation, optimal cooling performance, and a quieter computing experience.
Now that you have a comprehensive knowledge of case fan connectors, you can confidently build and upgrade your computer system while keeping it cool and operating at its best.