Introduction
Welcome to the world of projectors, where technology meets entertainment. Projectors have become an essential component of home theaters, presentations, and large-scale events. They provide an immersive and larger-than-life viewing experience that can’t be matched by traditional displays. However, to make the most of a projector’s capabilities, there are various features and components that users need to understand.
One such feature is the 12V trigger, which plays a crucial role in enhancing the functionality and convenience of projectors. The 12V trigger might sound technical, but fear not! In this article, we will unravel the mysteries of the 12V trigger and explore its purpose, operation, and benefits.
If you’ve ever wondered about the small connector labeled “12V trigger” on your projector or wondered how it can enhance your viewing experience, you’re in the right place. By the end of this article, you’ll have a clear understanding of what a 12V trigger is and how it can revolutionize your projector setup.
Whether you are a seasoned projector enthusiast or a beginner exploring the world of projectors, this article will provide you with valuable insights into the 12V trigger and its significance.
So, let’s dive in and explore the fascinating world of the 12V trigger and how it can take your projector experience to the next level!
What Is a 12V Trigger?
A 12V trigger is a control mechanism found on projectors and other audio/video equipment. It is a low-voltage control signal that allows compatible devices to communicate and synchronize their operations. The “12V” refers to the voltage level typically used for this trigger, although some devices may use a different voltage.
Think of the 12V trigger as a remote control that automatically activates certain functions on your projector or other connected devices. Instead of manually turning on/off different components, adjusting settings, or syncing operations, the 12V trigger does it for you automatically.
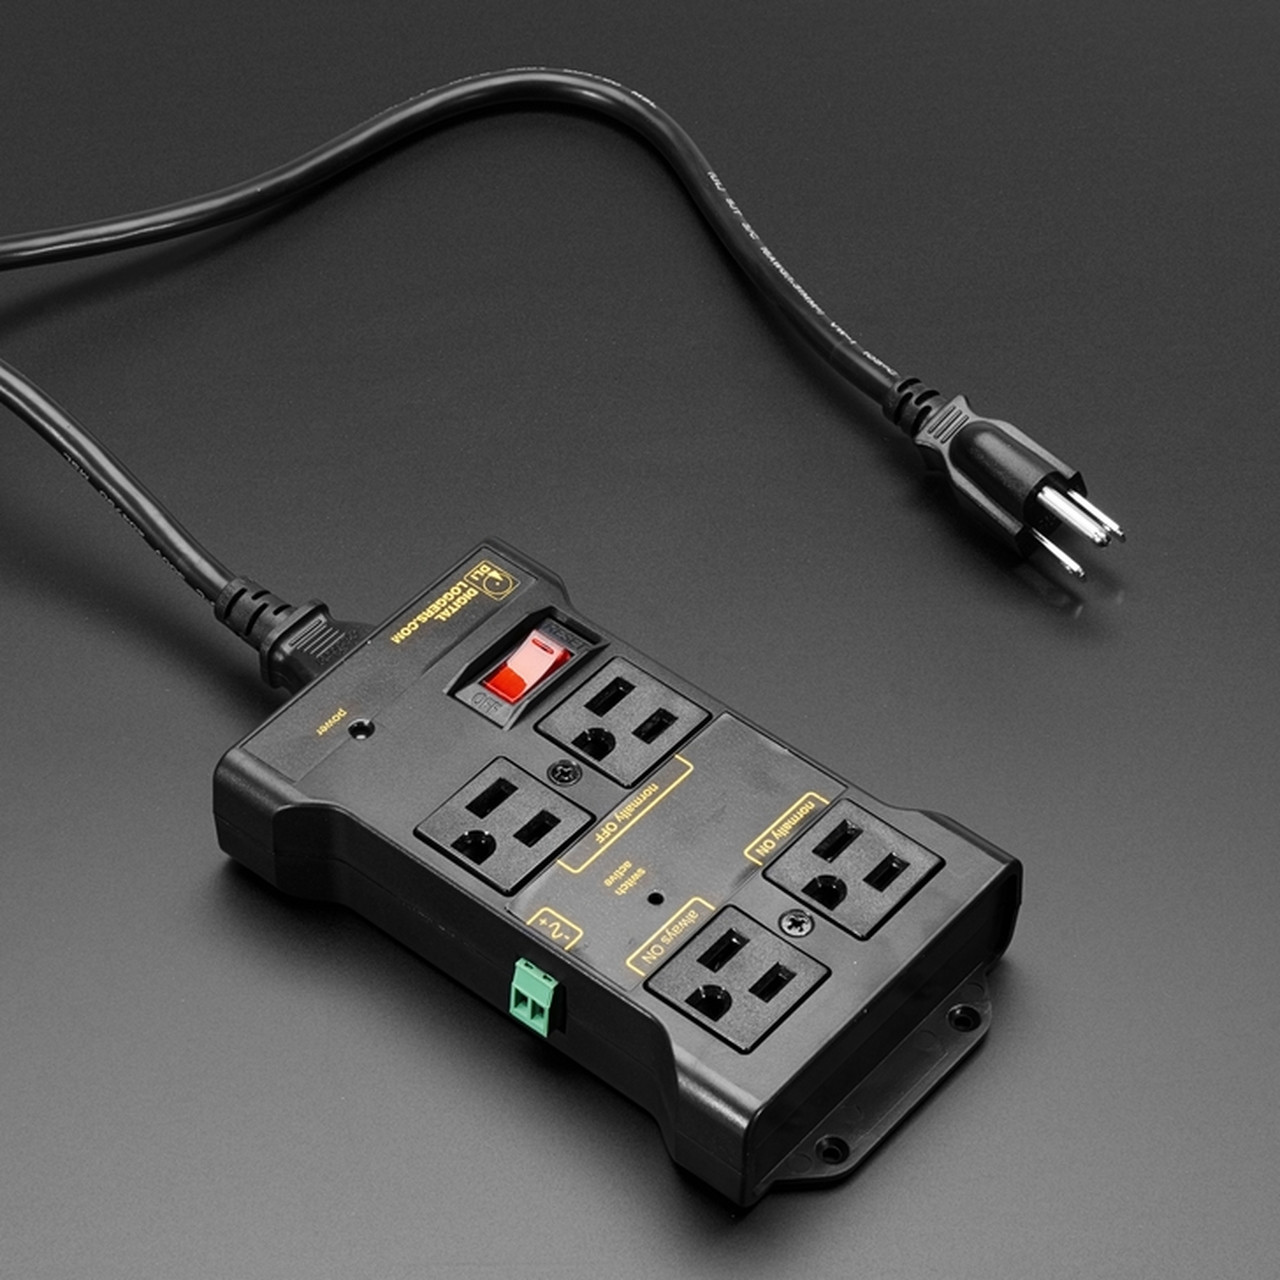
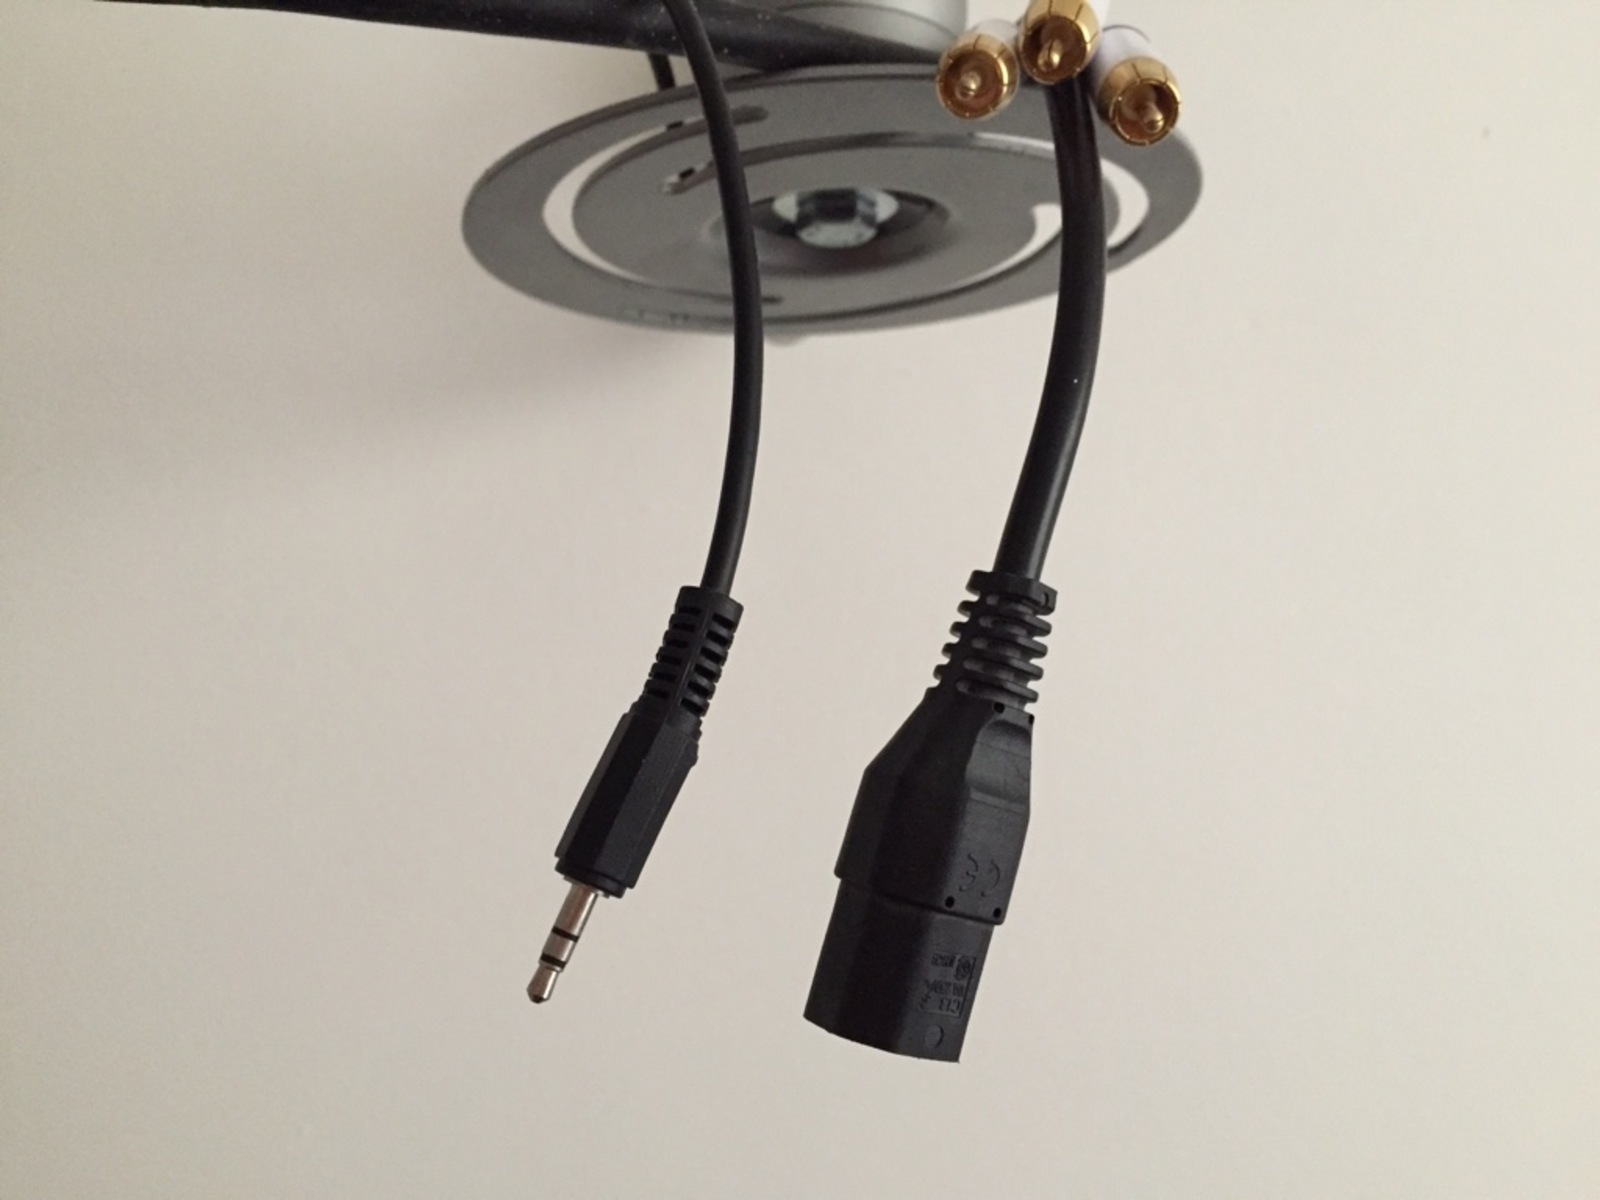
The 12V trigger typically consists of a female connector on the projector and a male connector on the device you want to control. When the projector is powered on or off, it sends a signal through the trigger cable, triggering the connected device to perform a specific action.
The 12V trigger cable itself is usually a simple mono audio cable with a 3.5mm or 2.5mm jack at one end and bare wires at the other end. It is a convenient and efficient way to control multiple devices without the need for separate remote controls or manual adjustments.
The 12V trigger can be used to control various functions, such as activating motorized projector screens, lowering or raising curtains, adjusting lighting conditions, powering on/off speakers, or triggering other devices to create a synchronized audiovisual experience.
Overall, the 12V trigger serves as a seamless integration tool that simplifies the control and automation of multiple devices in a projector setup. It saves time, reduces clutter, and enhances the overall user experience by eliminating the need for manual intervention.
Now that we know what a 12V trigger is, let’s explore how it works and how it can benefit your projector setup.
How Does a 12V Trigger Work?
The 12V trigger works based on a simple principle of electrical signaling. When the projector is powered on or off, it sends a 12V control signal through the trigger cable. This control signal is received by the connected device, which then performs the corresponding action.
The 12V trigger cable consists of two or three wires: a ground wire, a positive voltage wire (usually red), and sometimes a negative voltage wire (usually black). The positive voltage wire carries the 12V signal from the projector to the connected device.
When the projector is turned on, a voltage is sent through the positive wire of the 12V trigger cable. This voltage triggers a response in the compatible device, instructing it to perform a specific action. For example, the projector may trigger a motorized screen to lower or raise, dim the lights in the room, or power on external speakers.
Conversely, when the projector is turned off, the 12V trigger sends a different voltage signal or no voltage signal at all. This informs the connected device to either power down or perform a different action, such as raising the screen, turning on the lights, or powering off external speakers.
The timing of these actions can usually be adjusted through the projector’s settings. This allows you to customize the sequence and duration of events based on your preferences. For example, you can set the projector to activate the motorized screen before the image appears and turn off the lights gradually to create a cinematic experience.
It’s important to note that not all devices are compatible with the 12V trigger. To ensure compatibility, both the projector and the device must have a 12V trigger input and output, respectively, along with the appropriate connectors and wiring setup. It’s always recommended to check the compatibility and specifications of your devices before attempting to use the 12V trigger feature.
Now that we understand how the 12V trigger works, let’s delve into why projectors have this feature and how it can enhance your viewing experience.
Why Do Projectors Have a 12V Trigger?
Projectors have a 12V trigger because it provides a seamless and efficient way to control and synchronize various components within a projector setup. It enhances the overall user experience by automating tasks and creating a more immersive viewing environment.
One of the primary reasons projectors have a 12V trigger is to facilitate the integration with motorized screens. With a compatible motorized screen and a projector equipped with a 12V trigger, you can synchronize the screen’s lowering or raising with the projector’s power on/off state. This means that when you turn on the projector, the screen will automatically lower, and when you turn off the projector, the screen will retract, eliminating the need for manual adjustments.
Additionally, the 12V trigger can be used to control other accessories and devices that are part of your projector setup. For example, you can connect external speakers to the 12V trigger and set them to power on/off automatically when the projector is turned on/off. This ensures that your audio system is ready to accompany your visuals without the need to power it on separately.
The 12V trigger also enables control of environmental factors such as lighting. By connecting your room’s lighting system to the 12V trigger, you can dim or turn off the lights automatically when the projector is in use. This helps to create a more immersive and cinematic viewing experience, reducing distractions and enhancing the contrast and clarity of the projected image.
Moreover, the 12V trigger can be used to activate curtains or blinds, allowing you to darken the room instantly when the projector is in use. This helps to eliminate ambient light and further enhances the image quality and overall viewing experience.
Having a 12V trigger on projectors provides users with convenience and control, eliminating the need for multiple remote controls or manual adjustments. It simplifies the setup process, reduces clutter, and streamlines the operation of multiple devices in your home theater or presentation setup.
In summary, projectors have a 12V trigger to enhance the integration and automation of various components within a projector system. From motorized screens to lighting systems and audio devices, the 12V trigger creates a synchronized and user-friendly experience that elevates the quality of your viewing sessions.
Benefits of Using a 12V Trigger
Using a 12V trigger in your projector setup offers several benefits that enhance convenience, streamline operations, and improve the overall viewing experience. Let’s explore some of the key benefits of utilizing a 12V trigger:
1. Automation: The 12V trigger allows for automated control of various devices and accessories within your projector setup. With just a single action, such as turning on the projector, you can trigger multiple devices to activate or deactivate simultaneously. This saves time and eliminates the need for manual adjustments.
2. Synchronization: By utilizing the 12V trigger, you can synchronize the operations of different components, creating a seamless viewing experience. For example, the trigger can ensure that the motorized screen lowers when the projector is turned on and retracts when the projector is turned off. This synchronization enhances the immersion and ease of use.
3. Convenience: The 12V trigger eliminates the need for separate remote controls or manual adjustments for each device. It centralizes control, allowing you to power on or off multiple devices with a single action. This convenience reduces clutter and simplifies the overall setup and operation process.
4. Customization: Most projectors with 12V triggers offer customization options, allowing you to fine-tune the sequence and duration of events. You can adjust the timing of screen lowering/raising, light dimming, or other actions to suit your preferences. This level of customization enables you to create a personalized and optimized viewing environment.
5. Enhanced Viewing Experience: The 12V trigger contributes to an enhanced viewing experience by automating factors that can impact picture quality. For example, it can control lighting conditions by dimming or turning off lights when the projector is in use, eliminating distracting glare. It can also activate curtains or blinds to darken the room, enhancing contrast and image clarity.
6. Streamlined Setup: By utilizing the 12V trigger, you can streamline the setup process of your projector system. The trigger simplifies the integration of various devices and eliminates the need for complex wiring or separate control systems. This saves time and effort during installation and ensures a neat and organized setup.
7. Energy Efficiency: The 12V trigger helps promote energy efficiency by automating the power management of connected devices. For example, when the projector is turned off, it can trigger other devices, such as speakers or amplifiers, to power down as well. This prevents unnecessary energy consumption and extends the lifespan of your equipment.
Utilizing the 12V trigger in your projector setup offers a range of benefits that improve convenience, synchronization, customization, and overall viewing experience. Its ability to automate tasks, streamline operations, and enhance control makes it a valuable feature for both casual users and dedicated home theater enthusiasts.
Using a 12V Trigger with Other Devices
One of the advantages of a 12V trigger is its compatibility with various other devices in your projector setup. By connecting your projector to these devices, you can streamline their operations and create a seamless audiovisual experience. Let’s explore some common devices that can be utilized with a 12V trigger:
1. Motorized Screens: Motorized screens are a popular component of home theaters. By connecting your projector’s 12V trigger output to a motorized screen’s input, you can automate the screen’s lowering and raising. Whenever you turn on the projector, the screen will lower automatically, and when you turn off the projector, the screen will retract, providing a hassle-free setup for your viewing pleasure.
2. Curtains or Blinds: In addition to motorized screens, you can connect your 12V trigger to curtains or blinds in your viewing area. This allows you to darken the room instantly when the projector is turned on. By synchronizing the operations of the curtains or blinds with the projector, you create an immersive environment and improve the overall picture quality by reducing ambient light interference.
3. Lighting Systems: Connecting your projector’s 12V trigger to your room’s lighting system offers the convenience of automated lighting control. When the projector is powered on, the trigger can dim or turn off lights in the room, providing an optimal viewing environment. This feature eliminates the need to manually adjust the lights and helps enhance the contrast and clarity of the projected image.
4. Audio Systems: Integration with your audio setup is another useful application of the 12V trigger. By connecting external speakers or amplifiers to the 12V trigger output, you can automate their power on/off functionality. When the projector is turned on, the trigger signal can activate the speakers, ensuring a synchronized audio experience. Likewise, when the projector is turned off, the trigger can power down the speakers, conserving energy and simplifying your setup.
5. Other A/V Devices: Depending on your specific setup, you can utilize the 12V trigger to control additional audiovisual devices. This may include motorized lifts for projectors or displays, automated media switchers, or other devices that have 12V trigger inputs. By connecting these devices to the 12V trigger output of your projector, you can automate their operations and further streamline your setup.
It is important to note that devices must support the 12V trigger feature and have compatible input and output connections. Before connecting devices, carefully review their specifications and consult the manufacturer’s instructions to ensure proper compatibility and operation.
By using a 12V trigger with other devices in your projector setup, you can create a seamless and synchronized audiovisual experience. The automation provided by the 12V trigger simplifies control, enhances convenience, and elevates the overall quality of your viewing environment.
Setting Up and Configuring a 12V Trigger
Setting up and configuring a 12V trigger is a relatively straightforward process that requires proper connections and adjustments. Follow these steps to ensure a smooth setup and optimal performance:
1. Identify Compatible Devices: Before setting up the 12V trigger, ensure that the projector and other devices in your setup support the 12V trigger feature. Check the specifications and user manuals of each device to confirm their compatibility.
2. Locate 12V Trigger Ports: Identify the 12V trigger ports on the projector and the devices you want to control. The projector should have a 12V trigger output port, and the other devices should have 12V trigger input ports.
3. Connect Trigger Cable: Use a 12V trigger cable with the appropriate connectors to establish a connection between the projector’s 12V trigger output and the other devices’ 12V trigger inputs. Ensure a secure and proper connection by matching the connectors and tightening them if necessary.
4. Configure Projector Settings: Access the projector’s settings menu using the onboard controls or the remote control. Look for the 12V trigger settings and make any necessary adjustments. This may include enabling the 12V trigger feature, adjusting timing settings, or selecting the specific actions you want to trigger.
5. Test the Setup: Power on the projector and observe if the connected devices respond accordingly. For example, the screen should lower or the lights should dim depending on your configuration. If the devices do not respond as expected, refer to the user manuals for troubleshooting guidance or double-check the connections.
6. Fine-Tune Settings: Once the initial functionality is confirmed, you can fine-tune the settings to optimize your viewing experience. Adjust the timing of actions, such as screen lowering/raising or light dimming, to ensure synchronization and seamless transitions. Experiment with different settings to find the configuration that works best for your preferences.
7. Test and Refine: Periodically test the 12V trigger setup to ensure all devices continue to respond as desired. Make adjustments as necessary, such as changing wiring configurations or reconfiguring settings, to achieve the desired automation and synchronization of your devices.
Remember to consult the user manuals and documentation provided with your devices for specific instructions and troubleshooting advice. Each brand and model may have slightly different settings and configurations for the 12V trigger feature.
By properly setting up and configuring the 12V trigger, you can enjoy the convenience and automation it brings to your projector setup. Take the time to understand the capabilities of your devices and experiment with settings to optimize your viewing experience.
Troubleshooting Common Issues with 12V Triggers
While the 12V trigger feature is designed to provide seamless control and automation in your projector setup, there can be instances where you may encounter issues. Here are some common troubleshooting steps to address potential problems:
1. Check Connections: Ensure that the 12V trigger cable is securely connected to the appropriate ports on the projector and the devices you want to control. Loose or improperly connected cables can result in unreliable or non-functioning triggers.
2. Verify Compatibility: Double-check the compatibility of your devices with the 12V trigger feature. Ensure that both the projector and the connected devices are designed to work with a 12V trigger. Review the specifications and user manuals of each device for compatibility information.
3. Confirm Power and Voltage: Make sure all connected devices are powered on and receiving the necessary power supply. Check that the voltage levels match the requirements of the 12V trigger. Using an incompatible voltage can lead to malfunctioning triggers.
4. Adjust Timing Settings: If devices are not responding at the expected times, review the timing settings in the projector’s menu. Fine-tune the timing parameters to ensure that the actions triggered by the 12V trigger align with your desired sequence of events.
5. Consider Cable Length and Quality: Excessive cable length or poor-quality cables can result in signal degradation or insufficient voltage delivery. Keep the cable length within recommended limits and use high-quality trigger cables to maintain optimal performance.
6. Check Device Firmware/Software: Some issues may be due to outdated firmware or software on the projector or connected devices. Check for any available updates and install them as recommended by the manufacturers.
7. Test Device Functionality: Test each device individually to ensure they are functioning properly. For example, check if the motorized screen operates correctly without the 12V trigger. If it does not, the issue may lie with the device itself and may require separate troubleshooting.
8. Consult Manufacturer Support: If you have exhausted all troubleshooting steps and the 12V trigger is still not functioning as expected, reach out to the manufacturer’s support for further assistance. They can provide specific guidance based on their product’s features and specifications.
Remember that troubleshooting steps may vary depending on the specific devices and brands you are using. Always refer to the user manuals and documentation provided by the manufacturers for the most accurate troubleshooting guidance.
By addressing common issues with 12V triggers, you can ensure smooth and reliable operation within your projector setup. Follow the troubleshooting steps, and don’t hesitate to seek assistance when needed to achieve the full potential of the 12V trigger feature.
Conclusion
The 12V trigger is a valuable feature found in projectors that enhances convenience, automation, and synchronization within your projector setup. By utilizing the 12V trigger, you can integrate various devices such as motorized screens, lighting systems, audio equipment, and more, creating a seamless and immersive viewing experience.
We explored the functionality and benefits of the 12V trigger, understanding how it works and why projectors have this feature. We discovered that the 12V trigger simplifies control, automates tasks, and saves time by eliminating the need for manual adjustments or multiple remote controls.
Setting up and configuring the 12V trigger involves identifying compatible devices, making the proper connections, and adjusting the timing settings to achieve optimal performance. Additionally, we discussed troubleshooting common issues that may arise with 12V triggers, ensuring that any potential problems can be addressed effectively.
Whether you are a home theater enthusiast or a professional presenter, the 12V trigger offers numerous advantages. From seamlessly lowering motorized screens to dimming lights and powering on speakers, the 12V trigger enhances your viewing experience, creating a cinematic environment right in your own space.
As you continue to explore and enjoy the world of projectors, remember the potential of the 12V trigger feature. Utilize its capabilities to streamline operations, automate tasks, and optimize your viewing environment. By harnessing the power of the 12V trigger, you can take your projector experience to a whole new level.