Introduction
Welcome to the world of resin 3D printing – an exciting technology that allows you to turn your imagination into tangible creations. Whether you’re a hobbyist, an artist, or an engineer, resin 3D printing offers a whole new level of precision, detail, and versatility. But before you dive into this captivating world, it’s important to understand the essentials of resin 3D printing and the various components required to get started.
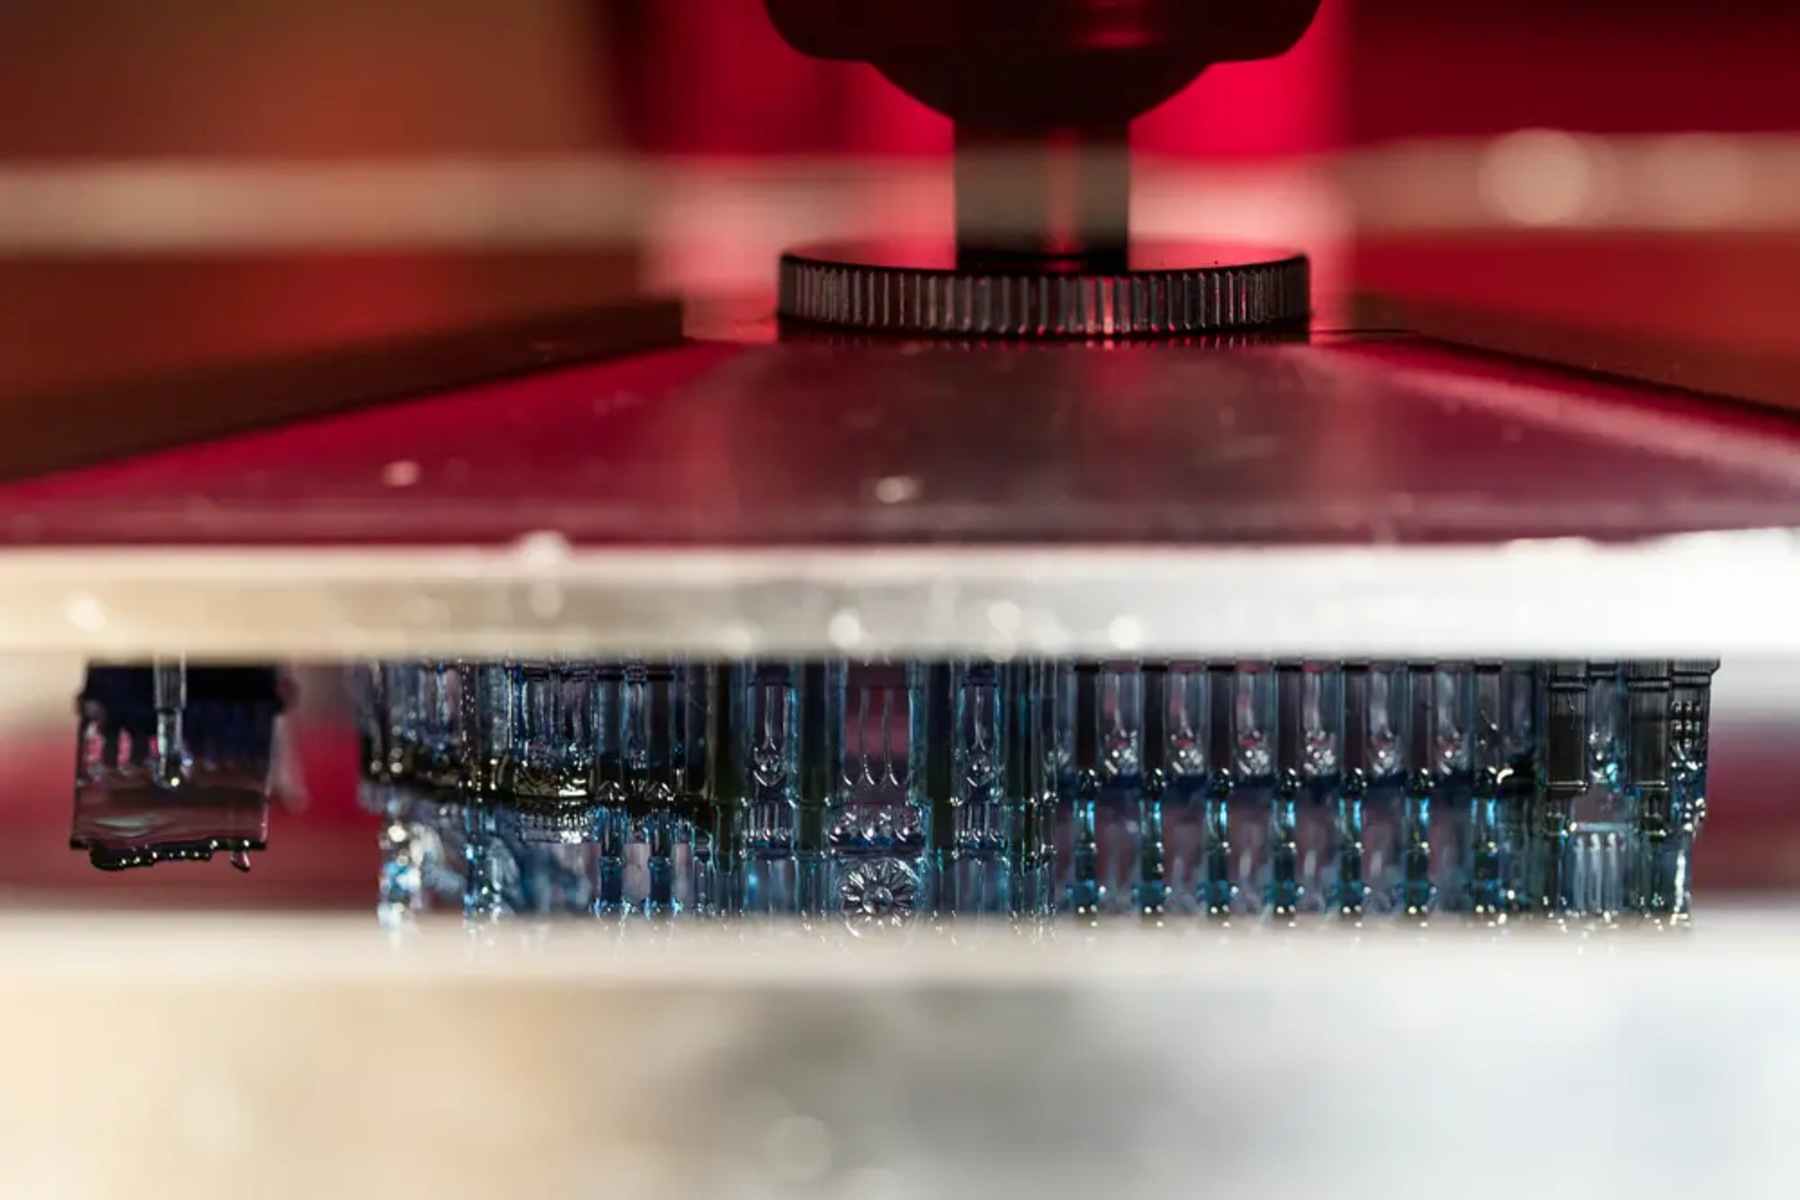
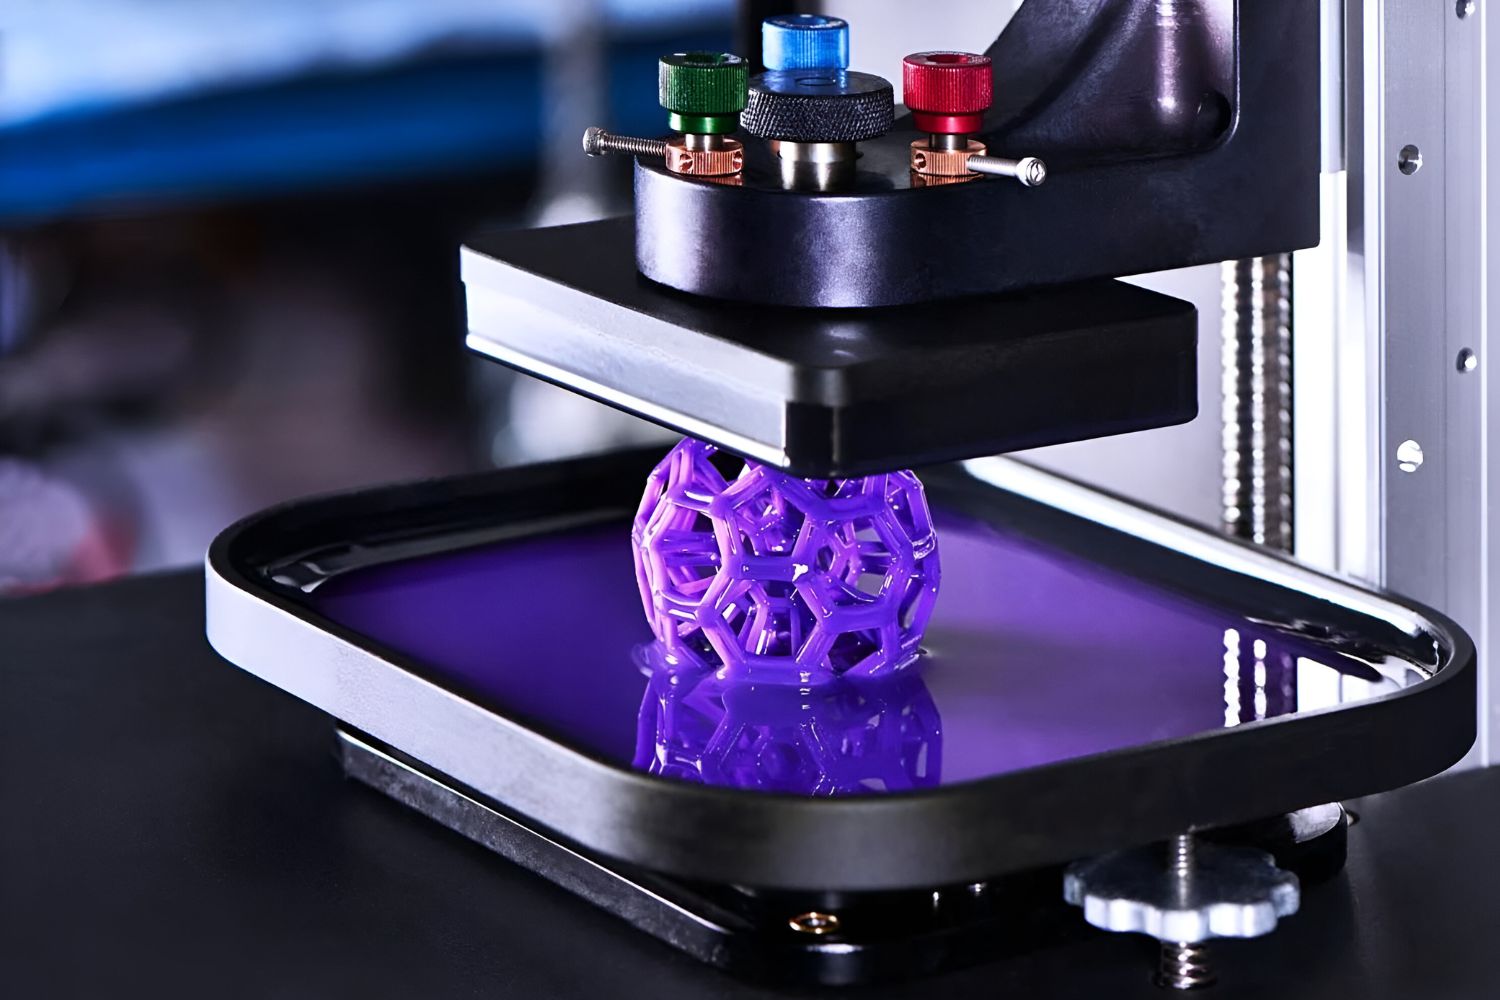
Resin 3D printing, also known as stereolithography (SLA) or digital light processing (DLP), is a process that uses liquid photopolymer resin to create solid objects. The resin is selectively cured by exposure to light, layer by layer, until the final 3D object is formed. This technology opens up a world of possibilities, allowing you to create intricate designs, prototypes, and even end-use parts with astonishing accuracy.
However, embarking on resin 3D printing requires more than just a printer. You’ll need to consider factors such as the type of resin printer, safety precautions, setup process, software requirements, and post-processing techniques. In this guide, we’ll walk you through each of these essential aspects, ensuring that you have a solid foundation to start your resin 3D printing journey.
Whether you’re a beginner or have experience with other 3D printing technologies, resin 3D printing has its unique characteristics and considerations. By understanding the fundamentals and following the right practices, you can achieve stunning results and unlock the true potential of this technology.
So, if you’re ready to bring your designs to life with resin 3D printing, let’s dive in and explore everything you need to know to get started.
Choosing the Right Resin 3D Printer
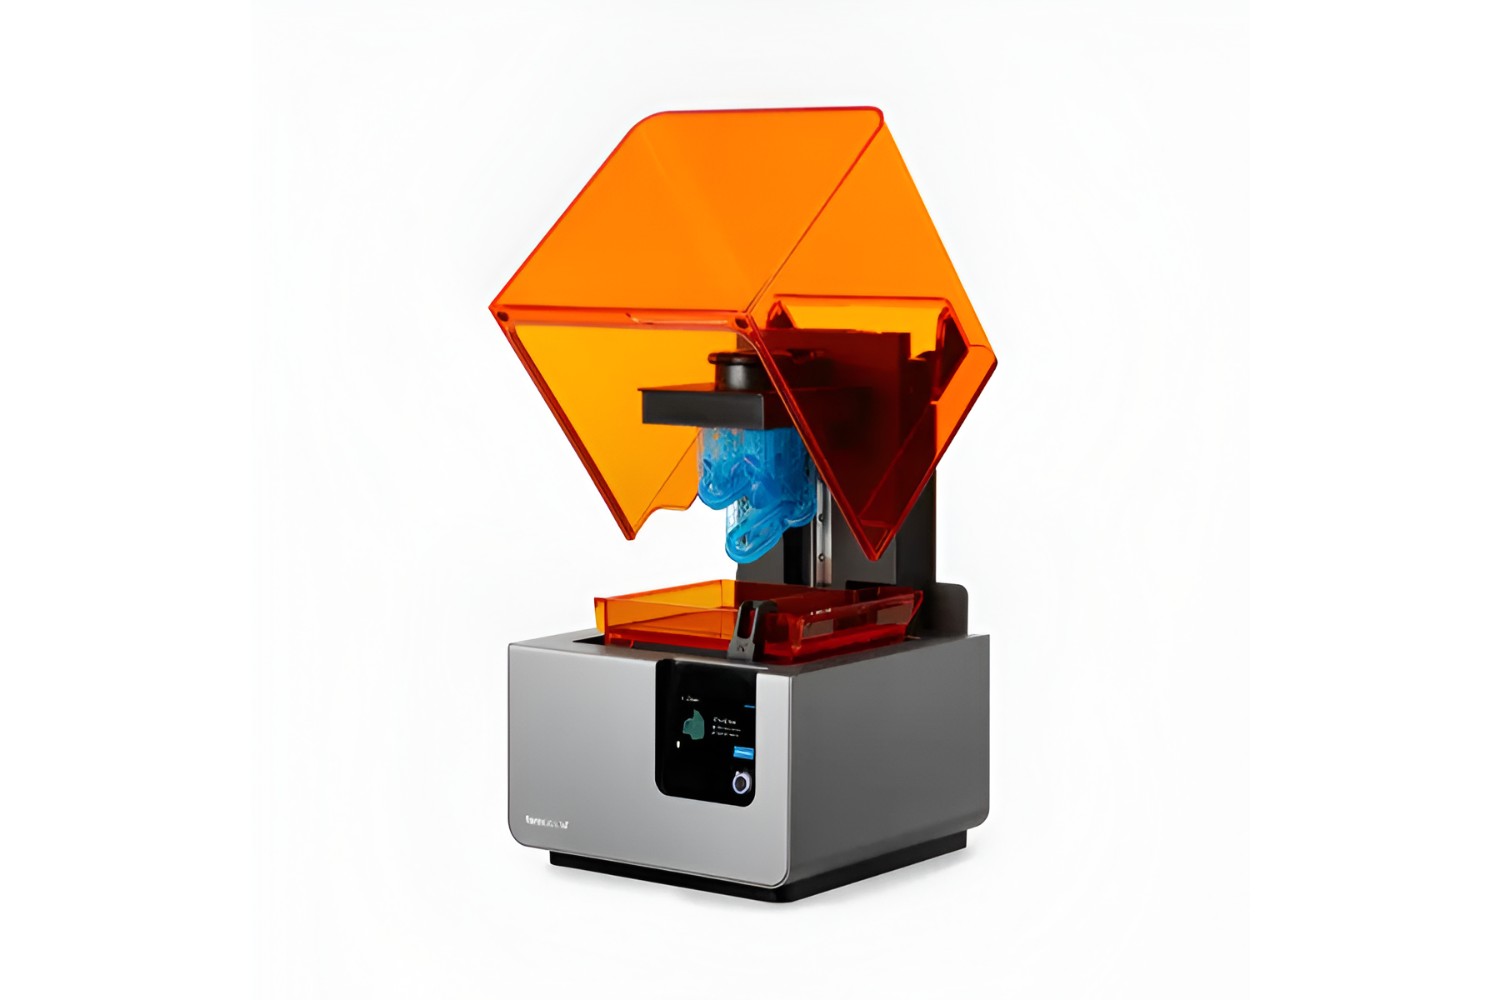
When it comes to resin 3D printing, the first step is to choose the right printer that suits your needs and budget. There are several factors to consider before making a decision:
- Print Volume: Consider the size of the objects you want to print. Some printers offer larger build volumes, allowing you to create larger models or multiple smaller objects in a single print job.
- Resolution: Pay attention to the resolution capabilities of the printer. The higher the resolution, the finer the details you can achieve in your prints.
- Printing Speed: Depending on your requirements, you may prioritize faster print speeds. Keep in mind that faster print speeds can sometimes lead to a compromise on print quality.
- Connectivity Options: Check if the printer offers various connectivity options, such as Wi-Fi, USB, or SD card. This will determine how you can transfer your print files to the printer.
- Support and Community: Research the manufacturer’s reputation for customer support and the availability of an active user community. This can be valuable when you encounter any technical issues or need guidance.
Additionally, it’s essential to consider the type of resin the printer supports. Different printers may be compatible with specific resins or a particular resin brand. Ensure that the printer you choose supports the resin materials you intend to work with.
Price is, of course, an important consideration, but try not to compromise on quality and reliability. Cheaper printers may have limitations in terms of performance and durability. It’s worth investing in a reputable brand that offers a balance between affordability and quality.
By carefully evaluating these factors, you will be able to select a resin 3D printer that aligns with your needs and preferences. Remember to read reviews, compare specifications, and seek advice from experienced users to make an informed decision.
Safety Precautions
Resin 3D printing involves working with liquid photopolymer resin and various chemicals, so it’s crucial to prioritize safety throughout the process. Here are some essential safety precautions to follow:
- Well-Ventilated Area: Set up your resin 3D printer in a well-ventilated area or use a fume hood to prevent the inhalation of potentially harmful fumes. Resin emits volatile organic compounds (VOCs) during the printing process, and proper ventilation can minimize exposure.
- Protective Gear: Wear appropriate protective gear, including gloves, safety glasses, and a lab coat or apron, when handling resin and during the post-processing stage. This will protect your skin and eyes from direct contact with the resin and any cleaning chemicals.
- Resin Handling: Take care when handling uncured resin. Avoid direct skin contact and make use of disposable nitrile gloves. Dispense and mix the resin in a designated area to prevent contamination and spills.
- UV Exposure: UV light is used to cure the resin during the printing process. Avoid looking directly at the curing light or exposing your skin to it for extended periods. Consider using UV-blocking safety glasses during the printing process.
- Cleaning and Disposal: Follow proper disposal guidelines for used resin, empty resin containers, and cleaning chemicals. Do not pour resin or cleaning solutions down the sink, as they can contaminate water sources. Dispose of them according to local regulations.
- Fire Safety: Keep a fire extinguisher nearby and be aware of the flammability risks associated with resin and cleaning chemicals. Avoid having open flames or hot surfaces near the printing area.
- Keep Out of Reach: Store resin, cleaning chemicals, and other supplies out of the reach of children and pets. Ensure that your workspace is secure and inaccessible to unauthorized individuals.
It’s important to read and follow the specific safety instructions provided by the manufacturer of your resin printer and the resin material you’re using. Familiarize yourself with the Material Safety Data Sheet (MSDS) for each resin to understand its specific hazards and handling requirements.
By adhering to these safety precautions, you can minimize potential risks and create a safe working environment for resin 3D printing. Always prioritize your well-being and take necessary precautions to ensure a smooth and secure printing experience.
Resin 3D Printer Setup
Once you have chosen a resin 3D printer and taken proper safety precautions, it’s time to set up your printer and get it ready for printing. Here are the key steps involved in the setup process:
- Workspace Preparation: Designate a clean and organized workspace for your resin 3D printer. Ensure that the area is stable and level to prevent any unintended movements during printing. Consider placing a mat or tray underneath the printer to catch any spills or drips.
- Printer Assembly: If your printer comes disassembled, carefully follow the manufacturer’s instructions to assemble the various components. Pay attention to cable connections, power source requirements, and the proper installation of the resin vat, build platform, and resin tank.
- Leveling the Build Platform: Proper leveling of the build platform is crucial for achieving accurate prints. Follow the manufacturer’s instructions to level the platform by adjusting the screws or knobs until it is parallel to the resin vat. Use a piece of paper or a leveling tool to ensure the correct distance between the platform and the vat.
- Resin Vat Cleaning: Before pouring resin into the vat, it’s essential to clean and inspect it. Remove any dust or debris and check for any damages or scratches that could affect print quality. Some vats may require a release film or coating to be applied before use. Refer to the manufacturer’s instructions for specific cleaning and preparation steps.
- Installing Resin: Follow the manufacturer’s guidelines for handling and pouring resin into the vat. Avoid overfilling the vat, as this could lead to spillage or improper curing. It’s recommended to use a resin filter funnel to remove any impurities that can affect print quality.
- Connecting to Power and Network: Ensure that your printer is properly connected to a power source and any required network connections. This will allow you to control the printer and send print files to it using the designated software.
- Calibrating and Testing: Once the printer is set up and connected, follow the manufacturer’s instructions for calibrating the printer settings. This may include adjusting exposure times, layer heights, or other parameters specific to your printer. It’s important to perform test prints and evaluate the results to ensure accurate deposition and resin curing.
Take the time to familiarize yourself with the specific setup requirements of your resin 3D printer. Careful attention to detail during setup will contribute to the success of your prints and help you avoid unnecessary troubleshooting later on.
With the printer properly set up, you’re now ready to move on to the next step: understanding the different types of resin materials and selecting the right one for your project.
Understanding Resin Materials
Resin 3D printing offers a wide range of materials to choose from, each with its own unique characteristics and applications. It’s important to understand the different types of resin materials available and select the right one for your specific project. Here are some common types of resin materials:
- Standard Resins: These resins are versatile and widely used for various applications. They offer a balance between strength, detail, and ease of use. Standard resins are available in different colors and can be post-processed to achieve the desired finish.
- Flexible Resins: As the name suggests, these resins provide flexibility and elasticity to the printed objects. They are ideal for creating objects that require a certain degree of flexibility, such as soft-touch prototypes, gaskets, and ergonomic designs.
- Transparent Resins: If you’re looking to create clear and transparent objects, transparent resins are the way to go. They allow light to pass through, making them suitable for applications like optics, light pipes, and transparent prototypes.
- High-Temperature Resins: These resins are formulated to withstand higher temperatures, making them suitable for applications such as mold-making, casting, and high-temperature functional prototypes.
- Dental Resins: Specifically designed for dental applications, these resins are biocompatible and meet the strict requirements of dental professionals, enabling the production of accurate dental models, molds, and surgical guides.
It’s important to note that resin materials may have specific curing requirements, such as exposure times and curing temperatures. Always refer to the manufacturer’s instructions and guidelines when working with a particular resin material.
In addition to the type of resin material, consider factors such as color options, post-processing requirements, and compatibility with your resin 3D printer. Some printers may have specific requirements or recommended resins to achieve optimal results.
Experimenting with different resin materials can be an exciting part of the resin 3D printing journey. It’s essential to understand the capabilities and limitations of each material to make informed decisions for your projects.
Now that you have a good understanding of resin materials, let’s move on to the next section: resin 3D printing software.
Resin 3D Printing Software
Resin 3D printing software plays a crucial role in the pre-processing and preparation of your 3D models for printing. It allows you to control various parameters and generate the necessary instructions for your resin 3D printer. Here are some key aspects of resin 3D printing software:
- Slicing Software: Slicing software is used to convert your 3D models into a series of printable layers. It slices the model, calculates the optimal tool path, and generates the necessary instructions for the printer. Some popular slicing software options for resin 3D printing include Chitubox, PreForm, and Lychee Slicer.
- Support Generation: Resin 3D printing often requires the use of supports to ensure stability and prevent deformation during the printing process. Many slicing software tools include support generation capabilities that automatically generate supports based on preset parameters or allow manual support editing.
- Orientation and Layout: Resin 3D printing software allows you to orient your model and arrange multiple models on the print bed. Proper orientation and layout can affect print quality and minimize the need for supports. Experiment with different orientations to achieve the best results.
- Exposure and Layer Settings: The software enables you to adjust exposure times and layer heights based on the properties of the resin material and the desired print quality. These settings may vary depending on the specific resin and printer you are using, so refer to the manufacturer’s guidelines for recommended settings.
- File Import and Export: Most resin 3D printing software tools support common 3D file formats such as STL and OBJ. You can import your 3D models directly into the software, make necessary adjustments, and export the final sliced file in a format compatible with your resin 3D printer.
- Printing Parameters Preview: Some software tools provide a visual preview of the sliced layers, allowing you to check for potential issues, such as inadequate supports, before initiating the printing process. This can help in identifying and resolving any potential problems early on.
Keep in mind that different resin 3D printers may have specific software requirements. Consult the manufacturer’s recommendations and guidelines to ensure compatibility between the software and your printer. Additionally, stay updated with the latest software versions, as they may bring improvements and new features to enhance your resin 3D printing experience.
With the right resin 3D printing software at your disposal, you can unleash the full potential of your resin printer and create stunning, high-quality prints.
Next, we’ll explore the crucial steps involved in preparing the print bed for resin 3D printing.
Preparing the Print Bed
Preparing the print bed is a vital step in resin 3D printing that ensures proper adhesion and successful print outcomes. Here are the key steps involved in preparing the print bed:
- Clean the Print Bed: Before each print, ensure that the print bed is clean and free from any residue or debris. Use a soft cloth or paper towel dampened with isopropyl alcohol (IPA) to wipe the surface of the print bed. This will help remove any dust, oils, or particles that may affect adhesion.
- Apply a Release Agent (if required): Some resin 3D printers and resin materials may require the application of a release agent to the print bed. This helps in easy removal of the printed object after the curing process. Follow the manufacturer’s instructions to apply the release agent properly.
- Apply the First Layer of Resin: Depending on your printer’s requirements, you may need to apply a thin layer of resin to the print bed before printing. This is often referred to as the “base layer” or “build platform adhesive.” The purpose of this layer is to improve adhesion between the printed object and the print bed.
- Level the Print Bed (if necessary): Some resin 3D printers have automatic bed leveling features, while others require manual leveling. If your printer requires manual leveling, follow the manufacturer’s instructions to ensure that the build platform is level and calibrated correctly. Proper leveling helps in achieving uniform print quality across the entire build area.
- Check for Proper Distance: Ensure that the distance between the bottom of the resin vat and the print bed is correctly set. This distance determines the thickness of each printed layer. Improper distance can result in failed prints or adhesion issues.
- Save Your Settings: Once you have achieved the desired print bed setup, save the settings in your resin 3D printing software, so you can easily recall them for future prints.
Proper preparation of the print bed is critical for ensuring adhesion and preventing print failures. Taking the time to properly clean, level, and apply necessary adhesion layers will greatly contribute to successful resin 3D prints.
Now that your print bed is ready, let’s move on to the next step: loading and curing resin for your print.
Loading and Curing Resin
Loading and curing resin is a crucial step in resin 3D printing that involves precisely introducing the resin into the printer and initiating the curing process. Here is a step-by-step guide to loading and curing resin:
- Preparing the Resin: Before loading resin into the printer, ensure that you have properly mixed the resin according to the manufacturer’s instructions. Thoroughly mix the resin to achieve a homogeneous consistency and avoid any settling or separation of particles.
- Loading the Resin: Carefully pour the prepared resin into the resin vat of your printer. Take care not to overfill the vat, as this can lead to spills and affect print quality. Refer to the printer’s instructions for the recommended resin fill level.
- Checking for Air Bubbles: After pouring the resin, inspect the vat for any air bubbles that may have formed. Air bubbles can affect the curing process and result in incomplete or distorted prints. Use a spatula or a similar tool to gently remove any visible bubbles from the resin surface.
- Curing Settings: Set the appropriate curing settings in your resin 3D printing software. This includes specifying the layer height, exposure time, and curing intensity based on the resin material and desired print quality. Ensure that the settings are aligned with the manufacturer’s recommendations for the specific resin you are using.
- Start the Printing Process: Once the resin is loaded and the curing settings are configured, start the printing process. The printer will begin curing each layer of resin according to the specified parameters. Depending on the size and complexity of the print, this process can take several hours.
- Monitor the Printing: During the printing process, periodically check the printer to ensure that it is running smoothly and that the resin is properly curing. Monitor the progress of each layer and ensure that the print is adhering to the build platform correctly.
While it’s important to follow the steps mentioned above, it’s equally crucial to refer to the specific instructions provided by the manufacturer of your resin 3D printer and the resin material being used.
Remember that curing times can vary depending on the resin, print settings, and the complexity of the object being printed. It’s essential to exercise patience and not interrupt the printing process until it is complete.
Once the resin is fully cured and the printing process is finished, it’s time to proceed to the next step: post-processing and finishing.
Post-Processing and Finishing
After the resin 3D printing process is complete, there are several post-processing steps you can take to enhance the final appearance and functionality of your printed objects. Here are some common post-processing techniques:
- Removing Supports: If your print required supports, carefully remove them using flush cutters or a craft knife. Take your time and be cautious to avoid damaging the printed object. Sand or file any rough edges left behind by the supports.
- Washing and Cleaning: Rinse the printed object in a container of isopropyl alcohol (IPA) to remove any uncured resin. Agitate the object gently to ensure thorough cleaning. You may need to repeat this step multiple times, using fresh IPA each time, until the object is completely clean.
- UV Curing: Some resins require additional curing after the printing process to ensure optimal strength and stability. Place the cleaned object under a UV light source or in a UV curing chamber according to the manufacturer’s recommendations. This will complete the curing process and provide maximum strength to the printed object.
- Post-Curing (Optional): For resins that benefit from additional post-curing, you can place the cleaned and cured object in a dedicated post-curing chamber. This allows for further polymerization and strengthens the final part, improving its mechanical properties.
- Surface Finishing: Depending on your desired outcome, you may choose to perform additional surface finishing techniques on your printed object. This can include sanding, buffing, painting, or applying a protective coating to achieve the desired appearance and texture.
It’s important to note that not all prints require extensive post-processing. The level of post-processing needed depends on the specific requirements of your project and the desired quality of the final print.
Take your time during the post-processing stage, and pay attention to detail to achieve the best results. Each object may require different post-processing techniques, so it’s essential to evaluate and adjust your approach accordingly.
With proper post-processing and finishing, you can transform your resin 3D printed objects into professional-quality pieces that are ready for display, functional use, or further application-specific requirements.
Now that we have covered the post-processing steps, let’s explore some troubleshooting tips to help you overcome common challenges in resin 3D printing.
Troubleshooting Tips
Resin 3D printing can sometimes present challenges that may affect print quality or the overall printing process. Here are some troubleshooting tips to help you overcome common issues and improve your resin 3D prints:
- Print Failure: If your prints consistently fail or do not adhere to the build platform, it could be due to incorrect leveling, inadequate resin exposure, or issues with the print bed preparation. Check and adjust these settings to ensure proper adhesion and curing.
- Support Removal Difficulty: If removing supports is challenging or results in damage to the printed object, consider adjusting the support density, size, or orientation in the slicing software. Additionally, using support removal tools or sandpaper can help smoothen the area after support removal.
- Poor Surface Quality: If your prints have a rough surface or visible layer lines, it may be due to factors such as improper layer exposure, incorrect curing settings, or insufficient cleaning after the print. Review your slicing and curing settings, and ensure thorough cleaning and post-processing steps.
- Inadequate Curing: If your prints are not fully cured or appear sticky, it may indicate insufficient exposure to UV light or improper curing settings. Adjust the exposure times and distances between the print and UV light source to ensure complete curing.
- Resin Viscosity: Resin viscosity can impact print quality. If the resin is too thick, it may result in incomplete curing or failed prints. If the resin is too thin, it may cause excessive spreading and loss of detail. Follow the manufacturer’s guidelines on resin viscosity and consider adjusting the temperature settings, if applicable.
- Layer Shift: Layer shifting can occur when the print bed or build platform moves during the printing process. Check for proper leveling and make sure the build platform is secure and stable. Avoid any interference or vibrations that could cause the layer shift.
When troubleshooting resin 3D printing issues, it’s essential to be patient and methodical. Make one adjustment at a time and test the printing process to identify the specific factor contributing to the problem.
Additionally, referring to the manufacturer’s documentation, community forums, and troubleshooting guides can provide valuable insights and solutions for specific issues related to your resin 3D printer and resin materials.
By implementing these troubleshooting tips, you can overcome common challenges and improve the quality and success rate of your resin 3D prints.
Now that we’ve covered key troubleshooting tips, let’s summarize everything we’ve discussed in this guide to resin 3D printing.
Conclusion
Resin 3D printing is an exciting technology that opens up a world of possibilities for creating intricate, detailed, and functional objects. By following the essential steps and guidelines outlined in this guide, you can ensure a smooth and successful resin 3D printing journey.
Choosing the right resin 3D printer, prioritizing safety precautions, setting up the printer correctly, understanding resin materials, utilizing the appropriate software, and preparing the print bed are all crucial aspects that contribute to achieving high-quality resin prints.
Post-processing and finishing techniques help enhance the final appearance and functionality of your printed objects. Troubleshooting common issues and applying the relevant solutions will enable you to overcome challenges and optimize your printing results.
Remember to refer to the manufacturer’s instructions, guidelines, and specific resin settings for your printer. Additionally, staying engaged with the resin 3D printing community can provide valuable insights, tips, and inspiration for your projects.
With patience, practice, and a passion for creativity, resin 3D printing can be a truly rewarding endeavor. So, embrace the possibilities and start bringing your designs to life with the captivating technology of resin 3D printing.