Introduction
Welcome to the exciting world of resin 3D printing! With its high level of precision and ability to create intricate designs, resin 3D printing has become a popular choice for artists, hobbyists, and professionals alike. Whether you’re a seasoned 3D printing expert or a beginner looking to try something new, this guide will provide you with valuable insights on how to use a resin 3D printer effectively.
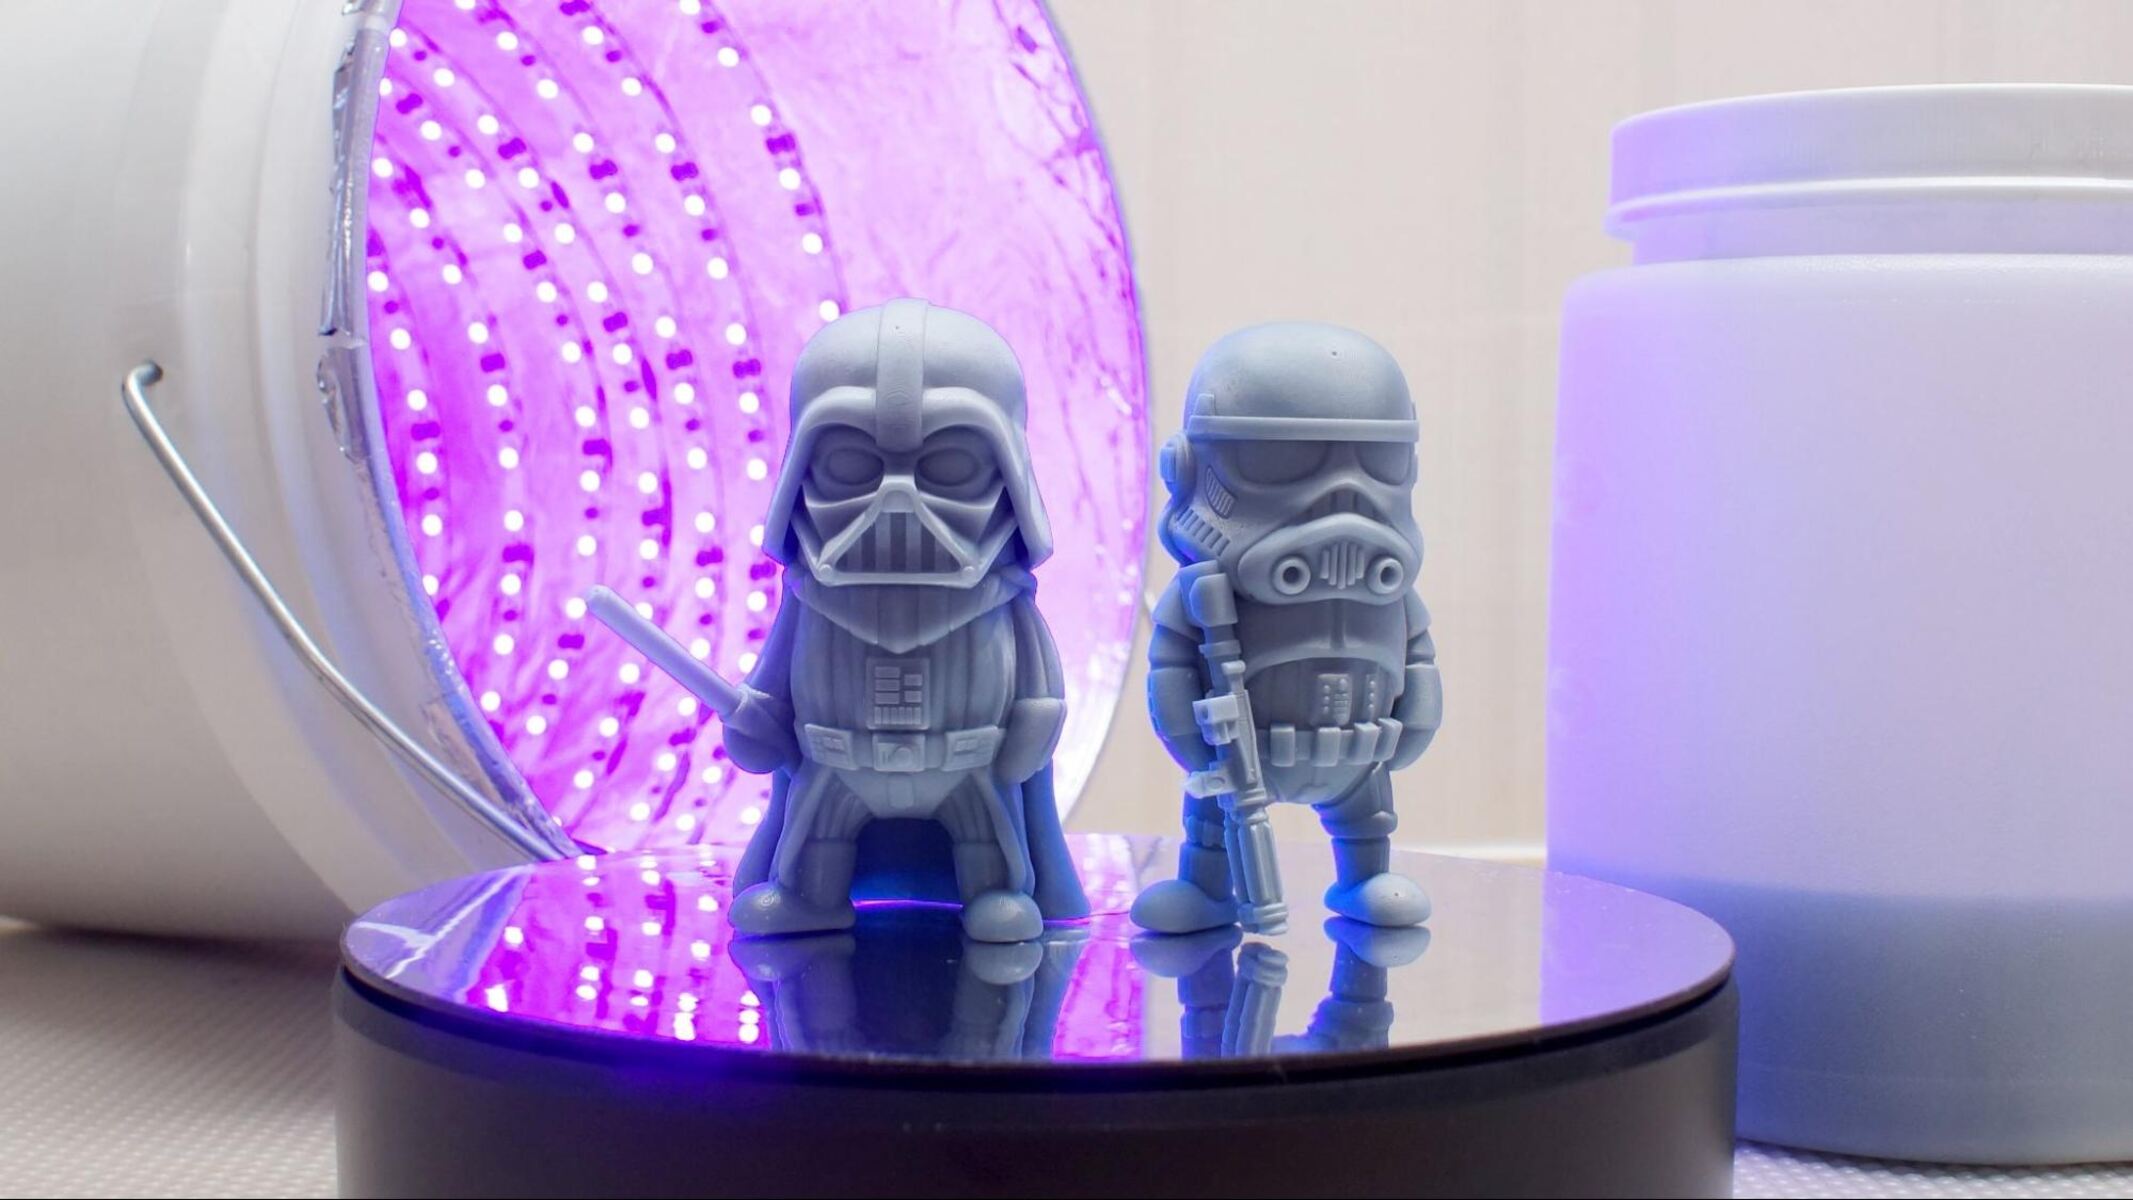
Unlike traditional filament-based 3D printers, resin 3D printers use a liquid polymer resin that hardens when exposed to light, resulting in incredibly detailed and smooth prints. This technology opens up a whole new realm of possibilities, allowing you to transform your digital creations into tangible objects with stunning accuracy.
However, before diving into the world of resin 3D printing, it’s important to have a clear understanding of the process. From choosing the right printer to post-printing techniques, each step plays a crucial role in achieving optimal results.
This guide will walk you through the entire process, covering everything from setting up your workstation to troubleshooting common issues. By following these steps, you’ll be well-equipped to unleash your creativity and bring your 3D designs to life.
So, let’s get started on this resin 3D printing adventure!
Choosing the Right Resin 3D Printer
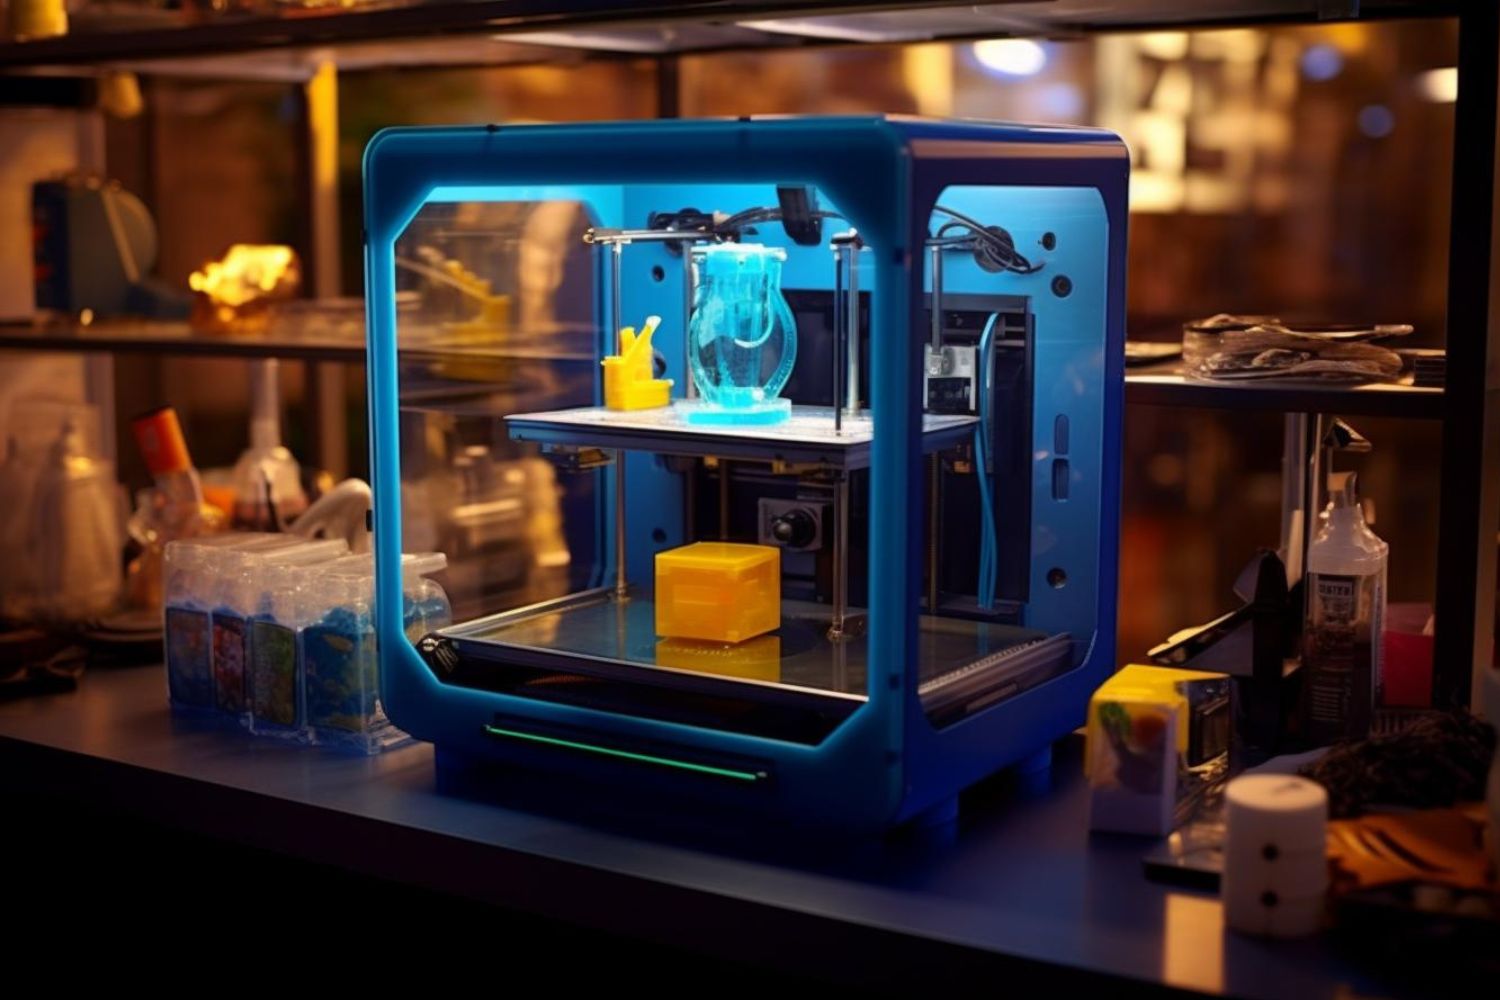
When it comes to selecting a resin 3D printer, there are several factors to consider that will greatly influence the quality of your prints and your overall experience. Here are some key points to keep in mind:
1. Resolution: The resolution of a resin 3D printer determines the level of detail you can achieve in your prints. Higher resolution printers can produce finer details, but they may come at a higher price point. Evaluate your needs and budget to determine the resolution that suits your requirements.
2. Build Volume: Consider the size of objects you plan to print. The build volume of a 3D printer determines the maximum size of the objects it can accommodate. Ensure that the printer you choose provides enough space for your intended projects.
3. Print Speed: The speed at which a printer can produce prints varies between models. Faster printing can be advantageous when you have numerous objects to print or tight project deadlines. However, keep in mind that higher print speeds may impact the print quality.
4. User-Friendliness: Look for a printer that offers a user-friendly interface and intuitive software. This will make the setup and printing process easier, especially for beginners. Check if the printer allows for easy calibration and has responsive customer support.
5. Cost of Consumables: Resin 3D printing involves additional costs besides the printer itself. Consider the cost of resin cartridges, build plates, and other consumables. Some printers have proprietary materials, while others offer compatibility with third-party resins, which can be more cost-effective.
6. Safety Features: Working with resin can involve exposure to potentially harmful chemicals and UV light. It’s essential to prioritize safety when choosing a printer. Look for features such as enclosed chambers, built-in filters, and automatic cutoffs to protect yourself from any potential hazards.
Take the time to research and read reviews from other users to get a comprehensive understanding of the different resin 3D printers available. Consider your specific needs, budget, and long-term goals to make an informed decision that will set you up for success.
Preparing Your Workstation
Before you start using a resin 3D printer, it’s important to set up a dedicated workstation that is properly equipped and organized. This will ensure a safe and efficient working environment. Here are some key steps to follow when preparing your workstation:
1. Ventilation: Resin printing releases fumes that can be unpleasant and potentially harmful when inhaled. Choose a well-ventilated area for your workstation. If possible, use a separate room or set up a ventilation system to keep the air clean and fresh. Opening windows and using fans can also help with airflow.
2. Lighting: Adequate lighting is crucial for successful resin 3D printing. Ensure that your workstation is well-lit so you can easily monitor the printing process and inspect the finished prints for any imperfections. Consider using LED lights, which provide a clear and consistent light source.
3. Level Surface: Place your resin 3D printer on a stable and level surface to prevent any vibrations or movement during the printing process. This will help maintain the accuracy and quality of your prints. Use a spirit level to ensure the surface is flat.
4. Protective Gear: When working with resin, it’s important to protect yourself from potential hazards. Wear gloves, goggles, and a lab coat or apron to shield your skin and eyes from contact with the resin. Additionally, consider wearing a respirator or working in a well-ventilated area to minimize exposure to fumes.
5. Cleanup Supplies: Keep a dedicated area for cleaning up after each print. Have paper towels, isopropyl alcohol (IPA), and disposable containers for safely disposing of waste resin. These supplies will come in handy during the post-printing process.
6. Organized Storage: Resin and other printing materials should be stored in a cool and dry place, away from direct sunlight. Keep them in sealed containers to prevent contamination and prolong their shelf life. Organize your workstation to have designated spots for all your printing materials and tools.
By following these steps, you’ll create a safe and efficient workstation that will enhance your resin 3D printing experience. Remember, it’s crucial to prioritize safety and organization to ensure smooth printing operations and protect your health.
Preparing Your 3D Model
Before you can begin the resin 3D printing process, you need to properly prepare your 3D model. This involves making sure the file is suitable for printing and optimizing it for resin 3D printing technology. Follow these steps to ensure that your 3D model is ready:
1. Check the Model: Begin by reviewing your 3D model to identify any potential issues. Look for excessive overhangs, thin walls, or intricate details that may be challenging to print with resin. Use 3D modeling software to inspect the model and make any necessary modifications or repairs.
2. Support Structures: Resin 3D printing often requires support structures to hold up overhanging parts and prevent warping. Determine where supports are needed and add them using the appropriate software. Remember to place supports strategically to minimize their impact on the final print’s surface finish.
3. Orientation: Consider the orientation of your model for printing. Certain orientations can impact the quality of the print or increase the need for support structures. Experiment with different orientations to find the optimal position that ensures accuracy and minimizes potential issues.
4. Hollowing the Model: Resin printing can be more cost-effective and faster when printing hollow objects. If appropriate for your design, consider hollowing out the interior of the model to save on resin usage. However, ensure that adequate openings are present for resin to flow properly during printing.
5. Export in the Right Format: Save your 3D model file in a format compatible with your resin 3D printer. Common formats include STL, OBJ, or AMF. Refer to the printer’s specifications or manual for the recommended file format and any specific requirements.
6. Slice the Model: Use slicing software to convert your 3D model into printable layers. Adjust the settings such as layer height, exposure time, and printing speed according to your resin and printer specifications. Take your time to explore different settings and optimize them for the desired result.
7. Preview and Inspect: Before initiating the print job, preview the sliced model to ensure everything appears as intended. Inspect each layer to check for any errors or anomalies. This step allows you to catch any potential issues before wasting resin on a failed print.
By following these steps, you’ll ensure that your 3D model is properly prepared for resin 3D printing. Taking the time to optimize your model will result in higher quality prints and a more efficient printing process.
Setting Up the Resin 3D Printer
Once you have prepared your 3D model, it’s time to set up your resin 3D printer. This involves properly configuring the printer settings, calibrating the build plate, and ensuring that everything is in place for a successful print. Follow these steps to set up your resin 3D printer:
1. Read the Manual: Familiarize yourself with the manufacturer’s instructions and user manual for your specific resin 3D printer. Each printer has unique features and requirements, and understanding them thoroughly is crucial for proper setup.
2. Assemble the Printer: If your resin 3D printer requires assembly, carefully follow the instructions provided. Ensure you connect all the components correctly and securely. Pay attention to tightening screws, aligning parts, and attaching any necessary accessories like the resin vat and build plate.
3. Level the Build Plate: Accurate leveling of the build plate is crucial for successful resin 3D printing. Refer to the printer’s manual for instructions on leveling and follow the recommended procedure. This step ensures that the first layer adheres properly to the build plate and helps maintain print quality.
4. Install the Resin Vat: Place the resin vat into the printer according to the manufacturer’s instructions. Follow any specific guidelines for aligning the vat and making sure it fits securely. Double-check that the vat is clean and free from any residue or debris that may affect the printing process.
5. Configure the Printer Settings: Access the printer’s interface or software and configure the necessary settings for your print. This includes adjusting the layer height, exposure time, and other parameters that impact the quality and speed of the print. Refer to the manufacturer’s recommendations and experiment with different settings to optimize your prints.
6. Prepare the Build Platform: Clean the build platform to ensure there is no dust or residue that could interfere with the print. Use a lint-free cloth or alcohol wipe to wipe the platform. Some printers may require applying a thin layer of release agent or adhesive to promote adhesion between the build plate and the print.
7. Check the Resin Level: Ensure that you have an adequate amount of resin in the vat for the print job. Check the resin level and add more if necessary, following the manufacturer’s guidelines. Avoid overfilling the vat, as it may lead to spills or affect the print quality.
8. Inspect and Secure Cables: Examine all cables and connections, ensuring they are properly secured and free from any damage. Loose cables can cause interruptions or communication errors during printing. Take extra care to route cables away from any moving parts to prevent interference.
By following these steps, you’ll be able to set up your resin 3D printer correctly and optimize it for successful prints. Patience and attention to detail during this setup phase will pave the way for smooth printing operations and excellent print results.
Loading the Resin
Once your resin 3D printer is set up and calibrated, it’s time to load the resin into the printer. Properly handling and loading the resin is crucial for achieving successful prints and ensuring the longevity of your printer. Follow these steps to load the resin correctly:
1. Safety First: Before handling the resin, make sure you are wearing protective gloves, goggles, and a lab coat or apron. Resin can be sticky and potentially hazardous, so taking safety precautions is essential.
2. Prepare the Resin Bottle: Shake the resin bottle gently to ensure it is well-mixed. Some resins may require longer or more vigorous shaking to ensure uniform consistency. Check the manufacturer’s instructions for specific shaking requirements.
3. Clean the Resin Vat: If the vat contains any leftover resin or debris from a previous print, carefully empty and clean it according to the manufacturer’s guidelines. Use a lint-free cloth or alcohol wipe to wipe the inside of the vat, ensuring it is clean and free from any residual material.
4. Pour the Resin: Slowly pour the resin into the vat, using a funnel if necessary to avoid spillage. Fill the vat to the recommended level indicated by the manufacturer. Do not exceed the maximum fill line, as this can lead to overflow and affect print quality.
5. Avoid Bubbles: Resin can sometimes have air bubbles that form during pouring. To minimize the presence of bubbles, pour the resin slowly and avoid splashing. You can also tap the side of the vat gently to help release any trapped air bubbles.
6. Secure the Resin Vat: Once the resin is in the vat, securely attach the vat to the printer according to the manufacturer’s instructions. Make sure it clicks into place or is firmly secured to prevent any potential leaks or movement during printing.
7. Resin Management: After loading the resin, it’s important to properly manage and store any unused resin. Make sure to seal the resin bottle tightly to prevent contamination. Store it in a cool, dark place, away from direct sunlight, to maintain the resin’s integrity for future prints.
8. Clean Up: After loading the resin, clean up any spills or resin residue from the printer or work area. Use paper towels or alcohol wipes to wipe away any excess resin. Avoid pouring unused resin back into the original bottle, as it may contain debris or cured resin.
By following these steps, you’ll be able to load the resin into your printer safely and efficiently. Proper handling of the resin ensures successful prints and maintains the longevity of your resin 3D printer.
Calibrating the Print Settings
Calibrating the print settings of your resin 3D printer is a crucial step to achieve accurate and high-quality prints. Each printer and resin combination may require specific adjustments to optimize the printing process. Follow these steps to properly calibrate the print settings:
1. Layer Height: The layer height refers to the thickness of each printed layer. Adjusting the layer height can impact the print speed and resolution. Depending on your requirements, choose a layer height that balances print quality and printing time. Lower layer heights result in finer details but longer print times, while higher layer heights are faster but may sacrifice some details.
2. Exposure Time: The exposure time determines how long each layer is exposed to the light source. This setting is crucial for controlling the curing of the resin. Refer to the resin manufacturer’s recommendations for the optimal exposure time and adjust it accordingly. You may need to experiment with different exposure times to achieve the desired print quality.
3. Bottom Layer Exposure Time: The bottom layer, also known as the base layer or the first layer in contact with the build plate, often requires a longer exposure time to ensure proper adhesion. Adjust the exposure time for the bottom layer separately from the rest of the layers. Follow the resin manufacturer’s guidelines for the recommended exposure time for the bottom layer.
4. Printing Speed: The printing speed determines how fast the build plate moves during the printing process. Higher speeds can reduce overall printing time, but they may affect print quality. Decrease the printing speed if you notice any issues such as layer shifting, warping, or poor adhesion. Find a balance between speed and print quality that works best for your specific resin and printer.
5. Support Settings: If your model requires supports, adjust the support settings in your slicing software. This includes parameters such as support density, pattern, and angle. Experiment with different support settings to achieve the optimal balance between support removal and preserving model details.
6. Anti-Aliasing: Some resin 3D printers offer anti-aliasing settings to reduce the appearance of visible layer lines. Enable anti-aliasing if available and adjust the level according to your preferences. This can result in smoother and more refined prints.
7. Z-Axis Compensation: Depending on your printer, you may need to compensate for any unintentional deformations caused by the Z-axis movement. Adjust the z-axis compensation settings to correct any irregularities or distortions in the printed object, ensuring accurate dimensions and shapes.
8. Test Prints and Iteration: Calibration is an iterative process. It’s essential to perform test prints to evaluate the results and make further adjustments if necessary. Pay attention to details, surface quality, adhesion, and dimensional accuracy during the test prints. Make incremental changes to the settings until achieving the desired print quality.
By carefully calibrating the print settings of your resin 3D printer, you’ll be able to achieve superior print quality and optimize the printing process. Take the time to experiment and fine-tune these settings to unleash the full potential of your printer.
Initiating the Print Job
After calibrating the print settings of your resin 3D printer, it’s time to initiate the print job and bring your digital model to life. Follow these steps to ensure a successful and smooth printing process:
1. Prepare the Build Plate: Double-check that the build plate is clean and properly leveled. Make sure it is securely attached to the printer. If necessary, apply a thin layer of release agent or adhesive to promote adhesion between the build plate and the print.
2. Position the Model: Carefully place the 3D model on the build plate using the recommended orientation determined during the model preparation phase. Ensure that the model is positioned correctly and fits within the dimensions of the build plate.
3. Select the Print File: Load the sliced print file into the resin 3D printer’s software or interface. Double-check that you have selected the correct file before proceeding. Ensure that the file corresponds to the desired model and has been sliced with the appropriate settings.
4. Review Print Parameters: Take a final look at the print parameters displayed in the software. Verify the layer height, exposure time, and other settings. Ensure they match the intended settings for your print. Make any necessary adjustments if you spot any discrepancies.
5. Confirm Resin Type: Ensure that the resin type selected in the printer’s software matches the resin you have loaded in the vat. Using the wrong resin type can result in failed prints or poor print quality. Double-check this crucial detail to avoid any mishaps.
6. Preview the Print: Take advantage of the preview feature in the printer’s software to visualize how the layers will be printed. This allows you to inspect layer-by-layer movements and ensure the model is positioned correctly. It also helps identify any potential issues that may arise during the printing process.
7. Start the Print Job: Once you are satisfied with the print parameters and preview, initiate the print job in the printer’s software. The printer will begin the printing process, layer by layer, following the instructions outlined in the print file.
8. Monitor the Print: It is advisable to periodically check on the print progress throughout the printing job. Pay attention to any abnormal noises, movements, or error messages displayed by the printer. This allows you to intervene quickly if any issues arise, helping to prevent failed prints.
9. Observe Printer Safety: While the printer is in operation, be mindful of safety precautions. Avoid touching moving parts, hot components, or the resin vat. Adhere to the safety guidelines outlined in the printer’s manual to minimize any risks.
By following these steps, you can confidently initiate a print job on your resin 3D printer. With careful monitoring and adherence to safety protocols, you’ll be able to successfully bring your digital model to life in the form of a tangible 3D printed object.
Post-printing: Cleaning the Printed Object
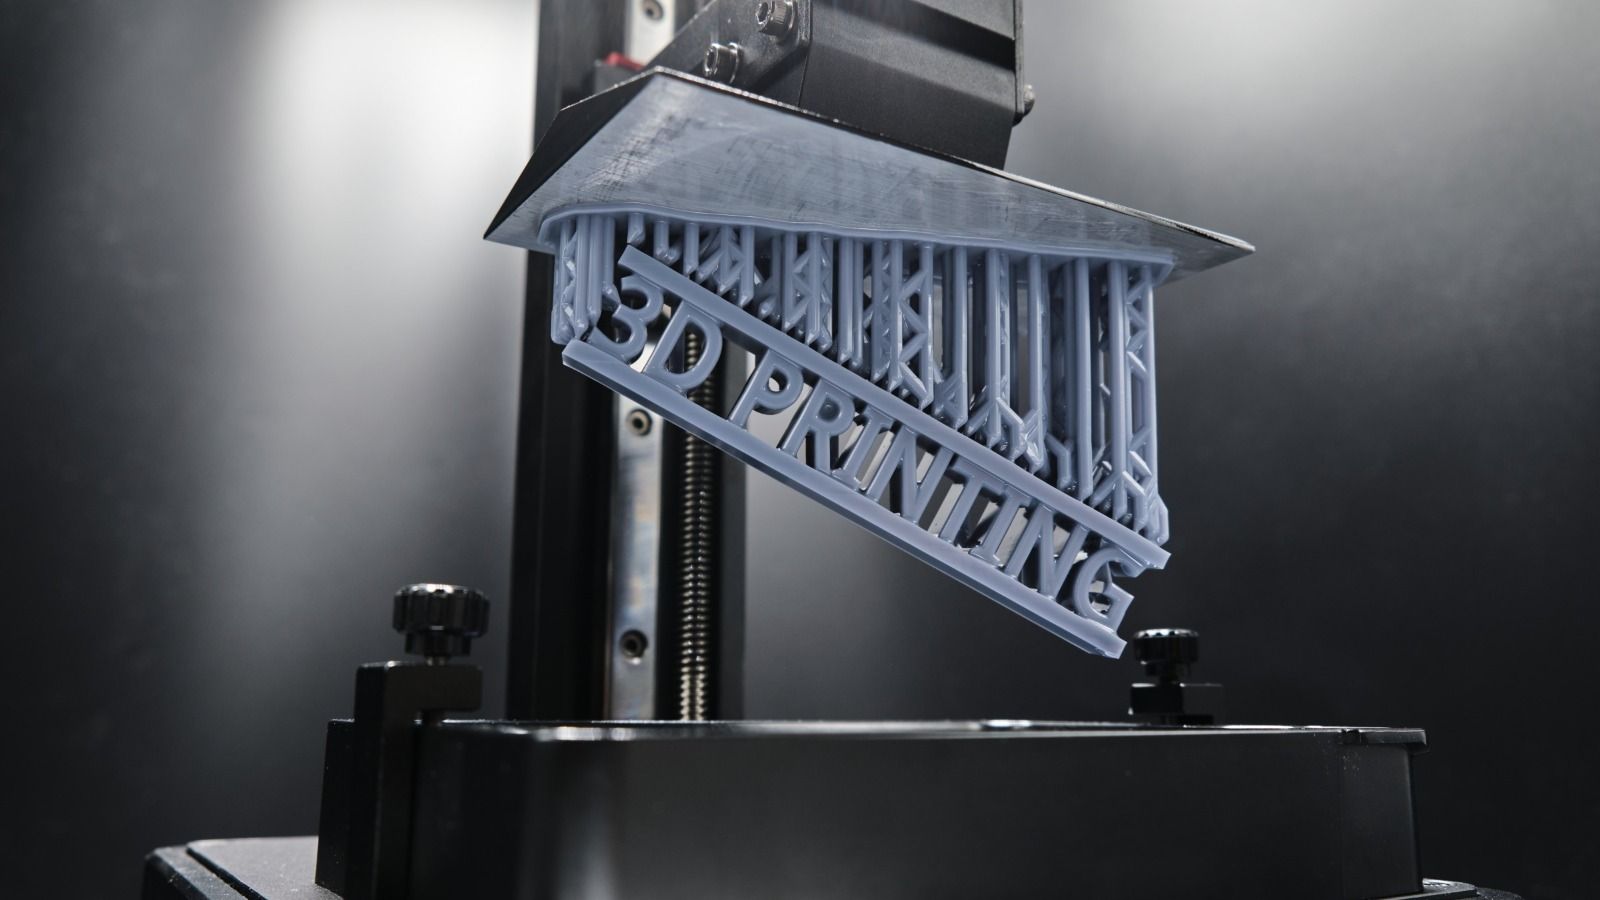
After the resin 3D printer has completed the printing process, there are post-printing steps that need to be taken to ensure the printed object is clean and ready for use. Follow these steps to effectively clean your printed object:
1. Remove the Print: Carefully remove the printed object from the build plate or the resin vat. If necessary, use a spatula or other appropriate tools to gently pry the print loose. Take your time to avoid damaging delicate or intricate parts of the print.
2. Remove Excess Resin: The printed object may have excess uncured resin on its surface. Use disposable gloves and gently wipe the object’s surface with a lint-free cloth or paper towels. Take care to remove any visible resin, paying attention to crevices and hard-to-reach areas.
3. Rinse the Object: Fill a container with isopropyl alcohol (IPA) and place the object in it. Swirl or gently agitate the object in the IPA to remove residual uncured resin. This step helps to remove any remaining residue on the object’s surface.
4. Post-Cure the Object: After rinsing, post-curing the object is essential to ensure it reaches its optimal strength and stability. Place the object in a UV curing chamber or under a UV light source for the recommended duration. Follow the resin manufacturer’s instructions for the ideal curing time and intensity.
5. Inspect for Imperfections: Once the object is cured, carefully examine it for any imperfections. Look for areas that may have been overcured, undercured, or have failed to print correctly. Use sandpaper or other appropriate tools to smooth out any rough surfaces or remove any small imperfections.
6. Final Cleaning: After inspection, give the object a final cleaning. Rinse it again in IPA to remove any residue accumulated during the post-curing process. Gently pat the object dry with a lint-free cloth or allow it to air dry in a clean and dust-free environment.
7. Store or Use: Once the object is completely dry and free from any residues, it is ready for storage or use. If necessary, store the object in a suitable container or display it with pride. Ensure that the object is protected from direct sunlight and extreme temperatures to prevent degradation.
8. Dispose of Waste Properly: Properly dispose of any waste materials generated during the post-printing cleaning process. Collect the IPA used for rinsing and dispose of it in accordance with local regulations for hazardous waste disposal. Follow local guidelines for the disposal of any other consumables or materials used during the cleaning process.
By following these steps, you can ensure that your printed object is clean, free from excess resin, and ready to be used or showcased. Remember to take caution during the cleaning process to safely handle the object and dispose of waste materials responsibly.
Post-printing: Curing the Printed Object
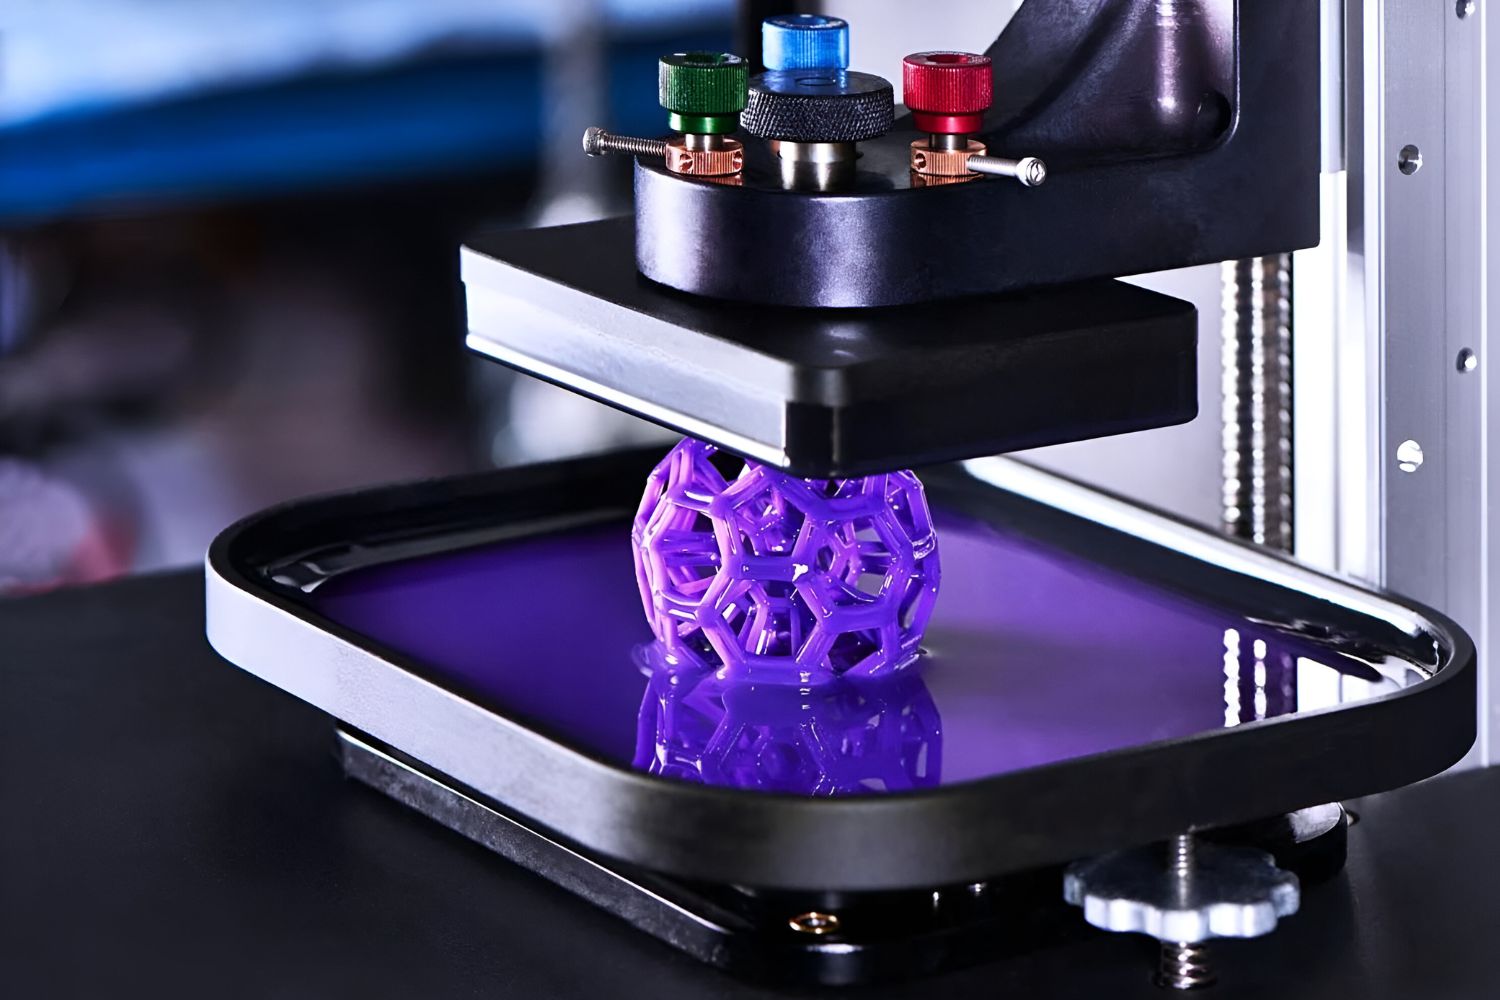
After a resin 3D printer has completed the printing process, it’s essential to properly cure the printed object to ensure its strength, stability, and overall quality. Curing involves exposing the printed object to UV light, which helps complete the resin polymerization process. Follow these steps to effectively cure your printed object:
1. Gather Required Equipment: Prepare the necessary equipment for the curing process. This typically includes a UV curing chamber, a UV light source, or a UV curing box. Ensure that the curing equipment provides the appropriate wavelength and intensity of UV light suitable for your specific resin.
2. Remove Excess Resin: Before curing, remove any excess uncured resin from the surface of the printed object. Carefully wipe the object with a lint-free cloth or paper towels while wearing disposable gloves. Pay attention to crevices and intricate details to ensure all visible resin is removed.
3. Position and Support the Object: Place the printed object in the curing chamber or box, making sure it is positioned in a way that maximizes exposure to UV light. If necessary, use supports or holders to ensure the object remains steady and in the desired orientation during the curing process.
4. Set the Curing Parameters: Adjust the parameters on the curing equipment according to the resin manufacturer’s recommendations. This typically includes specifying the curing time and intensity. Ensure that you follow the instructions closely to achieve the optimal curing outcome.
5. Initiate the Curing Process: Start the curing process by activating the UV light source in the curing chamber or box. Set the timer according to the recommended curing time, allowing enough exposure to ensure complete curing of the printed object. Avoid interrupting the curing process once it has begun.
6. Monitor and Rotate the Object: During the curing process, periodically monitor the printed object to ensure even exposure to UV light. If necessary, rotate or reposition the object to expose all sides evenly. This helps ensure consistent curing and minimizes the chance of any undercured areas.
7. Follow Safety Precautions: UV light can be harmful to eyes and skin. During the curing process, avoid direct exposure to UV light and wear UV-blocking safety goggles and gloves. It’s also advisable to work in a well-ventilated area and follow any other safety guidelines provided by the manufacturer.
8. Complete the Curing Process: Once the curing time is complete, turn off the UV light source and carefully remove the cured object from the curing chamber or box. Inspect the object for proper curing, looking for any signs of uncured resin or areas that may require additional curing or touch-ups.
By following these steps, you can effectively cure your resin 3D printed object, ensuring its strength, stability, and overall quality. Proper curing enhances the durability and visual appeal of the printed object, making it ready for use or further post-processing.
Troubleshooting Common Issues
Resin 3D printing, like any other manufacturing process, can sometimes encounter problems that affect the quality of the prints. Understanding and effectively troubleshooting these common issues will help you overcome challenges and achieve better results. Here are some common problems and their potential solutions:
1. Failed Adhesion: If your prints are not adhering properly to the build plate, ensure that the build plate is clean and level. Adjust the build plate leveling or apply a thin layer of adhesive if needed. Increasing the bottom exposure time can also enhance adhesion.
2. Layer Shifting or Warping: Layer shifting or warping often occur due to mechanical or heat-related issues. Ensure that the printer is on a stable surface and free from vibrations. Additionally, check if the printer is adequately cooled and if the print speed is too high, as reducing the speed can help mitigate these problems.
3. Inaccurate Dimensions: If your prints are consistently coming out with incorrect dimensions, check the printer’s calibration and ensure the appropriate scaling in the slicing software. Additionally, consider checking the belt tension and the Z-axis movement to ensure accurate layer height and proper positioning.
4. Poor Surface Quality: If you observe rough surfaces or visible layer lines on your prints, there are a few potential causes. Check the layer height and adjust it to a lower value for finer resolution. Increasing the exposure time can also help improve the surface quality, as can using multiple curing passes during the post-print curing process.
5. Resin Leakage: Resin leakage can occur due to improper sealing or loose connections. Ensure that the resin vat is properly sealed and securely attached. Check for any cracks or damage to the vat or other components. If necessary, replace any faulty parts or consider using a different vat.
6. Cured Resin Sticking to FEP Film: If your prints are adhering to the FEP film instead of detaching easily from it, ensure that the FEP film is clean and free from scratches or damage. Adjust the bottom exposure time or increase the separation distance in the slicing software to facilitate easier detachment.
7. Resin Contamination: Contamination in the resin can cause issues with the prints. Ensure that the resin bottles are stored properly and uncontaminated by debris or foreign particles. Use a clean filter when pouring or refilling the resin vat to prevent impurities from entering the printer.
8. Printing Supports Difficult to Remove: If you find it challenging to remove the supports from your prints, consider adjusting the support settings in the slicing software. Increase the support density or thickness, or experiment with different support patterns to make them easier to remove without damaging the print.
When troubleshooting these issues, it is crucial to keep a record of the changes made and the results observed, as this can help in identifying the root causes. Additionally, always consult the manufacturer’s documentation and support resources for specific troubleshooting guidance tailored to your resin 3D printer model.
By understanding and addressing these common issues, you can enhance your resin 3D printing experience and achieve higher quality prints. Don’t be discouraged by setbacks – with patience, persistence, and careful troubleshooting, you’ll be able to overcome any challenges that arise.
Conclusion
Resin 3D printing is an incredible technology that allows you to transform your digital creations into physical objects with exceptional detail and precision. By understanding the various aspects of resin 3D printing, from choosing the right printer to post-printing techniques, you can unlock the full potential of this technology and create stunning prints.
Throughout this guide, we have explored the essential steps involved in resin 3D printing. We discussed the importance of selecting the right resin 3D printer that suits your needs and the significance of setting up a dedicated workstation for a safe and productive printing environment. We also covered the crucial steps of preparing your 3D model, calibrating the print settings, loading the resin, and initiating the print job.
Additionally, we delved into the post-printing phase, highlighting the importance of cleaning and curing the printed objects for optimal results. We also provided troubleshooting tips for common issues that may arise during the resin 3D printing process.
By following these guidelines and incorporating your creativity, you can bring your ideas to life and explore endless possibilities. Remember to experiment with different settings, materials, and techniques to further refine your resin 3D printing skills and achieve excellent results.
Resin 3D printing is a continuously evolving field, and staying updated with the latest advancements can further enhance your printing experiences. Connect with online communities, forums, and resources dedicated to resin 3D printing to learn from others, share your knowledge, and explore new techniques.
Enjoy the journey of resin 3D printing, and embrace the satisfaction that comes with bringing your imagination to life. With dedication, practice, and a passion for creativity, your resin 3D prints will continue to impress and inspire.