Introduction
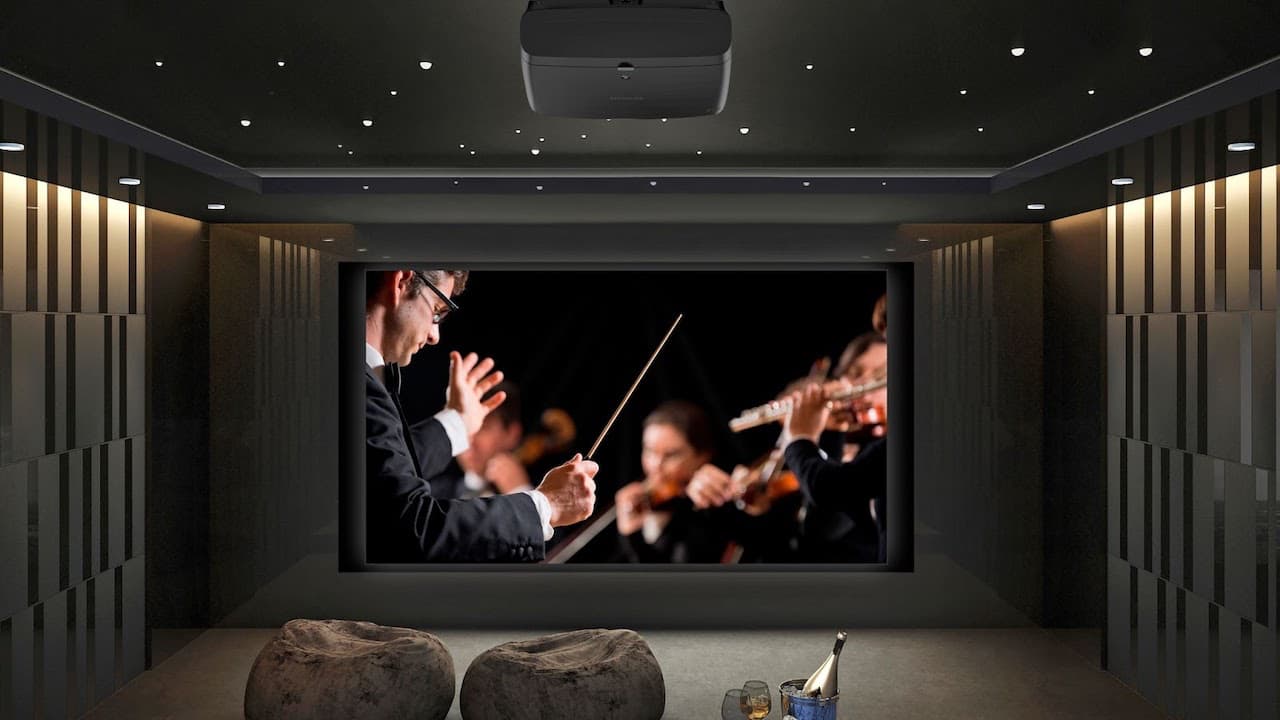
Welcome to the world of immersive home entertainment! If you’re tired of watching TV on a small screen and long for a larger-than-life experience, then using a projector might just be the solution you’ve been searching for. With a projector, you can transform any wall or screen into a cinema-like experience right in the comfort of your own home.
Whether you’re a movie enthusiast, sports fanatic, or avid gamer, a projector can take your viewing experience to the next level. But where do you start? How do you choose the right projector for your needs? How do you set it up and connect all your devices? Don’t worry, we’ve got you covered.
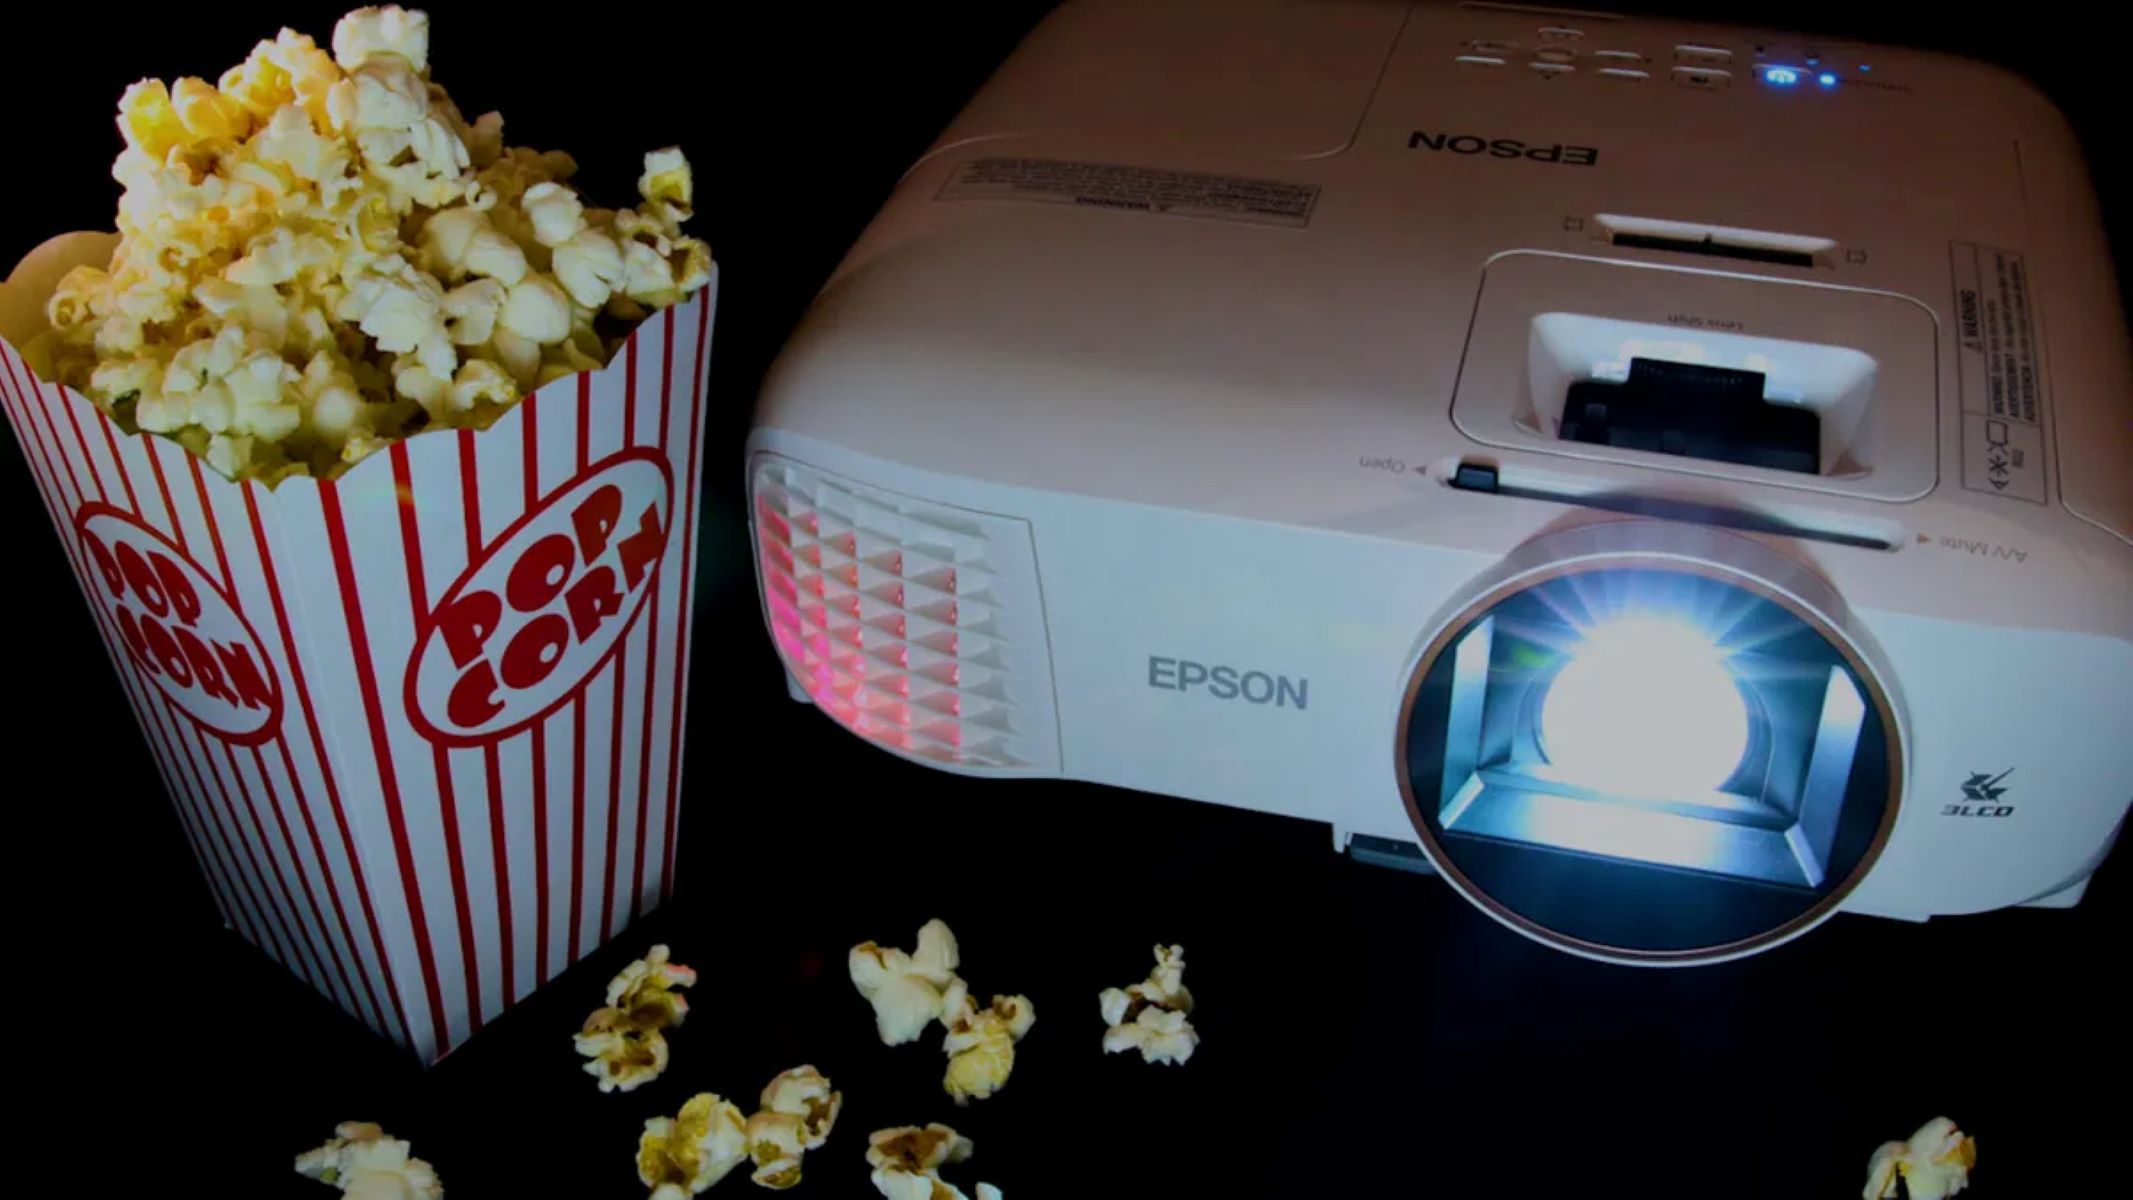
In this guide, we’ll walk you through the process of watching TV with a projector, from choosing the right model to optimizing the picture quality for a truly immersive viewing experience. So grab some popcorn, dim the lights, and let’s dive into the world of projector-powered television!
Choosing the Right Projector
When it comes to choosing a projector for TV viewing, there are a few key factors to consider. Here are some important things to keep in mind:
- Resolution: The resolution of the projector determines the clarity and sharpness of the image. For a TV-like experience, look for a projector with a high resolution, preferably Full HD (1920×1080) or even 4K if your budget allows.
- Brightness: If you’ll be using the projector in a well-lit room, opt for a model with higher brightness to ensure clear visibility. Look for projectors with at least 2,000 lumens or more.
- Contrast Ratio: The contrast ratio determines the difference between the brightest and darkest parts of the image. A higher contrast ratio will result in more vivid and lifelike visuals.
- Throw Distance: Consider the available space in your room and the desired screen size. The throw distance specification will help you determine how far you need to place the projector from the screen or wall.
- Connectivity: Make sure the projector has the necessary ports to connect your devices, such as HDMI, VGA, or USB. This will ensure you can easily connect your TV box, streaming devices, or gaming consoles.
- Keystone Correction: Look for a projector that offers keystone correction, which allows you to adjust the image geometry and maintain a rectangular shape even if the projector is not perfectly aligned with the screen.
Additionally, consider factors such as the projector’s lamp life, noise level, and brand reputation. Reading reviews and comparing different models can help you make an informed decision based on your specific requirements and budget.
Now that you have a better understanding of what to look for, let’s move on to the next section to learn how to set up your projector for optimal TV viewing.
Setting Up the Projector
Once you’ve chosen the perfect projector for your TV viewing needs, it’s time to set it up for the ultimate home theater experience. Follow these steps to get started:
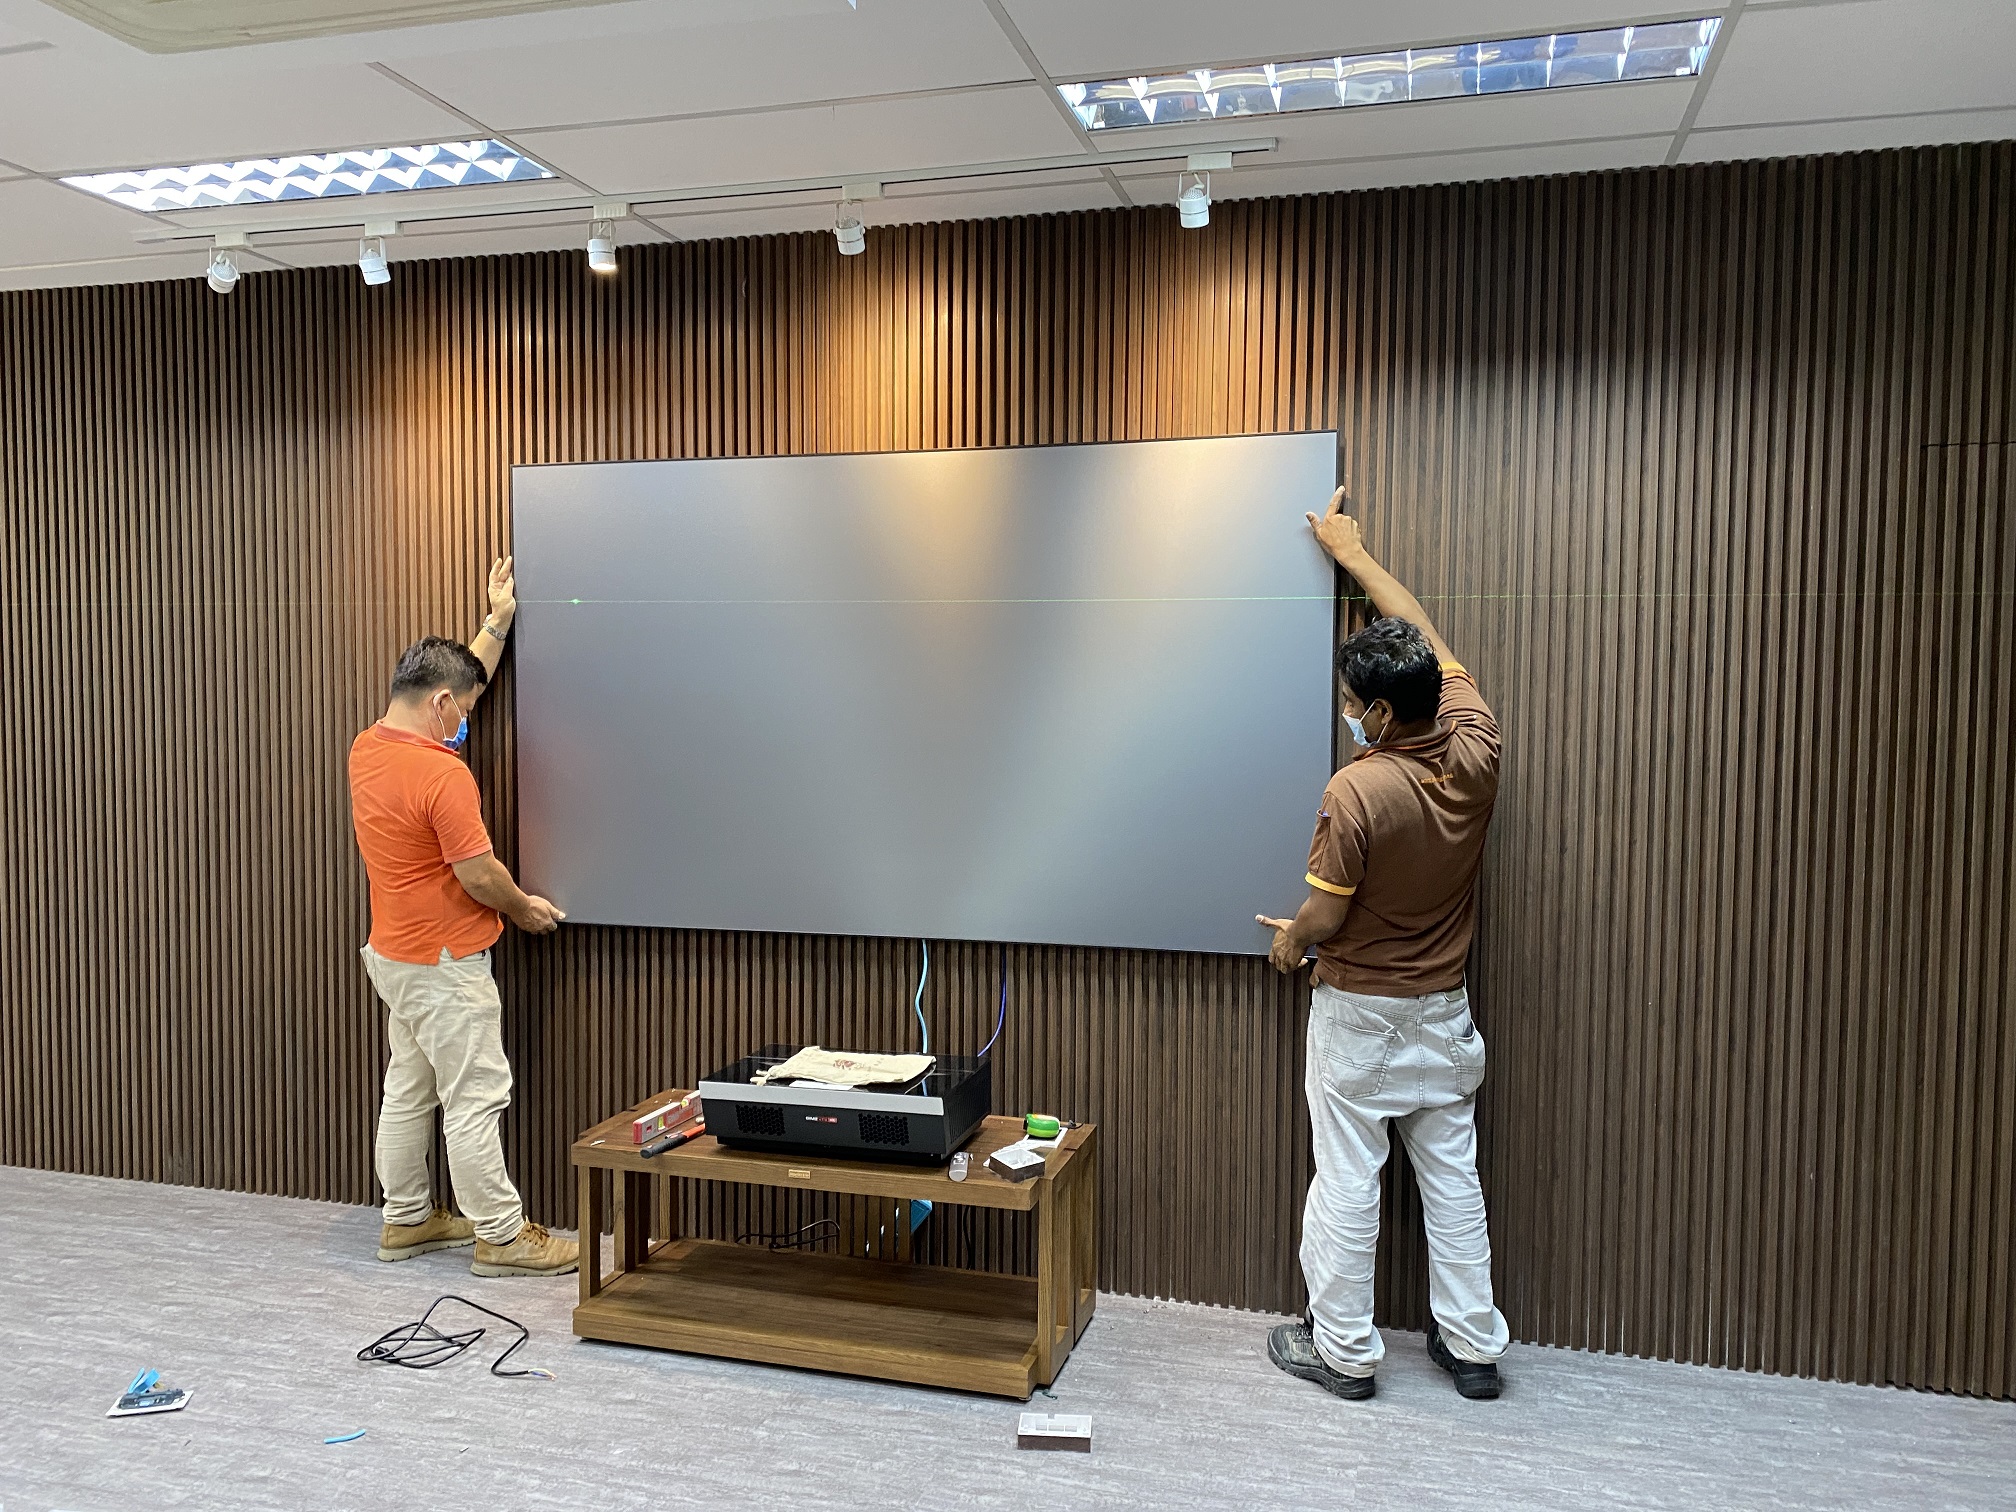
- Find the Right Location: Select a suitable location for your projector, keeping in mind factors such as viewing distance, screen size, and room lighting. Make sure there’s enough space to mount or place the projector securely.
- Mounting or Placement: Depending on your preference, you can mount the projector on the ceiling or place it on a table or stand. Ensure that the projector is level and stable.
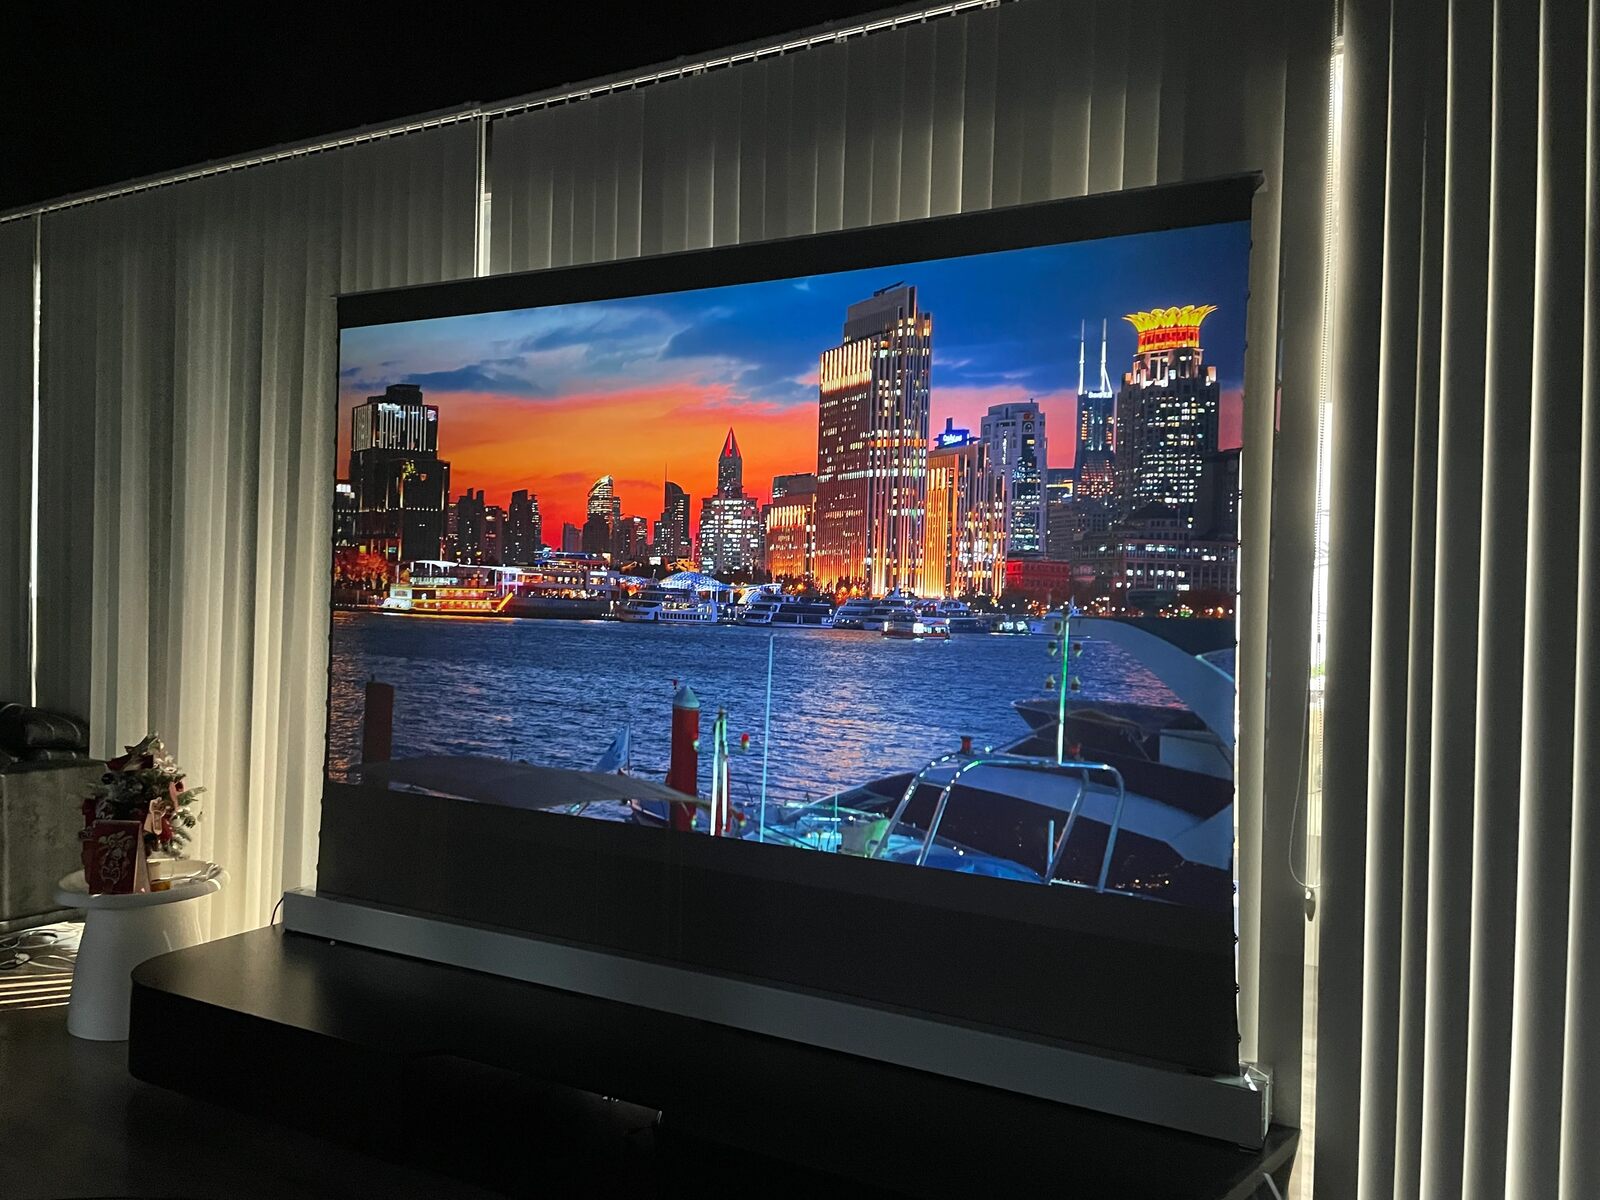
- Screen or Wall: Decide whether you want to project the image onto a dedicated projector screen or simply onto a blank wall. If using a wall, make sure it’s smooth and free of any imperfections that may affect the picture quality.
- Connect the Power: Plug in the power cord of the projector and connect it to a power outlet. Ensure that the power source is stable and reliable.
- Connect Your Devices: Using the appropriate cables, connect your TV box, streaming device, or gaming console to the projector’s input ports. Most projectors have HDMI ports for high-quality video and audio transmission.
- Synchronize Audio: If you’re using external speakers or a sound system, connect them to the projector using the audio output ports. This will ensure that you have a rich audio experience to complement the visual immersion.
- Turn on the Projector: Power on the projector and wait for it to warm up. Follow the manufacturer’s instructions for any initial setup or calibration that may be required.
- Adjust the Image: Use the projector’s focus and zoom controls to adjust the image until it fills the screen or wall perfectly. If needed, use keystone correction to ensure a rectangular shape.
Once you’ve completed these steps, you’re ready to embark on a cinematic journey right in your own living room. Sit back, relax, and enjoy your favorite TV shows, movies, or games on the big screen!
Connecting Your Devices
Now that your projector is set up, it’s time to connect your devices and unlock a world of entertainment. Follow these steps to seamlessly connect your TV box, streaming device, or gaming console:
- Identify the Ports: Take a look at the back of your projector and locate the input ports, typically HDMI, VGA, or USB ports. Each device you want to connect should have corresponding output ports.
- Connect the HDMI Cable: If you’re using an HDMI-based device, such as a TV box or gaming console, simply connect one end of the HDMI cable to the device’s HDMI output port, and the other end to the projector’s HDMI input port.
- Use VGA or DVI cables: If your device uses VGA or DVI outputs, you’ll need to connect the VGA/DVI cable from the device to the projector’s VGA or DVI input port. Keep in mind that VGA cables only transmit video, so you may need a separate audio cable for sound.
- Opt for USB: Some projectors have USB ports that allow you to directly connect a USB drive or external hard drive that contains media files. This is a convenient option for watching movies, slideshows, or other media files without the need for an additional device.
- Audio Connections: Depending on your setup, you may need to connect audio cables from your devices to external speakers or a sound system. This will ensure that you have synchronized audio to accompany your projected video.
- Configure Device Settings: Once the connections are made, turn on your devices and access their respective settings menus. Configure the display options to match the resolution and screen size of your projector for optimal visual performance.
- Switch Between Devices: If you have multiple devices connected, you can easily switch between them using the projector’s input selection feature. Simply select the appropriate input source using the projector’s remote control or on-screen menu.
With your devices successfully connected, you can now enjoy a wide range of content on the big screen, including TV shows, movies, live sports, gaming, and much more. Let the entertainment begin!
Adjusting the Picture and Sound
Once you have your projector set up and your devices connected, it’s time to fine-tune the picture and sound settings for an optimal viewing experience. Here are some key adjustments to consider:
- Brightness and Contrast: Start by adjusting the brightness and contrast settings on your projector. Use the on-screen menu or remote control to find the options and experiment until you achieve a well-balanced image with vibrant colors and deep blacks.
- Aspect Ratio: Depending on the content you’re watching, you may need to adjust the aspect ratio to match the native resolution of your projector. Common aspect ratios include 16:9 widescreen for movies and 4:3 for older TV shows or presentations.
- Keystone Correction: If the projector is not perfectly aligned with the screen, you can use the keystone correction feature to adjust the image and minimize any distortion. However, it’s always best to strive for proper placement to avoid compromising image quality.
- Sharpness and Focus: Fine-tune the sharpness and focus settings to ensure a crisp and clear image. Adjusting these settings can greatly improve the overall detail and readability of text or small elements in the content you’re viewing.
- Color Calibration: Some projectors offer color calibration options, allowing you to adjust the color temperature, saturation, and hue. Use these settings to achieve accurate and natural-looking colors that enhance your viewing pleasure.
- Audio Setup: If you’re using the projector’s built-in speakers, make sure their volume and settings are adjusted to your preference. However, for a more immersive audio experience, consider connecting external speakers or a sound system to your devices.
- Surround Sound: If you have a surround sound system, configure the audio settings on your devices to take full advantage of the multi-channel audio capabilities. This will enhance the spatial audio and make you feel like you’re in the middle of the action.
Take your time to experiment with these adjustments until you achieve the perfect combination of picture quality and audio immersion. Every projector and viewing environment is different, so don’t be afraid to play around and find what works best for you.
Controlling the Projector
Now that your projector and devices are all set up, it’s important to know how to control the projector’s functions conveniently. Here are some common methods of controlling a projector:
- Remote Control: Most projectors come with a dedicated remote control that allows you to access all the essential functions. Use the remote control to power on/off the projector, adjust volume, navigate menus, and select input sources.
- On-Screen Menu: Projectors often have an on-screen menu that lets you adjust various settings such as brightness, contrast, color, keystone correction, and more. Navigate through the menu using the remote control or built-in buttons on the projector.
- Mobile Apps: Some projectors offer companion mobile apps that can be downloaded on your smartphone or tablet. These apps provide additional control options, including adjusting settings, selecting input sources, and even streaming content directly from your mobile device.
- Physical Buttons: In addition to the remote control, projectors typically have a set of physical buttons on the device itself. These buttons allow you to power the projector on/off, navigate menus, adjust volume, and switch input sources when the remote control is not readily available.
- Smart Home Integration: If your projector is compatible with smart home devices, you may be able to control it through voice commands using voice assistants like Amazon Alexa or Google Assistant. This can offer a hands-free and convenient way to control your projector.
- Connectivity Options: Some projectors also offer connectivity options like HDMI-CEC or Ethernet control, which allow you to control the projector using a compatible device’s remote control or through a network connection.
Understanding the control options available to you will ensure that you can easily manage your projector’s settings and functionalities. Take some time to familiarize yourself with the specific control methods provided by your projector to maximize your convenience and enjoyment during TV viewing sessions.
Enhancing the Viewing Experience
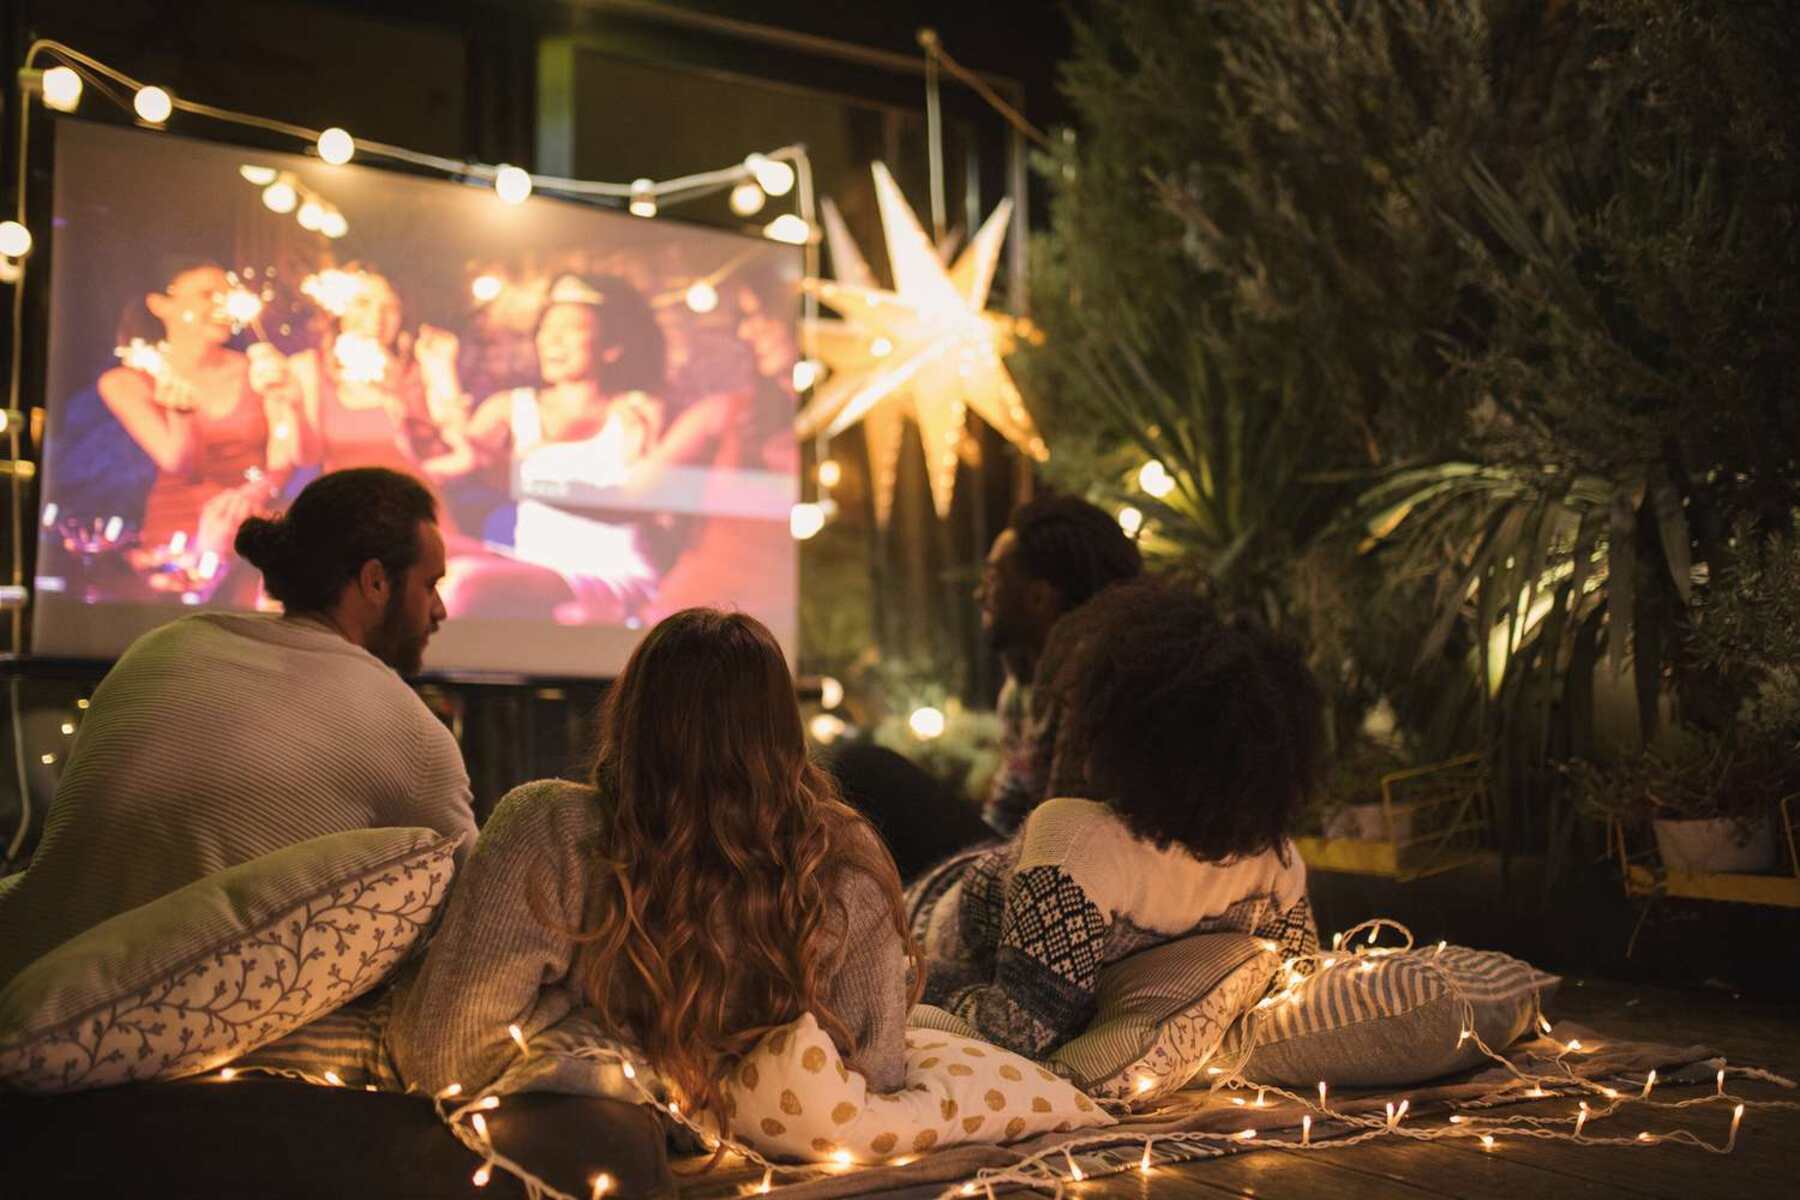
While watching TV with a projector already offers a captivating experience, there are several ways you can further enhance your viewing enjoyment. Here are some tips to take your projector-powered TV experience to the next level:
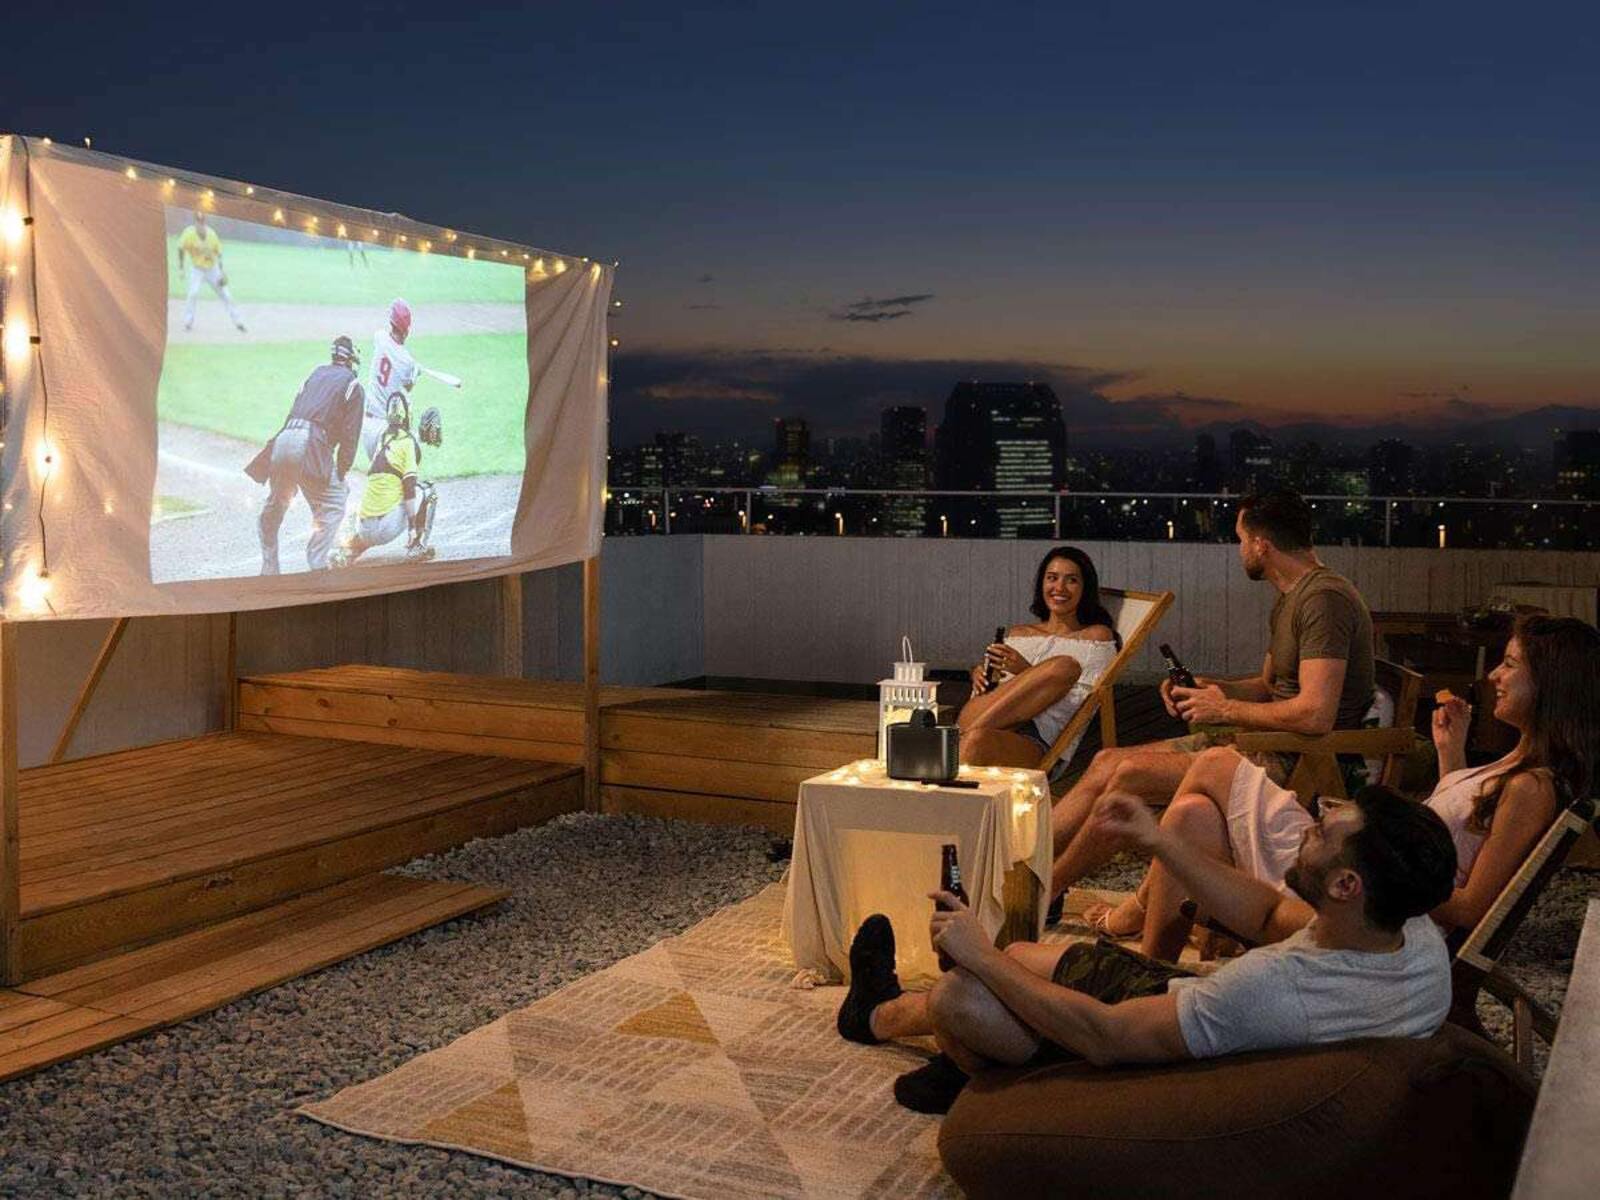
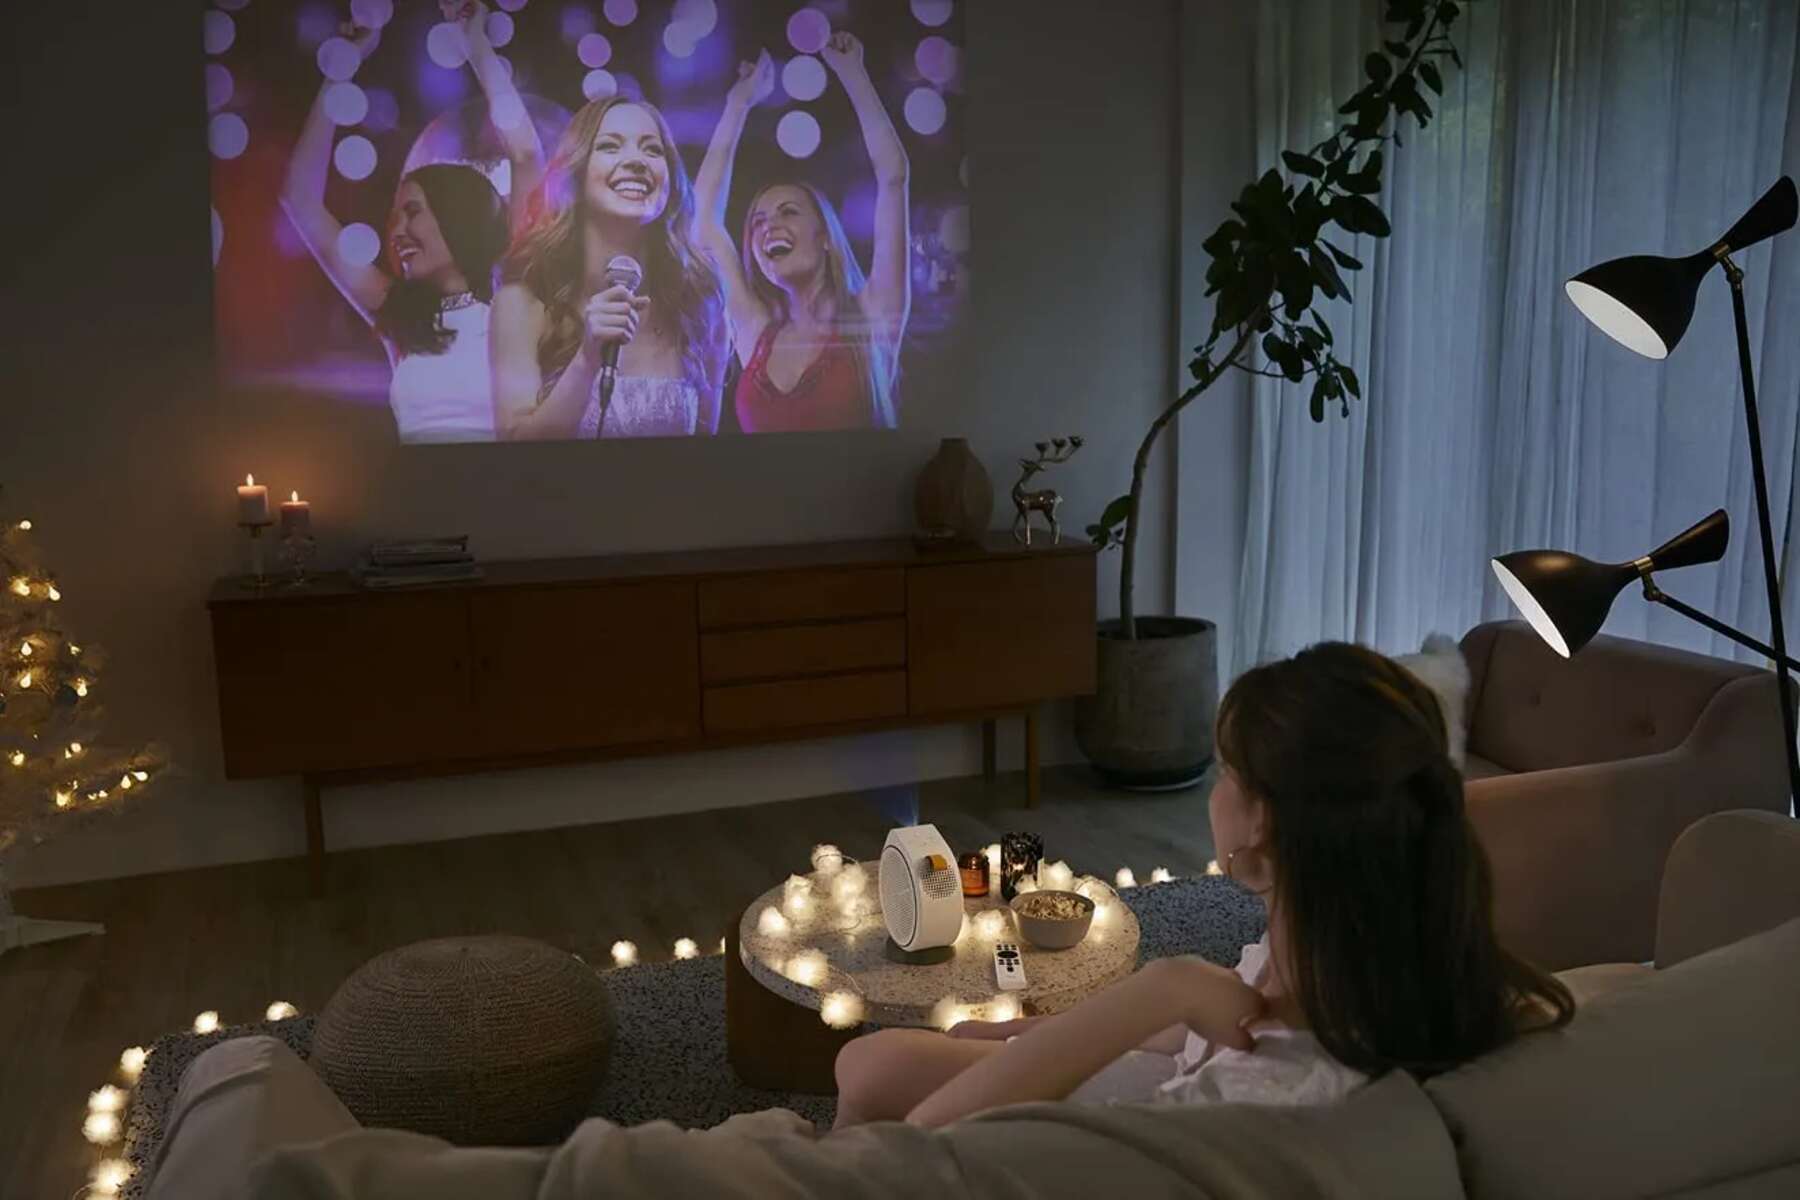
- Ambient Lighting: Create a suitable viewing environment by dimming the lights in the room. Avoid excessive ambient light as it can wash out the projected image and reduce overall contrast.
- Screen Selection: If you’re projecting onto a wall, consider investing in a high-quality projector screen. These screens are designed to maximize image sharpness, color accuracy, and viewing angles, providing a more immersive and consistent viewing experience.
- Optimal Viewing Distance: Determine the correct viewing distance based on the screen size and resolution of your projector. Sit too close, and you may notice pixelation; sit too far away, and you may lose some of the details. Find the sweet spot for the best immersive experience.
- Calibrate Colors: To ensure accurate color reproduction, you can calibrate the colors on your projector using a calibration disc or professional calibration tools. This will result in more vibrant and true-to-life visuals.
- Immersive Sound: Consider investing in a high-quality sound system or external speakers to complement the large-scale visuals with immersive audio. This will create a more theater-like experience, especially for movies, sports, and gaming.
- Seating Arrangement: Arrange your seating in a way that offers the best viewing angles and comfort. Opt for cozy chairs or a sectional sofa that allows everyone to experience the big screen comfortably.
- Media Streaming Devices: Utilize media streaming devices like Chromecast, Apple TV, or Amazon Fire TV Stick to access a wide range of streaming services and on-demand content. This will open up a world of entertainment beyond traditional TV channels.
- Organize Your Content: Create playlists or organize your media library in a way that makes it easy to navigate and find the content you want to watch. Sort movies by genre, create TV show folders, or utilize streaming platforms’ watchlist features.
- Avoid Distractions: Minimize distractions by turning off notifications on your devices, creating a dedicated remote control station, and creating a cozy and inviting viewing space to fully immerse yourself in the content.
- Experiment with Throw Distance: Depending on the size of your space, experiment with the projector’s throw distance to achieve a larger or smaller projected image. This flexibility allows you to adapt to different viewing situations.
By implementing these tips, you can truly optimize your projector-powered TV experience and create a personalized, immersive viewing environment. Sit back, relax, and let the big screen transport you into a world of entertainment!
Caring for Your Projector
To ensure the longevity and optimal performance of your projector, it’s important to properly care for and maintain it. Here are some essential tips for taking care of your projector:
- Clean the Lens: Regularly clean the projector lens using a soft, lint-free cloth. Avoid using abrasive materials or harsh cleaning chemicals as they can damage the lens. Keeping the lens clean will ensure sharp and clear image projection.
- Avoid Overheating: Prevent your projector from overheating by ensuring proper ventilation and airflow. Keep the projector away from heat sources and make sure the vents are not obstructed. Overheating can lead to reduced performance and even damage internal components.
- Handle with Care: Always handle the projector with care, especially when moving or mounting it. Avoid dropping or bumping the projector to prevent damage to delicate internal parts.
- Replace the Lamp: Projector lamps have a limited lifespan, so make sure to replace them when they become dim or reach their recommended usage hours. Consult the manufacturer’s guidelines for the correct lamp replacement procedure.
- Store Properly: If you need to store the projector for an extended period, make sure it is in a dry, dust-free environment. Cover it with a protective case or cloth to prevent dust accumulation. Before using the projector again, allow it to acclimate to room temperature for a few hours.
- Keep the Projector Clean: Regularly clean the projector’s housing and fan vents to remove dust and debris. Use a soft cloth or compressed air to gently clean these areas. Accumulated dust can affect the projector’s cooling and performance.
- Follow Maintenance Schedule: Consult the projector’s user manual for recommended maintenance tasks and schedules. This may include firmware updates, filter cleaning or replacement, and overall system checks. Regular maintenance will help keep your projector functioning optimally.
- Protect from Power Surges: Use a surge protector or uninterruptible power supply (UPS) to protect your projector from power surges and fluctuations. Power surges can damage sensitive components and reduce the lifespan of your projector.
- Keep it Dry: Avoid exposing your projector to excessive moisture or humidity, as it can cause internal corrosion and electrical damage. If you’re in a humid environment, consider using a dehumidifier in the room.
- Read the Manual: Familiarize yourself with the manufacturer’s guidelines and recommendations outlined in the user manual. This will provide specific care instructions for your particular model and ensure you’re following the best practices for maintenance.
By taking the time to care for your projector properly, you can extend its lifespan, maintain optimal performance, and continue enjoying the immersive TV viewing experience it provides for years to come.
Conclusion
Watching TV with a projector is an excellent way to elevate your home entertainment experience. By choosing the right projector, setting it up correctly, and connecting your devices, you can immerse yourself in a cinematic journey right in the comfort of your own living room.
Throughout this guide, we have covered the essential steps to help you get started with watching TV using a projector. From choosing a projector with the right specifications to adjusting the picture and sound settings, we’ve explored the key aspects needed to create a captivating viewing experience. Additionally, we’ve highlighted the importance of caring for your projector to ensure its longevity and optimal performance.
Remember, it’s crucial to choose a projector that suits your specific needs, providing high-resolution visuals, adequate brightness, and versatile connectivity options. Properly setting up the projector, connecting your devices, and making necessary adjustments will guarantee a seamless and immersive TV viewing experience.
As you explore the world of projector-powered television, don’t forget to experiment and personalize your setup. Enhance your viewing experience by optimizing the environment, investing in audio equipment, and organizing your content effectively.
We hope this guide has equipped you with the knowledge and tips necessary to embark on your projector-powered TV journey. Unleash your creativity, sit back, and enjoy the wonders of technology as you bring the big screen into your own home.