Introduction
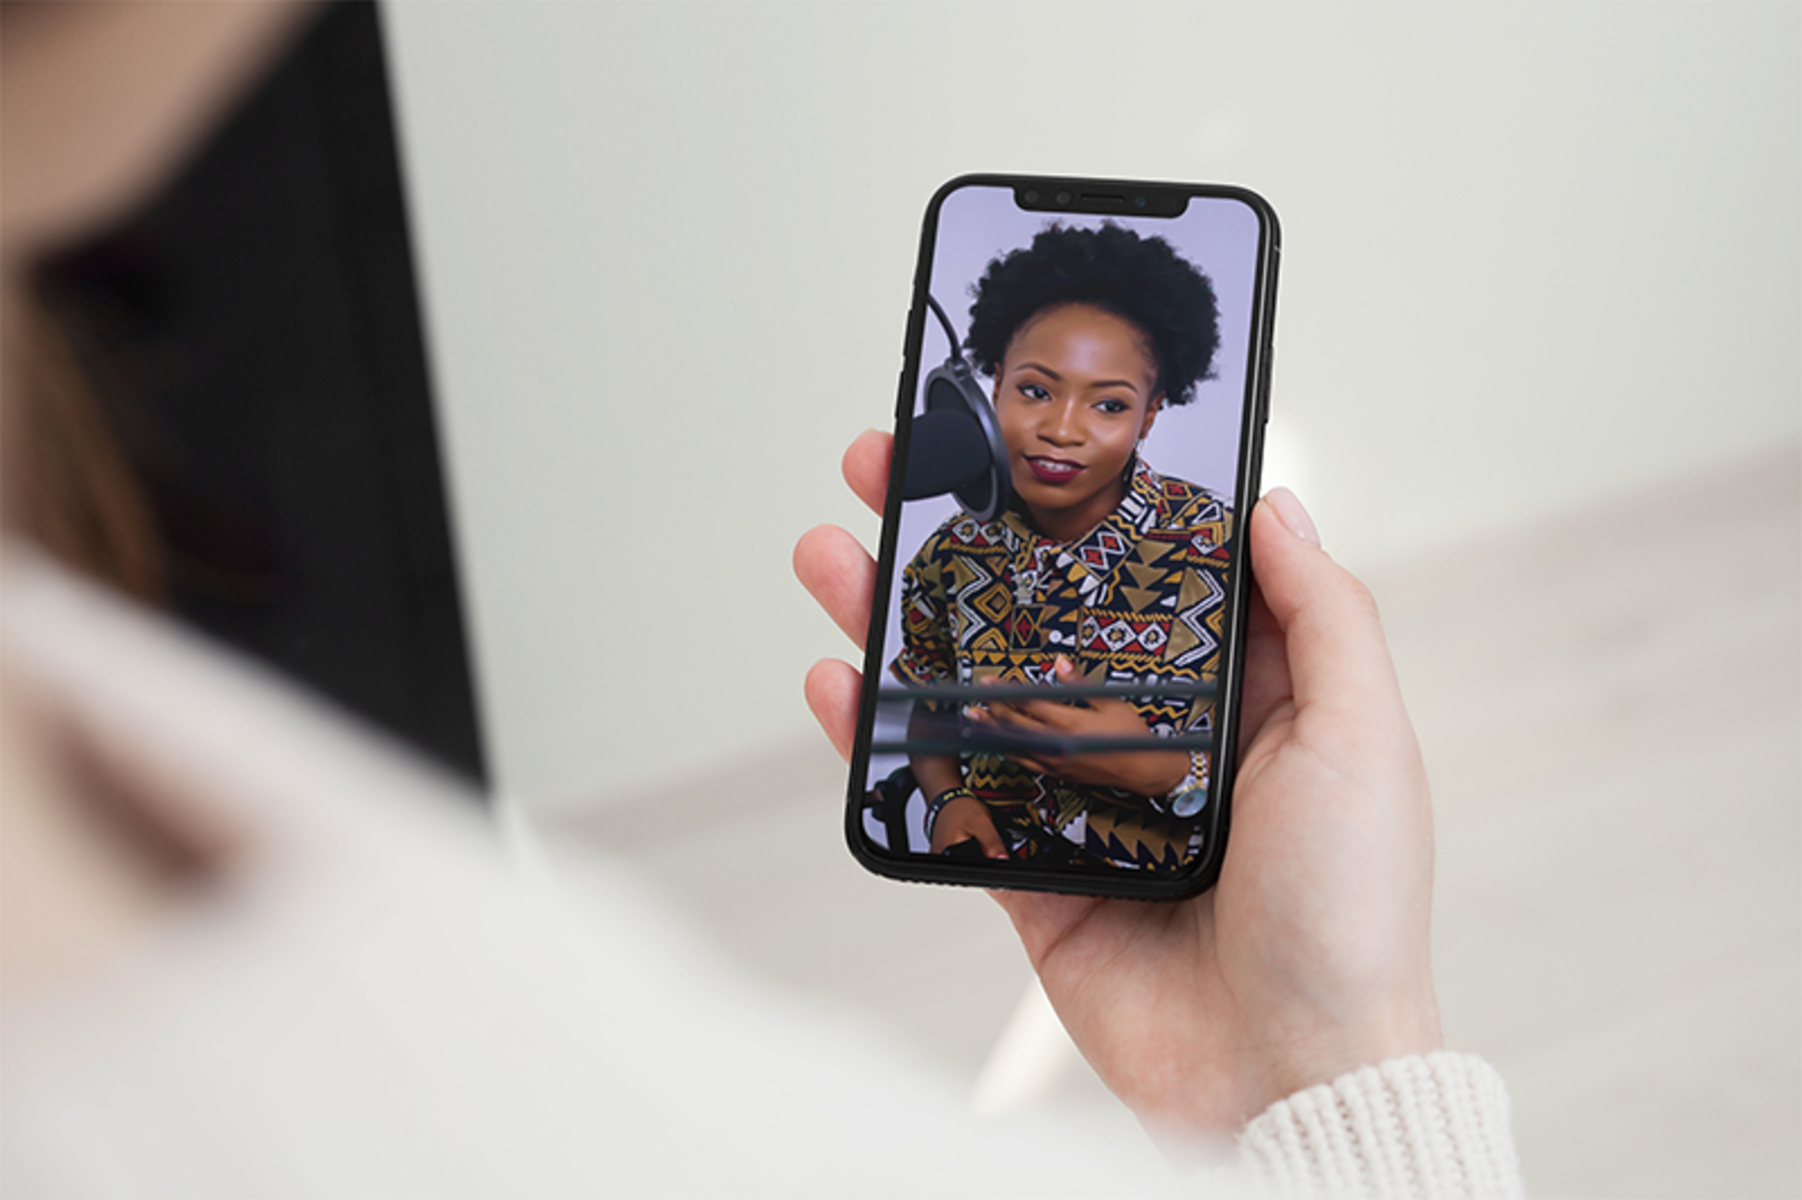
With the rise of live streaming, YouTube has become one of the go-to platforms for watching live events, concerts, gaming sessions, and so much more. The ability to watch live streams on YouTube offers a unique and interactive viewing experience for users all around the world.
Whether you’re a sports enthusiast who wants to catch the action in real-time, a music lover eager to witness live performances, or simply someone looking to explore new and engaging content, YouTube has you covered. In this article, we will guide you through the steps of watching a live stream on YouTube and make the most out of your viewing experience.
Before we dive into the details, it’s important to note that in order to watch live streams on YouTube, you will need to have a YouTube account. Creating an account is free and easy, and it unlocks a world of live streaming content right at your fingertips.
So, if you’re ready to join the millions of users who enjoy watching live streams on YouTube, let’s get started by creating your YouTube account.
Step 1: Creating a YouTube Account
Before you can start watching live streams on YouTube, you need to have a YouTube account. Don’t worry – it’s a quick and simple process to get you up and running.
1. Open your preferred web browser and go to the YouTube website.
2. Click on the “Sign In” button located in the top-right corner of the page.
3. You will be prompted to either sign in with an existing Google account or create a new one. If you already have a Google account, simply sign in using your email address and password. If not, click on the “Create Account” option.
4. Fill in the required information, including your first and last name, desired email address, and a secure password.
5. Once you’ve provided the necessary information, click on the “Next” button.
6. Follow any additional prompts to complete the account creation process, which may include verifying your email address.
7. Congratulations! You now have a YouTube account. You can access your account by clicking on the profile icon in the top-right corner of the YouTube website.
Your YouTube account not only allows you to watch live streams but also enables you to interact with other users, subscribe to channels, create playlists, and much more. With your account all set up, you’re ready to explore the world of live streaming on YouTube.
Note: If you prefer to watch live streams on your mobile device, you can download the YouTube app from your device’s app store and sign in using your YouTube account credentials.
Step 2: Finding Live Streams on YouTube
Once you’ve created your YouTube account, it’s time to find and explore the wide array of live streams available on the platform. Here’s how you can easily discover live streaming content:
1. Open the YouTube website or mobile app and sign in to your account.
2. On the YouTube homepage, you will find a search bar at the top of the screen. Simply enter relevant keywords or the name of the event, concert, or topic you’re interested in, followed by “live stream.” For example, if you’re looking for a live gaming session, you can search for “Fortnite live stream.”
3. YouTube will display a list of search results related to your query. Look for live stream videos by checking the video thumbnails and titles. You can identify live streams by the “LIVE” indicator on the thumbnail or title.
4. Alternatively, you can use the YouTube filters to refine your search and specifically look for live streams. To do this, click on the “Filters” button located next to the search bar. Then, under the “Features” section, select “Live.” This will show you only the live stream videos in the search results.
5. You can also explore live streams by visiting specific channels or subscribing to channels that regularly host live events. This way, you’ll be notified whenever a live stream from that channel is available.
6. Additionally, YouTube offers a dedicated “Live” section where you can find popular live streams happening at the moment. To access this section, click on the “Explore” tab located in the navigation bar at the top of the YouTube homepage. Then, select “Live” from the drop-down menu.
By following these steps, you’ll be able to easily find live streams on YouTube based on your interests and preferences. So, go ahead and start exploring the exciting world of live streaming!
Step 3: Understanding the Live Stream Interface
Once you’ve found a live stream on YouTube that you want to watch, it’s important to familiarize yourself with the live stream interface. Understanding the interface will allow you to make the most of your viewing experience and take advantage of the available features. Here’s a breakdown of the key elements:
1. Video Player: The video player is the central component of the live stream interface. It displays the actual live stream and allows you to watch the content in real-time.
2. Chat Window: Many live streams have a live chat feature, which allows viewers to interact with each other and the content creator. The chat window is usually located next to the video player and enables you to join the conversation.
3. Like, Dislike, and Share Buttons: Just below the video player, you will find buttons that enable you to like or dislike the live stream. You can also share the live stream with others by clicking on the share button and selecting your desired sharing method.
4. Subscribe Button: If you enjoy the content creator’s live stream, you can show your support by subscribing to their channel. The subscribe button is typically located below the video player or in the top-right corner of the live stream interface.
5. Notifications Bell: To receive notifications about upcoming live streams from a specific channel, you can click on the notifications bell icon. This way, you’ll be alerted whenever the channel goes live.
6. Interaction Icons: Depending on the live stream, you may see icons such as emojis, stickers, or Super Chat buttons. These allow you to express your emotions or support the content creator by sending monetary donations or tips.
7. Fullscreen Mode: If you want to maximize your viewing experience, you can click on the fullscreen button located either within the video player or at the bottom-right corner of the live stream interface. This will expand the video to fill your screen.
By familiarizing yourself with these elements, you’ll be able to navigate the live stream interface with ease and fully enjoy the experience of watching live stream content on YouTube. So, start exploring and engaging with the live streams that interest you!
Step 4: Interacting with the Live Stream
One of the unique aspects of watching a live stream on YouTube is the ability to interact with the content creator and other viewers. Interacting with the live stream adds an extra layer of engagement and allows you to be a part of the community. Here’s how you can interact with a live stream:
1. Live Chat: The live chat feature allows you to engage in real-time conversations with the content creator and fellow viewers. You can share your thoughts, ask questions, and participate in discussions related to the live stream. To join the chat, simply type your message in the chat window located next to the video player and press Enter.
2. Sending Donations: Some content creators offer a feature called Super Chat, which allows viewers to send monetary donations during the live stream. By making a donation, your message will be highlighted and pinned in the chat for a certain duration, allowing you to gain more visibility and show support for the content creator.
3. Emojis and Stickers: YouTube provides a range of emojis and stickers that you can use to express your emotions while watching a live stream. Simply click on the emoji or sticker button in the chat window and select the one that represents how you’re feeling.
4. Likes and Dislikes: Show your appreciation for the live stream by liking it. Hover over the like button below the video player and click on it to give the live stream a thumbs up. You can also dislike the live stream if you’re not enjoying it.
5. Sharing the Live Stream: Spread the word about the live stream by sharing it with your friends and followers. Click on the share button below the video player and choose your preferred method of sharing, such as social media platforms or direct messaging.
Remember that interacting with the live stream not only enhances your own viewing experience but also contributes to building a supportive and engaging community. So, don’t hesitate to share your thoughts, connect with other viewers, and show your support for the content creator through various interaction options.
Step 5: Adjusting the Video Quality and Settings
To ensure the best viewing experience while watching a live stream on YouTube, it’s important to adjust the video quality and explore the available settings. Here’s how you can customize your viewing preferences:
1. Video Quality: YouTube automatically adjusts the video quality based on your internet connection. However, you can manually change the video quality if desired. To do this, click on the settings icon (represented by a gear) located in the bottom-right corner of the video player. From the quality options menu, select the desired video resolution – such as 1080p, 720p, or lower resolutions. Keep in mind that higher resolutions require a stronger internet connection.
2. Closed Captions: If the live stream offers closed captions or subtitles, you can enable them by clicking on the settings icon and selecting the “Subtitles/CC” option. From there, you can choose the desired language or customize the caption appearance.
3. Playback Speed: YouTube allows you to adjust the playback speed of the live stream. If you want to watch the live stream at a slower or faster pace, simply click on the settings icon and choose the desired playback speed.
4. Theater Mode: Theater mode provides a wider player and a darkened background, enhancing the viewing experience. To activate theater mode, click on the theater icon (represented by two diagonal arrows) located in the bottom-right corner of the video player.
5. Live Stream DVR: Some live streams offer a DVR (Digital Video Recorder) feature, which allows you to rewind or pause the live stream as it’s happening. To check if the live stream has this feature, look for a timeline displayed below the video player. You can interact with the timeline to rewind or pause the live stream.
6. AutoPlay: By default, YouTube automatically plays the next live stream in the suggested videos list after the current live stream ends. If you prefer to disable this feature, click on the settings icon and toggle off the “Autoplay” option.
By adjusting the video quality and exploring the available settings, you can customize your viewing experience and optimize it according to your preferences. Experiment with these options to find the settings that best suit your needs while watching live streams on YouTube.
Step 6: Enabling Notifications for Upcoming Live Streams
If you want to stay updated on upcoming live streams from your favorite YouTube channels or content creators, you can enable notifications. This way, you’ll receive alerts whenever a live stream is scheduled to start. Here’s how you can enable notifications:
1. Subscribe to the Channel: To receive notifications for a specific channel’s live streams, make sure you’re subscribed to the channel. Click on the subscribe button located below the video player or on the channel’s page to subscribe.
2. Click on the Bell Icon: Once you’ve subscribed to the channel, click on the notifications bell icon next to the subscribe button. This will open a notification options menu.
3. Choose Your Notification Preferences: YouTube offers different notification options to suit your preferences. You can select one of the following options:
- All: You’ll receive notifications for all live streams and other content from the channel.
- Occasional: You’ll receive notifications for select live streams and other important content from the channel.
- None: You won’t receive any notifications for live streams or other content from the channel.
4. Save Your Preferences: After selecting your desired notification preference, click on the “Save” or “Done” button to save your settings.
By enabling notifications, you’ll never miss an upcoming live stream from your favorite channels. YouTube will send you alerts via email or through your mobile device, depending on your notification settings. This way, you can be sure to join the live stream as soon as it starts and be a part of the action in real-time.
Remember to manage your notification preferences for each channel individually. You can change your settings at any time by clicking on the bell icon and adjusting the notification options.
So, make sure to enable notifications for your preferred channels to never miss out on the exciting live streams happening on YouTube!
Step 7: Troubleshooting Common Issues
While watching live streams on YouTube is generally a smooth and enjoyable experience, you may encounter some common issues along the way. Here are a few troubleshooting tips to help you overcome these issues:
1. Buffering or Playback Issues: If you experience buffering or playback issues during a live stream, try lowering the video quality by clicking on the settings icon (gear) in the video player and selecting a lower resolution. Additionally, check your internet connection or try refreshing the page.
2. Audio or Video Sync Issues: If the audio and video are not in sync during a live stream, try refreshing the page or closing and reopening the browser. If the issue persists, it may be a problem with the live stream itself, and you can try watching another live stream or contacting YouTube support.
3. Live Stream Not Loading: If a live stream is not loading or displaying an error message, try clearing your browser cache and cookies. You can also try watching the live stream on a different browser or device to see if the issue is specific to your current setup.
4. Live Chat Not Working: If you’re unable to access the live chat feature or your messages are not appearing, it could be a temporary glitch. Refreshing the page or restarting the app may resolve the issue. Alternatively, check if the content creator has disabled the live chat feature for that particular live stream.
5. Unauthorized Access: If you receive a message stating that you’re not authorized to access a live stream, it could mean that the content creator has restricted access to a specific region or age group. In such cases, you may need to find an alternative live stream or reach out to the content creator for further information.
6. No Live Streams Available: If you’re having difficulty finding available live streams on YouTube, try using different search terms or filters. Additionally, make sure you’re subscribed to channels that regularly host live events, as these channels are more likely to have upcoming live streams.
If you continue to experience issues while watching live streams on YouTube, you can visit the YouTube Help Center for further assistance. They provide detailed troubleshooting guides and resources to address specific problems.
By applying these troubleshooting tips, you can overcome common issues and enjoy seamless live streaming on YouTube.
Conclusion
Watching live streams on YouTube opens up a world of interactive and engaging content right at your fingertips. By following the steps outlined in this guide, you can easily create a YouTube account, find live streams, understand the live stream interface, interact with the content and other viewers, adjust video quality and settings, enable notifications for upcoming live streams, and troubleshoot common issues.
Whether you’re interested in sports, music, gaming, or any other live events, YouTube provides a platform that caters to a wide range of interests. With the ability to watch live streams, chat with fellow viewers, subscribe to favorite channels, and customize your viewing settings, YouTube offers an immersive experience like no other.
Remember to explore the vast library of live streams available on YouTube, including upcoming events, concerts, and performances, as well as regular live streams from your favorite content creators. Engage with the community, express your opinions, and support the creators through the various interaction options provided.
By staying up to date with notifications, adjusting video quality and settings, and troubleshooting any common issues you may encounter, you can ensure a seamless and enjoyable live streaming experience on YouTube.
So, without further ado, grab your popcorn and get ready to immerse yourself in the exciting world of live streams on YouTube. Happy watching!


