Introduction
Welcome to the era of smart LED TVs! With Wi-Fi connectivity, you can now enjoy a wide range of online content and streaming services directly on your television screen. No more limitations to cable channels or DVD collections. In this article, we will guide you on how to use Wi-Fi on your LED TV, so you can unlock endless entertainment possibilities.
Gone are the days when televisions were just passive devices for watching broadcasted content. Thanks to advancements in technology, LED TVs are now equipped with Wi-Fi capabilities, allowing you to connect them to your home network and access the internet from the comfort of your living room. Whether you want to stream movies, browse the web, or play online games, having Wi-Fi on your LED TV opens up a whole new world of entertainment.
Before we dive into the step-by-step process, it’s important to note that not all LED TVs come with built-in Wi-Fi. Older models may require an external Wi-Fi adapter to enable wireless connectivity. So, the first step is to check if your LED TV has Wi-Fi capabilities. If it does, let’s proceed with the setup process. If not, you may need to invest in a compatible Wi-Fi adapter before proceeding.
Now, let’s get started and learn how to connect your LED TV to Wi-Fi and enjoy the endless range of online content at your fingertips!
Step 1: Check if your LED TV has Wi-Fi
The first step in using Wi-Fi on your LED TV is to determine whether your TV has built-in Wi-Fi capabilities or if you need to use an external Wi-Fi adapter. Here’s how you can check:
- Refer to the user manual: Start by checking the user manual that came with your LED TV. Look for any mention of Wi-Fi connectivity or wireless capabilities. The manual will provide specific details on the TV’s features and whether it has built-in Wi-Fi or requires an adapter.
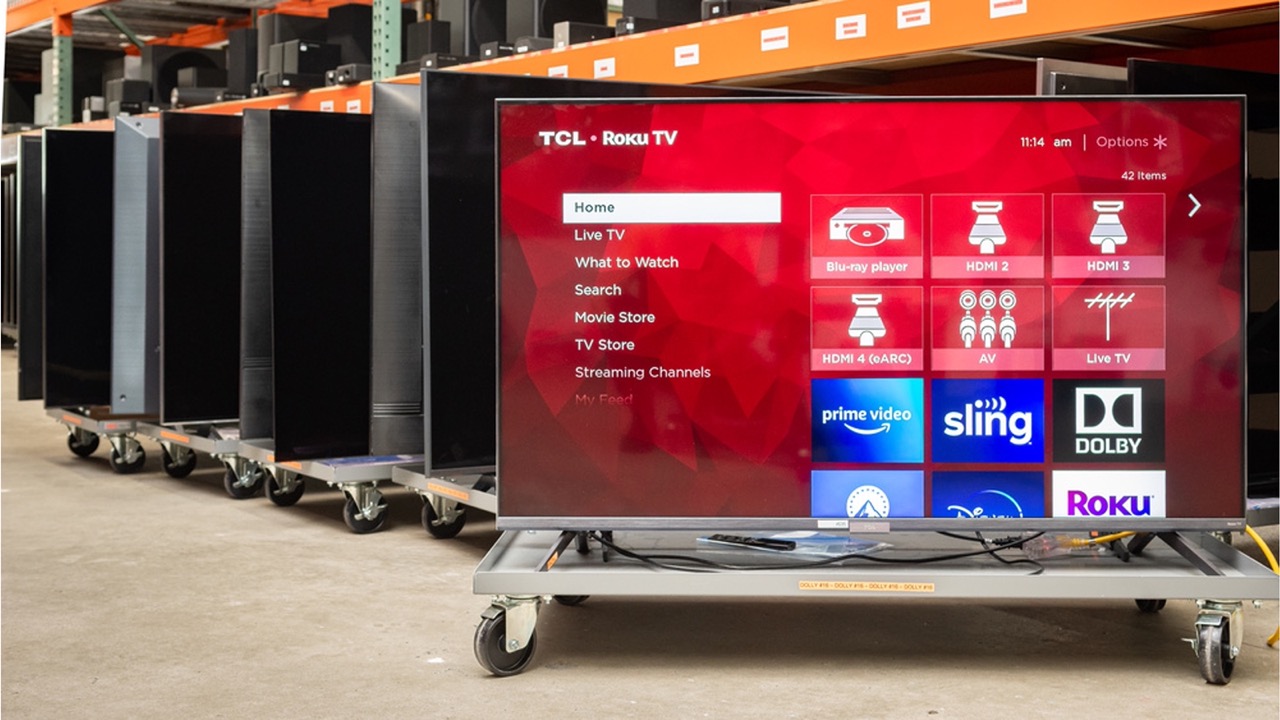
- Check the TV settings: Navigate to the settings menu on your LED TV. Look for network or connectivity options. If there is a Wi-Fi option listed, it indicates that your TV has built-in Wi-Fi capabilities.
- Look for Wi-Fi logos: On the front or back of your LED TV, you may find Wi-Fi logos or symbols. These logos typically indicate that the TV supports Wi-Fi connectivity without the need for an external adapter. Look for symbols such as “Wi-Fi Certified” or “Wireless LAN Built-in.
If you’ve determined that your LED TV has built-in Wi-Fi, you’re ready to move on to the next step. However, if your TV doesn’t have Wi-Fi capabilities, you can still enjoy wireless connectivity by using an external Wi-Fi adapter. Check your TV’s specifications or consult the user manual to find the compatible Wi-Fi adapter model.
Remember, having Wi-Fi on your LED TV opens up a world of possibilities for streaming, online gaming, and accessing a variety of online content. So, make sure to check the Wi-Fi capabilities of your TV before proceeding with the setup process.
Step 2: Connect your LED TV to the Wi-Fi network
Now that you’ve confirmed that your LED TV has Wi-Fi capabilities, it’s time to connect it to your home network. Follow these steps to establish a successful connection:
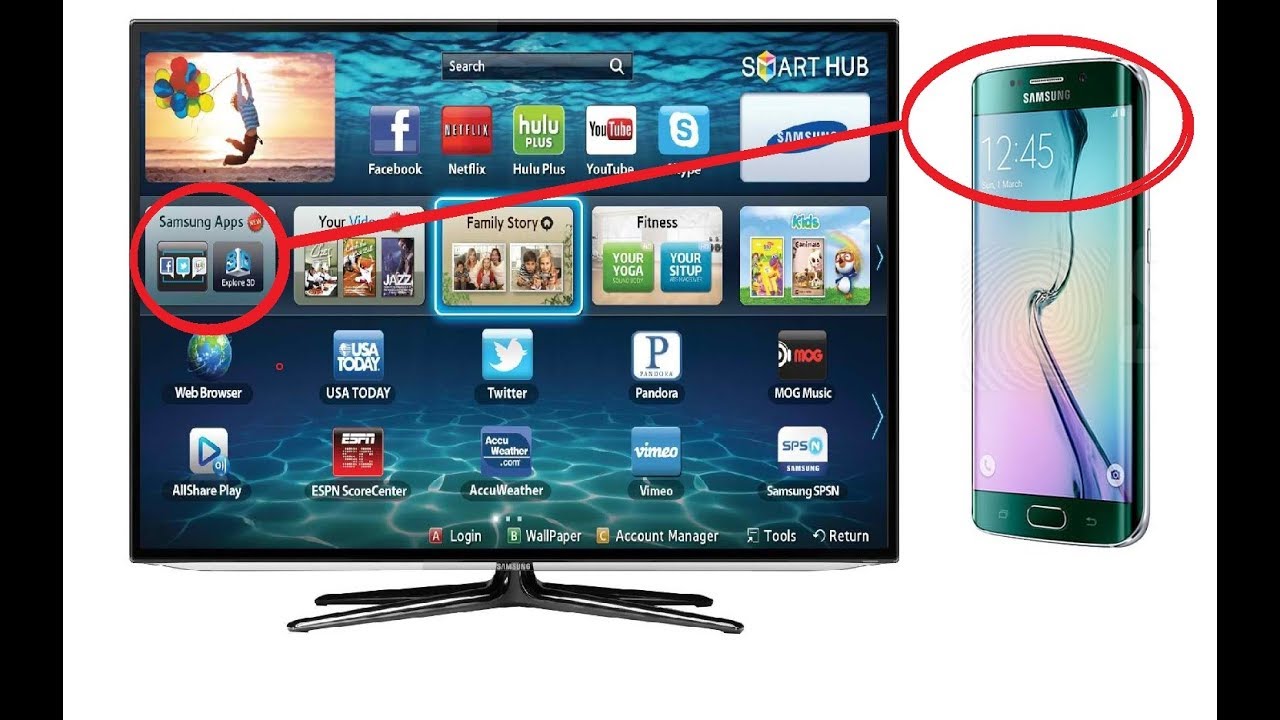
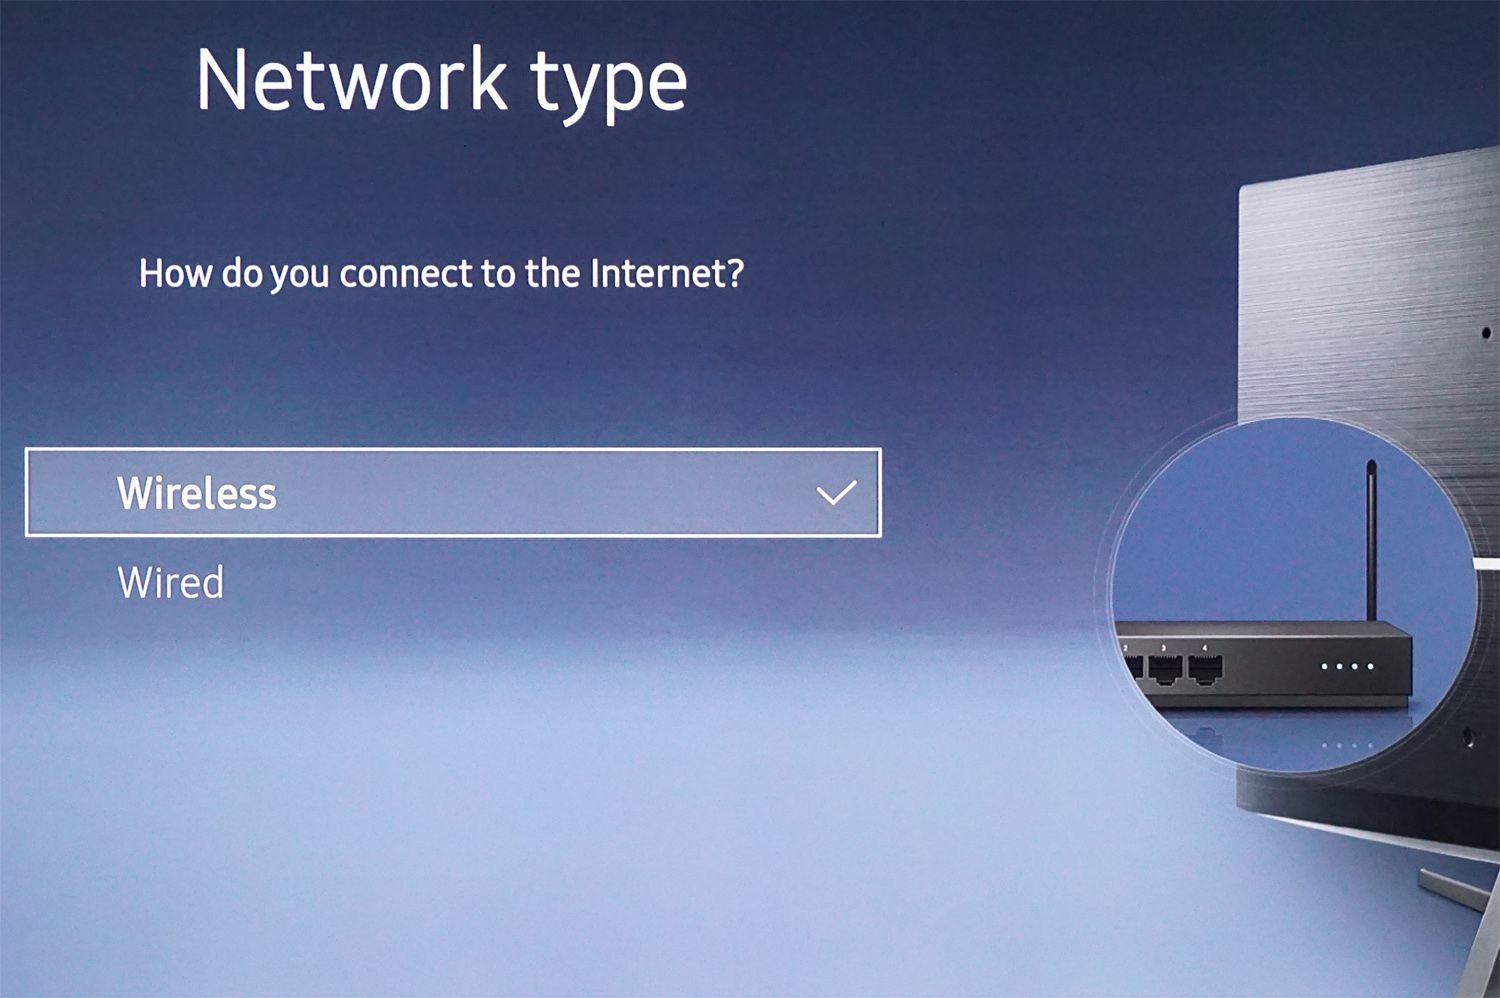
- Access the TV’s settings menu: Using your TV remote, navigate to the settings menu. Look for the network or connectivity options. The exact location of these options may vary depending on your TV’s brand and model.
- Select the Wi-Fi network: In the network settings, you should see a list of available Wi-Fi networks. Choose your home network from the list. If your network is password-protected, you will be prompted to enter the Wi-Fi passphrase. Use the remote’s arrow keys or on-screen keyboard to enter the password correctly.
- Establish the connection: Once you’ve entered the correct Wi-Fi password, select the “Connect” or “Join” option on the screen. Your LED TV will attempt to establish a connection with the selected Wi-Fi network.
- Wait for the connection to be established: It may take a few moments for the LED TV to connect to the Wi-Fi network. Be patient as the TV establishes a stable connection. Once connected, you will see a confirmation message or an icon indicating a successful connection.
It’s important to ensure that you are within range of your Wi-Fi router and that your router is properly set up and broadcasting a signal. If you are facing issues with connectivity, try moving the TV closer to the router or restarting both the TV and the router.
Congratulations! Your LED TV is now successfully connected to your home Wi-Fi network. You can now proceed to the next step to set up the Wi-Fi connection on your TV and start enjoying the various online features and services available.
Step 3: Set up the Wi-Fi connection on your LED TV
Now that you have connected your LED TV to the Wi-Fi network, it’s time to set up the Wi-Fi connection on your TV. Here are the steps to follow:
- Go to the TV’s settings menu: Using your TV remote, navigate to the settings menu. Look for the network or connectivity options, as this is where you’ll find the Wi-Fi setup.
- Select the Wi-Fi setup option: In the network settings, you should find an option to set up the Wi-Fi connection. Select this option to proceed.
- Choose the desired Wi-Fi network: On the Wi-Fi setup screen, you will see a list of available Wi-Fi networks. Select your home network from the list.
- Configure network settings if required: Some LED TVs may require you to configure additional network settings, such as IP address, DNS settings, or proxy settings. If prompted, follow the on-screen instructions to enter the necessary information. Typically, these settings can be set to automatic or obtained automatically from your router.
- Save and apply the settings: Once you’ve entered the required information, select the option to save and apply the settings. Your LED TV will now attempt to establish a connection using the provided network settings.
- Confirm the connection: Wait for a few moments as your TV establishes a connection with the Wi-Fi network. Once the connection is established, you will see a confirmation message or an icon indicating a successful connection.
It’s important to ensure that the network settings you entered are correct to avoid any connectivity issues. Double-check the Wi-Fi password, as well as any additional settings you configured, to ensure they are accurate.
With the Wi-Fi connection successfully set up on your LED TV, you are now ready to enjoy a wide range of online content and services. Sit back, relax, and explore the endless entertainment possibilities that your connected LED TV offers.
Step 4: Troubleshooting common Wi-Fi connectivity issues
Even with the proper setup, it’s possible to encounter connectivity issues with your LED TV’s Wi-Fi connection. Don’t worry! Here are some common troubleshooting tips to help you resolve these issues:
- Ensure proper signal strength: Check the signal strength of your Wi-Fi network. If your LED TV is located far from the router, the signal might be weak. Consider moving the router closer to the TV or using a Wi-Fi extender to improve signal strength.
- Restart the TV and the router: Sometimes, a simple reset can fix connectivity problems. Turn off both your LED TV and the router. Wait for a few minutes, then turn them back on. Allow them to establish a fresh connection.
- Check for software updates: Make sure your LED TV’s firmware is up to date. Manufacturers often release software updates that improve performance and fix connectivity issues. Navigate to the TV’s settings menu and search for an option to update the firmware if available.
- Verify the Wi-Fi network settings: Double-check the Wi-Fi network settings on your LED TV. Ensure that the network name (SSID), Wi-Fi password, and any other configured settings are correct. Mistyped passwords or incorrect settings can lead to connectivity problems.
- Reduce interference: Some electronic devices and appliances can cause interference with Wi-Fi signals. Keep your LED TV away from devices like cordless phones, baby monitors, microwave ovens, and other electronics. These devices can disrupt the Wi-Fi signal and weaken connectivity.
- Reset network settings: If all else fails, you can try resetting the network settings on your LED TV. This will delete any saved Wi-Fi networks and configurations. Refer to your TV’s user manual or navigate to the network settings menu to find the option to reset network settings.
If you’ve tried all of these troubleshooting tips and are still experiencing Wi-Fi connectivity issues, it may be helpful to consult the manufacturer’s customer support or seek assistance from a professional technician who can diagnose and resolve the problem.
By following these troubleshooting steps, you can overcome common Wi-Fi connectivity issues and enjoy a seamless experience with your LED TV’s Wi-Fi connection.
Conclusion
Congratulations! You have successfully learned how to use Wi-Fi on your LED TV, opening up a world of endless entertainment possibilities right from your living room. By following the steps outlined in this article, you can connect your LED TV to a Wi-Fi network and enjoy streaming movies, browsing the web, playing online games, and accessing a plethora of online content.
Remember to check if your LED TV has built-in Wi-Fi capabilities or if you need an external Wi-Fi adapter. Once that is determined, you can connect your LED TV to your home network, set up the Wi-Fi connection, and troubleshoot any common connectivity issues that may arise.
It’s important to note that different TV brands and models may have slightly different processes for connecting to Wi-Fi, so refer to the user manual specific to your TV if you encounter any difficulties.
Now that you’ve mastered the art of using Wi-Fi on your LED TV, sit back, relax, and enjoy the limitless entertainment options available to you. Stream your favorite movies and TV shows, explore online platforms, and immerse yourself in a world of digital content, all from the convenience and comfort of your TV screen.
So, grab your popcorn, turn on your LED TV, and enjoy the wonders of the internet at your fingertips!