Introduction
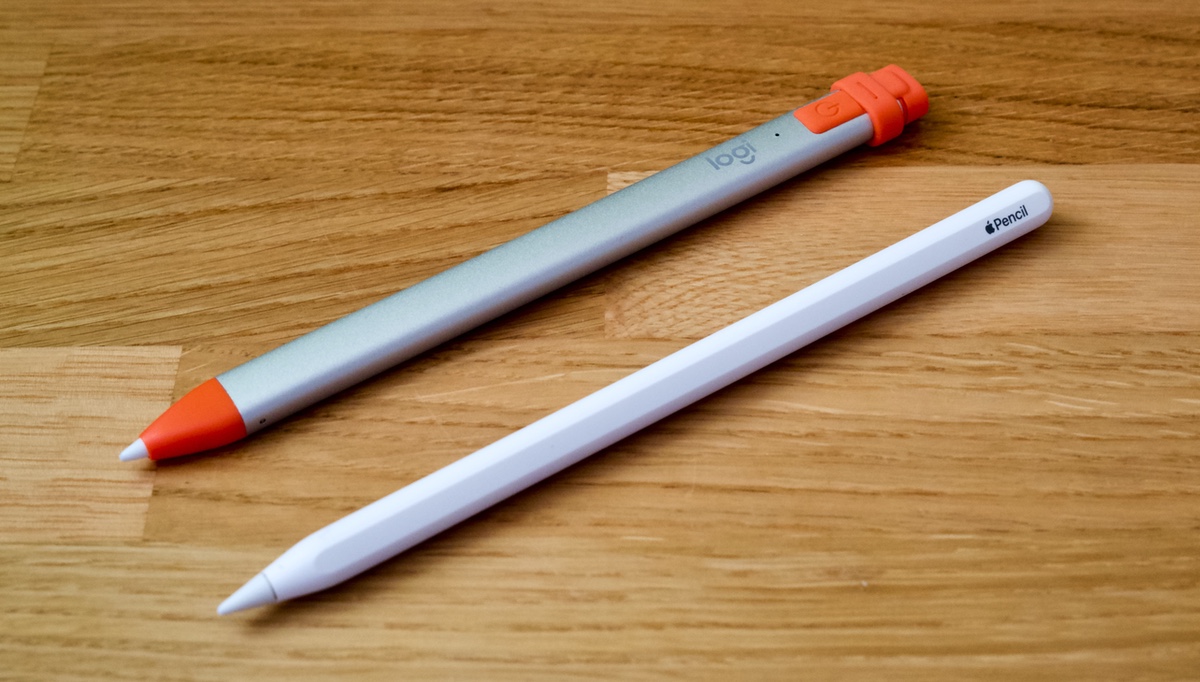
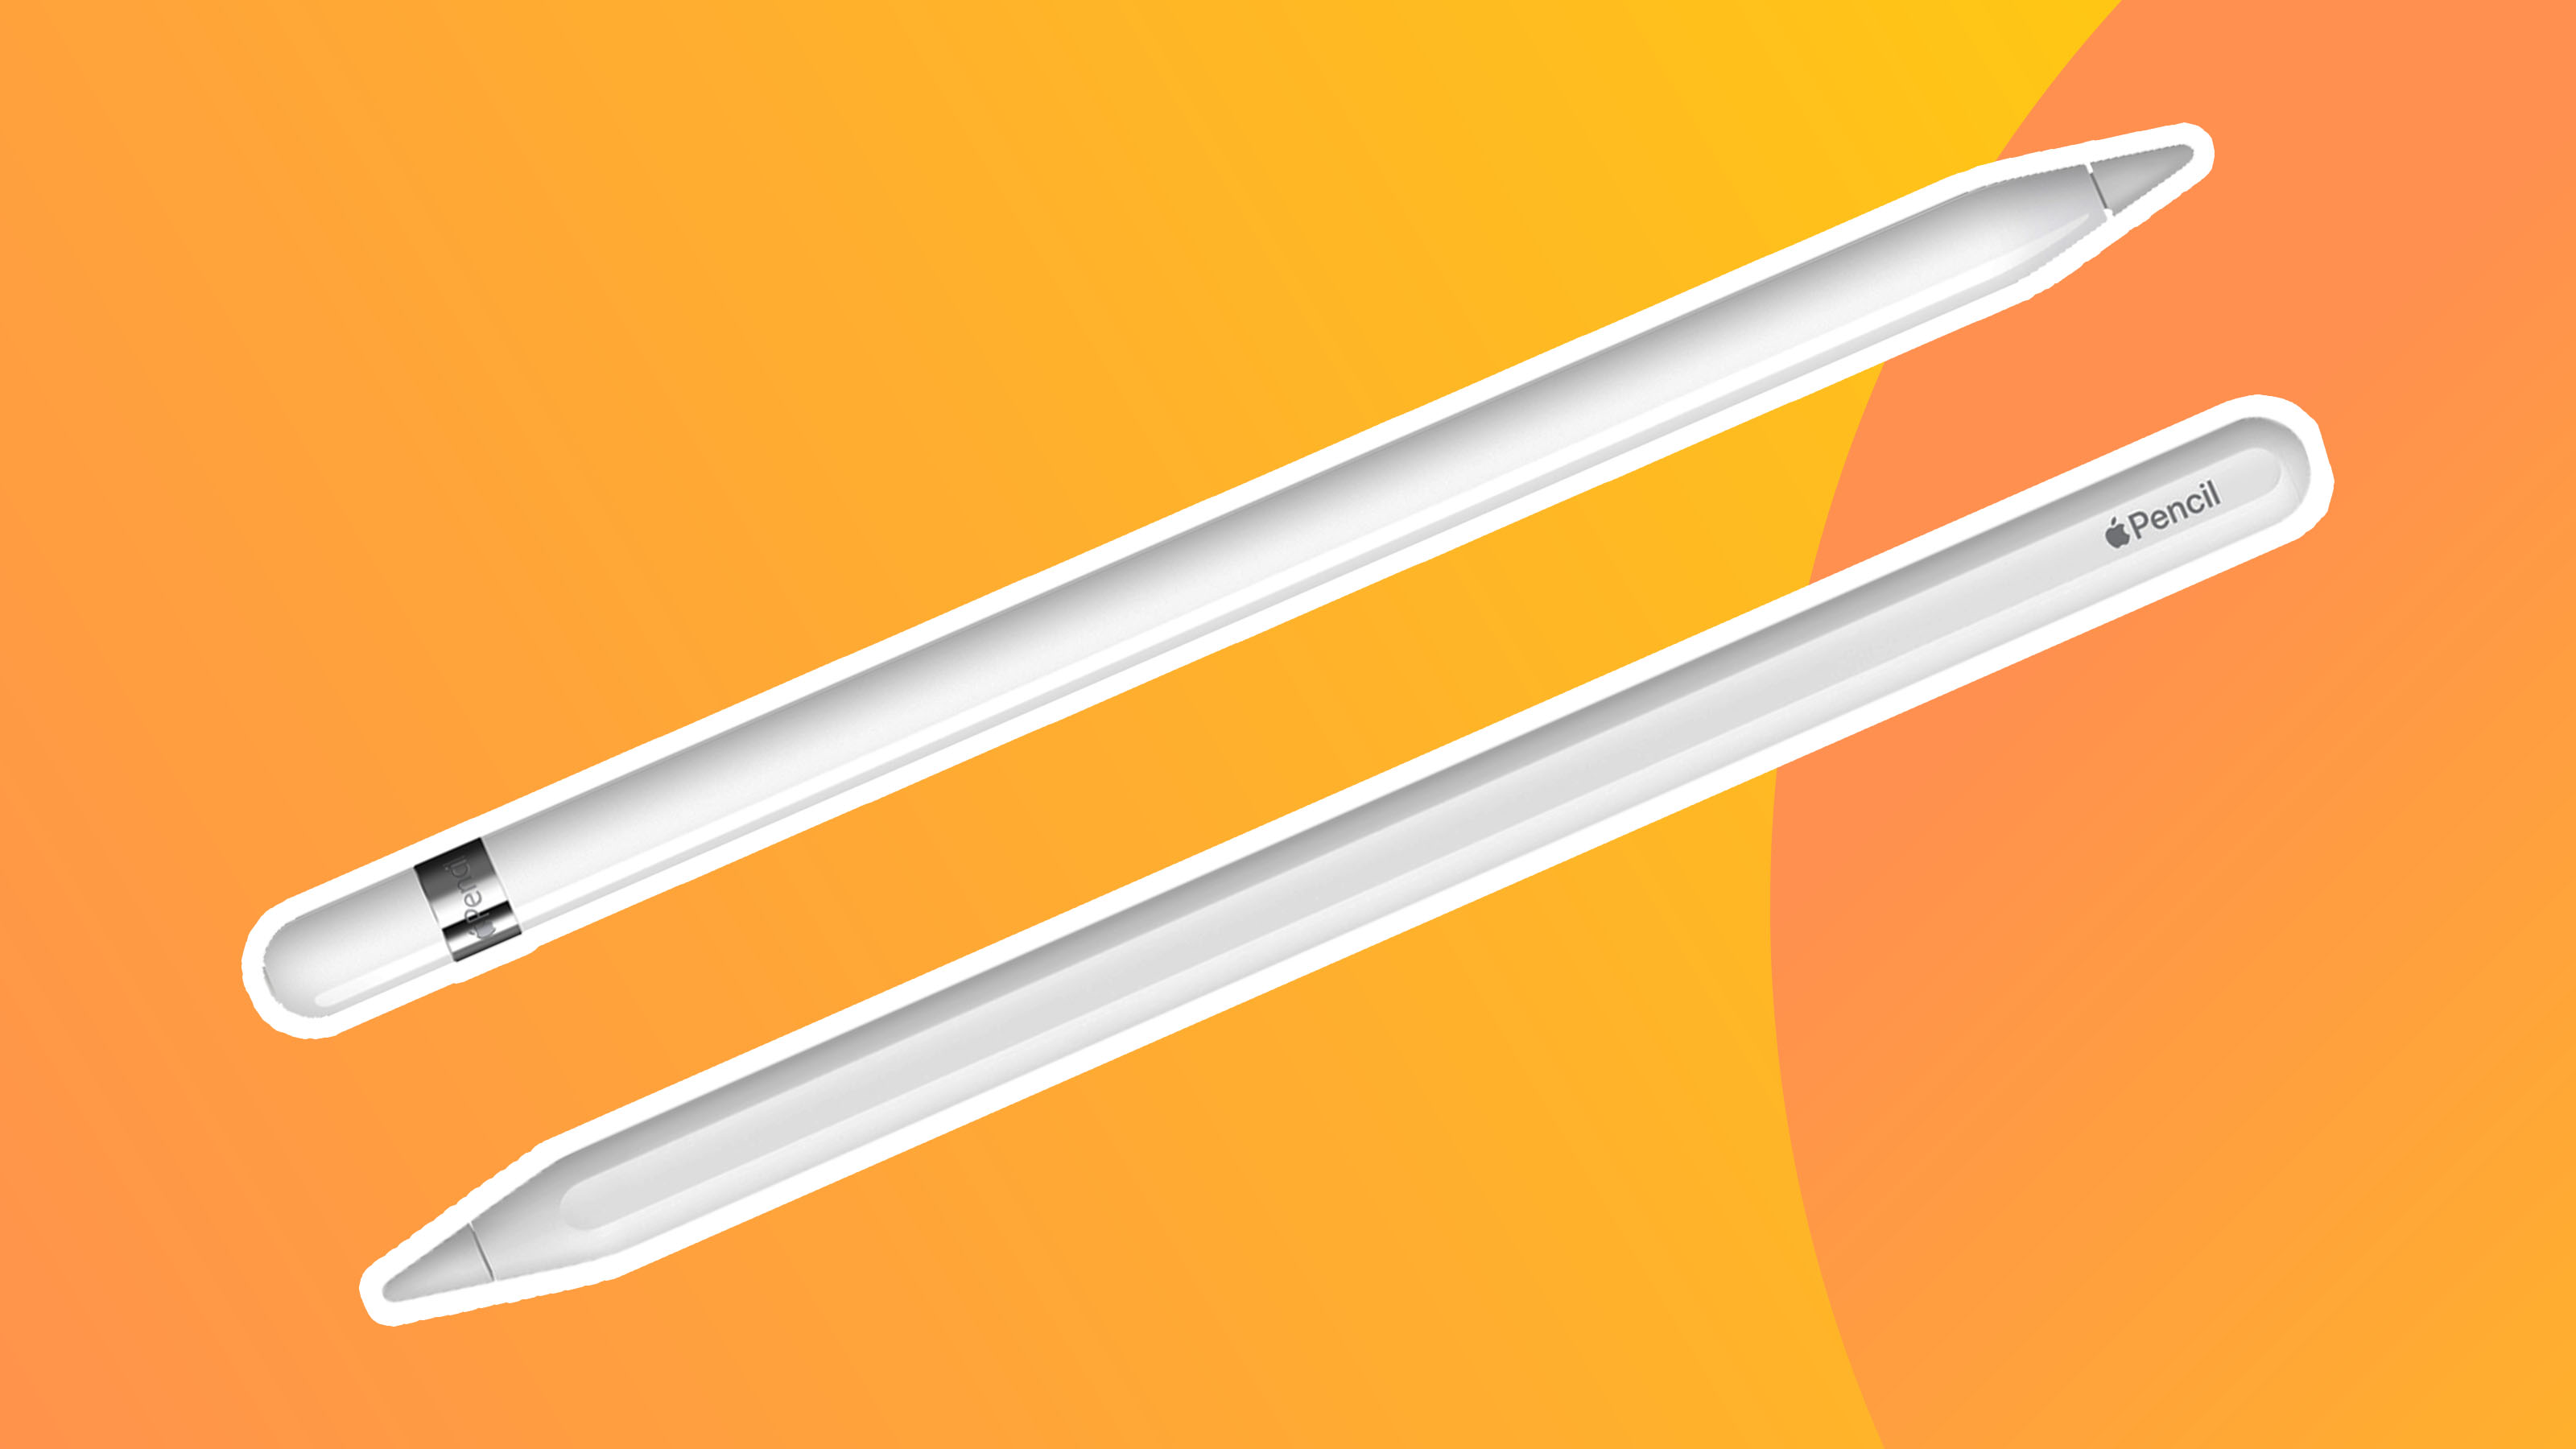
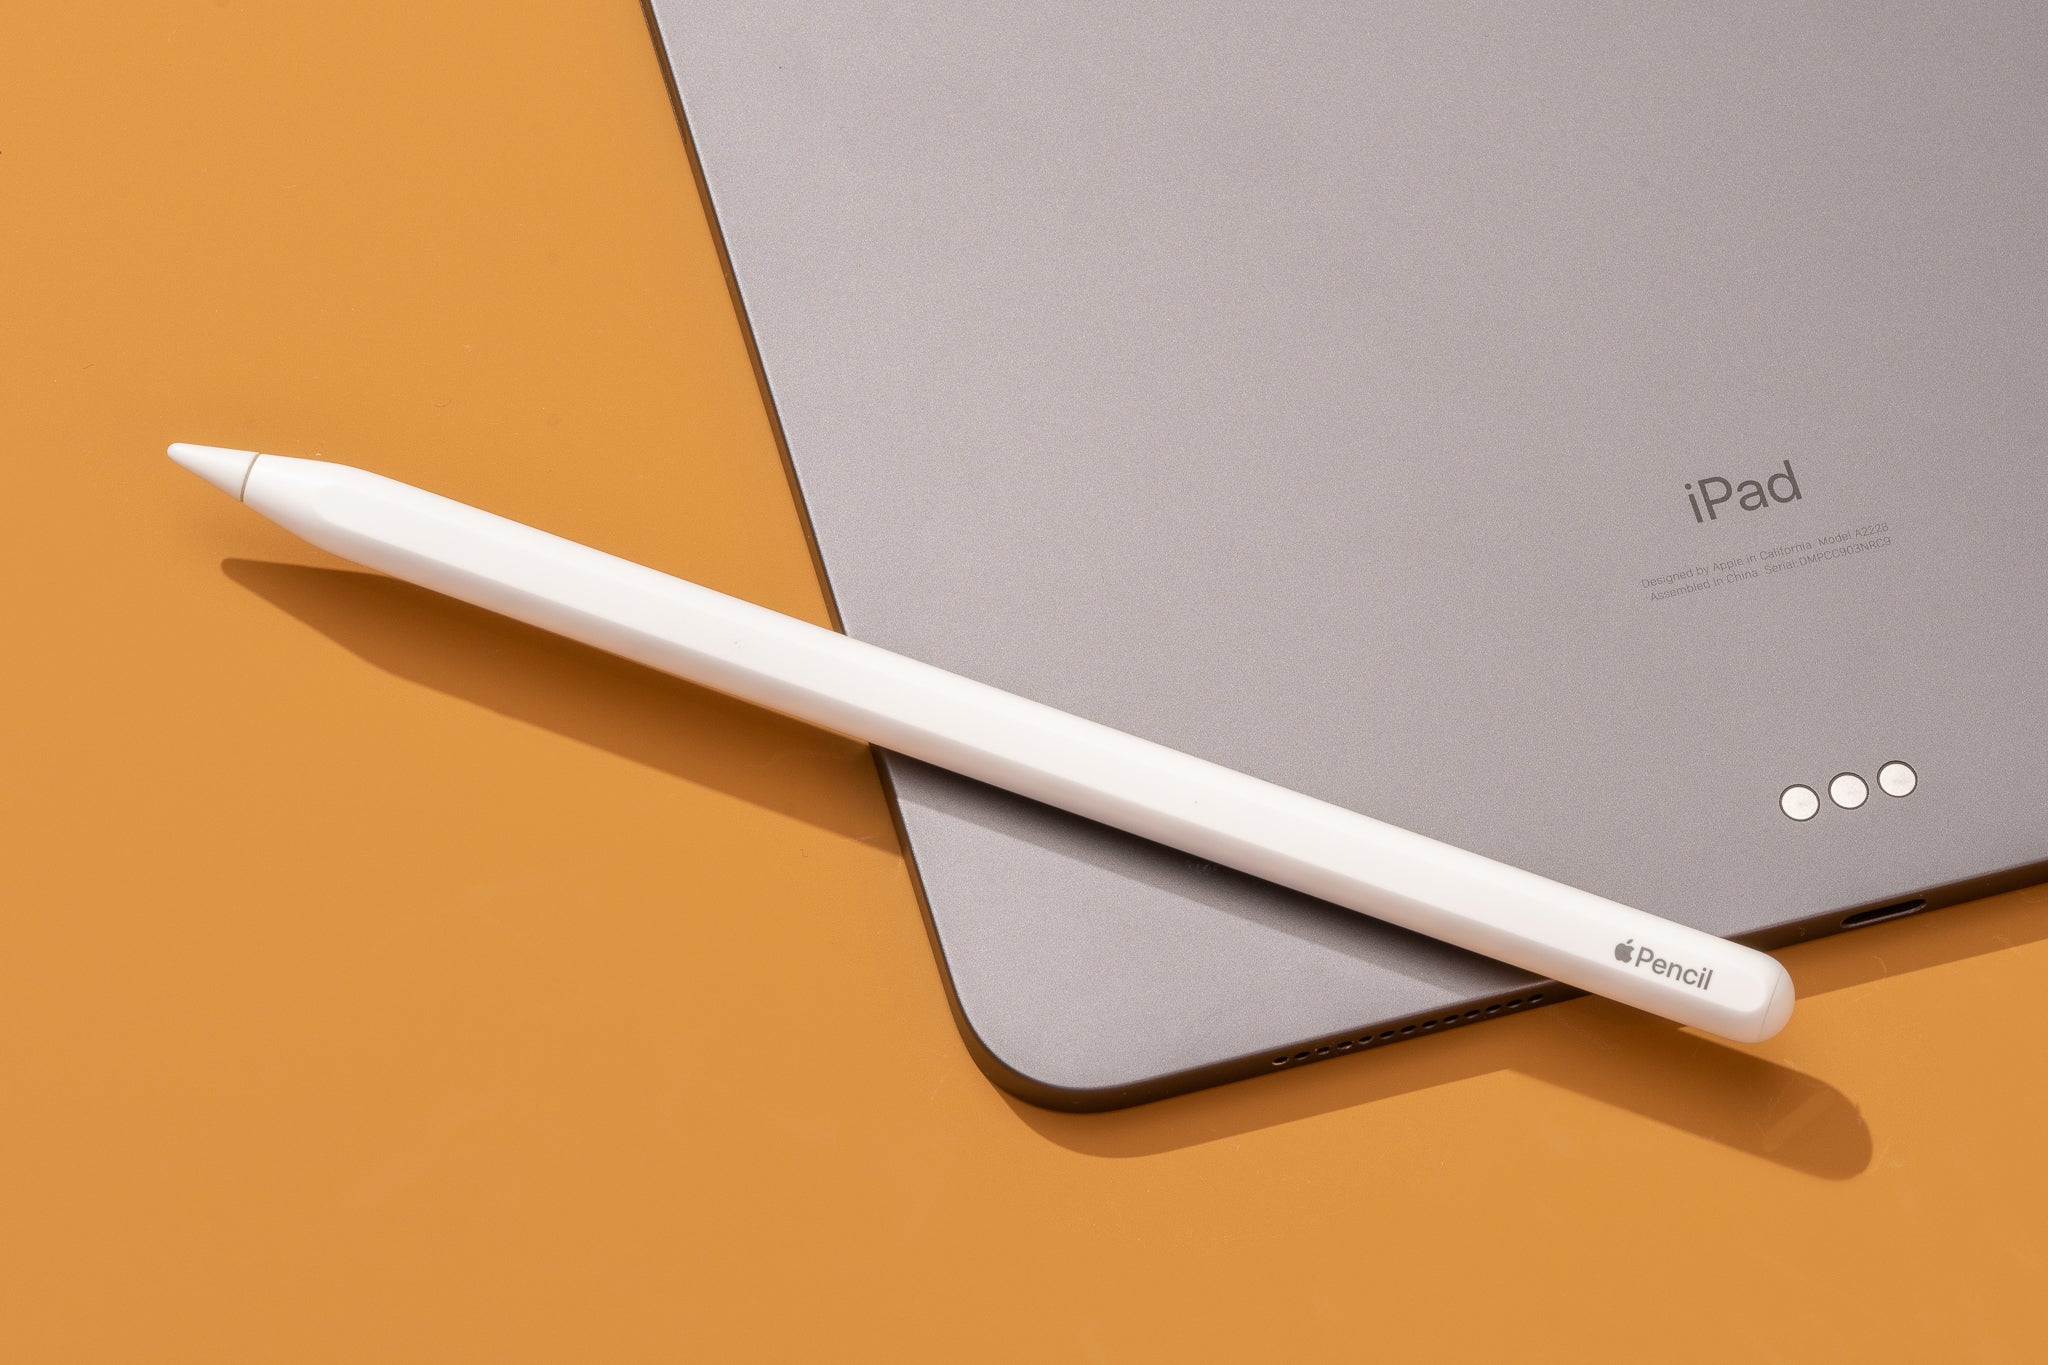
The Apple Pencil is a game-changer in the world of digital art and note-taking. Designed specifically for the iPad, this sophisticated stylus brings precision and creativity to your fingertips. Whether you’re an artist, designer, student, or simply an iPad enthusiast, the Apple Pencil can revolutionize the way you interact with your device.
With its advanced technology and sleek design, the Apple Pencil provides a seamless and intuitive experience. It allows you to draw, sketch, annotate, and navigate with unparalleled precision and control. Its pressure sensitivity, tilt recognition, and palm rejection feature make it feel like you’re using a traditional pencil or pen on paper.
In this guide, we will take you through everything you need to know about using the Apple Pencil with your iPad. We’ll cover how to pair the Apple Pencil with your device, how to charge it for optimal performance, and how to take advantage of its features with popular apps like Notes, Procreate, and Adobe Photoshop. We’ll also explore how to customize the Apple Pencil settings to suit your preferences and troubleshoot common issues that may arise along the way.
Whether you’re a professional artist looking to take your digital creations to the next level, a student aiming for neat and organized handwritten notes, or someone who simply appreciates the tactile experience of drawing and writing, the Apple Pencil has something to offer everyone. Its seamless integration with the iPad and incredible precision make it a powerful tool for unleashing your creativity and enhancing your productivity.
So, let’s dive into the world of the Apple Pencil and explore the endless possibilities it brings. Get ready to unlock your artistic potential and discover a whole new way of interacting with your iPad.
Getting Started
Before you start using the Apple Pencil, there are a few things you need to do to ensure a smooth and seamless experience. Let’s walk through the steps to get your Apple Pencil up and running.
First, make sure your iPad is compatible with the Apple Pencil. The Apple Pencil is compatible with several iPad models, including the iPad Pro (both 11-inch and 12.9-inch), the iPad Air (3rd generation), and the iPad (6th generation or later). Check the Apple website or your iPad’s specifications to confirm compatibility.
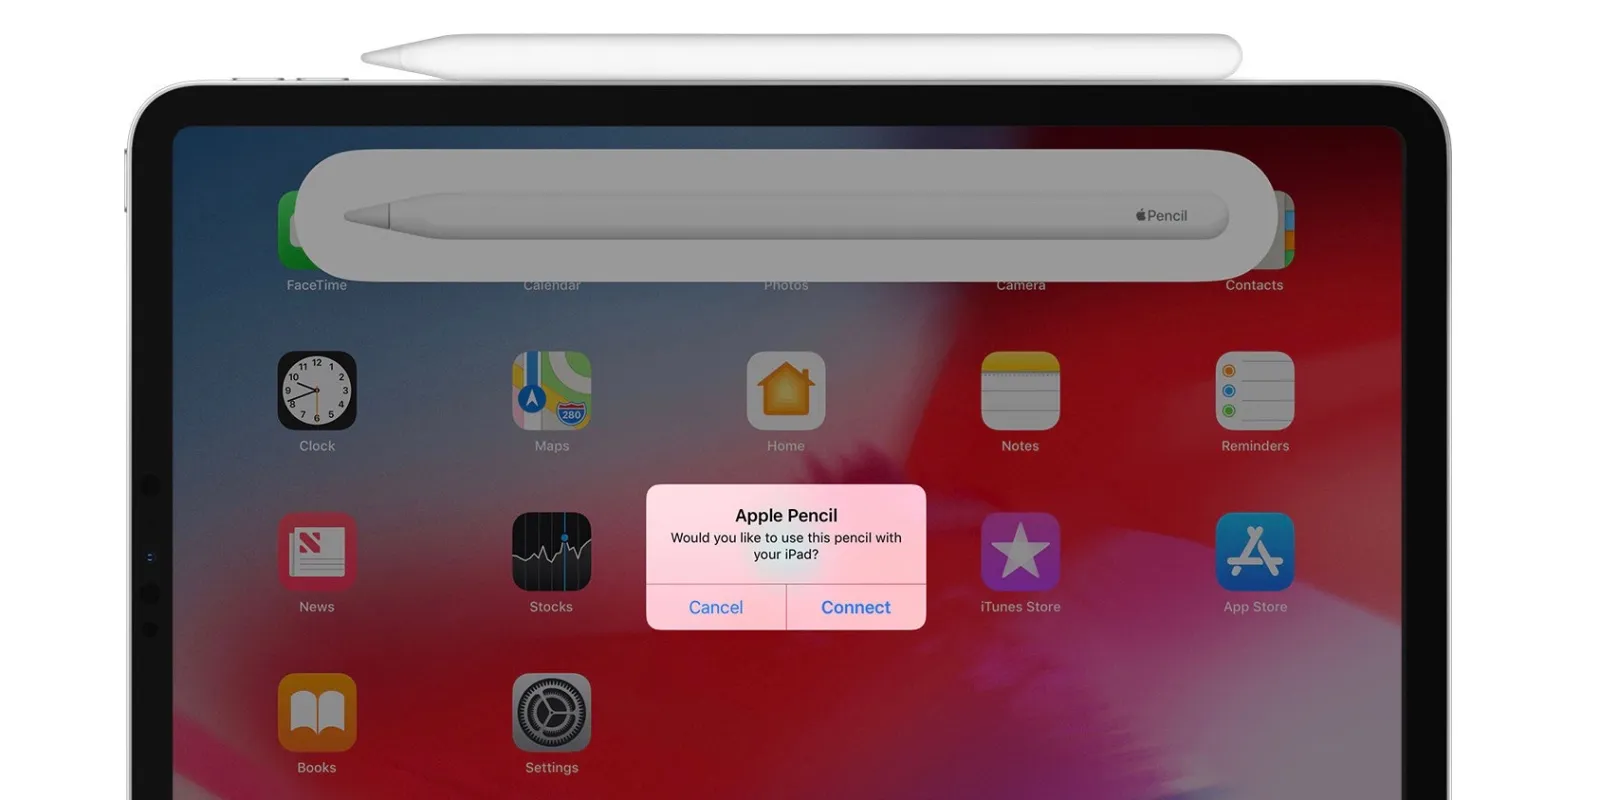
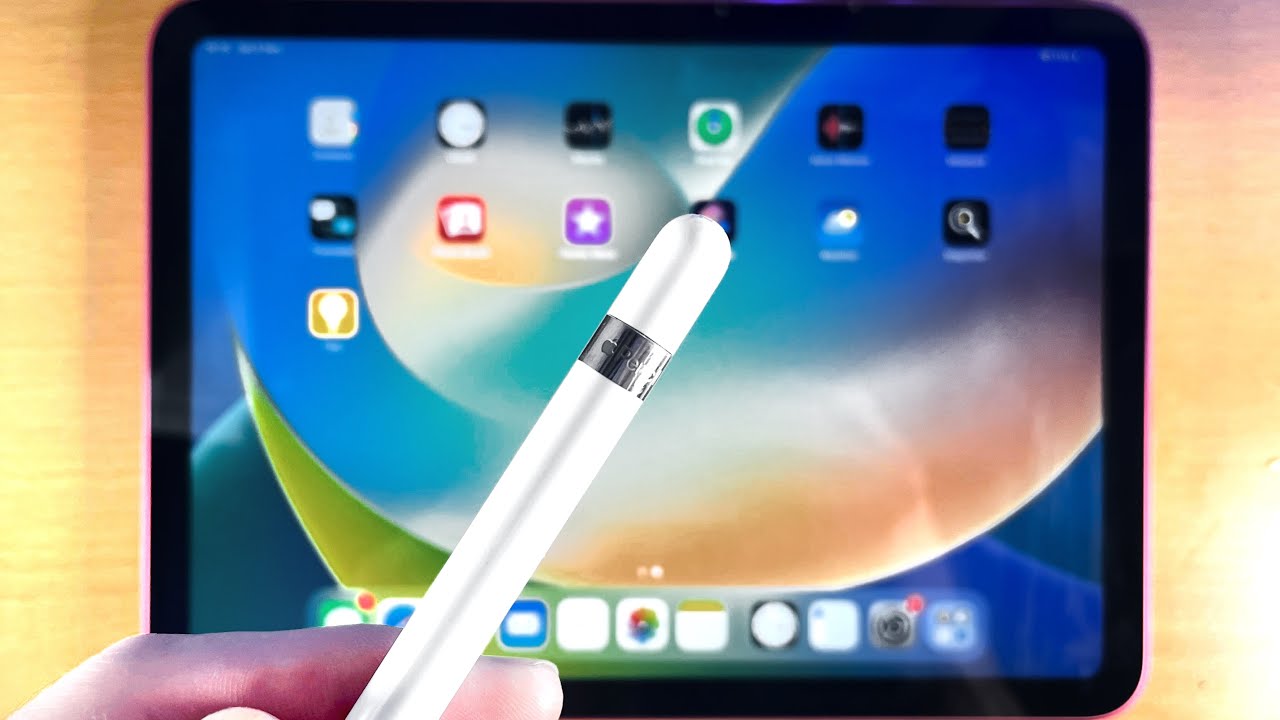
Once you’ve confirmed compatibility, it’s time to pair your Apple Pencil with your iPad. To do this, remove the cap from the end of the Apple Pencil and plug it into the Lightning port on your iPad. A notification will appear on your screen, prompting you to pair the Apple Pencil. Simply follow the on-screen instructions to complete the pairing process.
After successfully pairing your Apple Pencil, it’s important to ensure that it is charged for optimal performance. To charge the Apple Pencil, you have two options. The first option is to connect it directly to your iPad’s Lightning port. Simply remove the cap from the Apple Pencil and plug it into the Lightning port on your iPad. The second option is to use the optional Apple Pencil Charging Adapter. Connect the adapter to a Lightning cable, then plug the Apple Pencil into the adapter. Whichever method you choose, make sure to leave the Apple Pencil connected until it reaches a sufficient charge.
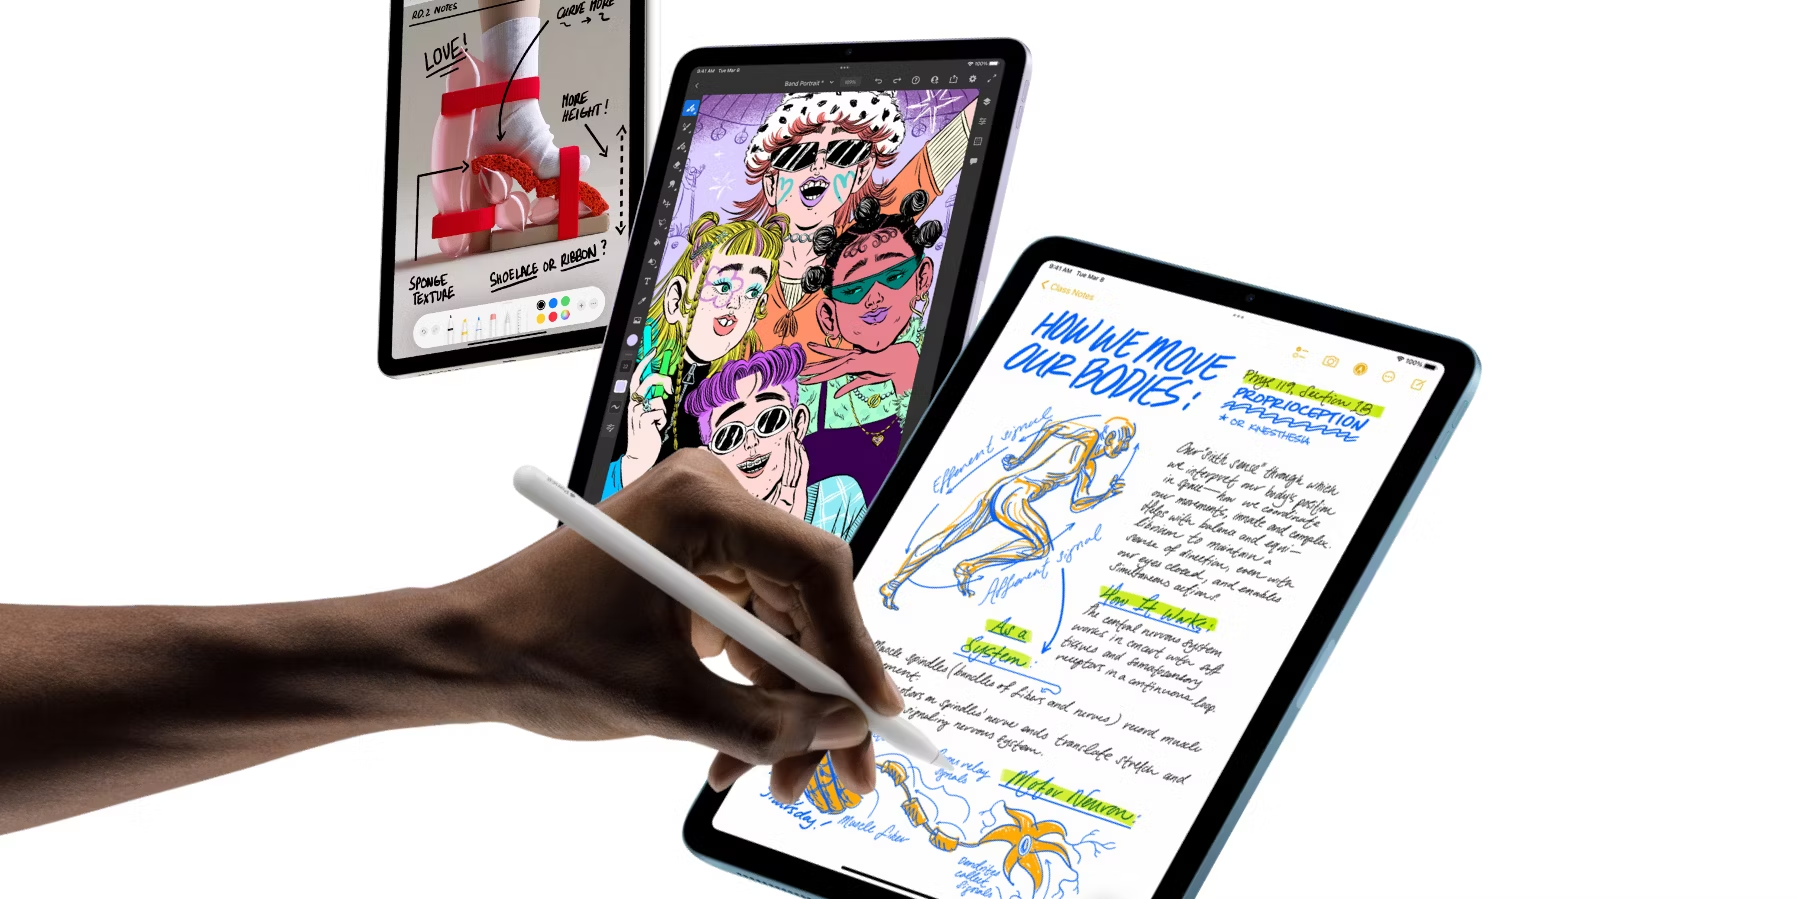
Once your Apple Pencil is paired and charged, you can start using it with various apps on your iPad. The Apple Pencil works seamlessly with apps like Notes, which allows you to take handwritten notes, sketch, and annotate with ease. Simply open the Notes app, select a new note, and start writing or drawing with your Apple Pencil. You can also customize your writing tools and choose from different pen styles and colors.
If you’re an artist or designer, you’ll be thrilled to know that the Apple Pencil is supported by popular creative apps like Procreate and Adobe Photoshop. These apps offer a wide range of drawing and editing tools, allowing you to create stunning digital art with precision and detail. Install these apps from the App Store, open a new canvas, and let your creativity flow with the Apple Pencil.
In the next sections, we will explore in-depth how to use the Apple Pencil with specific apps and how to customize its settings to suit your preferences. But before we get into the details, make sure you have successfully paired and charged your Apple Pencil, as these steps are essential for a seamless and enjoyable experience.
Pairing the Apple Pencil with your iPad
Pairing the Apple Pencil with your iPad is a quick and straightforward process. Once paired, you’ll be able to seamlessly use the Apple Pencil with your device. Here’s how to do it:
1. Remove the cap from the end of your Apple Pencil. You’ll find the Lightning connector that will be used for pairing.
2. Locate the Lightning port on your iPad. It may be at the bottom or side, depending on the model.
3. Gently insert the Lightning connector of the Apple Pencil into the Lightning port of your iPad. Take care not to force it or insert it at an angle.
4. A notification will appear on your iPad’s screen, asking if you want to pair the Apple Pencil. Tap on “Pair” to proceed.
5. If prompted, follow any additional on-screen instructions to complete the pairing process. This may involve tapping, confirming, or providing permission.
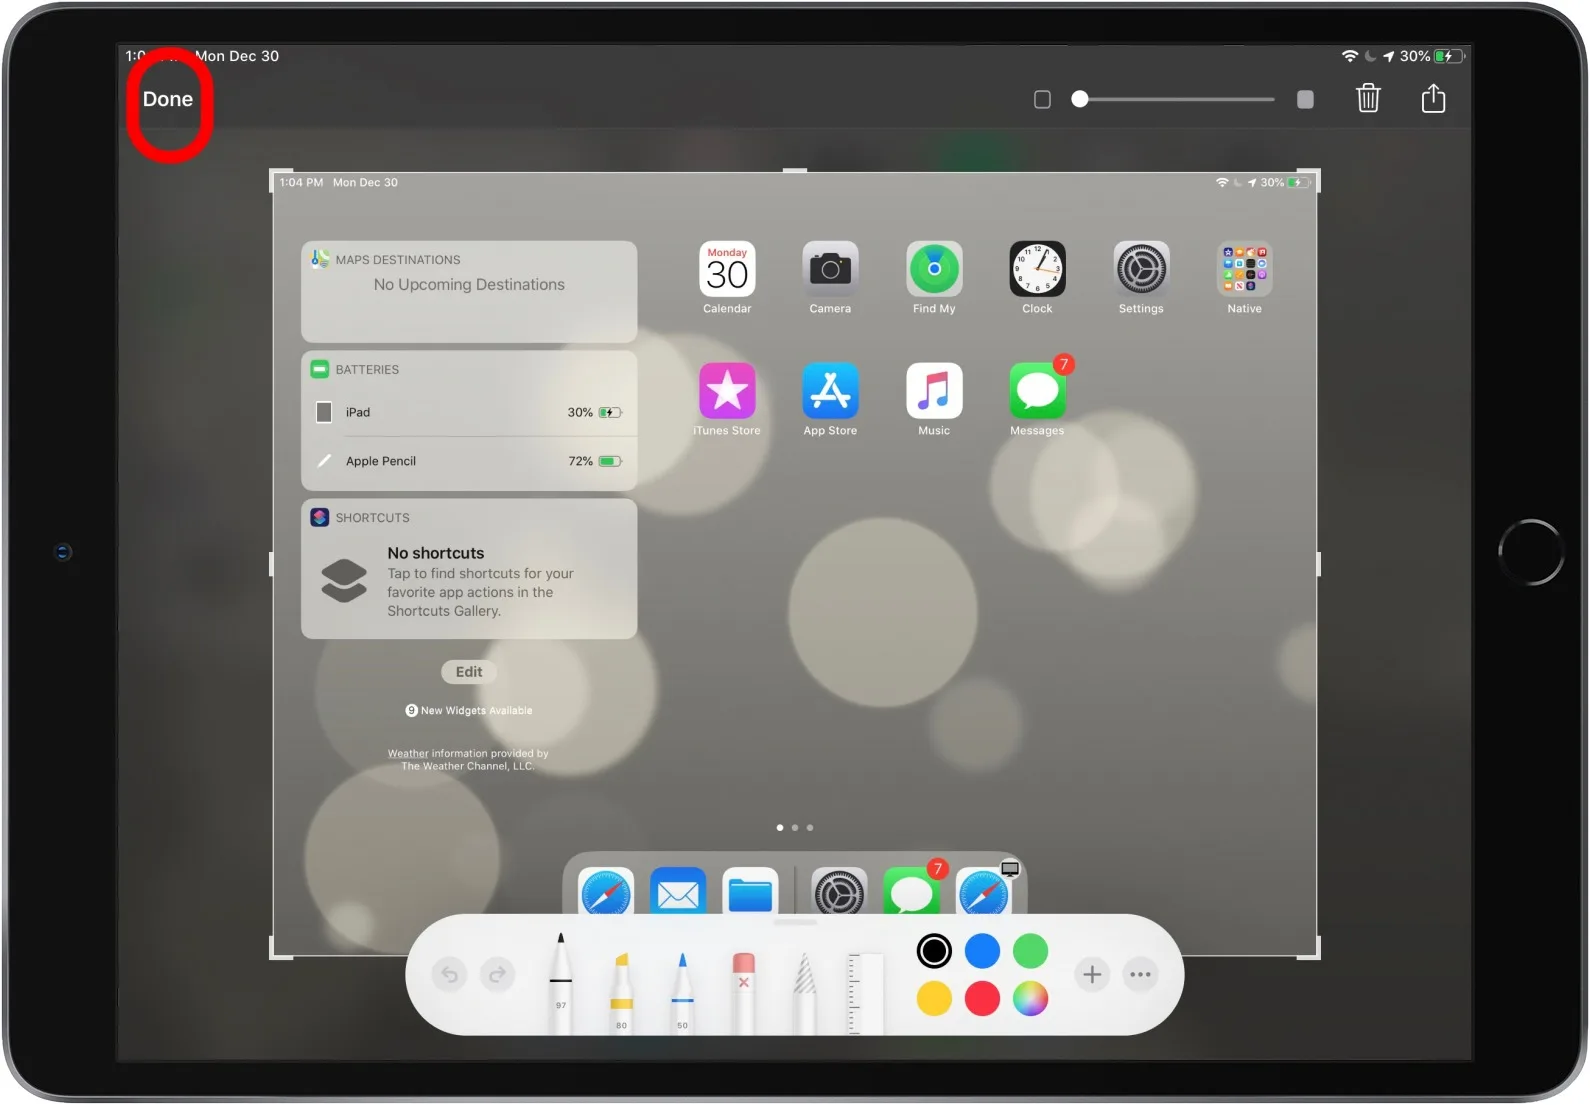
6. Once paired, you’ll see a small battery icon in the iPad’s status bar, indicating the Apple Pencil’s battery level.
That’s it! Your Apple Pencil is now successfully paired with your iPad, and you’re ready to unleash its full potential.
It’s worth noting that the pairing process may slightly differ depending on the iPad model and iOS version. For example, some newer iPad models (such as the iPad Pro 2020) support a different pairing method called “tap to pair.” In this case, you can simply tap the Apple Pencil on the side of the iPad to initiate the pairing process. However, the general steps outlined above should work for most iPad models.
If, for some reason, the pairing process doesn’t go smoothly, make sure your iPad and Apple Pencil are charged. Sometimes, a low battery level can cause issues with pairing. Additionally, ensure that Bluetooth is enabled on your iPad by going to Settings > Bluetooth and toggling the switch to “On.”
Pairing the Apple Pencil with your iPad is an essential step to take full advantage of its capabilities. Once paired, you’ll be able to enjoy precise and fluid input across various apps, making the Apple Pencil an indispensable tool for creative endeavors, note-taking, and more.
Charging the Apple Pencil
To ensure that your Apple Pencil is always ready for use, it’s important to understand how to properly charge it. The Apple Pencil charges quickly and conveniently, allowing you to spend more time creating and less time worrying about battery life. Here’s everything you need to know about charging the Apple Pencil:
1. There are two methods to charge the Apple Pencil. The first method is to plug it directly into your iPad. Simply remove the cap from the end of the Apple Pencil and insert the Lightning connector into the Lightning port of your iPad. The Apple Pencil will start charging automatically. It’s worth noting that some older iPad models may require using an optional Apple Pencil Charging Adapter to connect the Apple Pencil to a Lightning cable.
2. The second method to charge the Apple Pencil is to use the optional Apple Pencil Charging Adapter. This adapter allows you to connect the Apple Pencil to a Lightning cable directly. Connect the adapter to a Lightning cable, then plug the Apple Pencil into the adapter. This method is useful if you don’t want to attach the Apple Pencil directly to your iPad while charging.
3. While charging, you can monitor the battery level by checking the notification center on your iPad or by looking for the battery icon in the status bar. If the battery icon displays a lightning bolt, it means the Apple Pencil is currently charging.
4. When the Apple Pencil is fully charged, it can provide up to 12 hours of battery life. However, it’s important to note that the actual battery life may vary depending on usage and settings. For example, using features like pressure sensitivity and palm rejection may impact the battery performance.
5. If you’re in a hurry and need a quick boost of power, you can use the “Fast Charging” feature. Connect the Apple Pencil to your iPad for just 15 seconds, and it will provide up to 30 minutes of use. This feature is especially useful if you’re in the middle of a creative project and don’t have much time to spare.
Remember to charge your Apple Pencil regularly, especially if you anticipate a long period of use. As with any electronic device, it’s always best to start a creative session or note-taking session with a fully charged Apple Pencil. By doing so, you can enjoy uninterrupted and hassle-free performance.
To extend the lifespan of your Apple Pencil’s battery, Apple recommends storing it in a cool and dry place when not in use. Avoid exposing it to extreme temperatures or leaving it plugged in for an extended period. Following these guidelines will help optimize the battery performance and ensure that your Apple Pencil is always ready when inspiration strikes.
Using the Apple Pencil with Notes
One of the best features of the Apple Pencil is its seamless integration with the built-in Notes app on your iPad. With the Apple Pencil, taking handwritten notes, sketching, and annotating becomes a breeze. Here’s how you can make the most out of the Apple Pencil in the Notes app:
1. Open the Notes app on your iPad. If you don’t have it installed, you can download it for free from the App Store.
2. Create a new note by tapping the “+ New Note” button or open an existing note that you’d like to work on.
3. To start writing or drawing with the Apple Pencil, simply tap on the screen with the Apple Pencil. The Notes app recognizes the Apple Pencil and instantly switches to the drawing mode.
4. Experiment with different pen styles and sizes by tapping the pen icon in the toolbar. You can choose from various options like a ballpoint pen, felt-tip pen, pencil, and more. You can also customize the color of the pen by tapping on the color palette icon.
5. As you write or draw, the Apple Pencil offers pressure sensitivity, which means that the lines you create will become thicker or thinner based on the pressure you apply. This feature allows for more precise and natural-looking strokes.
6. The Apple Pencil also supports tilt recognition, giving you even more control over your drawings. By tilting the Apple Pencil, you can create shading effects, just like you would with a traditional pencil or pen.
7. If you make a mistake or want to erase something, simply use the eraser tool in the toolbar. You can switch to the eraser by tapping the eraser icon or use the Apple Pencil’s tip to erase specific areas.
8. To add text to your notes, tap the keyboard icon in the toolbar. This allows you to type directly into your note, which is especially useful for adding headings, captions, or additional information to your handwritten content.
9. The Notes app also supports the powerful “Markup” feature, which enables you to annotate images or PDFs with the Apple Pencil. Simply tap the image or PDF you’d like to mark up, select the Markup icon, and start annotating directly on the screen.
10. Once you’ve finished creating or editing your note, you have several options to save or share it. Tap the share icon in the toolbar to export your note as a PDF, image, or share it via email or other messaging apps. You can also use iCloud to sync your notes across all your devices seamlessly.
The combination of the Apple Pencil and the Notes app transforms your iPad into a powerful tool for note-taking, brainstorming, and visual communication. Whether you’re a student taking lecture notes, a professional jotting down ideas, or an artist expressing your creativity, the Apple Pencil makes the experience more natural, fluid, and enjoyable.
Using the Apple Pencil with Procreate
Procreate is a popular and powerful drawing and painting app for the iPad that is highly compatible with the Apple Pencil. If you’re an artist looking to take your digital creations to the next level, Procreate is a must-have app. Here’s how you can make the most out of the Apple Pencil when using Procreate:
1. Start by downloading and installing the Procreate app from the App Store if you haven’t already done so. Once it’s installed, open the app on your iPad to get started.
2. Create a new canvas by tapping the “+” button or select an existing canvas if you have one saved. Procreate offers a wide range of canvas sizes and presets to choose from, ensuring that you have the perfect canvas for your artwork.
3. With the Apple Pencil, you can unleash your creativity with Procreate’s extensive range of brushes and tools. Explore the brush library to find the perfect brush for your artwork. Procreate offers a vast selection of brushes, including pencils, inks, paints, and more. To change the brush, simply tap on the brush icon in the toolbar and select a new brush from the library.
4. Take advantage of the Apple Pencil’s pressure sensitivity to create dynamic and expressive strokes. Apply more pressure for bolder lines or gentle strokes for finer details. This level of control allows for a more realistic and natural drawing experience.
5. Procreate also offers a range of advanced features that can enhance your artwork. Experiment with features like layering, blending modes, and custom brushes to achieve unique effects and textures. Don’t be afraid to explore and try out different combinations to find your artistic style.
6. To zoom in or out on your canvas, simply pinch with two fingers. This allows for precise detailing and a closer look at your artwork.
7. If you need to make corrections or erase part of your artwork, use the eraser tool in the toolbar. You can select different eraser brushes or adjust the size and opacity of the eraser for more precise erasing.
8. To undo or redo actions, simply tap the arrow icons located in the top right corner of the screen. This allows you to easily correct mistakes or experiment with different ideas without fear of permanent changes.
9. Procreate also supports various gestures and shortcuts to speed up your workflow. For example, you can use a two-finger swipe to quickly undo or redo actions. Familiarize yourself with these gestures to make the most of your time and productivity.
10. Once your artwork is complete, you can export it in various formats, such as PNG, JPEG, or even as a layered PSD file. Procreate also offers the option to share your artwork directly to social media platforms or send it to other apps for further editing or printing.
With the Apple Pencil and Procreate combined, you have a powerful digital art studio at your fingertips. Whether you’re a professional artist, an aspiring illustrator, or simply a creative enthusiast, Procreate and the Apple Pencil enable you to explore and express your artistic talent in a whole new way.
Using the Apple Pencil with Adobe Photoshop
Adobe Photoshop, the industry-standard software for image editing and graphic design, is fully compatible with the Apple Pencil on the iPad. With the Apple Pencil and Photoshop, you can unleash your creativity and take your digital artwork to new heights. Here’s how you can make the most out of the Apple Pencil when using Adobe Photoshop:
1. Begin by downloading and installing the Adobe Photoshop app from the App Store if you haven’t already done so. Once the app is installed, open it on your iPad to get started.
2. Create a new canvas by tapping the “+” button or open an existing project if you have one. Adobe Photoshop provides a wide range of canvas sizes and resolutions, allowing you to work on projects of any scale.
3. To start drawing or painting with the Apple Pencil, select a brush from the toolbar. Adobe Photoshop offers a vast selection of brushes, including various painting styles, textures, and effects. Experiment with different brushes to find the perfect one for your artwork. You can adjust brush parameters like size, opacity, and flow to achieve the desired effect.
4. Take advantage of the Apple Pencil’s pressure sensitivity for precise control over brush strokes. Apply more pressure for thicker lines or lighter pressure for thinner lines, just like you would with a traditional pen or brush. This level of control allows for an intuitive and natural drawing experience.
5. Utilize Photoshop’s layers feature for non-destructive editing. Organize your artwork into different layers, allowing you to make adjustments and edits without affecting the rest of your composition. The layers panel is easily accessible and gives you the freedom to experiment and fine-tune your artwork.
6. If you need to make corrections or erase parts of your artwork, use the eraser tool located in the toolbar. The Apple Pencil provides precision erasing capabilities, allowing you to selectively erase areas and refine your work. You can also adjust the eraser size and hardness for more control.
7. Adobe Photoshop offers various selection tools and shapes that can be used in conjunction with the Apple Pencil. Whether you want to create intricate masks, precise selections, or geometric shapes, the combination of the Apple Pencil and Photoshop’s tools gives you the flexibility to achieve your desired results.
8. Zoom in and out of your canvas to work on finer details or get an overview of your artwork. Use pinch gestures with two fingers to zoom in and out, or use Photoshop’s zoom tools for precise control over your composition.
9. Save or export your artwork in different file formats such as JPEG, PNG, or PSD. You can also easily share your artwork directly from the app to social media platforms or other compatible apps for further editing or printing.
With Adobe Photoshop and the Apple Pencil, the possibilities for digital art and design are endless. Whether you’re a professional graphic designer, a digital artist, or a creative enthusiast, this powerful combination allows you to create stunning and professional-grade artwork on your iPad.
Editing and Customizing the Apple Pencil Settings
One of the benefits of using the Apple Pencil with your iPad is the ability to customize its settings to suit your preferences. Apple provides several options for editing and customizing the Apple Pencil settings. Here’s how you can tailor the Apple Pencil experience to your liking:
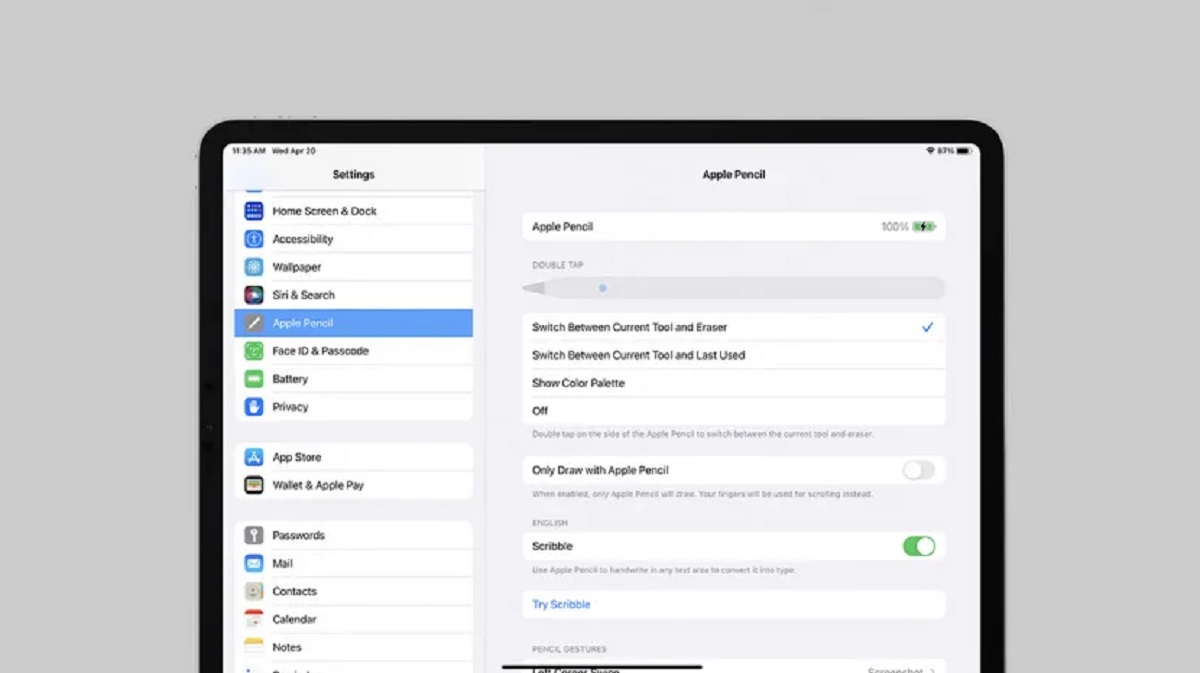
1. To access the Apple Pencil settings, go to the iPad’s Settings app and scroll down to “Apple Pencil” or “Pencil” in the menu on the left.
2. In the Apple Pencil settings, you’ll find various options for customization. The first option is “Double Tap.” This feature allows you to assign a function to the Apple Pencil’s double-tap gesture. You can choose from a range of actions like switching between tools, activating the eraser, undoing or redoing actions, or even bringing up the color palette. Select the option that best suits your workflow and style of drawing.
3. The next setting is “Sensitivity.” This option allows you to adjust the sensitivity of the Apple Pencil for pressure and tilt recognition. You can fine-tune how much pressure or tilt is needed to achieve thicker or thinner lines, as well as the angle at which the Apple Pencil registers tilt. Experiment with different sensitivity settings to find the sweet spot that feels most comfortable and intuitive for your drawing style.
4. The “Hand” settings allow you to choose between right-handed or left-handed orientation. This option adjusts the touch rejection to accommodate the position of your hand to prevent accidental input while drawing. Select the appropriate setting based on your dominant hand.
5. Additionally, you can enable or disable the “Palm Rejection” feature. Palm rejection ensures that only the Apple Pencil’s input is registered when you’re drawing or writing, while ignoring any accidental touches from your palm or resting hand.
6. The “Firmware Update” option allows you to check for and install any available updates for the Apple Pencil. Keeping the Apple Pencil’s firmware up to date ensures that you have the latest features and performance enhancements.
7. Lastly, you can customize the behavior of the Apple Pencil in specific apps. Some apps have their own set of Apple Pencil settings that override the general settings. If you use specific apps frequently and want a different Apple Pencil experience within those apps, check if they offer custom settings and adjust them accordingly.
Remember that not all iPad models or iOS versions may have access to all the customization options mentioned above. Apple occasionally introduces new features and settings with software updates, so make sure to keep your iPad and Apple Pencil up to date to take advantage of the latest enhancements.
Customizing the Apple Pencil settings allows you to tailor the drawing experience to your unique preferences. Whether you prioritize functionality, comfort, or precision, tweaking these settings ensures that your Apple Pencil works seamlessly with your preferred drawing apps and suits your personal artistic style.
Troubleshooting Common Issues
While the Apple Pencil is a reliable and powerful tool, you may encounter some common issues along the way. Here are a few troubleshooting tips to help you resolve them:
1. If your Apple Pencil is not working or not responding, make sure it is properly paired with your iPad. Go to the Settings app, select “Bluetooth,” and check if the Apple Pencil is connected. If not, remove the Apple Pencil from the Bluetooth devices list and go through the pairing process again.
2. If there is a delay or lag in your Apple Pencil’s response, try charging it to ensure it has sufficient battery levels. Also, ensure that the iPad’s software is up to date by going to the Settings app, selecting “General,” and tapping on “Software Update.”
3. Palm rejection is not working correctly: If you’re experiencing issues with palm rejection, make sure you’re using a compatible app that supports this feature. If the problem persists, try adjusting the Apple Pencil’s sensitivity settings in the iPad’s Settings app under “Apple Pencil.”
4. If the Apple Pencil’s pressure sensitivity is not functioning properly, check if the app you’re using supports pressure sensitivity. Confirm that you’re using the latest version of the app and consider restarting both the app and the iPad if the issue persists.
5. In case of intermittent functionality or erratic behavior, try removing the Apple Pencil’s tip and reattaching it firmly. Dust or debris on the tip can affect its performance, so make sure it is clean. Additionally, it’s worth restarting your iPad to ensure any temporary software glitches are resolved.
6. If the Apple Pencil’s battery drains too quickly, adjust the settings to optimize battery life, such as reducing the double-tap functionality, and lowering sensitivity settings if they are set too high. You can find these options under the Apple Pencil settings in the iPad’s Settings app.
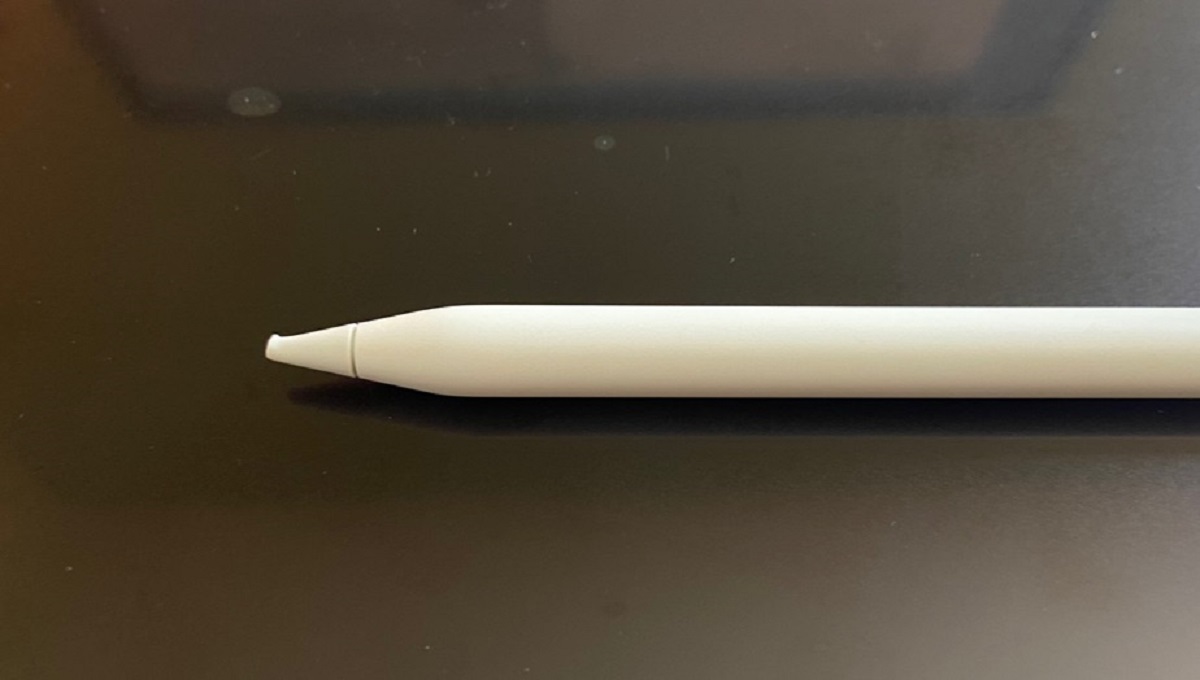
7. If the Apple Pencil’s tip wears out or gets damaged, you can replace it with a new one. Apple provides tips replacements that are specifically designed for the Apple Pencil. Simply remove the old tip by unscrewing it counterclockwise and attach the new one by screwing it in clockwise.
8. If you’re experiencing software-related issues, consider resetting your iPad’s settings by going to the Settings app, selecting “General,” then “Reset,” and choosing “Reset All Settings.” Note that this will restore the default settings on your iPad, but your data and apps will not be affected.
If none of these troubleshooting steps resolve the issue, it may be worth contacting Apple Support or visiting an authorized service center for further assistance. The experts there can provide more specific guidance tailored to your situation and help resolve any hardware-related concerns.
Remember, troubleshooting is a normal part of using any technical device, and with a little patience and the right guidance, you can overcome any challenge and continue enjoying the full potential of your Apple Pencil.
Conclusion
The Apple Pencil is an incredible tool that elevates your iPad experience, whether you’re an artist, designer, student, or someone who loves to take handwritten notes. Its seamless integration with the iPad and compatibility with various apps make it a versatile and valuable asset for unleashing your creativity, enhancing productivity, and taking digital art to new heights.
In this guide, we’ve covered everything you need to know about using the Apple Pencil. From pairing it with your iPad and charging it for optimal performance to exploring its capabilities with apps like Notes, Procreate, and Adobe Photoshop, you now have a solid foundation to begin your Apple Pencil journey.
We’ve also delved into customizing the Apple Pencil settings to suit your preferences and troubleshooting common issues that may arise. By understanding these aspects, you can ensure a smooth and enjoyable experience with your Apple Pencil.
Remember, the Apple Pencil is not just a stylus but a powerful tool that allows you to express your creativity in ways that were previously limited to traditional mediums. With its pressure sensitivity, tilt recognition, and precise control, you can create beautiful, detailed artwork, take organized notes, and collaborate seamlessly on your iPad.
So, whether you’re an experienced artist, a student looking to enhance your study materials, or someone who enjoys doodling and sketching, the Apple Pencil is a game-changer. Embrace the possibilities, unleash your imagination, and let the Apple Pencil bring your ideas to life.


