Introduction
Welcome to our guide on how to use an SSD on Xbox 360! If you’re an avid gamer looking to enhance your gaming experience and improve loading times on your Xbox 360 console, then incorporating an SSD (Solid State Drive) is a fantastic option.
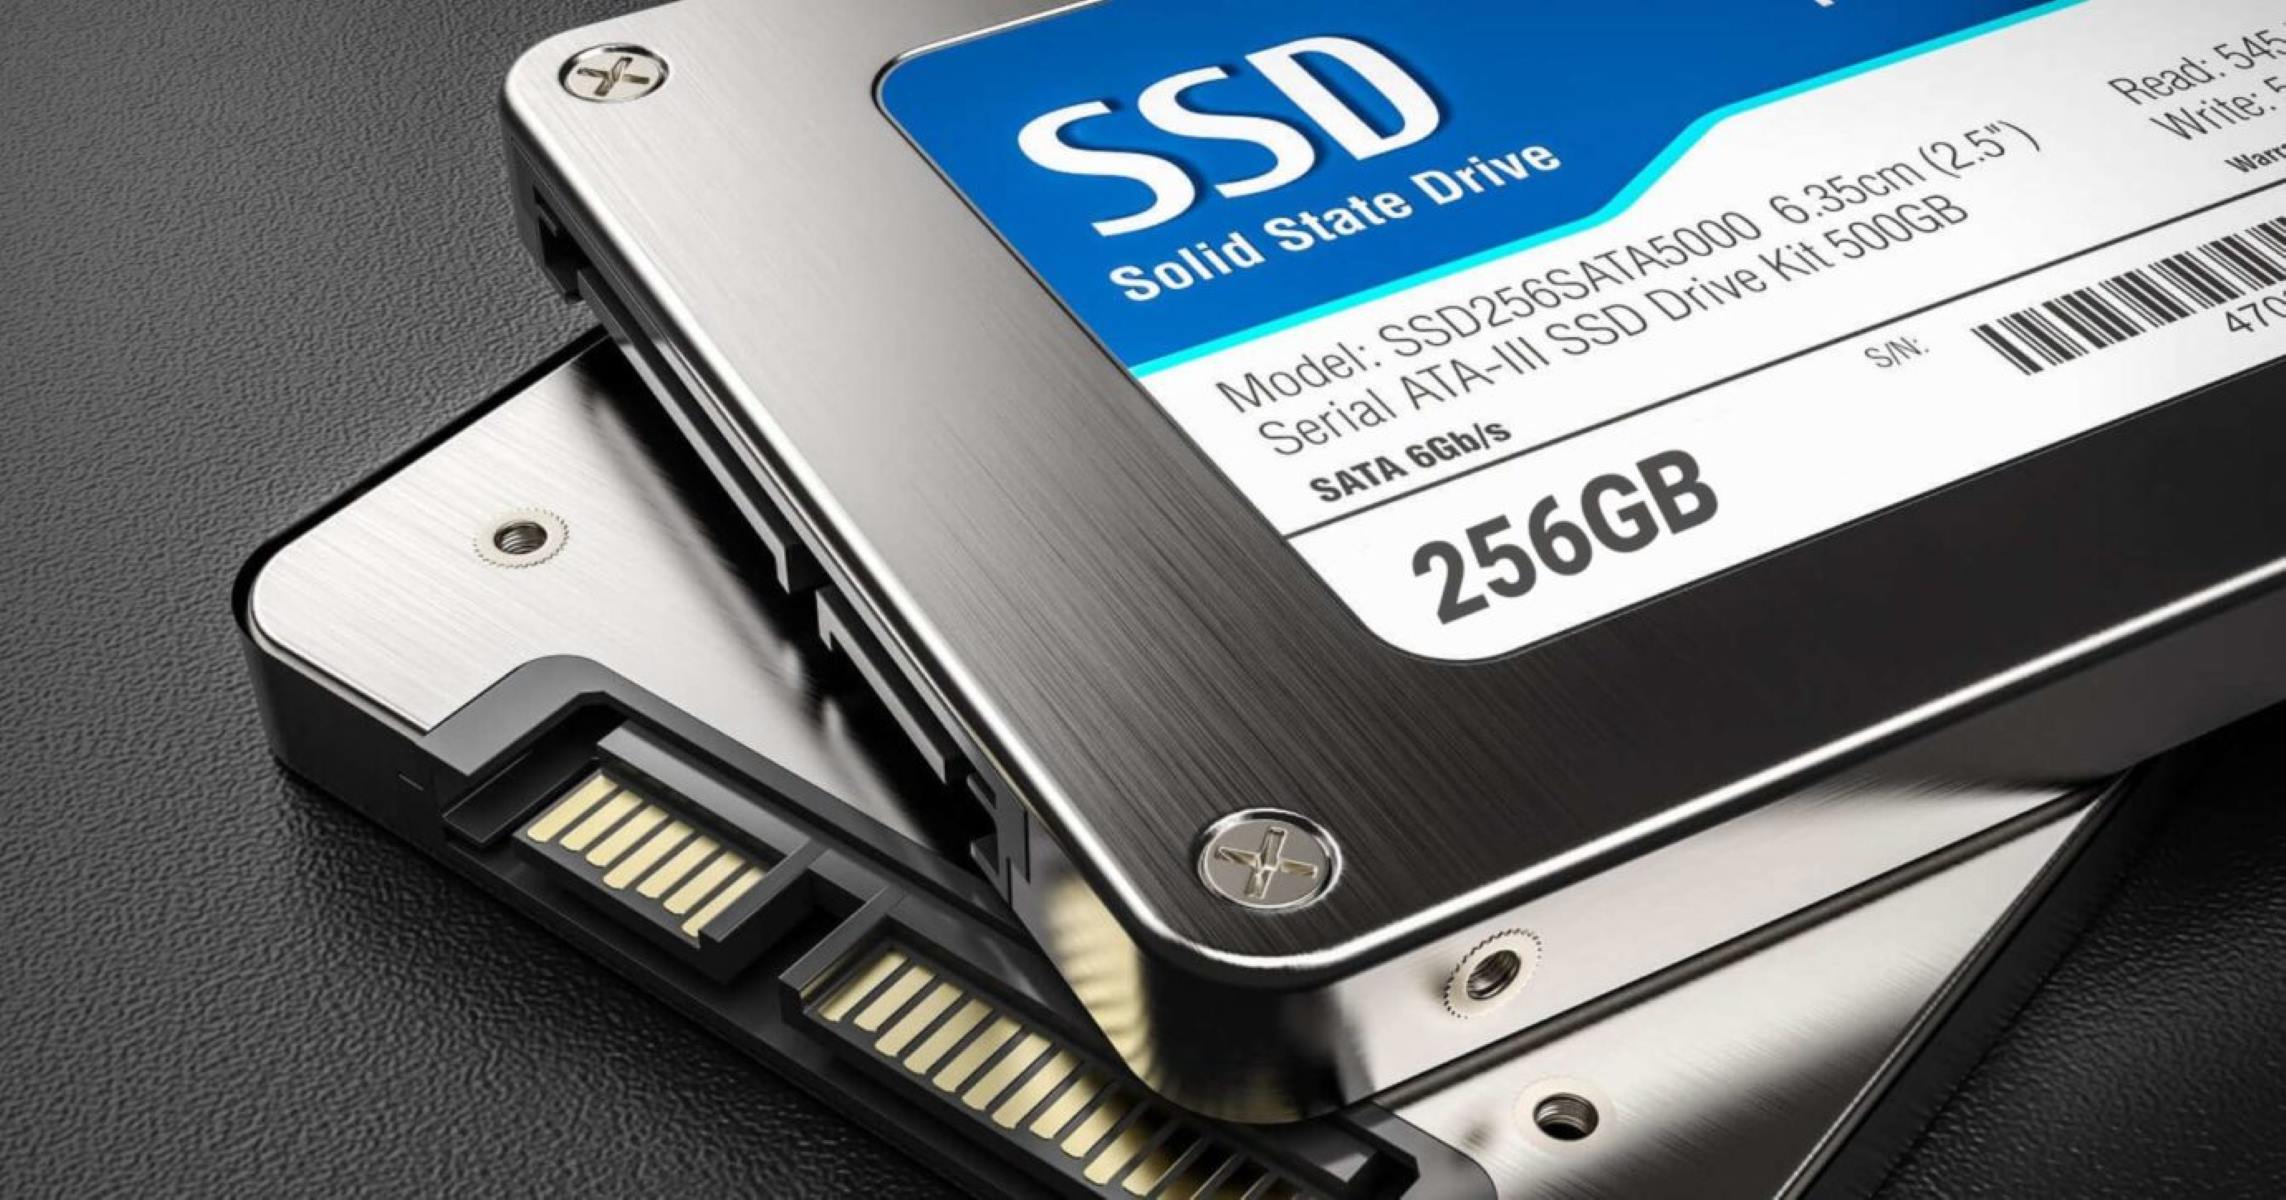
An SSD is a storage device that uses flash memory to store data on solid-state electronic circuits. Unlike traditional hard disk drives (HDDs), SSDs have no moving parts, resulting in faster data access and improved overall performance.
In this article, we will explore the benefits of using an SSD on Xbox 360, provide recommendations for compatible SSDs, and guide you through the process of setting it up. Additionally, we will share helpful tips and tricks to maximize the performance of your SSD on Xbox 360.
So, if you’re ready to take your gaming experience to the next level, let’s dive in and learn how to harness the power of an SSD on your Xbox 360 console!
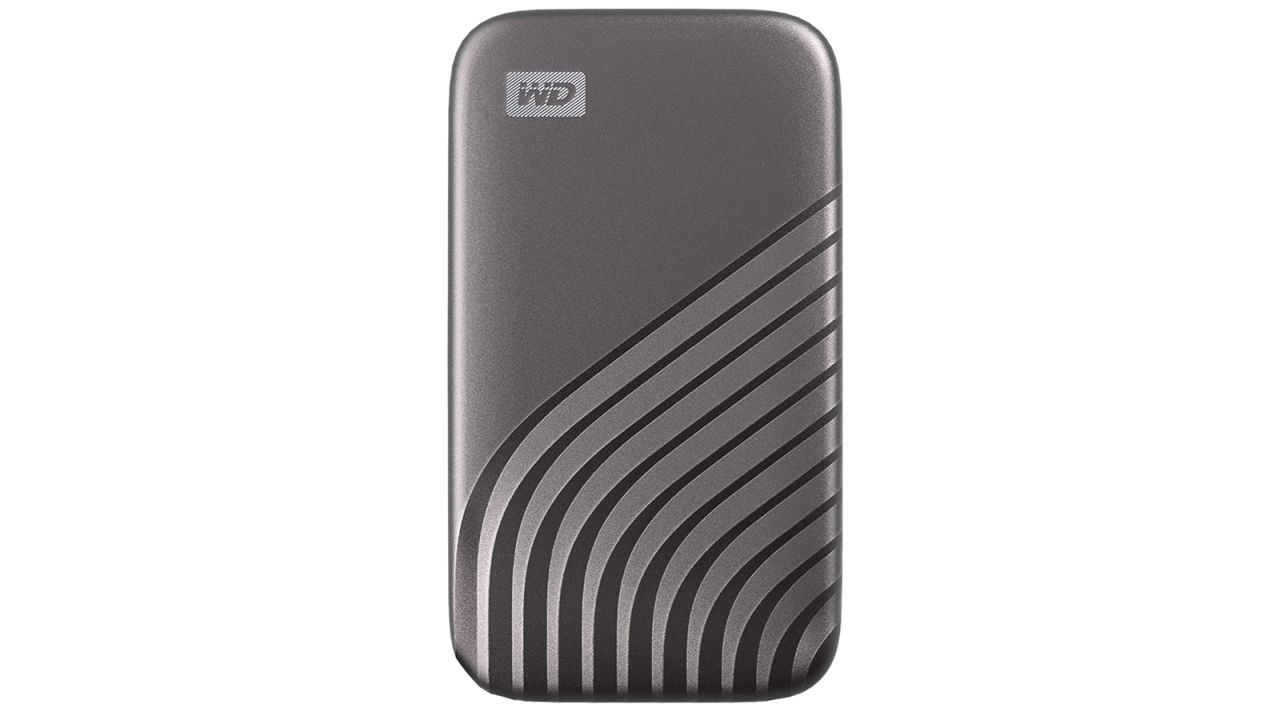
What is an SSD?
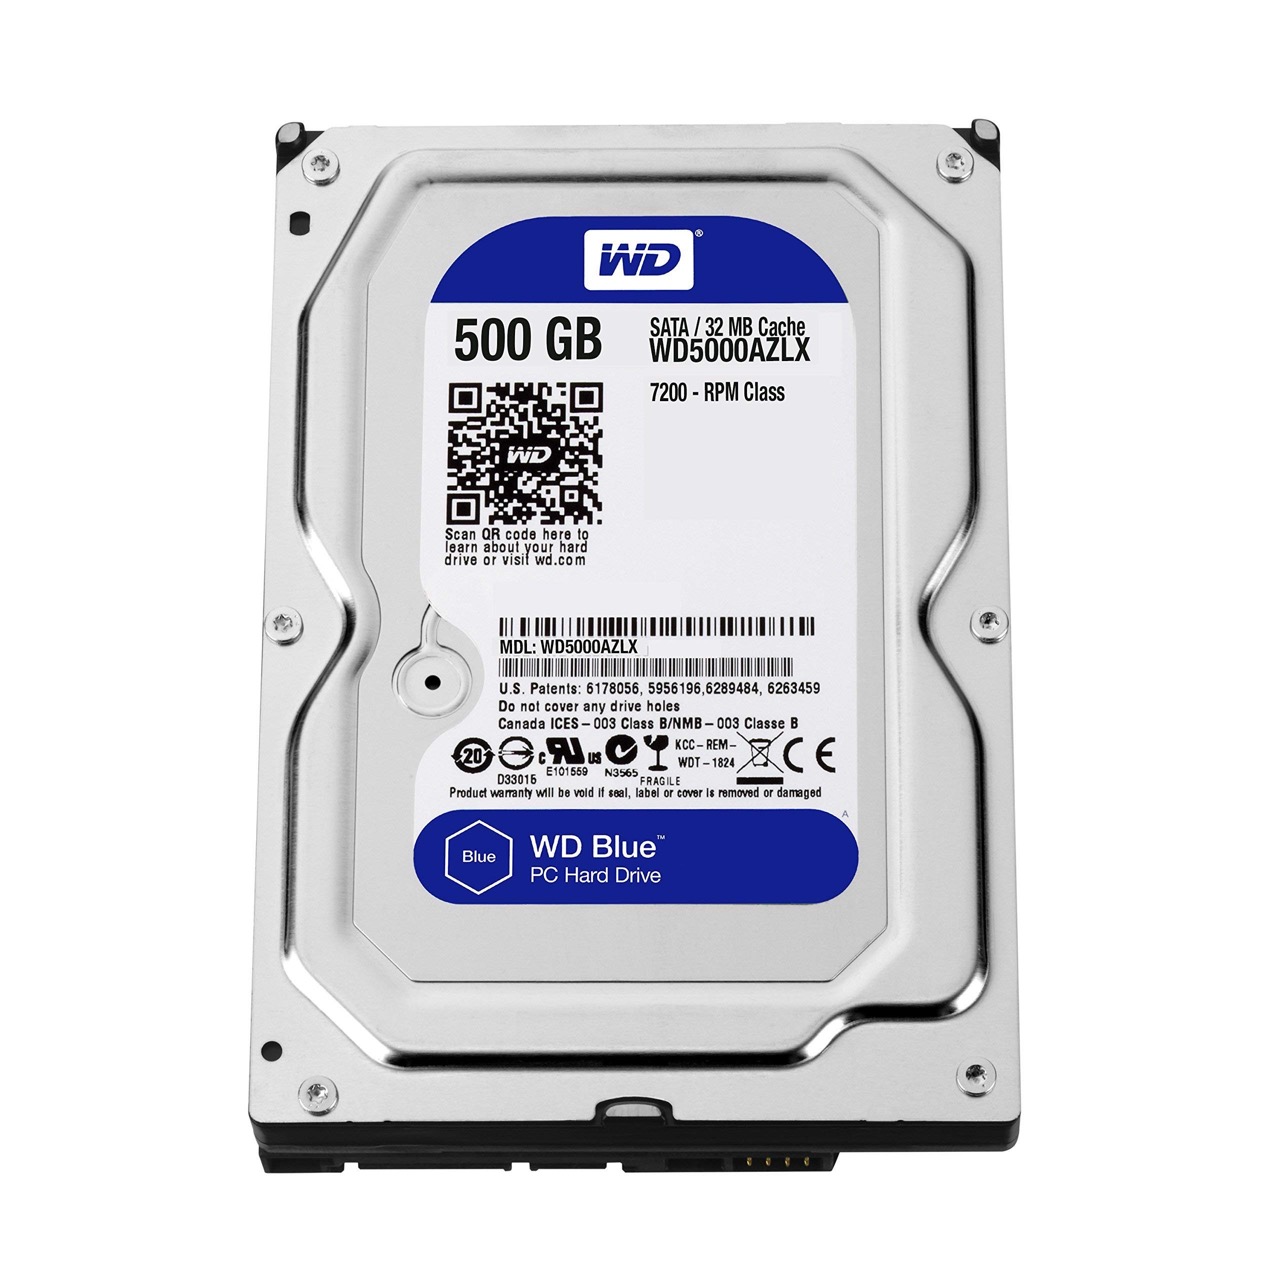
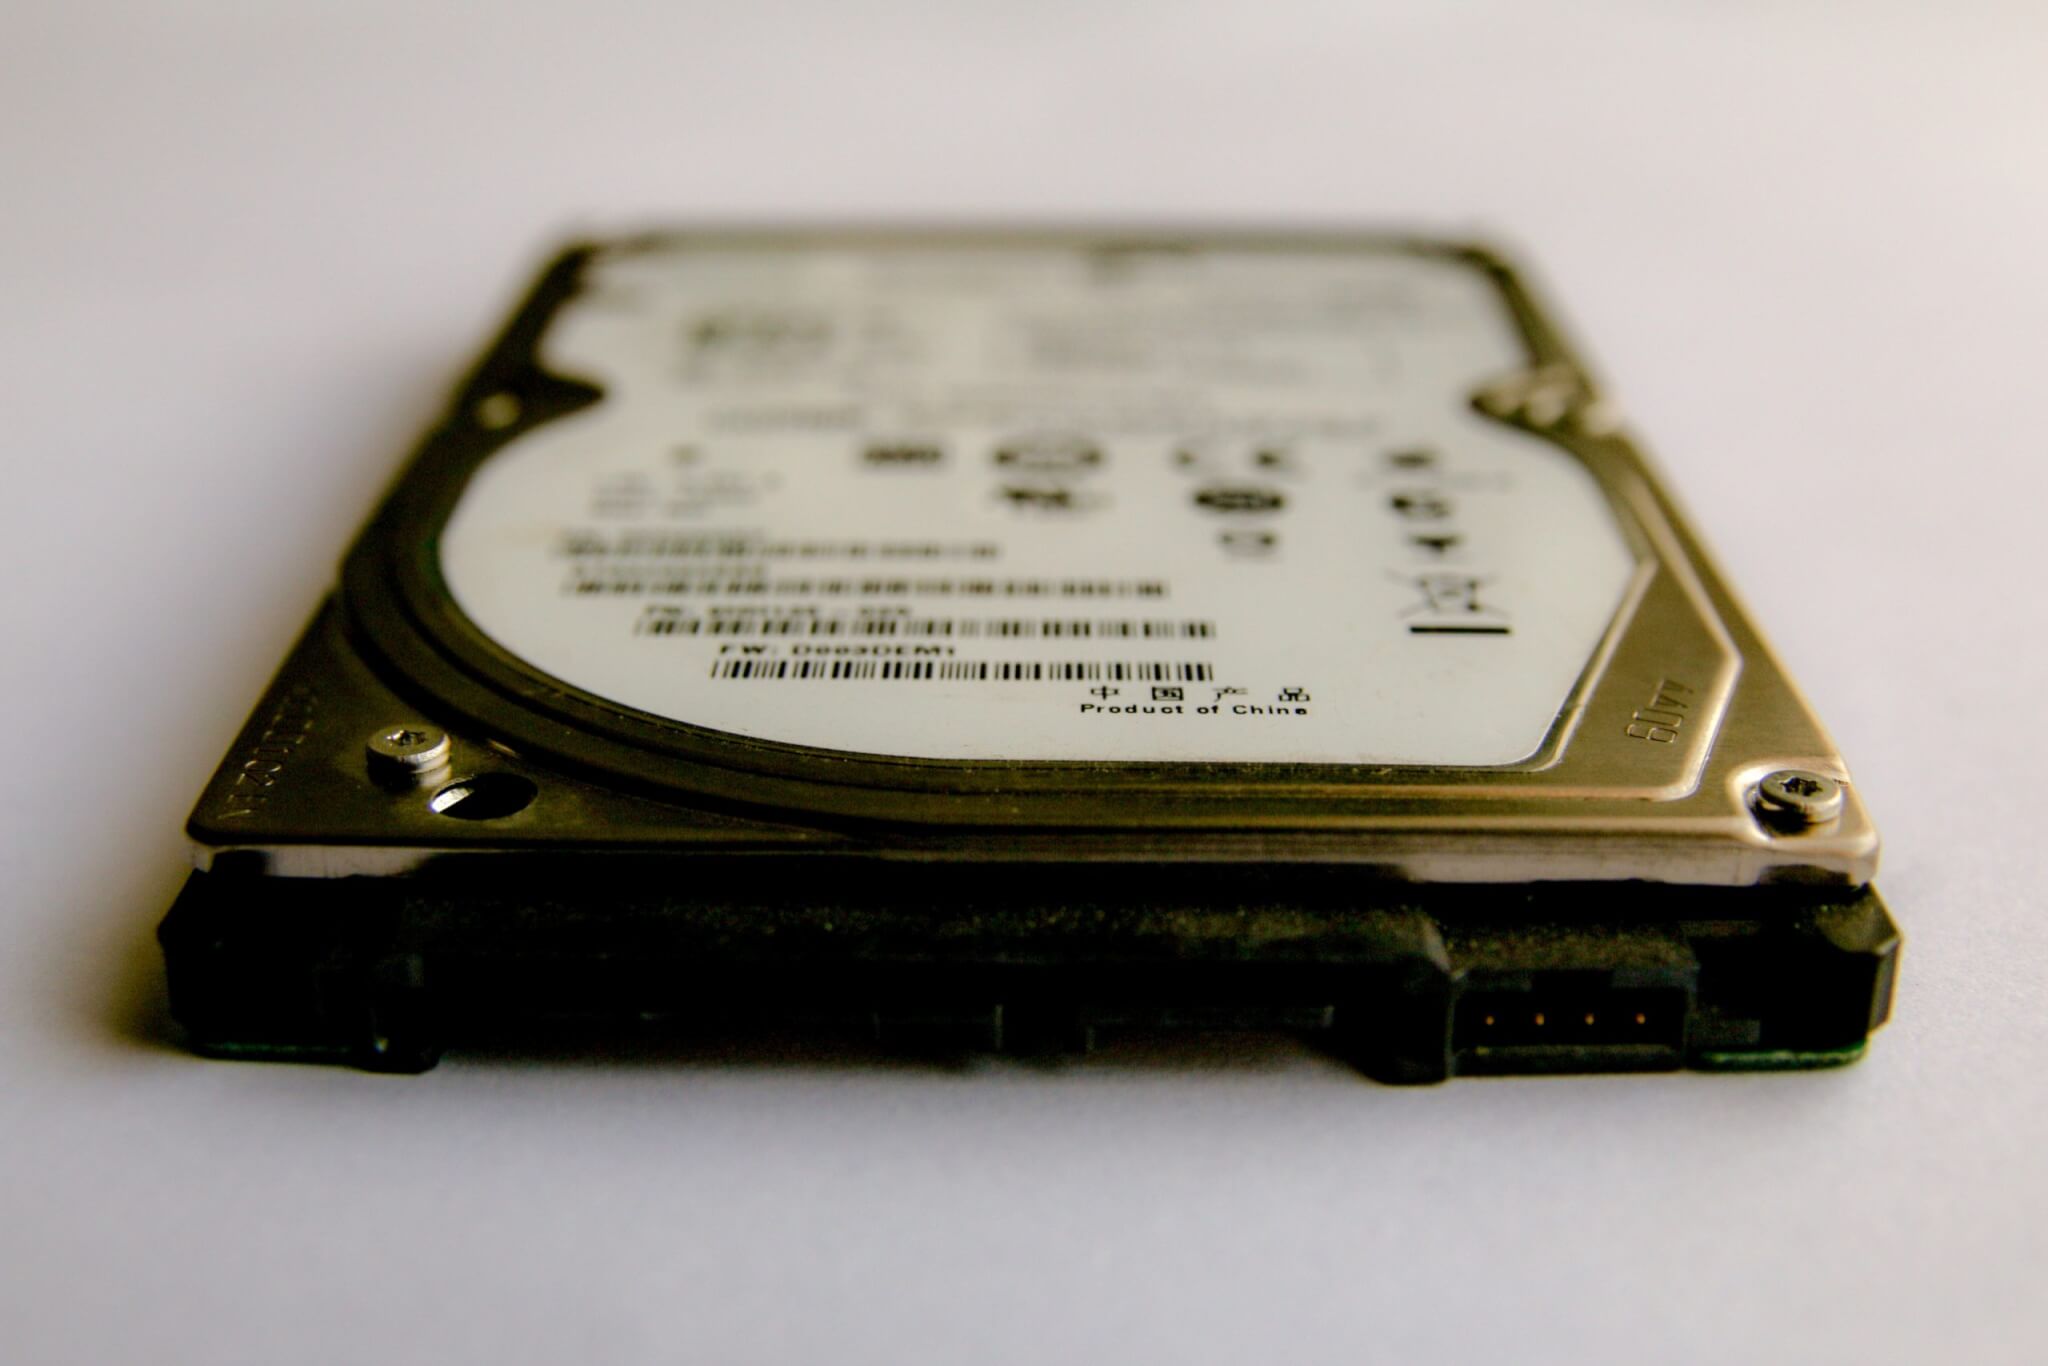
An SSD, or Solid State Drive, is a type of storage device that has become increasingly popular in recent years. Unlike traditional hard disk drives (HDDs) that use mechanical components to read and write data onto spinning disks, SSDs utilize flash memory technology to store data on solid-state electronic circuits.
This means that an SSD has no moving parts, resulting in several significant advantages over HDDs. One of the key benefits of an SSD is the speed at which it can access and transfer data. Because there are no physical disks that need to spin up and read data, SSDs can retrieve and store files much faster than HDDs.
Additionally, SSDs offer improved durability and reliability. Since there are no mechanical parts that can wear out or break, SSDs are more resistant to shock and vibration. This makes them an ideal choice for portable devices like laptops and gaming consoles.
Another advantage of SSDs is their silent operation. Since there are no spinning disks, you won’t hear any noise from your console when using an SSD. This can lead to a more immersive gaming experience as there will be no distracting whirring or clicking sounds coming from your Xbox 360.
While SSDs generally have smaller storage capacities compared to HDDs, they make up for it with their exceptional performance. The speed and responsiveness of an SSD can significantly reduce loading times in games, resulting in smoother gameplay and a more seamless gaming experience.
It’s important to note that when using an SSD on Xbox 360, it may not improve the overall graphics or processing power of the console. However, it will greatly enhance the storage and loading capabilities, allowing you to enjoy faster load times and improved performance in games.
Now that we understand what an SSD is and its benefits, let’s explore why using an SSD on Xbox 360 can be a game-changer for your gaming experience.
Benefits of Using an SSD on Xbox 360
There are several compelling benefits to using an SSD on your Xbox 360 console. Let’s take a closer look at how incorporating an SSD can enhance your gaming experience:
1. Faster Load Times: One of the most significant advantages of using an SSD on Xbox 360 is the dramatic improvement in load times. Games that used to take minutes to load can now be loaded in a matter of seconds. This means you can spend less time waiting and more time playing.
2. Improved Game Performance: The faster data access and transfer speeds of an SSD can also result in improved game performance. You’ll notice smoother gameplay, reduced texture pop-in, and quicker responsiveness in the games you play.
3. Reduced Lag: With an SSD, you can experience reduced lag during gameplay. Actions such as loading new levels, opening menus, and accessing in-game items will occur more quickly and seamlessly.
4. Enhanced Storage Capacity: By adding an SSD, you can expand your Xbox 360’s storage capacity, allowing you to store more games and downloadable content. This is especially beneficial if you have a large library of games or frequently purchase digital titles.
5. Noise Reduction: Unlike traditional hard drives that produce audible noise when reading and writing data, SSDs operate silently. This means you can enjoy a quieter gaming experience with no distracting noise coming from your console.
6. Durability: SSDs are more durable than traditional hard drives because they have no moving parts. This makes them less susceptible to physical damage from drops or shocks, ensuring your data remains safe while gaming.
7. Easy Installation: Installing an SSD on Xbox 360 is a relatively straightforward process. Depending on the model of your console, you may only need a compatible SSD and a few simple tools to get started.
8. Future-Proofing: While Xbox 360 is no longer the latest console on the market, adding an SSD can help future-proof your gaming experience. By improving load times and performance, you can continue to enjoy your favorite games on Xbox 360 for years to come.
Overall, incorporating an SSD into your Xbox 360 gaming setup can provide a significant boost in performance, storage capacity, and overall gaming experience. Now let’s explore some of the compatible SSD options for your Xbox 360 console.
Compatible SSDs for Xbox 360
When it comes to choosing an SSD for your Xbox 360, it’s important to ensure compatibility with the console’s hardware and interface. Here are a few compatible SSD options worth considering:
1. Samsung 860 EVO: The Samsung 860 EVO is a popular choice among gamers due to its reliability and performance. It offers high-speed data transfer and comes in various storage capacities to suit your needs.
2. Crucial MX500: The Crucial MX500 is another reliable SSD option for Xbox 360. It provides excellent performance, durability, and a range of storage capacities. With its SATA III interface, it offers fast data transfer speeds.
3. SanDisk Ultra 3D: The SanDisk Ultra 3D SSD is known for its affordability and reliability. It delivers fast read and write speeds, making it a good choice for enhancing gaming performance on Xbox 360.
4. Kingston A2000: The Kingston A2000 is a budget-friendly SSD that doesn’t compromise on performance. It utilizes NVMe technology for faster speeds, making it an excellent option for those seeking enhanced gaming experiences.
5. WD Blue 3D NAND: The WD Blue 3D NAND SSD offers reliable performance and a good balance of price and quality. It provides faster load times and improved overall responsiveness during gameplay.
When selecting an SSD for your Xbox 360, consider factors such as storage capacity, speed, and budget. It’s recommended to choose an SSD with a capacity that suits your gaming needs so that you have sufficient storage space for all your games and downloadable content.
It’s important to note that not all SSDs will work with the Xbox 360 console due to compatibility limitations. Therefore, it’s advisable to check the compatibility of the chosen SSD with Xbox 360’s interface and specifications before making a purchase.
Now that you’re aware of some compatible SSD options, let’s move on to the next section where we’ll guide you through the process of using an SSD on Xbox 360.
Steps to Use an SSD on Xbox 360
Setting up an SSD on your Xbox 360 involves a few simple steps. Follow the instructions below to start enjoying the benefits of improved performance and faster load times:
Step 1: Check Compatibility: Ensure that the SSD you have chosen is compatible with your Xbox 360 model. Refer to the manufacturer’s specifications or consult Xbox support for compatibility information.
Step 2: Prepare Your SSD: Before connecting the SSD to your Xbox 360, ensure it is formatted correctly. In most cases, the SSD will need to be formatted to the FAT32 file system. Follow the manufacturer’s instructions on how to format the SSD for use with Xbox 360.
Step 3: Power Off Your Console: Power off your Xbox 360 console completely and unplug it from the power source. This step is important to ensure the safety of the console and prevent any damage during the installation process.
Step 4: Open the HDD Compartment: Locate the HDD compartment on your Xbox 360 console. The location may vary depending on the model of your console. Use the appropriate tools, such as a screwdriver, to open the compartment.
Step 5: Remove the Existing Hard Drive: Carefully remove the existing hard drive from the compartment. Gently disconnect any cables or connectors attached to the hard drive before removing it completely.
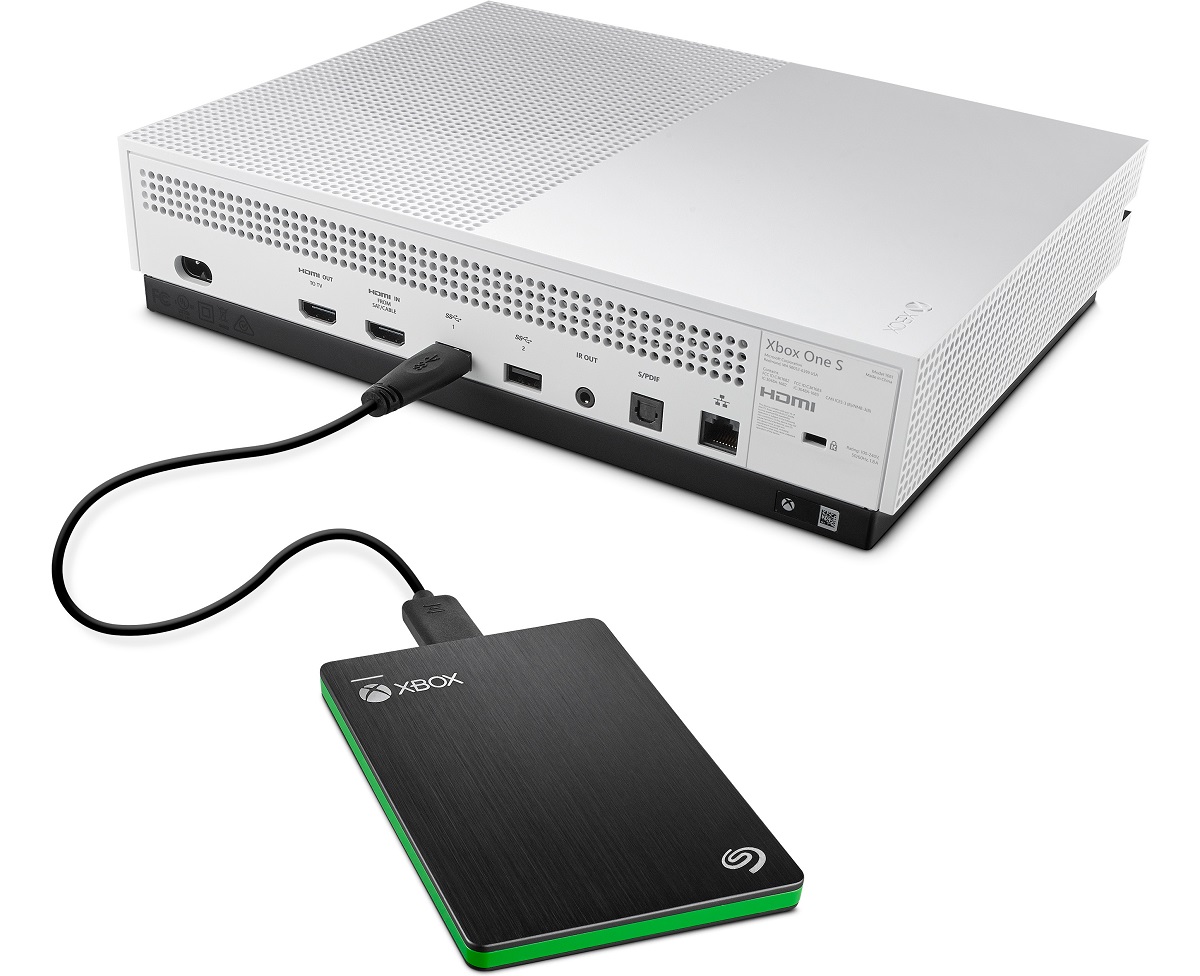
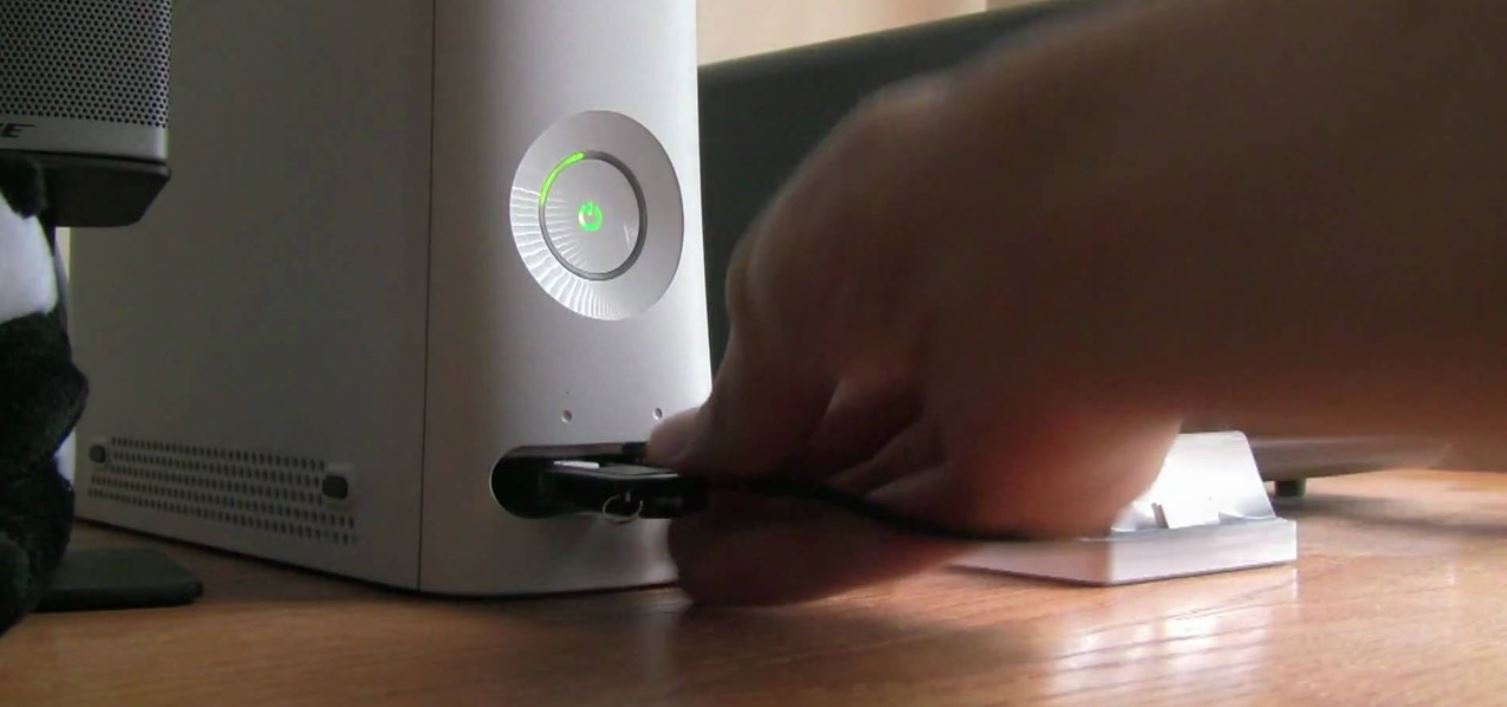
Step 6: Connect the SSD: Take your SSD and connect it to the appropriate SATA interface within the console. Ensure that the connectors are securely attached, and the SSD is properly aligned within the compartment.
Step 7: Close the Compartment: Once the SSD is securely connected, close the HDD compartment, making sure that it is properly sealed. Use the screw or latch to secure the compartment in place.
Step 8: Power On Your Console: Plug your Xbox 360 console back into the power source and power it on. The console should recognize the newly installed SSD automatically.
Step 9: Format the SSD: Your Xbox 360 console might prompt you to format the SSD. Follow the on-screen instructions to complete the formatting process. Formatting the SSD will prepare it for use with the console.
Step 10: Install the Latest Updates: Once the SSD is formatted, it’s recommended to ensure that your console has the latest system updates installed. This will optimize compatibility and performance with the new SSD.
With these steps completed, your Xbox 360 console is now ready to take advantage of the improved performance and storage capacity provided by the SSD. Transferring game data to the SSD is the next step to optimize your gaming experience, which we’ll cover in the following section.
Transferring Game Data to the SSD
After installing an SSD on your Xbox 360, you’ll need to transfer your game data from the existing storage device to the new SSD. Here’s a step-by-step guide on how to transfer game data:
Step 1: Access the System Settings: Power on your Xbox 360 console and navigate to the System Settings option in the dashboard menu.
Step 2: Select Storage: In the System Settings menu, find and select the Storage option. This will display the different storage devices currently connected to your Xbox 360.
Step 3: Choose the Source Storage Device: Identify the source storage device (usually the internal hard drive) where the game data is currently stored. Select it to access the contents of the device.
Step 4: Select the Games to Transfer: Within the source storage device, locate the games you want to transfer to the SSD. Highlight the game titles and select the Move or Transfer option.
Step 5: Choose the Destination Storage Device: In the Transfer menu, select the SSD as the destination storage device. Confirm the transfer to start moving the selected games to the SSD.
Step 6: Monitor the Transfer Progress: The transfer process may take some time depending on the size of the game data and the speed of the SSD. Monitor the progress bar displayed on the screen until the transfer is complete.
Step 7: Verify the Transfer: After the transfer is finished, double-check that the game data has been successfully moved to the SSD. You can confirm this by accessing the storage device and verifying the presence of the transferred games on the SSD.
Step 8: Test the Games: Launch the transferred games from the SSD to ensure they load and run smoothly. Enjoy the improved performance and decreased loading times that the SSD provides.
It’s important to note that not all game data can be transferred to an SSD. Some game files, such as saved data and settings, may remain on the source storage device and cannot be moved to the new SSD. It’s recommended to refer to the specific game’s documentation or support for any restrictions on transferring game data.
By following these steps, you can efficiently transfer your game data from the existing storage device to the SSD, ensuring that your Xbox 360 games benefit from the improved performance and faster load times provided by the SSD.
Tips and Tricks for Maximizing SSD Performance on Xbox 360
Now that you have successfully set up an SSD on your Xbox 360, here are some tips and tricks to help you maximize its performance and get the most out of your gaming experience:
1. Delete Unnecessary Files: Regularly clean up your SSD by removing any unused game files, demos, or other unnecessary data. This will free up space and ensure smoother operation.
2. Avoid Fragmentation: Unlike traditional hard drives, SSDs do not suffer from fragmentation issues. However, it’s still a good practice to periodically run system maintenance on your Xbox 360 to optimize the overall performance.
3. Keep Your Console Updated: Install the latest system updates for your Xbox 360 console. These updates often include performance enhancements and compatibility improvements that can benefit SSD usage.
4. Proper Ventilation: Ensure that your Xbox 360 console has proper ventilation to prevent overheating. SSDs generate less heat than traditional hard drives, but maintaining a cool environment can prolong the lifespan of both the SSD and the console.
5. Limit Background Processes: Closing unnecessary applications and limiting background processes can free up system resources and allow your SSD to focus on delivering optimal gaming performance.
6. Organize Game Files: Arrange your game files on the SSD in a way that makes it easier to locate and load your favorite games. This can help you quickly access and launch your desired titles without wasting time searching.
7. Regularly Back Up Important Data: While SSDs are generally reliable, it’s always a good idea to back up important game saves and data. Use Xbox 360’s built-in backup functionality or cloud storage options to ensure your progress is protected.
8. Avoid Power Surges: Protect your Xbox 360 and SSD from sudden power surges by using a surge protector or uninterruptible power supply (UPS). Power fluctuations can potentially damage the SSD and result in data loss.
9. Defragmentation Not Required: SSDs do not benefit from defragmentation like traditional hard drives do. In fact, defragmenting an SSD can cause unnecessary wear. Therefore, it’s best to avoid defragmenting an SSD on Xbox 360.
10. Enjoy the Benefits: Finally, make the most out of your Xbox 360 gaming experience with the improved performance and faster load times provided by your SSD. Enjoy the seamless gameplay and immerse yourself in the world of your favorite games.
By following these tips and tricks, you can ensure that your SSD operates at its best and enhances your gaming experience on Xbox 360. Now, let’s address some common questions related to using an SSD on Xbox 360.
Frequently Asked Questions
Here are some frequently asked questions related to using an SSD on Xbox 360:
Q1: Can I use any SSD with Xbox 360?
A1: Not all SSDs are compatible with Xbox 360. It’s important to check the compatibility of the SSD with Xbox 360’s hardware and interface before making a purchase. Ensure that the SSD uses the correct interface (SATA) and meets Xbox 360’s specifications.
Q2: Will using an SSD on Xbox 360 improve graphics and processing power?
A2: While an SSD can significantly improve storage and loading times, it won’t directly enhance graphics or processing power. The SSD mainly improves the overall performance of games by reducing loading times and providing faster data access.
Q3: Can I transfer game data from my existing hard drive to the SSD?
A3: Yes, you can transfer game data from your existing storage device to the SSD. The Xbox 360 console provides an option to move or transfer game data between storage devices. However, not all game data may be transferrable, such as system files and settings.
Q4: Do I need to format the SSD before using it with Xbox 360?
A4: Yes, you will need to format the SSD to the FAT32 file system before using it with Xbox 360. This formatting process can be done within the console’s system settings.
Q5: Can I use an external SSD with Xbox 360?
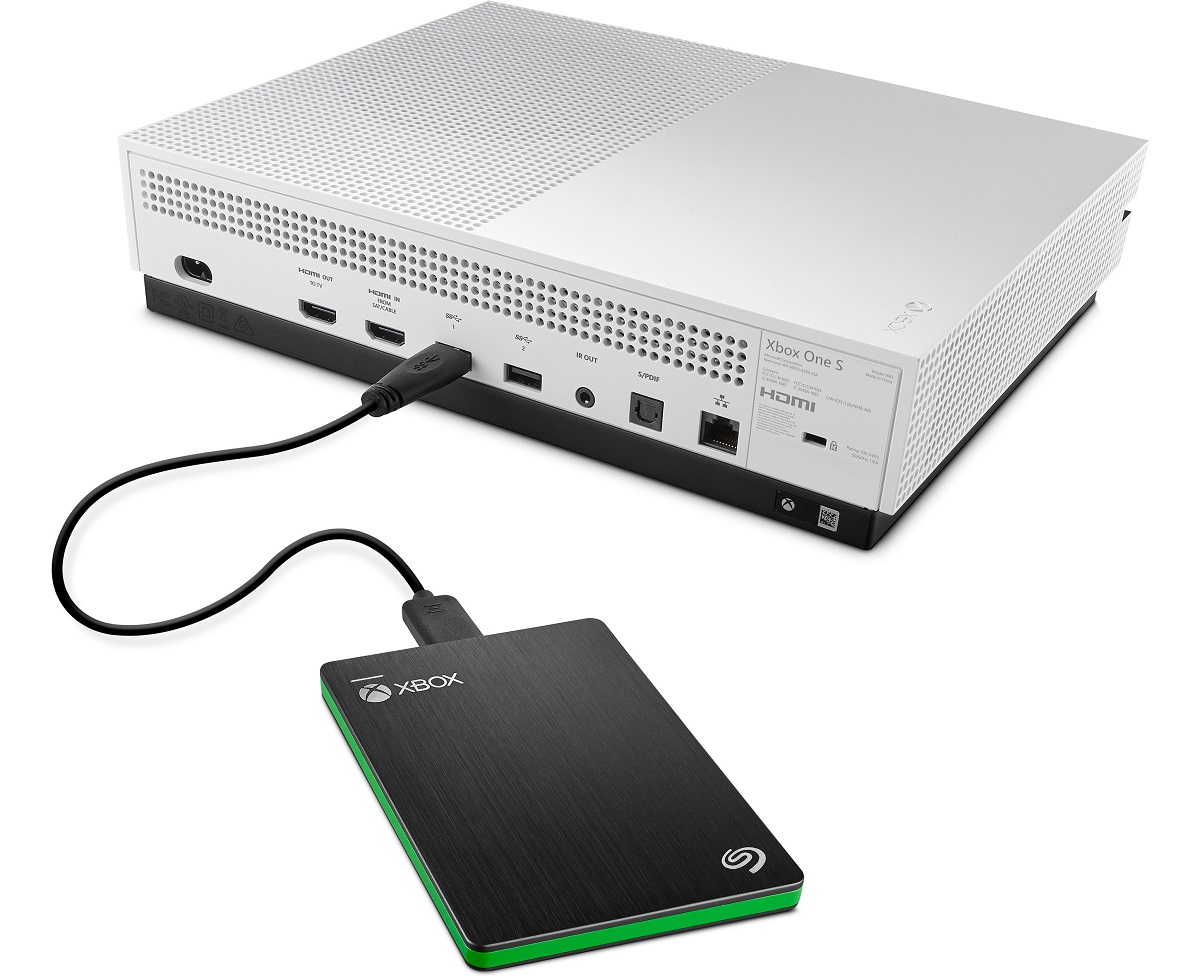
A5: No, Xbox 360 does not support external storage devices. However, you can replace the internal hard drive with an SSD to enjoy the benefits of improved performance and faster load times.
Q6: Can I install DLC and downloadable games on the SSD?
A6: Yes, you can install DLC (Downloadable Content) and downloadable games on the SSD, just like you would on a traditional hard drive. This allows you to have all your games and additional content stored on the faster SSD for better performance.
Q7: Can I use an SSD on an Xbox 360 Slim or Xbox 360 E?
A7: Yes, you can use an SSD on Xbox 360 Slim or Xbox 360 E models. The process of installation and formatting may vary slightly depending on the specific model, but the benefits and compatibility of the SSD remain the same.
These are some common questions related to using an SSD on Xbox 360. If you have any additional queries or need further assistance, refer to the console’s documentation or consult Xbox support resources.
Conclusion
Incorporating an SSD into your Xbox 360 gaming setup can be a game-changer, enhancing your gaming experience with faster load times, improved performance, and increased storage capacity. By following the steps outlined in this guide, you can successfully set up an SSD on your Xbox 360 console and transfer game data to maximize its benefits.
Using an SSD on Xbox 360 offers several advantages, including reduced loading times, minimized lag, enhanced storage capacity, and a quieter gaming experience. The compatibility of SSDs with Xbox 360 models allows gamers to enjoy smoother gameplay and faster access to their favorite games.
Remember to choose a compatible SSD, properly format it, and ensure that your console has the latest updates installed. Take advantage of the tips and tricks provided to optimize the performance of your SSD on Xbox 360, such as managing files, maintaining proper ventilation, and protecting against power surges.
Whether you’re a casual gamer or a dedicated Xbox 360 enthusiast, incorporating an SSD can take your gaming experience to the next level. Now that you have all the information you need, it’s time to unleash the full potential of your Xbox 360 console with the power of an SSD.


