Introduction
Welcome to our guide on how to use the Samsung Portable SSD with Adobe Premiere. In today’s digital age, video editing has become an essential skill for content creators and professionals alike. Adobe Premiere is a powerful video editing software that offers a wide range of features and capabilities to create stunning videos.
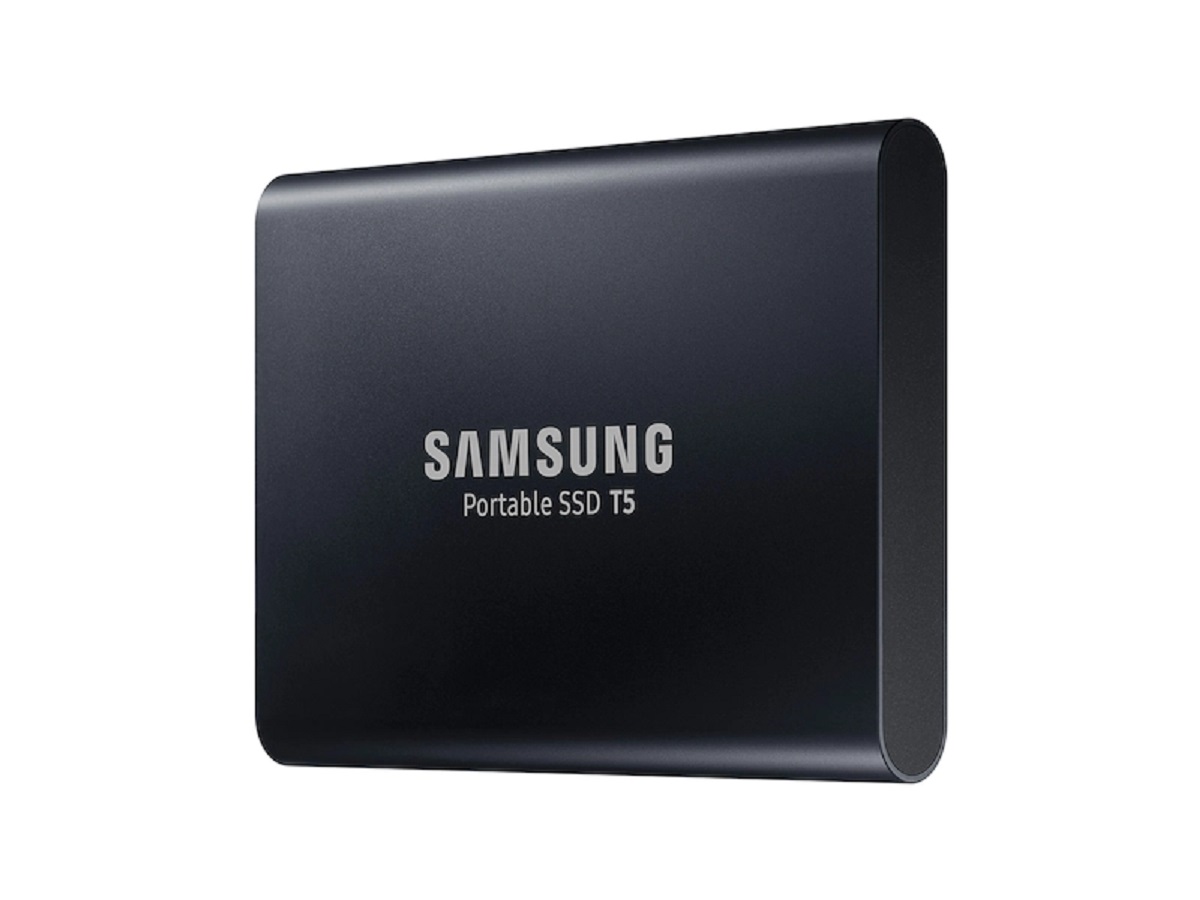
However, working with large video files and complex editing projects can put a strain on your computer’s storage. That’s where the Samsung Portable SSD comes in. This portable solid-state drive provides fast and reliable storage, allowing you to work seamlessly with your Adobe Premiere projects without worrying about storage limitations or slow performance.
In this guide, we will walk you through the steps to connect and set up your Samsung Portable SSD with Adobe Premiere. We will also provide tips and techniques for efficient editing and exporting of your projects. Whether you are a beginner or an experienced video editor, this guide will help you make the most out of your Samsung Portable SSD and Adobe Premiere.
Before we dive into the specifics, it’s important to note the system requirements for using the Samsung Portable SSD with Adobe Premiere. Ensure that your computer meets these requirements to ensure a smooth editing experience:
- A computer with a compatible operating system (Windows 10 or macOS 10.13 or later)
- At least 8GB of RAM (16GB or more recommended for optimal performance)
- A fast CPU (Intel i5 or equivalent)
- A dedicated graphics card (NVIDIA GTX 1060 or equivalent)
- Adobe Premiere Pro CC (latest version)
With these requirements met, let’s move on to connecting the Samsung Portable SSD and installing Adobe Premiere on your computer. By the end of this guide, you’ll be ready to start editing your videos with ease and efficiency.
System Requirements
Before you begin using the Samsung Portable SSD with Adobe Premiere, it’s important to ensure that your computer meets the necessary system requirements. Meeting these requirements will help ensure a smooth and efficient editing experience.
Here are the essential system requirements for using the Samsung Portable SSD with Adobe Premiere:
- Operating System: Ensure that your computer is running a compatible operating system. For Windows users, the recommended operating system is Windows 10. Mac users should have macOS 10.13 or later.
- RAM: It’s crucial to have sufficient RAM for video editing. At least 8GB of RAM is the minimum requirement, although 16GB or more is recommended for optimal performance. Having more RAM will allow Adobe Premiere to handle larger and more complex projects without slowing down.
- CPU: A fast processor is essential for video editing. Make sure your computer has a capable CPU, such as an Intel i5 or equivalent. The processor’s speed and number of cores will significantly impact the speed and efficiency of video rendering and playback.
- Graphics Card: A dedicated graphics card is recommended for video editing, as it helps accelerate the rendering and playback processes. The NVIDIA GTX 1060 or an equivalent graphics card will provide a smooth editing experience in Adobe Premiere.
- Adobe Premiere Pro CC: To use the Samsung Portable SSD with Adobe Premiere, you need to have the latest version of Adobe Premiere Pro CC installed on your computer. Make sure you have a valid subscription or license to access and use the software.
Ensuring that your computer meets these requirements will help you make the most out of your Samsung Portable SSD and Adobe Premiere. It will also minimize any potential performance issues or compatibility problems during the editing process.
Now that we have covered the system requirements, let’s move on to the next section, where we will guide you through connecting the Samsung Portable SSD to your computer and installing Adobe Premiere.
Connecting the Samsung Portable SSD
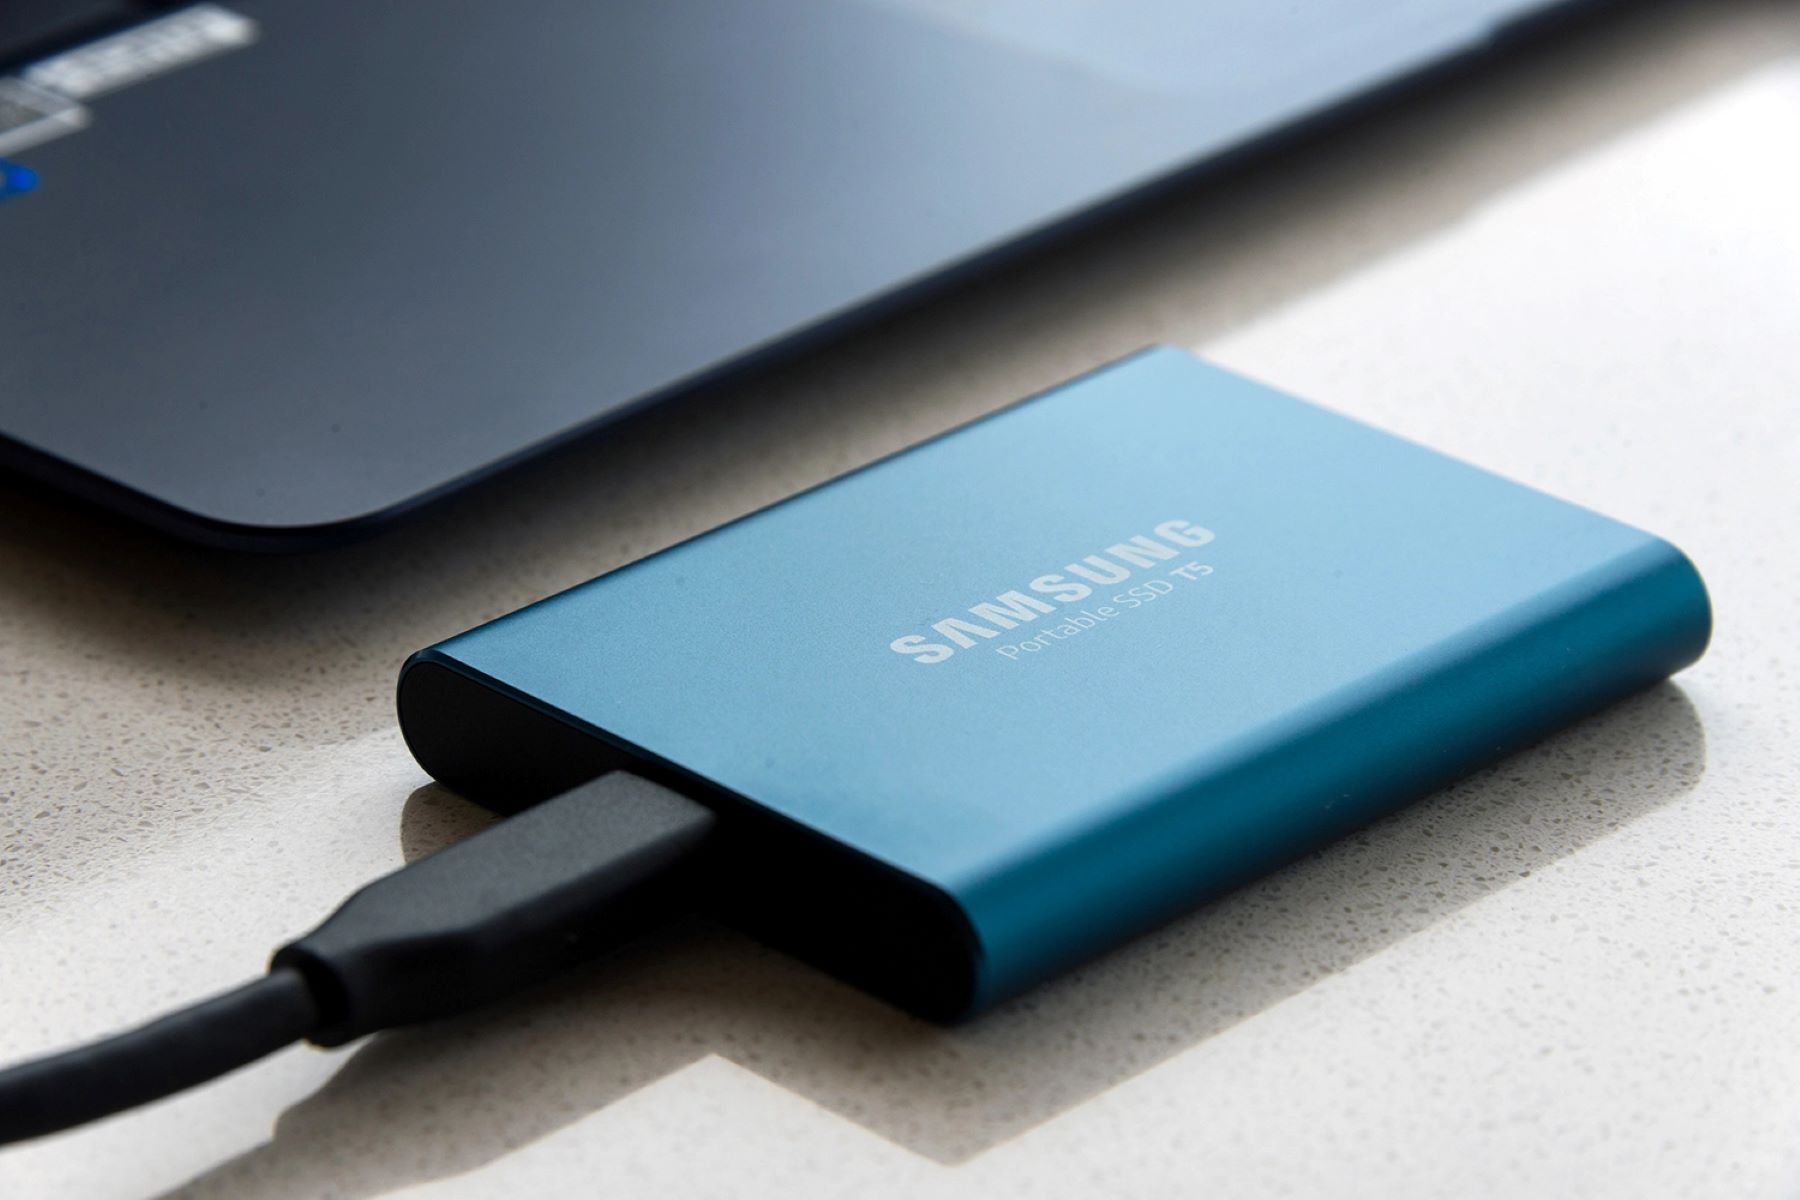
Connecting the Samsung Portable SSD to your computer is a straightforward process. Follow these steps to establish a connection:
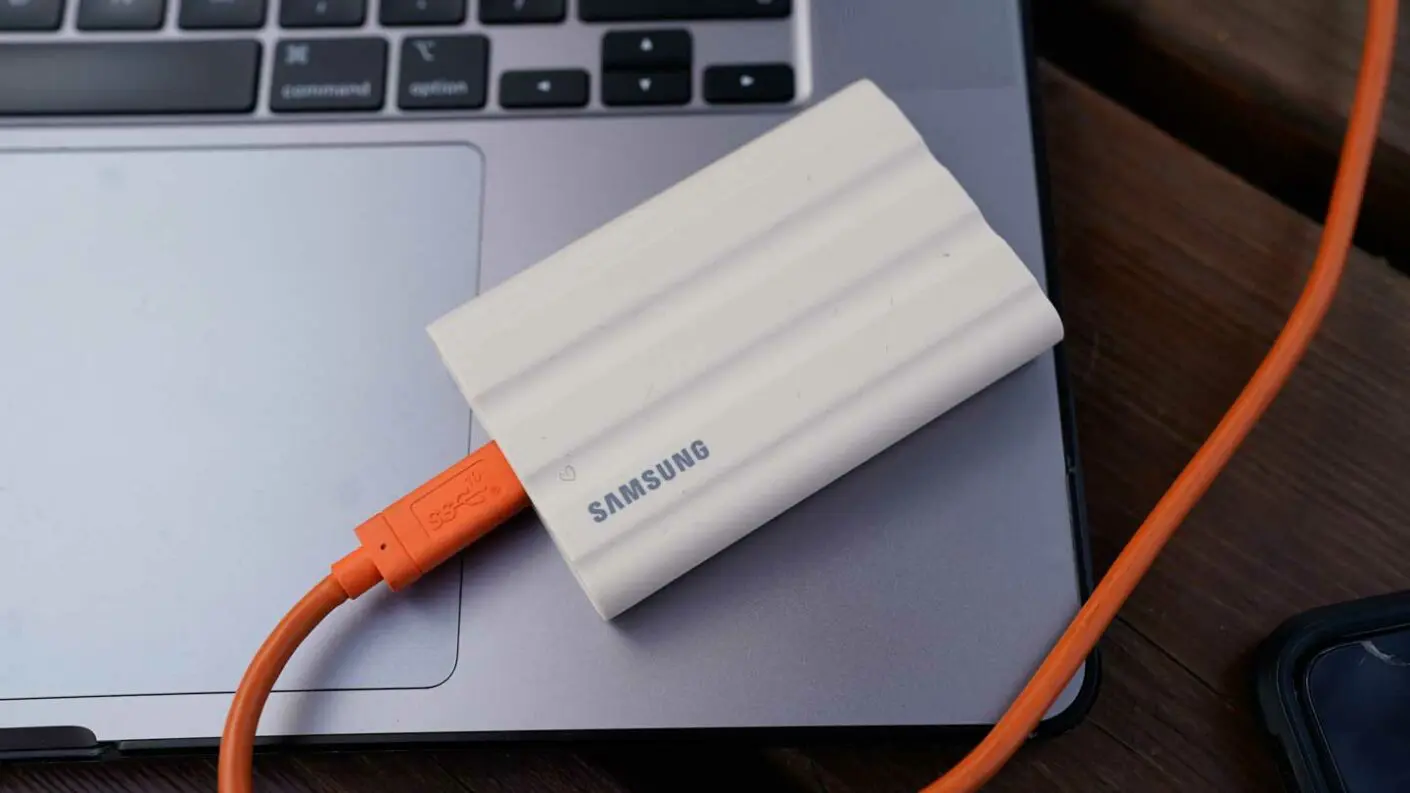
- Start by locating the USB-C cable that came with your Samsung Portable SSD. This cable has a USB-C connector on one end and a compatible connector for your computer on the other end. If your computer does not have a USB-C port, you may need to use an adapter.
- Ensure that both your computer and the Samsung Portable SSD are powered on.
- Insert the USB-C connector into the USB-C port on your computer.
- Connect the other end of the cable to the USB-C port on the Samsung Portable SSD.
- Your computer should now recognize the Samsung Portable SSD as an external storage device. It may prompt you with a notification or appear as a new drive in the file explorer.
It’s important to note that some computers may require additional drivers or updates to recognize and utilize external storage devices properly. If your computer does not detect the Samsung Portable SSD, check with the manufacturer’s website for any necessary drivers or updates.
Once the Samsung Portable SSD is successfully connected, you can proceed to the next section, which covers the installation of Adobe Premiere on your computer.
Note: Always handle the Samsung Portable SSD with care and avoid dropping or exposing it to extreme temperatures or liquids. Protect the SSD from physical damage to ensure its performance and longevity.
With the Samsung Portable SSD connected, you are now ready to install Adobe Premiere and set up the Samsung Portable SSD as your designated storage device. We will cover the installation process in the next section.
Installing Adobe Premiere
Installing Adobe Premiere on your computer is a crucial step in utilizing the Samsung Portable SSD for video editing. Follow these steps to install Adobe Premiere:
- Begin by navigating to the Adobe Creative Cloud website or launching the Adobe Creative Cloud desktop application on your computer.
- Sign in with your Adobe ID or create a new account if you don’t have one.
- In the Creative Cloud application, locate Adobe Premiere from the list of available applications and click on it.
- If you already have Adobe Premiere installed but need to update it, click on the “Update” button next to the application.
- If you don’t have Adobe Premiere installed, click on the “Install” button to start the installation process.
- Follow the on-screen instructions to complete the installation. You may be prompted to customize the installation settings or choose the language preferences.
- Once the installation is complete, launch Adobe Premiere from the Creative Cloud application or from your computer’s desktop.
- Sign in with your Adobe ID to activate your subscription or license of Adobe Premiere.
After successfully installing and launching Adobe Premiere, you are now ready to set up the Samsung Portable SSD as your designated storage device for Adobe Premiere projects. The next section will guide you through the process.
Note: Make sure you have a valid subscription or license for Adobe Premiere before attempting to install it. Without a valid subscription, you may not be able to access all the features and functionalities of the software.
With Adobe Premiere installed, you are one step closer to a seamless video editing experience with the Samsung Portable SSD. In the next section, we will discuss setting up the Samsung Portable SSD for optimal performance in Adobe Premiere.
Setting up the Samsung Portable SSD
Setting up the Samsung Portable SSD for optimal performance with Adobe Premiere involves a few simple steps. Follow these instructions to ensure the best experience:
- Once your Samsung Portable SSD is connected to your computer and recognized as an external storage device, open Adobe Premiere on your computer.
- In the Adobe Premiere interface, go to the “Preferences” or “Settings” menu. This menu is typically located under the “Edit” or “File” tab.
- Within the Preferences or Settings menu, find the “Media” or “Media Cache” section. This section allows you to specify the location where Adobe Premiere stores its media cache files.
- Click on the “Browse” or “Choose” button to select a new location for the media cache files.
- In the file browser window, navigate to the Samsung Portable SSD and create a new folder specifically for storing Adobe Premiere media cache files. Name this folder appropriately, such as “Adobe Premiere Media Cache.”
- Select the newly created folder on the Samsung Portable SSD and click “OK” to save the changes.
- Adobe Premiere will now use the designated folder on the Samsung Portable SSD to store its media cache files, improving the software’s performance and reducing the strain on your computer’s internal storage.
By setting up the Samsung Portable SSD as the location for Adobe Premiere’s media cache files, you can take advantage of the SSD’s speed and reliability, resulting in faster access to media files and smoother playback during editing.
It’s important to regularly clear the media cache files stored on the Samsung Portable SSD to free up storage space and keep Adobe Premiere running efficiently. You can do this within the Adobe Premiere preferences or settings menu by clicking on the “Clean” or “Delete” button under the media cache section.
With the Samsung Portable SSD properly set up, you can now import media files into Adobe Premiere for your editing projects. It’s time to dive into the next section, which covers importing media files in Adobe Premiere.
Importing Media Files in Adobe Premiere
Importing media files into Adobe Premiere is a crucial step in starting your video editing project. Follow these steps to import your media files:
- Launch Adobe Premiere on your computer and create a new project or open an existing one.
- Navigate to the “Project” tab in the Adobe Premiere interface. This tab is typically located in the lower-left corner of the screen.
- Click on the “Import” or “+” button in the Project panel to open the file browser window.
- In the file browser window, navigate to the location where your media files are stored. This can be on your local hard drive or on the Samsung Portable SSD.
- Select the media files you want to import. You can select multiple files by holding down the Ctrl (Windows) or Command (Mac) key while clicking on the files.
- Click “Import” to bring the selected media files into your Adobe Premiere project. The imported files will appear in the Project panel, ready for use in your editing timeline.
Adobe Premiere supports a wide range of media file formats, including video, audio, and image files. This allows you to have flexibility when working with various types of media assets.
It’s worth noting that importing large media files can take some time, especially when working with high-definition or 4K footage. The speed and performance of the Samsung Portable SSD will help expedite this process, allowing you to quickly access and import your media files into Adobe Premiere.
With your media files imported, you can now start editing your project. Adobe Premiere offers a variety of editing tools and features to help you create professional-quality videos. In the next section, we will explore editing techniques and tips for Adobe Premiere in conjunction with the Samsung Portable SSD.
Editing with Adobe Premiere and Samsung Portable SSD
When it comes to editing your videos with Adobe Premiere and the Samsung Portable SSD, there are several techniques and tips that can enhance your workflow and efficiency. Here are some key points to keep in mind:
- Organize Your Project: Create a well-structured folder system within the Adobe Premiere project panel to keep your media assets organized. This will make it easier to locate and access your files during the editing process. You can create folders for raw footage, sound effects, music, and more.
- Utilize Proxy Files: If you’re working with high-resolution footage that is taxing on your computer’s performance, consider creating proxy files. Proxy files are lower-resolution versions of your media files that are easier to edit with. The Samsung Portable SSD’s fast read and write speeds make it efficient to work with these proxy files, ensuring smooth playback and editing.
- Take Advantage of Auto-Save and Versioning: Enable automatic saving in Adobe Premiere to prevent data loss in case of a crash. Additionally, use the versioning feature to save multiple iterations of your project, allowing you to revert back to a previous version if needed. Save these project versions on the Samsung Portable SSD to keep them separate from your computer’s internal storage.
- Utilize Keyboard Shortcuts: Adobe Premiere has a plethora of keyboard shortcuts that can significantly speed up your editing process. Familiarize yourself with common shortcuts or customize them to fit your workflow. This will help you navigate through the timeline, trim clips, apply effects, and more without having to rely heavily on the mouse.
- Regularly Back up Your Project: While the Samsung Portable SSD provides reliable storage, it’s always a good practice to have a backup of your project. Consider creating a duplicate copy of your project and storing it on a separate external storage device or cloud storage for added protection.
By implementing these tips and techniques, you’ll be able to work efficiently with Adobe Premiere, leveraging the performance and reliability of the Samsung Portable SSD. Remember to save your project frequently, and take breaks to avoid eye strain and fatigue during long editing sessions.
Now that your project is edited and ready for exporting, let’s move on to the next section, which covers the process of exporting the final video.
Exporting the Final Project
Exporting the final project from Adobe Premiere is the last step before sharing your video with the world. Follow these steps to export your project:
- Ensure your project is saved and ready for export.
- Navigate to the “File” menu in Adobe Premiere and select “Export” or “Export Media.”
- In the export settings window, choose the desired format for your video. Adobe Premiere offers a variety of preset options for different platforms and devices, or you can customize the settings according to your preferences.
- Select the destination folder where you want to save the exported video. It is recommended to save it on the Samsung Portable SSD to utilize its fast write speeds and keep your computer’s storage free.
- Specify the filename for your exported video and click “Export” to start the rendering process.
- Depending on the complexity and length of your video, the exporting process may take some time. The Samsung Portable SSD, with its fast read and write speeds, will ensure an efficient and smooth exporting process.
- Once the export is complete, navigate to the destination folder, and verify that the exported video is saved successfully.
It’s worth noting that exporting settings can have a significant impact on the quality, file size, and compatibility of your video. Consider your intended use and platform when choosing the export settings. For example, if you’re uploading the video to an online platform, such as YouTube or Vimeo, follow their recommended settings for optimal quality and compatibility.
With the final project exported, you can now share your video with others or upload it to your desired platform. Congratulations on completing your video editing journey with Adobe Premiere and the Samsung Portable SSD.
In the next section, we will cover the safe removal of the Samsung Portable SSD from your computer.
Safe Removal of the Samsung Portable SSD
When you’re done using the Samsung Portable SSD with Adobe Premiere or any other application, it’s crucial to follow the proper steps for safe removal. This will help prevent data corruption and ensure the longevity of your SSD. Here’s how to safely remove the Samsung Portable SSD from your computer:
- Close all applications or files that are accessing the Samsung Portable SSD to avoid any potential data conflicts.
- On your computer, locate the “Safely Remove Hardware” icon in the taskbar or menu bar. The icon may look like a USB symbol or a removal device icon.
- Click on the “Safely Remove Hardware” icon to display a list of connected devices.
- Select the Samsung Portable SSD from the list of devices. This will initiate the safe removal process.
- Wait for a notification or confirmation message indicating that it’s safe to remove the SSD.
- Once you receive the confirmation, gently unplug the USB-C cable from the computer and the Samsung Portable SSD.
- Store the Samsung Portable SSD in a safe place, away from potential damage or extreme temperatures.
It’s important never to unplug the Samsung Portable SSD or disconnect it from your computer while files are being transferred or accessed. Abruptly removing the SSD can potentially lead to data loss or corruption.
By following these steps, you ensure that the data on the Samsung Portable SSD is properly written and closed before disconnecting. This helps maintain the integrity and reliability of your files and the SSD itself.
Now that you know how to safely remove the Samsung Portable SSD, you’re ready to conclude your video editing session. In the final section, we’ll recap the key points of using the Samsung Portable SSD with Adobe Premiere.
Conclusion
Congratulations! You have successfully learned how to use the Samsung Portable SSD with Adobe Premiere to enhance your video editing workflow. By following the steps outlined in this guide, you can leverage the speed and reliability of the Samsung Portable SSD to optimize your editing experience in Adobe Premiere.
Throughout this guide, we covered the essential steps, including connecting the Samsung Portable SSD to your computer, installing Adobe Premiere, setting up the SSD for optimal performance, importing media files, and editing your project. We also discussed the importance of safe removal and provided tips for exporting your final video.
Remember to always ensure that your computer meets the system requirements for both Adobe Premiere and the Samsung Portable SSD. This will guarantee a smooth editing process, allowing you to work efficiently with large video files and complex projects.
Utilize the features offered by Adobe Premiere, such as organizing your project, utilizing proxy files, and taking advantage of keyboard shortcuts to streamline your editing process. The Samsung Portable SSD’s fast read and write speeds will help enhance the performance of Adobe Premiere, enabling smoother playback and faster rendering times.
By adhering to proper procedures for safe removal, you can protect your data and maintain the integrity of the Samsung Portable SSD. Always safely eject the SSD from your computer before physically disconnecting it.
We hope this guide has provided you with valuable insights into using the Samsung Portable SSD with Adobe Premiere. With this knowledge, you can take your video editing projects to the next level, achieving professional-quality results with efficiency and reliability.
Now it’s time to put your skills to the test and unleash your creativity. Remember to have fun during the editing process and continue exploring new features and techniques to enhance your videos. Happy editing!


