Introduction
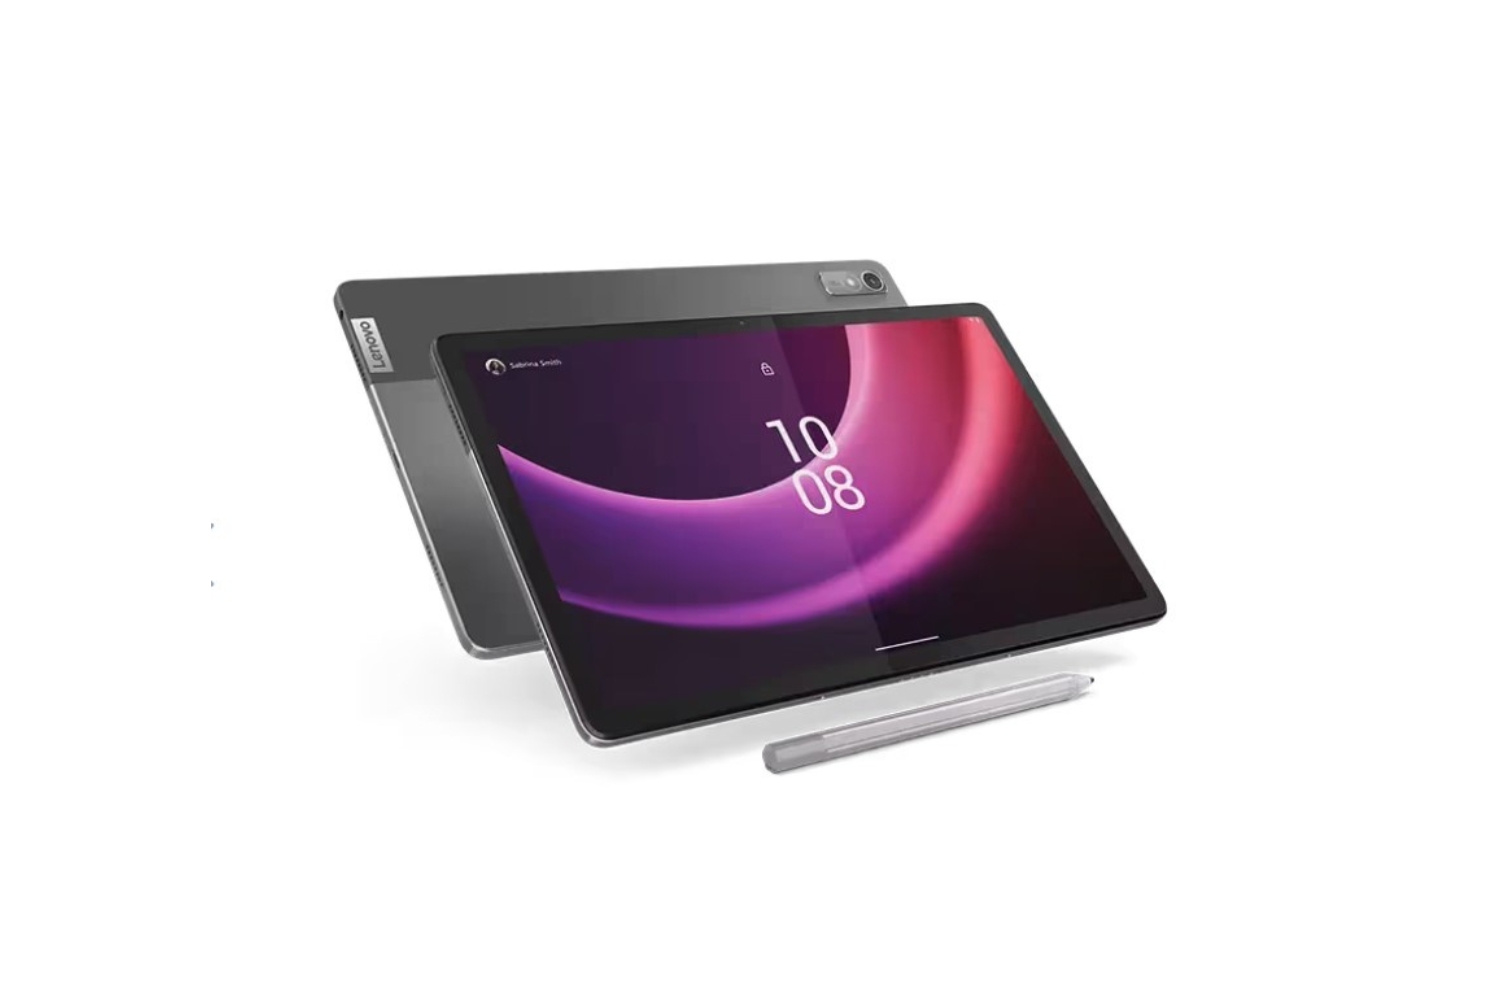
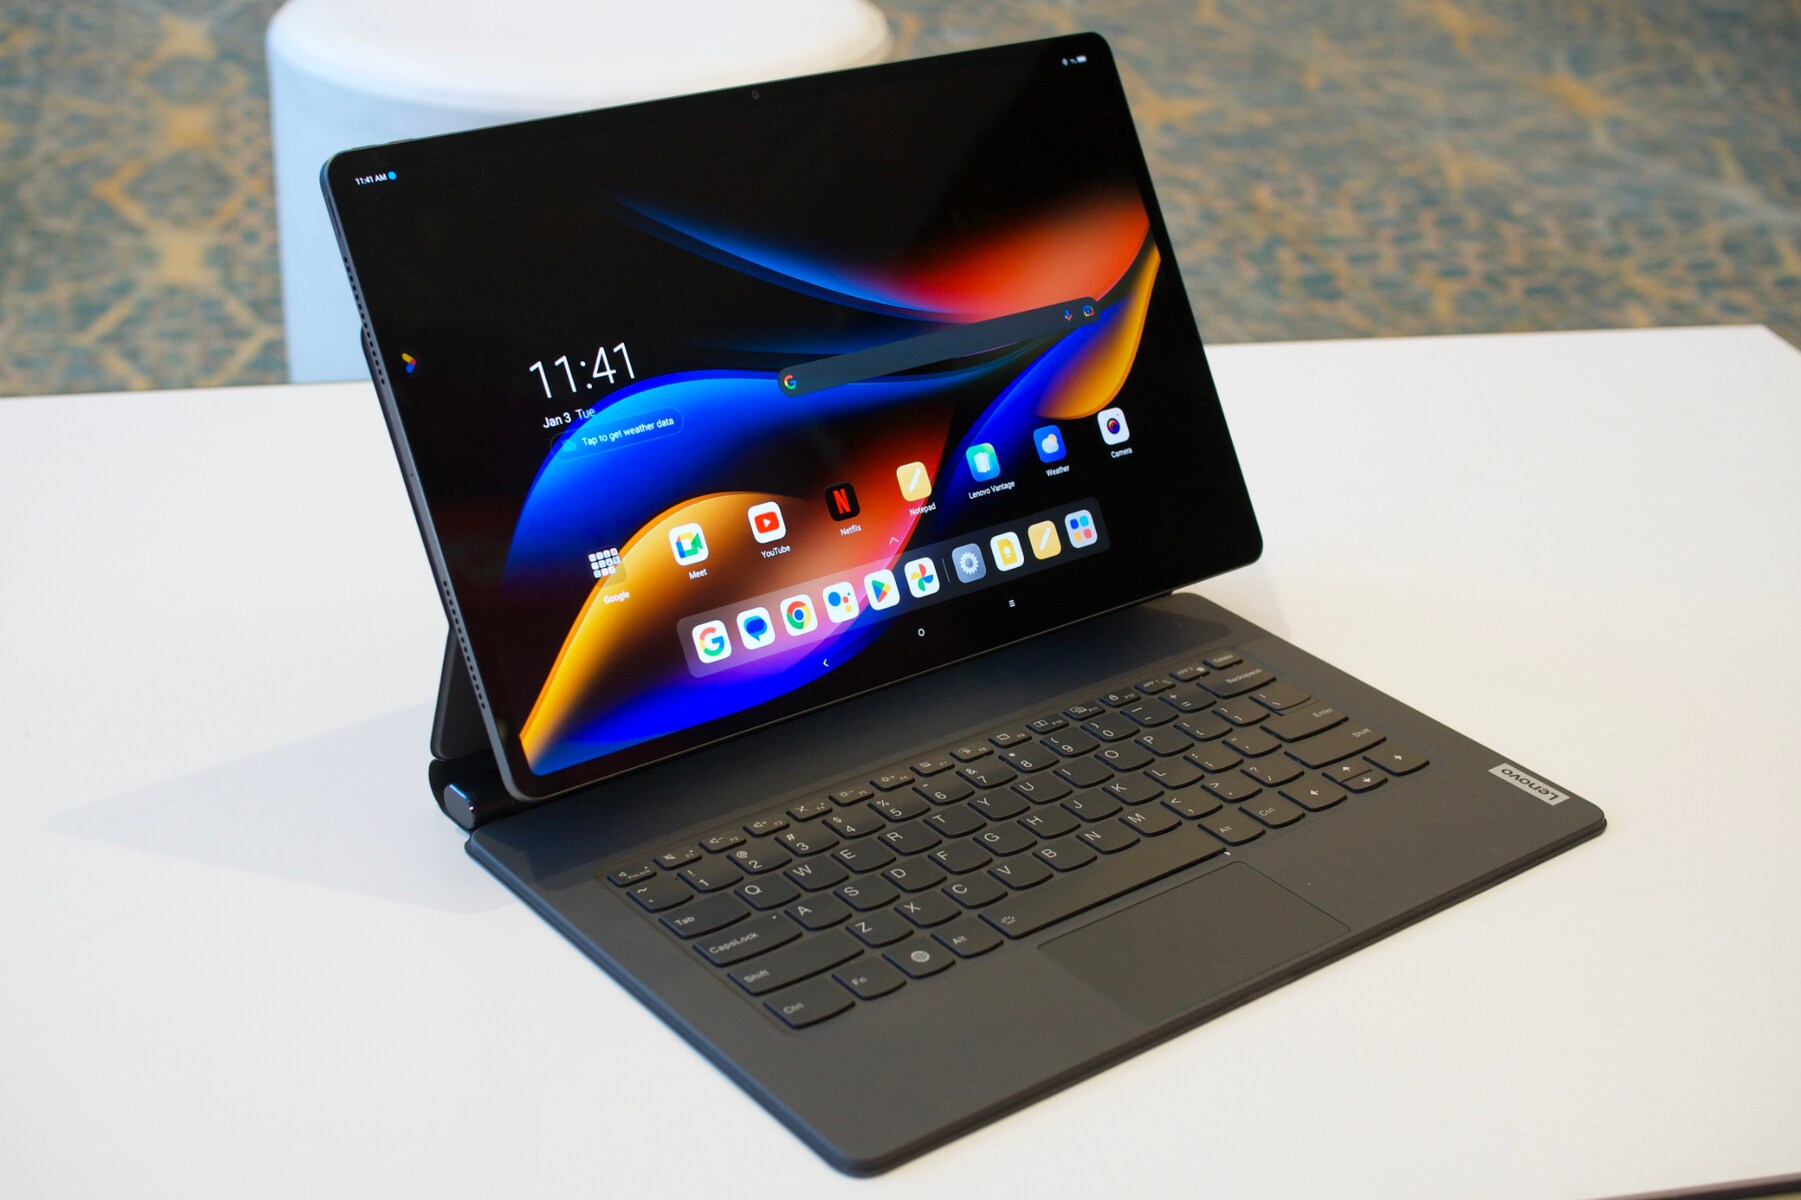
Welcome to the world of Lenovo tablets! Lenovo is known for producing high-quality tablets that offer a wide range of features and functionalities. Whether you’re using a Lenovo tablet for work, entertainment, or both, this guide will help you make the most of your device.
Lenovo tablets run on the Android operating system, which provides a user-friendly interface and access to a vast array of apps through the Google Play Store. With its sleek design, powerful processors, and stunning displays, a Lenovo tablet is a versatile device that can be used for productivity, gaming, watching videos, or simply browsing the web.
In this guide, we will take you through the essentials of setting up and using your Lenovo tablet. From navigating the user interface to customizing your home screen, connecting to Wi-Fi, installing apps, and maximizing battery life, we’ve got you covered. Whether you’re a beginner or an advanced user, this guide will help you get the most out of your Lenovo tablet experience.
Before we dive into the specifics, it’s worth mentioning that each Lenovo tablet model may have slightly different features and settings. However, the general principles and steps discussed in this guide should apply to most Lenovo tablets.
So, without further ado, let’s get started and unlock the full potential of your Lenovo tablet!
Setting Up Your Lenovo Tablet
When you first get your Lenovo tablet, it’s essential to go through the initial setup process to ensure that it’s ready for use. Here are the steps to get your Lenovo tablet up and running:
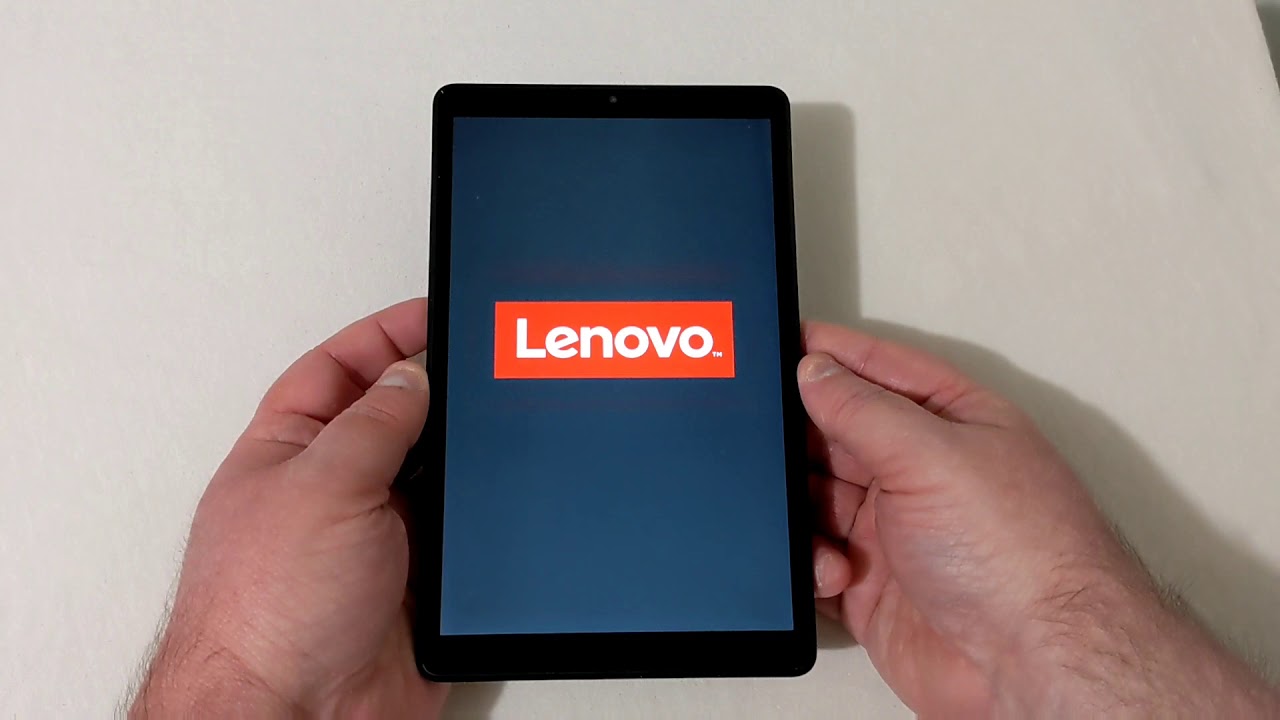
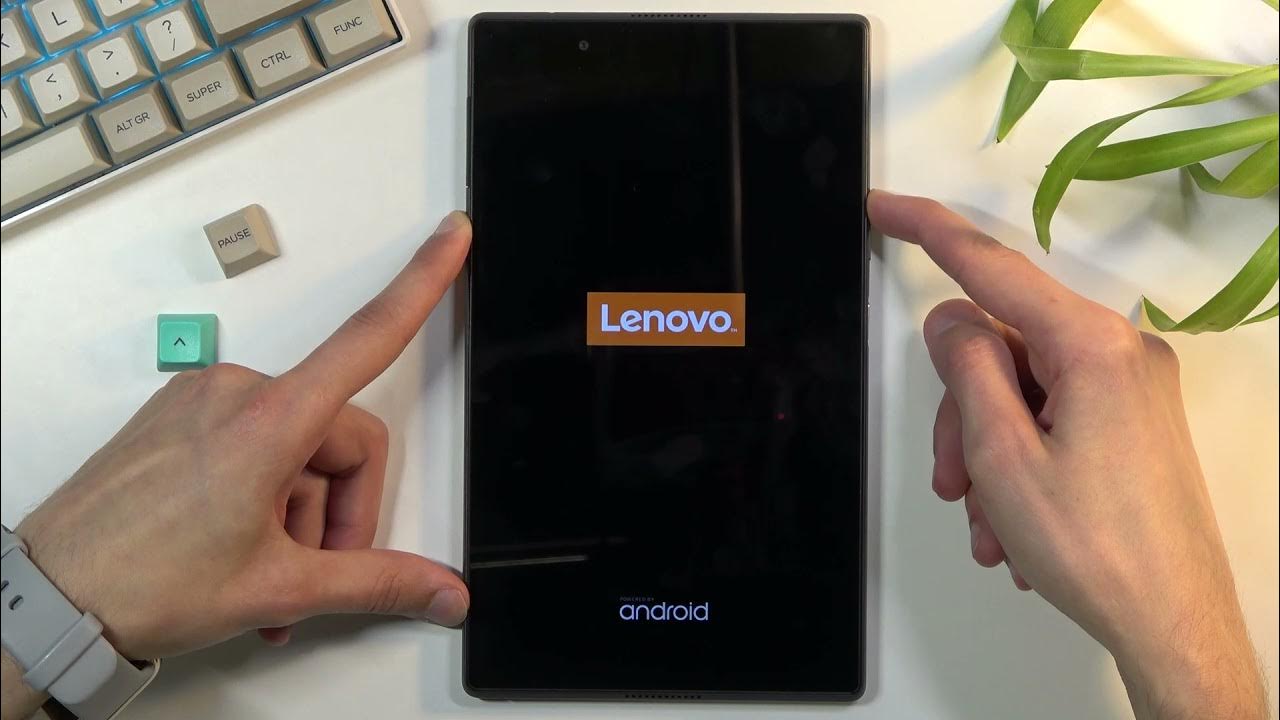
- Powering on your tablet: Press and hold the power button located on the side or top of the device until the screen comes to life. Follow the on-screen prompts to select your language and region.
- Connecting to Wi-Fi: To take full advantage of your tablet’s features, you’ll need to connect to a Wi-Fi network. Swipe down from the top of the screen to access the Quick Settings panel and tap on the Wi-Fi icon. Select your desired network from the list and enter the password if prompted.
- Signing in with your Google account: If you already have a Google account, sign in with your credentials to access your apps, contacts, and settings. If you don’t have a Google account, you can create one during the setup process.
- Setting up additional accounts: Apart from your Google account, you can set up additional email, social media, and cloud storage accounts on your tablet. This will allow you to access your emails, social networks, and files directly from your device.
- Reviewing and accepting terms and conditions: Read through the terms and conditions presented on the screen and accept them to proceed with the setup.
- Personalizing your tablet: Customize your tablet by choosing your preferences for app recommendations, location services, and privacy settings. You can also set a lock screen pattern, PIN, or password to secure your device.
- Updating the system: After completing the initial setup, it’s essential to check for system updates. Go to “Settings,” tap on “System,” and select “System updates.” If any updates are available, download and install them to ensure that your tablet has the latest features and security patches.
By following these steps, you’ll have your Lenovo tablet set up and ready to use in no time. Now that you have the basics in place, you can start exploring the various features and functions offered by your tablet.
Next, we’ll delve into how to navigate the user interface and make the most of your Lenovo tablet experience.
Navigating the User Interface
The user interface of your Lenovo tablet is intuitive and easy to navigate. Familiarizing yourself with the various elements will help you navigate your tablet more efficiently. Let’s explore some key aspects of the Lenovo tablet user interface:
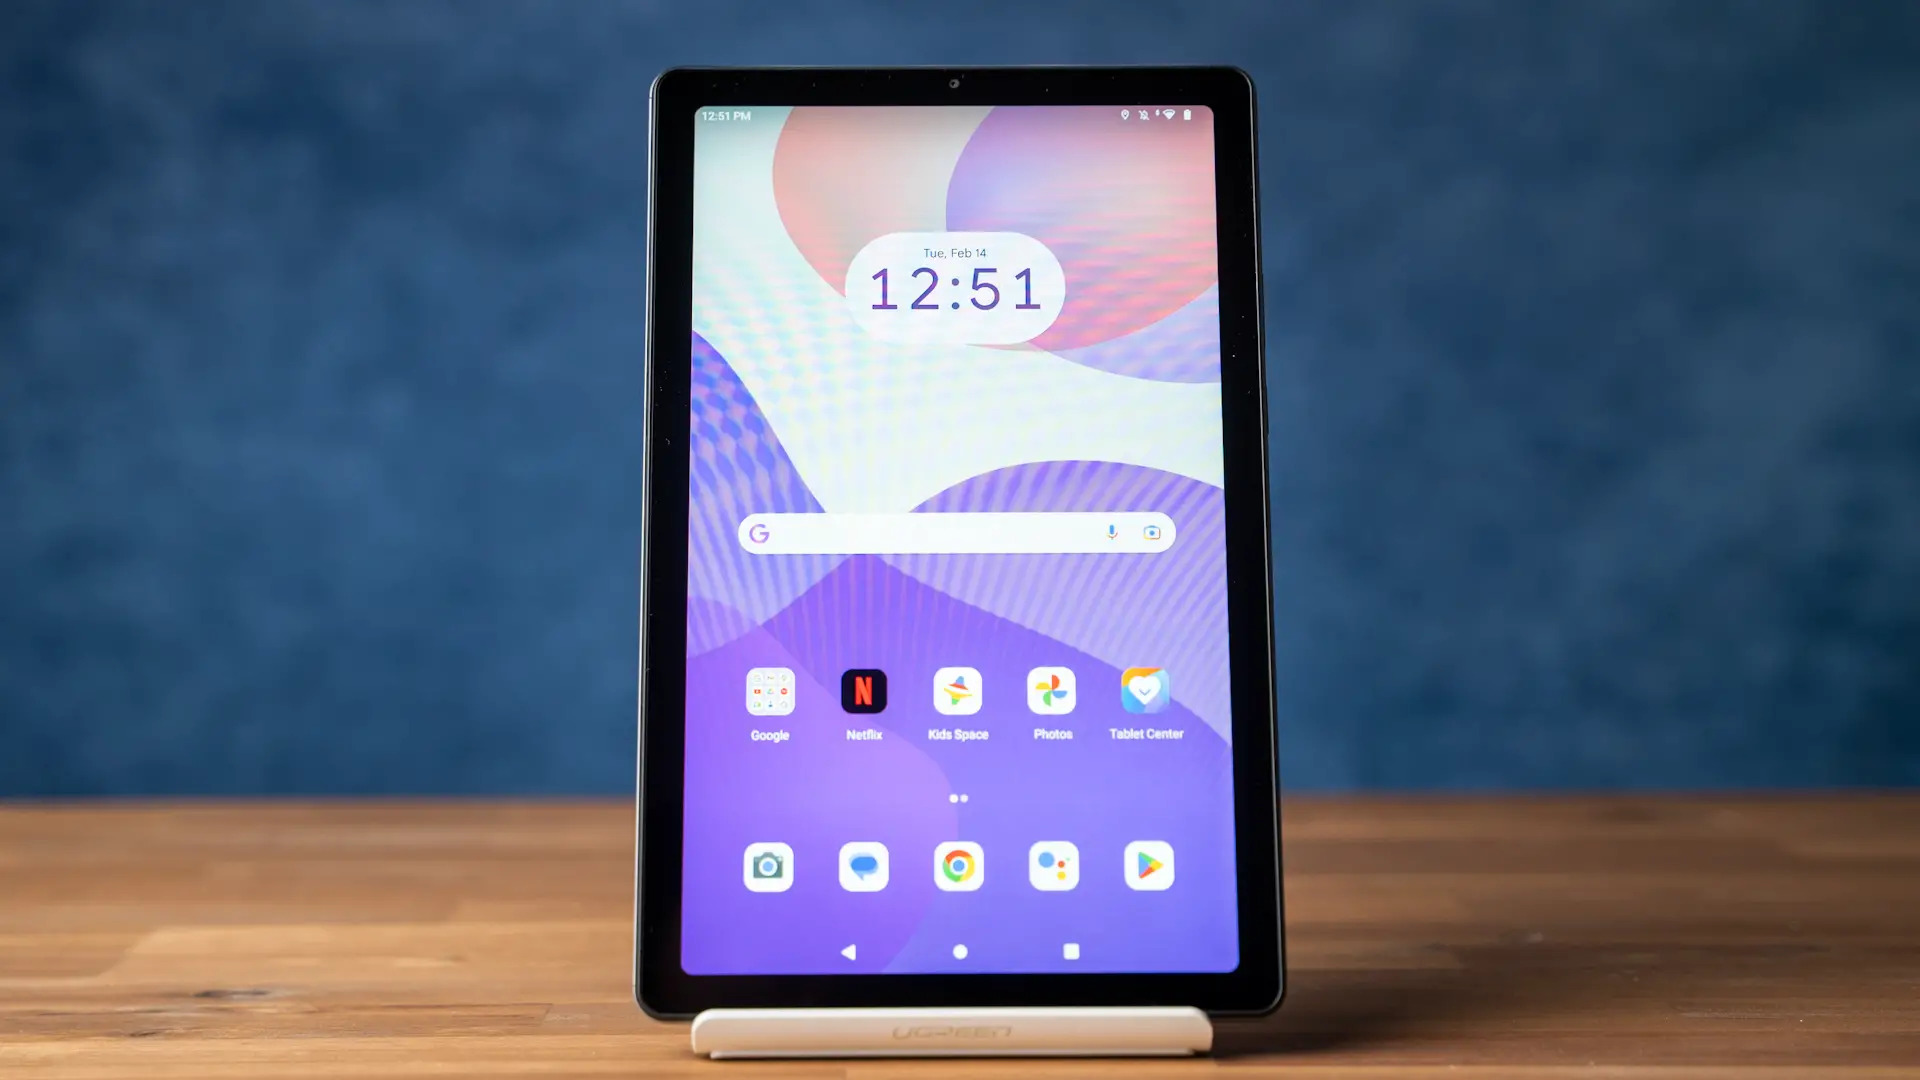
- Home screen: After unlocking your tablet, you’ll land on the home screen. This is where you’ll find your app icons, widgets, and a dock at the bottom for commonly used apps. Swipe left or right to access additional home screens for organizing your apps.
- App drawer: Tapping on the app drawer icon (usually located at the center or bottom of the home screen) will open a list of all your installed apps. Swipe up or down to scroll through the list and tap on an app to open it.
- Navigation buttons: Typically located at the bottom of the screen, the navigation buttons allow you to navigate through different screens and interact with apps. The back button takes you to the previous screen, the home button brings you back to the home screen, and the recent apps button shows a list of your recently used apps.
- Notifications and quick settings: Swipe down from the top of the screen to access the notification shade, where you can view incoming notifications. Swipe down again to reveal the quick settings panel, where you can toggle various settings such as Wi-Fi, Bluetooth, and screen brightness.
- Gestures: Lenovo tablets often come with gesture controls, allowing you to perform certain actions by swiping or tapping on the screen with specific gestures. For example, you can double-tap the screen to wake it up or use multi-finger gestures to capture screenshots or navigate between apps.
- Widgets: Widgets are interactive elements that can be placed on the home screen to provide quick access to information or functionalities. To add a widget, long-press on an empty area of the home screen, select “Widgets,” and choose the desired widget from the available options.
Take some time to explore and familiarize yourself with the user interface of your Lenovo tablet. Experiment with swiping, tapping, and long-pressing to discover hidden features and shortcuts. The more you interact with your tablet, the more comfortable you’ll become in navigating its interface.
In the next section, we’ll discuss how to connect your Lenovo tablet to a Wi-Fi network and enjoy seamless internet connectivity.
Connecting to Wi-Fi
Connecting your Lenovo tablet to a Wi-Fi network is essential for accessing the internet, downloading apps, and enjoying online content. Here’s how you can connect your tablet to Wi-Fi:
- Accessing the Wi-Fi settings: Start by swiping down from the top of the screen to open the Quick Settings panel. Tap on the Wi-Fi icon to access the Wi-Fi settings.
- Scanning for available networks: Once you’re in the Wi-Fi settings, your tablet will automatically start scanning for available networks. It may take a few seconds for the list to populate.
- Selecting a Wi-Fi network: Tap on the desired Wi-Fi network from the list. If the network is protected by a password, you’ll be prompted to enter it. Make sure to enter the password correctly, as it is case-sensitive.
- Connecting to the network: Once you’ve entered the correct password, tap on “Connect” to establish a connection with the Wi-Fi network. Your tablet will attempt to connect, and once successfully connected, it will display the Wi-Fi icon in the status bar.
- Wi-Fi advanced settings: If you need to configure advanced settings for Wi-Fi, such as static IP address, proxy settings, or DNS, you can access these options by tapping on the network’s name and selecting “Advanced” or “Modify network” (the wording may vary depending on your tablet model).
- Forgetting a Wi-Fi network: If you no longer wish to connect to a previously saved Wi-Fi network, you can forget it by going to the Wi-Fi settings, tapping on the network’s name, and selecting “Forget” or “Remove” (again, the wording may vary).
It’s important to note that you’ll need the correct Wi-Fi password to connect to a secured network. If you’re connecting to a public Wi-Fi network, ensure it’s from a trusted source and exercise caution when entering sensitive information.
Once connected to a Wi-Fi network, you can browse the internet, download apps, stream videos, and more without relying on your mobile data. Enjoy the seamless connectivity provided by your Lenovo tablet.
In the next section, we’ll explore how to install and update apps on your Lenovo tablet, allowing you to expand its functionality and enjoy a wide range of applications.
Installing and Updating Apps
One of the great advantages of owning a Lenovo tablet is the ability to access a wide variety of apps from the Google Play Store. Whether you need productivity tools, entertainment apps, or utilities, here’s how you can install and update apps on your Lenovo tablet:
- Opening the Google Play Store: Locate the Play Store icon on your tablet’s home screen or app drawer and tap on it to launch the store.
- Searching for an app: Use the search bar at the top of the Play Store to search for a specific app or browse through the featured, top charts, or categories sections to discover new apps.
- Selecting an app: Once you find an app you want to install, tap on it to view more details, such as the app’s description, screenshots, user reviews, and ratings.
- Installing an app: To install the app, tap on the “Install” button. If the app requires specific permissions, a pop-up window will appear, outlining the permissions it requires. Review them and tap on “Accept” to proceed with the installation.
- Tracking app installation: While the app is being downloaded and installed, you’ll see a progress bar and notification in the notification shade. You can swipe down to check the progress or tap on the notification to view more details.
- Updating apps: To keep your apps up to date with the latest features and security patches, open the Play Store, tap on the menu icon (usually three horizontal lines), and select “My apps & games.” From there, you’ll see a list of apps with available updates. Tap on “Update all” or select individual apps to update them.
- Uninstalling apps: If you need to remove an app from your tablet, long-press on its icon either on the home screen or in the app drawer. Drag and drop it to the “Uninstall” option that appears at the top of the screen. Alternatively, you can go to “Settings,” tap on “Apps & notifications,” select the app, and choose “Uninstall.”
Remember to review app permissions and user reviews before installing any app to ensure it meets your needs and is safe to use. Additionally, keeping your apps updated is crucial for optimal performance and security.
With the ability to install and update apps, your Lenovo tablet becomes a versatile device that can cater to your specific interests and requirements. Take advantage of the vast selection of apps available on the Google Play Store.
In the next section, we’ll delve into using the touchscreen of your Lenovo tablet, making it a breeze to navigate, interact, and enjoy your tablet’s functionalities.
Using the Touchscreen
The touchscreen on your Lenovo tablet is your primary method of interaction, allowing you to navigate, select, and interact with various elements on the screen. Understanding the different touch gestures and functionalities will enhance your overall tablet experience. Here are some key features and tips for using the touchscreen:
- Tap: A simple tap with your finger on an icon, button, or item will select or activate it. Tap on the app icons on the home screen or within the app drawer to open them.
- Swipe: Swipe gestures involve dragging your finger across the screen in a specific direction. Swipe left or right to switch between home screens or to scroll horizontally within an app. Swipe up or down to scroll vertically through menus, lists, or web pages.
- Pinch-to-Zoom: To zoom in or out on a web page, image, or map, place two fingers on the screen and pinch them together or spread them apart. This gesture allows you to adjust the zoom level and view more details or a broader overview of the content.
- Long-press: By pressing and holding your finger on an item, you can access context menus or activate specific actions. Long-pressing an app icon on the home screen, for example, may bring up options to uninstall, edit, or place it on the home screen.
- Scrolling with precision: If you need precise scrolling in a document or web page, you can place your finger on the scroll bar (usually on the right side of the screen) and drag it up or down to scroll through the content more accurately.
- Virtual keyboard: When inputting text or typing, the virtual keyboard will automatically appear on the screen. Simply tap on the desired keys to enter text. You can switch between letter, number, and symbol keyboards by using the appropriate keys.
- Screen rotation: Some Lenovo tablets have built-in sensors that detect the device’s orientation. The screen will automatically rotate when you change the tablet’s position from portrait to landscape or vice versa. This feature is useful for viewing content, playing games, or reading documents in different orientations.
Each Lenovo tablet may have additional touch gestures or features. It’s a good idea to explore the settings and user manual specific to your tablet model to discover additional touch functionalities and customization options.
The touchscreen on your Lenovo tablet provides a responsive and intuitive way to interact with your device. By mastering these touch gestures, you’ll be able to navigate, browse, and enjoy your tablet effortlessly.
In the next section, we’ll discuss how to customize your Lenovo tablet’s home screen, making it tailored to your preferences and needs.
Customizing the Home Screen
Your Lenovo tablet’s home screen is the central hub where you can access your favorite apps, widgets, and shortcuts. Customizing the home screen allows you to personalize your tablet and make it more efficient for your needs. Here are some ways to customize your Lenovo tablet’s home screen:
- Adding and rearranging app icons: To add an app icon to your home screen, browse through the app drawer or search for the app you want to add. Long-press on the app icon and drag it to a desired spot on the home screen. You can also rearrange app icons by long-pressing and dragging them to new positions.
- Creating app folders: If you have multiple apps related to a particular category or theme, you can organize them into folders. Drag one app icon onto another, and a folder will be created containing both apps. To add more apps to the folder, drag and drop them onto the folder icon.
- Adding widgets: Widgets are interactive elements that provide quick access to information or functionality. Long-press on an empty area of the home screen and tap on “Widgets.” Scroll through the available widgets and select the one you want to add. Drag it to the desired position on the home screen.
- Changing wallpapers: Personalize your home screen’s look by changing the wallpaper. Long-press on an empty area of the home screen and tap on “Wallpapers” or “Wallpaper settings.” Choose from pre-installed wallpapers or select your own image from the gallery.
- Using live wallpapers: If you want a more dynamic and interactive home screen, consider using live wallpapers. These wallpapers can display animations, images, or even react to your touch. Access live wallpapers through the wallpaper settings and select the one that suits your style.
- Adding app shortcuts: Place app shortcuts on your home screen for quick access to your most-used apps. Long-press on an app icon in the app drawer or search results, then drag and drop it onto the home screen.
- Resizing widgets: Some widgets can be resized to fit your preference. Long-press on a widget on the home screen, and resizing handles will appear. Use these handles to stretch or shrink the widget to the desired size.
Take some time to experiment and find a layout and organization that works best for you. Rearrange, add or remove app icons, widgets, and shortcuts until your home screen reflects your style and provides quick access to the apps and information you need most.
Remember that these customization options may vary slightly depending on your Lenovo tablet model and Android version. Refer to the user manual or explore the settings on your specific device for additional customization features.
In the next section, we’ll guide you through managing storage and memory on your Lenovo tablet to ensure smooth operation and optimize performance.
Managing Storage and Memory
As you use your Lenovo tablet, it’s essential to manage your storage and memory effectively to ensure optimal performance and keep your device running smoothly. Here are some tips for managing storage and memory on your Lenovo tablet:
- Check storage usage: Go to the Settings app and tap on “Storage” or “Storage & memory” to see a breakdown of storage usage. This will display how much space is used by apps, photos, videos, and other files.
- Clear app caches: Over time, apps accumulate temporary files and caches that take up unnecessary space. You can clear app caches by going to Settings, tapping on “Apps & notifications” or “Applications,” selecting the desired app, and choosing “Clear cache.”
- Uninstall unused apps: Review your installed apps and uninstall any that you no longer use or need. Go to Settings, tap on “Apps & notifications” or “Applications,” select the app you want to uninstall, and choose “Uninstall.”
- Move apps to SD card: If your Lenovo tablet has an SD card slot, you can move compatible apps to the SD card to free up internal storage. Go to Settings, tap on “Apps & notifications” or “Applications,” select the app you want to move, and choose “Storage.” From there, you can select “Change” and choose the SD card as the storage location.
- Manage downloads and files: Regularly review and delete unnecessary downloads, files, and documents stored on your tablet. Use file manager apps or go to Settings and tap on “Storage” or “Storage & memory” to access the files and manage them accordingly.
- Restart or power off your tablet: Restarting or powering off your tablet can help clear the temporary memory and improve overall performance. It’s recommended to power off and restart your tablet occasionally, especially if you notice any slowdowns or issues.
- Optimize memory usage: Android devices have a built-in memory management system that automatically handles memory allocation. However, you can manually optimize memory usage by closing unused apps and clearing recent apps from the multitasking screen. This helps free up memory for other apps and processes.
By following these storage and memory management techniques, you can keep your Lenovo tablet functioning smoothly, improve storage capacity, and enhance overall performance. Regular maintenance ensures that your tablet’s resources are used efficiently and effectively.
In the next section, we’ll explore how to take photos and videos with your Lenovo tablet, transforming it into a handy camera for capturing memories.
Taking Photos and Videos
Your Lenovo tablet comes equipped with a built-in camera, allowing you to capture photos and record videos with ease. Whether you want to document special moments or take stunning photos, here’s how to make the most of the camera on your Lenovo tablet:
- Opening the camera app: Locate the camera app on your tablet’s home screen or app drawer and tap on it to launch the camera.
- Adjusting camera settings: Before taking photos or videos, you can adjust various camera settings to suit your preferences. Explore the settings within the camera app to modify aspects such as photo resolution, video quality, flash, timer, and more.
- Taking photos: Once you’ve framed your shot, tap the capture button (usually represented by a camera icon) to take a photo. You can also use the volume buttons as a shutter button for convenience.
- Switching between camera modes: Many Lenovo tablets offer multiple camera modes, such as panorama, HDR, night mode, or beauty mode. Swipe left or right within the camera app to switch between different modes and experiment with various shooting options.
- Recording videos: To record a video, switch to video mode within the camera app by tapping on the video camera icon. Then, tap the record button to start and stop video recording. Make sure to keep your tablet stable while recording for smoother footage.
- Reviewing and editing photos and videos: Once you’ve taken a photo or recorded a video, you can review it within the camera app. Tap on the preview thumbnail to access editing options, such as cropping, filters, and adjustments. You can also share your photos and videos directly from the camera app to social media platforms or messaging apps.
- Utilizing advanced camera features: Depending on your tablet model, you may have additional camera features available, such as manual controls, selective focus, or various shooting modes. Explore the camera app and consult the user manual specific to your tablet to discover and make the most of these advanced features.
The camera on your Lenovo tablet provides you with a convenient way to capture precious moments, scenery, or anything that catches your eye. Experiment with different angles, lighting conditions, and camera settings to unleash your creativity and capture amazing photos and videos.
In the next section, we’ll guide you through the process of connecting your Lenovo tablet to Bluetooth devices, allowing you to enjoy wireless audio, transfer files, and more.
Connecting to Bluetooth Devices
Your Lenovo tablet offers Bluetooth connectivity, allowing you to connect to various devices wirelessly. From headphones and speakers to keyboards and mice, here’s how you can connect your Lenovo tablet to Bluetooth devices:
- Enable Bluetooth: Swipe down from the top of the screen to open the Quick Settings panel. Tap on the Bluetooth icon to enable Bluetooth on your tablet. Alternatively, you can access the Bluetooth settings through the Settings app.
- Set your Bluetooth device to pairing mode: Depending on the specific Bluetooth device, you may need to put it in pairing mode. Refer to the device’s user manual for instructions on how to enable pairing mode. Typically, this involves pressing and holding a specific button or combination of buttons.
- Pairing your tablet and device: Once your device is in pairing mode, it should appear in the list of available devices on your tablet. Tap on the device’s name to initiate the pairing process. Follow any on-screen prompts or enter a confirmation code, if necessary.
- Connecting to a previously paired device: If you’ve previously paired a device with your tablet, it should automatically connect when it’s in range and Bluetooth is enabled on both devices. You can check the list of paired devices in the Bluetooth settings and tap on the device’s name to manually connect or disconnect.
- Managing paired devices: To unpair or forget a Bluetooth device, go to the Bluetooth settings and tap on the device’s name. Select the option to unpair or forget the device. This will remove the device from the list of paired devices on your tablet.
- Using connected Bluetooth devices: Once your tablet is connected to a Bluetooth device, you can start using it. For example, you can listen to audio through Bluetooth headphones or speakers, type using a Bluetooth keyboard, or control your tablet with a Bluetooth mouse.
- Transferring files: In addition to audio and input devices, Bluetooth can be used to transfer files between your tablet and other compatible devices. Navigate to the file you want to transfer, tap on the share or send option, choose Bluetooth, and select the target device from the list to initiate the transfer.
Keep in mind that the process of pairing and connecting Bluetooth devices may vary slightly depending on the device you’re connecting to and your tablet’s specific model and operating system version. Always refer to the device’s user manual or online resources for detailed instructions.
With Bluetooth connectivity, you can expand the capabilities of your Lenovo tablet by connecting it to a wide range of devices, creating a more personalized and versatile experience.
In the next section, we’ll provide you with tips and techniques to extend the battery life of your Lenovo tablet, ensuring you can use it for longer periods without needing to recharge.
Extending Battery Life
Maximizing the battery life of your Lenovo tablet is essential to ensure uninterrupted usage throughout the day. By implementing a few simple strategies, you can extend your tablet’s battery life and make the most of your device. Here are some tips to help you:
- Optimize screen brightness: Lowering your screen brightness or using the auto-brightness feature can significantly reduce battery consumption. Swipe down from the top of the screen to access the Quick Settings panel and adjust the brightness slider accordingly.
- Reduce screen timeout: Set a shorter screen timeout period to automatically turn off the screen when it’s not in use. This prevents unnecessary battery drain caused by the display staying active for extended periods. You can adjust the screen timeout duration in the Settings app, under the Display or Screen section.
- Disable or reduce background app refresh: Many apps run background processes and consume battery power even when you’re not actively using them. To minimize this, go to the Settings app, tap on “Apps & notifications,” select the app, and look for options to disable background app refresh or restrict certain app activities.
- Turn off Wi-Fi, Bluetooth, and GPS: When not in use, it’s advisable to turn off Wi-Fi, Bluetooth, and GPS as these features consume power by constantly searching for networks or devices. Use the Quick Settings panel or go to the Settings app to toggle these features on and off as needed.
- Manage app notifications: Unnecessary app notifications can drain your tablet’s battery by constantly waking up the screen. Review and disable notifications for apps that don’t require immediate attention. You can do this in the Settings app under “Apps & notifications” and “Notifications.”
- Use power-saving modes: Lenovo tablets often come with power-saving modes that help conserve battery life by limiting background processes, reducing screen brightness, and optimizing performance. Enable these modes in the Settings app, usually found under the Battery or Power section.
- Limit widget usage: While widgets provide quick access to information, having multiple active widgets on your home screen can consume battery power. Consider minimizing the number of widgets or keeping only the essential ones to reduce battery drain.
- Close unused apps: Closing apps running in the background frees up system resources and improves battery life. You can access the recent apps screen by either tapping the dedicated button or swiping up and holding the screen button navigation gesture, then swipe left or right to close active apps.
- Update your software: Software updates often include optimization improvements that can enhance battery life. Check for the latest system updates by going to the Settings app, selecting “System,” and tapping on “System updates.”
Implementing these battery-saving techniques will help you extend the usage time of your Lenovo tablet, allowing you to enjoy a longer-lasting and more productive experience. Remember that your tablet’s actual battery life may vary depending on usage patterns, specific model, and other factors.
In the next section, we’ll provide troubleshooting tips for common issues that you may encounter while using your Lenovo tablet.
Troubleshooting Common Issues
While Lenovo tablets are known for their reliability, you may occasionally encounter some common issues. Don’t worry! Here are some troubleshooting tips to help you resolve the most common problems you may face with your Lenovo tablet:
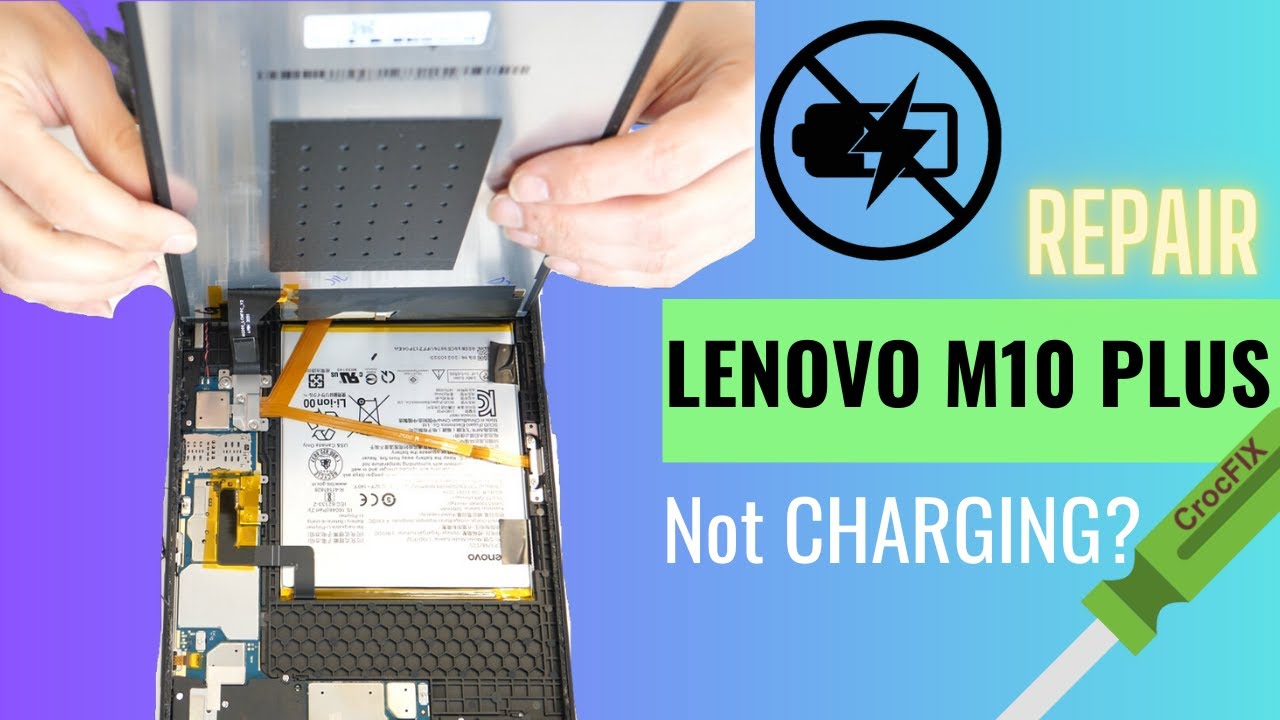
- Tablet not turning on: If your tablet doesn’t power on, ensure that it’s charged by connecting it to a power source using the original charger. If the battery is completely drained, leave it plugged in for a few minutes before trying to turn it on again. If the issue persists, try a different charging cable or power outlet.
- Unresponsive touchscreen: If your touchscreen becomes unresponsive or laggy, clean it gently with a microfiber cloth to remove any dirt or smudges. Restart your tablet to see if the issue resolves. If the problem persists, perform a factory reset as a last resort. Back up your important data before proceeding, as a factory reset will erase all data on your tablet.
- Wi-Fi connection issues: If you’re experiencing Wi-Fi connectivity problems, try restarting your tablet and router. Ensure that you’re within range of the Wi-Fi network and that the correct password is entered. You can also try resetting your network settings by going to the Settings app, selecting “Network & internet,” and tapping on “Reset Wi-Fi, mobile & Bluetooth.”
- App crashes or freezes: If an app crashes or freezes frequently, update the app or reinstall it from the Google Play Store. Clearing the app cache or app data from the app’s settings can also help. If the issue persists, restart your tablet and ensure that the latest system updates are installed.
- Poor battery life: If you’re experiencing shorter battery life than usual, ensure that power-intensive apps or processes aren’t running unnecessarily in the background. Adjust screen brightness, enable power-saving modes, and limit unnecessary device features to conserve battery. If the battery drain is significant or persistent, you may need to replace the battery or contact Lenovo for further assistance.
- Storage space running low: If your tablet is running out of storage space, try clearing unnecessary files, such as app caches or unused downloads. Move media files to an external SD card if available. Additionally, uninstall apps that you no longer use to free up space.
- System lag or slow performance: If your tablet seems slow or laggy, ensure that you have sufficient storage space available. Restart your tablet periodically and close unused apps running in the background. If the problem persists, consider a factory reset or contact Lenovo support for further assistance.
If none of these troubleshooting tips resolve your issue, it may be helpful to consult the official Lenovo support website, forums, or contact their customer support for more specific and tailored assistance.
By addressing these common issues, you can ensure that your Lenovo tablet continues to perform optimally, providing you with a smooth and enjoyable user experience.
Now that you’re equipped with troubleshooting knowledge, you can confidently tackle any challenges that may arise while using your Lenovo tablet.
Conclusion
Congratulations! You now have a comprehensive understanding of how to make the most of your Lenovo tablet. From setting it up for the first time to troubleshooting common issues, this guide has provided you with the knowledge and tools to enhance your tablet experience.
We discussed the importance of familiarizing yourself with the user interface and navigating through the various screens and apps. By customizing your home screen, connecting to Wi-Fi and Bluetooth devices, and managing storage and memory, you can personalize your tablet to suit your preferences and needs.
We also explored essential functions, such as taking photos and videos, extending battery life, and installing and updating apps. These features allow you to capture special moments, maximize productivity, and increase the versatility of your Lenovo tablet.
Lastly, we provided troubleshooting tips for common issues you may encounter. Whether it’s unresponsive touchscreen, Wi-Fi connectivity problems, or app crashes, you now have the knowledge to address these challenges and keep your tablet running smoothly.
Remember, while this guide covers many aspects of using your Lenovo tablet, each model may have unique features or settings. It’s always a good idea to consult the user manual specific to your tablet model or reach out to Lenovo’s customer support for further assistance.
Now, armed with this knowledge, go forth and utilize your Lenovo tablet to its fullest potential. Explore new apps, capture memories, stay connected, and increase your productivity with the power of your Lenovo tablet at your fingertips.