Introduction
Google Voice is a powerful communication tool that allows users to make calls, send text messages, and manage voicemail using their Android tablet. It provides a convenient solution for staying connected, whether you’re on the go or at home. With Google Voice, you can access all of your communication needs in one place, making it easier to stay organized and efficient.
Setting up Google Voice on your Android tablet is simple and intuitive, and once you have it up and running, you’ll have access to a range of features that can enhance your communication experience. From making and receiving calls to sending and receiving text messages, Google Voice offers a seamless and cost-effective way to stay connected.
In this guide, we will walk you through the process of setting up Google Voice on your Android tablet and explore the various features and functions it offers. We will also provide troubleshooting tips for common issues you may encounter along the way.
Whether you need to make an important call, send a quick text message, or manage your voicemail, Google Voice can be your go-to solution. So, let’s dive in and discover how you can use Google Voice on your Android tablet to streamline your communication and stay connected with ease.
Understanding Google Voice
Before we delve into the technicalities of setting up and using Google Voice on your Android tablet, let’s take a moment to understand what exactly Google Voice is and how it can benefit you.
Google Voice is a service offered by Google that provides you with a virtual phone number. This number can be used to make and receive calls, send and receive text messages, and manage your voicemail. The beauty of Google Voice is that it allows you to integrate all your communication needs into one platform.
One of the key advantages of Google Voice is that it offers free calls within the United States and Canada. Additionally, international calls can be made at affordable rates, making it an appealing option for those who frequently make long-distance calls.
Another feature that sets Google Voice apart is its ability to transcribe voicemail messages into text, allowing you to read your voicemail instead of having to listen to it. This can be particularly useful if you’re in a meeting or in a situation where you can’t listen to your messages.
Google Voice also offers the convenience of call forwarding, enabling you to route calls from your Google Voice number to your other devices, such as your smartphone or tablet. This means that you can receive calls from your Google Voice number on your Android tablet, even if you don’t have a phone service provider for that device.
Furthermore, Google Voice seamlessly integrates with your existing contacts and allows you to search through your call history and messages, making it easier to find specific conversations or important information.
Now that we have a better understanding of the benefits and features offered by Google Voice, let’s move on to setting it up on your Android tablet.
Setting Up Google Voice on Your Android Tablet
Setting up Google Voice on your Android tablet is a straightforward process that can be completed in just a few steps. Follow the instructions below to get started:
- Open the Google Voice app on your Android tablet or download it from the Google Play Store if you haven’t already.
- Sign in to the app using your Google account credentials. If you don’t have a Google account, you’ll need to create one before proceeding.
- Once you’re signed in, you’ll be prompted to choose a Google Voice number. You can either select a number from the options provided or search for a specific area code or combination of digits.
- After selecting your desired Google Voice number, you’ll be prompted to link your existing phone number to your Google Voice account. This step is optional but recommended, as it allows you to use your existing number for forwarding calls and receiving text messages.
- Next, you’ll need to verify your linked phone number by entering the verification code sent to that number. This step ensures that you have access to the phone number you’re linking to your Google Voice account.
- Once your phone number is verified, you’ll be prompted to set up your voicemail greeting. You can choose to use the default greeting or record a personalized one of your own.
- Finally, you’ll be presented with a quick tutorial that explains the basic features and functionality of Google Voice. Take a moment to familiarize yourself with the interface and the various options available.
With these steps completed, you have now successfully set up Google Voice on your Android tablet. You can start using the app to make calls, send text messages, and manage your voicemail. In the next section, we’ll explore how to make calls using Google Voice on your Android tablet.
Making Calls with Google Voice on Your Android Tablet
Making calls with Google Voice on your Android tablet is a convenient and cost-effective way to stay connected with friends, family, and colleagues. Follow the steps below to start making calls using Google Voice:
- Launch the Google Voice app on your Android tablet.
- In the app, tap on the “Dialer” tab or icon to open the dialer screen.
- You can now enter the phone number you wish to call using the on-screen keypad. Alternatively, you can select a contact from your Google Voice contact list or regular device contacts.
- Once you’ve entered the number or selected a contact, tap on the green call button to initiate the call.
- Google Voice will connect the call using your Google Voice number, and the recipient will see your Google Voice number as the caller ID.
If you have linked your existing phone number to your Google Voice account, you also have the option to choose to make calls using your linked number. To do this, follow these steps:
- In the Google Voice app, tap on the three horizontal lines to open the navigation menu.
- From the menu, select “Settings” and then tap on “Calling.”
- Under the “Outgoing Caller ID” section, choose the option to “Use your linked number” instead of your Google Voice number.
- Now, when you make calls through the Google Voice app, they will be made using your linked number instead of your Google Voice number.
It’s important to note that making calls using Google Voice requires a stable internet connection. Ensure that you have a reliable Wi-Fi or mobile data connection before making calls to avoid any connectivity issues.
With these simple steps, you can start making calls using Google Voice on your Android tablet. In the next section, we’ll explore how to receive calls using Google Voice.
Receiving Calls with Google Voice on Your Android Tablet
Receiving calls with Google Voice on your Android tablet is a seamless and convenient process. You can receive calls directly through the Google Voice app, ensuring that you never miss an important call. Follow the steps below to start receiving calls using Google Voice:
- Keep the Google Voice app open or running in the background to receive incoming calls. You can also customize the app settings to enable notifications for incoming calls.
- When a call comes in, you’ll see a notification on your Android tablet’s screen. Swipe down on the notification to answer the call.
- If you have the app open, you’ll see the incoming call screen. Tap on the green answer button to accept the call, or swipe up on the red decline button to reject the call.
- During the call, you can use the on-screen buttons to mute the call, switch to speakerphone mode, or add another participant to create a conference call.
- To end the call, tap on the red phone icon or simply hang up.
If you have linked your existing phone number to your Google Voice account, you can also set it up to ring simultaneously when a call comes in through Google Voice. This allows you to answer calls on either your Android tablet or your linked phone number. To enable this feature, follow these steps:
- In the Google Voice app, tap on the three horizontal lines to open the navigation menu.
- From the menu, select “Settings” and then tap on “Calls” or “Incoming Calls.”
- Under the “Linked numbers” section, toggle the switch to enable the option to “Ring on this device.”
With this feature enabled, both your Android tablet and your linked phone number will ring simultaneously when a call comes in, giving you more flexibility in how you answer incoming calls.
Receiving calls with Google Voice on your Android tablet is a convenient way to stay connected. In the next section, we’ll explore how to send and receive text messages using Google Voice.
Sending and Receiving Text Messages with Google Voice on Your Android Tablet
Google Voice not only allows you to make and receive calls but also provides the functionality to send and receive text messages. With Google Voice, you can streamline your communication by managing your text messages directly from your Android tablet. Here’s how you can send and receive text messages using Google Voice:
- Open the Google Voice app on your Android tablet.
- In the app, tap on the “Messages” tab or icon to access your text messages.
- To compose a new message, tap on the “+” or “Compose” button.
- In the recipient field, enter the phone number or select a contact from your Google Voice contact list or regular device contacts.
- Type your message in the text input field at the bottom of the screen.
- When you’re ready to send the message, tap on the send button (usually represented by a paper plane icon).
Once the message is sent, it will be delivered to the recipient’s phone as a regular SMS message. The recipient will receive the message from your Google Voice number.
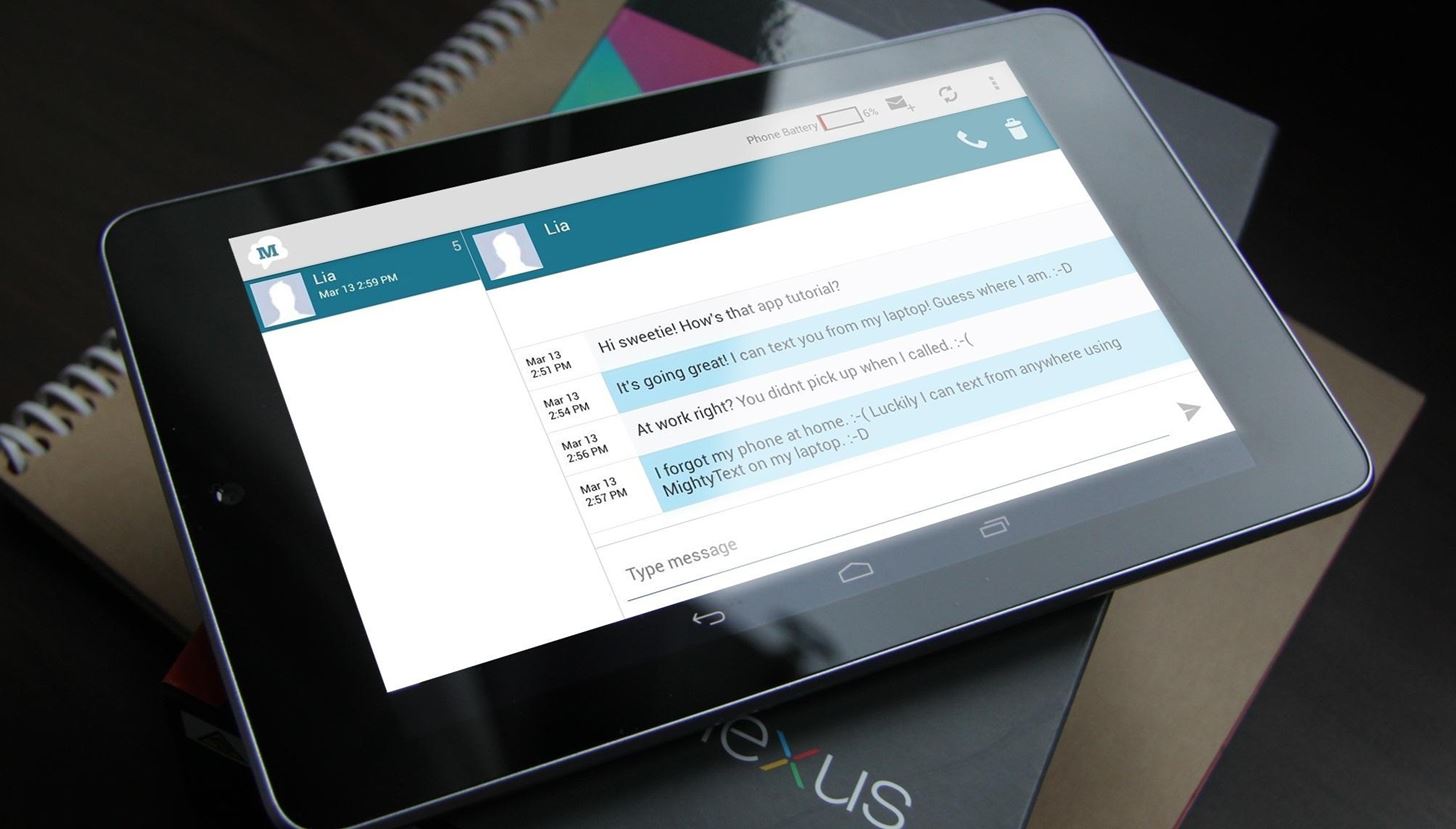
Similarly, when someone sends you a text message to your Google Voice number, you’ll receive it in the Google Voice app on your Android tablet. You’ll be able to view and reply to the message within the app. The sender will see the message coming from your Google Voice number.
Google Voice also provides threaded conversations, allowing you to see all the messages exchanged with a particular contact in one place. This makes it easier to keep track of your conversations and refer back to previous messages if needed.
With the ability to send and receive text messages using Google Voice on your Android tablet, you can conveniently manage all your communication from one platform. In the next section, we’ll explore how to manage voicemail with Google Voice on your Android tablet.
Managing Voicemail with Google Voice on Your Android Tablet
Managing voicemail with Google Voice on your Android tablet is a simple and convenient process. With Google Voice, you can easily access and organize your voicemail messages in one centralized location. Here’s how you can manage your voicemail with Google Voice:
- Launch the Google Voice app on your Android tablet.
- In the app, tap on the “Voicemail” tab or icon to access your voicemail messages.
- You’ll see a list of your voicemail messages, with the most recent ones appearing at the top.
- To listen to a voicemail message, simply tap on the message you want to listen to. The message will play through your Android tablet’s speakers or headphones.
- If you prefer to read the transcription of the voicemail instead of listening to it, tap on the text icon (usually represented by a speech bubble) next to the message. The voicemail transcription will be displayed on the screen.
- To delete a voicemail message, swipe left on the message and tap on the delete option. Alternatively, you can tap on the three dots next to the message and select the delete option from the menu.
- If you want to save a voicemail message, you can tap on the three-dot menu next to the message and select the “Save” option. This will keep the voicemail message in your voicemail list for future reference.
Google Voice also provides features like voicemail greetings and customized voicemail settings. To set up a personalized voicemail greeting, follow these steps:
- In the Google Voice app, tap on the three horizontal lines to open the navigation menu.
- From the menu, select “Settings” and then tap on “Voicemail & Text.”
- Under the “Voicemail greeting” section, tap on the “Record a greeting” option.
- Follow the on-screen instructions to record your personalized voicemail greeting. You can listen to your recording before saving it.
With Google Voice, you no longer need to worry about missing important voicemail messages. You can conveniently manage and customize your voicemail settings, ensuring that you stay organized and never miss a beat. In the next section, we’ll look at how you can customize Google Voice settings on your Android tablet.
Customizing Google Voice Settings on Your Android Tablet
Google Voice allows you to customize various settings to tailor the app to your preferences and needs. By customizing Google Voice settings on your Android tablet, you can optimize your communication experience. Here are some key settings you can customize:
- Notifications: You can control how Google Voice notifies you about incoming calls, text messages, and voicemail. From the app settings, you can choose to receive notifications via sound, vibration, or both. You can also opt to receive notifications on your lock screen or enable LED notification lights.
- Linked Numbers: If you have linked another phone number to your Google Voice account, you can manage these linked numbers in the settings. From here, you can add or remove linked numbers, set the ring order for simultaneous ringing, and choose whether to use your Google Voice number or linked number for outgoing calls.
- Blocked Numbers: The blocked numbers settings allow you to manage and control which phone numbers are blocked from contacting you through Google Voice. You can add or remove blocked numbers and customize the behavior for blocked calls, such as sending them directly to voicemail.
- Call Screening: With call screening, you can have Google Voice announce the caller’s name or number before you answer the call. This setting can be customized to your preference, such as enabling it for all calls or only for unknown numbers.
- Do Not Disturb: The “Do Not Disturb” setting allows you to temporarily disable incoming calls and messages from Google Voice. You can set specific hours for the “Do Not Disturb” mode or turn it on manually when needed, ensuring uninterrupted focus or personal time.
- Language and Region: From the language and region settings, you can customize the language used in the Google Voice app and set your preferred region for features like transcription and local number availability.
By customizing these settings, you can personalize Google Voice to suit your communication preferences and enable a more seamless and tailored experience on your Android tablet.
Now that we’ve explored the customization options of Google Voice, let’s move on to the next section, where we’ll discuss common troubleshooting methods for any issues you may encounter while using Google Voice on your Android tablet.
Troubleshooting Common Google Voice Issues on Your Android Tablet
While Google Voice is generally a reliable and user-friendly app, you may encounter some common issues from time to time. Here are some troubleshooting tips to help you resolve any problems you may come across while using Google Voice on your Android tablet:
- Check Internet Connection: Ensure that your Android tablet has a stable internet connection, either through Wi-Fi or mobile data. Google Voice requires an active internet connection to function properly.
- Restart the App: If you’re experiencing issues with Google Voice, try closing the app and reopening it. This can help refresh the app and resolve any temporary glitches.
- Update the App: Make sure you’re using the latest version of the Google Voice app on your Android tablet. Outdated versions may have bugs or compatibility issues that can be resolved by updating the app.
- Clear App Cache and Data: If the app is behaving unexpectedly or experiencing performance issues, you can try clearing the app cache and data. This can be done through the app settings on your Android tablet.
- Verify Permissions: Check that Google Voice has the necessary permissions enabled on your Android tablet. These permissions may include access to the microphone, contacts, and storage. Granting these permissions can help ensure that the app functions properly.
- Restart Your Android Tablet: If none of the above steps resolve the issue, try restarting your Android tablet. This can help clear any temporary system glitches and restore normal functionality.
- Contact Google Support: If you’re still experiencing issues with Google Voice on your Android tablet, you can reach out to Google support for further assistance. They can provide specific troubleshooting steps or address any technical difficulties you may be facing.
By following these troubleshooting tips, you should be able to overcome most common issues you encounter while using Google Voice on your Android tablet. Remember to regularly update the app and check for any new feature releases or bug fixes that may address your concerns.
Now that we’ve covered the troubleshooting steps, let’s wrap up this guide.
Conclusion
Google Voice is a valuable tool for Android tablet users, providing a convenient and versatile way to make calls, send text messages, and manage voicemail. By setting up and customizing Google Voice on your Android tablet, you can streamline your communication and stay connected with ease.
In this guide, we discussed the various aspects of using Google Voice on your Android tablet. We explored how to set up Google Voice, make and receive calls, send and receive text messages, manage voicemail, customize settings, and troubleshoot common issues. With this knowledge, you can confidently use Google Voice to enhance your communication experience.
Remember to keep your Google Voice app updated, maintain a stable internet connection, and ensure that the necessary permissions are granted for optimal performance. If you encounter any issues, refer to the troubleshooting tips provided or reach out to Google support for further assistance.
Whether you’re using Google Voice for personal or professional purposes, its versatility and features make it a powerful communication tool. By integrating all your communication needs into one platform, Google Voice on your Android tablet can simplify your life and keep you connected no matter where you are.
So, seize the opportunity to enjoy the benefits of Google Voice on your Android tablet and elevate your communication experience today!


