Introduction
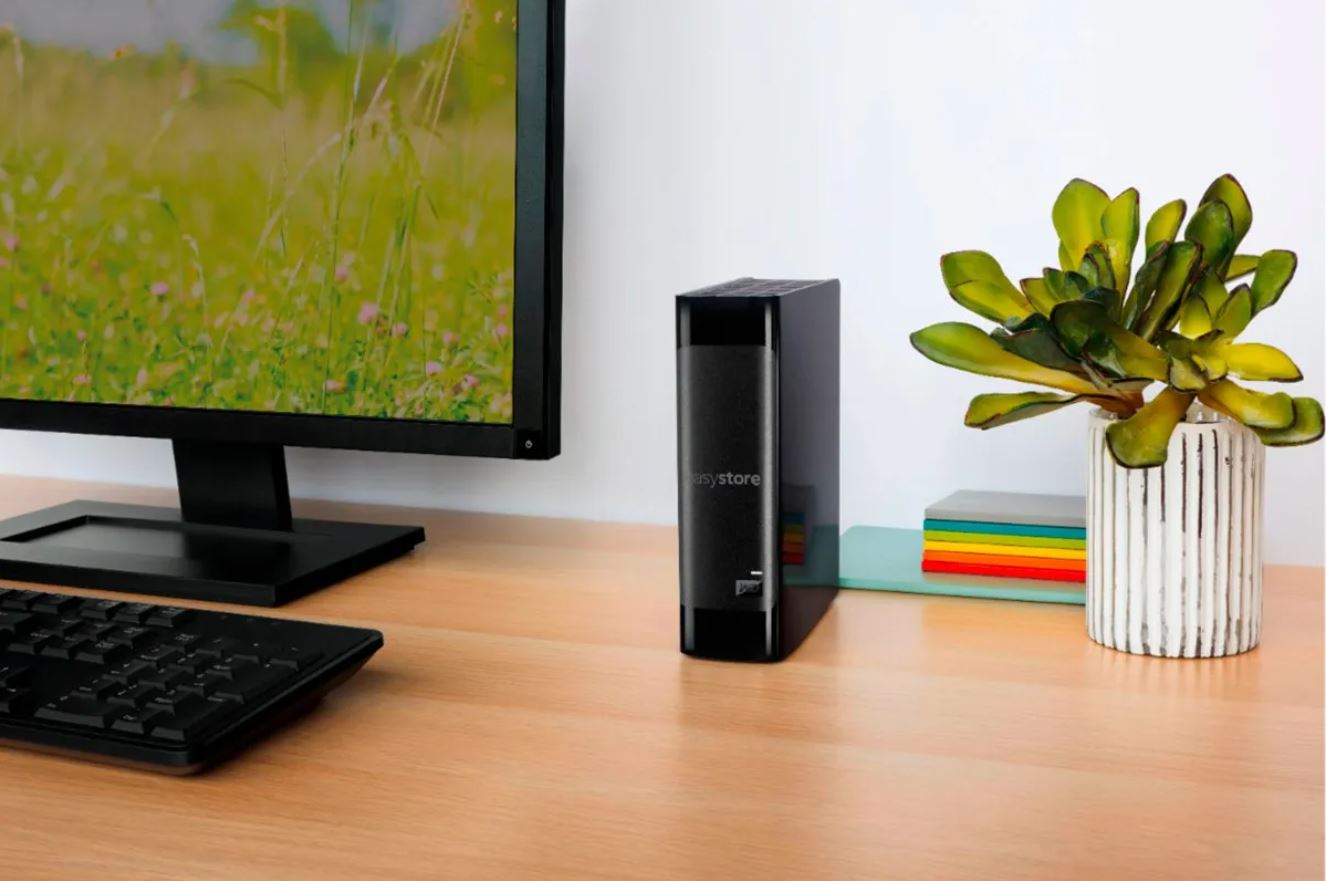
Welcome to this guide on how to use the Easystore external hard drive. If you’re looking for a reliable and convenient way to store and transfer your files, an external hard drive can be a great solution. The Easystore external hard drive offers ample storage space, easy connectivity, and user-friendly features that make it a popular choice for both personal and professional use.
In this article, we will walk you through the steps to effectively use your Easystore external hard drive. Whether you’re a novice or an experienced user, this guide will provide you with the necessary information to make the most out of your device.
Before we dive into the specific steps, it’s important to note that the Easystore external hard drive is compatible with both Windows and macOS operating systems. So no matter what system you’re using, you can follow along and benefit from this guide.
Now, without further ado, let’s get started on how to use your Easystore external hard drive and begin enjoying the convenience of portable storage.
Step 1: Connecting the Easystore External Hard Drive
The first step in using your Easystore external hard drive is to connect it to your computer. Follow these simple instructions to ensure a successful connection:
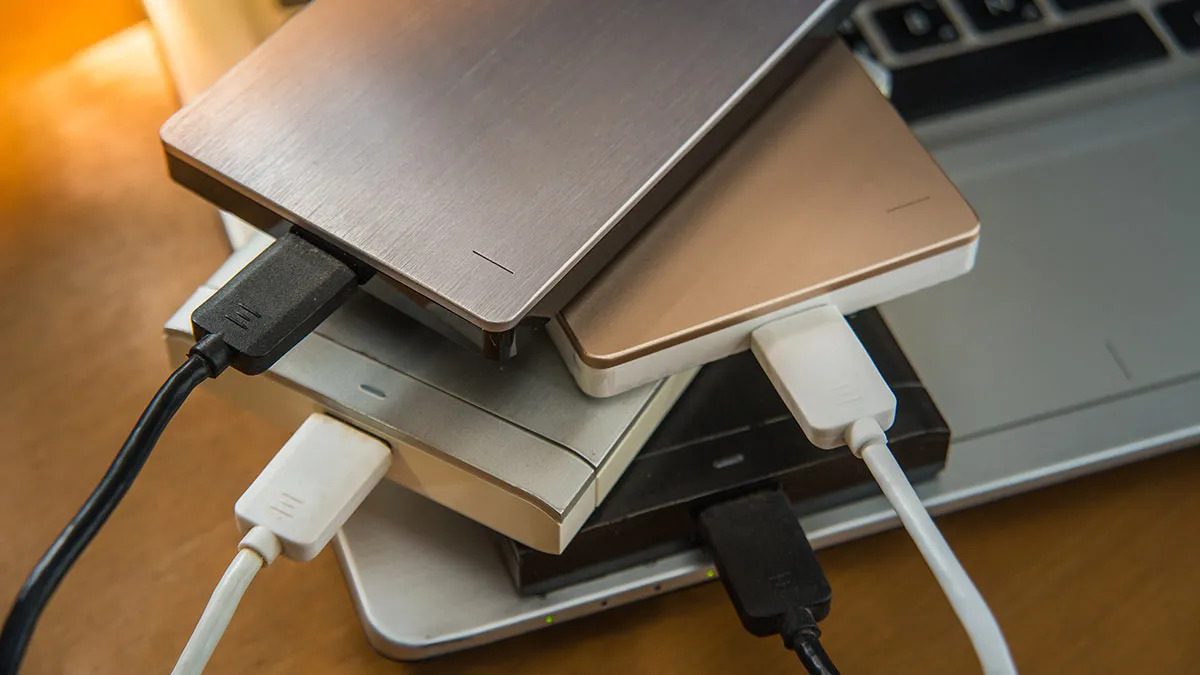
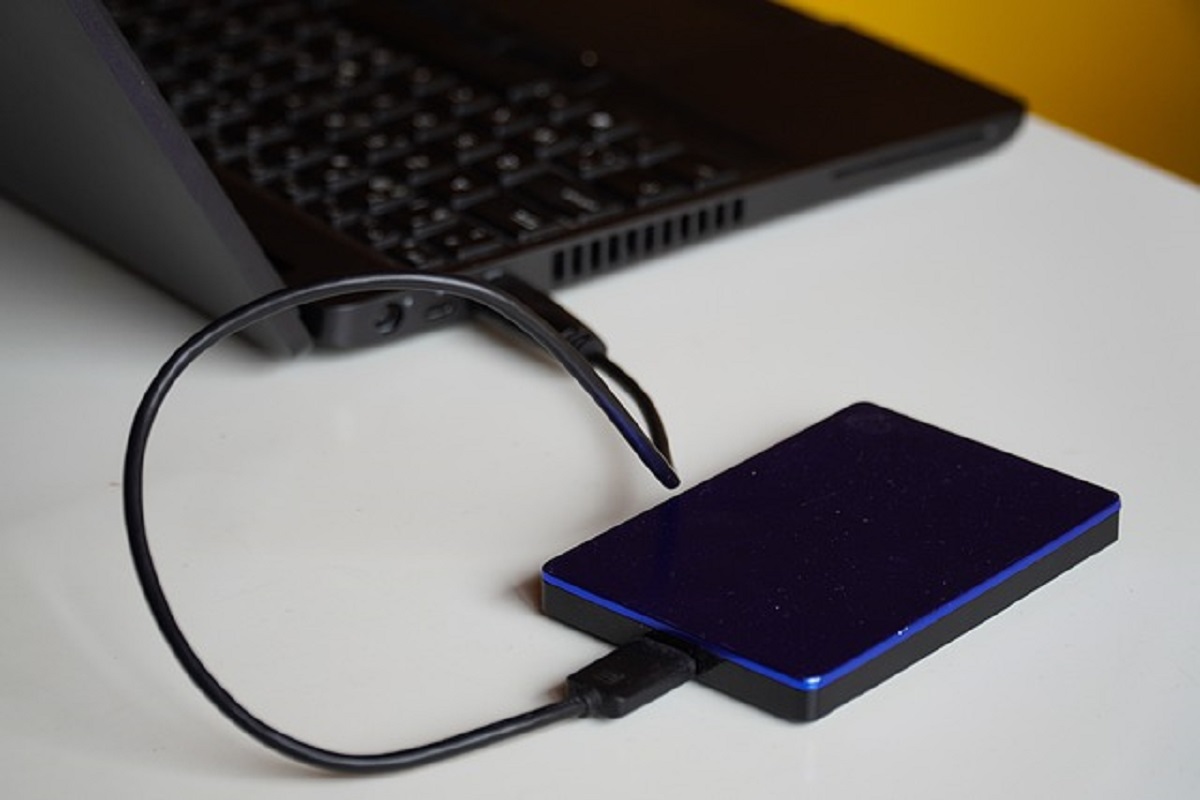
- Locate an available USB port on your computer. The Easystore external hard drive uses a USB 3.0 connection for fast data transfer, so make sure your computer has a compatible USB port.
- Take the USB cable that came with your Easystore external hard drive and plug one end into the USB port on the hard drive itself.
- Take the other end of the USB cable and connect it to the USB port on your computer.
- Once the cable is securely connected, you should hear a notification sound indicating that the Easystore external hard drive has been detected by your computer.
- If you’re using a Windows computer, you may need to wait a few seconds for the device driver to be installed automatically. In most cases, this process will happen automatically without any intervention from you.
- If you’re using a macOS computer, the Easystore external hard drive should appear on your desktop or in the Finder window as soon as it’s connected. If it doesn’t, try restarting your computer or checking the Disk Utility to ensure the device is recognized.
Once you’ve successfully connected the Easystore external hard drive to your computer, you’re ready to move on to the next step: installing the Easystore external hard drive software.
Step 2: Installing the Easystore External Hard Drive Software
Installing the Easystore external hard drive software is an important step to ensure that you can utilize all the features and functionalities of your device. Follow these instructions to install the software:
- Before proceeding with the installation, make sure your Easystore external hard drive is connected to your computer as explained in Step 1.
- Open your web browser and visit the official support page of the Easystore external hard drive. Look for the “Downloads” or “Support” section on the website.
- Search for the software or driver download that is compatible with your operating system (Windows or macOS).
- Download the software and save it to a location on your computer that is easily accessible, such as your desktop or Downloads folder.
- Once the download is complete, navigate to the location where you saved the software and double-click on the file to start the installation process.
- Follow the on-screen instructions provided by the installation wizard. It will guide you through the installation process, which may include accepting the terms and conditions, choosing installation preferences, and specifying the installation location.
- After the installation is complete, restart your computer to ensure that the software is properly integrated with your system.
Once your computer has restarted, the Easystore external hard drive software should be installed and ready to use. This software may provide additional features such as automatic backup, data encryption, and device management, so it’s worth exploring to make the most out of your Easystore external hard drive.
Step 3: Transferring Files to the Easystore External Hard Drive
Now that you have successfully connected your Easystore external hard drive and installed the necessary software, it’s time to start transferring files. Follow these steps to transfer your files to the Easystore external hard drive:
- Ensure that your Easystore external hard drive is connected to your computer and recognized by the system.
- Open the file explorer or finder on your computer, and navigate to the location of the files you want to transfer.
- Select the files or folders you want to move to the Easystore external hard drive. You can do this by clicking and dragging to select multiple files, or by using the Ctrl or Command key to select individual files.
- Once the files are selected, right-click (or Control-click on a Mac) and choose the “Copy” or “Cut” option from the context menu.
- Open the Easystore external hard drive in the file explorer or finder. You should see it listed as a connected device.
- Right-click (or Control-click on a Mac) inside the Easystore external hard drive folder and choose the “Paste” option from the context menu.
- The files will now begin to transfer from your computer to the Easystore external hard drive. The time it takes will depend on the size and quantity of the files.
- Once the transfer is complete, you can safely eject the Easystore external hard drive from your computer by right-clicking (or Control-clicking on a Mac) and selecting the “Eject” option. This step is important to ensure that no data is lost or corrupted during the removal process.
By following these steps, you can easily transfer your files to the Easystore external hard drive, providing you with a secure and convenient storage solution for your important data.
Step 4: Safely Removing the Easystore External Hard Drive
After successfully transferring your files to the Easystore external hard drive, it is important to safely remove the device to avoid any data loss or corruption. Follow these steps to safely remove the Easystore external hard drive from your computer:
- Make sure all file transfer operations or any other activity involving the Easystore external hard drive have completed.
- If you are using a Windows computer, look for the “Safely Remove Hardware and Eject Media” icon in the system tray, typically located at the bottom right corner of the screen. Click on the icon to open the Safely Remove Hardware menu.
- Select the Easystore external hard drive from the list of connected devices in the Safely Remove Hardware menu.
- A notification will appear, indicating that it is safe to remove the Easystore external hard drive from your computer. Once the notification appears, you can safely disconnect the device.
- If you are using a macOS computer, locate the Easystore external hard drive on your desktop or in the Finder window.
- Drag the Easystore external hard drive icon to the Trash or right-click on the icon and select the “Eject” option.
- Wait until the Easystore external hard drive icon disappears from the desktop or Finder window before physically disconnecting it from your computer.
- Once the Easystore external hard drive is safely removed, you can unplug the USB cable from both the hard drive and your computer.
Safely removing the Easystore external hard drive ensures that all data is properly written and no files are left open or in use. Following this step will help prevent data loss or damage to the device.
Step 5: Troubleshooting Common Issues
While using the Easystore external hard drive, you may encounter some common issues that can be easily resolved. Here are a few troubleshooting tips to help you address these issues:
- Device not recognized: If your computer does not detect the Easystore external hard drive, try connecting it to a different USB port or restart your computer. Also, ensure that the USB cable is securely connected on both ends.
- Slow transfer speed: If file transfers to or from the Easystore external hard drive are slower than expected, check if you are using a USB 3.0 port and cable, as they provide higher data transfer speeds. Additionally, closing any unnecessary programs or performing a disk cleanup on your computer can help optimize transfer speeds.
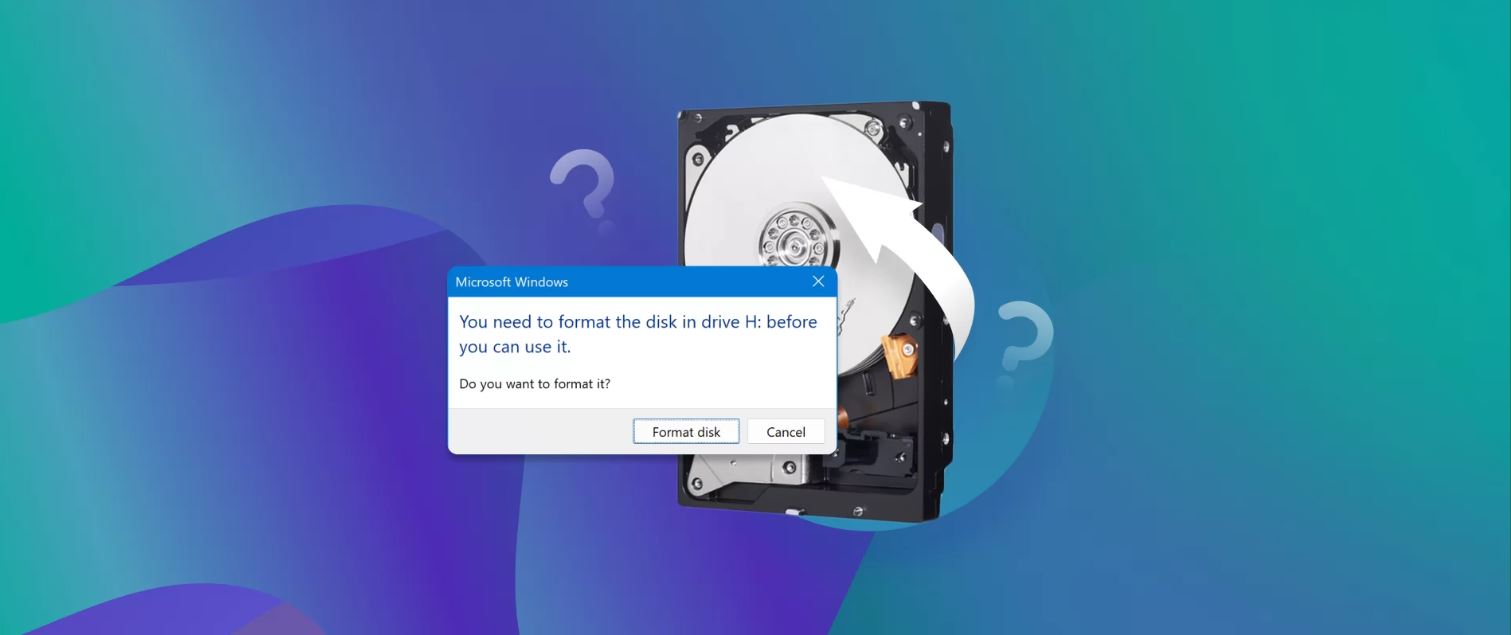
- Data corruption: In the event of data corruption, run a disk check or a scan using the built-in tools of your operating system. These tools can help identify and repair any errors on the Easystore external hard drive.
- Incompatibility issues: If you are experiencing compatibility issues between the Easystore external hard drive and your computer, check for any available firmware or driver updates on the manufacturer’s website. Installing the latest updates can often resolve compatibility problems.
- Device not working on macOS: If the Easystore external hard drive is not working on your macOS computer, ensure that the device is formatted in a file system compatible with macOS, such as APFS or HFS+. You can format the device using the Disk Utility tool on your Mac.
- Unresponsive device: If the Easystore external hard drive becomes unresponsive, try disconnecting and reconnecting the power source, or try plugging it into a different power outlet. If the issue persists, contact the manufacturer’s customer support for further assistance.
If you encounter any other issues not covered here, referring to the user manual or contacting the Easystore customer support team can provide you with specific troubleshooting steps for your device.
Conclusion
Congratulations! You have reached the end of this guide on how to use the Easystore external hard drive effectively. By following the steps outlined in this article, you should now be able to connect your device, install the necessary software, transfer files, and safely remove the Easystore external hard drive from your computer.
The Easystore external hard drive offers a convenient and reliable solution for storing and managing your files. With its ample storage capacity, fast data transfer speeds, and user-friendly features, it is an excellent choice for both personal and professional use.
Remember to always follow the recommended practices and safely eject the Easystore external hard drive from your computer before physically disconnecting it. This will help ensure the integrity of your data and prevent any potential issues.
If you encounter any difficulties or issues while using the Easystore external hard drive, refer to the troubleshooting section of this guide or consult the manufacturer’s support resources for further assistance. They are there to help you get the most out of your device.
We hope that this guide has provided you with the necessary information to make the most of your Easystore external hard drive. Now, go ahead and enjoy the convenience of portable storage and effortless file management that the Easystore external hard drive offers!