Introduction
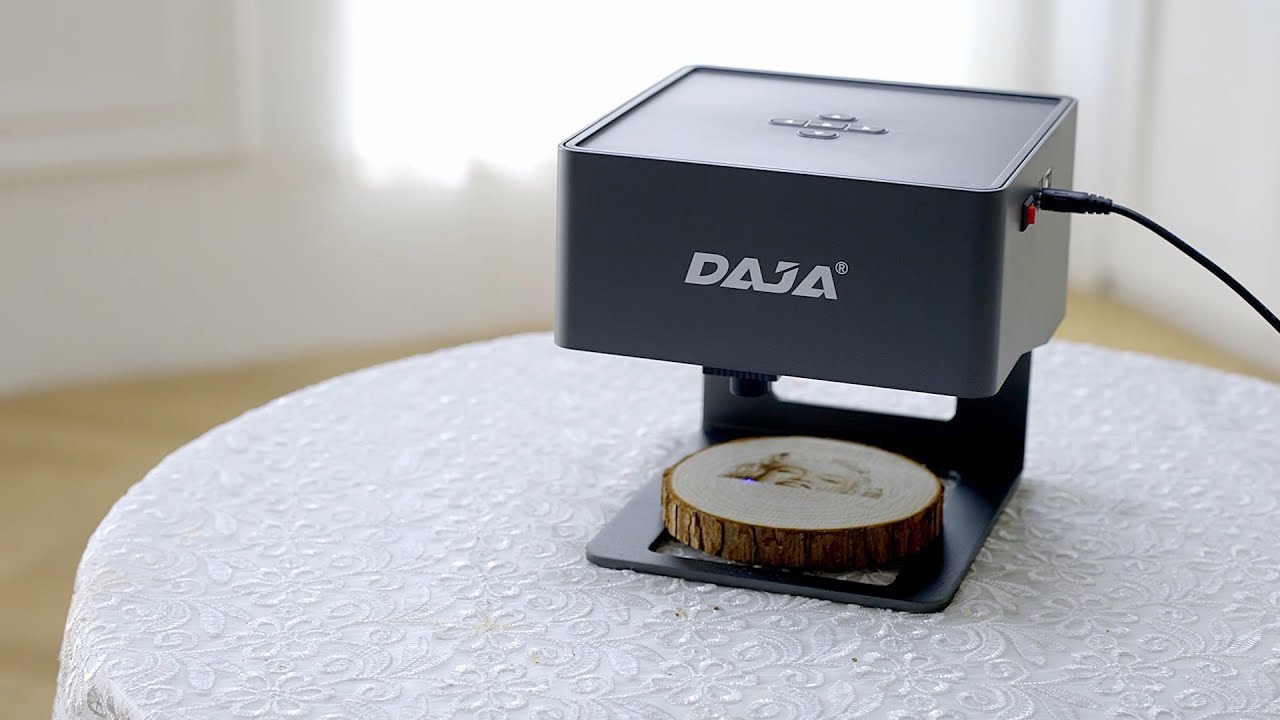
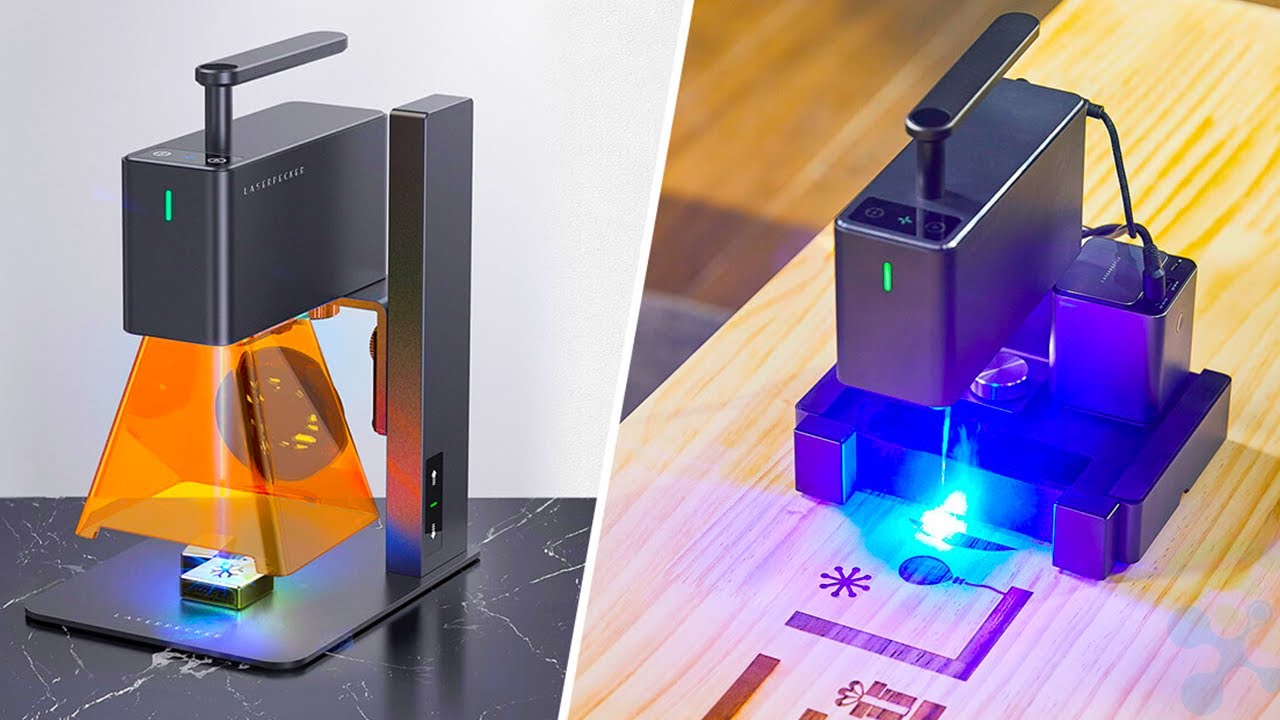
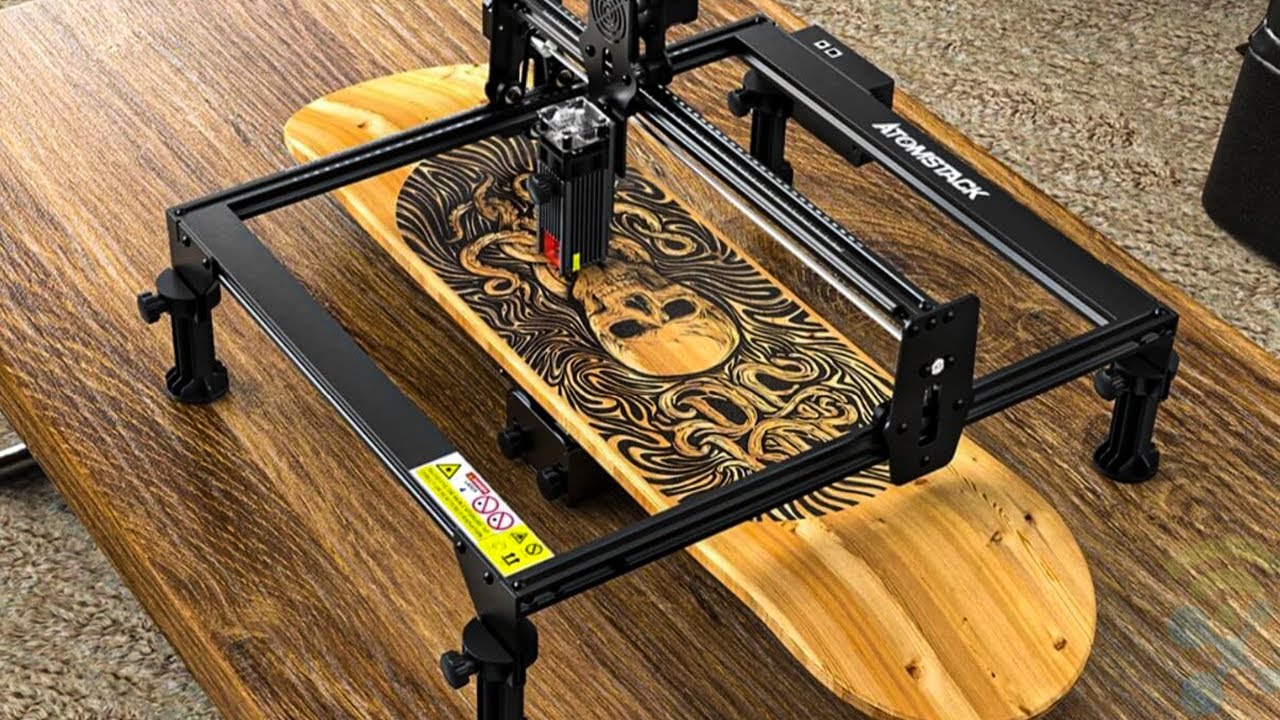
Welcome to the world of laser engraving with Daja Laser Engraver! With this cutting-edge technology, you can personalize and enhance various objects, such as wood, acrylic, leather, and more. Whether you’re a hobbyist, an artist, or a small business owner, the Daja Laser Engraver opens up a world of creative possibilities.
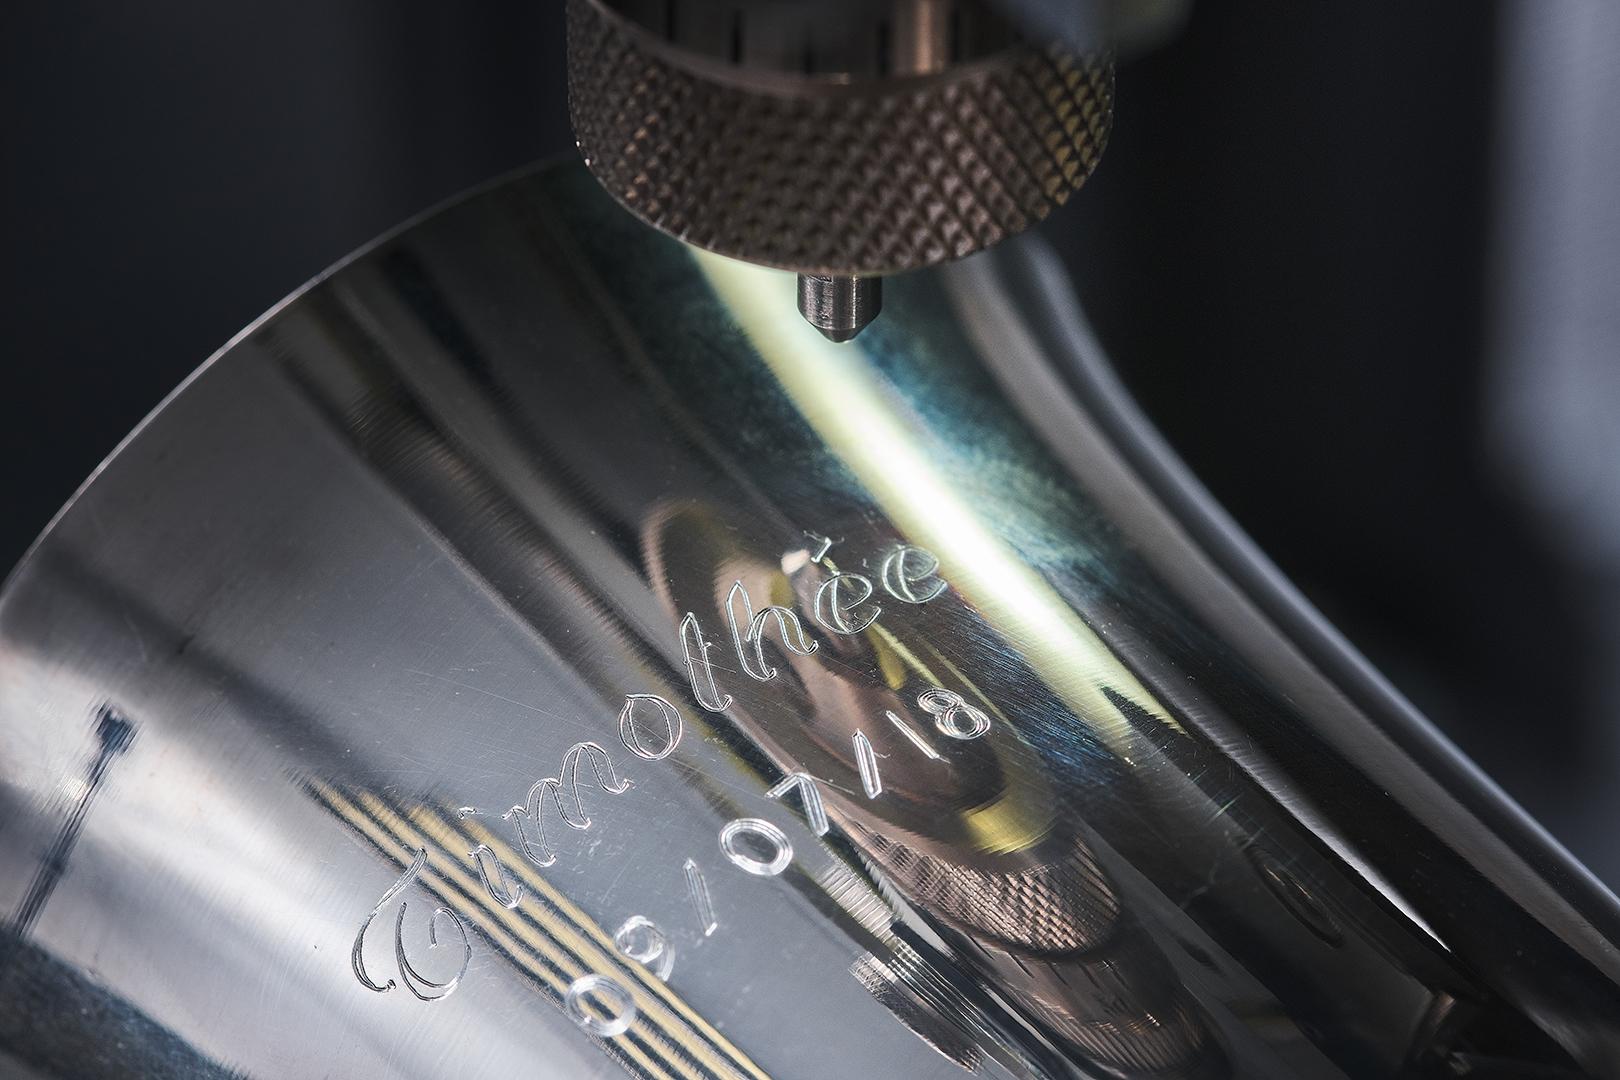
Using a powerful laser beam, this engraver can etch intricate designs, logos, text, and even photographs onto different materials with precision and detail. The user-friendly features and versatility make it suitable for a wide range of applications, including personalized gifts, home decor, signage, and product branding.
Before we delve into the specifics of how to use the Daja Laser Engraver, it’s important to understand the basic principles and safety precautions associated with operating this device. This guide will take you step by step through the setup process, material selection, engraving parameters, and proper maintenance to ensure successful and safe engraving sessions.
Throughout this article, we will provide valuable tips, tricks, and troubleshooting advice to help you get the most out of your Daja Laser Engraver. So, let’s get started on your journey to unlocking the power of laser engraving!
Getting Started
Before you can begin using your Daja Laser Engraver, there are a few essential steps to follow to ensure a smooth and successful experience. Let’s walk through the initial setup process:
- Unboxing: Carefully unpack and inspect all the components of your Daja Laser Engraver. Ensure that nothing is damaged during shipping and that you have received all the necessary parts.
- Read the Manual: Take the time to thoroughly read the user manual provided by Daja. Familiarize yourself with the machine’s features, operations, and safety guidelines to ensure proper use.
- Find a Suitable Workspace: Look for a well-ventilated area with sufficient space for the Daja Laser Engraver. Make sure there are no flammable materials nearby and that you have access to a power outlet.
- Power On the Machine: Connect the power cord to the engraver and plug it into a grounded outlet. Switch on the power button, and the machine will go through its startup sequence.
- Software Installation: Install the Daja Laser Engraver software on your computer. Connect the engraver to your computer using the provided USB cable. Follow the software instructions for proper installation and connection.
- Connect and Test: Once the software is installed, establish a connection between your computer and the Daja Laser Engraver. Test the connection by sending a simple engraving file or design to the machine to ensure it’s functioning correctly.
By following these steps, you’ll be well on your way to using the Daja Laser Engraver effectively. In the next sections, we will dive deeper into the safety measures you should take and the process of setting up your materials for engraving.
Safety Precautions
While using the Daja Laser Engraver, it’s crucial to prioritize your safety and the safety of others. Laser technology can be hazardous if not handled with care. Follow these essential safety precautions to ensure a secure working environment:
- Protective Gear: Wear appropriate personal protective equipment (PPE) like safety glasses or goggles to shield your eyes from the laser beam. Consider using a face shield for additional protection.
- Fire Safety: Keep a fire extinguisher nearby and ensure it is in good working condition. Avoid engraving flammable materials and always monitor the engraving process to prevent any potential fire hazards.
- Ventilation: Ensure proper ventilation in your workspace to dissipate any fumes or gases produced during the engraving process. If necessary, use an exhaust system or work in a well-ventilated room to maintain air quality.
- Clear Work Area: Keep your work area clean and organized. Remove any unnecessary objects, debris, or clutter that may obstruct the laser engraver’s operation or create hazards.
- Training and Supervision: Familiarize yourself with the Daja Laser Engraver’s operations and functions. If you’re new to laser engraving, consider taking a training course or seek guidance from experienced users to gain confidence and knowledge.
- Child and Pet Safety: Keep children and pets away from the operating area of the Daja Laser Engraver. Restrict access to the machine to authorized personnel only.
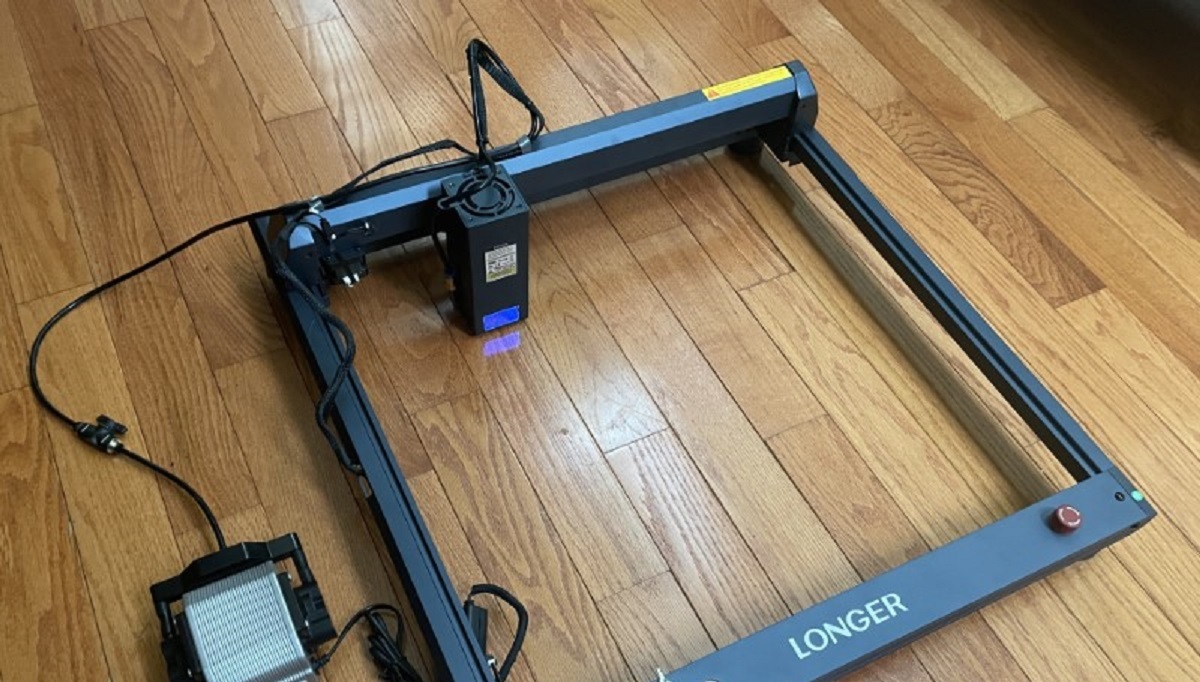
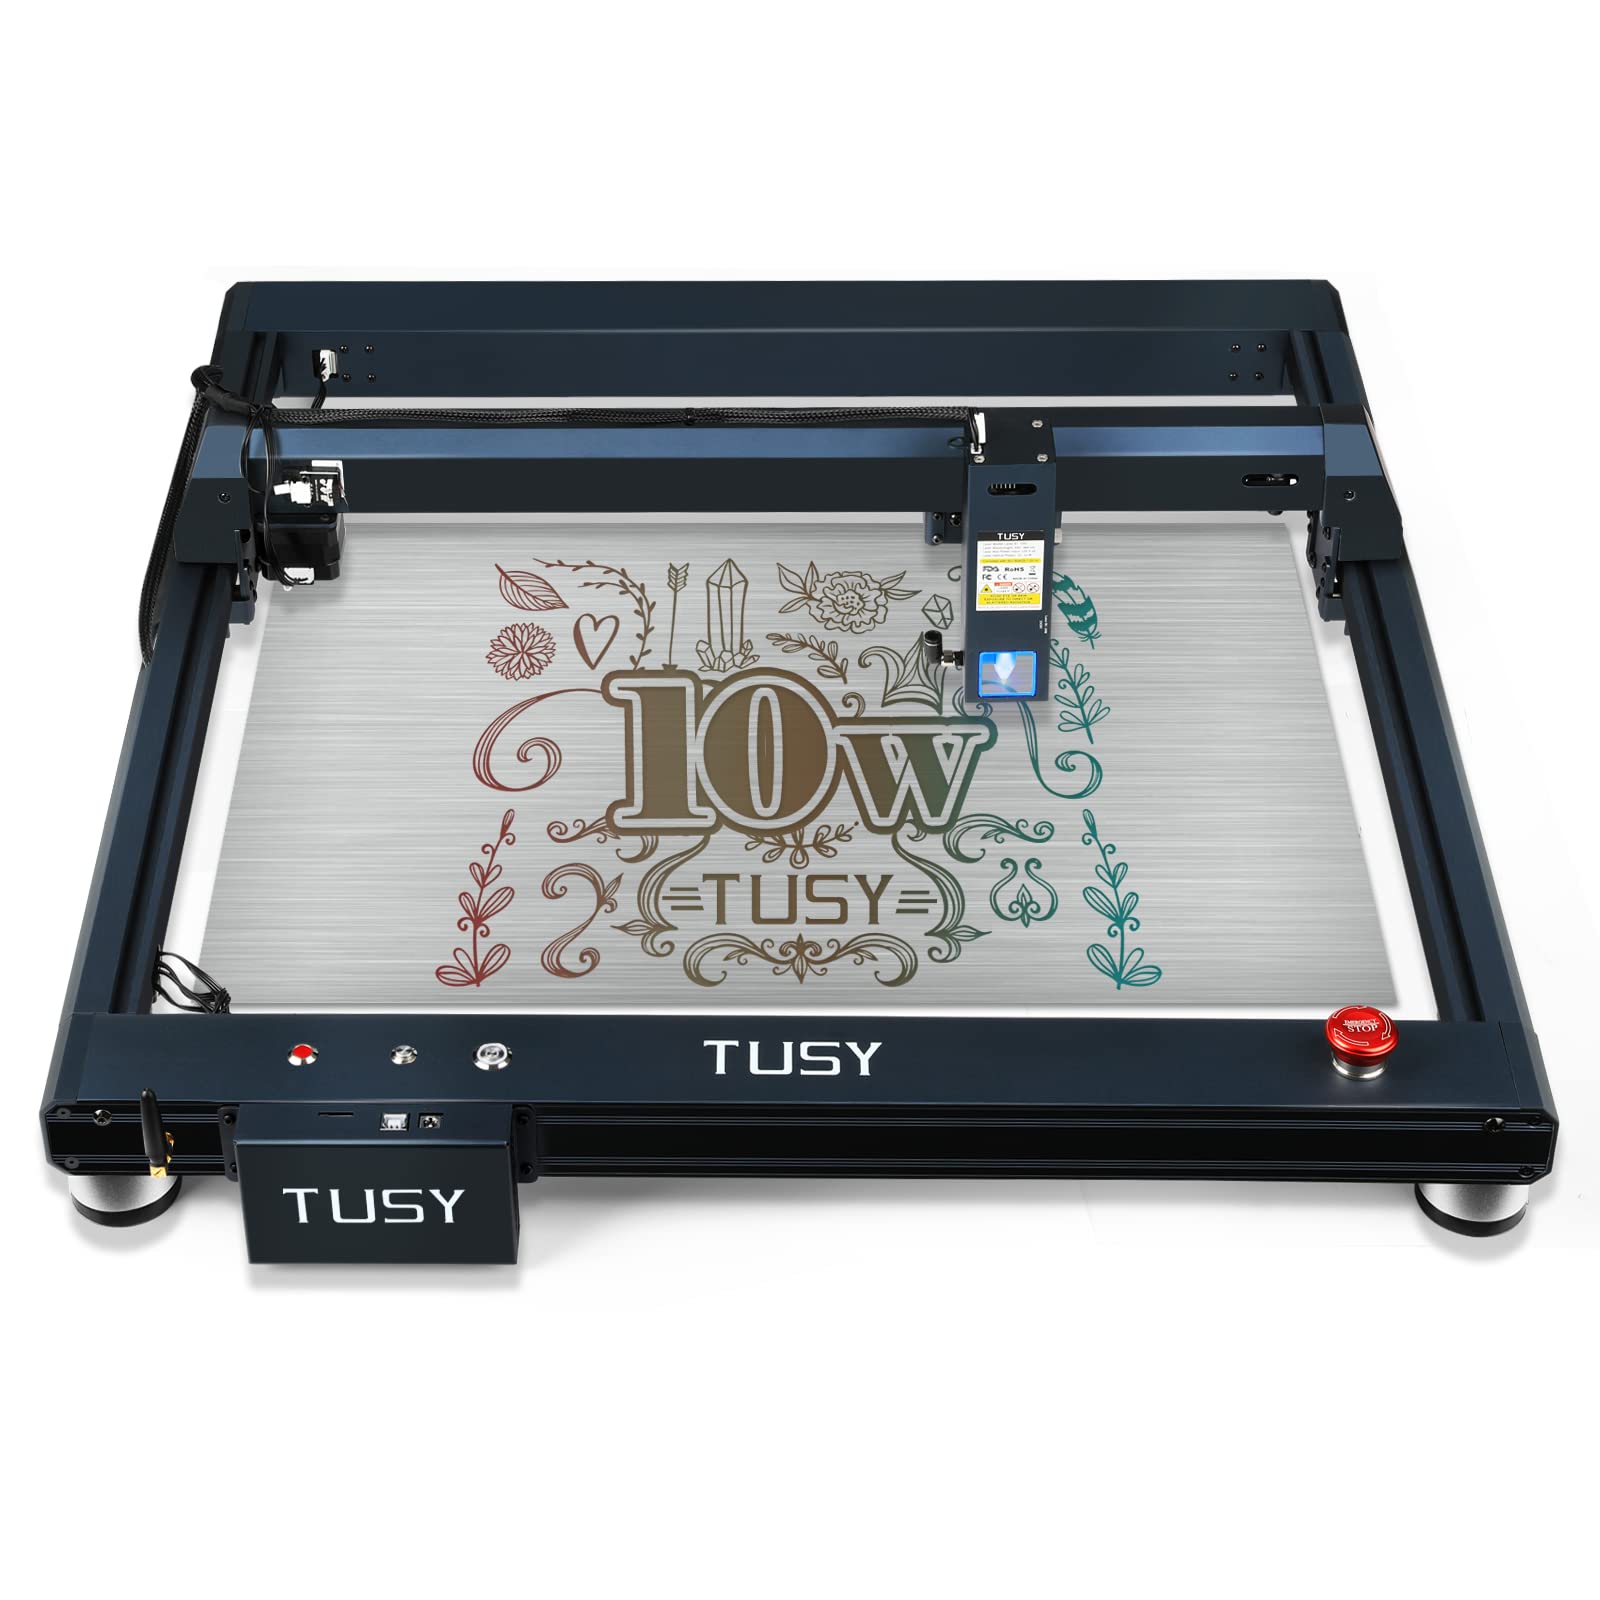
- Emergency Stop Button: Familiarize yourself with the location and function of the emergency stop button on the Daja Laser Engraver. In case of any unexpected emergencies or malfunctions, press the button to immediately halt the engraving process.
Remember, these safety precautions are general guidelines, and it’s important to refer to the Daja Laser Engraver’s user manual for specific safety instructions and recommendations. By adopting a safety-first mindset, you can confidently operate your Daja Laser Engraver while minimizing the risks associated with laser engraving.
Setting Up the Daja Laser Engraver
Now that you’re familiar with the safety precautions, it’s time to set up your Daja Laser Engraver for optimal performance. Follow these steps to ensure a proper setup:
- Stability and Leveling: Place your Daja Laser Engraver on a stable and level surface to prevent any vibrations or movement during operation. Use a leveling tool to adjust the machine if necessary.
- Laser Alignment: Check the laser alignment of your engraver. Refer to the user manual for instructions on aligning the laser beam properly for accurate engraving.
- Focusing the Laser: Adjust the focus of the laser beam by positioning the laser head at the correct distance from the material’s surface. Achieving the right focus will ensure crisp and detailed engravings.
- Calibration: Calibrate your Daja Laser Engraver before each engraving session. Follow the calibration process described in the user manual to achieve precise and consistent results.
- Software Configuration: Launch the Daja Laser Engraver software on your computer. Configure the software settings to match the specifications of your machine, such as the engraving area and laser power. Refer to the user manual for guidance.
- Laser Power Level: Depending on the material you plan to engrave, adjust the laser power level to ensure optimal results. Test the power settings on a small sample piece before engraving your final project.
- Laser Safety Settings: Set up the safety parameters in the software to protect yourself, the machine, and the material during the engraving process. These parameters include speed, frequency, and power limits.
By following these setup steps, you’ll ensure that your Daja Laser Engraver is ready to deliver high-quality engravings on a wide range of materials. In the next section, we will explore the process of selecting the right material and preparing it for engraving.
Selecting and Preparing the Material
The material you choose for your laser engraving project plays a vital role in achieving the desired results. Here are some factors to consider when selecting and preparing the material:
- Material Compatibility: Ensure that the material you select is suitable for laser engraving. Commonly engraved materials include wood, acrylic, leather, glass, and certain metals. Check the Daja Laser Engraver’s user manual for a comprehensive list of compatible materials.
- Material Thickness: Consider the thickness of the material, as it can affect the engraving depth and overall outcome. Adjust the focus and laser power accordingly based on the material thickness. Test on a sample piece if needed.
- Clean and Flat Surface: Make sure the material’s surface is clean and free from dust, debris, or oils. Use a gentle cleaner or alcohol wipe to remove any contaminants that may interfere with the engraving process.
- Masking or Protective Film: For certain materials such as acrylic or glass, applying a masking or protective film can help prevent scratches or marks during the engraving process. Remove the film after engraving for a pristine finish.
- Sizing and Positioning: Determine the size and positioning of your design on the material. Use measuring tools to ensure accuracy and create a mock layout if necessary. Some software may offer a preview feature to visualize the engraving beforehand.
- Fixturing: For stability and precision, consider using fixtures or clamping devices to secure the material in place during engraving. This reduces the chances of movement or misalignment during the engraving process.
- Samples and Test Runs: If you are unsure about the optimal settings for a specific material, it’s always recommended to perform samples and test runs. Use scrap or spare pieces of the same material to fine-tune the settings and ensure the desired engraving outcome.
By carefully selecting and preparing the material, you’ll set yourself up for success and achieve exceptional results with your Daja Laser Engraver. In the next section, we will explore the process of loading the material onto the engraver and securing it for engraving.
Loading the Material onto the Engraver
Once you’ve selected and prepared the material for engraving, it’s time to load it onto your Daja Laser Engraver. Follow these steps to ensure proper loading and securing of the material:
- Open the Engraving Area: Open the door or lid of your Daja Laser Engraver to access the engraving area. Depending on the model, you may need to remove any protective covers or trays.
- Position the Material: Place the prepared material into the engraving area. Ensure that it is aligned properly and positioned according to your design specifications.
- Secure the Material: Use appropriate clamps, tapes, or fixtures to secure the material in place. This prevents movement or shifting during the engraving process, ensuring precise and accurate results.
- Check the Clearance: Make sure there is enough clearance between the laser head and the material. Adjust the focus or height of the laser head if necessary to prevent any collisions or damage to the material.
- Double-Check Alignment: Take a final look at the material’s alignment and positioning. Ensure that it matches your design and is centered within the engraving area.
- Close the Engraving Area: Carefully close the door or lid of the engraving area, ensuring that it is securely closed. This helps maintain a stable environment and prevents any interference during the engraving process.
By following these loading steps, you’ll have the material properly positioned and secured for the engraving process. In the next section, we will dive into the settings and parameters adjustment to achieve the desired engraving outcome.
Adjusting Settings and Parameters
Now that the material is loaded onto the Daja Laser Engraver, it’s time to adjust the settings and parameters to achieve the desired engraving outcome. Here’s what you need to do:
- Software Configuration: Open the Daja Laser Engraver software on your computer. Make sure the software is properly connected to the engraver and ready for operation.
- Select the Design: Import or create the design you want to engrave. Ensure that it is compatible with the file format supported by the software. Adjust the size and positioning of the design as needed.
- Set the Engraving Parameters: Adjust the engraving parameters to match the characteristics of your material. This includes settings such as the power level, engraving speed, laser frequency, and dpi (dots per inch). Refer to the user manual for recommended parameters for different materials.
- Consider Engraving Mode: Depending on the desired effect, you can choose from various engraving modes, such as raster engraving (for shading and gradients) or vector engraving (for fine lines and text). Experiment with different modes to achieve the desired result.
- Preview the Engraving: Use the software’s preview feature to visualize how the design will appear on the material. This allows you to make any necessary adjustments before initiating the engraving process.
- Save and Send the File: Once you are satisfied with the settings and preview, save the file and send it to the Daja Laser Engraver. Double-check that the machine is ready and connected before initiating the engraving process.
- Monitor the Engraving: Throughout the engraving process, keep a close eye on the operation. Ensure that the engraver is functioning correctly, the material is secure, and there are no unexpected issues or errors.
By carefully adjusting the settings and parameters, you can achieve the desired depth, precision, and contrast in your engraving. In the next section, we will explore the steps to initiate the engraving process and bring your design to life.
Initiating the Engraving Process
With your settings and parameters adjusted, it’s time to initiate the engraving process and bring your design to life. Follow these steps to start engraving with your Daja Laser Engraver:
- Double-Check Everything: Before starting the engraving process, ensure that all settings, parameters, and safety precautions are in place. Verify that the material is properly loaded, the engraver is connected to the software, and the design is ready to be engraved.
- Position the Laser: Make sure the laser head is correctly positioned above the material, and there is enough clearance between the laser and the material’s surface. Double-check the focus settings and adjust if necessary.
- Start the Engraving Process: Once you are confident that everything is set, initiate the engraving process through the software. The Daja Laser Engraver will start etching your design onto the material, following the pre-configured settings and parameters.
- Monitor the Progress: During the engraving process, closely observe the progress to ensure that the engraver is operating smoothly and the design is being accurately etched. This allows you to respond promptly to any unexpected issues or errors that may arise.
- Stay Nearby: While the engraving is underway, remain near the machine in case any unforeseen circumstances occur. Pay attention to any safety warnings or indicators displayed by the engraver and be prepared to take immediate action if necessary.
- Wait for Completion: Allow the Daja Laser Engraver to complete the engraving process without interruption. Depending on the complexity and size of the design, it may take some time to finish. Avoid opening the engraver or interfering with the process until it has finished.
- Inspect and Evaluate: Once the engraving process is complete, carefully examine the finished result. Remove the material from the engraver and inspect it under proper lighting to evaluate the quality, clarity, and precision of the engraving.
By following these steps, you can successfully initiate and complete the engraving process with your Daja Laser Engraver. In the next section, we will explore the essential post-engraving care and finishing touches needed to ensure a polished final product.
Finishing Touches and Post-Engraving Care
After the engraving process is complete, there are a few important steps to take to ensure a polished final product. Follow these guidelines for finishing touches and post-engraving care:
- Cooling Period: Allow the engraved material to cool down before handling it. Laser engraving generates heat, and touching the freshly engraved areas immediately may cause burns or smudging.
- Cleaning: Gently clean the engraved material to remove any debris or residue left behind from the engraving process. Use a soft cloth or brush to ensure you don’t damage the engraved surface.
- Remove Protective Film or Masking: If you applied any protective film or masking to the material before engraving, carefully remove it to reveal the finished engraving. Take your time and make sure not to damage the engraved surface while peeling off the film.
- Finishing Options: Depending on your desired outcome, you may consider additional finishing options. These can include applying a sealant, varnish, or paint to enhance the engraved design or using sandpaper to achieve a smoother or distressed effect.
- Quality Check: Thoroughly inspect the engraved material to ensure that the design is crisp, clear, and matches your expectations. Look for any missed areas or irregularities that may require touch-up work.
- Additional Customizations: If desired, you can further customize the engraved material by adding embellishments, such as paint, glitter, or other decorative elements. Take into consideration the material’s compatibility with the chosen customizations.
- Safe Storage or Display: Once you are satisfied with the finished product, store or display it in a safe and appropriate manner. Protect it from exposure to excessive heat, moisture, or direct sunlight to maintain its quality and longevity.
By following these finishing touches and post-engraving care steps, you can ensure that your completed engravings are of the highest quality and ready to be showcased or gifted. In the next section, we will cover some common troubleshooting techniques to help you resolve any issues that may arise during the engraving process.
Troubleshooting Common Issues
While using the Daja Laser Engraver, you may come across some common issues that can affect the engraving process or the quality of the final result. Here are some troubleshooting techniques to help you resolve these issues:
- Blurred or Fuzzy Engravings: If your engravings appear blurry or fuzzy, double-check the focus settings of the laser head. Adjust the focus distance to ensure optimum clarity and sharpness.
- Inconsistent Engraving Depth: If you notice variations in the engraving depth, ensure that the material is completely flat and securely positioned. Inconsistent depth may also be caused by an uneven work surface or incorrect laser calibration.
- Burning or Scorching: Excessive charring or scorching of the material could indicate that the laser power is too high. Reduce the power level or decrease the engraving speed to prevent burning, especially when working with delicate or flammable materials.
- Engraving Misalignment: If the engraved design appears misaligned or shifted, it may be due to improper material positioning or issues with the software’s alignment. Double-check the material placement and software settings to ensure proper alignment.
- Engraving Inconsistencies or Missing Parts: If parts of your design are not engraved or there are inconsistencies in the engraved sections, it could be a result of incompatible or poorly prepared materials. Ensure that the material is suitable for laser engraving, properly cleaned, and securely positioned.
- Software Connectivity Issues: If you encounter issues with the Daja Laser Engraver software connecting to the engraver, try disconnecting and reconnecting the USB cable. Additionally, ensure that the software is up to date and compatible with your computer’s operating system.
- Random Stops or Error Messages: If the engraving process suddenly stops or you receive error messages, check for any loose or disconnected cables, ensure proper ventilation and cooling, and restart the engraver and software. Refer to the user manual for specific error codes and their troubleshooting solutions.
Remember to consult the Daja Laser Engraver’s user manual for comprehensive troubleshooting guidance and contact the manufacturer’s support if you encounter persistent issues. With these troubleshooting techniques, you’ll be able to overcome common problems and achieve the best results with your Daja Laser Engraver.
Conclusion
Congratulations on becoming familiar with the process of using the Daja Laser Engraver! By following the steps outlined in this guide, you are now equipped to start engraving personalized and intricate designs on various materials with precision and creativity. The Daja Laser Engraver offers endless possibilities for personal projects, artistic creations, and small business endeavors.
We began by introducing you to the world of laser engraving and emphasized the importance of understanding safety precautions. We then delved into the setup process, including unboxing, reading the manual, finding a suitable workspace, and connecting and testing the engraver. Safety precautions were discussed to ensure your well-being throughout the engraving journey.
Next, we explained the critical steps of selecting and preparing the material, loading it onto the engraver, adjusting settings and parameters, and initiating the engraving process. Additionally, we provided insights into performing finishing touches, post-engraving care, and troubleshooting common issues that may arise along the way.
As you gain more experience with the Daja Laser Engraver, don’t be afraid to experiment with different materials, designs, and techniques. The more you explore, the more you’ll uncover the endless potential of this remarkable technology.
Remember, continuous learning and practice will enhance your skills and allow you to refine your craft. Stay connected with resources like online communities, forums, and tutorials to expand your knowledge and share your own experiences with others.
Now that you possess the knowledge and confidence to use the Daja Laser Engraver effectively, it’s time to unleash your creativity and bring your ideas to life. Get ready to embark on an exciting journey filled with unique and personalized laser-engraved creations that will leave a lasting impression.


