Introduction
Using a webcam on a Chromebook can greatly expand its functionality, allowing you to participate in video conferences, online classes, or simply connect with friends and family through video calls. Chromebooks, known for their lightweight design and seamless integration with Google services, have become increasingly popular in recent years. While Chromebooks come equipped with a built-in webcam, utilizing it effectively requires some understanding of the device and its capabilities.
In this guide, we will walk you through the process of using a webcam on your Chromebook. We will cover everything from checking and updating system requirements to adjusting camera settings and troubleshooting common issues. By the end of this article, you will have all the knowledge you need to confidently use your webcam on a Chromebook.
So, whether you need to attend remote meetings for work or simply want to stay connected with loved ones, this guide will help you make the most of your Chromebook’s webcam. Let’s dive in!
Understanding your Chromebook’s webcam
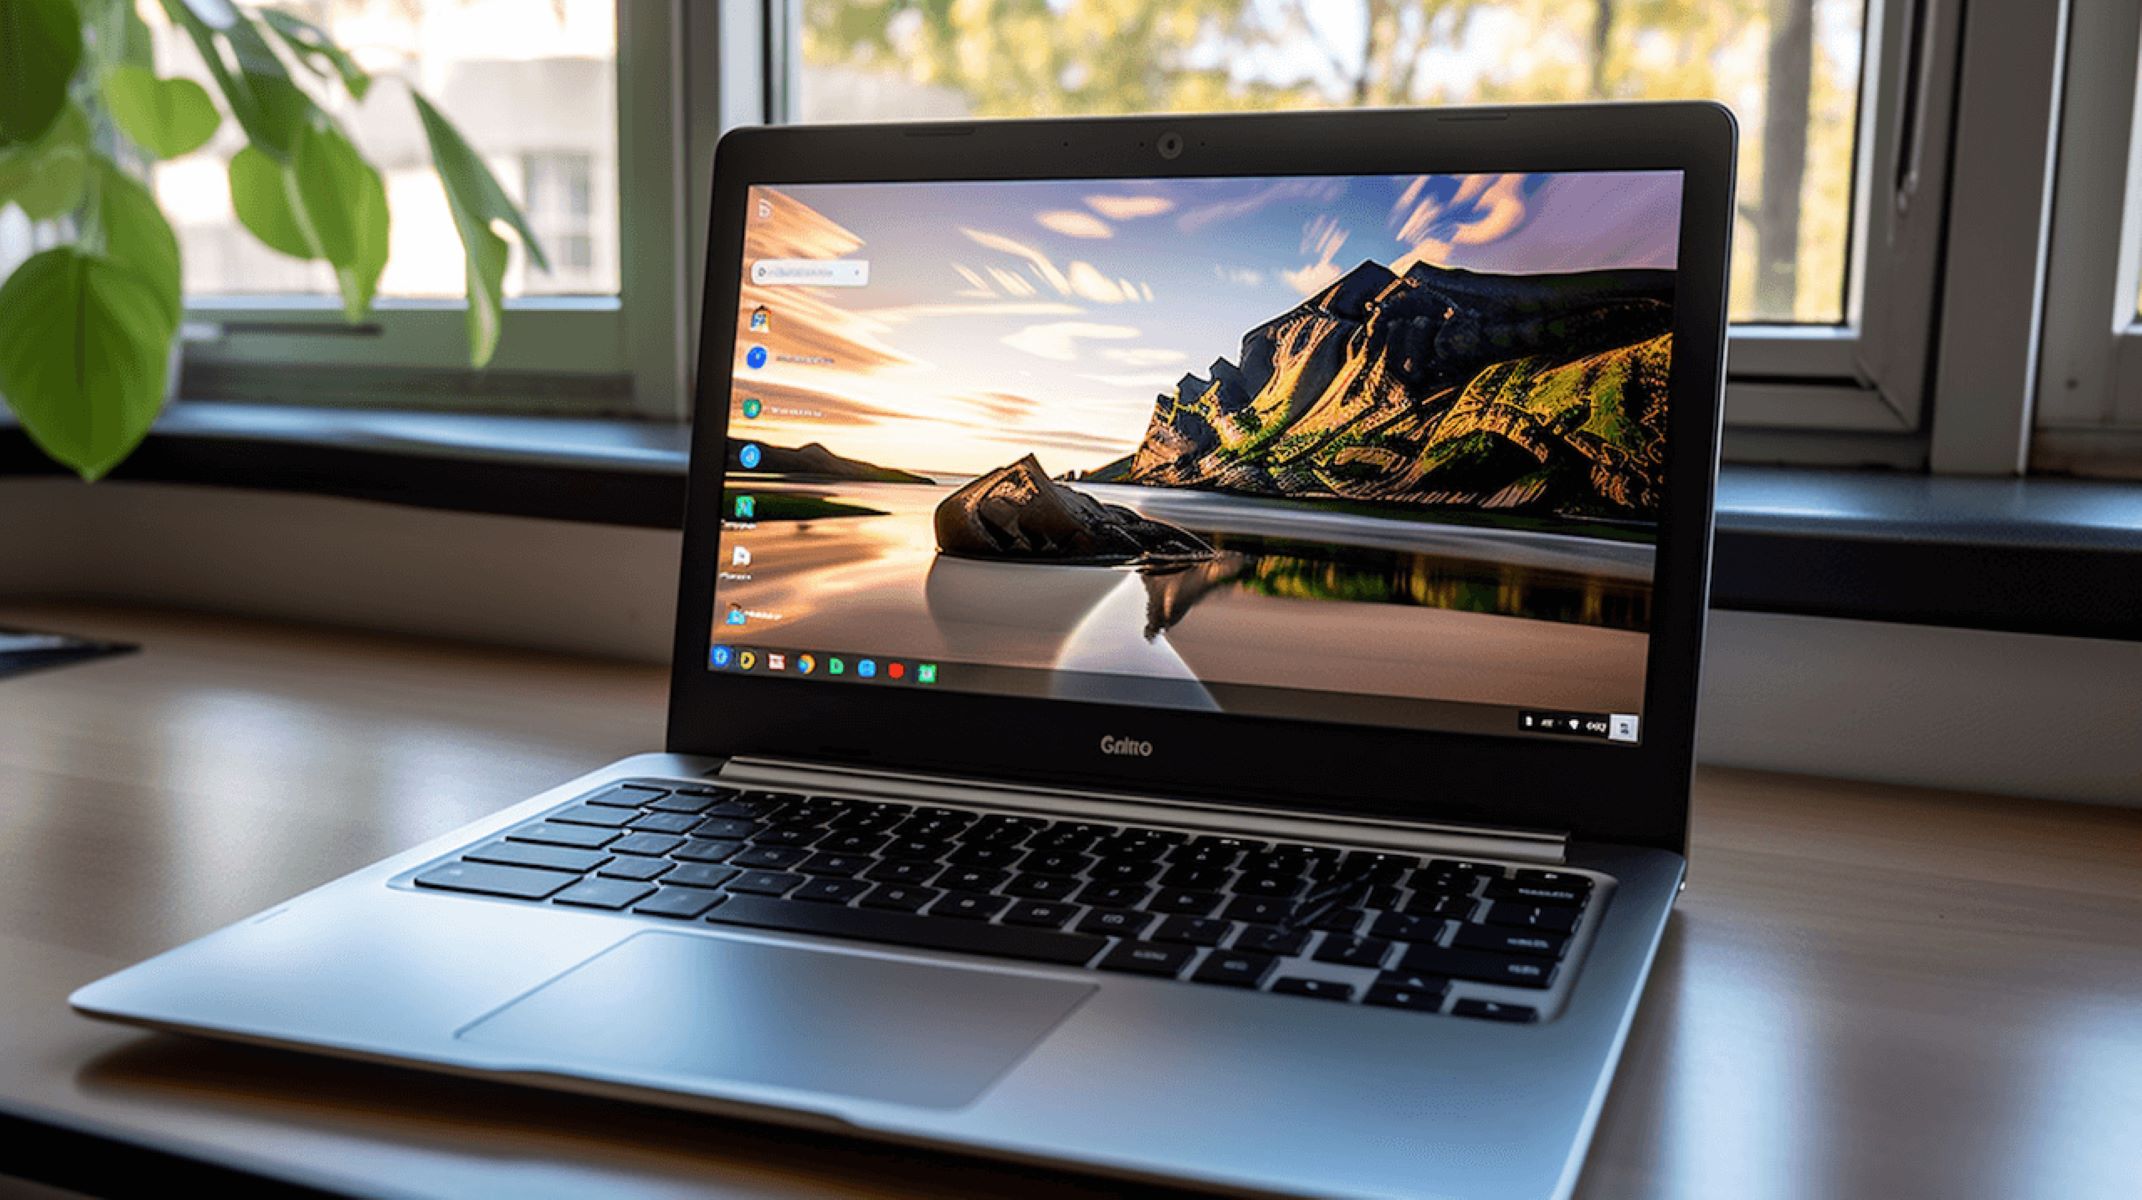
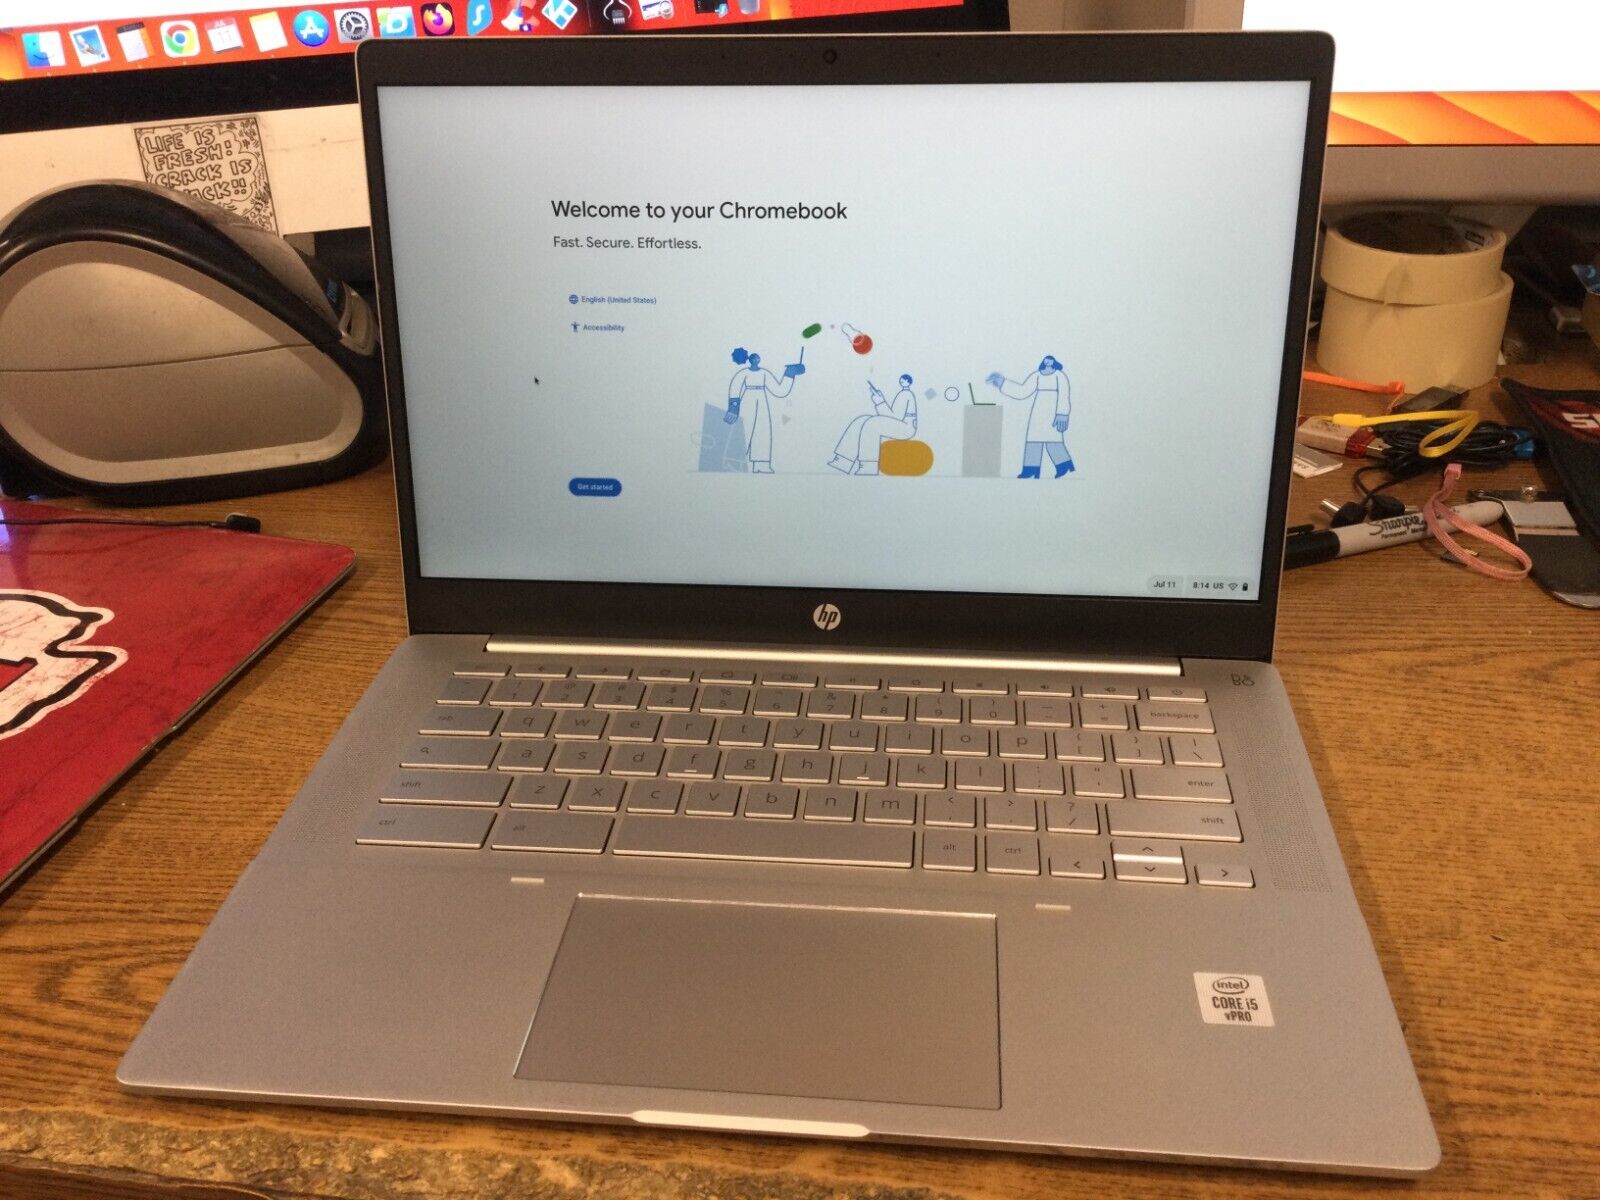
Before you start using your Chromebook’s webcam, it’s important to have a basic understanding of its capabilities and features. Most Chromebooks come equipped with a front-facing camera located on the top bezel of the device’s display. This camera is primarily designed for video calling and capturing images or videos.
While the resolution and quality of the webcam may vary depending on the specific Chromebook model, most built-in webcams on Chromebooks can capture video at 720p or higher. Additionally, they usually have a built-in microphone to capture audio. This enables you to communicate effectively during video calls or recordings without the need for any external devices.
It’s worth noting that some Chromebook models also feature a rear-facing camera, primarily intended for capturing photos or videos in tablet mode. However, the functionality of the rear camera may be limited, and it is not commonly used for video conferencing or online communication purposes.
Another important aspect to consider is that Chromebooks are highly integrated with Google services, including the Google Meet video conferencing platform. This means that using your Chromebook’s webcam seamlessly integrates with Google Meet and allows you to join video conferences with just a few clicks.
Now that you have a general understanding of your Chromebook’s webcam, it’s time to ensure that your device meets the system requirements and has the necessary applications or extensions installed. This will ensure optimal performance and functionality of your webcam, which we’ll cover in the next section.
Checking and updating system requirements
Before using your Chromebook’s webcam, it’s essential to ensure that your device meets the necessary system requirements. This will ensure that your webcam functions properly and provides the best possible performance during video calls or recordings.
To check your Chromebook’s system requirements, follow these steps:
- Click on the time in the lower-right corner of your screen to open the system tray.
- Click on the gear icon to open the Settings menu.
- In the Settings menu, click on the “About Chrome OS” option.
- Under the “About Chrome OS” section, you will find the details of your Chromebook’s operating system version.
Once you have confirmed your Chromebook’s operating system version, you can check for any available updates. Regularly updating your system ensures that you have the latest security patches and feature enhancements, including updates for your webcam.
To update your Chromebook’s operating system, follow these steps:
- Click on the time in the lower-right corner of your screen to open the system tray.
- Click on the gear icon to open the Settings menu.
- In the Settings menu, click on the “About Chrome OS” option.
- Click on the “Check for updates” button. If an update is available, follow the prompts to download and install it.
It’s also important to keep your Chrome browser up to date, as it plays a crucial role in accessing and utilizing your webcam effectively. To check for Chrome browser updates, simply click on the three dots in the upper-right corner of your browser window, then go to “Help” and click on “About Google Chrome.” If an update is available, it will automatically download and install.
By regularly checking and updating your Chromebook’s system requirements, you ensure that your webcam functions optimally and provides a seamless video calling experience. In the next section, we will discuss the necessary applications or extensions that you may need to install to enhance your webcam usage on a Chromebook.
Installing necessary applications or extensions
To enhance your webcam usage on a Chromebook, you may need to install certain applications or extensions. These tools can provide additional features and functionalities, giving you more control over your webcam settings and improving your overall video calling experience.
Here are some applications and extensions that you may find useful:
- Google Meet: As mentioned earlier, Chromebooks are closely integrated with Google services, including Google Meet. This video conferencing platform allows you to join and host meetings effortlessly. You can access Google Meet directly from your Chromebook’s browser or by downloading the Google Meet app from the Chrome Web Store.
- Zoom: Zoom has become one of the most popular video conferencing platforms, widely used for both personal and professional purposes. To use Zoom on your Chromebook, visit the Chrome Web Store and download the Zoom app. Once installed, you can easily join Zoom meetings and enjoy its plethora of features.
- Camera app: While Chromebooks come with a built-in camera app, you might want to explore alternative camera apps that provide additional functionalities. The Chrome Web Store offers a variety of camera apps that allow you to take photos, record videos, apply filters, and more. Simply search for “camera” in the Chrome Web Store to find available options.
- Video conferencing extensions: Several extensions are available to enhance your video conferencing experience on Chromebooks. Extensions like “Google Meet Grid View” help you see all meeting participants at once, while “Virtual Backgrounds for Google Meet” allows you to customize your background. These extensions can be found in the Chrome Web Store.
When installing applications or extensions from the Chrome Web Store, ensure that they are from reputable developers and have good user ratings. This will help prevent any compatibility issues or security risks.
By installing these necessary applications or extensions, you can unlock additional features, customize your webcam settings, and enjoy a more versatile video calling experience on your Chromebook. In the next section, we will discuss how to adjust camera settings on your Chromebook.
Adjusting camera settings on your Chromebook
Adjusting the camera settings on your Chromebook allows you to customize your webcam experience and optimize the video quality according to your preferences. While Chromebooks provide default camera settings, you can make adjustments to improve the lighting, focus, and overall appearance during video calls or recordings.
To access the camera settings on your Chromebook, follow these steps:
- Click on the time in the lower-right corner of your screen to open the system tray.
- Click on the gear icon to open the Settings menu.
- In the Settings menu, scroll down and click on “Advanced” to expand the advanced settings options.
- Under “Advanced,” click on “Accessibility” and scroll down to the “Manage accessibility features” section.
- Click on “Keyboard shortcuts” and ensure that the switch next to “Enable camera shortcut” is turned on.
Once you’ve enabled the camera shortcut, you can easily access your camera settings by pressing the “Ctrl” and “Alt” keys simultaneously, along with the “Shift” key, and then pressing the “0” key.
Within the camera settings, you will find options to adjust various parameters, such as brightness, contrast, saturation, and focus. These settings can be adjusted in real-time, allowing you to see the changes and make adjustments according to your preferences. Play around with the settings to find the optimal configuration that enhances your webcam quality.
Additionally, some video calling platforms, like Google Meet or Zoom, also provide built-in camera settings that you can access during a call. These settings can further enhance your video quality and allow you to make adjustments specific to the platform you’re using.
By adjusting your Chromebook’s camera settings, you can ensure that your video calls and recordings are clear, well-lit, and visually appealing. Now that you have adjusted your settings, it’s time to test your webcam for optimal performance, which we’ll cover in the next section.
Testing your webcam
After adjusting the camera settings on your Chromebook, it’s essential to test your webcam to ensure it’s functioning correctly. This will help you identify any issues and make necessary adjustments before important video calls or recordings.
To test your webcam on a Chromebook, follow these steps:
- Open a new tab in your Chrome browser.
- In the address bar, type “chrome://camera” and press Enter.
- A camera interface will open, displaying the live feed from your webcam.
- Ensure that the camera is capturing your image correctly and that the video quality meets your expectations.
- If the webcam is working properly, you can close the camera tab.
During the test, pay attention to factors like lighting, clarity, and color accuracy. If you’re not satisfied with the results, you can make further adjustments to the camera settings based on your observations.
Additionally, it’s also a good idea to perform a test call on your preferred video conferencing platform, such as Google Meet or Zoom, to verify that your webcam is working correctly in a real-world scenario. This will give you a chance to interact with others and ensure that your audio and video quality are up to par.
If you encounter any issues during the testing process, double-check your camera settings, ensure that you have the necessary applications or extensions installed, and restart your Chromebook if needed. If the problem persists, referring to the troubleshooting section in the next segment can help you resolve common webcam issues.
By testing your webcam, you can have peace of mind knowing that it’s functioning properly and that you’re ready for any video calls or recordings. Now, let’s move on to the next section, where we will discuss common issues and their troubleshooting solutions.
Troubleshooting common issues
While using a webcam on a Chromebook, you may occasionally encounter certain issues that can affect its functionality. Here are some common problems that users face and their troubleshooting solutions:
- No video or black screen: If you’re experiencing a blank screen or no video feed, ensure that the camera lens is not physically blocked. Additionally, check if any applications or extensions are using the camera and close them if necessary. Restart your Chromebook and try accessing the camera again.
- Low video quality: If you notice a decrease in video quality during video calls or recordings, ensure that you have ample lighting in the room. Adjust the camera settings on your Chromebook, such as brightness and contrast, to improve the image quality. If the problem persists, try closing unnecessary applications or extensions that might be using system resources.
- Audio issues: If the audio quality during video calls is poor or you’re experiencing audio interruptions, check the microphone settings on your Chromebook. Ensure that the microphone is not muted or obstructed. You can also try using an external microphone for better audio quality.
- Compatibility issues with video conferencing platforms: Some video conferencing platforms may have specific compatibility requirements. Ensure that you have the latest version of the platform’s application or extension installed on your Chromebook. If the problem persists, reach out to the platform’s support for further assistance.
- Camera not recognized: If your Chromebook does not detect the camera or shows an error message, restart your device and try again. Ensure that your Chromebook’s operating system and Chrome browser are up to date. If the issue persists, check if the camera is listed under the “Settings” menu and try disabling and enabling it.
If none of the above troubleshooting steps solve your webcam issues, it’s recommended to consult the official support documentation for your specific Chromebook model or contact the manufacturer’s customer support for further assistance.
Remember, troubleshooting can vary depending on the specific problem and device model. Exploring online forums or communities dedicated to Chromebooks can provide additional insights and solutions shared by fellow users who have encountered similar issues.
By troubleshooting common webcam issues, you can ensure a smooth and seamless experience during video calls and recordings on your Chromebook. With these troubleshooting solutions in mind, you’re now equipped to address any challenges that may arise while using your webcam.
Conclusion
Using a webcam on a Chromebook opens up a world of possibilities, allowing you to connect with loved ones, attend virtual meetings, and participate in online classes. Understanding your Chromebook’s webcam capabilities, checking and updating system requirements, installing necessary applications or extensions, adjusting camera settings, testing your webcam, and troubleshooting common issues are key steps to ensure a smooth and successful webcam experience.
By familiarizing yourself with the camera settings and taking advantage of the available applications and extensions, you can customize your webcam usage and optimize the video quality according to your preferences. Regularly checking for updates and performing tests will help you identify any issues and address them promptly.
Remember, troubleshooting is an important part of the process, as it allows you to resolve common problems and ensure your webcam functions flawlessly. However, if you encounter more complex difficulties, consulting official support documentation or contacting customer support for your Chromebook model can provide further guidance.
With these insights and guidelines, you’re now well-equipped to confidently use your webcam on a Chromebook. Whether it’s for work, education, or personal communication, your Chromebook’s webcam will enable you to stay connected and participate in the digital world. Embrace the possibilities and enjoy the convenience and versatility that your Chromebook’s webcam offers!