Introduction
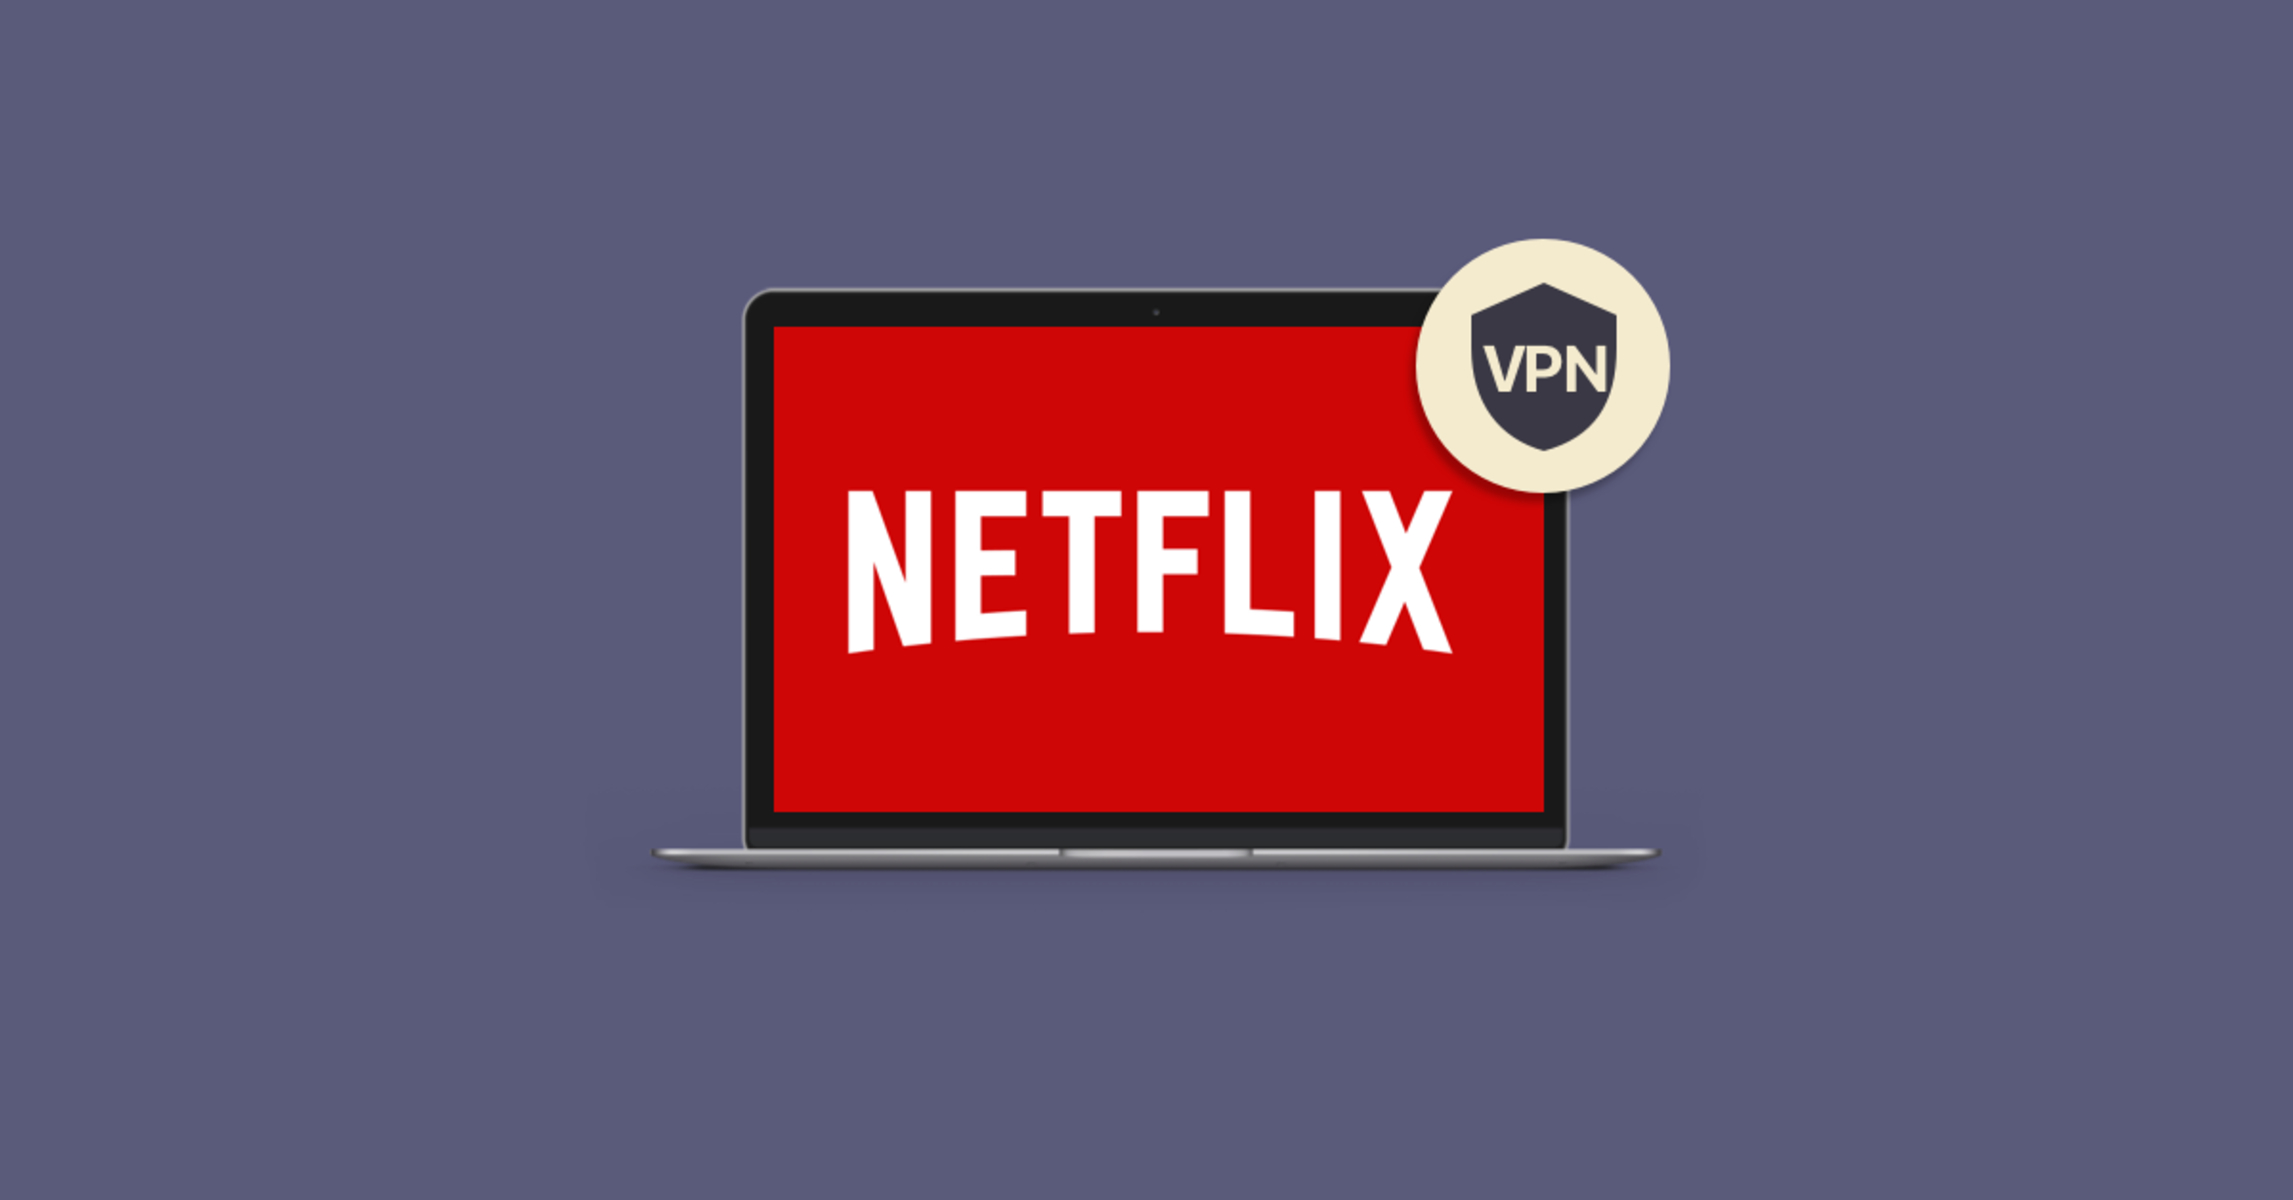
With the rise of online streaming platforms, Netflix has become synonymous with entertainment. However, did you know that your Netflix experience can differ depending on your location? Due to content licensing agreements and geo-restrictions, some shows and movies may not be available in your country. But don’t worry, there’s a solution – using a Virtual Private Network (VPN) to access Netflix.
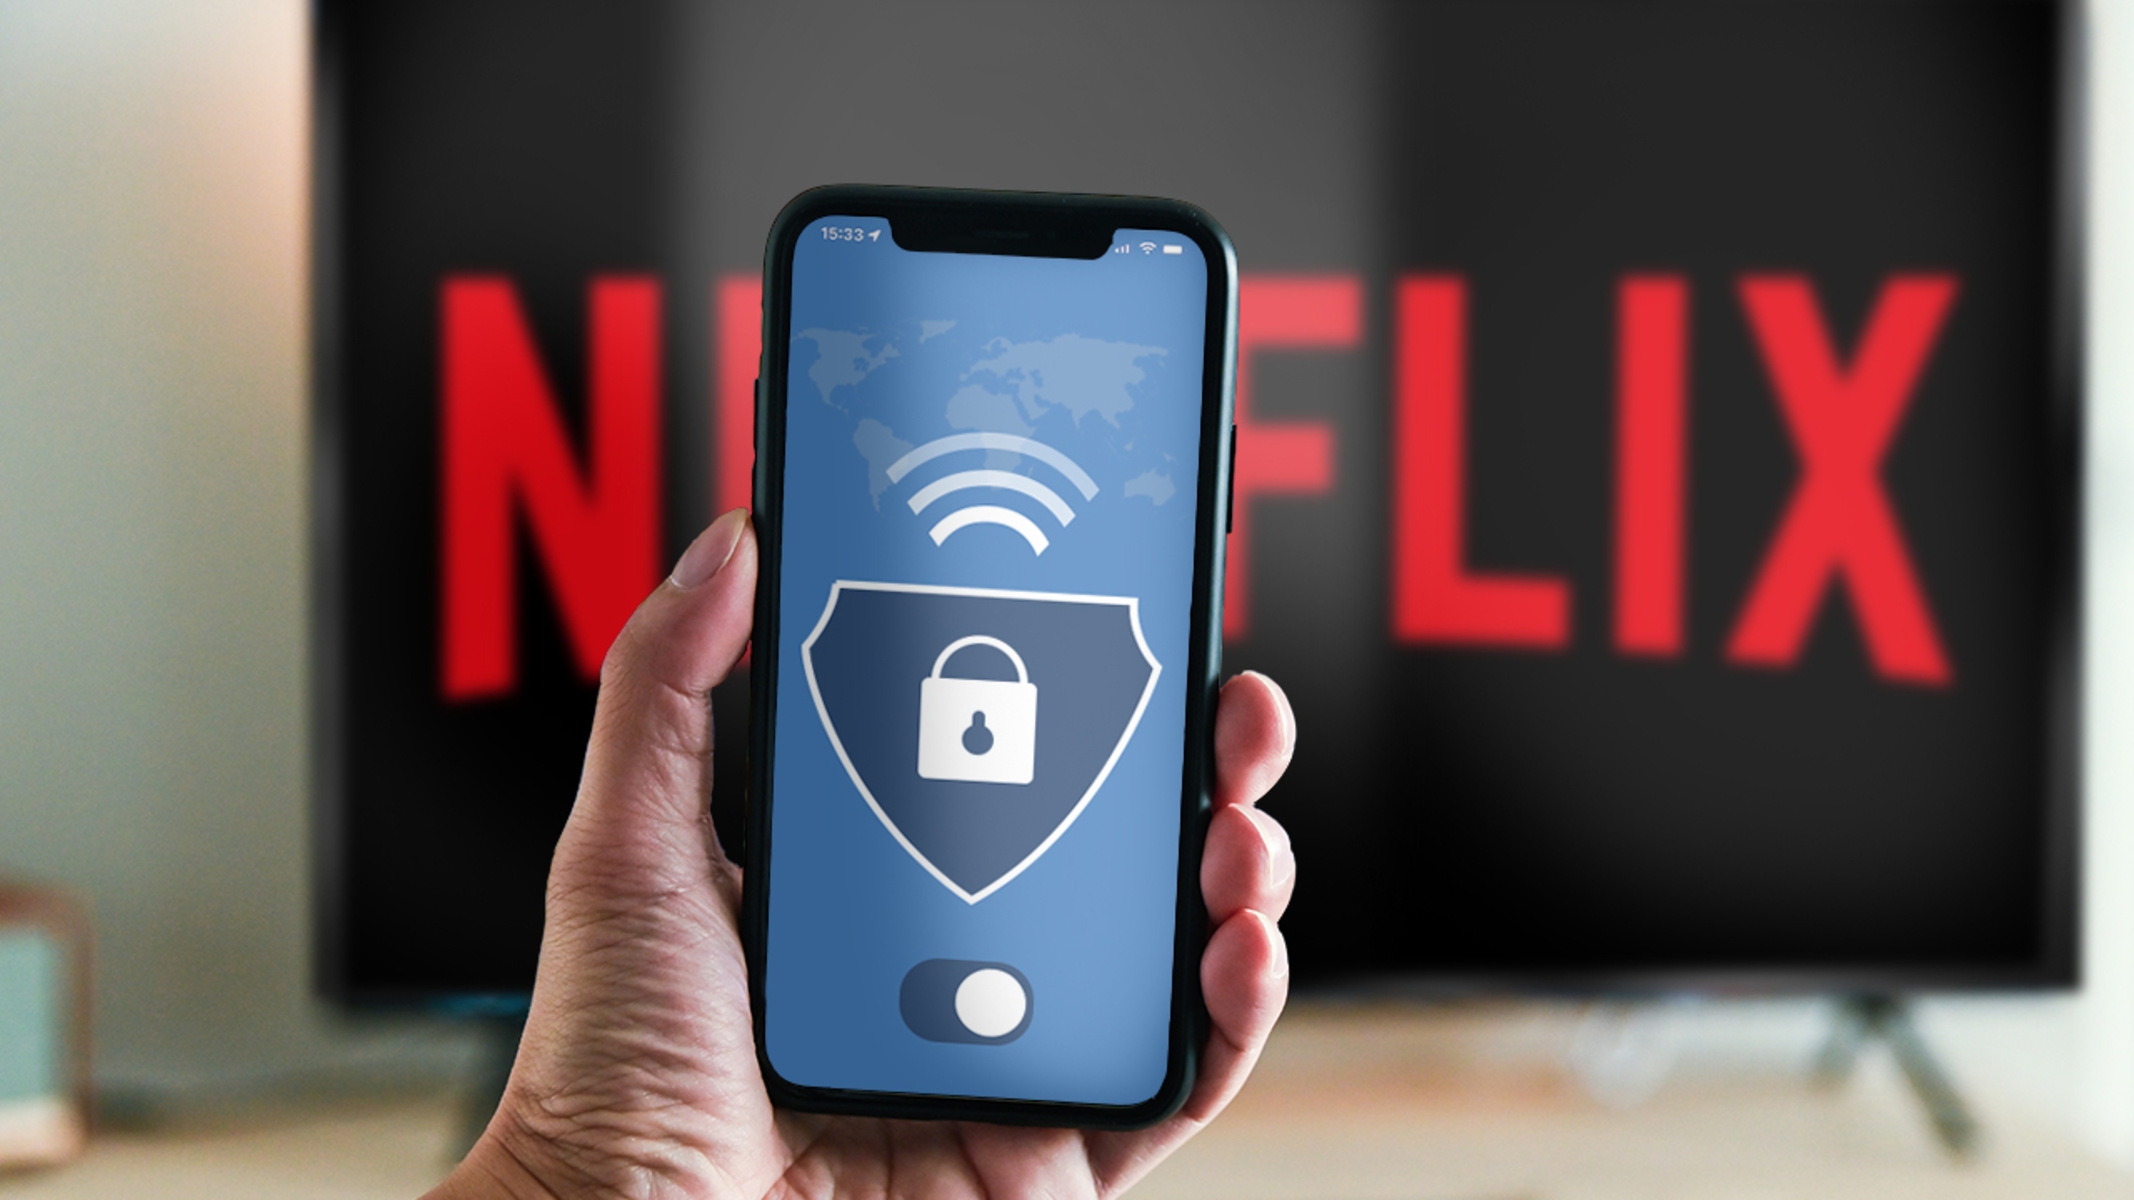
A VPN is a powerful tool that helps protect your privacy and security online. It works by encrypting your internet connection and routing it through a server in a different location. This makes it appear as if you are accessing the internet from that location, giving you access to region-restricted content.
While VPNs have many uses, such as enhancing online security and bypassing censorship, unlocking geo-restricted content on popular streaming platforms like Netflix is one of their most popular features. By using a VPN, you can stream your favorite shows and movies, regardless of where you are in the world.
In this guide, we will walk you through the steps to successfully use a VPN on Netflix. We’ll also provide valuable tips to help you choose the right VPN provider and troubleshoot any issues you may encounter along the way. So, let’s delve into the world of VPNs and unlock a vast library of streaming content on Netflix!
Why Use a VPN for Netflix
Using a VPN for Netflix offers numerous benefits and can greatly enhance your streaming experience. Here are some key reasons why you should consider using a VPN when accessing Netflix:
- Access to Geo-Blocked Content: Netflix has different libraries of content available in different countries due to licensing restrictions. By using a VPN, you can bypass these restrictions and access a wider range of shows and movies that may not be available in your region. For example, if you are in the US and want to watch a show exclusive to the UK library, simply connect to a UK server through your VPN, and voila! You can now enjoy the content you previously couldn’t access.
- Enhanced Security and Privacy: VPNs encrypt your internet connection, making it virtually impossible for anyone to intercept your data. This ensures that your online activities remain private and secure, protecting you from potential hackers, cybercriminals, and unwanted surveillance. This is particularly important when streaming content on public Wi-Fi networks, where your data could be vulnerable to malicious actors.
- Bypass Bandwidth Throttling: Internet service providers (ISPs) sometimes throttle your internet speed when streaming videos, causing buffering issues and a subpar viewing experience. By using a VPN, you can encrypt your traffic and prevent your ISP from throttling your bandwidth. This can result in faster and smoother streaming, allowing you to enjoy your favorite shows and movies without interruptions.
- Protection Against VPN Detection: Netflix has implemented VPN detection measures to prevent users from bypassing their geolocation restrictions. However, not all VPNs are created equal, and some have more advanced technologies in place to evade detection. By choosing a reliable VPN provider, you can enjoy uninterrupted access to Netflix without being blocked.
These are just a few of the many reasons why using a VPN for Netflix is beneficial. It opens up a world of possibilities, allowing you to explore a vast library of content from various regions and ensuring a secure and private streaming experience.
How to Choose the Right VPN for Netflix
When it comes to choosing a VPN for Netflix, there are several factors to consider to ensure you have the best streaming experience possible. Here are some key points to keep in mind when selecting a VPN:
- Server Locations: Look for a VPN provider that has a wide range of server locations, including countries where Netflix content is available. The more server locations a VPN has, the more options you have to access different Netflix libraries.
- Streaming Speed: Streaming video requires a stable and fast internet connection. Make sure the VPN you choose offers high-speed servers optimized for streaming to avoid buffering issues and enjoy a seamless viewing experience.
- Compatibility: Ensure that the VPN is compatible with all your devices, including smartphones, tablets, and smart TVs. The ability to use the VPN on multiple devices simultaneously is also a desirable feature.
- VPN Encryption and Security: Look for VPN providers that use strong encryption protocols to safeguard your data and provide robust security features such as a kill switch, which cuts off internet access if the VPN connection drops, preventing your real IP address from being exposed.
- No-logs Policy: To ensure your privacy, opt for a VPN provider that has a strict no-logs policy. This means that the provider does not keep any logs of your online activities, further protecting your anonymity.
- Customer Support: Consider VPN providers that offer reliable customer support to assist you in case of any issues or technical difficulties. Look for options such as live chat, email support, or a comprehensive knowledge base to ensure quick and efficient assistance.
- Price and Money-Back Guarantee: Compare prices and subscription models of different VPN providers. Additionally, check if they offer a money-back guarantee, which allows you to test the VPN risk-free before committing to a longer-term plan.
Taking these factors into account will help you select the right VPN for your Netflix streaming needs. Remember to read reviews and research reputable VPN providers to ensure you receive a reliable and high-quality service.
Step 1: Sign up for a VPN Service
The first step towards using a VPN with Netflix is to sign up for a VPN service. Follow these simple steps to get started:
- Research and Compare VPN Providers: Take the time to research and compare different VPN providers to find the one that best suits your needs. Look for providers that are known for their reliability, streaming capabilities, and positive user reviews.
- Visit the VPN Provider’s Website: Once you have selected a VPN provider, visit their official website to sign up for an account. Most VPN providers offer various subscription plans with different features and pricing options.
- Choose a Subscription Plan: Select a subscription plan that aligns with your streaming needs and budget. It is a good idea to choose a longer-term plan as it often offers better value for money.
- Provide Signup Details: Fill out the required information to create your VPN account. This typically includes providing your email address, creating a password, and selecting a payment method.
- Make the Payment: Proceed to make the payment for your chosen subscription plan. Most VPN providers offer a range of payment options, including credit cards, PayPal, or cryptocurrencies.
- Receive Account Confirmation: After completing the payment, you will receive an account confirmation email from the VPN provider. Follow the instructions provided to verify your account.
- Set Up a Username and Password: Once your account is confirmed, set up a unique username and password for your VPN login credentials. Make sure to choose a strong password to enhance the security of your account.
By signing up for a VPN service, you have taken the first step towards unlocking a world of streaming possibilities on Netflix. The next steps involve installing the VPN client or app and connecting to a server location, which we will cover in the following sections. So, let’s move on to step 2 and get ready to enhance your Netflix experience with a VPN!
Step 2: Install the VPN Client or App
Once you have signed up for a VPN service, the next step is to install the VPN client or app on your chosen device. Follow these instructions to get started:
- Choose the Device: Determine the device on which you want to use the VPN for Netflix. VPNs are compatible with a wide range of devices, including computers, smartphones, tablets, and even smart TVs.
- Access the VPN Provider’s Website: Visit the official website of your chosen VPN provider and navigate to the “Downloads” or “Apps” section. Look for the version of the client or app that is compatible with your device’s operating system.
- Download the Client or App: Click on the download link for the client or app, and follow the prompts to download the installation file. Make sure to select the correct version for your device’s operating system (Windows, macOS, Android, iOS, etc.).
- Run the Installation File: Once the download is complete, locate the installation file and run it on your device. Follow the instructions provided by the installer to complete the installation process. This may involve accepting terms and conditions and choosing an installation location.
- Launch the VPN Client or App: After the installation is complete, locate the VPN client or app on your device and launch it. You will be prompted to enter your VPN login credentials, including your username and password.
- Connect to a VPN Server: Once you have entered your login credentials, you will typically see a list of server locations. Choose a server location that corresponds to the Netflix library you want to access. For example, if you want to watch content from the UK library, select a server in the United Kingdom.
- Establish the VPN Connection: Click on the “Connect” or “Start” button to establish the VPN connection. Depending on the VPN client or app, this process may take a few seconds to complete.
Congratulations! You have successfully installed the VPN client or app on your device and connected to a VPN server. The next step is to open Netflix and start enjoying a new world of streaming possibilities, which we will cover in the next section. So, let’s move on to step 3 and unlock the full potential of Netflix with a VPN!
Step 3: Connect to a Server Location
Now that you have installed the VPN client or app, it’s time to connect to a server location to access Netflix. Follow these steps to connect to the appropriate server:
- Open the VPN Client or App: Launch the VPN client or app on your device if it’s not already open.
- Select a Server Location: Look for the option to choose a server location within the VPN client or app interface. This is usually represented by a drop-down menu or a list of countries or cities.
- Choose the Desired Location: Select the server location that corresponds to the Netflix library you want to access. For example, if you want to watch content from the US library, choose a server location in the United States.
- Initiate the Connection: Click on the “Connect” or “Start” button to initiate the connection to the selected server location. The VPN client or app will establish a secure connection to the server.
- Confirm a Successful Connection: Once the connection is established, the VPN client or app will display a confirmation message indicating that you are connected to the server location. This message may vary depending on the VPN provider.
- Check Your IP Address: To ensure that you have successfully connected to the desired server location, you can check your IP address. You can use online tools or search “What is my IP address” in a web browser to verify that your IP address matches the location you selected.
By connecting to a server location, you are virtually relocating yourself to that specific region, enabling you to access the Netflix library available in that location. Now that you are connected, it’s time to open Netflix and enjoy a whole new world of streaming content!
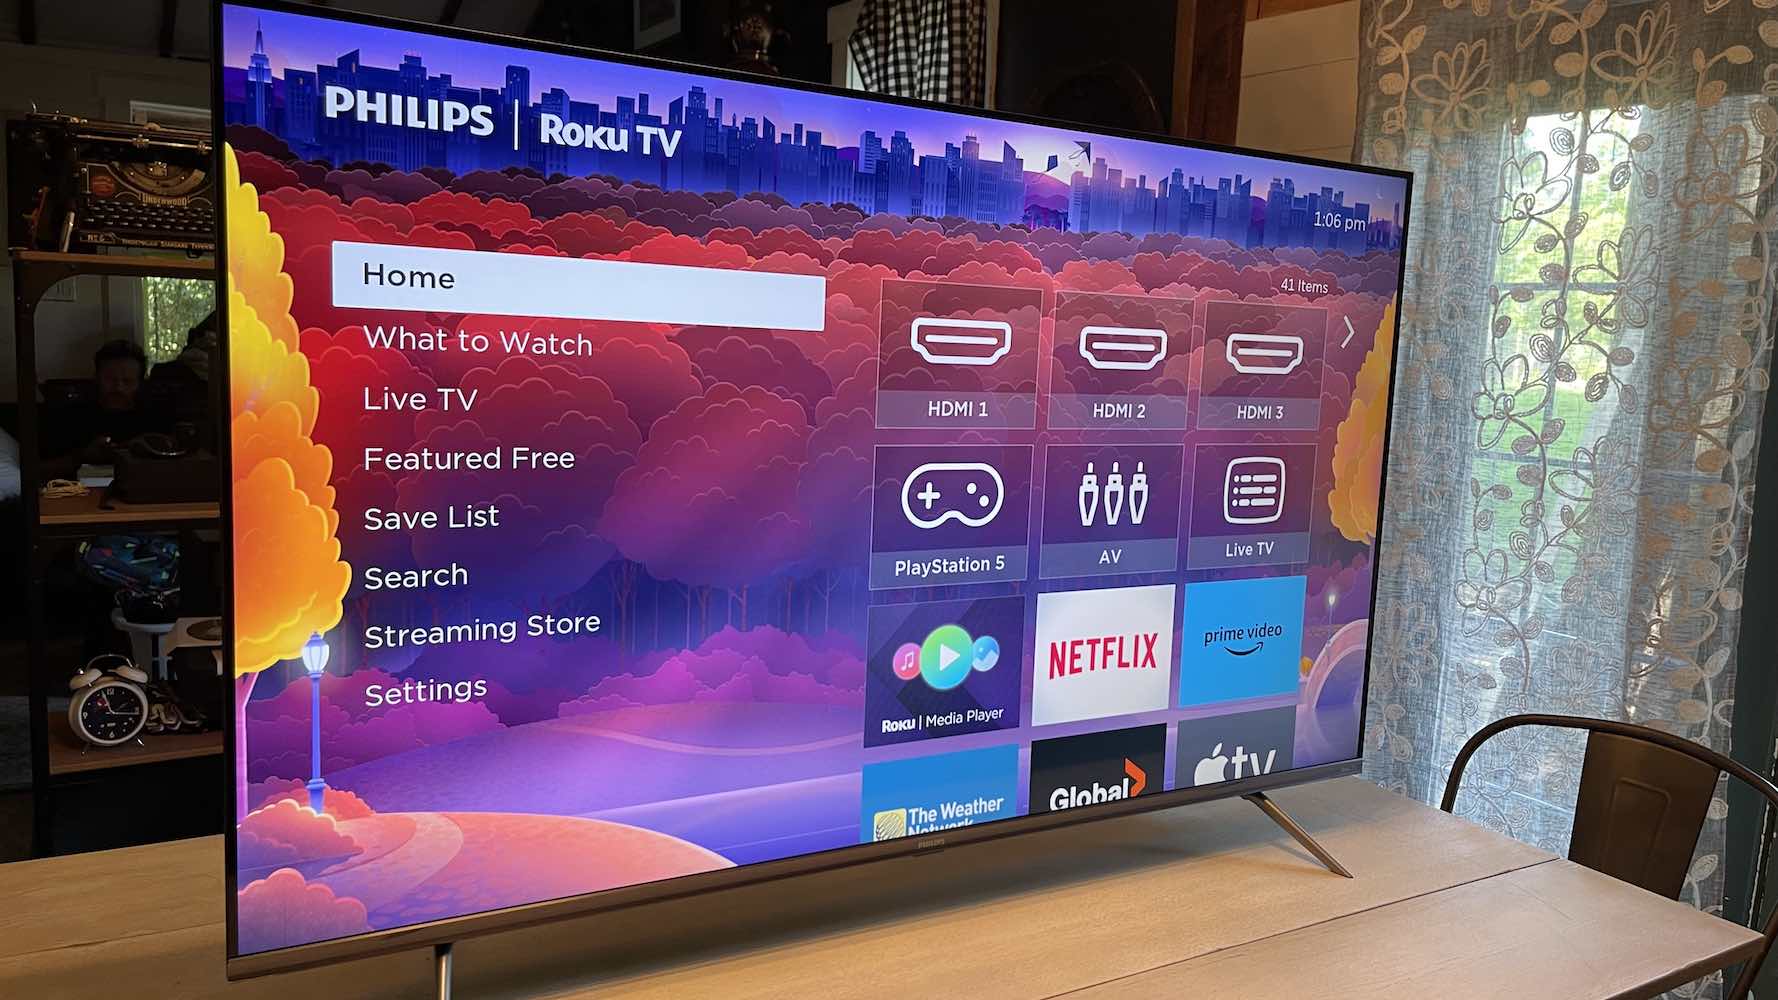
Step 4: Open Netflix and Start Streaming
Congratulations! You have successfully connected to a server location using your VPN. Now it’s time to open Netflix and start enjoying your favorite shows and movies from different regions. Follow these steps to begin streaming on Netflix with your VPN:
- Keep the VPN Connection Active: Make sure that the VPN connection remains active throughout your streaming session. If the connection drops, you may lose access to region-restricted content.
- Open Netflix Website or App: Launch your web browser or open the Netflix app on your device.
- Sign in to Your Netflix Account: If you already have a Netflix account, sign in using your credentials. If you don’t have an account, you will need to create one in order to start streaming.
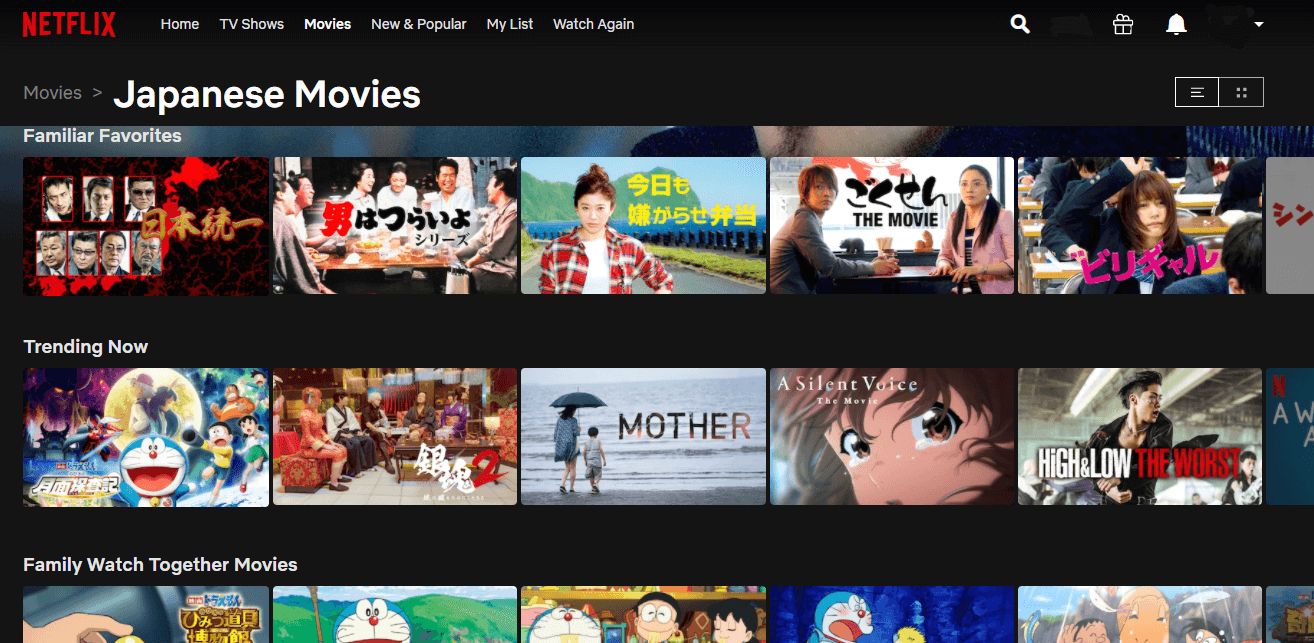
- Choose a Netflix Library: Once you are signed in, you will notice that Netflix now recognizes your location as the server location you connected to through the VPN. Browse through the available libraries and choose the one that offers the content you want to watch. For example, if you connected to a server in the United Kingdom, you will now have access to the UK Netflix library.
- Start Streaming: Search for your favorite shows or movies, and click or tap on the title to start streaming. Sit back, relax, and enjoy your chosen content from any region you desire!
- Secure Streaming: Remember that while you’re enjoying the benefits of accessing geo-restricted content, your VPN is keeping your online activities secure and encrypted. This adds an extra layer of protection to your streaming experience, ensuring your privacy and anonymity.
Now that you have successfully opened Netflix and started streaming, take full advantage of the vast selection of shows and movies that were previously unavailable in your region. Explore different libraries, discover new content, and elevate your Netflix experience using the power of a VPN.
Troubleshooting Common Issues
While using a VPN with Netflix usually goes smoothly, you might encounter some common issues along the way. Here are a few troubleshooting tips to help you overcome these challenges:
- VPN Not Working with Netflix: If you are unable to access Netflix even after connecting to a VPN server, it could be due to Netflix’s VPN detection. Try connecting to a different server or contact your VPN provider’s support team for assistance.
- Slow Streaming Speed: If you experience slow streaming or buffering issues, try connecting to a server location closer to your actual location. Additionally, check your internet connection speed and consider upgrading if necessary.
- Clearing Browser Cookies and Cache: If you encounter any unexpected errors or issues while using Netflix with a VPN, try clearing your browser cookies and cache. This can help resolve any conflicts or cache-related problems.
- Update VPN Software: Make sure you are using the latest version of your VPN client or app. VPN providers regularly release updates that fix bugs and enhance compatibility with streaming platforms.
- Switch VPN Protocols: If you are experiencing connectivity issues, try switching the VPN protocol in your client or app settings. Different protocols work better in different situations, so experimentation might be necessary.
- Contact VPN Support: If you have exhausted all troubleshooting options and are still facing issues, reach out to your VPN provider’s customer support. They will have more specific guidance and can assist with resolving any technical difficulties you may be encountering.
By following these troubleshooting tips, you can overcome common issues that may arise when using a VPN with Netflix. Remember, every VPN and streaming setup is unique, and it may take some trial and error to find the optimal configuration for your specific needs.
Conclusion
Using a VPN on Netflix opens up a world of possibilities, allowing you to access region-specific libraries and enhance your streaming experience. Whether you want to watch exclusive shows from different countries or bypass geo-restrictions to enjoy your favorite movies, a VPN is the key to unlocking a vast library of content.
In this guide, we discussed the importance of using a VPN for Netflix, as well as how to choose the right VPN provider. We walked through the step-by-step process of signing up for a VPN service, installing the VPN client or app, connecting to a server location, and finally opening Netflix and starting your streaming session. We also provided troubleshooting tips to help you overcome common issues that may arise along the way.
Remember to research and compare different VPN providers to find the one that best suits your needs. Look for features like a wide range of server locations, high-speed streaming capabilities, robust security measures, and reliable customer support. By choosing the right VPN, you can enjoy a seamless and secure streaming experience on Netflix.
While using a VPN with Netflix is a great way to access geo-restricted content, it’s important to respect copyright laws and the terms of service of the streaming platform. Ensure that you use a VPN responsibly and only for legitimate purposes.
So, go ahead and take advantage of the power of a VPN to enhance your Netflix experience. Explore different libraries, catch up on shows that were previously unavailable, and discover new favorites from around the world. With a VPN, the world of streaming is at your fingertips.