Introduction
Welcome to the world of PSU testers! In this article, we will explore the ins and outs of using a PSU tester, a handy tool that helps you diagnose power supply issues with ease. Whether you are a seasoned computer enthusiast or a newbie trying to troubleshoot your system, a PSU tester can be your best friend in determining if your power supply unit (PSU) is functioning properly.
A PSU tester is a compact device designed to test the functionality of a PSU by measuring its voltages and displaying the results on an LED indicator. Using a PSU tester can save you time and effort by quickly determining if your PSU is the culprit behind system failures, unexpected shutdowns, or random reboots.
With a PSU tester, you can easily identify power-related problems and decide whether you need to replace your PSU or investigate other potential causes. It’s a valuable tool for both professional technicians and DIY enthusiasts, empowering them to make informed decisions and ensure the smooth operation of their systems.
Throughout this article, we will guide you through the process of using a PSU tester effectively. We will cover everything from the initial setup and connection to interpreting the LED indicators and troubleshooting potential issues. By the end, you will have a solid understanding of how to make the most of this handy device and keep your PC running smoothly.
What is a PSU Tester?
A PSU tester, short for Power Supply Unit tester, is a specialized tool used to check the functionality of a power supply unit in a computer system. It is a compact device that helps you determine whether your PSU is providing the correct voltages and delivering power to your components effectively.
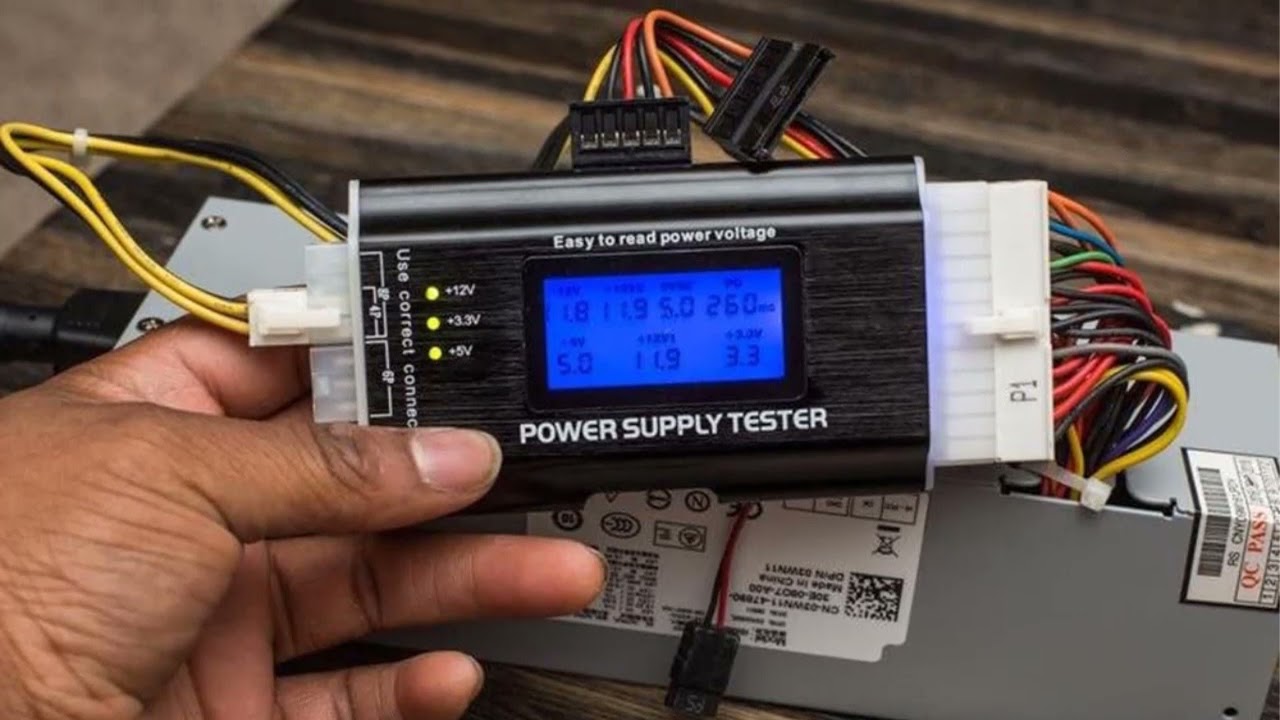
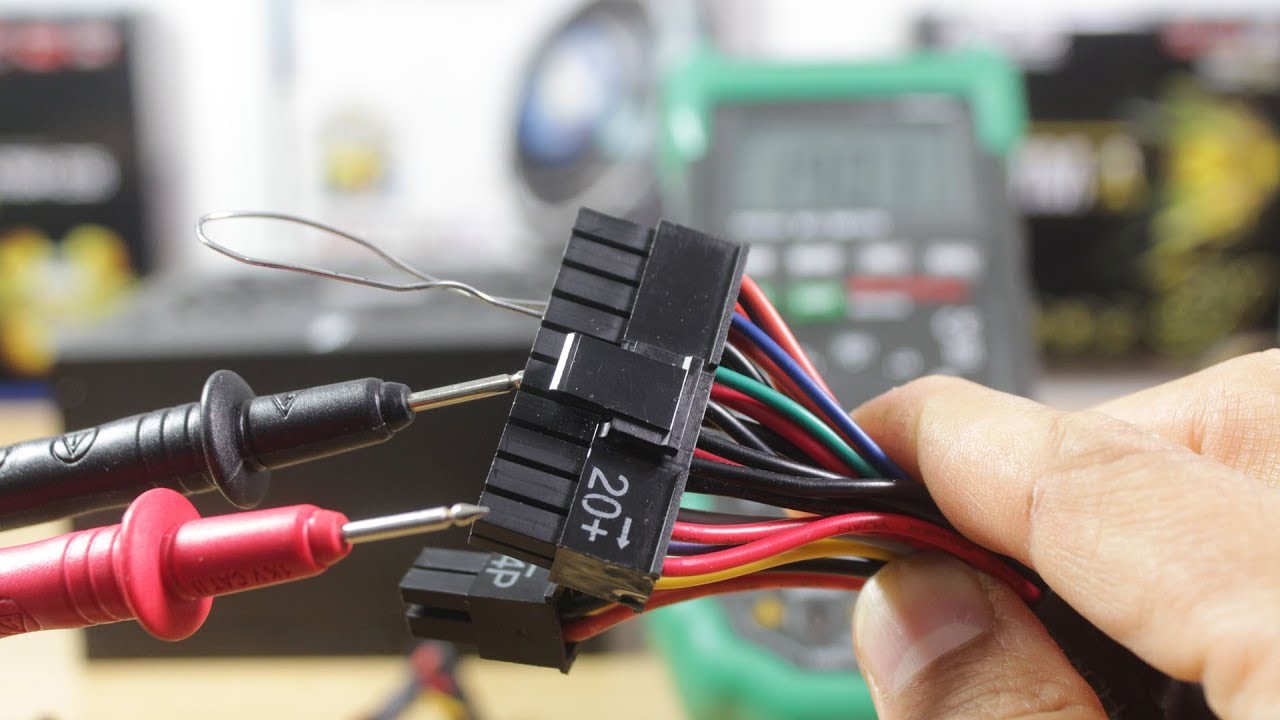
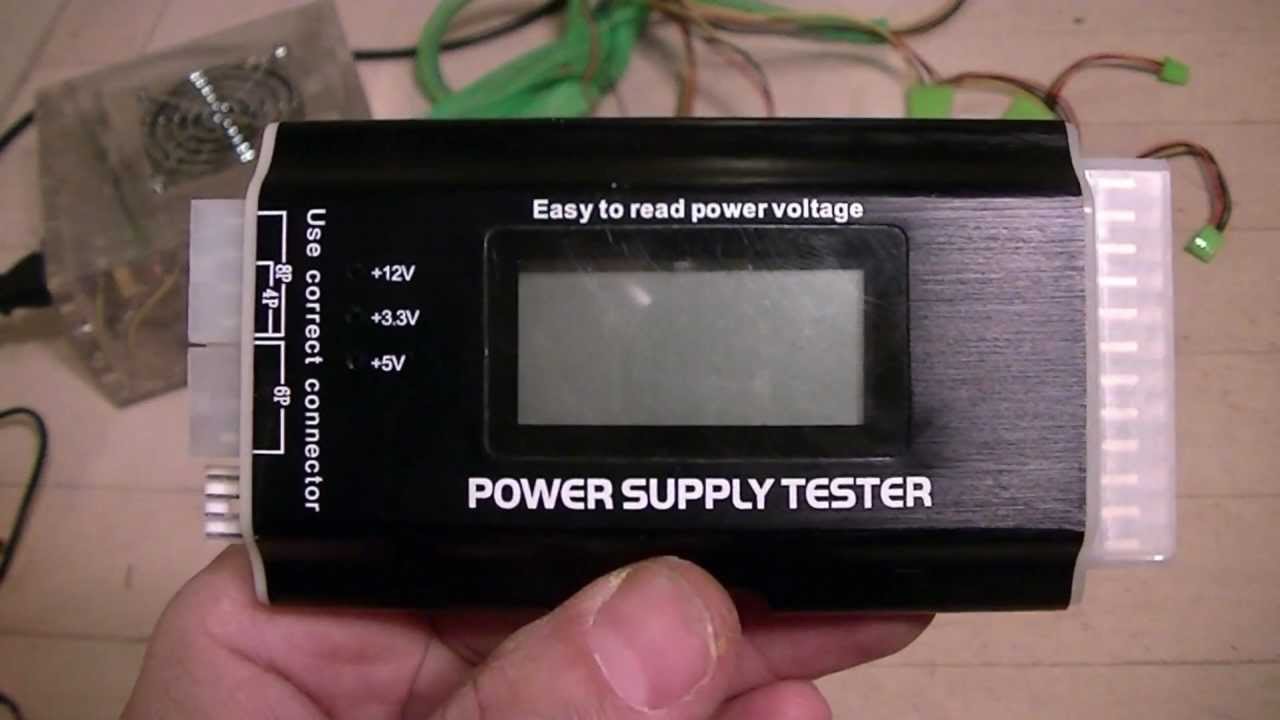
The PSU tester typically consists of a display panel with LED indicators and various connectors for plugging into the PSU’s cables. It is designed to test the different voltage rails within the power supply, such as +12V, +5V, and +3.3V, along with other essential signals like power-on signal and ground connections. By examining these outputs, the PSU tester allows you to verify if your PSU is operating within acceptable parameters.
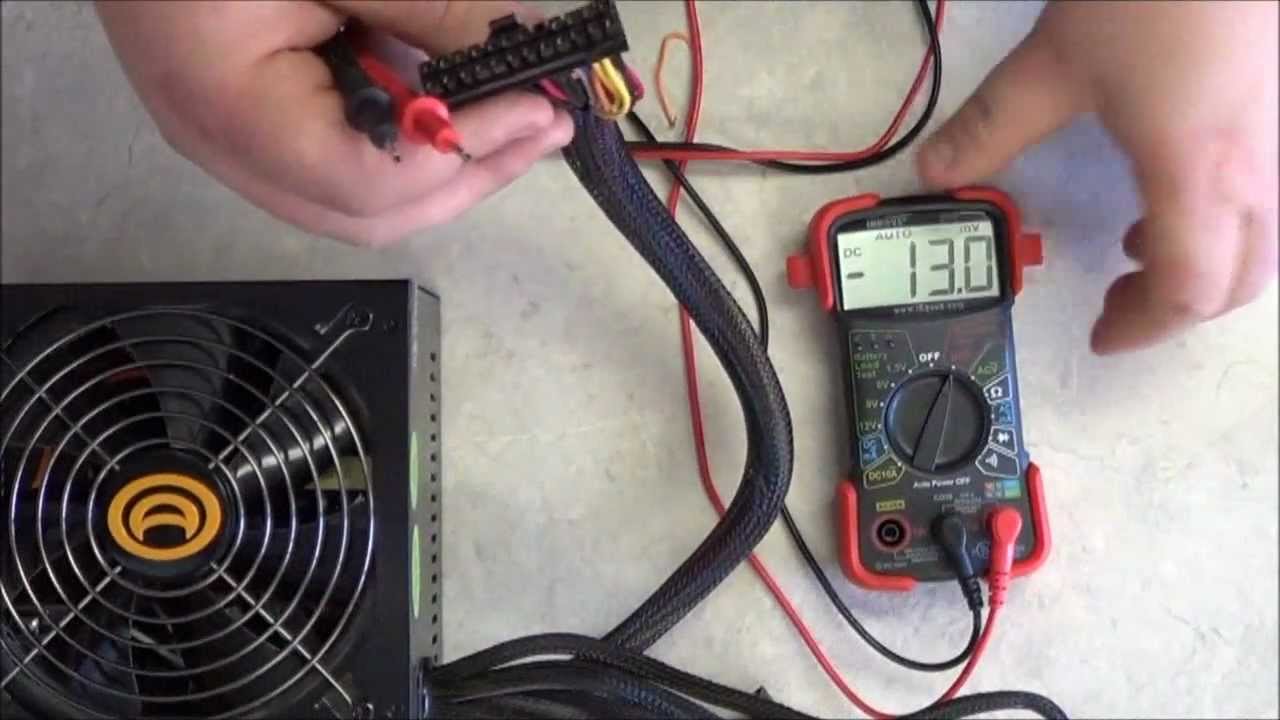
One of the primary features of a PSU tester is its ability to provide a visual representation of the PSU’s voltages through LED indicators. Each voltage rail has a corresponding LED that lights up to indicate its status. A properly functioning PSU will display the appropriate voltages, while an underperforming or faulty PSU may show inconsistencies or no voltage at all.
PSU testers come in different forms and variations. Some are external devices that connect directly to the PSU’s cable connectors, while others are integrated into modular PSU designs, allowing you to test individual cables without connecting them to the system. Regardless of the design, the purpose of a PSU tester remains the same – to ensure the PSU is functioning correctly and providing the necessary power to your computer hardware.
Using a PSU tester is like having a diagnostic tool for your power supply. It helps you quickly identify if the PSU is the cause of any system problems you may be experiencing, such as random crashes, frequent restarts, or unusual behavior. By eliminating the PSU as a potential issue, you can focus your troubleshooting efforts on other components and save valuable time.
Additionally, a PSU tester is not limited to desktop computer power supplies. It can also be used to test power supplies for other electronic devices, such as routers, servers, or gaming consoles. Its versatility and ease of use make it a valuable tool for any tech enthusiast or professional.
Why use a PSU Tester?
A PSU tester offers several advantages and benefits that make it a valuable tool for any computer user or technician. Let’s explore why using a PSU tester is important:
1. Quick and Easy Diagnosis: When you encounter system issues or suspect a faulty power supply, a PSU tester allows you to quickly and easily diagnose the problem. By connecting the tester to the PSU, you can determine whether the power supply is functioning properly or if it is the culprit behind the issues you are experiencing.
2. Time and Cost Savings: Troubleshooting computer problems can be time-consuming and frustrating, especially when you’re unsure which component is causing the issue. Using a PSU tester can save you time by pinpointing whether the PSU is to blame. This way, you can avoid wasting hours troubleshooting other parts unnecessarily or investing in a new power supply when it may not be necessary.
3. Prevents Potential Damage: A failing PSU can cause damage to other components in your computer system. Voltage irregularities or power fluctuations can lead to fried circuitry, data corruption, or complete hardware failure. By using a PSU tester, you can detect these issues early on and prevent further damage to your valuable hardware.
4. Ensures System Stability: A properly functioning PSU is essential for the stability and performance of your entire computer system. It provides reliable power to all the components, ensuring they operate optimally. With a PSU tester, you can confirm that the voltages are within the acceptable range, ensuring stable and consistent power delivery.
5. Confidence and Peace of Mind: Knowing that your power supply is functioning correctly gives you peace of mind, whether you’re building a new system, upgrading components, or troubleshooting issues. A PSU tester allows you to verify the health of your power supply and proceed with confidence in your computing setup.
6. Portability and Versatility: PSU testers are compact, portable devices that can easily fit into your toolkit. They can be used on a wide range of power supplies, making them versatile for different computer systems or electronic devices. Whether you’re a professional technician or a DIY enthusiast, a PSU tester is a handy tool to have on hand.
By using a PSU tester, you can save time, prevent potential damage, ensure system stability, and gain the confidence to make informed decisions about your computer’s power supply. It’s a small investment that can have a significant impact on the performance and longevity of your computer system.
Safety Precautions
When working with electrical components, including a PSU tester, it’s important to prioritize safety. Here are some key safety precautions to keep in mind:
1. Power Down: Before connecting or disconnecting any cables or using a PSU tester, ensure that the power to your computer or electronic device is completely turned off. This includes shutting down the system and unplugging it from the power source.
2. Ground Yourself: To avoid static electricity discharge that can damage sensitive components, it’s crucial to ground yourself before handling any electrical equipment. You can do this by wearing an anti-static wrist strap or by touching a grounded metal surface.
3. Read the Manual: Familiarize yourself with the instructions and guidelines provided by the manufacturer of the PSU tester. This will ensure you understand how to properly use the device and any specific safety precautions it may entail.
4. Inspect for Damage: Before using a PSU tester, visually inspect it for any signs of damage, such as exposed wires or cracked casing. Do not use a tester that appears to be damaged, as it could pose a risk of electrical shock or other hazards.
5. Avoid Direct Contact: While using a PSU tester, do not touch any exposed metal parts or connectors. Handle the device by its designated areas or handles to minimize the risk of electric shock.
6. Careful Cable Connections: Always ensure that the PSU and any other connected cables are securely and properly plugged into the tester’s connectors. Loose connections may lead to incorrect readings or potentially cause damage to the tester or your components.
7. Use Insulated Tools: If you need to adjust or manipulate any connections while using a PSU tester, be sure to use insulated tools. This will help minimize the risk of accidental electrical contact.
8. Keep Away from Liquids: Avoid exposing the PSU tester to liquids or working in wet environments. Liquid contact can damage the device and pose a safety hazard.
9. Store Properly: When not in use, store your PSU tester in a safe and dry location, away from any potential sources of damage or extreme temperatures. This ensures its longevity and minimizes any risks associated with improper storage.
10. Follow Manufacturer’s Recommendations: Finally, always follow the manufacturer’s recommendations and guidelines specific to the PSU tester you are using. They are designed to ensure your safety and the proper functioning of the equipment.
By adhering to these safety precautions, you can ensure a safe and secure experience when using a PSU tester. Remember, electrical safety is paramount, and taking the necessary precautions will help you prevent accidents and protect both yourself and your equipment.
Step 1: Plug in the PSU Tester
The first step in using a PSU tester is to plug it into a power source. Follow these simple instructions to get started:
- Locate an available power outlet near your computer or electronic device.
- Ensure that the power switch on the PSU tester is in the “Off” or “Standby” position.
- Insert the power plug of the PSU tester into the power outlet.
- Verify that the LED indicators on the PSU tester light up, indicating that it is receiving power.
Plugging in the PSU tester allows it to draw power from the outlet, enabling it to perform accurate voltage measurements on the connected power supply. Keep in mind that different PSU testers may have varying designs and power connection methods, so it’s essential to refer to the manufacturer’s instructions for specific details.
Make sure to handle the PSU tester and its power cable with care, avoiding any excessive bending or pulling that could lead to damage. It’s also important to regularly inspect the power plug and cable for any signs of wear or fraying. If you notice any damage, discontinue using the PSU tester and replace the power cable before proceeding.
By correctly plugging in the PSU tester, you have set the foundation for the subsequent steps involved in testing your power supply. Now, move on to the next step to connect the PSU tester to the power supply unit for a comprehensive assessment of its functionality.
Step 2: Connect the PSU Tester to the Power Supply Unit (PSU)
Once you have plugged in the PSU tester and ensured that it is receiving power, the next step is to connect it to the power supply unit (PSU) of your computer or electronic device. Follow these instructions to establish the connection:
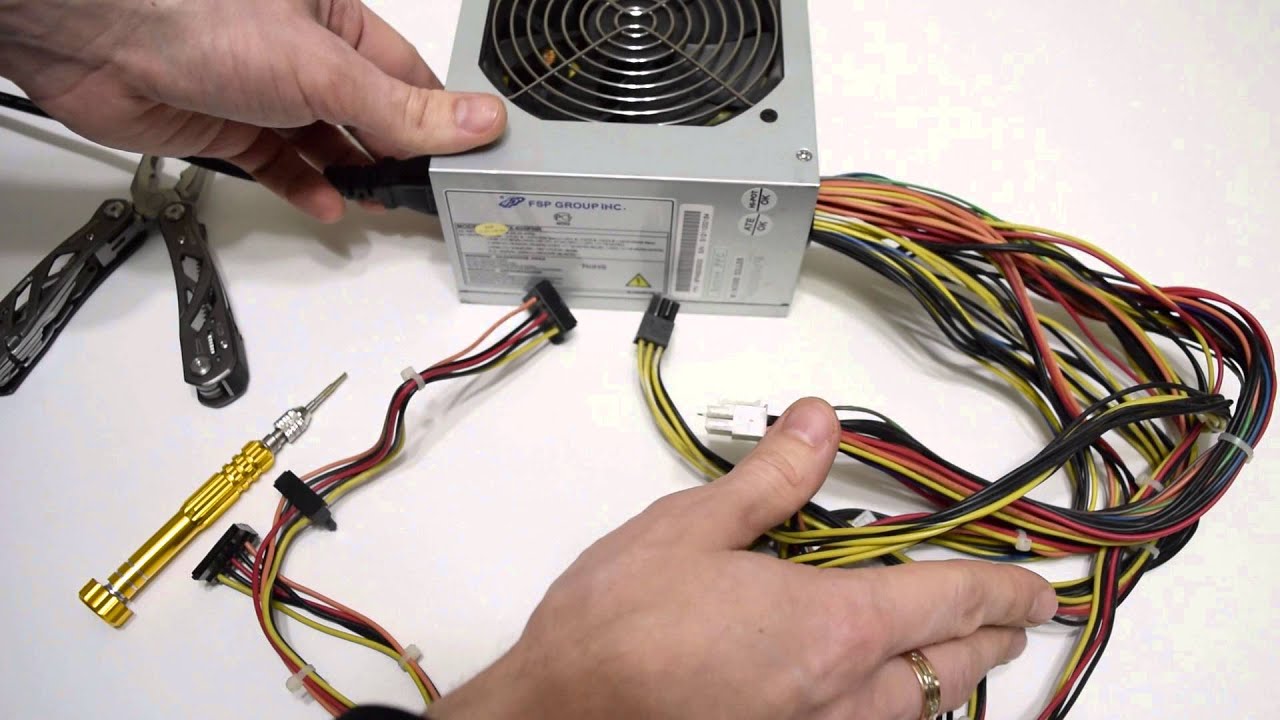
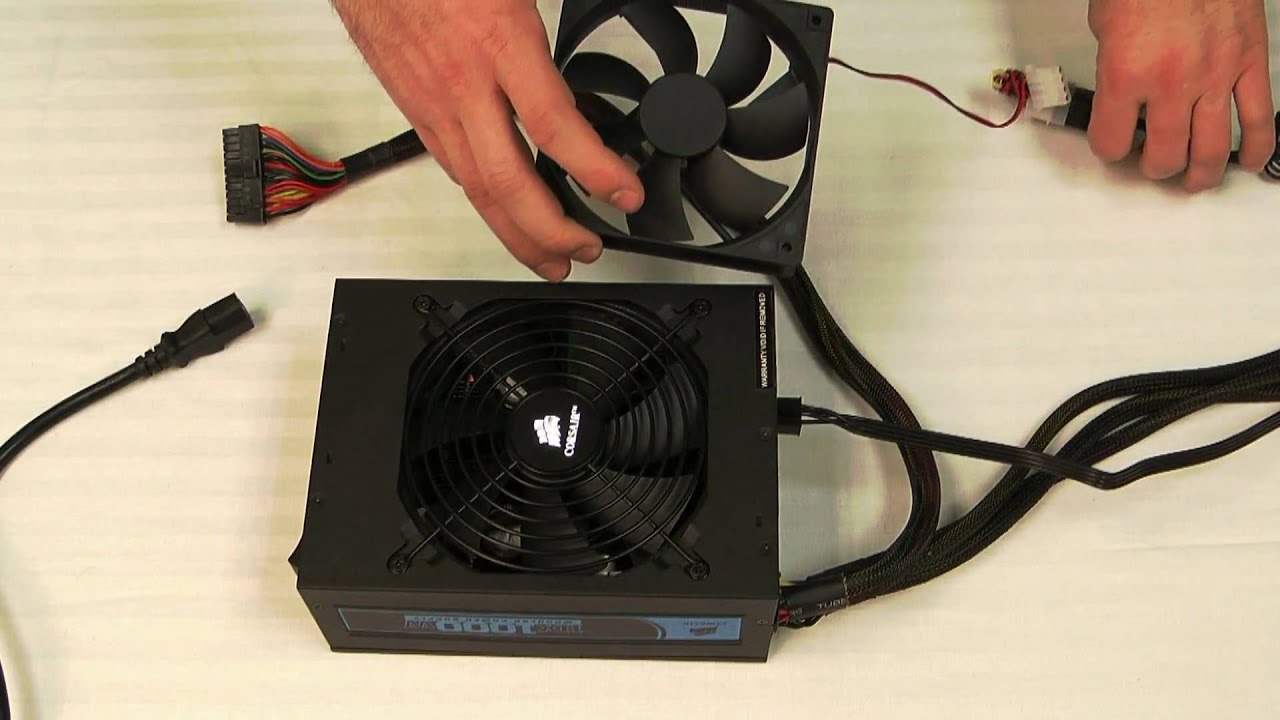
- Locate the power supply unit (PSU) in your computer or electronic device. It is typically a rectangular metal box with cables connected to various components.
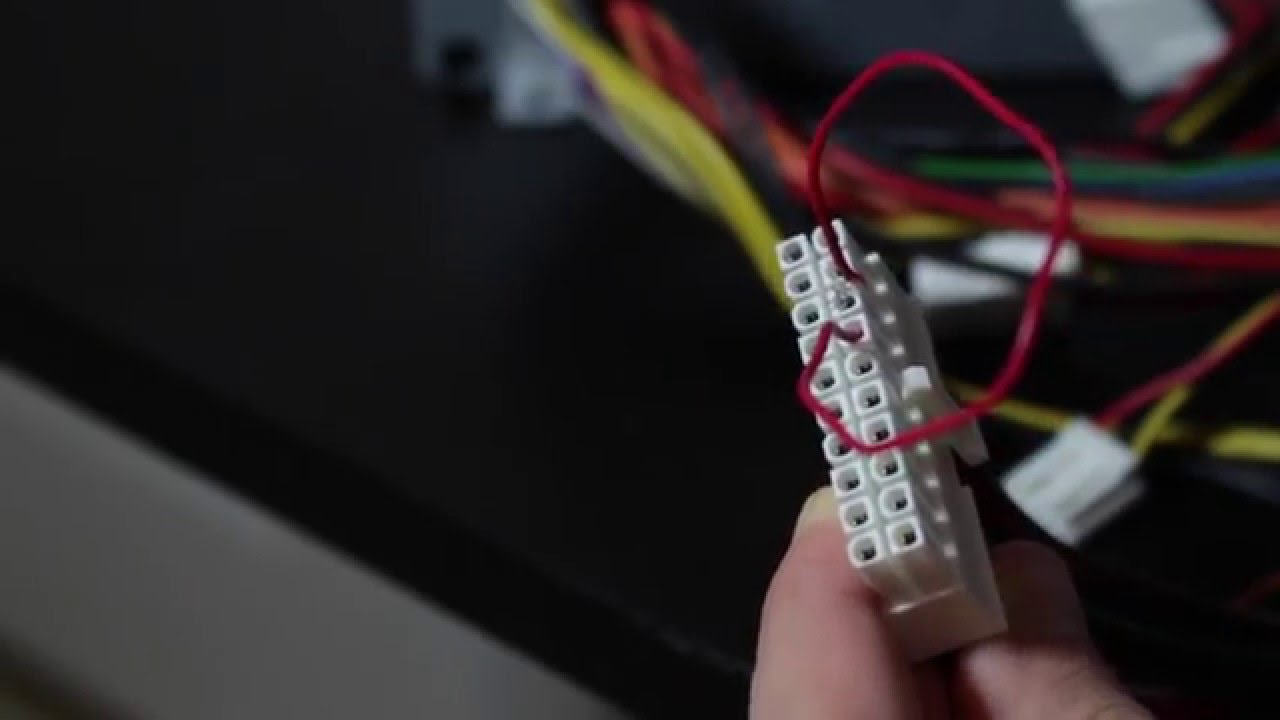
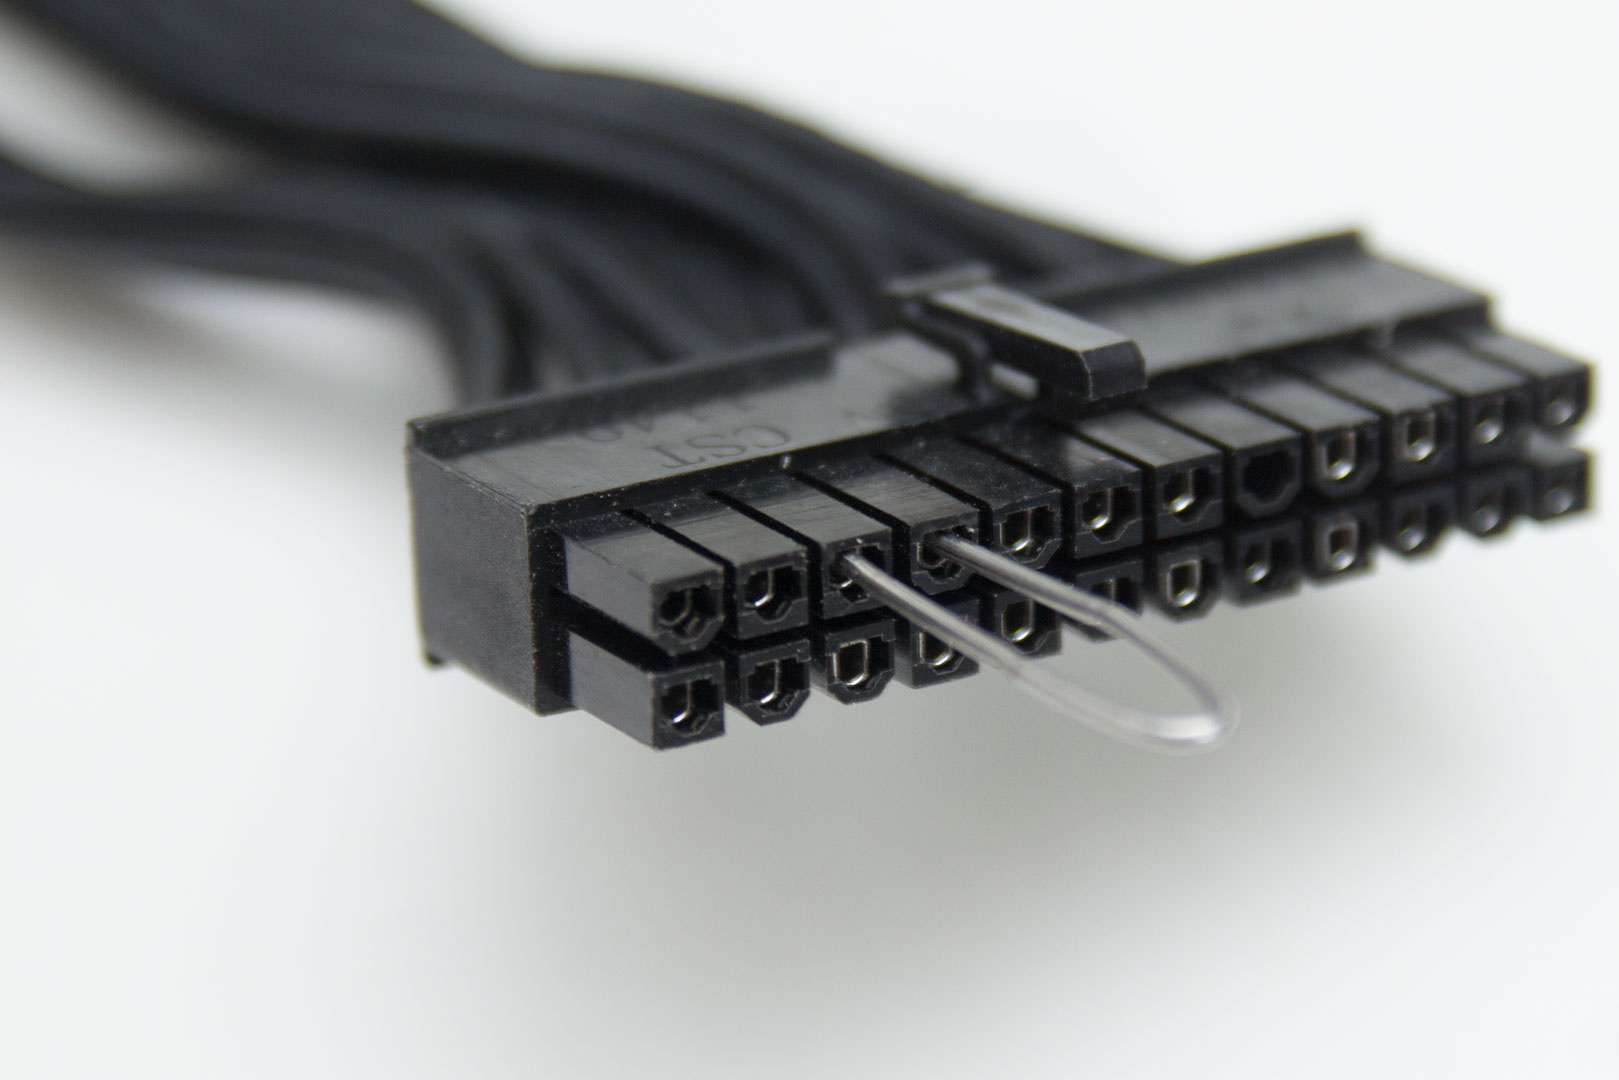
- Identify the main 24-pin power connector of the PSU. This cable provides power to the motherboard and is often the largest cable among the connections.
- Align the connectors on the PSU tester with the corresponding pins on the 24-pin power connector of the PSU.
- Gently but firmly push the connectors together, ensuring a secure and snug fit.
- If your PSU has additional power connectors, such as a 4-pin CPU power connector or SATA power connectors, you can connect the appropriate cables from the PSU tester to those connectors as well.
It is crucial to handle the PSU tester and the power supply cables with care during the connection process. Avoid using excessive force or twisting motions that could damage the connectors or pins.
Note that the specific cable connectors on the PSU tester may vary depending on the model and design. Some PSU testers feature modular connectors, allowing you to connect individual cables for more accurate testing without the need to connect the entire PSU to the tester.
Once the PSU tester is securely connected to the PSU, you are ready to move on to the next step and check the LED indicators to assess the functionality of the power supply. This will provide valuable insights into any potential issues or irregularities with the PSU’s voltage outputs.
Step 3: Check the LED Indicators
After connecting the PSU tester to the power supply unit (PSU), it’s time to check the LED indicators on the tester. These indicators provide valuable information about the PSU’s voltage outputs. Follow these steps to interpret the LED indicator readings:
- Observe the LED indicators on the PSU tester. Each indicator corresponds to a specific voltage rail or signal.
- Refer to the user manual or manufacturer’s instructions to understand the meaning of each LED indicator and its expected readings. Different PSU testers may have varying LED configurations and interpretations.
- Typically, a functioning PSU will display stable and reliable voltage readings, with the corresponding LED indicators lit up or showing a specific color depending on the tester’s design.
- If all the LED indicators are lit up and displaying the expected readings, it indicates that the power supply is functioning correctly within the specified voltage range.
- If any LED indicator is not lit up or displaying an abnormal reading, it may indicate an issue with the corresponding voltage rail or signal, suggesting a problem with the PSU.
- Take note of any LED indicators showing abnormalities and make a note of the readings or colors displayed. This information will be useful for troubleshooting purposes in the next step.
Remember to give the LED indicators a few moments to stabilize and display the appropriate readings. Some PSU testers may have a built-in delay for accurate voltage detection.
Understanding and interpreting the LED indicators is crucial for assessing the health and functionality of your power supply. It allows you to quickly identify any potential voltage irregularities that may contribute to system failures or instability. By analyzing the LED readings, you can gain insights into the condition of your PSU and determine the next steps in troubleshooting, repair, or replacement if necessary.
Once you have checked the LED indicators on the PSU tester, it’s time to move on to the next step and interpret the results to diagnose any PSU-related issues.
Step 4: Interpret the Results
After checking the LED indicators on the PSU tester, it’s time to interpret the results to assess the functionality of your power supply. Follow these steps to understand the readings:
- Refer to the user manual or manufacturer’s instructions for your PSU tester, as the interpretation of the LED indicators may vary depending on the model.
- Compare the readings displayed on the LED indicators with the expected values for each voltage rail or signal. The user manual will provide the standard voltage values for reference.
- If the LED indicators display readings that closely match or fall within the expected range, it indicates that the power supply is providing stable voltages to your components.
- If any LED indicator shows an abnormal reading, such as a voltage significantly higher or lower than expected or no voltage at all, it suggests a potential issue with the corresponding voltage rail or signal.
- Take note of the specific abnormalities observed, including the LED indicator(s) and the readings displayed. This information will help you further diagnose and troubleshoot the PSU.
Interpreting the results from the LED indicators is crucial in identifying any potential problems with your power supply. Abnormal readings may indicate issues such as insufficient power output, voltage fluctuations, or component failure within the PSU. It’s important to carefully analyze the readings to gain insights into the health of your power supply.
If you’re unsure about the significance of certain readings or need assistance with interpretation, consult the manufacturer’s customer support or seek advice from a qualified technician. They can offer guidance or help diagnose any potential issues based on the LED readings and provide recommendations for further action.
Once you have interpreted the results from the PSU tester’s LED indicators, you can proceed to the next step and troubleshoot any identified issues to ensure the proper functioning of your power supply.
Step 5: Troubleshooting
After interpreting the results from the PSU tester, it’s time to troubleshoot any potential issues that may have been identified. Follow these steps to address power supply-related problems:
- If the LED indicators on the PSU tester display abnormal readings or no voltage at all, start by checking the physical connections between the PSU and the tester. Ensure that the cables are securely plugged in and that there are no loose connections.
- Inspect the power cables of the PSU for any signs of damage or wear. Replace any damaged cables with new ones to prevent potential issues.
- Try connecting the PSU tester to a different power outlet in case the current outlet is faulty or unable to deliver the necessary power.
- If possible, test the PSU with a known working PSU tester or try connecting the PSU to a different computer or electronic device to see if the issue persists.
- If the problems persist, it may indicate a faulty power supply unit. In this case, consider seeking professional assistance, especially if you are not comfortable or experienced in diagnosing and replacing computer components.
- If the PSU appears to be functioning correctly based on the PSU tester readings, the issue may lie elsewhere in your system. Check other components such as the motherboard, CPU, graphics card, or RAM to identify any potential problems.
Remember that troubleshooting power supply issues can be complex, and it’s important to exercise caution and consult professionals when necessary. They can provide additional guidance, perform advanced tests, or recommend appropriate solutions to resolve the problems.
By following the troubleshooting steps and ruling out potential issues with the power supply, you can effectively pinpoint the root cause of any system instabilities or failures. Proper troubleshooting ensures that you make accurate diagnoses and take the appropriate steps to resolve the identified issues.
Once you have completed the troubleshooting process, you can take the necessary actions to either repair or replace the power supply unit, or proceed with further investigation and troubleshooting of other components if necessary.
Conclusion
Using a PSU tester is an invaluable tool when it comes to diagnosing power supply issues and ensuring the overall stability of your computer system. By following the step-by-step process outlined in this guide, you can effectively utilize a PSU tester to assess the functionality of your power supply unit.
Through the initial setup of plugging in the PSU tester and connecting it to the power supply unit, you establish a crucial connection that allows for accurate voltage measurements. Checking the LED indicators on the PSU tester provides valuable insights into the voltages being delivered by the power supply, enabling you to identify any abnormalities or issues.
Interpreting the results from the LED indicators allows you to determine the health of your power supply and make informed decisions about potential troubleshooting or replacement. Troubleshooting any identified issues, whether they lie with the power supply unit itself or elsewhere in the system, is key to resolving any instabilities or failures.
Remember, safety precautions should always be prioritized when working with electrical components. Grounding yourself, reading the manual, and adhering to best practices will prevent potential hazards and ensure a secure experience.
By utilizing a PSU tester and following the steps outlined in this guide, you can efficiently diagnose power supply problems, save time and money, and maintain a stable and reliable computer system.
So, go ahead and equip yourself with a PSU tester, and take charge of your power supply’s health to keep your computer running smoothly.