Summary
The power supply unit (PSU) is a crucial component of any computer system, responsible for providing power to all the hardware components. Over time, a PSU can begin to fail, causing various issues that can disrupt the proper functioning of your computer. Recognizing the signs of a failing PSU is important in order to address the problem and avoid potential damage to other components.
There are several key signs that indicate a failing PSU. First and foremost, your computer may refuse to power on at all. This could be a clear indication that the PSU is not supplying enough power to the system. Additionally, you might experience random shutdowns or restarts, where the computer suddenly powers off or restarts without any warning. This can occur when the PSU is unable to maintain a consistent power supply.
Another sign to watch out for is corrupted or inconsistent data. When a PSU is failing, it can result in data loss or corrupted files, as the PSU may not be providing a stable voltage to the components. Furthermore, you may notice strange noises or smells coming from your PSU. This could be a sign of internal damage or overheating, which can affect the overall performance and lifespan of the PSU.
Lastly, keep an eye out for components in your computer system overheating. A failing PSU may not be able to efficiently power the cooling system of your computer, resulting in increased temperatures. This can lead to performance issues and potential hardware damage.
To check for a failing PSU, there are a few methods you can employ. First, perform a visual inspection of the PSU for any visible signs of damage, such as bulging or leaking capacitors. You can also test the voltage output of the PSU using a multimeter. This will give you an indication of whether the PSU is providing the correct voltage to the components. Another option is to use a power supply tester, which can quickly assess the functionality of the PSU.
If all else fails and you still suspect a failing PSU, the final step would be to swap out the PSU with a known working one. This will help determine whether the PSU is indeed the cause of the issues you are experiencing.
By recognizing the signs of a failing PSU and following these steps to check for issues, you can address the problem early on and avoid potential damage to your computer system. Regular maintenance and monitoring of your PSU is essential to ensure the overall health and performance of your computer.
Introduction
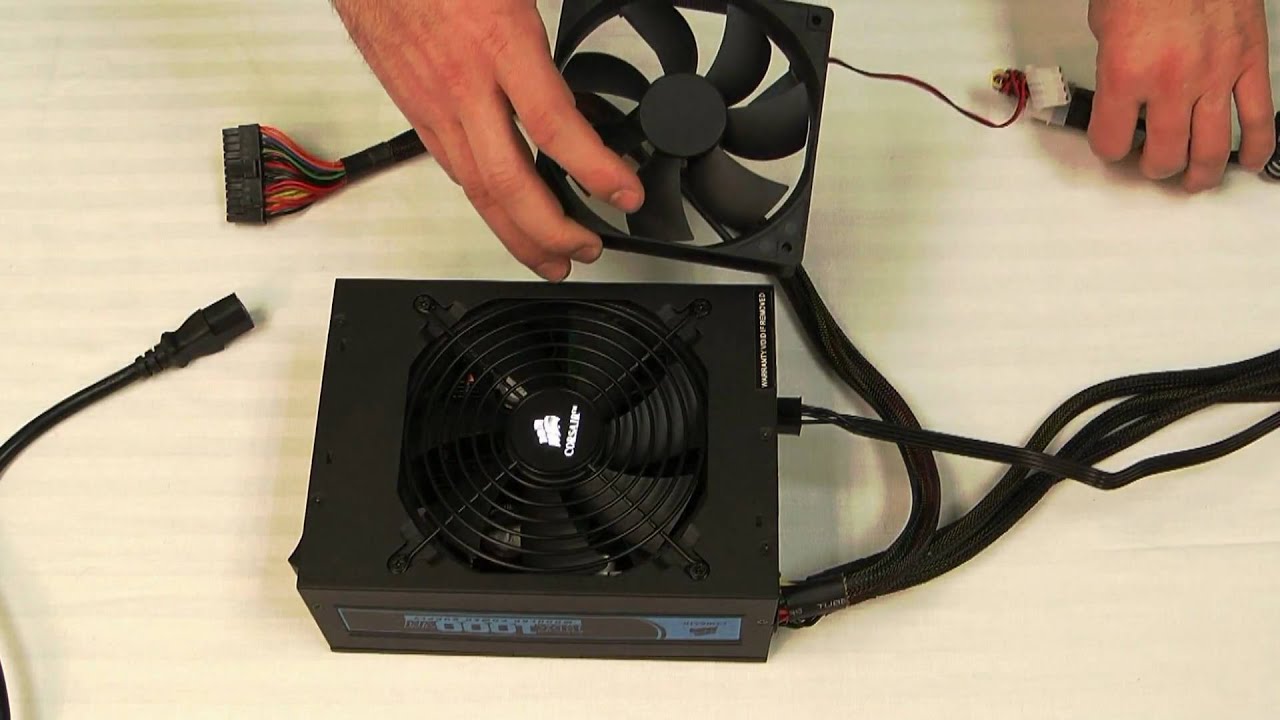
The power supply unit (PSU) is an often overlooked but vital component of any computer system. It is responsible for converting the AC power from your wall outlet into the DC power that your computer’s internal components need to operate. Without a reliable PSU, your computer would not be able to function properly.
While PSUs are built to last, they can still experience issues over time. A failing PSU can cause a range of problems, from random shutdowns and data corruption to complete system failure. It is crucial to be aware of the signs that indicate a failing PSU in order to address the issue promptly and prevent potential damage to other components.
In this article, we will explore the common signs of a failing PSU and discuss how to check for issues. By familiarizing yourself with these signs and learning the necessary steps to assess your PSU’s health, you can ensure the overall stability and performance of your computer system.
It is important to note that the signs of a failing PSU can be similar to other hardware or software issues. Therefore, it is essential to troubleshoot and eliminate other potential causes before concluding that your PSU is at fault. Having a foundational understanding of your computer’s components and their interdependencies will be helpful in identifying and resolving these issues.
Additionally, it is worth mentioning that internal computer components can generate a significant amount of heat during operation. A properly functioning PSU will have built-in cooling mechanisms to ensure that it remains within its safe operating temperature range. Cooling fans and heat sinks within the PSU help dissipate heat and keep the components cool. Over time, however, accumulated dust and debris can obstruct airflow and hinder the PSU’s cooling capabilities. Regular cleaning and maintenance of the PSU can help prolong its lifespan and prevent overheating-related issues.
Now let us delve into the various signs that may indicate a failing PSU and how you can effectively diagnose the problem to safeguard your computer’s performance.
Signs of a Failing PSU
A failing power supply unit (PSU) can manifest in various ways, affecting the overall performance and stability of your computer system. It’s important to be aware of the signs that may indicate a failing PSU so that you can take the necessary steps to address the issue. Here are some common signs to look out for:
-
Computer Won’t Power On:
One of the most evident signs of a failing PSU is when your computer refuses to power on. When you press the power button, nothing happens – no lights, no fans spinning, and no sign of life. This could indicate that the PSU is no longer providing sufficient power to the system. -
Random Shutdowns or Restarts:
Another indicator of a failing PSU is when your computer experiences unexpected shutdowns or restarts. Your computer may suddenly power off or restart without any warning, even when it is not under heavy load. This can happen when the PSU is unable to maintain a consistent power supply to the components. -
Corrupted or Inconsistent Data:
A failing PSU can cause data loss or data corruption. You may notice files becoming corrupted or experiencing inconsistencies, such as missing or jumbled data. This occurs when the PSU fails to provide a stable and reliable voltage, resulting in improper data transfer and storage. -
Strange Noises or Smells:
Unusual noises or smells emanating from your PSU can be a clear sign of internal damage or overheating. If you notice buzzing, clicking, or crackling sounds coming from the PSU, it could indicate a malfunctioning fan or other mechanical issues. A burnt or acrid smell may indicate overheating or electrical damage. -
Overheating Components:
As the PSU powers the cooling system of your computer, a failing PSU can result in insufficient cooling and increased temperatures inside the system. This can lead to other components, such as the CPU or graphics card, overheating and performing poorly. If you notice frequent freezes, sudden performance drops, or visual artifacts, it could be attributed to an overheating issue caused by a failing PSU.
It’s important to note that these signs can also indicate other hardware or software problems. Therefore, it’s crucial to perform thorough troubleshooting to eliminate other potential causes before determining that the PSU is the culprit. Paying attention to these signs and addressing them promptly can help prevent further damage to your computer system and ensure its optimal performance.
Computer Won’t Power On
One of the most obvious signs that your power supply unit (PSU) is failing is when your computer refuses to power on at all. You press the power button, but nothing happens – no lights, no fans spinning, and no sign of life.
When the PSU is functioning properly, it provides the necessary voltage and current to power the various components of your computer. However, if the PSU is unable to deliver sufficient power, your computer will not be able to start up.
There are several reasons why a failing PSU can cause this issue:
- Inadequate Power: If the PSU is not supplying enough power to the system, your computer will not have enough energy to start up. This can happen if the PSU is failing or if it doesn’t have enough wattage to meet the demands of your computer’s components.
- Short Circuit Protection: Modern PSUs have built-in protection mechanisms to prevent damage in the event of a short circuit. If the PSU detects a short circuit or other electrical issue, it may shut down completely to protect your computer from potential harm.
- Overheating: A failing PSU can experience overheating due to internal malfunctions or blocked cooling mechanisms. Overheating can trigger thermal protection mechanisms that automatically shut down the PSU to prevent damage or fire hazards.
When your computer fails to power on, it’s crucial to check if the PSU is the cause of the problem. Here are a few steps to troubleshoot:
- Check Power Connections: Ensure that the PSU is properly connected to the motherboard, CPU, GPU, and other components. Sometimes, loose or faulty power cables can disrupt the flow of electricity and prevent the computer from powering on.
- Test with a Different Power Outlet: Sometimes, faulty power outlets can prevent your computer from receiving adequate power. Plug your computer into a different outlet or use a power strip with surge protection to eliminate this possibility.
- Try a Different Power Cord: A faulty power cord can also contribute to power issues. If possible, try using a different power cord to see if that resolves the problem.
If none of the above steps solve the issue and your computer still won’t power on, it’s highly likely that your PSU is failing. In this case, you may need to replace the PSU with a new one to restore proper power supply to your computer and ensure its functionality.
Random Shutdowns or Restarts
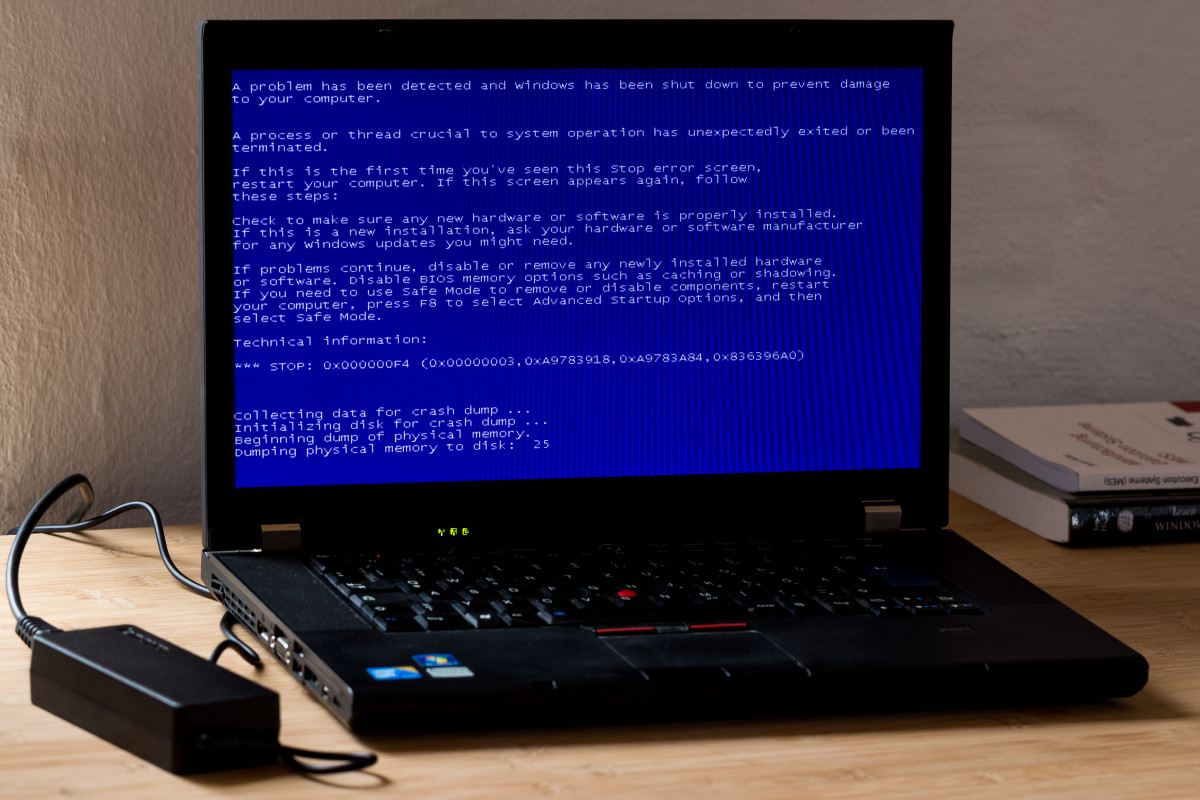
If your computer experiences sudden and unexpected shutdowns or restarts without any apparent reason, it can be a clear indication of a failing power supply unit (PSU). These random shutdowns or restarts can be frustrating and disruptive, potentially causing data loss or interruption of important tasks.
When the PSU is failing, it may be unable to maintain a consistent power supply to the components. This can result in sudden power fluctuations or drops, triggering the computer to shut down or restart as a protective measure.
There are a few reasons why a failing PSU can cause random shutdowns or restarts:
- Inconsistent Power Output: A failing PSU may struggle to provide a stable and consistent power output to the various components of your computer. As a result, the system may shut down or restart to protect itself from potential damage caused by irregular power fluctuations.
- Overheating: A PSU that is overheating due to internal malfunctions or inadequate cooling can also lead to random shutdowns or restarts. Overheating can trigger the PSU’s thermal protection mechanisms, causing it to shut down temporarily until it cools down.
- Overloaded PSU: If your computer’s components require more power than your PSU can handle, it may lead to overload situations. When the PSU is unable to supply enough power to meet the system’s demands, it can result in sudden power failures or restarts.
When you experience random shutdowns or restarts, it’s important to rule out other potential causes before attributing the issue to a failing PSU. Here are some steps you can take to troubleshoot:
- Check for Overheating: Verify that your computer’s cooling system is functioning properly, including fans and heat sinks. Overheating components, such as the CPU or GPU, can trigger the PSU to shut down as a safety measure. Clean any dust or debris that might be obstructing airflow, and ensure that all cooling mechanisms are properly connected and functioning.
- Monitor System Temperature: Utilize software tools to monitor the temperature of your computer’s components. If you notice unusually high temperatures, it could indicate an overheating issue that may be related to the PSU.
- Check the PSU’s Wattage: Ensure that your PSU has enough wattage to support your computer’s components. If the PSU is underpowered, it may struggle to meet the power demands of the system and cause random shutdowns or restarts. Consider upgrading to a higher wattage PSU if necessary.
If none of the above steps resolve the issue, it’s likely that your PSU is failing and needs to be replaced. A new PSU will provide a stable and reliable power supply, eliminating the random shutdowns and restarts while ensuring the smooth operation of your computer system.
Corrupted or Inconsistent Data
If you start noticing corrupted or inconsistent data on your computer, such as missing or jumbled files, it could be a clear indication of a failing power supply unit (PSU). While it may not be the first thing that comes to mind when experiencing data-related issues, a failing PSU can disrupt the stable power supply to your computer’s components, resulting in data loss or corruption.
Here are a few ways in which a failing PSU can lead to corrupted or inconsistent data:
- Voltage Fluctuations: When a PSU is failing, it may not provide a steady and constant voltage to the components of your computer. Fluctuating voltages can disrupt data transfer processes, leading to incomplete or corrupt file storage and retrieval.
- Insufficient Power: A failing PSU may struggle to deliver sufficient power to the components, particularly during peak performance demands. Inadequate power supply can lead to data transfer errors, resulting in corrupted or incomplete files.
- Power Surges: A failing PSU can produce power surges, sudden increases in voltage that exceed the normal operating range. These power surges can cause damage to the computer’s internal components, including data storage devices, leading to data corruption.
It’s important to troubleshoot and eliminate other potential causes of data corruption before attributing the issue to a failing PSU. Here are some steps to consider:
- Check Storage Devices: Verify the health and integrity of your storage devices, such as hard drives or solid-state drives (SSDs). Run diagnostic tools or perform disk checks to identify any potential issues. If multiple storage devices exhibit data corruption, it may indicate a PSU problem.
- Stress Test the System: Conduct stress tests on your computer to put the components under heavy load. Monitor the system for any signs of data corruption or inconsistencies during these tests. If data issues appear during high-demand scenarios, it may point towards an unstable power supply caused by a failing PSU.
- Check Other Components: Ensure that other hardware components, such as the RAM modules or the motherboard, are functioning correctly. Faulty components can also lead to data corruption or inconsistencies, so it’s important to rule them out as potential causes before focusing solely on the PSU.
If you have eliminated other potential causes and the data corruption issues persist, it is likely that your PSU is failing and needs to be replaced. A new PSU will provide a stable and reliable power supply to your computer, ensuring the integrity of your data and preventing further data corruption.
Strange Noises or Smells
If you start hearing strange noises or detecting unusual smells coming from your computer, it could be a clear indication that your power supply unit (PSU) is failing. These audible and olfactory signs should not be ignored, as they often signify internal damage or overheating within the PSU.
Here are some common noises and smells that may alert you of a failing PSU:
- Buzzing or Clicking Sounds: If you hear strange buzzing or clicking sounds coming from your PSU, it is likely due to a malfunctioning fan or other mechanical issues. These noises indicate that the cooling system within the PSU is not functioning correctly, potentially leading to overheating or inadequate cooling of the components.
- Crackling or Popping Sounds: Unusual crackling or popping sounds coming from the PSU can be a sign of electrical arcing or sparking. This can occur if there are loose connections, damaged components, or a build-up of dust and debris within the PSU. Electrical issues like these pose a serious risk of damage to the PSU and other components.
- Burnt or Acrid Smells: If you detect a burnt or acrid smell coming from your PSU, it is an alarming sign of internal damage or overheating. This smell can indicate burning insulation or components within the PSU, which can be dangerous and damaging to your computer system.
It’s important to address strange noises or smells coming from your PSU promptly. Here’s what you can do:
- Shut Down Your Computer: If you notice any strange noises or smells coming from your PSU, it is crucial to shut down your computer immediately to prevent any further damage or potential hazards.
- Inspect Your PSU: Perform a visual inspection of the PSU to check for any visible signs of damage, such as bulging or leaking capacitors. Ensure that all connections are secure and that there is no excessive dust or debris obstructing the cooling vents or fans.
- Check System Temperature: Monitor the temperature of your computer’s components using software tools or BIOS settings. If the temperature readings are abnormally high, it could indicate an overheating issue within the PSU or other components.
- Consider Professional Help: If you are not comfortable or experienced in dealing with PC hardware, it is recommended to consult a professional technician or bring your computer to a reputable repair service. They can diagnose the issue accurately and safely address any PSU-related problems.
If strange noises or smells persist even after performing the above steps, it is highly likely that your PSU is failing and needs to be replaced. Continuing to use a failing PSU can pose risks to your computer system and data integrity. Therefore, it’s essential to address the issue promptly to ensure the proper functioning and longevity of your computer.
Overheating Components
If you notice that certain components in your computer system are overheating, it could be a result of a failing power supply unit (PSU). A failing PSU may not be able to supply sufficient power to the cooling system within your computer, leading to increased temperatures and potential performance issues.
Here are a few reasons why a failing PSU can cause overheating components:
- Inadequate Power: A failing PSU may struggle to provide enough power to run the cooling system efficiently. As a result, fans may spin slower than usual, or the cooling system may not be able to remove heat effectively, leading to increased component temperatures.
- Faulty Cooling Mechanisms: A failing PSU can have malfunctioning cooling mechanisms such as fans or heat sinks. This can decrease the effectiveness of heat dissipation, resulting in higher temperatures within the computer system.
- Overloaded PSU: If your computer’s components require more power than your PSU can handle, it can cause excessive heat generation. This overload can lead to overall system overheating and negatively impact component performance.
It’s important to identify overheating components and take appropriate action to prevent potential damage. Here’s what you can do:
- Monitor Component Temperatures: Use software utilities that allow you to monitor the temperatures of your computer’s components. Pay attention to any unusually high readings, as they may indicate overheating problems.
- Ensure Proper Airflow: Check that the airflow within your computer case is unobstructed. Ensure that fans are spinning correctly, and clear any dust or debris that may be blocking the cooling vents or fans.
- Verify Cooling System Functionality: Confirm that the fans and heat sinks on your CPU, graphics card, and other heat-generating components are working correctly. If you notice any issues, such as abnormal fan noises or slow fan speeds, it may indicate a problem with the cooling system.
- Consider Upgrading PSU: If you’ve taken all the necessary steps to resolve overheating but the issue persists and you suspect a failing PSU, consider upgrading to a higher-quality PSU with sufficient wattage to meet the power demands of your computer’s components.
If you have addressed airflow and cooling system issues, yet components continue to overheat, it is crucial to replace the failing PSU. Continuing to use a failing PSU can lead to long-term damage to your computer’s components, decreased performance, and even system failure due to excessive heat.
How to Check for a Failing PSU
When you suspect that your power supply unit (PSU) may be failing, it’s important to perform several checks to diagnose the issue accurately. Here are some methods you can use to check for a failing PSU:
- Visual Inspection: Begin by visually inspecting the PSU for any signs of damage. Check for bulging or leaking capacitors, as these are common indicators of a failing PSU. Ensure that all connections are secure and that there is no excessive dust or debris blocking the cooling vents or fans.
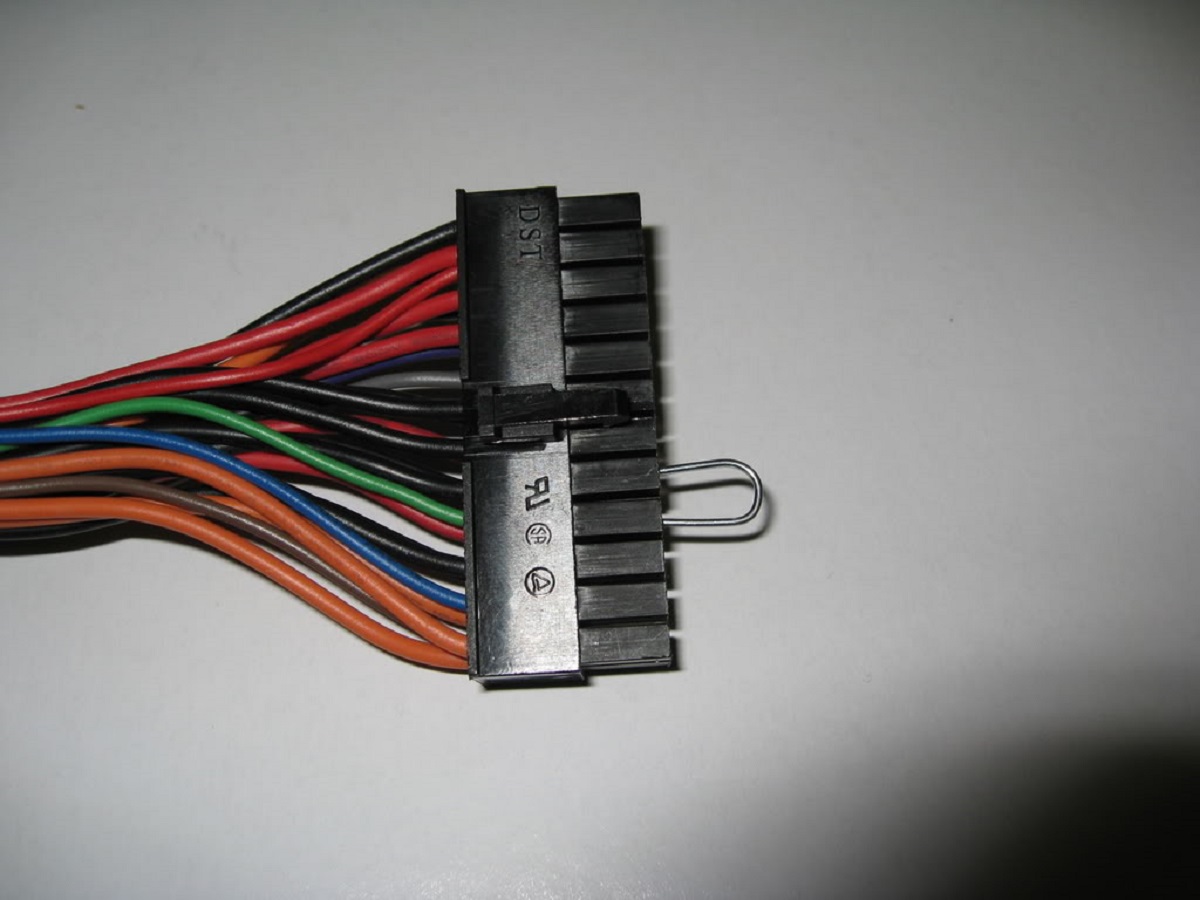
- Voltage Testing: Use a multimeter to test the voltage output of the PSU. Connect the multimeter to the appropriate pins on the PSU’s 24-pin or 20+4-pin connector. Compare the voltage readings with the specifications provided by the PSU’s manufacturer. If the voltage readings significantly deviate from the expected values, it may indicate a failing PSU.
- Using a Power Supply Tester: Invest in a power supply tester, a specialized device that can quickly assess the functionality of a PSU. It connects to the various connectors on the PSU, checking for voltage stability and short circuits. Power supply testers are user-friendly and can provide a reliable indication of whether the PSU is functioning properly.
- Swapping Out the PSU: If all other methods fail to identify the issue conclusively, the last step is to swap out the suspect PSU with a known working one, preferably one with similar or greater wattage. This method helps determine whether the failing PSU is indeed the cause of the problems you are experiencing.
Remember to exercise caution when working with computer components, especially when dealing with electrical connections. If you are unsure about performing any of these methods yourself, consider consulting a professional technician for assistance.
By utilizing these methods, you can effectively check for a failing PSU and determine whether it is the source of your computer issues. Identifying a failing PSU early on can prevent further damage to your computer’s components and help you take the necessary steps to ensure the stability and performance of your system.
Visual Inspection
Performing a visual inspection is the first step in checking for a failing power supply unit (PSU). It allows you to identify any visible signs of damage or issues that may indicate a failing PSU. Here’s what you should look for during the visual inspection:
- Bulging or Leaking Capacitors: Capacitors are small cylindrical components on the PSU’s circuit board. Check if any capacitors appear swollen or bulging at the top, as this is a common sign of a failing PSU. Leaking or oozing capacitors, indicated by a crusty or oily residue around them, are also a significant cause for concern.
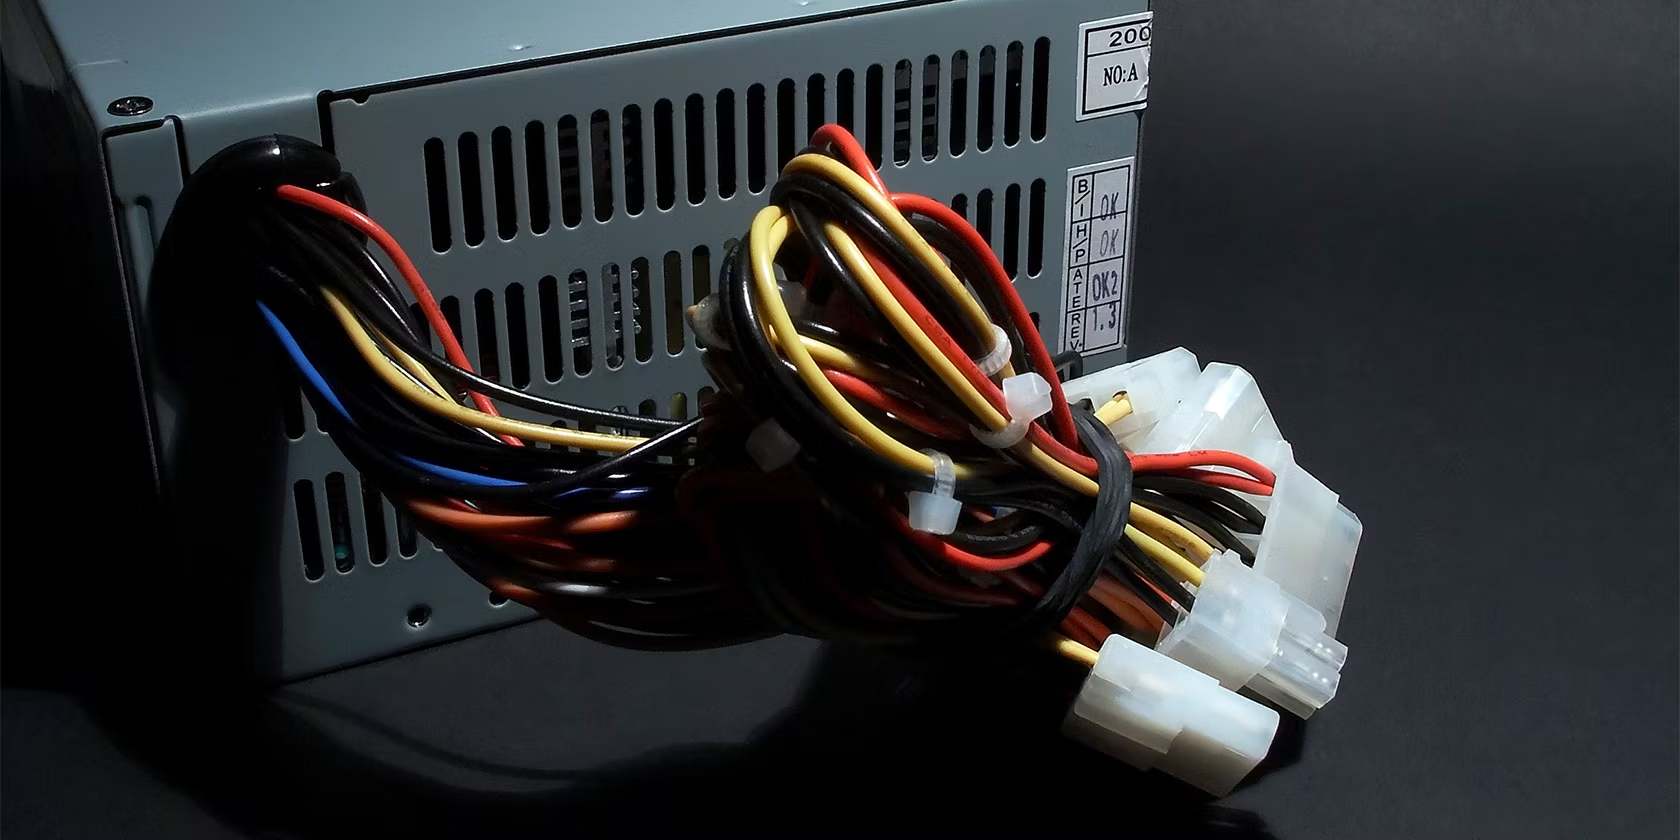
- Loose Connections: Ensure that all connections within the PSU are secure. Check if the cables connecting the PSU to the motherboard, graphics card, storage drives, and other components are tightly fitted. Loose connections can result in inconsistent power delivery and potentially damage other components.
- Dust and Debris: Look for any accumulation of dust or debris inside the PSU. Over time, these particles can obstruct airflow and cause overheating, leading to a failing PSU. Use compressed air or an anti-static brush to carefully clean out any dust or debris, but be cautious to avoid damaging any components.
- Cooling System: Observe the PSU’s cooling system, including the cooling fan(s) and heat sinks. Ensure that the fan(s) are spinning freely and smoothly and that there are no abnormalities like unusual noises or excessive vibration. If the cooling system is not functioning properly, it can lead to overheating and potential PSU failure.
If you notice any visible signs of damage or abnormalities during the visual inspection, it’s highly likely that your PSU is failing. In such cases, it is recommended to replace the PSU as soon as possible to avoid further issues and potential damage to other components of your computer system.
Remember that a visual inspection alone may not provide a conclusive diagnosis of a failing PSU. It is still important to perform additional tests and checks, such as voltage testing or using a power supply tester, to accurately assess the health of your PSU.
If you are unsure about conducting a visual inspection yourself, or if you are uncomfortable working with computer hardware, it is advisable to seek assistance from a professional technician who can help you diagnose and address any issues with your PSU and other computer components.
Voltage Testing
Voltage testing is a crucial method to check the health of your power supply unit (PSU) and determine if it is failing. By measuring the voltage output of the PSU, you can identify any inconsistencies or deviations from the expected values. Here’s how to perform voltage testing:
- Prepare: Before starting, ensure that your computer is powered off and unplugged. Make sure you have a multimeter, set to the DC voltage range, with red and black probes.
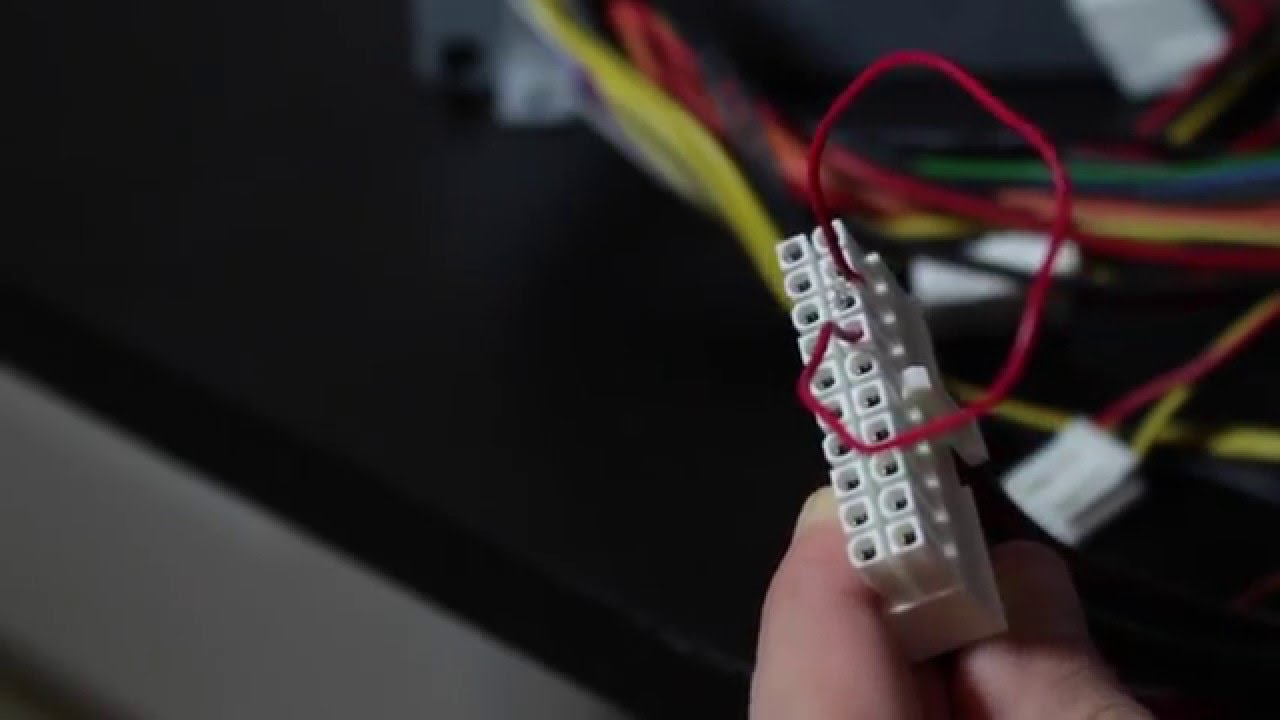
- Locate Connectors: Identify the 24-pin or 20+4-pin main power connector that connects your PSU to the motherboard. This connector supplies power to the motherboard and other components.
- Connect Probes: Insert the black probe into one of the black wires (ground) on the main power connector. Then, carefully insert the red probe into the yellow wire (12V) or red wire (5V) on the same connector.
- Read Voltage: Power on the computer while keeping the probes in place. Look at the multimeter display to read the voltage. Refer to the specifications provided by the PSU’s manufacturer to compare the readings with the expected values. For example, the +12V rail should read around 12V, and the +5V rail should read around 5V.
- Test Other Rails: Repeat the process to test the other voltages such as +3.3V and -12V. Ensure that your multimeter probes are inserted in the correct colored wires.
If the voltage readings significantly deviate from the expected values or show inconsistencies, it may indicate a failing PSU. However, keep in mind that a single voltage reading slightly outside the specified range does not necessarily mean the PSU is failing. Repeat the test multiple times and verify the results to ensure accuracy.
Note that voltage testing requires careful handling of electrical components, and if you are uncertain or uncomfortable performing these tests yourself, it is recommended to seek assistance from a professional technician.
Voltage testing is a valuable method to gauge the health of your PSU, but it should be used in conjunction with other diagnostic methods such as visual inspection and power supply testing for a comprehensive evaluation of your PSU’s condition.
Using a Power Supply Tester
A power supply tester is a specialized device that can quickly and accurately assess the functionality of a power supply unit (PSU). It is an effective tool to check for a failing PSU without the need for extensive technical knowledge. Here’s how to use a power supply tester:
- Prepare: Ensure that your computer is powered off and unplugged before starting. Additionally, acquire a power supply tester that is compatible with your PSU’s connector types (e.g., 24-pin or 20+4-pin).
- Connect the Tester: Connect the power supply tester to the appropriate PSU connectors. Most testers will specify the connectors, such as the main power connector or peripheral connectors, to be attached. Follow the instructions provided with your tester to ensure correct connections.
- Read the Results: Once the connections are made, power on the PSU by plugging it into an outlet or using a power switch (check the tester’s instructions). The tester will display various readings and provide information about the voltage levels, fan speeds, and power stability. It may indicate whether the PSU is functioning properly or has an issue.
- Interpret the Results: Refer to the instructions accompanying your power supply tester to understand the meaning of the readings. Typically, a pass or fail result is provided, indicating whether the PSU meets the necessary requirements for stable power delivery. Some testers may also provide specific values to help you assess the performance of the PSU.
A power supply tester simplifies the process of determining whether a PSU is functioning properly. It can detect various issues, including voltage instability, short circuits, or faulty connectors. However, it’s important to note that power supply testers have limitations and cannot identify all potential PSU problems. If the results of the power supply tester indicate an issue, further investigation or professional assistance may be necessary.
Power supply testers are widely available and can be a worthwhile investment for regular computer maintenance. They provide a quick and convenient method for checking the status of your PSU and can help you troubleshoot power-related problems effectively.
If you are unsure about using a power supply tester or interpreting the results, seek guidance from a professional technician who can assist you with the testing process and advise you on the best course of action based on the results obtained.
Swapping Out the PSU
Swapping out the power supply unit (PSU) is a practical method to determine whether a failing PSU is the cause of your computer issues. By replacing the suspect PSU with a known working one, you can isolate and confirm if the original PSU is indeed the source of the problem. Here’s how to swap out the PSU:
- Select a Compatible Replacement PSU: Choose a PSU that is compatible with your computer’s components and has sufficient wattage to meet the power requirements. Refer to your computer’s specifications and check the necessary connectors and power ratings to ensure compatibility.
- Power off and Unplug Your Computer: Before proceeding, ensure that your computer is powered off and unplugged from the power outlet. This is essential to prevent any electrical accidents or damage during the swapping process.
- Disconnect Cables: Disconnect all cables connected to the PSU, including the main power connector, peripheral connectors, and any other power cables supplying power to internal components. Take note of the cable connections and their respective positions for reinstallation.
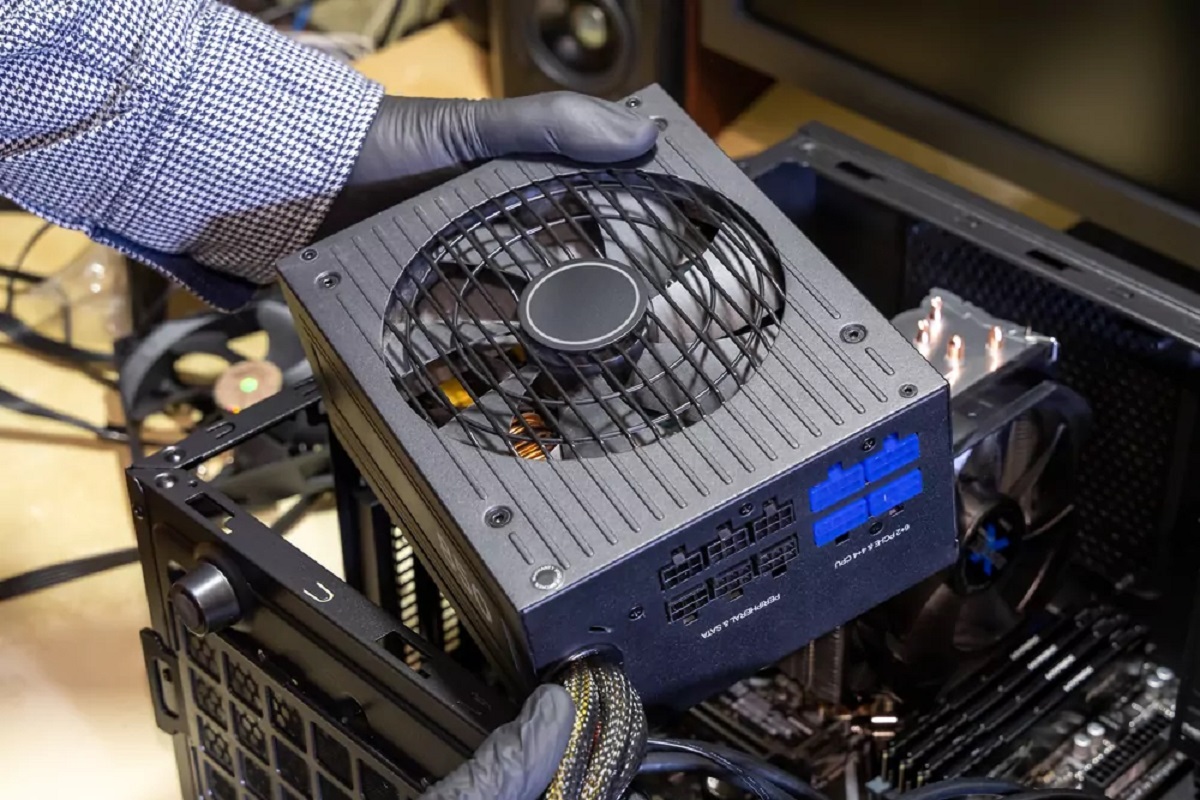
- Remove the Old PSU: Unscrew and remove the screws or fasteners securing the PSU to the computer case. Carefully slide out the old PSU from its mounting location, being mindful of any delicate components in the vicinity.
- Install the Replacement PSU: Slide the new PSU into the same mounting location from which you removed the old one. Secure it in place using the appropriate screws or fasteners. Ensure that the PSU is aligned properly and does not touch any other components, as this can cause damage.
- Reconnect Cables: Connect all the cables you earlier disconnected to the new PSU. Double-check the connections to ensure they are secure and properly aligned.
- Power on Your Computer: Once all connections are complete, plug in the power cord and turn on your computer. Monitor your computer for any changes in performance or the issues you were experiencing. If the issues no longer persist, it confirms that the original PSU was failing.
Swapping out the PSU with a known working one can provide valuable insight into whether the original PSU was causing the problems. If the issues persist even after swapping the PSU, it suggests that the problem may lie elsewhere in your computer system, and further troubleshooting may be required.
If you are uncomfortable or unsure about swapping out the PSU yourself, it is recommended to seek assistance from a professional technician. They can help you safely replace the PSU and provide guidance in identifying and addressing any potential issues within your computer system.
Conclusion
Checking for a failing power supply unit (PSU) is crucial for maintaining the stability and performance of your computer system. By recognizing the signs of a failing PSU and following the appropriate diagnostic methods, you can identify and address potential issues before they escalate.
Visual inspection provides valuable insights into the physical condition of the PSU, including signs of damage or malfunction. Voltage testing enables you to assess the electrical output of the PSU, ensuring it meets the necessary specifications. Power supply testers offer a quick and convenient way to evaluate the overall functionality of the PSU. Finally, swapping out the PSU allows you to isolate and verify whether the original PSU is the root cause of your computer issues.
It’s important to note that while these diagnostic methods are helpful, they should be used in combination with each other to ensure a comprehensive assessment of the PSU’s health. Additionally, if you are uncertain or uncomfortable performing these tests yourself, it is advisable to seek assistance from a professional technician.
Remember that a failing PSU can lead to various problems such as computer instability, data corruption, and potential damage to other components. Timely detection and resolution of PSU issues can prevent further damage and prolong the lifespan of your computer system.
Regular maintenance, such as keeping the PSU clean and ensuring proper airflow within your computer case, can also contribute to the longevity and reliability of the PSU. By taking proactive measures and being vigilant for the signs of a failing PSU, you can ensure your computer system operates smoothly and efficiently.