Introduction
Welcome to our guide on how to connect SATA cables to a PSU (Power Supply Unit). If you’re building or upgrading your computer, it’s essential to know how to properly connect the SATA cables to the PSU for a reliable and efficient power supply. SATA (Serial ATA) cables are used to connect storage devices such as hard drives, solid-state drives, and optical drives to the power supply unit.
Whether you’re a seasoned computer enthusiast or a beginner, this step-by-step tutorial will guide you through the process of connecting SATA cables to your PSU. By following these instructions, you will be able to ensure a secure and stable power connection for your storage devices.
In this guide, we will cover everything you need to know, from gathering the necessary tools and materials to securing the connections and managing the cables. We will provide clear instructions along with visual aids to make the process as seamless as possible.
Before we begin, it’s important to note that the steps we’ll be discussing are general guidelines. The specific procedures may vary depending on the make and model of your power supply unit and the devices you’re connecting. It’s always recommended to consult the user manual or documentation provided with your PSU for any specific instructions or precautions.
Now, without further ado, let’s dive into the world of SATA cables and learn how to connect them to your PSU!
Step 1: Gather the necessary tools and materials
Before you begin connecting SATA cables to your PSU, it’s essential to gather all the tools and materials you will need. Having everything prepared beforehand will ensure a smooth and uninterrupted installation process. Here are the items you should have:
- SATA cables: Ensure that you have the appropriate number of SATA cables for the devices you’re connecting. SATA cables usually come with the storage devices or motherboard when purchased separately.
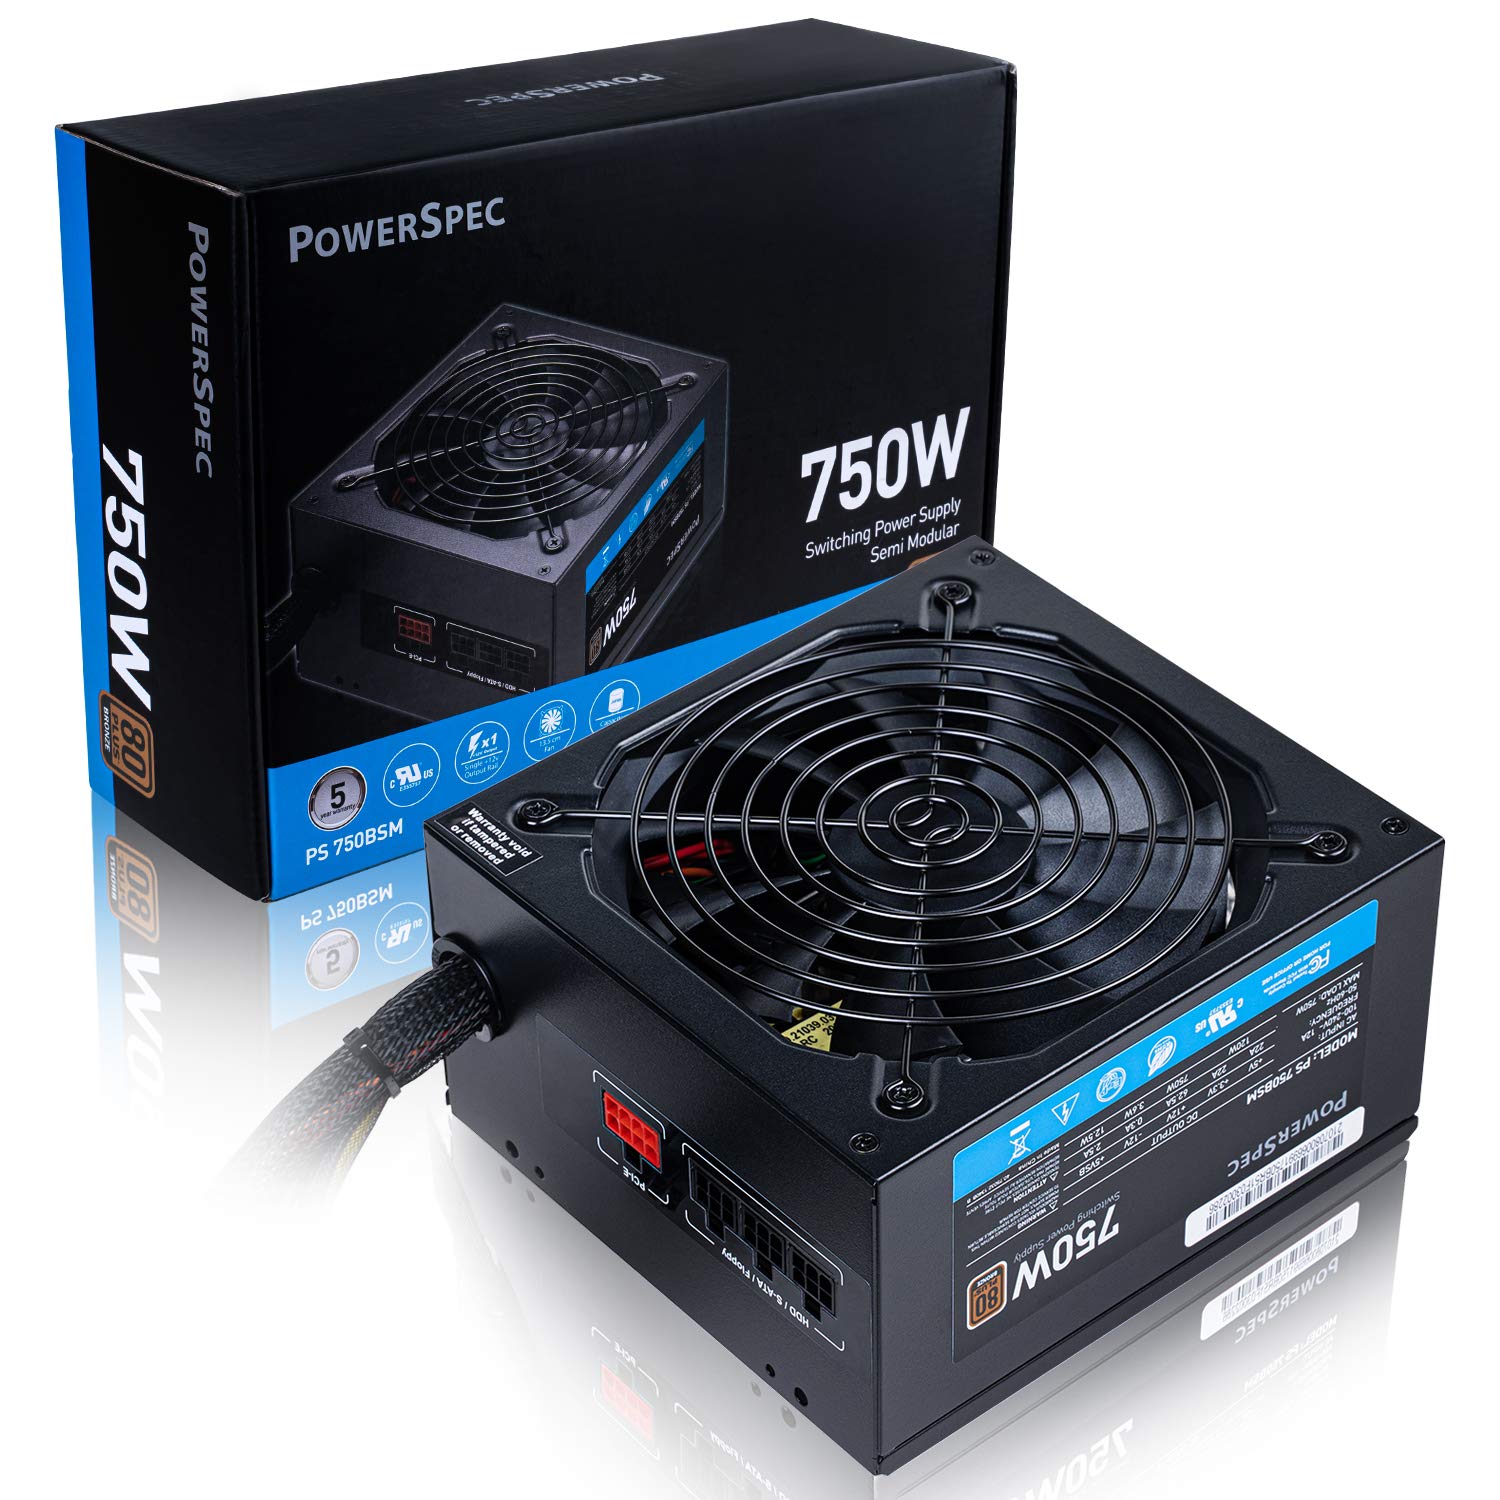
- Power Supply Unit (PSU): This is the central component that provides power to your computer hardware. Make sure you have a compatible PSU with SATA power connectors.
- Screwdriver: You’ll need a screwdriver to secure the SATA cables to the devices and the PSU, if required.
- User manual: It’s always a good idea to have the user manual or documentation for your PSU handy. It provides valuable information on specific connectors, cable management, and any additional instructions.
- Anti-static wrist strap: While not mandatory, it’s recommended to use an anti-static wrist strap to prevent electrostatic discharge (ESD) and avoid damaging sensitive components.
Once you have gathered all the necessary tools and materials, you’re ready to move on to the next step. Make sure you have a well-lit and organized workspace, preferably with enough space to move around comfortably.
Gathering the required tools and materials in advance will save you time and ensure that you have everything you need during the installation process. Now that you’re prepared, let’s move on to the next step and start connecting the SATA cables to your PSU.
Step 2: Determine the SATA power connectors on the PSU
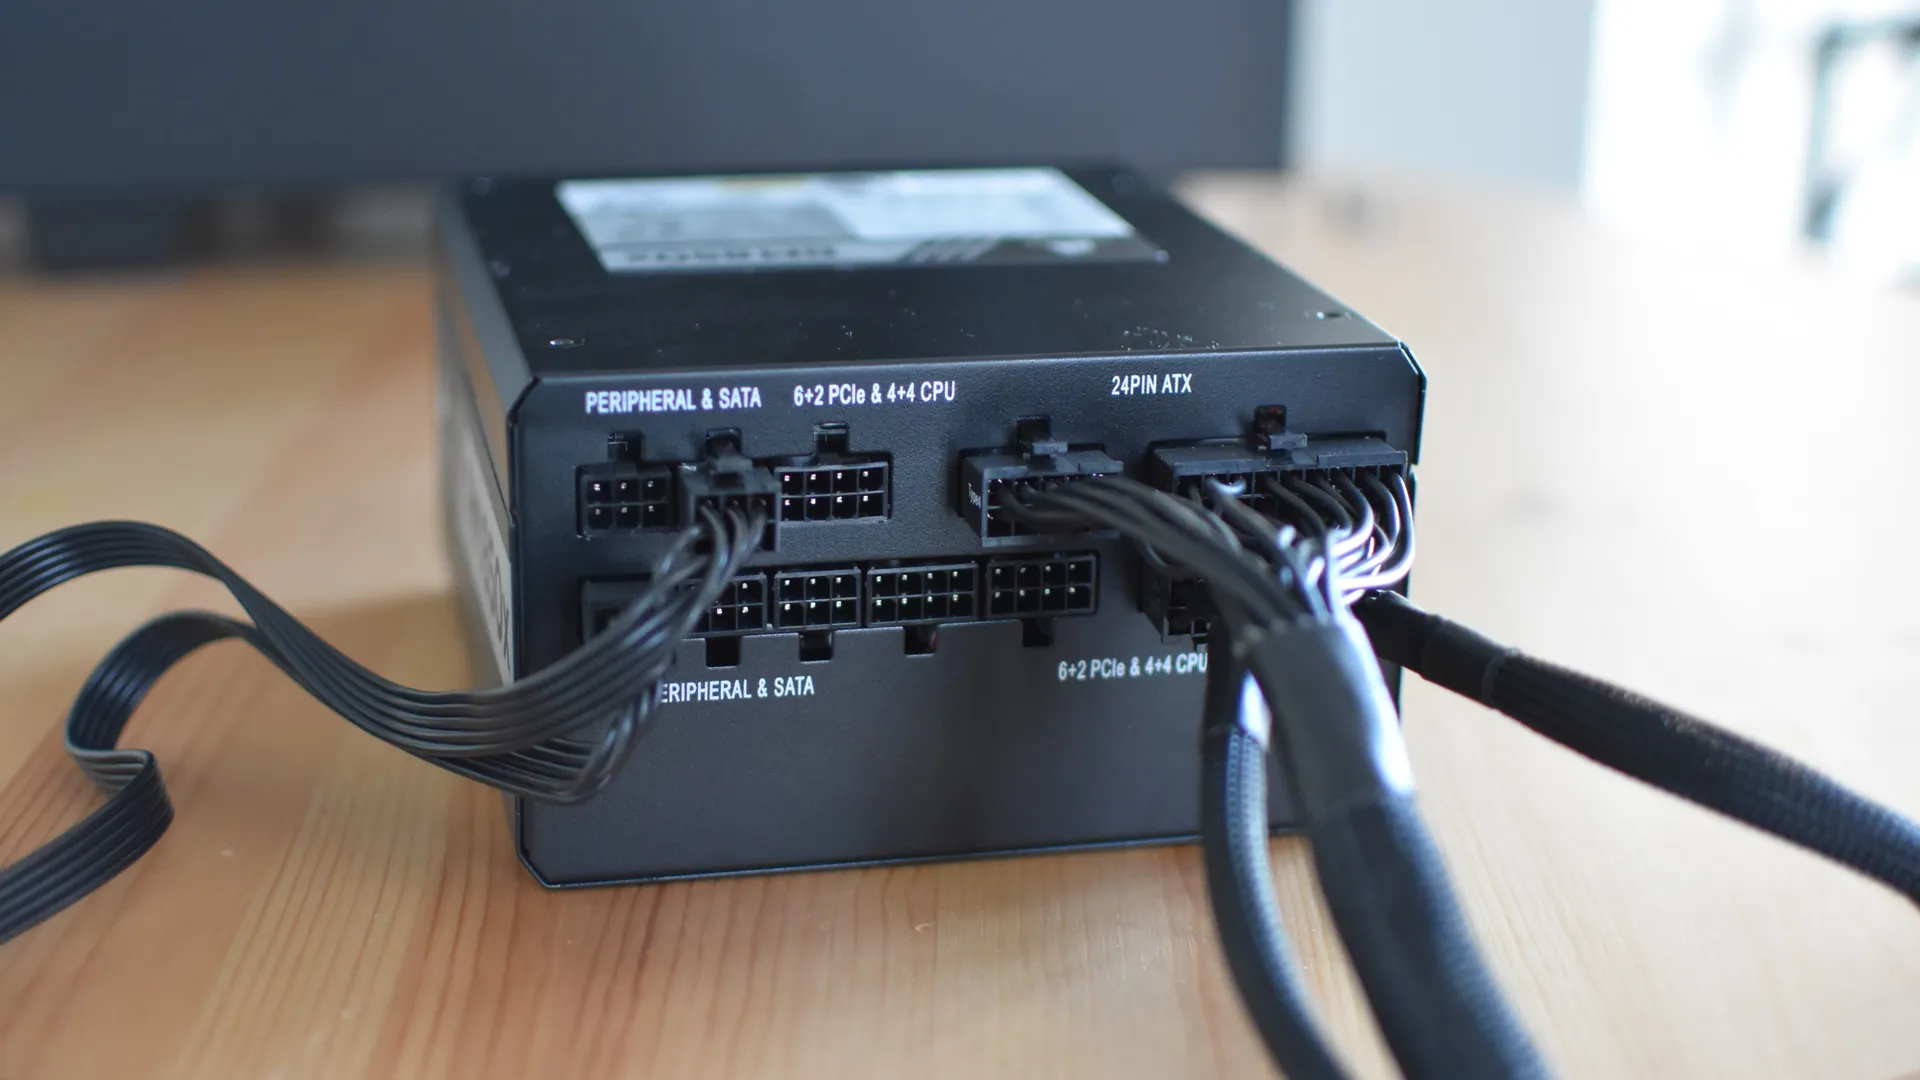
Before you start connecting the SATA cables, you need to locate the SATA power connectors on your PSU. The number of connectors and their location may vary depending on the make and model of your power supply unit.
Typically, modern PSUs come equipped with multiple SATA power connectors. They are rectangular in shape with multiple pins. These connectors provide power to your storage devices such as hard drives, solid-state drives, and optical drives.
Take a close look at your PSU and locate the SATA power connectors. They are usually labeled or marked as “SATA” or “SATA Power” for easy identification. The connectors are designed to fit only one way into the devices, ensuring a proper and secure connection.
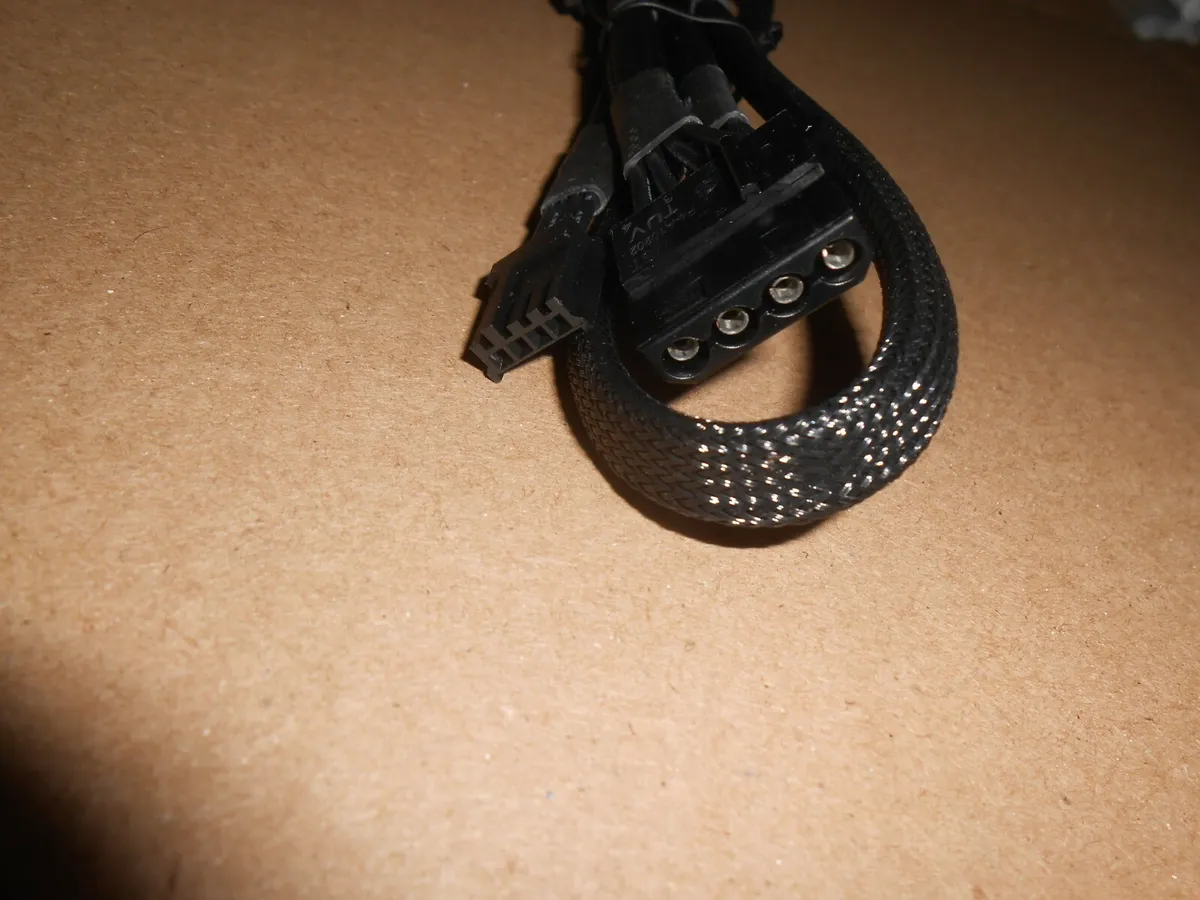
It’s important to note that some PSUs may also have other types of power connectors, such as Molex connectors. Make sure you differentiate between SATA power connectors and other types to avoid any confusion during the installation process.
If you’re having trouble locating the SATA power connectors on your PSU, consult the user manual or documentation provided with your unit. The manual will provide a detailed layout of the connectors, making it easier for you to identify the SATA power connectors.
Once you have identified the SATA power connectors, you’re ready to proceed to the next step and connect the SATA cables to your PSU. It’s important to handle the cables and connectors with care to avoid any damage.
Now that you know how to determine the SATA power connectors on your PSU, let’s move on to the exciting part – connecting the SATA cables!
Step 3: Connect the SATA power cables to the PSU
With the SATA power connectors identified, it’s time to connect the SATA power cables to your PSU. Follow these steps to ensure a secure and proper connection:
- Ensure that the PSU is turned off and unplugged from the power source. This will prevent any accidental power surges or electrical hazards.
- Take one of the SATA power cables and align the connector with one of the SATA power connectors on the PSU. Make sure the L-shaped notch on the connector matches the notch on the PSU connector.
- Gently push the SATA power cable connector into the PSU connector. Apply firm but gentle pressure until it clicks into place. You should feel the connector firmly connected and secure.
- Repeat the previous two steps for each additional SATA power cable you need to connect to the PSU. Ensure that all connectors are securely in place.
It’s essential to ensure that the SATA power cables are properly connected to the PSU to avoid any power supply issues or loose connections. Take your time and double-check each connection to ensure a secure fit.
Once you have successfully connected the SATA power cables to the PSU, you’re ready to move on to the next step and connect the other ends of the SATA cables to your devices. This will provide power to your storage devices and allow them to function properly.
Now that the SATA power cables are securely connected to the PSU, let’s proceed to the next step and connect them to your devices in the upcoming section.
Step 4: Connect the other end of the SATA cables to the devices
Now that you have connected the SATA power cables to the PSU, it’s time to connect the other ends of the SATA cables to your devices. Here’s how you can do it:
- Take one of the SATA cables and locate the SATA data connector on one end of the cable. This connector is usually shorter and narrower compared to the SATA power connector.
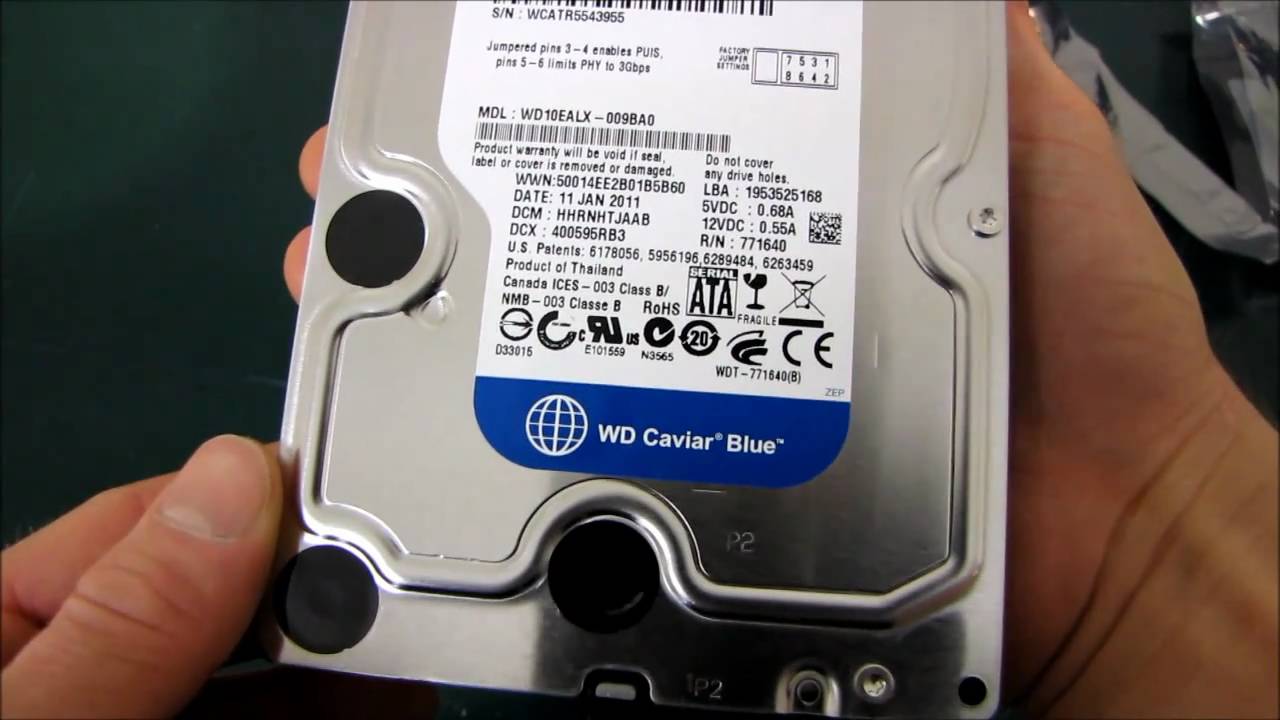
- Identify the SATA data ports on your storage devices such as hard drives, solid-state drives, or optical drives. These ports are usually located on the back or side of the devices.
- Align the SATA data connector with the corresponding SATA data port on the device. Make sure the L-shaped notch on the connector matches the notch on the port.
- Gently push the SATA data connector into the device’s SATA data port. Apply reasonable pressure until it fits snugly. Be careful not to exert excessive force to avoid damaging the connector or port.
- Repeat the previous steps for each device you need to connect. Ensure that all connectors are securely in place.
Double-check each connection to ensure that the SATA data cables are properly connected to your devices. A loose connection can cause data transfer errors or device recognition issues.
Once you have successfully connected the other ends of the SATA cables to your devices, you have established the power and data connections necessary for your storage devices to function.
Now that the SATA cables are securely connected to both the PSU and your devices, it’s time to move on to the next step and ensure that the connections are secure and properly managed.
Let’s proceed to the next step and learn how to secure the connections and manage the cables for a tidy and organized setup!
Step 5: Secure the connections and manage the cables
Now that all the SATA cables are properly connected, it’s important to secure the connections and manage the cables for a neat and organized setup. Follow these steps to ensure that your cables are managed effectively:
- Inspect each connection carefully to ensure that they are secure and snug. Gently tug on the cables to check if they are firmly attached to the PSU and devices. If any connectors feel loose, reseat them to ensure a stable connection.
- Use cable ties or Velcro straps to bundle and secure the SATA cables together. This will help prevent them from becoming tangled or getting in the way of other components. Avoid using zip ties as they can be difficult to undo if you need to make changes or additions to your setup in the future.
- Route the cables neatly, away from any fans or areas with high heat. It’s important to maintain proper airflow within your computer case to prevent overheating.
- If possible, utilize cable management features provided by your computer case. These may include cable routing holes, tie-down points, or built-in cable channels. Use them to guide and route the SATA cables neatly, further enhancing the overall aesthetics of your system.
- Avoid bending the SATA cables excessively, as it can put strain on the connectors and affect their longevity. If you need to make sharp turns or bends, use gentle curves to maintain the integrity of the cables.
By securing the connections and managing the cables properly, you not only ensure a clean and organized appearance but also improve airflow and prevent potential damage to the cables or connectors.
Take the time to arrange and organize the cables to the best of your ability. A well-managed cable setup can make future maintenance and upgrades much easier and stress-free.
Congratulations! You have successfully connected the SATA cables to your PSU and devices, and you have secured and managed the cables for optimal performance and aesthetics.
We hope this step-by-step guide has helped you in connecting your SATA cables effectively. Enjoy your newly connected storage devices and the enhanced functionality they bring to your computer!
Conclusion
Congratulations on completing the process of connecting SATA cables to your PSU! By following the steps outlined in this guide, you have successfully established the power and data connections for your storage devices.
We covered the essential steps, starting from gathering the necessary tools and materials to determining the SATA power connectors on the PSU. We then walked you through the process of connecting the SATA power cables to the PSU and the SATA data cables to your devices. Finally, we discussed the importance of securing the connections and managing the cables for a tidy and organized setup.
Properly connecting SATA cables to your PSU is crucial for ensuring a reliable and efficient power supply to your storage devices. It allows them to function optimally and ensures that you can access and transfer data seamlessly.
Remember, always refer to the user manual or documentation provided with your PSU and devices for any specific instructions or precautions.
With the SATA cables connected, your computer is now ready to store and access your data. Whether you’re building a new computer or upgrading the storage on an existing one, mastering the technique of connecting SATA cables is an invaluable skill.
We hope this guide has been helpful in providing you with the necessary knowledge and guidance to connect SATA cables to your PSU confidently. Feel free to refer back to this guide whenever you need a refresher!
Thank you for following along and happy computing!