Symptoms of a Dead PSU
A power supply unit (PSU) is an essential component in a computer system that delivers the necessary power to all the other hardware components. When a PSU fails, it can cause a range of issues and prevent your computer from functioning properly. Here are some common symptoms that indicate a dead PSU:
- No power: The most obvious sign of a dead PSU is when you press the power button, and nothing happens. No lights turn on, the fans don’t spin, and there are no indications of any power being supplied.
- Intermittent power: Sometimes, the computer may turn on briefly or display signs of power, only to shut down again abruptly. This can be a result of a failing or dead PSU.
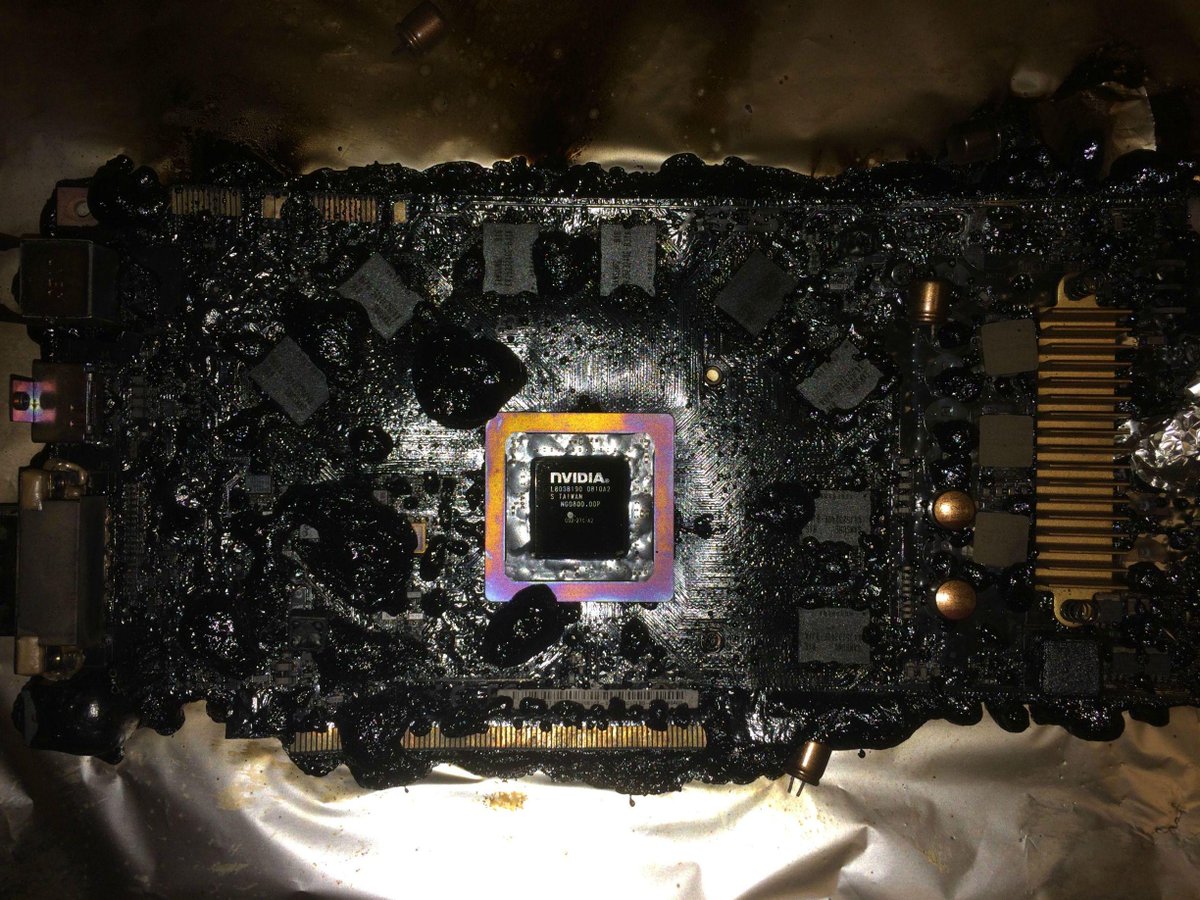
- Burning smell: A burnt or smoky odor coming from the PSU is a cause for concern. It indicates that the PSU has experienced a failure, such as a blown capacitor or other electrical issue.
- Strange noises: Unusual clicking, buzzing, or whining sounds coming from the PSU can be an indication of internal component failure. This can occur due to a faulty fan or other mechanical issues.
- Overheating: If the PSU gets excessively hot or feels warm to the touch, it may be a sign that it is not functioning correctly. Overheating can cause the PSU to shut down or perform inconsistently.
- Random reboots: When the computer randomly restarts without any warning or apparent reason, it could be due to an insufficient or faulty power supply.
- Component failures: If other hardware components in your computer start malfunctioning, such as hard drives not being recognized or graphics cards not displaying correctly, it could be a result of a failing PSU.
It’s important to note that these symptoms may also be caused by other issues, such as faulty motherboard or RAM. Therefore, it’s crucial to diagnose the problem accurately to avoid unnecessary replacement of components.
Checking the Power Connection
Before assuming that your PSU is dead, it’s important to ensure that the power connection is secure and functioning correctly. Here are some steps to check the power connection:
- Check the cable connections: Make sure that the power cable is firmly plugged into both the PSU and the wall socket. Sometimes, a loose connection can prevent the PSU from receiving adequate power.
- Inspect the power cord and adapter: Check for any signs of damage, such as frayed wires or bent pins. If you notice any issues, replace the power cord or adapter with a new one.
- Try a different power outlet: Plug the power cable into a different electrical outlet to rule out any problems with the specific socket you were using. If the computer powers on with a different outlet, the original one may be faulty.
- Ensure the PSU switch is on: Some PSUs have an on/off switch. Make sure it is in the “on” position before attempting to power on the computer.
- Reset the CMOS: In some cases, resetting the CMOS (Complementary Metal-Oxide-Semiconductor) can resolve power-related issues. Refer to your motherboard’s manual on how to perform a CMOS reset.
- Check for power surges or outages: Verify if there have been any recent power surges or outages in your area. This could have caused damage to the PSU or other components.
If you have checked all the power connections and verified that they are intact, and your computer still does not power on, it may be time to further investigate the PSU for potential failures.
Testing the Power Output
To determine if your PSU is dead or malfunctioning, you can test its power output. Here are some methods to do so:
- Using a power supply tester: A power supply tester is a handy tool that allows you to check the voltage and functionality of your PSU. Simply connect the tester to the various power supply cables and observe the readings. If the readings are within the specified range, the PSU is likely functioning correctly. However, if the readings are significantly off or show no power output, it suggests a dead PSU.
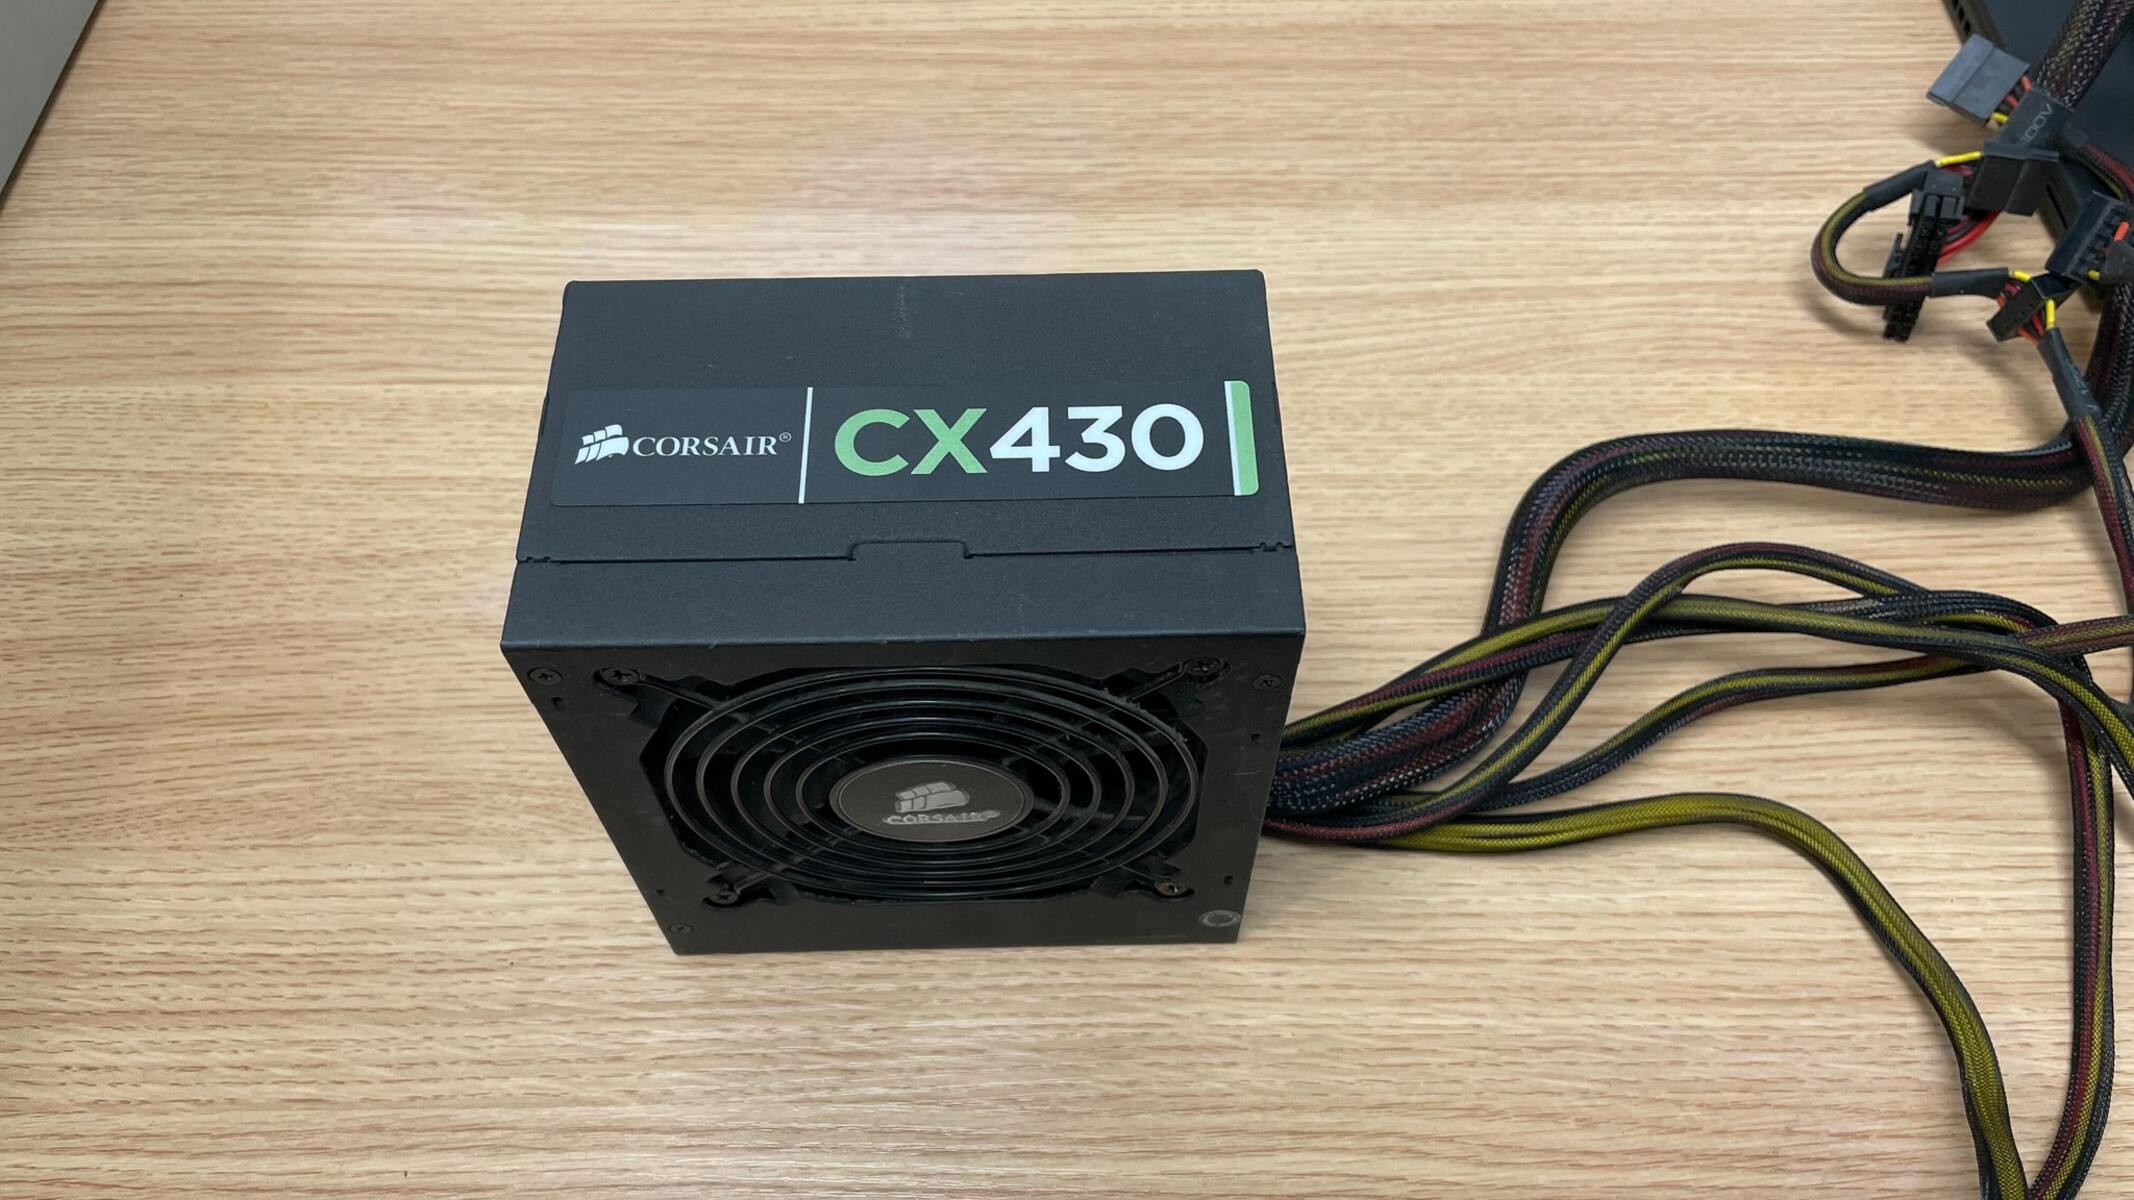
- Swapping with a known-good PSU: If you have access to another functioning PSU, swapping it with the suspected dead PSU can help determine if the issue lies with the power supply or elsewhere. If your computer powers on with the replacement PSU, it indicates a faulty PSU.
- Using a voltage meter or multimeter: If you are comfortable working with electrical components, you can use a voltage meter or multimeter to measure the voltage output of the PSU. Follow the manual or online guides to locate the appropriate pins on the PSU connectors and test the voltage. Compare the readings to the manufacturer’s specifications to determine if the PSU is providing the correct power output.
- Resetting the PSU: In some cases, performing a power cycle or resetting the PSU can resolve issues. To do this, completely disconnect the power cord from the PSU and wait for a few minutes. Then, reconnect the power cord and attempt to power on the computer again.
Remember to exercise caution and ensure your safety when working with electrical components. If you are unsure about performing these tests yourself, it’s recommended to consult a professional technician.
Examining the PSU for Physical Damage
Physical damage to a power supply unit (PSU) can cause it to malfunction or become completely non-functional. To assess the PSU for any physical damage, follow these steps:
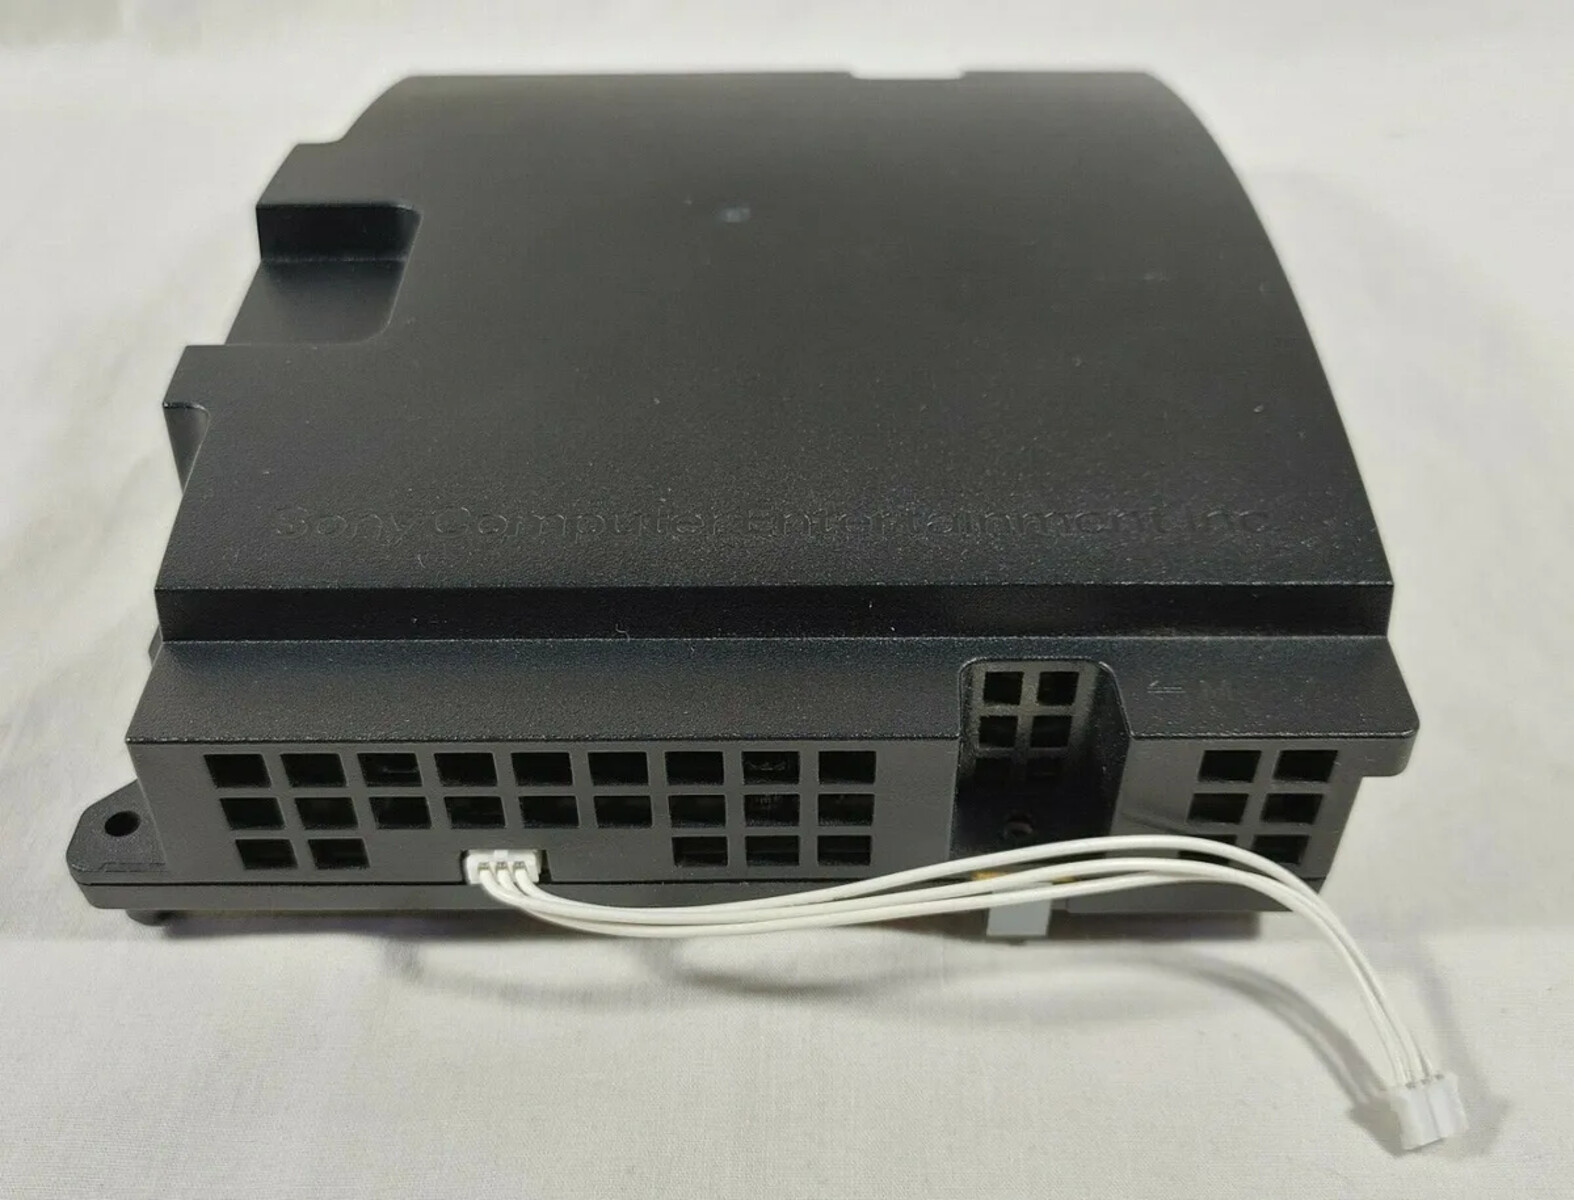
- Inspect the exterior: Carefully examine the PSU for any visible signs of damage, such as dents, cracks, or bulging. These issues can indicate internal damage and may require replacement.
- Check the fan: The PSU fan plays a crucial role in keeping the unit cool. Ensure that the fan is spinning freely without any obstructions or unusual noises. A faulty fan can lead to overheating and power supply failures.
- Examine the cables and connectors: Inspect the PSU cables and connectors for any fraying, loose connections, or bent pins. Damaged or faulty cables can prevent proper power delivery to the components.
- Check for blown capacitors: Capacitors on the PSU’s circuit board can sometimes fail and become visibly swollen or leaky. If you notice any capacitors with bulging tops or fluid leakage, it indicates a problem with the PSU that needs attention.
- Remove dust and debris: Over time, dust and debris can accumulate inside the PSU, leading to overheating and potential damage. Use compressed air or a soft brush to carefully clean out any dust buildup from the PSU’s vents and internal components.
- Inspect the power switch: Check the power switch for any damage or loose connections. A faulty power switch can prevent the PSU from turning on or off properly.
If you identify any physical damage during the examination, it is advisable to replace the PSU rather than attempting repairs, as these components deal with high voltage and can be dangerous to work on without proper expertise.
Using a Multimeter to Test the PSU
A multimeter is a versatile tool that can be used to measure various electrical values, including voltage, current, and resistance. It can also be used to test a power supply unit (PSU) to determine if it is functioning correctly. Here is a step-by-step guide on how to test a PSU using a multimeter:
- Disconnect the PSU from the computer: Before testing, ensure that the PSU is disconnected from all the computer components and is not connected to any power source.
- Set up the multimeter: Set the multimeter to measure DC voltage. Plug the black probe into the COM (common) socket and the red probe into the VΩmA (voltage/ohm) socket.
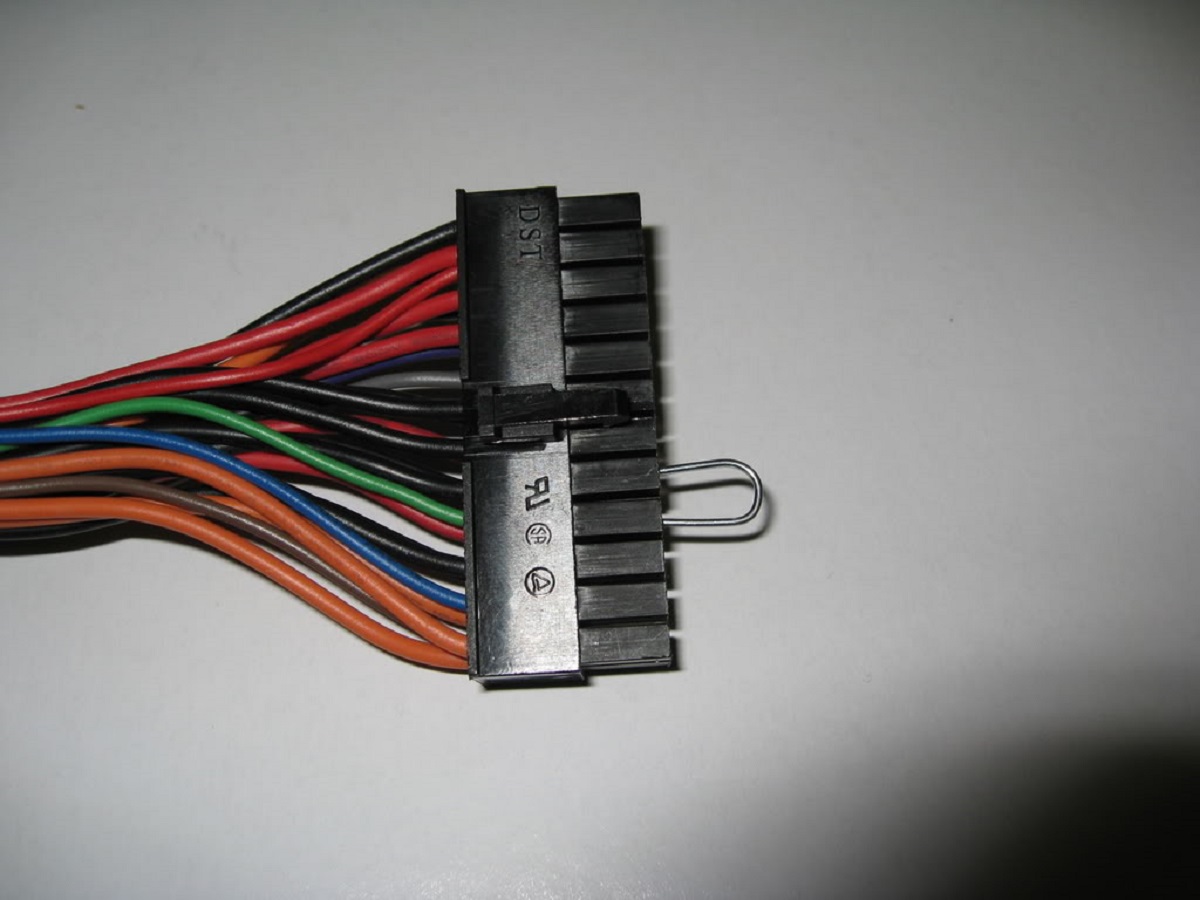
- Locate the appropriate connectors: Identify the main 24-pin motherboard connector on the PSU. This is where you will connect the multimeter probes to measure the voltage.
- Turn on the PSU: Flip the switch on the back of the PSU to the ON position. This will supply power to the PSU without turning on the computer.
- Measure the voltage: Place the black multimeter probe on one of the black wires in the 24-pin connector to serve as the ground reference. Then, touch the red probe to each colored wire to measure the voltage. Compare the readings to the manufacturer’s specifications to ensure they are within the acceptable range.
- Repeat for other connectors: If your PSU has additional connectors, such as the 4-pin CPU connector or SATA power connectors, you can repeat the voltage measurement process on those as well.
- Test the 12V rail: The 12V rail is an important power supply rail that powers components like the graphics card. Measure the voltage between the yellow and black wires in the 24-pin connector. Again, compare the reading to the specified range to check its accuracy.
Remember to exercise caution while working with electrical components and ensure that the PSU is safely disconnected before testing. If the voltage readings are significantly off or show no power output, it may indicate a faulty PSU that requires replacement.
Identifying and Replacing a Faulty PSU Component
If you suspect that a specific component within your power supply unit (PSU) is causing the issue, you can attempt to identify and replace it. Here is a step-by-step process:
- Ensure safety: Disconnect the PSU from the power source and wait for any residual charge to dissipate before proceeding.
- Refer to the PSU manual: Consult the PSU manual or the manufacturer’s website to identify the internal components and their locations.
- Inspect visually: Perform a visual inspection of the components for any signs of damage, such as burnt or swollen capacitors, charred or discolored spots, or loose or disconnected wires. These could be indicators of a faulty component.
- Test capacitors: Use a capacitor tester or multimeter set to the capacitance measurement mode to test the PSU capacitors. Replace any capacitors that show signs of failure, such as high ESR (Equivalent Series Resistance) or failure to hold a charge.
- Check cooling fan: If the cooling fan is not functioning properly, it can lead to overheating and PSU failure. Remove any obstructions, clean the fan, or replace it with a new one if necessary.
- Inspect and replace other components: Carefully examine other components, such as diodes and transformers, for any signs of damage or failure. Refer to the manual or seek professional assistance to identify and replace these components if needed.
- Verify compatibility: Ensure that any replacement components you purchase are compatible with your PSU model and meet the necessary specifications.
- Exercise caution: When working with PSU components, be mindful of the high voltage present. Seek professional help if you are not confident in your ability to safely handle and replace these components.
If you are unsure about identifying or replacing specific PSU components, it is recommended to consult a professional technician or contact the PSU manufacturer for further assistance.
Troubleshooting Other Potential Issues
While a dead power supply unit (PSU) is often the culprit behind computer power issues, there are other potential problems that can mimic similar symptoms. Here are some additional troubleshooting steps to consider:
- Check the power cord: Ensure that the power cord itself is not faulty. Try using a different power cord to rule out any issues with the cord itself.
- Test the wall outlet: Plug another electronic device into the same wall outlet to verify that it is working correctly. If the outlet is not supplying power, you may need to contact an electrician.
- Reset the power supply: Some PSUs have a reset button or a switch at the back. Turn off the PSU, press the reset button or flip the switch, and then turn it back on to see if it resolves the issue.
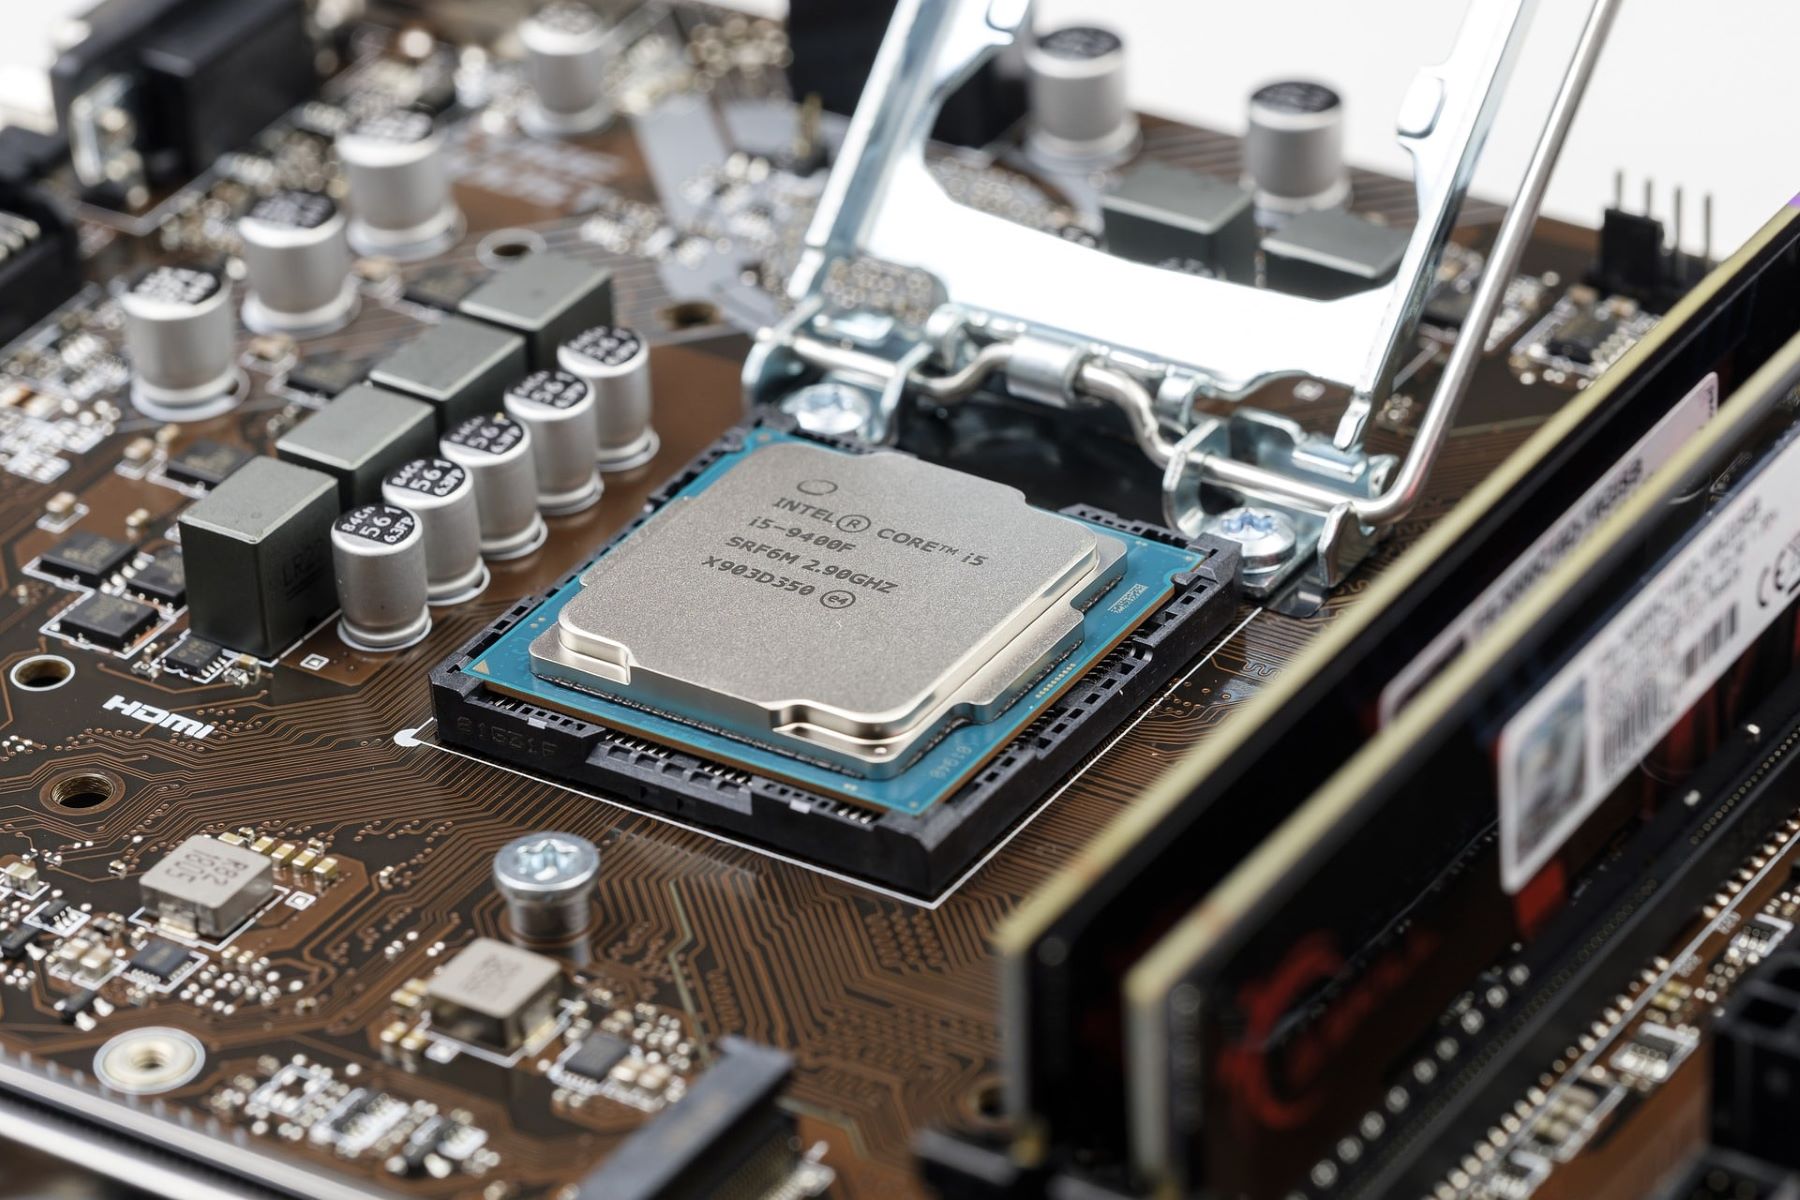
- Check the motherboard: A faulty motherboard can also cause power-related problems. Inspect the motherboard for any visible damage, such as burnt circuits or swollen capacitors. Consider testing with a known-working motherboard, if available, to troubleshoot further.
- Inspect other components: Faulty RAM modules, a malfunctioning graphics card, or a defective hard drive can also prevent the computer from powering on. Test these components individually by removing them one at a time and trying to power on the computer.
- Perform a BIOS reset: Resetting the BIOS to its default settings can sometimes resolve power-related issues. Consult your motherboard manual to learn how to reset the BIOS.
- Seek professional assistance: If you have exhausted all troubleshooting steps and are still unable to determine the problem, it may be time to seek help from a professional technician. They have the expertise and diagnostic tools to identify and resolve complex issues.
By systematically troubleshooting these potential issues, you can narrow down the cause of the power problem and take appropriate steps to fix it.
Conclusion
A dead power supply unit (PSU) can be a frustrating issue, causing your computer to fail to power on or display erratic behavior. By understanding the symptoms of a dead PSU and following the proper troubleshooting steps, you can identify and resolve the problem efficiently.
First, be aware of the common symptoms of a dead PSU, such as no power, intermittent power, burning smells, and component failures. This will help you quickly determine if your PSU is the cause of the issue.
Next, perform basic checks on the power connection, ensuring that cables are securely connected and there are no physical damage or loose connections. Testing the power output with a power supply tester or multimeter can help confirm if the PSU is functioning correctly.
If physical damage is suspected, carefully examine the PSU for any visible issues like dents, bulging capacitors, or damaged connectors. Consider replacing faulty components or the entire PSU if necessary.
If the PSU itself isn’t the problem, explore other potential issues such as faulty power cords, wall outlets, motherboard problems, or malfunctioning components like RAM or graphics cards. Troubleshoot these components individually to pinpoint the cause.
Remember, if you’re unsure or uncomfortable performing these tasks, it’s always best to consult a professional technician who can diagnose and resolve the issue safely and accurately.
By following these troubleshooting steps, you can determine whether your PSU is dead and take the appropriate action to get your computer up and running again.