Introduction
Checking if a power supply unit (PSU) is working properly is an essential step in troubleshooting computer issues. The PSU is responsible for providing power to all the components in your computer, and if it’s malfunctioning, it can cause a variety of problems, such as system crashes, unexpected shutdowns, or even hardware damage.
Fortunately, there are several ways to determine if a PSU is still in good working condition. In this guide, we will walk you through the steps to check if your PSU is functioning properly. Whether you are a beginner or an experienced computer user, this article will provide you with the necessary knowledge and tools to conduct a thorough PSU check.
It is important to note that working with computer hardware involves some level of risk. Ensure that you are comfortable and take necessary precautions before performing any tasks inside your computer case. If you are unsure or uncomfortable, it’s always a good idea to seek assistance from a professional. Now, let’s dive into the steps to check if your PSU is working as it should.
Step 1: Gather the necessary tools
Before you begin checking your PSU, it’s important to gather the necessary tools to ensure a smooth and efficient process. Here are the tools you will need:
- A multimeter: This is a device used to measure electric current, voltage, and resistance. It will be used to test the output of the PSU.
- A PSU tester tool: This tool is specifically designed to test the functionality of a power supply unit. It provides a quick and easy way to determine if the PSU is functioning properly.
- A screwdriver: You will need a screwdriver with the appropriate size and type to open your computer case and access the PSU.
- A can of compressed air: Dust accumulation can affect the performance of your PSU, so having a can of compressed air will allow you to clean out any dust or debris that may have built up.
- A pen and paper: Keeping a pen and paper handy will help you jot down any important observations or measurements during the process.
Make sure you have all the tools listed above before proceeding to the next steps. Having these tools readily available will save you time and ensure a successful PSU check.
Step 2: Unplug the PSU from the power source
Before working on your PSU, it is crucial to ensure your safety by disconnecting it from the power source. Here’s how you can do that:
- Turn off your computer: Shut down your computer properly by clicking on the Start menu and selecting “Shut down.” Wait for the computer to completely power off.
- Unplug the power cord: Locate the power cord that is connected to your computer and remove it from the power outlet. This will disconnect the PSU from the electrical supply.
- Press the power button: To discharge any remaining power, press and hold the power button on your computer for a few seconds. This will help ensure that there is no residual power left in the system.
It is important to note that the PSU can still have stored energy for a short period, even after unplugging it. Therefore, it’s best to wait for a few minutes before proceeding to the next steps. This waiting period will allow any residual power to dissipate.
By unplugging the PSU and discharging any remaining power, you are taking the necessary precautions to protect yourself and prevent any electric shock or damage to your components. Safety should always be your top priority when working with computer hardware.
Step 3: Open the computer case
Now that you have disconnected the PSU from the power source, it’s time to open your computer case to gain access to the PSU. Follow these steps to open the case:
- Prepare your workspace: Find a clean and well-lit area to work on. Make sure you have ample space to maneuver around the case.
- Remove any external connections: Disconnect any cables, such as the monitor cable, USB devices, and Ethernet cable, from the back of your computer.
- Place your computer on a stable surface: Lay your computer on its side or gently place it on a stable surface so that the side panel is facing upwards.
- Identify the case screws: Look for the screws holding the side panel in place. These screws are usually located at the back of the case.
- Remove the side panel: Use a screwdriver to carefully unscrew the screws securing the side panel. Once they are loosened, gently slide or lift the side panel off the case. Set it aside in a safe place.
Now that the computer case is open, you will be able to access the internal components, including the PSU. While working inside the case, it’s essential to avoid touching any components unnecessarily and to ground yourself by touching a metal object before handling any parts. This will help prevent any static electricity buildup that could damage sensitive hardware components.
Remember to handle the computer components with care and avoid placing them on surfaces that can generate static electricity, such as carpets or blankets. By taking these precautions, you’ll ensure a safe and successful PSU check.
Step 4: Locate the PSU in the computer
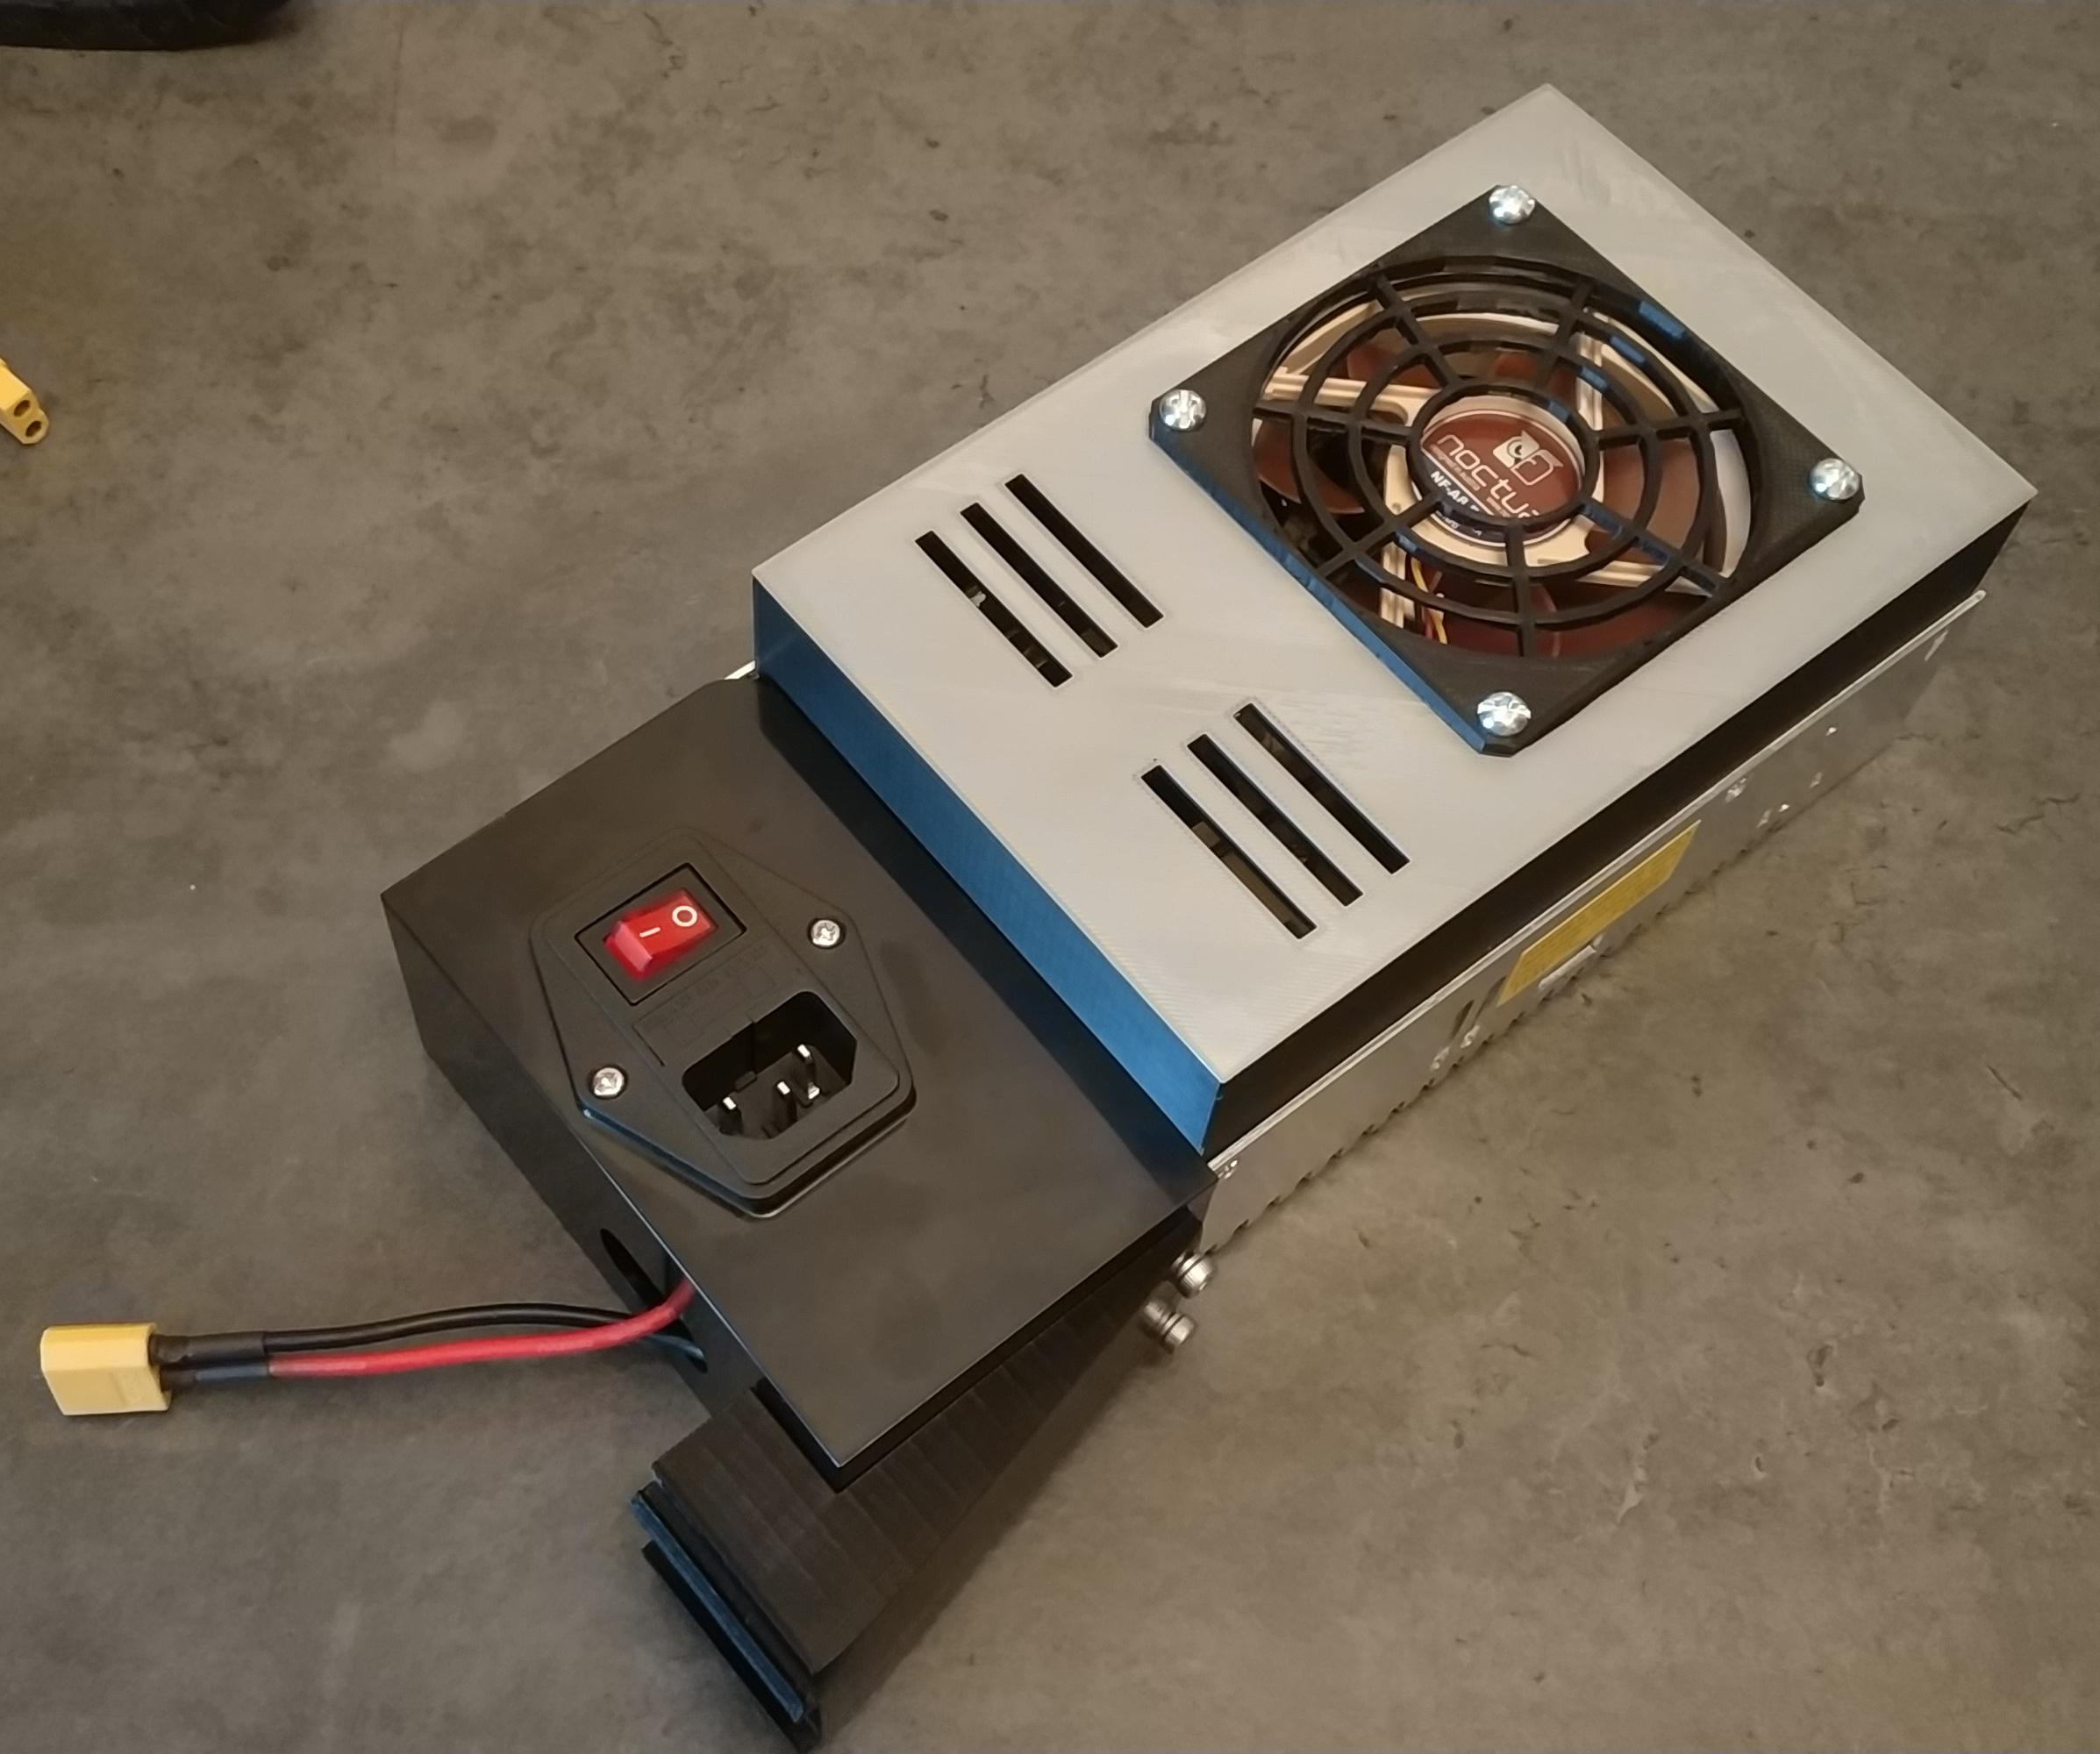
After opening your computer case, it’s time to locate the power supply unit (PSU). The PSU is typically mounted at the top or bottom of the case and is easily identifiable by its rectangular shape and fan. Here’s how you can find it:
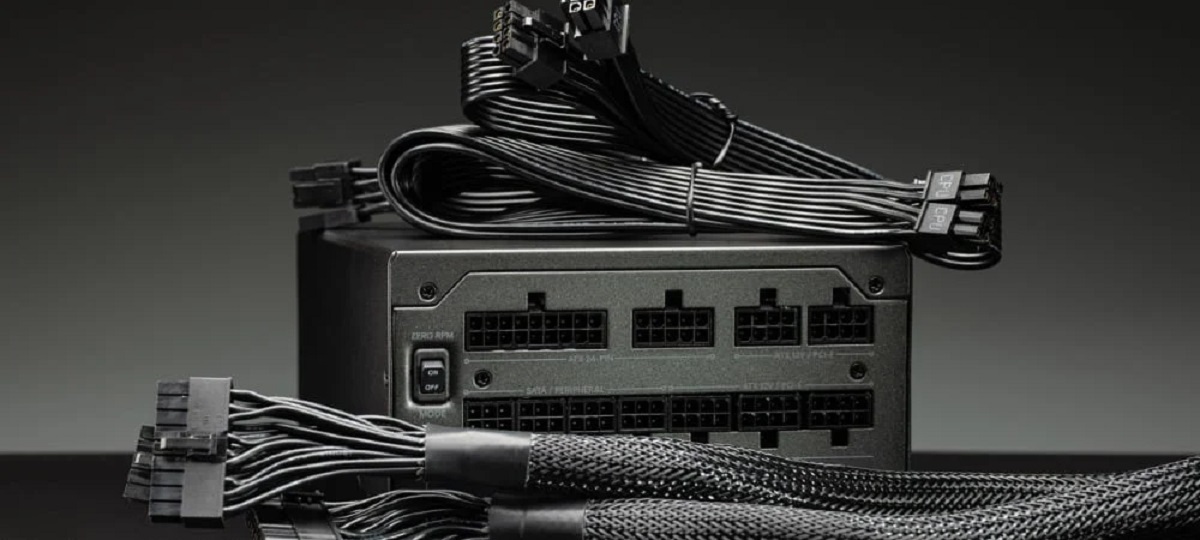
- Look for the cables: Follow the cables coming from the back of your computer to identify where they connect to the PSU. These cables include the main power cable, which is usually a thick cable with a standard power plug, and various other cables that provide power to different components.
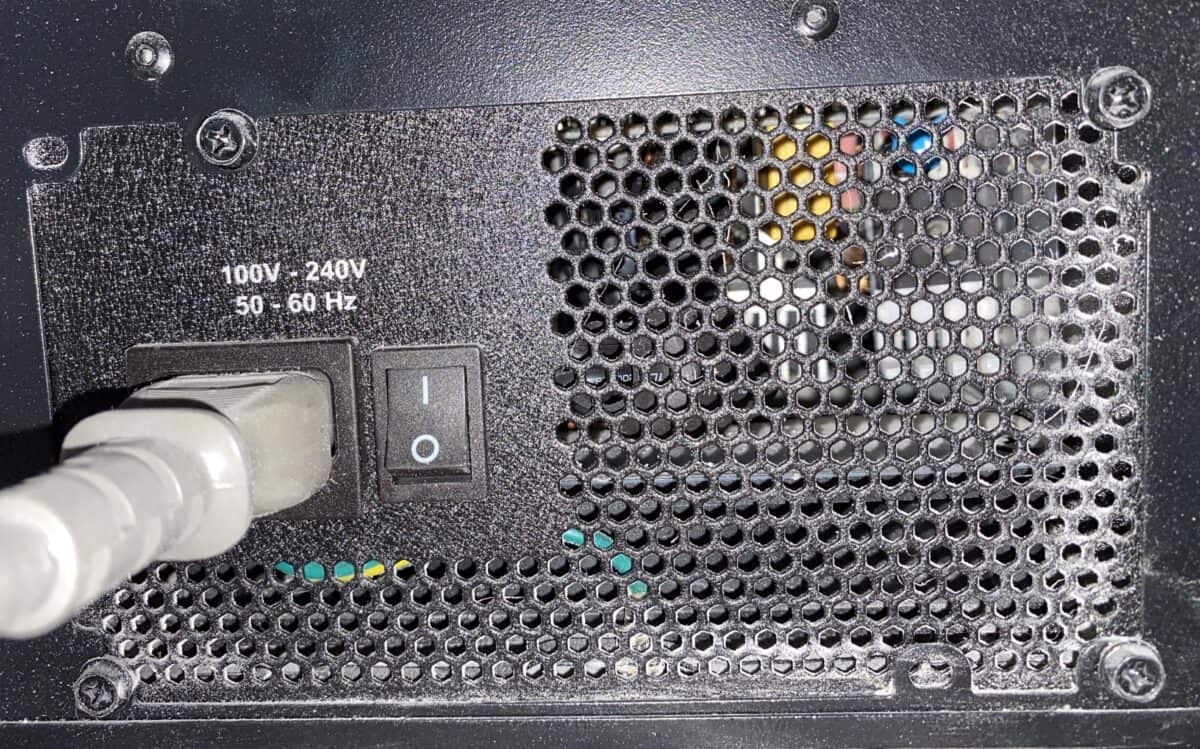
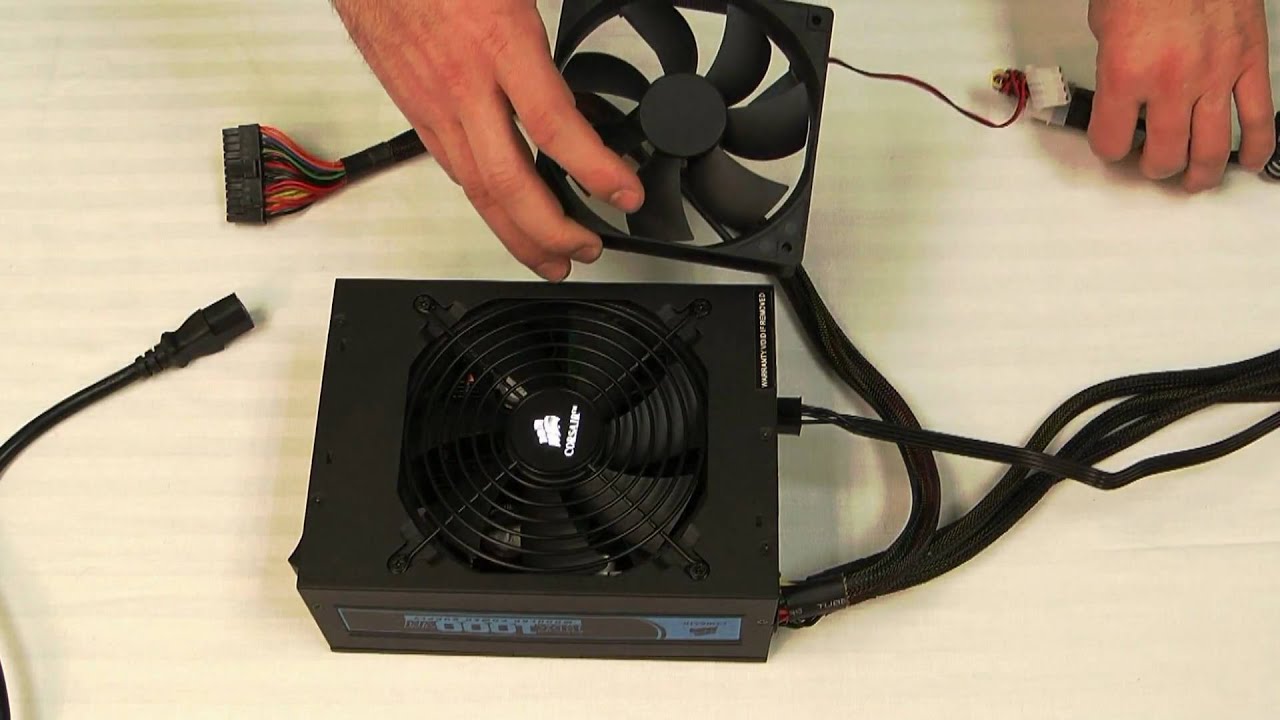
- Identify the fan: The PSU is equipped with a fan, usually located at the back or the top of the unit. This fan helps with airflow and cooling.
- Note the orientation: Take note of how the PSU is positioned inside the case. Most PSUs have an intake fan that pulls air in from outside the case and an exhaust fan that blows hot air out of the case.
Locating the PSU is an important step as it helps you visually identify the unit and get familiar with its placement within the computer case. By understanding its position and fan orientation, you’ll be better prepared for the subsequent steps in the PSU check process.
It’s worth mentioning that the location and design of the PSU may vary depending on the computer case and manufacturer. If you’re having trouble locating the PSU, consult the documentation or refer to online resources specific to your computer model or case design.
Step 5: Check for power supply fan movement
Now that you have located the power supply unit (PSU) in your computer, it’s time to check if the PSU fan is functioning properly. The fan plays a crucial role in cooling the PSU and preventing it from overheating. Here’s how you can check for fan movement:
- Observe the fan: Take a close look at the PSU fan, which is usually located at the back or top of the unit. If your PSU has a transparent or mesh panel, you may be able to see the fan directly. Otherwise, use a flashlight to inspect it.
- Power on your computer: Reconnect the power cord and press the power button on your computer to turn it on. As the computer boots up, pay attention to the PSU fan.
- Ensure normal operation: The PSU fan should start spinning once the system is powered on. It is normal for the fan to run at varying speeds depending on the system load and temperature conditions.
- Listen for any unusual noise: As the fan spins, listen for any strange noises like grinding, clicking, or excessive vibrations. Unusual noises could indicate a problem with the fan or the PSU itself.
- Verify consistent movement: Keep an eye on the fan movement for a few minutes to ensure that it continues spinning steadily without any interruptions or irregularities.
Checking the PSU fan movement is crucial as a malfunctioning fan can lead to overheating and eventually cause the PSU to fail. If you notice that the fan is not spinning, spinning irregularly, or making unusual noises, it might be an indication of a faulty PSU that requires further inspection or replacement.
Remember to exercise caution when working with a running computer and ensure that you are following proper safety protocols. If you observe any abnormalities with the PSU fan, it’s advisable to proceed to the next steps in the PSU check process or seek professional help if needed.
Step 6: Test the power supply with a multimeter
Testing the power supply unit (PSU) with a multimeter is a more accurate way to determine if it is functioning properly. A multimeter allows you to measure the voltage output of the PSU and check if it meets the required specifications. Here’s how you can test the PSU with a multimeter:
- Set up the multimeter: Ensure that the multimeter is set to measure DC voltage. Set the range to a higher voltage than the maximum output of your PSU, typically around 20 volts.
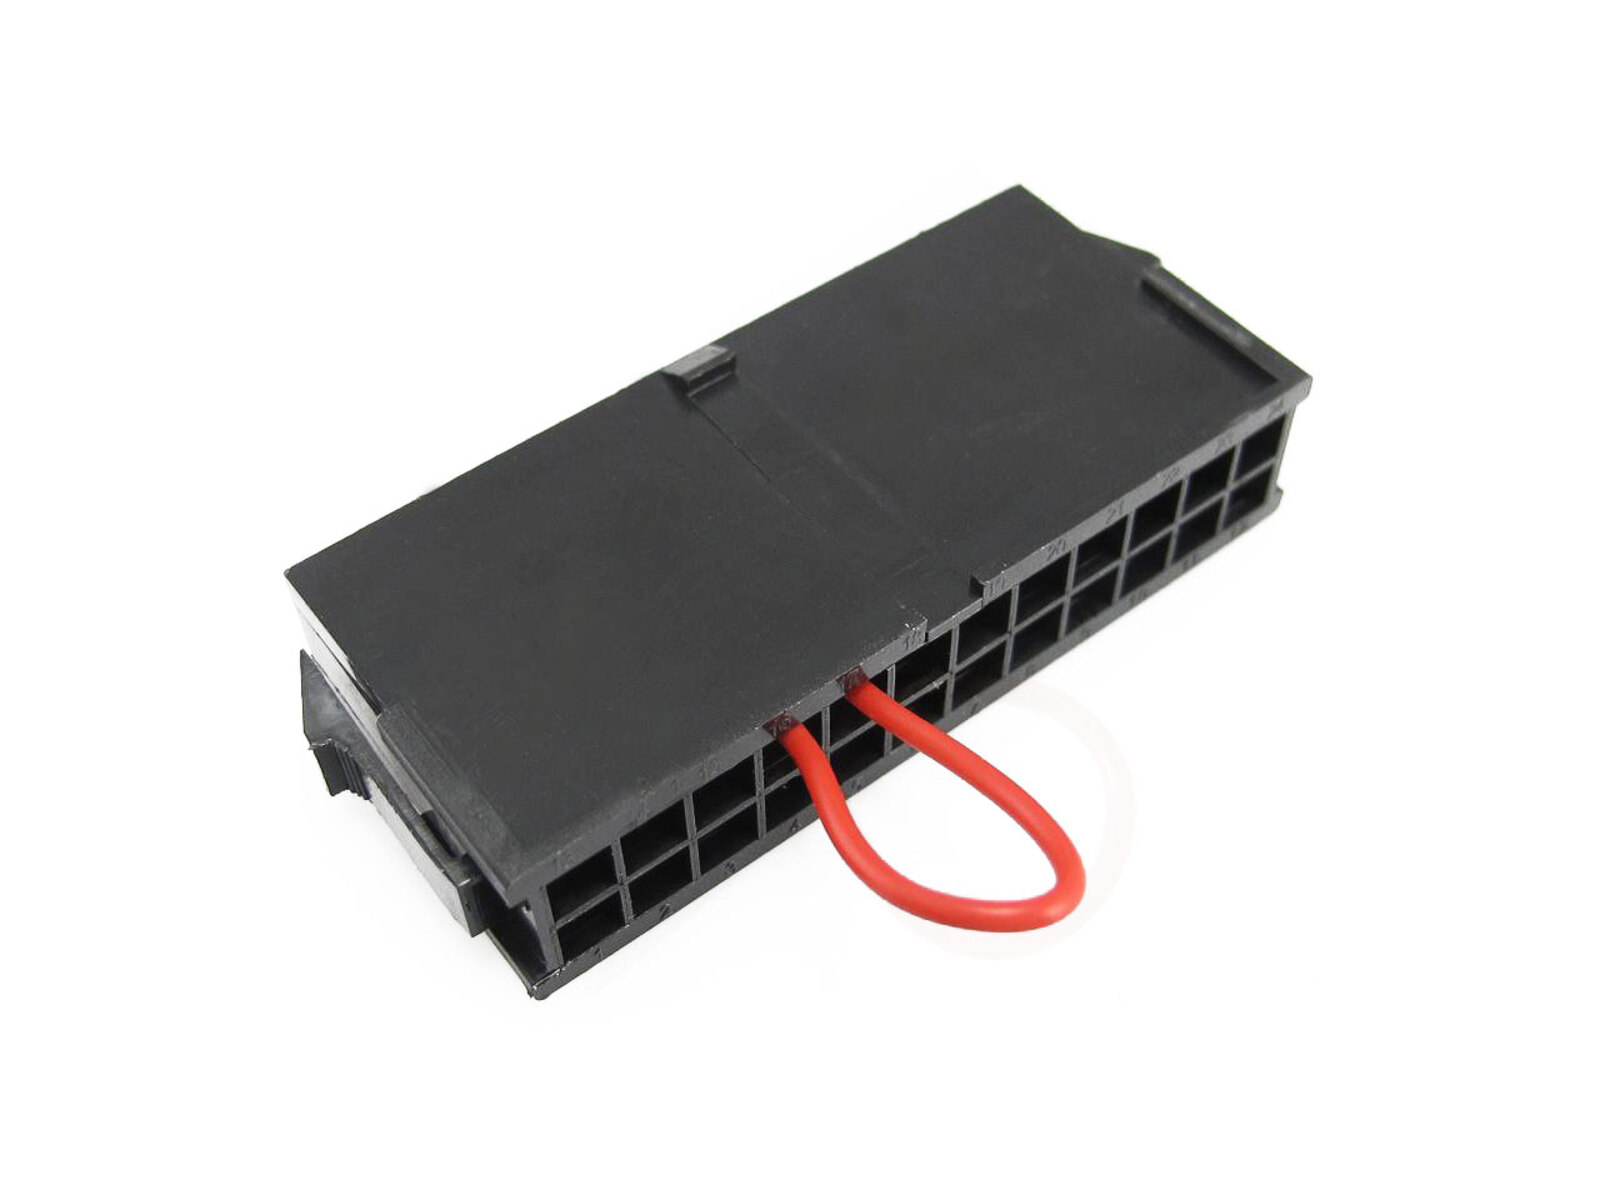
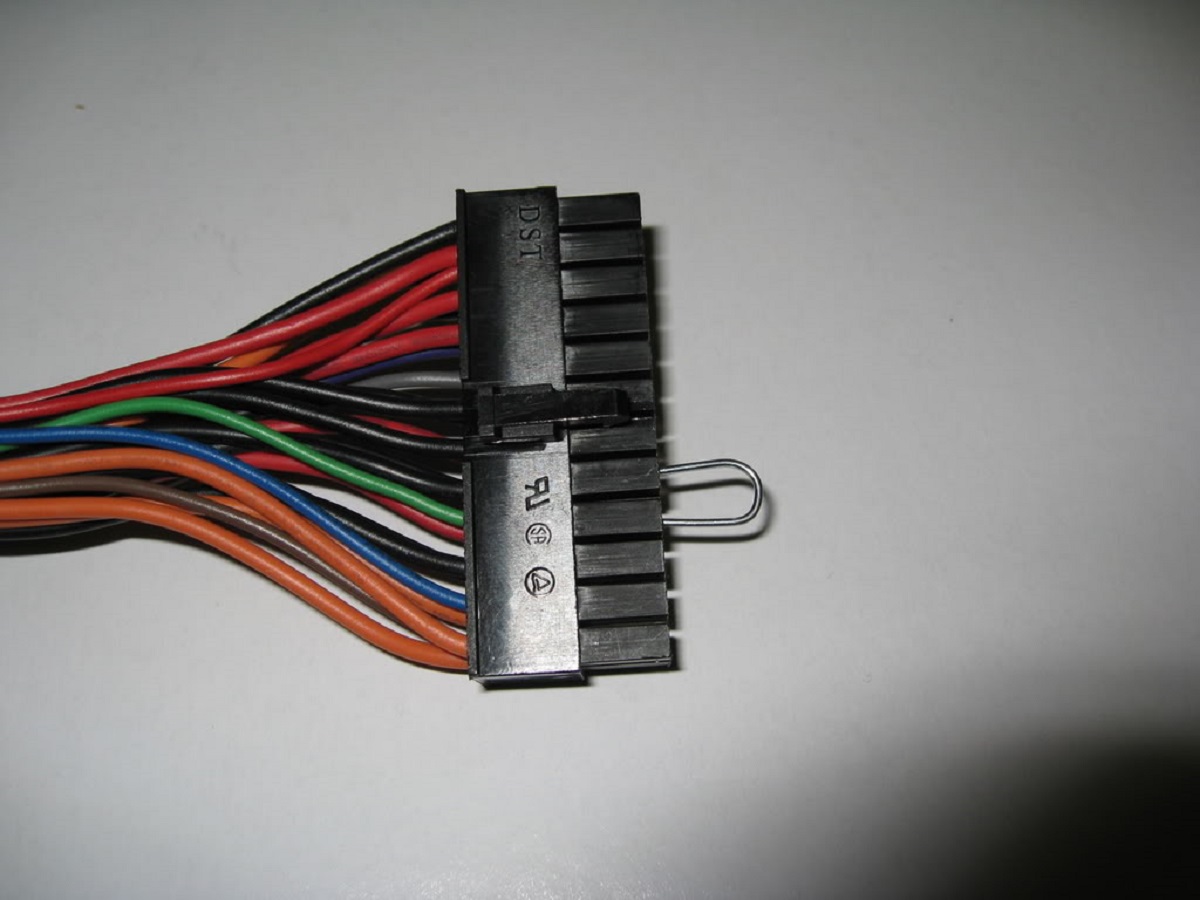
- Locate the PSU connectors: Identify the main 24-pin connector or any other connectors that provide power to the motherboard or other components. These connectors typically come out directly from the PSU.
- Connect the multimeter: Take the red probe of the multimeter and insert it into the PSU connector’s yellow wire, which is the +12V line. Connect the black probe to any black wire, which is the ground connection.
- Read the voltage output: Power on your computer, and with the multimeter probes in place, check the multimeter display for the voltage reading. The +12V line should ideally be within a small tolerance range (e.g., ±5%) of 12 volts. Repeat the process with other connectors as necessary.
- Compare the readings: Compare the measured voltage readings with the specified voltage values for each connector. If the readings are significantly lower or higher than the specified values, it may indicate a problem with the PSU’s voltage regulation.
Testing the PSU with a multimeter provides valuable information about its performance and ensures that it is supplying the correct voltage to your computer’s components. If you encounter any significant deviations from the specified values, it may be an indication of a faulty PSU that needs to be replaced.
It is important to note that working with a multimeter and live electrical components carries some level of risk. If you are unsure or uncomfortable performing this step, it’s advisable to seek assistance from a professional technician who has experience working with multimeters and electrical systems.
Step 7: Check for unusual smells
When performing a check on your power supply unit (PSU), it’s important to use your senses to detect any unusual signs of trouble. One of the senses you can rely on is your sense of smell. Here’s how to check for unusual smells:
- Power off your computer: Ensure your computer is shut down properly and unplugged from the power source to eliminate any potential electrical hazards.
- Locate the PSU: Find the PSU within your computer case, usually mounted at the top or bottom.
- Sniff for unusual odors: Carefully smell the area around the PSU. Pay attention to any noticeable burnt smells, acrid odors, or any other unusual scents.
- Detect hot or burning smells: If you detect a strong burning smell or the odor of something overheating, it may indicate a serious issue with the PSU or other components.
- Consider the context: Keep in mind that some mild warm or electrical smells may be normal, especially if the PSU has been running for an extended period. However, any strong or persistent unpleasant smell should be investigated further.
An unusual smell, especially one that is pungent or reminiscent of burning, could indicate a serious problem with the PSU, such as a component failure, overheating, or potential electrical damage. If you encounter such smells, it is crucial to take immediate action to avoid potential hazards.
If you are unsure about the odors or if you suspect something is wrong, it’s recommended to consult a professional technician who can assess the situation and provide appropriate solutions. Remember, safety should always be your top priority when dealing with electrical components.
Step 8: Use a PSU tester tool
A PSU tester tool is a handy device specifically designed to test the functionality of a power supply unit (PSU). It provides a quick and easy way to determine if the PSU is working as expected. Here’s how you can use a PSU tester tool:
- Ensure the PSU is unplugged: Before using the PSU tester tool, make sure the PSU is disconnected from the power source to prevent any potential electrical hazards.
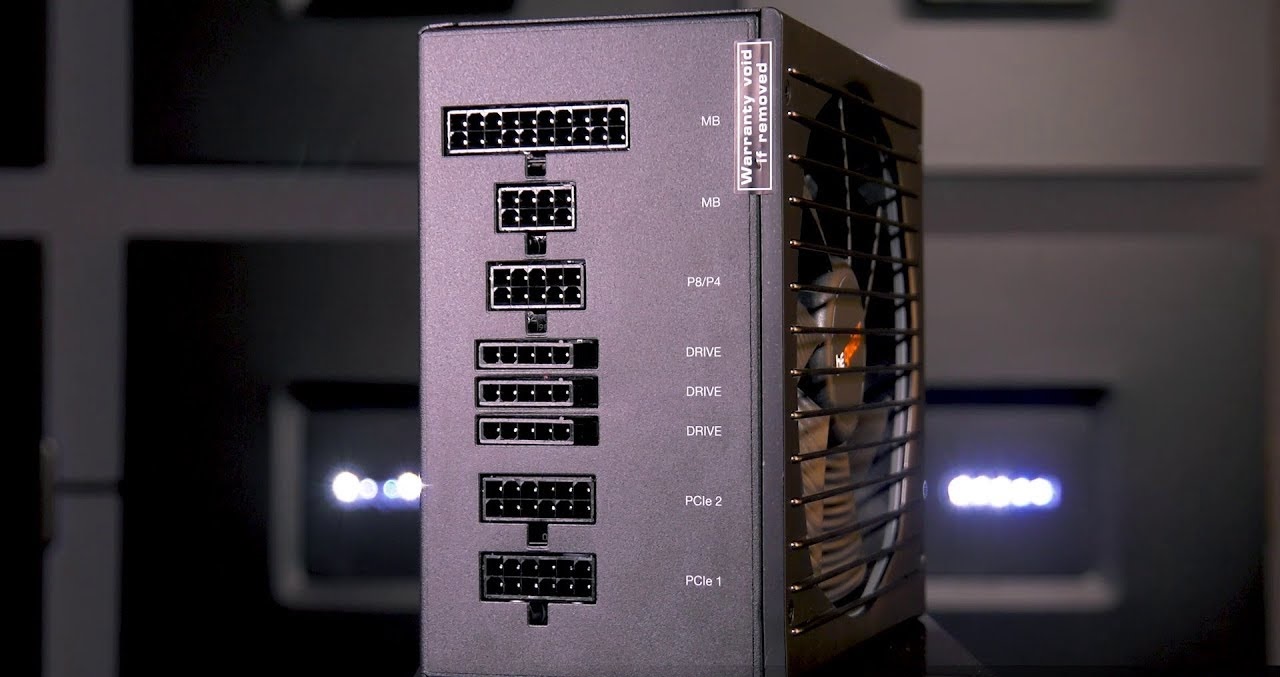
- Locate the connectors: Identify the main connectors coming from the PSU, such as the 24-pin connector for the motherboard or the 4/8-pin connector for the CPU.
- Insert the connectors into the tester: Connect the corresponding connectors from the PSU to the appropriate ports on the PSU tester tool. Make sure the connections are secure and properly aligned.
- Power on the PSU tester: Some PSU tester tools have an on/off switch, while others automatically power on when connected. Follow the instructions provided with your specific tool to turn it on.
- Check the LED indicators: The PSU tester tool typically features LED indicators that display the status of the different voltage lines, such as +3.3V, +5V, and +12V. Compare the displayed values against the expected ranges to assess the PSU’s functionality.
- Interpret the results: The LED indicators will show whether the voltage readings are within the acceptable range. Green or stable lights indicate normal operation, while red or blinking lights may indicate a potential issue with the PSU.
Using a PSU tester tool is a convenient and efficient way to determine if the PSU is functioning properly. It provides a visual indication of the PSU’s voltage output without the need for complex measurements or equipment.
However, it’s important to note that a PSU tester tool can only assess the basic functionality of the PSU and may not detect more subtle issues. If you suspect a problem with your PSU despite normal readings from the tester tool, further troubleshooting or consultation with a professional technician may be necessary.
Step 9: Double-check all connections
When it comes to troubleshooting computer issues, sometimes the simplest solution is the most effective. In this step, you’ll double-check all connections related to your power supply unit (PSU) to ensure they are securely plugged in. Here’s how to proceed:
- Power off your computer: Make sure your computer is powered off and disconnected from the power source for safety reasons.
- Inspect the PSU connections: Identify all the cables coming out of the PSU, including the main 24-pin power connector, CPU power connector, and peripheral power connectors.
- Remove and reseat connectors: Carefully unplug each connector and then securely reinsert them back into their respective ports. Ensure that each connector is correctly aligned and firmly connected.
- Check for loose connections: Examine the connections at both ends of each cable to verify that they are snugly attached to the component or socket they are intended for.
- Inspect for damaged cables: Look for any signs of frayed or damaged cables. If you notice any visible damage, it’s recommended to replace the affected cables or seek professional assistance if necessary.
- Reconnect all peripherals: Once you have double-checked the connections from the PSU, proceed to reconnect all peripherals that were disconnected during the process.
By double-checking all connections, you eliminate the possibility of loose or improperly connected cables causing power issues. Even a slightly loose connection can disrupt the power flow and impact the overall performance of your computer.
After verifying all the connections, take a moment to ensure there are no cable obstructions that could impede airflow and cause overheating. Neatly organize the cables to promote efficient cooling and minimize clutter inside the computer case.
Once you are satisfied that all connections are secure and properly plugged in, you can proceed to the final step in checking your PSU and assessing its functionality.
Step 10: Replace the PSU if necessary
If you have thoroughly followed the previous steps and determined that your power supply unit (PSU) is faulty or not functioning properly, it may be necessary to replace it. Here’s how you can proceed with replacing the PSU:
- Research and purchase a new PSU: Identify the appropriate replacement PSU for your computer. Consider factors such as wattage requirements, compatibility with your hardware, and reliability. Read reviews and compare specifications before making a purchase.
- Power off your computer: Ensure that your computer is turned off and disconnected from the power source.
- Disconnect the old PSU: Carefully unplug the cables connected to the old PSU, including the main power connector, CPU power connector, and peripheral connectors. Take note of the cable positions and connections for reinstallation.
- Remove the old PSU: Unscrew the mounting screws holding the PSU in place. Gently slide the old PSU out of its slot and set it aside.
- Install the new PSU: Insert the new PSU into the vacant slot, aligning the screw holes with the mounting points in the case. Firmly secure the new PSU in place using the appropriate screws.
- Connect the cables: Carefully connect the main power connector, CPU power connector, and peripheral connectors to their respective components, following the notes you made during disconnection.
- Double-check the connections: Verify that all connections are securely plugged in and properly aligned.
- Cleanup and organization: Neatly arrange the cables to improve airflow and maintain a tidy interior. Use cable ties or cable management solutions to keep the cables organized and prevent them from obstructing components or fans.
- Power on and test: Plug in your computer, ensure all connections are secure, and power it on. Monitor the startup process and check for any error messages or unusual behaviors. Monitor the PSU fan movement and listen for any unusual sounds.
If the new PSU operates correctly without any issues, you have successfully replaced the faulty PSU. However, if you encounter persistent problems and suspect other hardware issues, it may be necessary to seek professional assistance from a computer technician.
Remember, if you are uncertain about any aspect of replacing the PSU, it’s always recommended to consult the manufacturer’s documentation or seek assistance from a professional to ensure proper installation and functionality.
Conclusion
Checking the functionality of your power supply unit (PSU) is an important task when troubleshooting computer issues. By following the steps outlined in this guide, you can determine if your PSU is working properly and take appropriate action if it’s not.
We started by gathering the necessary tools, including a multimeter and a PSU tester tool, to perform the checks effectively. Then, we walked through the process of unplugging the PSU from the power source and opening the computer case to access the PSU.
Locating the PSU and checking for fan movement provided insight into its physical condition. Using a multimeter allowed us to measure voltage output and assess its reliability. Additionally, we emphasized the importance of paying attention to any unusual smells and the role of a PSU tester tool in quickly evaluating the PSU’s functionality.
Double-checking all connections helps ensure a secure and stable power supply. Finally, if necessary, we discussed the process of replacing the PSU with a new one that is compatible with your system.
Remember that troubleshooting computer issues can involve some level of risk, so always prioritize your safety and consult professional help if needed. By following these steps and using the proper tools, you can effectively diagnose PSU problems and work towards resolving them, ultimately ensuring a smooth and reliable performance for your computer.