Introduction
In today’s digital age, a reliable power supply is crucial for the smooth functioning of our electronic devices. Whether you are a tech enthusiast or a casual user, knowing how to properly turn on and connect a power supply unit (PSU) is essential to ensure optimal performance and longevity of your system. In this guide, we will walk you through the step-by-step process of turning on an EVGA 600W Bronze PSU.
EVGA is a trusted brand known for producing high-quality power supplies that deliver robust performance while maintaining energy efficiency. The EVGA 600W Bronze PSU is a popular choice among PC enthusiasts, offering a reliable power solution for a wide range of applications.
Before we dive into the details, it’s important to note that working with a power supply involves dealing with electrical components. To ensure your safety and protect your equipment, it is essential to follow proper safety precautions. We highly recommend turning off the PC and unplugging it from the power source before proceeding with any installation or maintenance.
Now, let’s get started with the step-by-step instructions to turn on your EVGA 600W Bronze PSU and ensure it is properly connected to your system.
Safety Precautions
Before you start working with the EVGA 600W Bronze PSU, it is essential to take some safety precautions to protect yourself and your equipment. Here are a few guidelines to follow:
- Disconnect the Power: Before attempting any installation or maintenance on your computer, make sure to shut down the system and disconnect it from the power source. This will prevent any potential electrical shocks or short circuits.
- Ground Yourself: Static electricity can damage sensitive computer components. To avoid static discharge, ground yourself by touching a metal object before handling any internal components.
- Beware of Capacitors: The capacitors inside the PSU can store electrical charge even after the power is disconnected. Take caution not to touch them or any other internal components to prevent injury.
- Read the Manual: Familiarize yourself with the user manual provided by EVGA for the specific model of the PSU you are working with. It will contain important instructions and safety information specific to your PSU.
- Avoid Overloading the PSU: Ensure that the total power consumption of your system does not exceed the maximum power output of the PSU. Overloading the PSU can lead to overheating and potential damage to your components.
- Proper Cable Connection: Make sure to connect the PSU cables securely to the components, ensuring a snug fit. Loose cable connections can cause power fluctuations or even damage your system.
- Keep the PSU Ventilated: Ensure that the PSU has proper airflow by positioning it in a well-ventilated area. Avoid covering the PSU or obstructing its vents to prevent overheating.
By following these safety precautions, you can minimize the risk of electrical accidents and protect both yourself and your valuable computer components. Now that we’ve covered the safety guidelines, let’s move on to the step-by-step process of turning on the EVGA 600W Bronze PSU and connecting it to your system.
Step 1: Gather Required Materials
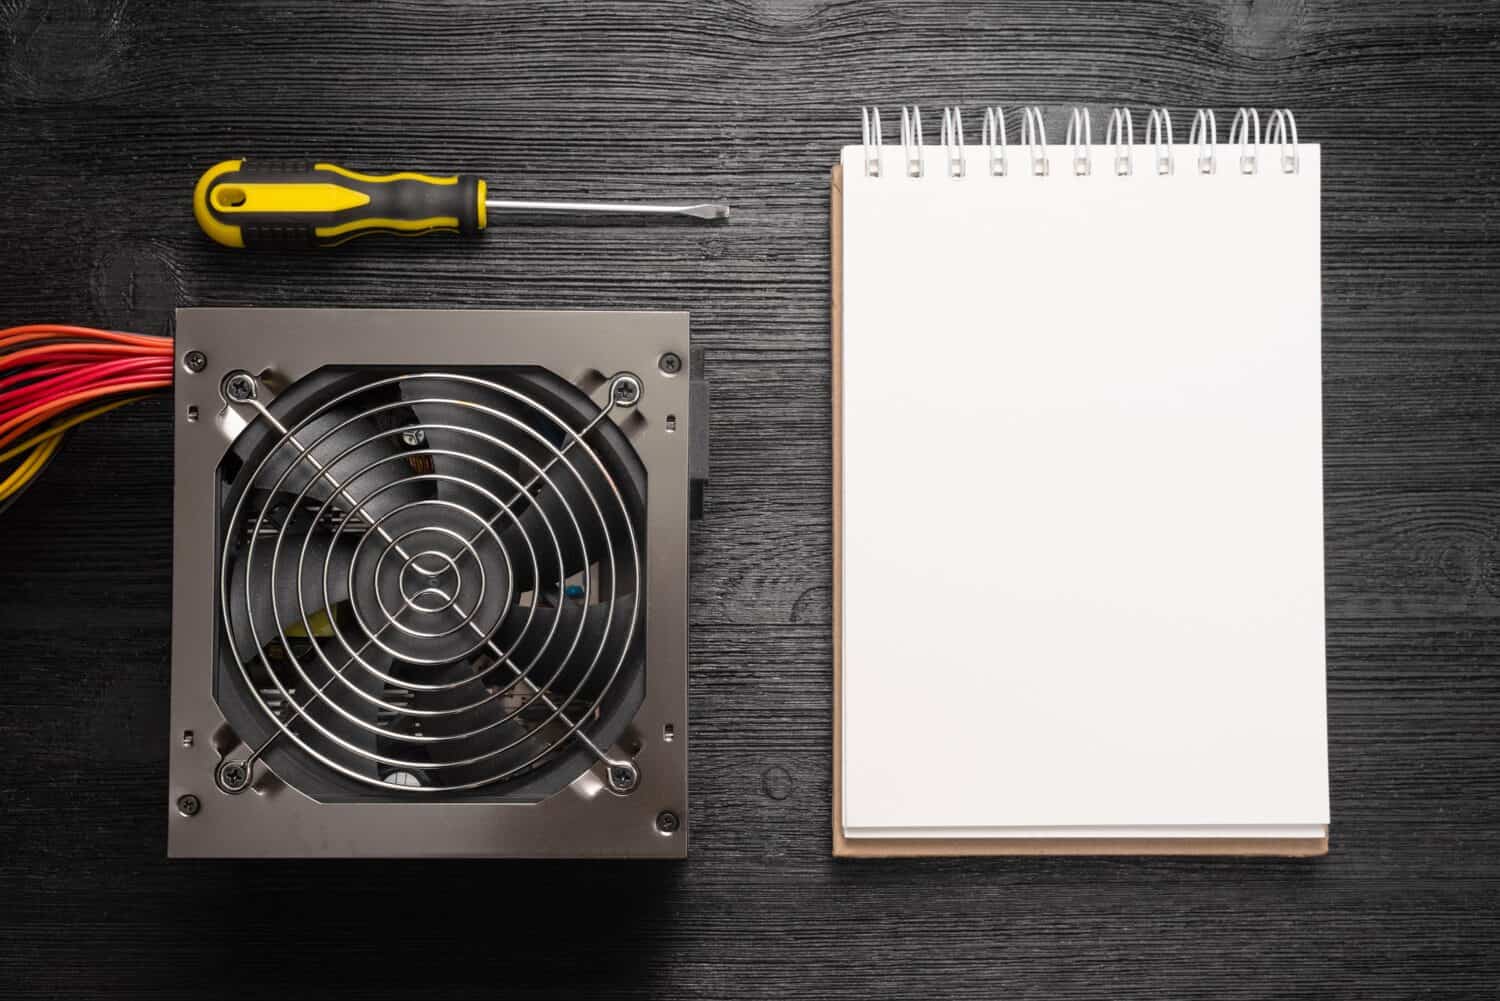
Before you begin turning on the EVGA 600W Bronze PSU, make sure you have all the necessary materials and tools. Here is a list of items you will need:
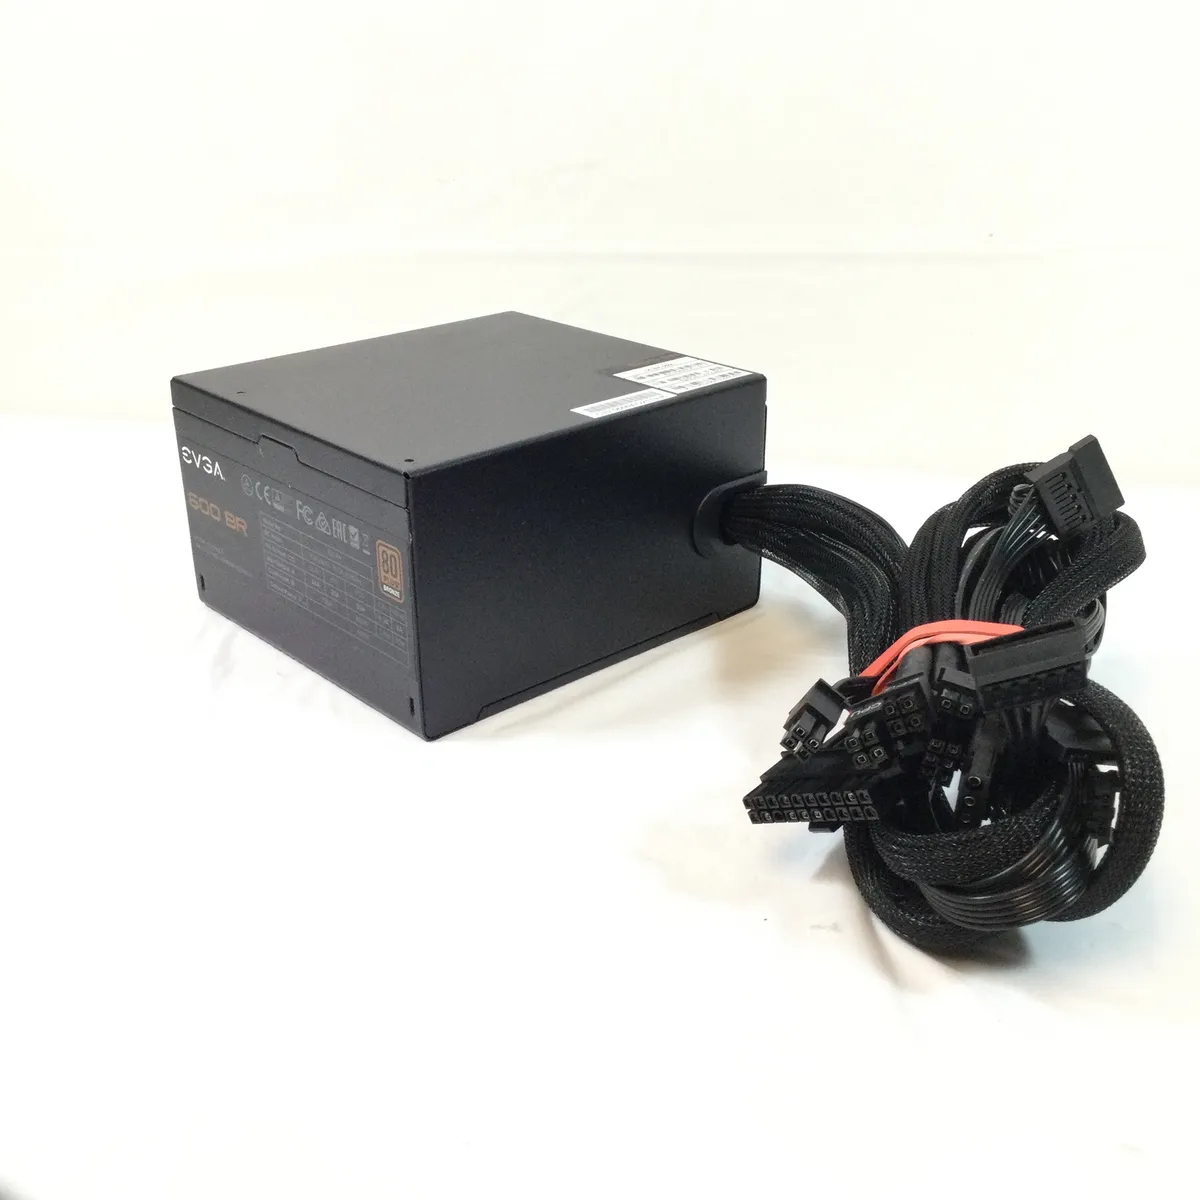
- EVGA 600W Bronze PSU: Ensure you have the specific model of the EVGA 600W Bronze PSU that you intend to install. This will be the power source for your system.
- Power Cable: You will need a power cable that is compatible with the EVGA 600W Bronze PSU. Check the specifications of the PSU to determine the type of power cable required.
- PC Components: Make sure you have all the components that need to be connected to the PSU, such as the motherboard, graphics card, hard drives, and any other peripherals.
- Screwdriver: Depending on your computer casing, you may need a screwdriver to open and secure the PSU in place.
- User Manual: Keep the user manual of the EVGA 600W Bronze PSU handy. It will provide specific instructions and illustrations for your PSU model.
Having all the necessary materials ready will ensure a smooth installation process without any interruptions. Take a moment to gather these items before moving on to the next step. Once you have everything you need, let’s proceed to locate the Power Supply Unit (PSU) in your system.
Step 2: Locate the Power Supply Unit (PSU)
Locating the Power Supply Unit (PSU) is the next step in the process of turning on the EVGA 600W Bronze PSU. The PSU is responsible for providing power to all the components in your computer. Follow these steps to find the PSU:
- Turn Off and Unplug: Make sure your computer is turned off and unplugged from the power source before proceeding. This will prevent any potential electrical accidents.
- Open the Computer Case: Depending on your computer’s casing, there are various methods to open it. Check the user manual or the manufacturer’s website for specific instructions on how to open your computer case.
- Locate the PSU: Look for a rectangular metal box usually located towards the back of the computer case. The PSU will have multiple cables coming out of it, connecting to various components.
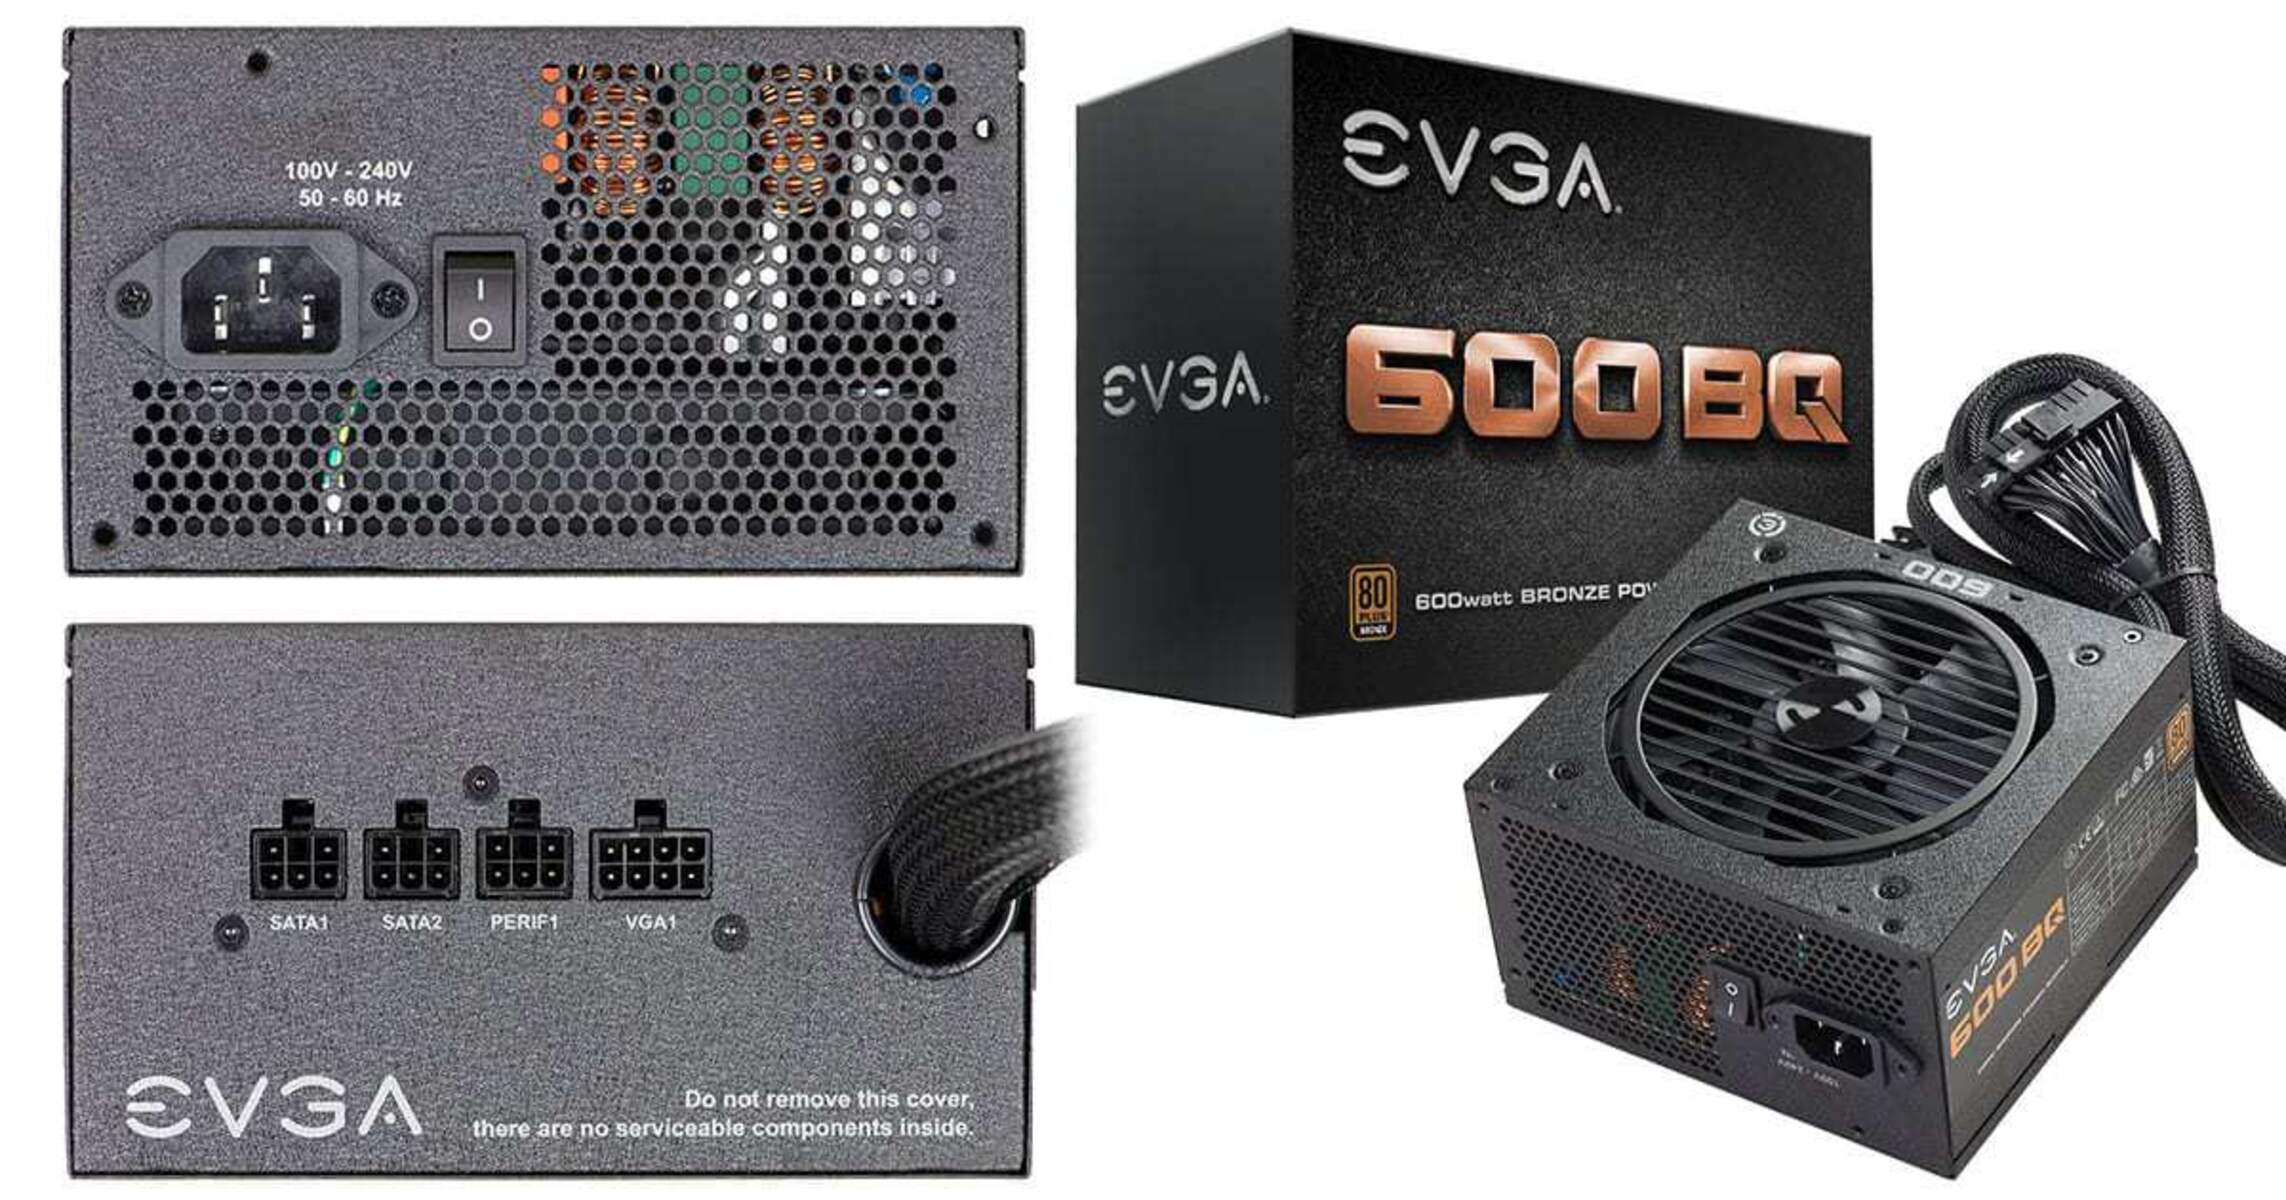
- Identify the Power Socket: The PSU will have a power socket on the back. This is where you will connect the power cable to supply electricity to the PSU.
Once you have located the PSU and identified the power socket, you are ready to move on to the next step, which involves connecting the PSU to the power source. This step is crucial for the operation of the EVGA 600W Bronze PSU and ensuring a stable power supply to your computer components.
Step 3: Connect the PSU to the Power Source
Once you have located the Power Supply Unit (PSU) in your computer case, the next step is to connect it to the power source. Properly connecting the PSU ensures that your system receives the necessary power to function. Follow the steps below to connect the EVGA 600W Bronze PSU:
- Position the PSU: Ensure that the PSU is in a suitable position in your computer case. It should be securely mounted and properly aligned with the screw holes if necessary.
- Locate the Power Socket: At the back of the PSU, you will find the power socket. It is usually a three-pronged connector. Align the power cable with the socket and insert it firmly.
- Connect the Power Cable: Take the other end of the power cable and plug it into a grounded power outlet. Ensure that the outlet is providing a stable power supply.
- Verify Power Connection: Double-check the connection to ensure that the power cable is securely connected to both the PSU and the power outlet.
Properly connecting the PSU to the power source is essential to ensure reliable and uninterrupted power supply to your computer components. Once you have completed this step, you are now ready to connect the PSU cables to the various components of your system, which we will cover in the next step.
Step 4: Connect the PSU Cables to the Components
With the EVGA 600W Bronze PSU connected to the power source, the next step is to connect the PSU cables to the various components in your system. This will ensure that each component receives the necessary power to function. Follow these steps to connect the PSU cables:
- Identify the PSU Connectors: Take a look at the cables provided with the EVGA 600W Bronze PSU. You will find a variety of connectors such as 24-pin ATX, 4+4 pin CPU, SATA, PCIe, and more. Refer to the user manual for the PSU to understand the different connectors and their usage.
- Identify the Components: Look at the components in your system that require power from the PSU. This may include the motherboard, graphics card, hard drives, SSDs, fans, and other peripherals.
- Choose the Correct Cables: Select the appropriate cables from the PSU kit based on the requirements of your components. Make sure you have enough cables to connect all the necessary components.
- Connect the Cables: Take one end of the cable and connect it to the appropriate socket on the component. Ensure a snug fit and a secure connection. Repeat this step for all the components that need to be powered by the PSU.
- Cable Management: Organize the cables in a tidy manner to improve airflow and minimize cable clutter. Use cable ties or cable management clips to keep the cables neatly secured.
By properly connecting the PSU cables to the components, you will ensure that your system receives the required power for optimal performance. Take your time to carefully connect the cables to the correct components, double-checking each connection for a secure fit. With this step completed, you are now ready to turn on the EVGA 600W Bronze PSU.
Step 5: Turn On the PSU
Now that you have successfully connected all the necessary cables from the EVGA 600W Bronze PSU to your system components, it’s time to turn on the PSU and provide power to your computer. Follow these steps to turn on the PSU:
- Locate the Power Switch: Look for the power switch on the back of the Power Supply Unit (PSU). It is usually a small rocker switch labeled with “On” and “Off”.
- Ensure Correct Power Input: Verify that the voltage input setting on the PSU matches the voltage of your region’s power supply. This prevents potential damage to the PSU or your components.
- Flip the Power Switch: Use your finger or a small tool to flip the power switch to the “On” position. The PSU will now be supplying power to your system.
Upon turning on the PSU, you will notice that the fans and LEDs on the PSU and other components may start running or lighting up. This indicates that power is successfully being delivered to your system. However, keep in mind that turning on the PSU does not turn on your computer. To fully power on your system, you will need to press the power button on your computer case or motherboard.
It is important to note that the EVGA 600W Bronze PSU has built-in protection features such as over-voltage protection, under-voltage protection, and over-temperature protection. These safeguards help prevent damage to your components in case of any power irregularities or fluctuations.
With the PSU turned on, you’ve completed a crucial step in powering up your computer system. The next step involves verifying the operation of the power supply and ensuring that it is functioning as expected.
Step 6: Verify Power Supply Operation
After turning on the EVGA 600W Bronze PSU, it is important to verify its operation and ensure that it is supplying power to your computer components correctly. Follow these steps to verify the power supply operation:
- Check Component Functionality: Power on your computer by pressing the power button on your computer case or motherboard. Monitor the functionality of your components such as fans spinning, LEDs lighting up, and the system booting up.
- Monitor PSU Fan: Watch the PSU fan to ensure that it is spinning smoothly. The fan should be running quietly and consistently. If you notice any unusual noises or the fan not spinning, it could indicate a problem with the PSU.
- Monitor System Stability: Pay attention to the stability of your system. If you experience sudden shutdowns, random reboots, or strange behavior, it may indicate a power supply issue. In such cases, it is advisable to consult a professional or contact EVGA support for assistance.
- Use Hardware Monitoring Software: Install and use hardware monitoring software to monitor the voltage, temperature, and overall health of your system components. This will help you identify any abnormalities or potential issues with the power supply.
Verifying the operation of the power supply is crucial to ensure that it is providing adequate and stable power to your system components. It also helps identify any potential issues that may arise, allowing you to take necessary action in a timely manner.
If you encounter any problems or suspect a malfunctioning power supply, it is recommended to seek professional help or contact EVGA customer support for further assistance. They will be able to provide you with specific guidance and troubleshooting steps to resolve the issue.
With the power supply operation verified, you are now ready to enjoy a reliable and efficient power source for your computer system.
Conclusion
Turning on and properly connecting the EVGA 600W Bronze PSU is a crucial step in ensuring the reliable and efficient operation of your computer system. By following the step-by-step instructions outlined in this guide, you have learned how to safely turn on the PSU and connect it to your components.
Remember to always prioritize safety when working with electrical components. Follow the safety precautions, such as disconnecting the power and grounding yourself, to prevent any accidents or damage to your equipment.
Gathering all the required materials, locating the PSU in your computer case, and connecting the PSU to the power source and components are all essential steps in the process. Take care to choose the appropriate cables and connect them securely to ensure a stable power supply to your system.
After turning on the PSU, verify its operation by checking the functionality of your components, monitoring the PSU fan, and observing the stability of your system. If you encounter any issues, it is advisable to seek professional help or contact the EVGA customer support for assistance.
With the EVGA 600W Bronze PSU successfully turned on and connected to your system, you can now enjoy a reliable and efficient power supply for your computer. Whether you are a tech enthusiast or a casual user, understanding how to properly turn on and connect a PSU is essential for optimal performance and longevity of your system.
We hope that this guide has provided you with the knowledge and confidence to turn on and connect your EVGA 600W Bronze PSU. Enjoy the reliable power supply and the smooth operation of your computer system!