Introduction
Are you a gaming enthusiast looking to share your gameplay with the world? Or perhaps you want to venture into the exciting world of live streaming on platforms like Twitch or YouTube. Whatever your reason may be, using a capture card with OBS (Open Broadcaster Software) is a must-have setup for achieving high-quality streams.
A capture card is a device that enables you to record or stream gameplay footage from your console or PC to your computer. It acts as a bridge between your gaming device and broadcasting software, such as OBS, allowing you to capture and stream your gaming content with ease.
In this guide, we will walk you through the process of using a capture card with OBS, from choosing the right capture card to troubleshooting common issues. By the end of this article, you’ll have a solid understanding of how to integrate a capture card into your streaming setup and take your gaming content to the next level.
Note that the specific steps and requirements may vary based on the type of capture card and hardware you use. However, the general principles outlined in this guide will provide you with a solid foundation to get started.
Now, let’s dive into the world of capture cards and OBS, and explore the possibilities of creating engaging and professional-looking streams.
What is a capture card?
A capture card is a hardware device that allows you to capture and record gameplay footage from consoles, PCs, or other video sources. It acts as an intermediary device between your gaming console or PC and your computer, allowing you to transfer high-quality video signals for recording or live streaming purposes.
The primary use of a capture card is to capture gameplay footage and broadcast it to various platforms, such as Twitch, YouTube, or Mixer. It’s an essential tool for content creators and gamers who want to share their gaming experiences with others.
So how does a capture card work? Once connected to your gaming device and computer, a capture card processes the video signals from your device and converts them into a format that your computer and streaming software can handle. This enables you to capture, edit, and share your gameplay footage in real-time or at a later stage.
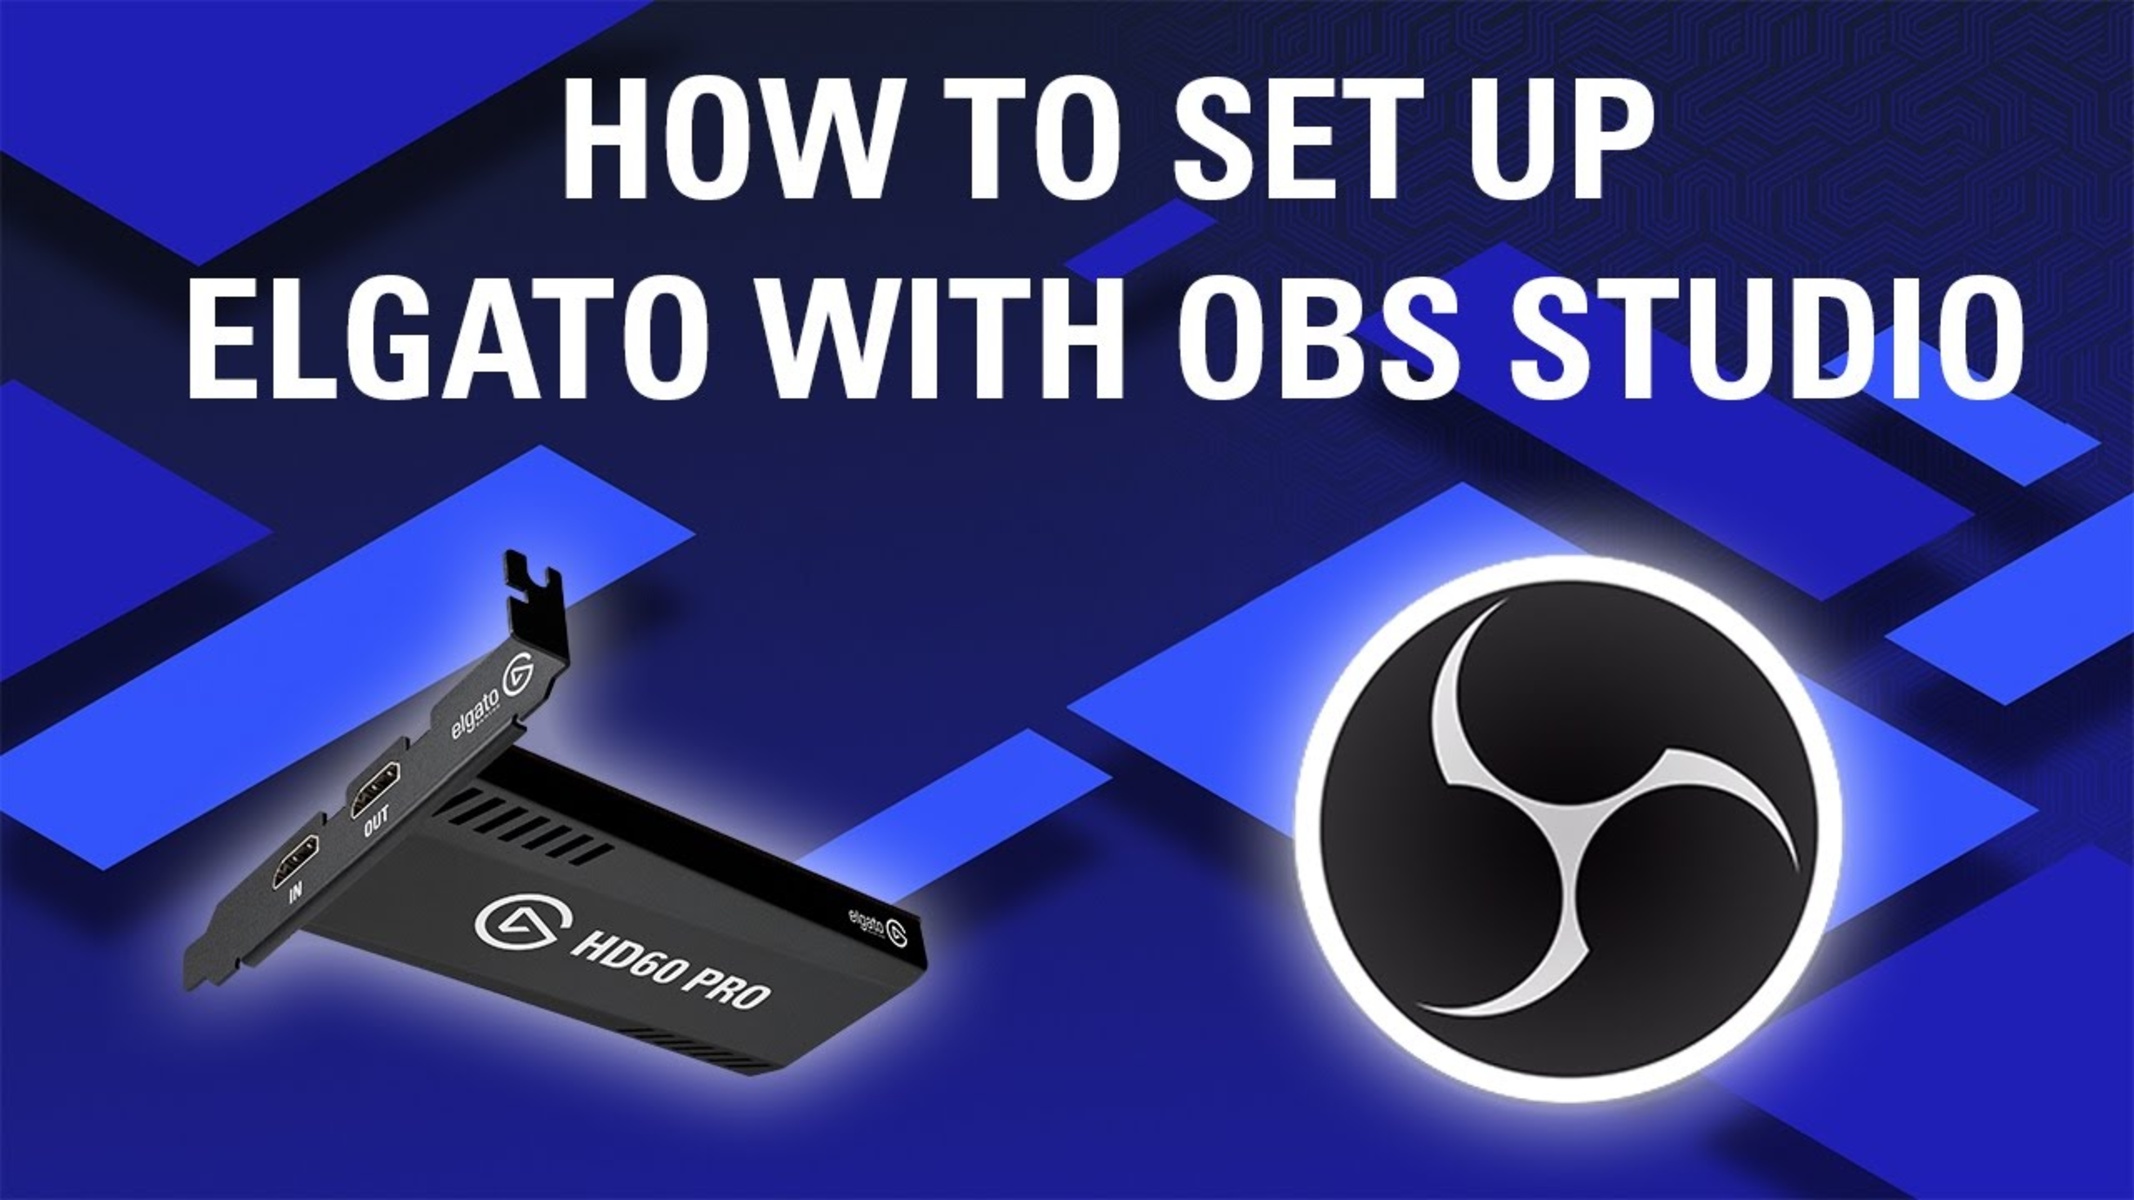
Capture cards come in various forms, depending on your specific needs and budget. There are external USB capture cards that are easy to install and suitable for most users. These cards connect to your computer via a USB port and capture the gameplay footage from the console or PC through their HDMI or component inputs.
On the other hand, internal capture cards are installed directly into your computer via PCIe slots. These cards offer more advanced features, higher capture resolutions, and lower latency, making them ideal for professional streamers and gamers who require the best possible performance.
Some capture cards also offer additional features like audio mixing and multiple input support, allowing you to capture audio from your microphone or other external devices.
Overall, capture cards are powerful tools that enable you to elevate your content creation and streaming game. Whether you’re a casual gamer looking to share your favorite moments or an aspiring streamer aiming for a professional setup, a capture card is an essential component that empowers you to capture and share your gameplay seamlessly.
Choosing the right capture card
When it comes to choosing a capture card, there are several factors to consider that will ensure you get the best performance and compatibility for your streaming setup. Here are some key points to keep in mind when selecting a capture card:
- Compatibility: Before purchasing a capture card, ensure that it is compatible with your gaming device and computer. Most capture cards support a wide range of gaming consoles, including PlayStation, Xbox, and Nintendo Switch, as well as PCs. Double-check the specifications and recommended system requirements to ensure a seamless connection.
- Resolution and Frame Rate: Different capture cards support various video resolutions and frame rates. If you want to capture high-quality gameplay footage with smooth motion, consider a capture card that supports at least 1080p resolution at 60 frames per second (FPS). Some advanced capture cards even offer 4K resolution and higher frame rates for those who want to stream in ultra-high definition.
- Connection Type: Capture cards usually connect to your computer via USB or PCIe. USB capture cards are more common and provide greater flexibility in terms of portability and ease of use. PCIe capture cards, on the other hand, offer higher performance and lower latency, making them suitable for professional streamers and gamers seeking the best quality output.
- Software Compatibility: Ensure that the capture card you choose is compatible with your preferred streaming software, such as OBS, Streamlabs OBS, or XSplit. Check the manufacturer’s website for information on software compatibility or any specific drivers or plugins required to ensure a smooth integration with your chosen streaming platform.
- Additional Features: Consider any additional features you may require, such as multiple inputs for capturing multiple devices simultaneously, audio mixing capabilities, or built-in hardware encoding to reduce the strain on your computer’s CPU.
- Budget: Finally, consider your budget. Capture cards come in a wide range of prices, and while it’s tempting to go for the most expensive option, it’s essential to weigh your needs against your budget. There are reliable and affordable capture cards available that can meet your streaming requirements without breaking the bank.
Take your time to research different capture card options, read reviews from other users, and consider your specific needs and budget. By choosing the right capture card for your streaming setup, you’ll enhance the quality of your gameplay footage and deliver a more professional streaming experience to your audience.
Installing the capture card
Once you have selected the appropriate capture card for your needs, the next step is to install it on your computer. The installation process may vary slightly depending on the type of capture card you have chosen, but here are some general steps to guide you through the installation:
- Read the instructions: Before starting the installation, carefully read the instructions provided by the manufacturer. These instructions will contain specific details and any prerequisites for the installation process.
- Power down your computer: Before opening your computer to install the capture card, it is essential to turn it off and disconnect the power supply. This will prevent any accidental damage to your computer or the capture card itself.
- Open your computer: Depending on the type of capture card, you may need to open your computer case. If you are installing an external capture card, skip to the next step.
- Insert the capture card: Carefully insert the capture card into an available PCIe slot on your motherboard. Ensure that it is firmly seated and aligned correctly with the slot. If you are unsure which slot to use, consult the motherboard manual or manufacturer’s website for guidance.
- Secure the capture card: Once the capture card is inserted, use the screw or latch provided to secure it in place. This will prevent any movement or dislodgment during use.
- Close your computer: If you opened your computer case, securely close it by reattaching any panels or screws that were removed. Ensure that everything is properly aligned and tightened.
- Connect the cables: If you are using an external capture card, connect the USB cable from the capture card to an available USB port on your computer. For internal capture cards, connect any necessary audio or video cables to the appropriate ports on the capture card and your gaming device.
- Power on your computer: Once everything is connected, power on your computer and allow it to boot up. It should automatically detect the capture card and install any necessary drivers.
- Install any required software: Follow the manufacturer’s instructions to install any specific drivers or software required for the capture card to function correctly. This software may provide additional features or settings for your capture card.
- Test the capture card: After installation, open your chosen streaming software, such as OBS, and verify that the capture card is recognized and functioning correctly. Test the video and audio inputs to ensure that you are capturing the desired footage.
Remember to consult the manufacturer’s documentation or online resources for detailed instructions specific to your capture card model. With the capture card properly installed and functioning, you’re now ready to configure OBS and start capturing your gameplay footage for streaming or recording.
Configuring OBS
Now that you have your capture card installed, it’s time to configure OBS (Open Broadcaster Software) to work seamlessly with it. OBS is a popular open-source streaming and recording software that provides a robust set of features, making it an excellent choice for content creators and streamers.
Here’s a step-by-step guide to configuring OBS with your capture card:
- Open OBS: Launch OBS on your computer. If you haven’t installed OBS yet, visit the official OBS website and download the latest version for your operating system.
- Set up a new scene: In OBS, scenes are like different layouts that you can switch between during your streams. Click on the “+” icon in the “Scenes” section to create a new scene and give it a descriptive name. For example, you can name it “Game Capture.”
- Add a source: Within your newly created scene, click on the “+” icon in the “Sources” section. A menu will appear – choose “Video Capture Device” if you are using a capture card to capture gameplay footage. Enter a name for the source and click “OK.”
- Select the capture card: In the properties for the video capture device source, select your capture card from the dropdown menu. You may need to configure additional settings, such as video resolution and frame rate, depending on your capture card’s capabilities. Consult your capture card’s documentation or the manufacturer’s website for recommended settings.
- Configure audio: To capture audio along with your gameplay footage, you’ll need to configure the audio settings in OBS. Under the “Audio Mixer” section, click on the gear icon next to the “Desktop Audio” option and select your audio input source. This could be your computer’s default audio device or a specific audio device connected to your capture card. Similarly, configure the audio settings for your microphone if you plan on adding commentary to your streams.
- Preview and adjust: Use the preview feature in OBS to ensure that your capture card is displaying the gameplay footage correctly. Make any necessary adjustments to the source position, size, or cropping settings to achieve the desired display. You can also add additional sources, such as webcam footage or overlays, to enhance your stream’s visual appeal.
- Stream or record: With OBS configured, you’re now ready to start streaming or recording your gameplay footage. Click on “Start Streaming” to begin live streaming, or click on “Start Recording” to record your gameplay locally. OBS offers a wide range of advanced settings, filters, and options that you can explore to further customize your stream or recording output.
Remember to regularly check for software updates for both OBS and your capture card’s accompanying software to ensure you have the latest features and bug fixes. It is also helpful to join online communities or forums dedicated to OBS for any additional tips, tricks, or troubleshooting assistance.
Now that you have successfully configured OBS with your capture card, you’re all set to capture and share your gameplay footage with your audience. Experiment with different settings, layouts, and features to create a unique and professional streaming experience that reflects your gaming style and personality.
Setting up the audio
When it comes to streaming or recording gameplay footage, having high-quality audio is just as important as crisp video. To ensure optimal audio performance and clarity, follow these steps to set up the audio for your streaming setup:
- Audio sources: Determine the audio sources you want to capture during your streams or recordings. This could include in-game audio, background music, microphone commentary, or any other audio elements that you want to incorporate into your content.
- Desktop audio: In OBS, you can capture desktop or system audio, which includes your game audio and any other audio played on your computer. To set up desktop audio, go to the “Audio Mixer” section in OBS and ensure that the desktop audio is enabled. You can adjust the volume levels using the audio sliders.
- Microphone audio: If you want to add your commentary or voice-over to your streams or recordings, connect your microphone to your computer and set it up in OBS. In the “Audio Mixer” section, click on the gear icon next to the “Mic/Aux” option and select your microphone from the list. Adjust the volume level to ensure your voice is balanced with the game audio.
- Audio monitoring: OBS provides an audio monitoring feature that allows you to hear the audio in real-time while streaming or recording. This is particularly useful when monitoring your microphone input to ensure it’s working correctly. To enable audio monitoring, go to the “Settings” menu in OBS, navigate to the “Audio” tab, and check the “Enable audio monitoring” option.
- Advanced audio settings: OBS offers advanced audio settings that you can explore to further refine your audio setup. This includes options like noise suppression, noise gate, and audio filters to enhance the quality of your audio output. Experiment with these settings to find the optimal configuration for your specific microphone and environment.
- Audio levels: Pay close attention to the audio levels in OBS to ensure a balanced and pleasant listening experience for your viewers. Avoid having audio levels that are too loud or too soft, as this can be distracting or off-putting for your audience. Use the audio meters in OBS to monitor the levels and make adjustments as necessary.
- Test and adjust: It’s crucial to test your audio setup before going live or recording. Launch your game or any other applications that produce audio and check if the audio levels are appropriate. Test your microphone to ensure it is capturing your voice clearly. Make any necessary adjustments in OBS to achieve the desired audio balance.
- Monitor audience feedback: Pay attention to any feedback or comments from your viewers regarding the audio quality of your streams. This feedback can help you identify any issues that you might have missed during the initial setup. Regularly monitor and adjust your audio setup based on viewer feedback to ensure a satisfying viewer experience.
Remember, audio quality plays a significant role in creating an immersive and engaging experience for your audience. By taking the time to properly set up and fine-tune your audio sources in OBS, you’ll be able to deliver professional-grade audio that enhances your streams and recordings.
Capturing gameplay footage
Now that you have your capture card and OBS properly configured, it’s time to start capturing your gameplay footage. Follow these steps to ensure a smooth and high-quality capturing process:
- Select the game: Launch the game you want to capture and ensure it is displaying correctly on your gaming device.
- Open OBS: Start OBS and make sure the “Game Capture” source is selected within your scene that you previously set up. This source will capture the gameplay footage from your capture card.
- Preview the capture: Use the preview feature in OBS to ensure that the gameplay footage is displaying correctly within the OBS window. Check for any issues such as black bars, incorrect aspect ratios, or distorted visuals. Make any necessary adjustments to the capture source settings in OBS to ensure the best display of your gameplay.
- Start recording or streaming: In OBS, choose whether you want to start recording the gameplay footage locally or start a live stream to share it with your audience. Click on the “Start Recording” button to begin recording, or click on the “Start Streaming” button to commence the live stream. OBS will now capture and encode the gameplay footage based on your selected settings.
- Monitor performance: Keep an eye on OBS to ensure that the capturing performance is smooth and stable. OBS provides real-time information on stream health, encoding bitrate, dropped frames, and other key metrics. If you notice any issues, such as dropped frames or high encoding load, consider adjusting your OBS settings or optimizing your computer’s performance.
- Interact with your audience: During your streams, make sure to interact with your audience, respond to chat messages, and engage in conversations. This will create a more enjoyable and interactive experience for your viewers.
- Stop recording or streaming: When you’re ready to end your recording or streaming session, click on the “Stop Recording” button in OBS to stop recording the gameplay footage locally. If you’re live streaming, click on the “Stop Streaming” button to end the live stream. OBS will finalize the recording or stream and save the resulting file to your specified location.
- Review and edit: After recording your gameplay footage, take the time to review it and make any necessary edits. Trim out any unwanted sections, enhance the audio, or add overlays and transitions to enhance the overall viewing experience. There are various video editing software options available to help you with this process.
Capturing gameplay footage is an exciting and creative process that allows you to showcase your gaming skills and entertain your audience. By following these steps and continuously refining your capturing techniques, you’ll be able to create professional-grade gameplay videos that stand out in the streaming community.
Troubleshooting common issues
While using a capture card with OBS can result in smooth and seamless gameplay footage, it’s not uncommon to encounter some technical issues along the way. Here are some common issues that you may come across and ways to troubleshoot them:
- No video signal: If you’re not getting any video signal in OBS, check the connections between your gaming device, capture card, and computer. Ensure that all cables are securely plugged in and that the correct input source is selected in OBS. Also, make sure that your gaming device is powered on and displaying video output.
- Audio sync issues: If you notice that the audio and video are not in sync, it may be caused by an incorrect buffer size or encoding delay in OBS. Adjust the audio synchronization settings in OBS to ensure that the audio is aligned correctly with the gameplay footage. You can also try adjusting the buffer size or using other audio configuration options to resolve the issue.
- Dropped frames: Dropped frames can occur if your computer’s CPU or internet connection is not able to handle the encoding and streaming workload. To fix this, try reducing the video bitrate or lowering the encoding settings in OBS. Additionally, close any unnecessary background applications or processes that may be using up system resources.
- Audio distortion or noise: If you’re experiencing audio distortion or background noise, check your microphone’s connections and ensure that it is properly positioned. You can also apply audio filters in OBS, such as noise suppression or noise gate, to minimize unwanted noise. Additionally, make sure that your microphone is not too close to speakers or other sources of interference.
- Game compatibility issues: Some games may not be compatible with certain capture cards or may require specific settings to capture correctly. Check the game’s documentation or online forums for any recommended settings or troubleshooting tips. You may need to adjust the game’s resolution, select specific capturing modes, or use additional software to capture the gameplay successfully.
- Hardware incompatibility: In rare cases, certain hardware configurations or conflicts may cause issues with your capture card or OBS. Ensure that you have the latest drivers and firmware installed for your capture card and other relevant hardware components. If issues persist, try updating OBS to the latest version or seeking assistance from online forums or the manufacturer’s support team.
- Internet connection quality: If you’re live streaming, ensure that you have a stable and reliable internet connection with sufficient upload speeds. Use a wired Ethernet connection instead of Wi-Fi whenever possible to minimize potential network issues. You can also adjust OBS settings to optimize the streaming quality based on your available internet bandwidth.
Remember, troubleshooting technical issues is a normal part of using a capture card with OBS. Be patient and methodical when addressing any problems that arise. Online forums, tutorials, and the support communities for OBS and your specific capture card can be valuable resources for finding solutions to more complex issues.
By being proactive in resolving technical challenges and continuously improving your setup, you’ll be able to provide a smooth and high-quality streaming experience for your viewers.
Final thoughts and recommendations
Using a capture card with OBS opens up a world of possibilities for gamers and content creators looking to share their gaming experiences. By following the steps outlined in this guide, you can seamlessly integrate a capture card into your streaming setup and capture high-quality gameplay footage.
Here are some final thoughts and recommendations to consider:
- Experiment and customize: Don’t be afraid to experiment with different settings, layouts, and overlays to create a unique and personalized streaming experience. Use OBS’s advanced features and plugins to enhance your streams and make them stand out.
- Engage with your audience: Interacting with your viewers is crucial for building a loyal and engaged community. Respond to chat messages, address viewer questions, and create a welcoming environment for your audience.
- Continuous learning: The world of streaming is constantly evolving, with new technologies, trends, and techniques emerging. Stay updated with the latest developments, attend virtual events, and connect with fellow streamers to learn and grow your skills.
- Monitor and analyze: Use analytics tools to monitor viewer engagement, track your streaming performance, and gather insights into the content that resonates most with your audience. This data can guide your future streaming decisions and help you improve your overall streaming experience.
- Invest in quality equipment: While it’s possible to start streaming with a basic setup, investing in quality equipment can significantly enhance the production value of your streams. Consider upgrading your microphone, camera, and lighting as you grow your streaming channel.
- Have fun: Streaming is all about sharing your passion for gaming and connecting with others who share that passion. Remember to have fun, be authentic, and enjoy the journey.
By combining a capture card with OBS, you have the tools to create high-quality streams and recordings that captivate your audience. Whether you’re a seasoned streamer or just starting out, the knowledge and insights gained from this guide will help you elevate your streaming game to new heights.
Now, armed with this information, go ahead and embark on your streaming adventures with confidence. Embrace the immense potential offered by capture cards and OBS to bring your gaming content to life, entertain your viewers, and build a thriving streaming community.


