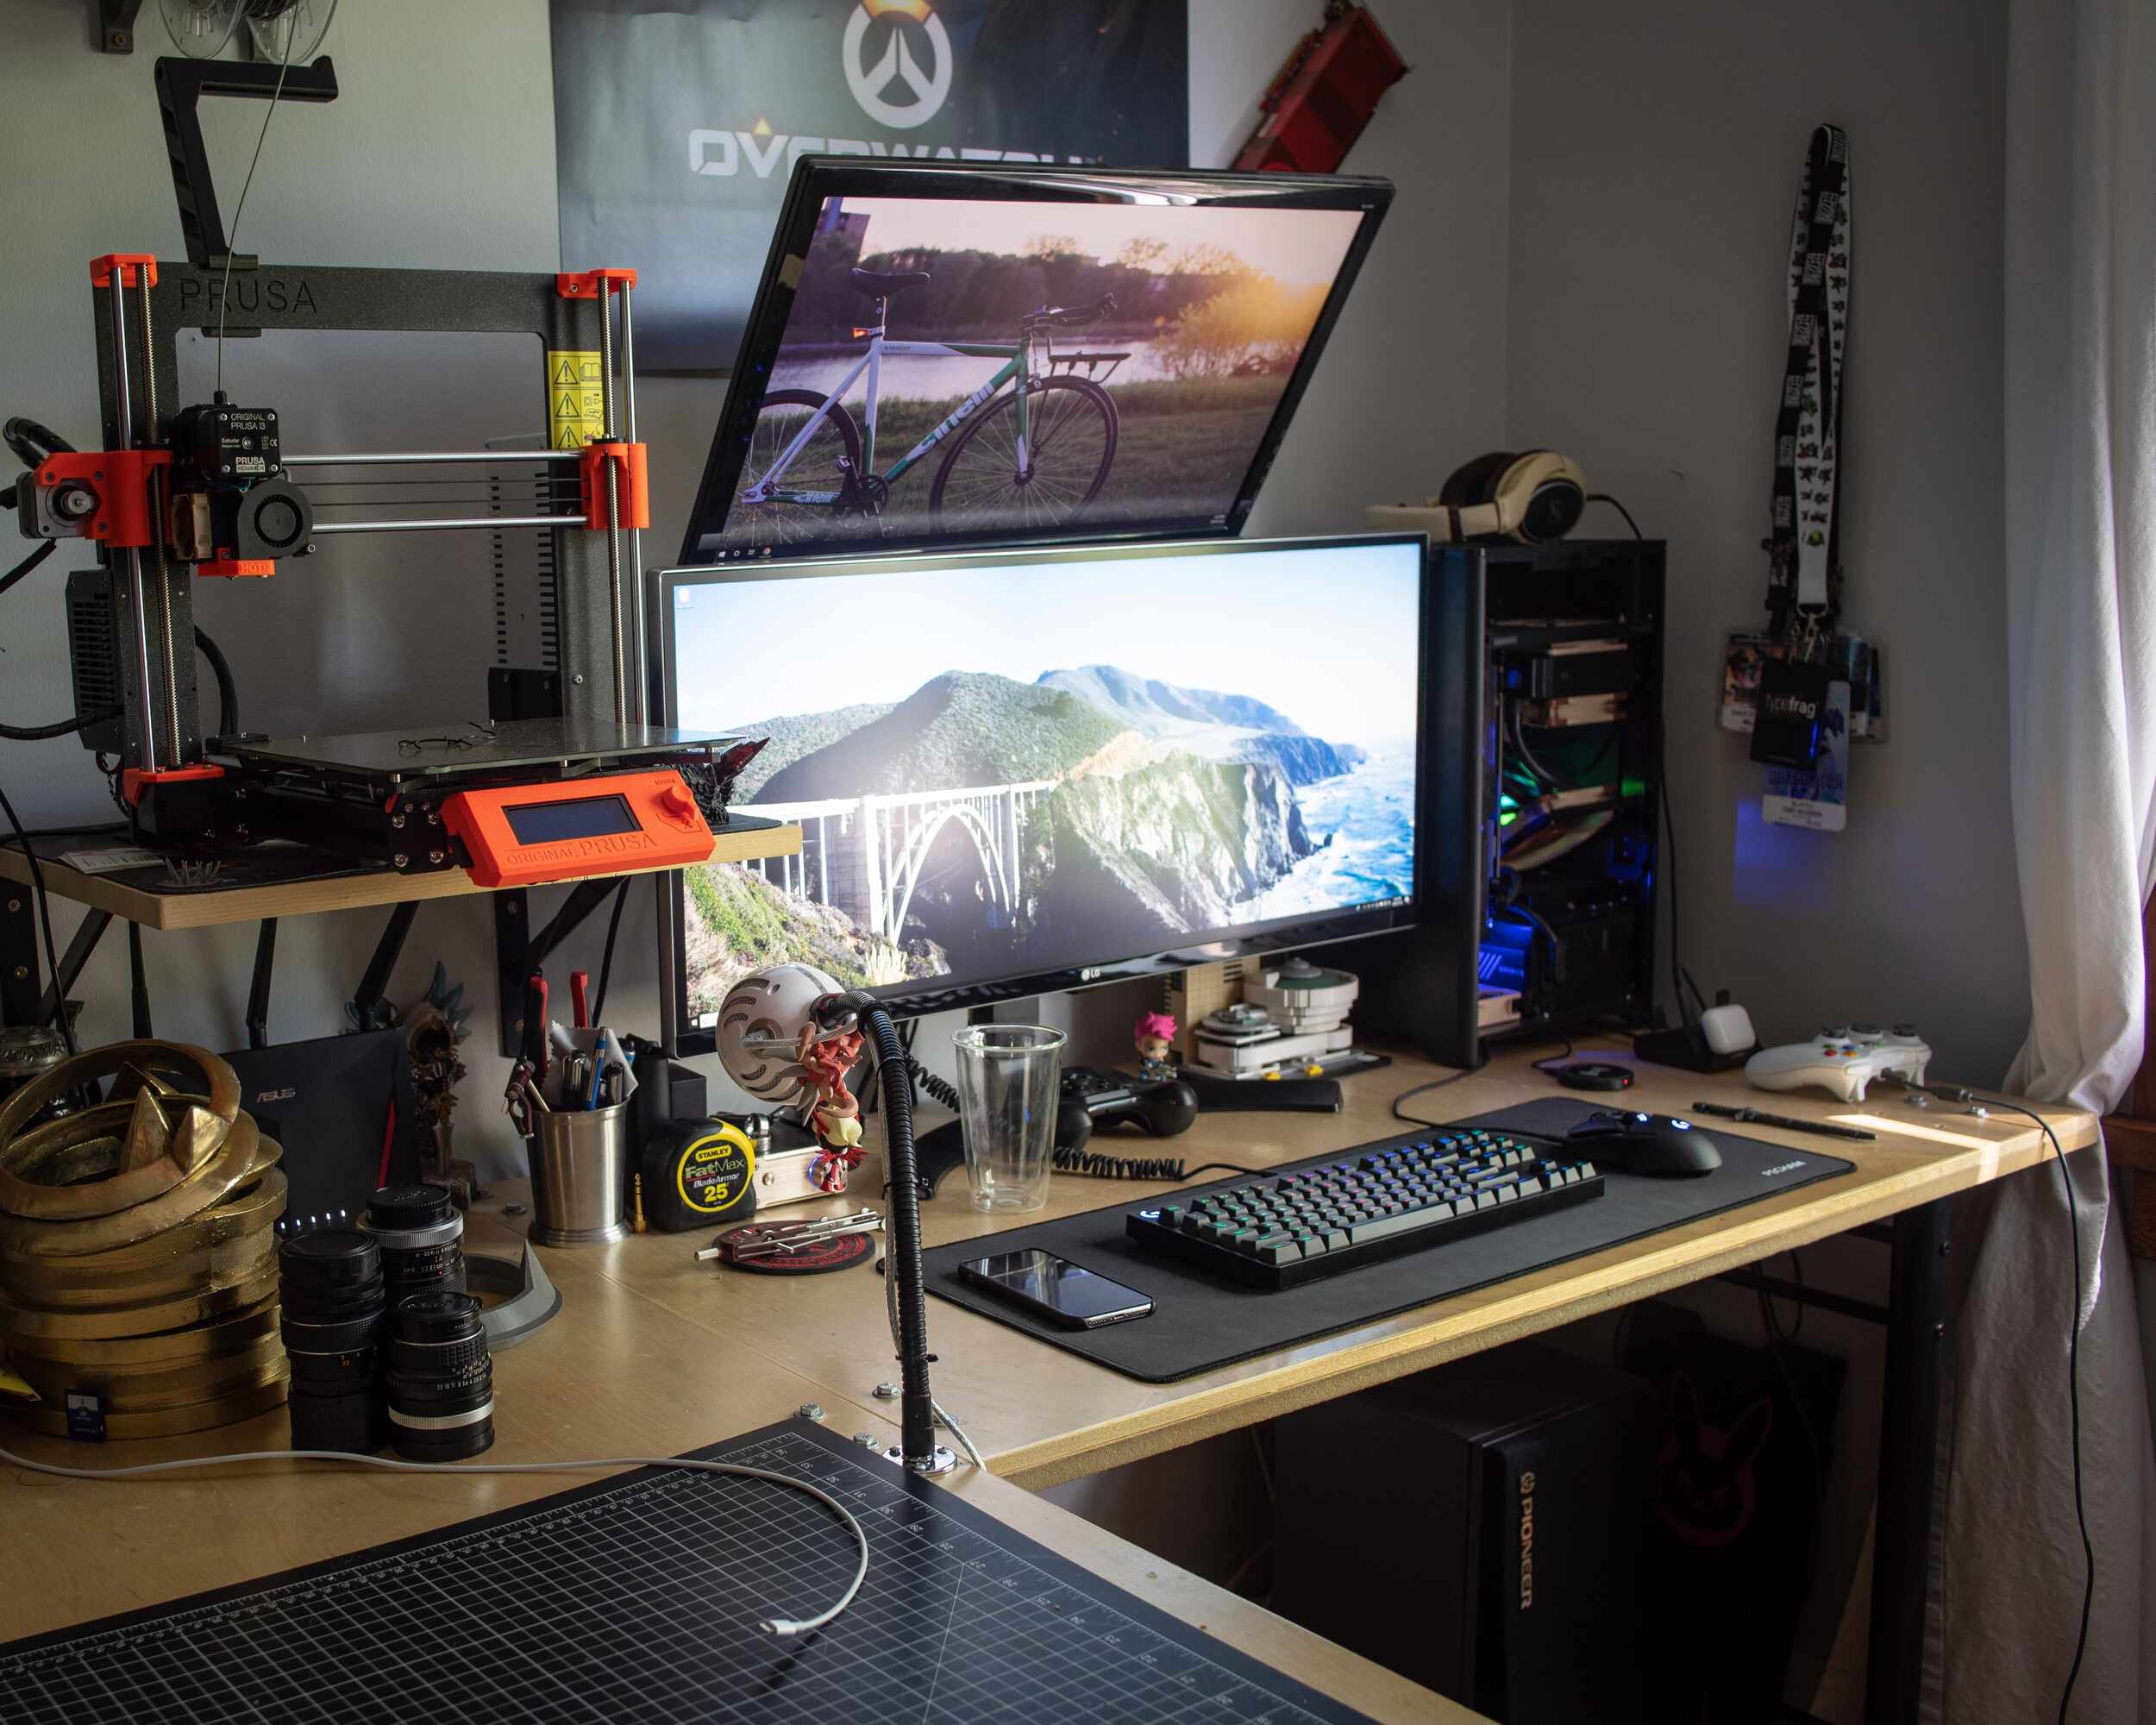
Introduction
Welcome to the world of 3D printing! With this remarkable technology, you have the power to bring your imagination to life by creating three-dimensional objects from scratch. Whether you’re a hobbyist, a designer, or an entrepreneur, a 3D printer can be an invaluable tool in your creative journey.
In this article, we will guide you through the process of using a 3D printer, from choosing the right printer for your needs to troubleshooting common issues. So, let’s dive in and explore the exciting possibilities that await you!
Before we begin, it’s important to note that 3D printing technology has rapidly evolved in recent years, making it accessible to a wider audience. With a plethora of options available in the market, choosing the right 3D printer can be overwhelming. Factors such as budget, desired print quality, and ease of use all play a role in making this decision.
Once you have selected your 3D printer, you will need to set it up properly. This involves assembling the different components, calibrating the machine, and connecting it to your computer. Don’t worry, manufacturers typically provide detailed instructions to help you through this process.
The next step is understanding the software that drives the 3D printer. Most printers come with their own proprietary software, but there are also open-source options available. This software allows you to create or import 3D models, slice them into printable layers, and control various printing parameters.
With the software in place, you can start preparing your design for printing. This includes positioning and scaling the model, adding supports if necessary, and ensuring that the design is suitable for the capabilities of your specific printer.
Once your design is ready, it’s time to adjust the printer settings. This includes selecting the appropriate print quality, layer height, and infill density. These settings will determine the final outcome of your print, so take your time to fine-tune them to your desired specifications.
Now that everything is set up, it’s time to load the printer filament. Filament is the material used to create the physical object, and it comes in various types such as PLA, ABS, and PETG. Follow the manufacturer’s instructions to load the filament correctly and ensure smooth printing.
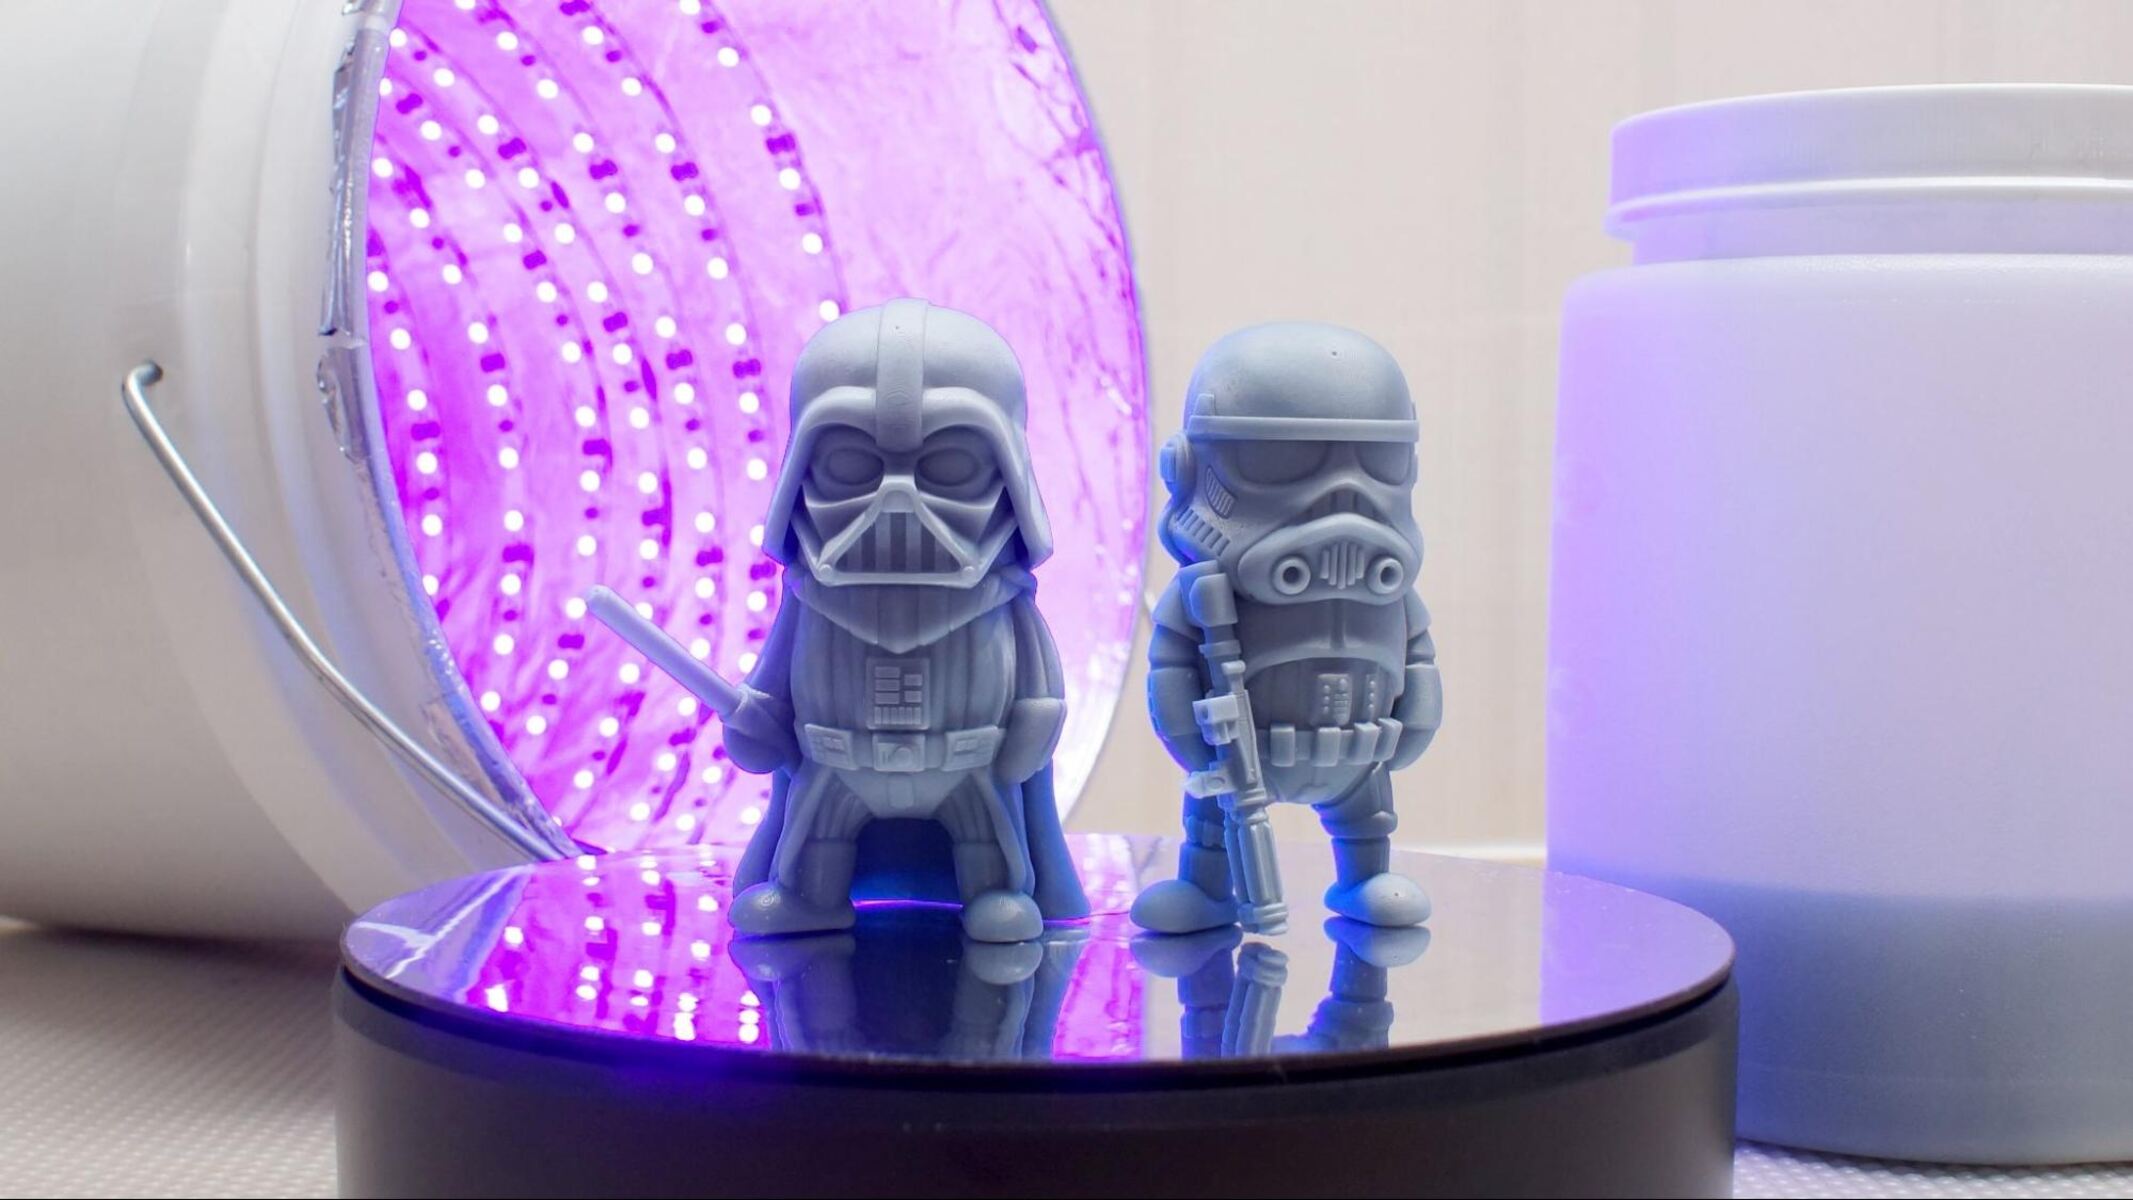
Finally, it’s time to hit the print button and watch as your design comes to life layer by layer. Be patient, as 3D printing can take some time depending on the complexity of your design and the chosen print settings. Once the print is complete, carefully remove it from the print bed and admire your creation!
Throughout your 3D printing journey, you may encounter common issues such as failed prints, printing errors, or clogged nozzles. Don’t panic! We will provide troubleshooting tips to help you overcome these challenges and achieve successful prints.
Lastly, it’s important to understand how to maintain your 3D printer to ensure its longevity. Regular cleaning, lubrication, and careful handling of the delicate components will help keep your printer in optimal condition for years to come.
Now that we have covered the basics, it’s time to explore the world of 3D printing and unleash your creative potential. So, grab your 3D printer and let’s get started on this exciting journey!
Choosing the Right 3D Printer
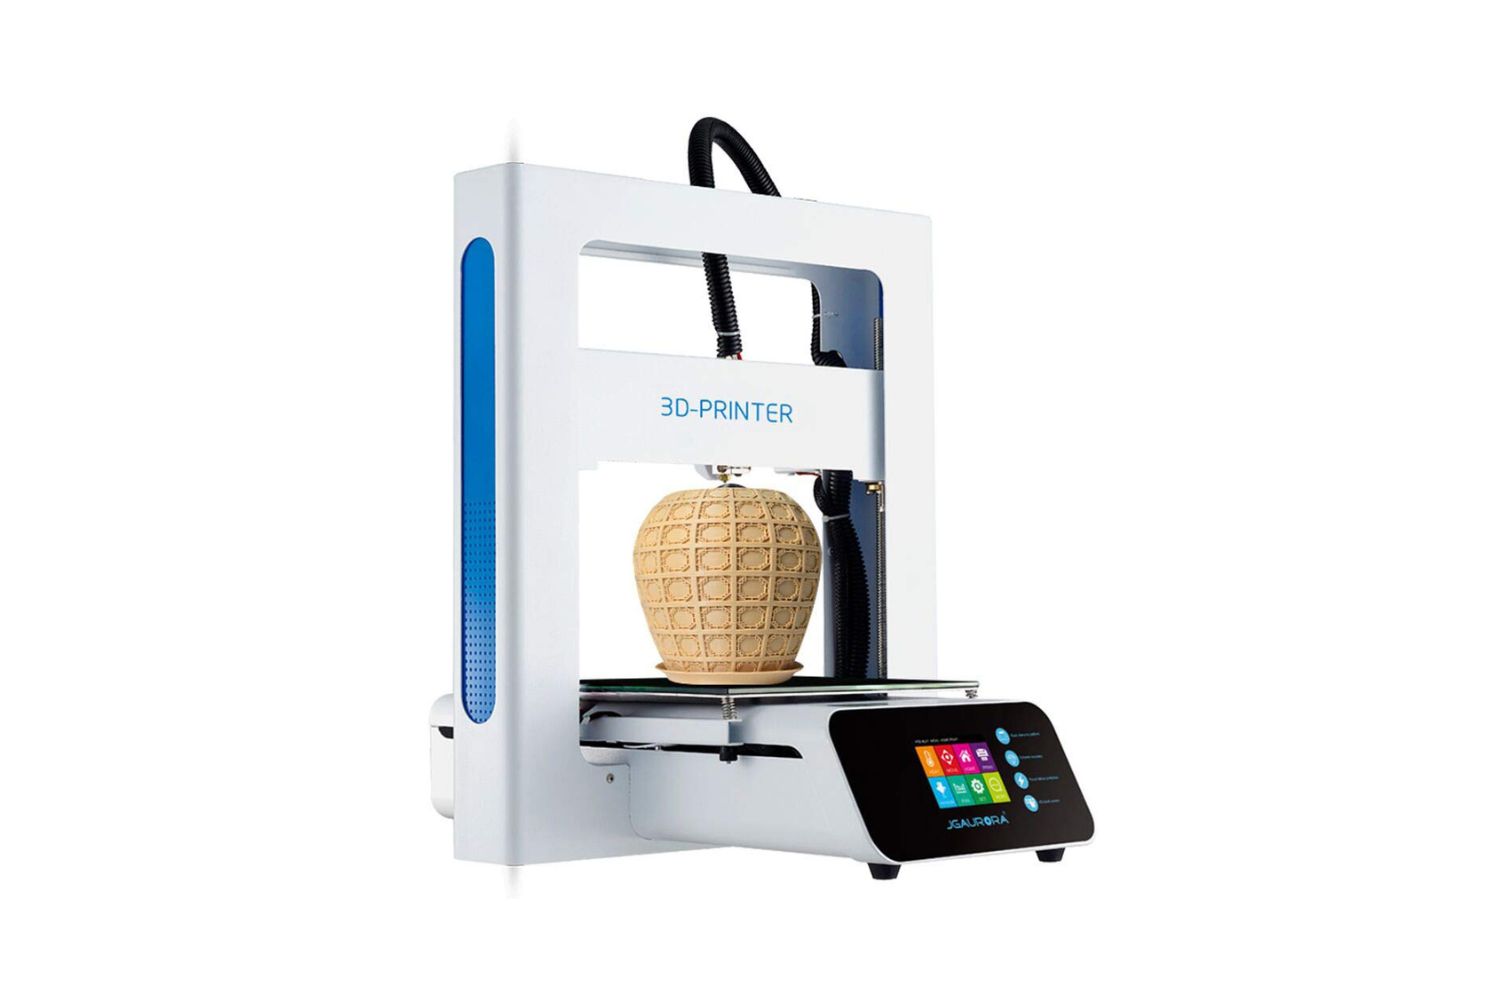
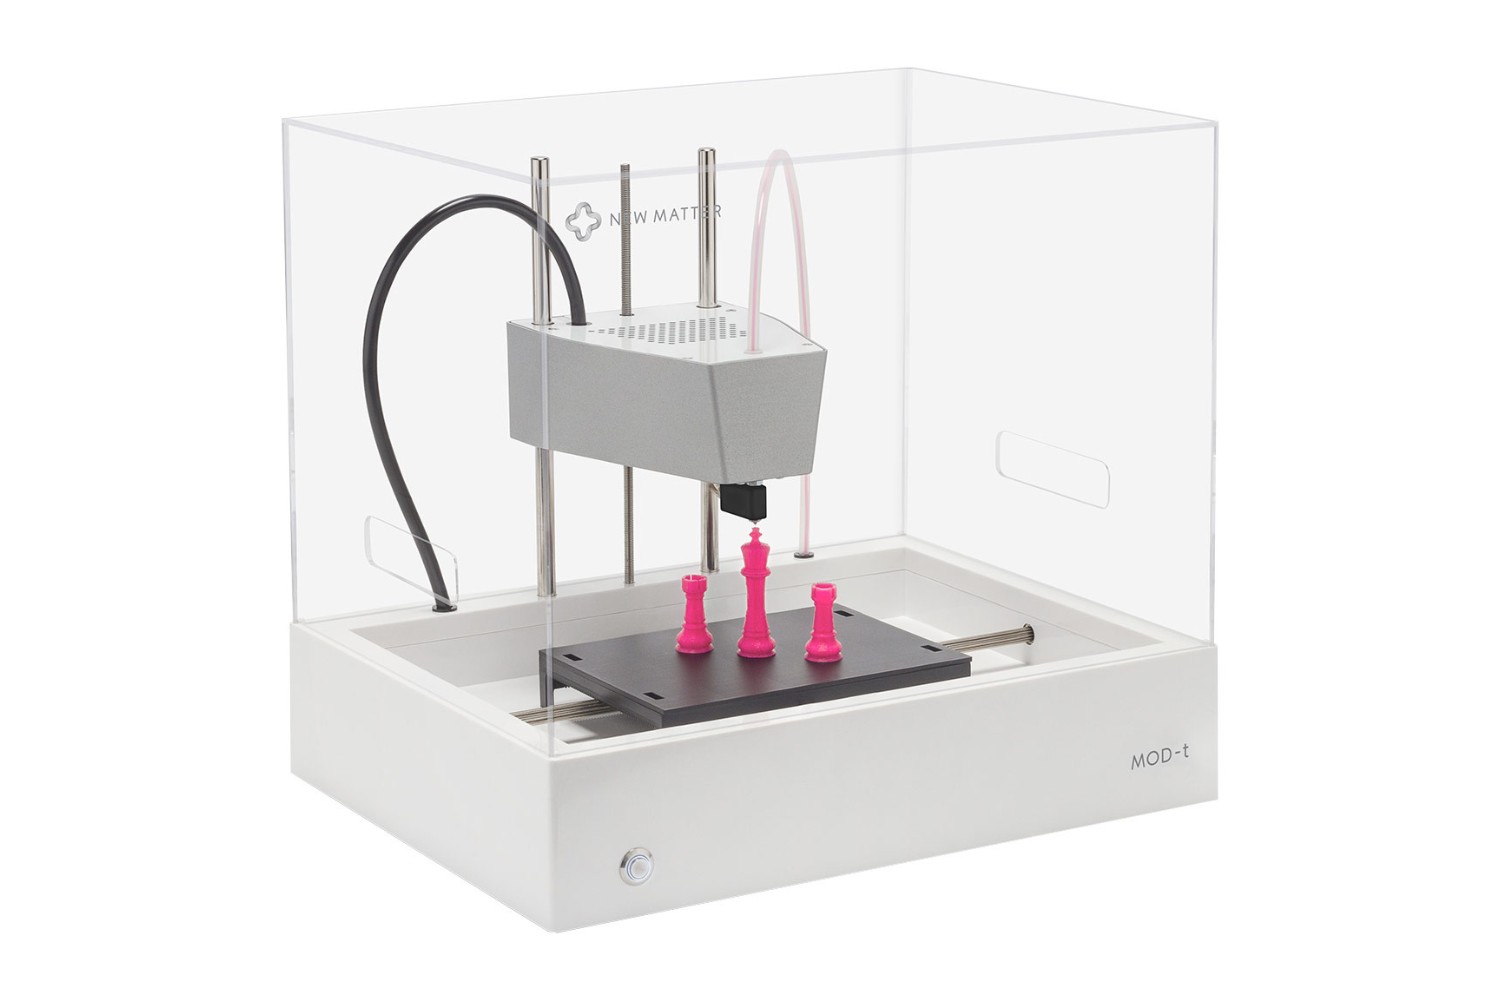
Choosing the right 3D printer is crucial to ensure that it meets your specific needs and expectations. With a wide range of options available on the market, it can be overwhelming to make a decision. Here are some key factors to consider when selecting a 3D printer.
Budget: It’s important to determine your budget before starting your search. 3D printers come in a wide range of price points, from affordable entry-level models to high-end professional machines. Consider how much you are willing to invest in a 3D printer, keeping in mind that more expensive models typically offer advanced features and higher print quality.
Intended Use: Think about what you plan to use the 3D printer for. Are you a hobbyist looking to print small objects and prototypes, or do you need a printer for larger-scale manufacturing? Consider the size of the objects you will be printing and whether the printer can accommodate them.
Print Quality: Evaluate the print quality of the 3D printers you are considering. This includes factors such as resolution, layer thickness, and printing speed. Higher resolution and thinner layers result in finer details and smoother surfaces. However, keep in mind that these factors may affect print time and cost.
Print Materials: Consider the types of materials the 3D printer can handle. The most common material used in 3D printing is PLA (polylactic acid), which is affordable, easy to print with, and environmentally friendly. However, if you have specific material requirements, such as ABS or nylon, make sure the printer supports them.
Software Compatibility: Check the compatibility of the 3D printer with various slicing software and design programs. Ensure that the printer’s software is user-friendly and provides the necessary tools for your 3D modeling and printing needs.
User Experience: Research reviews and user experiences with the 3D printer models you are interested in. Look for feedback on reliability, ease of use, customer support, and overall satisfaction. This will give you valuable insights into the user experience and help you make an informed decision.
Additional Features: Consider any additional features you may require, such as a heated bed for better adhesion, dual extruders for multi-color or multi-material printing, or a built-in camera for remote monitoring. These features can enhance your printing experience but may also increase the cost.
Manufacturer Support: Check the manufacturer’s reputation for customer support and warranty. A reliable manufacturer with good customer service can provide assistance when needed and ensure that your printer is covered by a warranty.
By taking these factors into account, you can narrow down your options and find the 3D printer that aligns with your requirements. Remember, choosing the right 3D printer is the first step towards unlocking your creativity and bringing your ideas to life.
Setting Up Your 3D Printer
Once you have chosen the perfect 3D printer for your needs, the next step is to set it up properly. While the specific steps may vary depending on the model, here are some general guidelines to help you get started.
Unpacking: Carefully unpack the 3D printer and remove all the packaging materials. Ensure that no components are damaged during the unpacking process.
Assembly: If your 3D printer requires assembly, follow the manufacturer’s instructions to put all the components together. Take your time and pay attention to detail to ensure everything is properly connected and secured.
Leveling the Bed: Properly leveling the print bed is crucial to ensure a successful print. Follow the manufacturer’s instructions to level the bed using the provided leveling knobs or screws. This step ensures that the nozzle is at the correct distance from the bed for proper print adhesion.
Connecting to Power: Connect your 3D printer to a power source using the provided power cord. Make sure to use the correct voltage and follow all safety guidelines provided by the manufacturer.
Connecting to Computer: Depending on the printer, you may need to connect it to your computer using a USB cable or establish a wireless connection. This allows you to transfer your 3D models to the printer for printing.
Calibration: Calibrate your printer according to the manufacturer’s instructions. This typically involves adjusting the printer’s settings to ensure accurate movement and alignment of the print head.
Firmware Update: Check if there are any firmware updates available for your printer and follow the instructions provided by the manufacturer to update the firmware. Firmware updates can improve the performance and functionality of your printer.
Software Installation: Install the necessary software for your 3D printer. Most printers come with their own proprietary software or recommend compatible slicing software. Follow the instructions provided to install the software on your computer.
Test Print: Once your printer is set up and connected, it’s a good idea to perform a test print. This allows you to check if the printer is functioning properly and if any adjustments need to be made before starting your actual prints.
Remember to refer to the manufacturer’s documentation and instructions throughout the setup process. Each printer may have specific steps and requirements, so it’s essential to follow the guidelines provided for your specific model. With proper setup, you can ensure optimal performance and start printing your amazing 3D creations.
Understanding the Software
Once you have set up your 3D printer, it’s time to familiarize yourself with the software that drives the printing process. The software plays a crucial role in preparing your design for printing and controlling various aspects of the printing process.
The software used with 3D printers is often referred to as slicing software. Slicing refers to the process of converting your 3D design into a series of 2D layers that the printer can understand and print. Most 3D printers come with their own proprietary slicing software, while others are compatible with popular open-source software like Cura or Simplify3D.
Importing and Creating Models: The first step in using the software is importing or creating your 3D models. You can import pre-made models in various file formats, such as .STL or .OBJ, or create your own models using 3D modeling software like Blender or Fusion 360. The software allows you to position, rotate, and scale the models based on your desired printing specifications.
Slicing: Once you have your model in the software, it’s time to slice it. The software divides your model into thin layers, determining how each layer will be printed. You can adjust parameters like layer thickness, print speed, and print quality to achieve the desired results. The slicing software also generates the G-code, a set of instructions that the printer uses to create the object layer by layer.
Support Structures: In some cases, your design might require support structures to ensure its stability during the printing process. The software allows you to add or remove support structures as needed. These supports are temporary structures that provide stability to overhanging or complex sections of your design and can be easily removed after printing.
Advanced Settings: The software provides a range of advanced settings that allow you to fine-tune the printing process. These settings include parameters like print temperature, infill density, wall thickness, and print speed. Experimenting with these settings can help achieve better print quality or optimize printing time, depending on your specific requirements.
Preview and Simulation: Many slicing software options offer a preview or simulation feature. This allows you to visualize how your model will be printed layer by layer. It helps you identify any potential issues, such as overhangs or gaps, before printing. This feature can save time and minimize failed prints.
Exporting G-code: Once you have prepared your model and adjusted the settings, you can export the G-code file. This file contains all the necessary instructions for the printer to recreate your design. Transfer the G-code file to the printer via USB or save it to an SD card, depending on the connection options of your specific printer.
Understanding the software is essential for successful 3D printing. Take the time to explore the features and capabilities of the software that comes with your printer. Watch tutorials, read user guides, and experiment with different settings to become proficient in optimizing your prints and achieving the desired results.
Preparing Your Design
Before you can start printing, you need to prepare your design for the 3D printer. This involves optimizing the design for 3D printing, ensuring proper dimensions, and making any necessary modifications to ensure a successful print. Here are some steps to help you prepare your design.
Positioning and Scaling: In the slicing software, position your 3D model in the desired orientation for printing. Consider factors such as overhangs and support structures when determining the best position. You can also scale the model to the desired size, ensuring that it fits within the print volume of your 3D printer.
Checking for Errors: It’s crucial to inspect your design for any errors or issues that may affect the print. Look for intersecting or overlapping geometry, flipped faces, and non-manifold edges. These errors can cause printing failures or result in poor print quality. Use 3D modeling software to fix any errors before proceeding.
Adding Supports: Depending on the complexity and geometry of your design, you may need to add support structures. These supports prevent overhangs or unsupported sections from collapsing during the printing process. The slicing software provides options to automatically generate supports or allow manual placement of support structures.
Orienting for Stability: Consider the stability of your design during printing. Large, flat areas or tall, narrow structures may be prone to warping or toppling over. To mitigate this, orient the design to distribute forces evenly throughout the print. Experiment with different orientations to find the most stable and successful print setup.
Optimizing Wall Thickness and Infill: Adjust the wall thickness and infill density of your design based on its purpose and structural requirements. Thicker outer walls may enhance stability, while infill percentage determines the internal structure and strength of the print. Balancing wall thickness and infill density can help achieve an optimal balance between strength and material usage.
Slicing Parameters: Fine-tune the slicing parameters to achieve the desired print quality and accuracy. This includes setting the layer height, print speed, and print temperature. Thinner layers result in smoother surfaces, but can also significantly increase print time. Adjust these parameters based on your specific needs and preferences.
Previewing the Sliced Model: Most slicing software allows you to preview the sliced model layer by layer. Take advantage of this feature to verify that the slicing process has correctly transformed your design into printable layers. Check for any potential issues like gaps, misalignments, or unsupported areas before proceeding with the print.
Save and Export: Once you are satisfied with the preparations, save your model in the appropriate file format (such as .STL or .OBJ). If necessary, export the modified and sliced model as a new file to ensure that all the changes and adjustments are preserved.
Preparing your design is a crucial step in ensuring successful 3D prints. Take the time to carefully examine your design, adjust parameters as needed, and preview the sliced model before sending it to your 3D printer. By paying attention to these details, you can avoid potential issues and create high-quality prints that bring your designs to life.
Adjusting the Printer Settings
Once your design is ready, it’s time to adjust the settings on your 3D printer to ensure optimal printing results. These settings control various aspects of the printing process, including print quality, speed, and material usage. Here are some key settings to consider when adjusting your printer.
Print Quality: The print quality determines the level of detail and smoothness in your finished print. This setting is typically controlled by the layer height, which refers to the thickness of each printed layer. A lower layer height produces finer details but also increases print time. Adjust the layer height based on the desired level of detail and time constraints.
Print Speed: The print speed affects the overall time required to complete a print. Higher print speeds can decrease the printing time but may result in reduced print quality, especially for intricate designs. Slower print speeds, on the other hand, can improve accuracy and reduce the chance of errors. Experiment with different print speeds to find the optimal balance between speed and quality.
Temperature: The temperature setting depends on the type of filament you are using. Different filaments have specific temperature requirements. Refer to the filament manufacturer’s recommendations for the ideal print temperature range. Adjusting the temperature can help achieve better layer adhesion, reduce stringing, and prevent warping.
Infill Density: Infill refers to the internal structure of the printed object. It can be solid, hollow, or consist of a patterned lattice. Adjusting the infill density determines the amount of material used for the internal structure. Higher infill percentages result in stronger prints but require more filament and longer print times. Lower percentages use less material but may sacrifice structural integrity.
Wall Thickness: Wall thickness refers to the thickness of the outer shell of the printed object. It determines the strength and durability of the print. Increasing the wall thickness can enhance stability and make the print more resistant to breaking or cracking. However, thicker walls can also increase print time and material usage. Find the right balance between strength and efficiency based on your specific needs.
Adhesion and Supports: Adjusting the bed temperature and using a suitable adhesive, such as painter’s tape or a specialized bed adhesive, can improve print adhesion. Additionally, enabling or disabling support structures can enhance the printing process for complex designs. Proper support placement and angle adjustment can prevent overhangs and ensure successful prints.
Layer Cooling: Cooling plays an important role in achieving well-defined layers and reducing layer inconsistencies. Some printers feature adjustable fan speed or cooling settings to optimize the cooling process during printing. Proper layer cooling can improve print quality, especially for prints with intricate details or overhanging sections.
Retraction: Retraction settings control the filament retraction and extrusion during print movements. Adjusting retraction distance and speed can help reduce stringing and oozing between different regions of the print. Finding the right balance between retraction settings is crucial to achieving clean and precise prints.
Remember that each 3D printer has its own specific menu system or software interface for adjusting these settings. Consult your printer’s documentation or manual to locate and adjust the relevant settings. Make small incremental changes to the settings and observe the results to fine-tune the printing process for the best outcome.
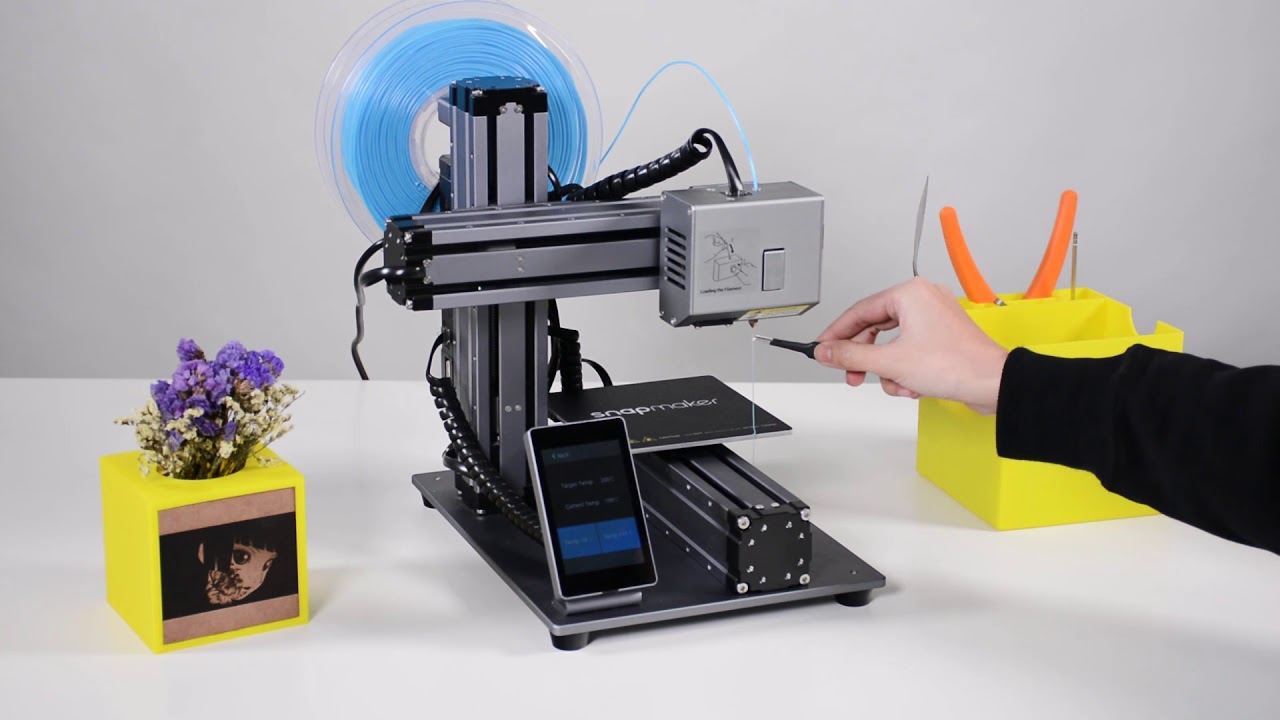
Loading the Printer Filament
One of the essential steps in 3D printing is loading the printer filament. Filament is the material that is melted and extruded by the printer to create the physical object. Properly loading the filament ensures a smooth and uninterrupted printing process. Here’s a step-by-step guide on how to load filament into your 3D printer.
Step 1: Prepare the Filament: Start by preparing your filament. Remove it from its packaging and inspect it for any visible defects or tangles. If necessary, cut the end of the filament at a 45-degree angle to form a clean and pointed tip. This will make it easier to feed into the printer.
Step 2: Heat the Extruder: Check the recommended printing temperature for the specific filament you are using. Preheat the extruder to the appropriate temperature, typically through the 3D printer’s controls or software interface. This will ensure that the filament is properly melted and extruded during the printing process.
Step 3: Locate the Filament Path: Locate the filament path on your printer. This is where the filament will feed into the extruder. It may involve inserting the filament through a designated hole or tube, or inserting it directly into the extruder mechanism.
Step 4: Insert the Filament: Take the prepared filament and gently feed it into the filament path. Push it slowly and steadily until you feel resistance or until the filament reaches the extruder mechanism. Keep an eye on the extruder to ensure that the filament is properly loaded and positioned.
Step 5: Feed the Filament into the Extruder: Once the filament is inserted, continue pushing it until you see the melted filament start to extrude from the nozzle. This indicates that the filament is properly loaded and ready for printing. Some printers may have a manual control to feed the filament into the extruder, while others may feed it automatically.
Step 6: Ensure Proper Extrusion: Observe the extruded filament closely to ensure that it is coming out smoothly and evenly. If you notice any issues such as clogging or irregular extrusion, stop the printer and double-check the filament path and loading process. Clear any obstructions or reposition the filament if necessary.
Step 7: Begin Printing: Once the filament is loaded and extruding properly, you are ready to begin printing. Use your chosen slicing software or control panel to select your desired print file and settings. The printer will now use the loaded filament to create your 3D object layer by layer.
Note that filament loading procedures may differ slightly between different 3D printers. For specific instructions, always refer to the manufacturer’s guidelines or user manual. By following these steps, you can ensure that your filament is properly loaded, enabling a successful and uninterrupted printing process.
Printing your Design
Now that you have prepared your design and loaded the filament, it’s time to start printing! The printing process is where your 3D model takes shape, layer by layer, and transforms into a physical object. Follow these steps to ensure a successful print of your design.
Step 1: Start the Print: Using the printer’s control panel or the software interface, initiate the printing process. Select the desired print file and adjust any additional settings such as print speed and temperature if necessary. Double-check that the printer is properly calibrated and that the print bed is level.
Step 2: Monitor the Initial Layer: Pay close attention to the initial layer of the print. It is crucial as it provides the foundation for the rest of the print. Ensure that the filament is adhering properly to the print bed and that the extruder is not too close or too far from the bed surface. Small adjustments to the print bed or leveling knobs may be required to achieve optimal adhesion.
Step 3: Observe the Printing Process: Keep an eye on the printing process as it progresses. Monitor the extruder and observe the layers being built upon each other. Look out for any issues such as uneven extrusion, excessive stringing, or misalignment. These observations will help you identify and resolve potential problems early on.
Step 4: Maintain Proper Printing Environment: Ensure that the printing environment is stable and free from disturbances. Avoid opening the printer unnecessarily or disturbing the printing area, as it can affect the accuracy and quality of the print. Maintain a consistent temperature and minimize any drafts that could cause warping or cooling inconsistencies.
Step 5: Be Patient: 3D printing is a gradual process, and depending on the complexity and size of your design, it can take a considerable amount of time. Be patient and let the printer do its job. Avoid removing the print prematurely or making adjustments while it is still in progress. Allow the printer to complete the entire print cycle.
Step 6: Post-Printing Cleanup: Once the print is complete, carefully remove the object from the print bed. Use a spatula or other designated tool to gently lift the print, taking care not to damage it or the print bed. Remove any support structures if necessary, following the guidelines provided by the slicing software. Depending on the material, you may need to perform additional post-printing processes such as sanding or smoothing for a polished finish.
Step 7: Evaluate and Learn: After each print, take some time to evaluate the result. Examine the print for any imperfections, surface quality, and overall fidelity to the design. Identify areas for improvement and make note of any adjustments you may need to make in future prints. Learning from each print experience will help you refine your skills and achieve better results over time.
Remember, 3D printing requires a balance of patience and attention to detail. By following these steps, you can ensure a successful print and bring your digital designs to life in physical form.
Troubleshooting Common Issues
While 3D printing can be a rewarding experience, it is not uncommon to encounter various challenges along the way. Understanding common issues and knowing how to troubleshoot them can help you overcome obstacles and achieve successful prints. Here are some common 3D printing issues and their possible solutions:
Print Not Sticking to the Bed: If your print does not adhere properly to the print bed, it may fail or become misaligned. Ensure that the print bed is clean, level, and properly calibrated. Applying bed adhesive or using a heated bed can improve adhesion. Additionally, increasing the print bed temperature or adjusting the first layer height can help the print stick better.
Stringing or Oozing: Stringing refers to thin strands of filament that appear between different parts of the print. To reduce stringing, adjust the retraction settings in your slicer software. Increasing retraction distance or speed can minimize filament oozing during non-printing moves. Lowering the temperature or adjusting extrusion multiplier settings can also help control stringing.
Layer Misalignment: Misalignment between layers can result in a warped or distorted print. Check the printer’s belts and screws for any looseness or tightness. Lubricate moving components if necessary. Ensure that the print head moves smoothly and without obstruction. Adjusting the print speed or reducing the acceleration settings can also help prevent layer misalignment.
Overhangs or Unsupported Areas: Overhangs are areas where the filament is printed on thin air without support. Increasing the angle or adding support structures can help maintain the integrity of overhangs. Adjusting the cooling fan speed can improve cooling and reduce deformities. You can also experiment with reducing the print speed for better surface quality in problematic areas.
Warped Prints: Warping occurs when the edges of the print lift or curl away from the print bed. Ensure that the bed surface is clean and properly prepared. Use adhesion aids like glue sticks, hairspray, or a heated bed to improve adhesion. Increase the bed temperature for better material bonding. You can also try enclosing the printing area to maintain a stable ambient temperature and reduce temperature fluctuations.
Filament Jamming or Clogging: If the filament gets stuck or clogged in the nozzle, it can interrupt the printing process. Clean the nozzle and hotend regularly to remove any debris or residue. Ensure that the filament diameter matches the printer settings. Adjust the extruder tension or printing temperature if necessary. Performing cold pulls or using a filament cleaning filament can also help clear any obstructions.
Under-Extrusion or Over-Extrusion: Under-extrusion occurs when the printer does not extrude enough filament, resulting in weak or incomplete prints. Check the filament feed and ensure it’s feeding smoothly without any obstructions. Adjust the extrusion multiplier or flow rate in the slicer software. Over-extrusion refers to excessive filament being pushed out, resulting in bloated or messy prints. Adjust the extruder steps per millimeter or adjust the flow rate to calibrate the extrusion accurately.
Print Quality Issues: If you are experiencing overall poor print quality, evaluate the print parameters such as layer height, print speed, and temperature settings. Ensure that the filament diameter is set correctly in the slicer software. Adjust the print cooling or use an enclosure to control temperature fluctuations. Cleaning or replacing the nozzle may also improve print quality.
Remember that troubleshooting 3D printing issues can often involve a process of trial and error. Patience, attention to detail, and understanding the variables at play will help you overcome challenges and achieve successful prints. Consulting online forums, user groups, and manufacturer resources can also provide valuable insights and tips for troubleshooting specific issues with your printer model.
Maintaining Your 3D Printer
Maintaining your 3D printer is essential to ensure its longevity and consistent performance. Regular maintenance not only prolongs the lifespan of your printer but also helps prevent issues and ensures optimal print quality. Here are some important maintenance tasks to keep your 3D printer in top shape:
Keep it Clean: Regularly clean your printer, both externally and internally. Dust, debris, and filament residue can accumulate over time and affect the printer’s performance. Use a soft brush, compressed air, or lint-free cloth to remove dust from the exterior surfaces. Inside the printer, clear out any debris from the print bed, extruder, and filament feed path.
Lubricate Moving Components: Lubricating critical moving parts, such as rods, belts, and gears, can help ensure smooth and precise movements. Check the manufacturer’s guidelines on the recommended lubrication for your specific printer. Apply a small amount of lubricant as recommended at regular intervals to prevent excessive wear and reduce friction.
Check and Tighten Connections: Regularly inspect the connections and fasteners of your 3D printer. Check for any loose screws or nuts, particularly in areas where mechanical components are attached. Tighten them as needed to maintain structural integrity and avoid vibrations or misalignments.
Calibrate and Level the Print Bed: Regularly calibrate and level the print bed to ensure proper adhesion and accurate layer height. This is especially important if you frequently remove and reinstall the print bed. Follow the manufacturer’s instructions for calibrating the bed or use automated bed leveling features if available.
Monitor Filament Usage: Keep track of your filament usage and monitor the amount of filament left on the spool. Avoid running out of filament mid-print, as it can lead to failed prints. Regularly check the condition of the filament, looking for signs of moisture absorption, brittleness, or tangling. Store your filament properly in a dry and dust-free environment.
Replace Consumable Components: Some components of your 3D printer have a limited lifespan and will require periodic replacement. These may include the print bed surface, nozzle, hotend, or cooling fans. Follow the manufacturer’s guidelines for the recommended replacement schedule and ensure you source genuine replacement parts for optimal compatibility and performance.
Keep Firmware and Software Updated: Check for firmware and software updates for your 3D printer. Keeping your printer’s firmware up to date can provide performance improvements, bug fixes, and compatibility with new features. Likewise, update your slicing software to access the latest enhancements and improvements in print quality.
Refer to User Manuals and Online Resources: Always refer to the user manual and documentation provided by the manufacturer for specific maintenance guidelines and procedures. Online communities, forums, and support groups dedicated to your printer model can also offer valuable tips, troubleshooting advice, and best practices for maintenance.
Regular maintenance and care will help keep your 3D printer running smoothly, minimize downtime, and ensure consistent print quality. By following these maintenance tasks and staying proactive, you can enjoy a longer-lasting and reliable 3D printing experience.
Conclusion
Congratulations! You have now gained a comprehensive understanding of how to use a 3D printer. From choosing the right printer to troubleshooting common issues, you are well-equipped to embark on your journey into the world of 3D printing. With the right knowledge and skills, you can unleash your creativity and bring your ideas to life.
Remember, choosing the right 3D printer is crucial. Consider your budget, intended use, print quality, and materials when making your selection. Setting up your printer correctly, calibrating it, and understanding the software are vital steps to ensure smooth printing operations.
Preparing your design involves positioning and scaling, checking for errors, and adjusting settings to achieve optimal results. Adjusting printer settings, such as print quality, speed, and temperature, allows you to customize the printing process to your liking.
Loading filament correctly is essential for successful prints. Take care to heat the extruder, locate the filament path, insert the filament, and ensure proper extrusion. With the filament loaded, you can start printing your design layer by layer, monitoring the process and evaluating the results.
Although challenges may arise, troubleshooting common issues such as print adhesion, stringing, or misalignment becomes easier with experience. Regular maintenance of your 3D printer, including cleaning, lubrication, and component replacement, helps keep it in optimal condition for consistent performance.
With the knowledge and skills acquired, you are now ready to embark on your 3D printing journey. Explore different materials, experiment with designs, and join online communities to learn from others and share your experiences. The possibilities are endless, and 3D printing opens up a world of creativity and innovation.
Now, go ahead, unleash your imagination, and let your 3D printer bring your wildest ideas to life!