Introduction
Welcome to our comprehensive guide on how to upgrade your Windows 8.1 operating system to the latest version, Windows 10. Upgrading to Windows 10 brings a plethora of exciting features, improved performance, and enhanced security. Whether you’re a casual user or a business professional, this upgrade is a great opportunity to take your computing experience to the next level.
Windows 10 offers a user-friendly interface, seamless integration with Microsoft’s suite of productivity tools, and advanced features designed to optimize your workflow. With its regular feature updates and robust security measures, Windows 10 provides a stable and reliable platform for both work and play.
In this tutorial, we will walk you through the step-by-step process of upgrading from Windows 8.1 to Windows 10. We’ll discuss the system requirements, the importance of backing up your data, and how to check for compatibility. We’ll also guide you through the process of downloading and installing Windows 10, setting up the operating system, and transferring your files and settings.
If you’re concerned about losing your data or encountering any technical issues during the upgrade, don’t worry – we’ve got you covered. We’ll provide troubleshooting tips for common issues that may arise during the upgrade process. Our goal is to ensure a smooth and successful transition to Windows 10, so you can enjoy all the benefits it has to offer.
Before we dive into the upgrade process, it’s important to note that upgrading your operating system is a significant change that may take some time. It’s essential to have a stable internet connection and be prepared for several system restarts throughout the process. Additionally, it’s always a good idea to back up your important files and settings to prevent any potential data loss.
Now that you have an overview of what to expect, let’s get started by reviewing the system requirements for upgrading to Windows 10.
System Requirements
Before you proceed with the upgrade, it’s crucial to ensure that your computer meets the minimum system requirements for Windows 10. These requirements ensure optimal performance and compatibility with the new operating system.
Here are the minimum system requirements for Windows 10:
- Processor: 1 GHz or faster processor or SoC
- RAM: 1 GB for 32-bit or 2 GB for 64-bit
- Storage: 16 GB for 32-bit OS or 20 GB for 64-bit OS
- Graphics card: DirectX 9 or later with WDDM 1.0 driver
- Display: 800×600 resolution
While these are the minimum requirements, it’s recommended to have more powerful hardware for a smoother experience. If your computer meets these requirements, you’re ready to move forward with the upgrade process.
It’s important to note that if you’re currently running a 32-bit version of Windows 8.1, the upgrade will install the 32-bit version of Windows 10. Similarly, if you’re running a 64-bit version of Windows 8.1, the upgrade will install the 64-bit version of Windows 10. It’s not possible to switch between the two architectures during the upgrade process.
In addition to the hardware requirements, you also need to consider software compatibility. Ensure that all your essential programs and peripherals, such as printers and scanners, have compatible Windows 10 drivers or updates available. Visit the official websites of the software and hardware manufacturers to check for compatibility and download the necessary drivers or updates.
If your computer meets the system requirements and your software and hardware are compatible, you’re ready to proceed to the next steps – backing up your data and checking for compatibility.
Backing up your data
Before embarking on the upgrade process, it’s crucial to back up your data to prevent any potential loss or corruption. While the upgrade process typically preserves your files and settings, it’s always better to be safe than sorry. Here are some methods for backing up your data:
- External storage devices: One of the simplest ways to back up your data is by using external storage devices such as USB flash drives or external hard drives. Simply connect the device to your computer and copy your important files and folders to the device. Make sure to organize your data in a logical manner to ease the restore process later.
- Cloud storage services: Another convenient option is to make use of cloud storage services like Dropbox, Google Drive, or OneDrive. These services offer a certain amount of free storage space where you can upload your files and folders. Once uploaded, your data will be accessible from any device with an internet connection.
- Backup software: Backup software provides a comprehensive solution for backing up your data. These applications allow you to schedule regular backups, choose specific files and folders to back up, and even automate the process. Popular backup software options include Acronis True Image, EaseUS Todo Backup, and Macrium Reflect.
When backing up your data, it’s important to consider not only your personal files but also any application settings or preferences you may have. Take note of any customized settings, bookmarks, or saved passwords in browsers, email clients, or other software that you use regularly. This will ensure that your new Windows 10 system is set up according to your preferences.
Once you have successfully backed up your data, it’s a good practice to test the backup by restoring a few files to ensure that everything is working correctly. This will give you peace of mind knowing that your data is safe and can be easily restored if needed.
With your data securely backed up, you can now proceed with the next steps of checking for compatibility and downloading Windows 10. By taking the time to back up your data, you’re safeguarding your important files and ensuring a smooth and worry-free upgrade process.
Check for compatibility
Before proceeding with the Windows 10 upgrade, it’s essential to check for compatibility to ensure a smooth transition and avoid any potential issues. Fortunately, Microsoft provides a compatibility tool called the “Get Windows 10” app that simplifies the process. Here’s how you can check for compatibility:
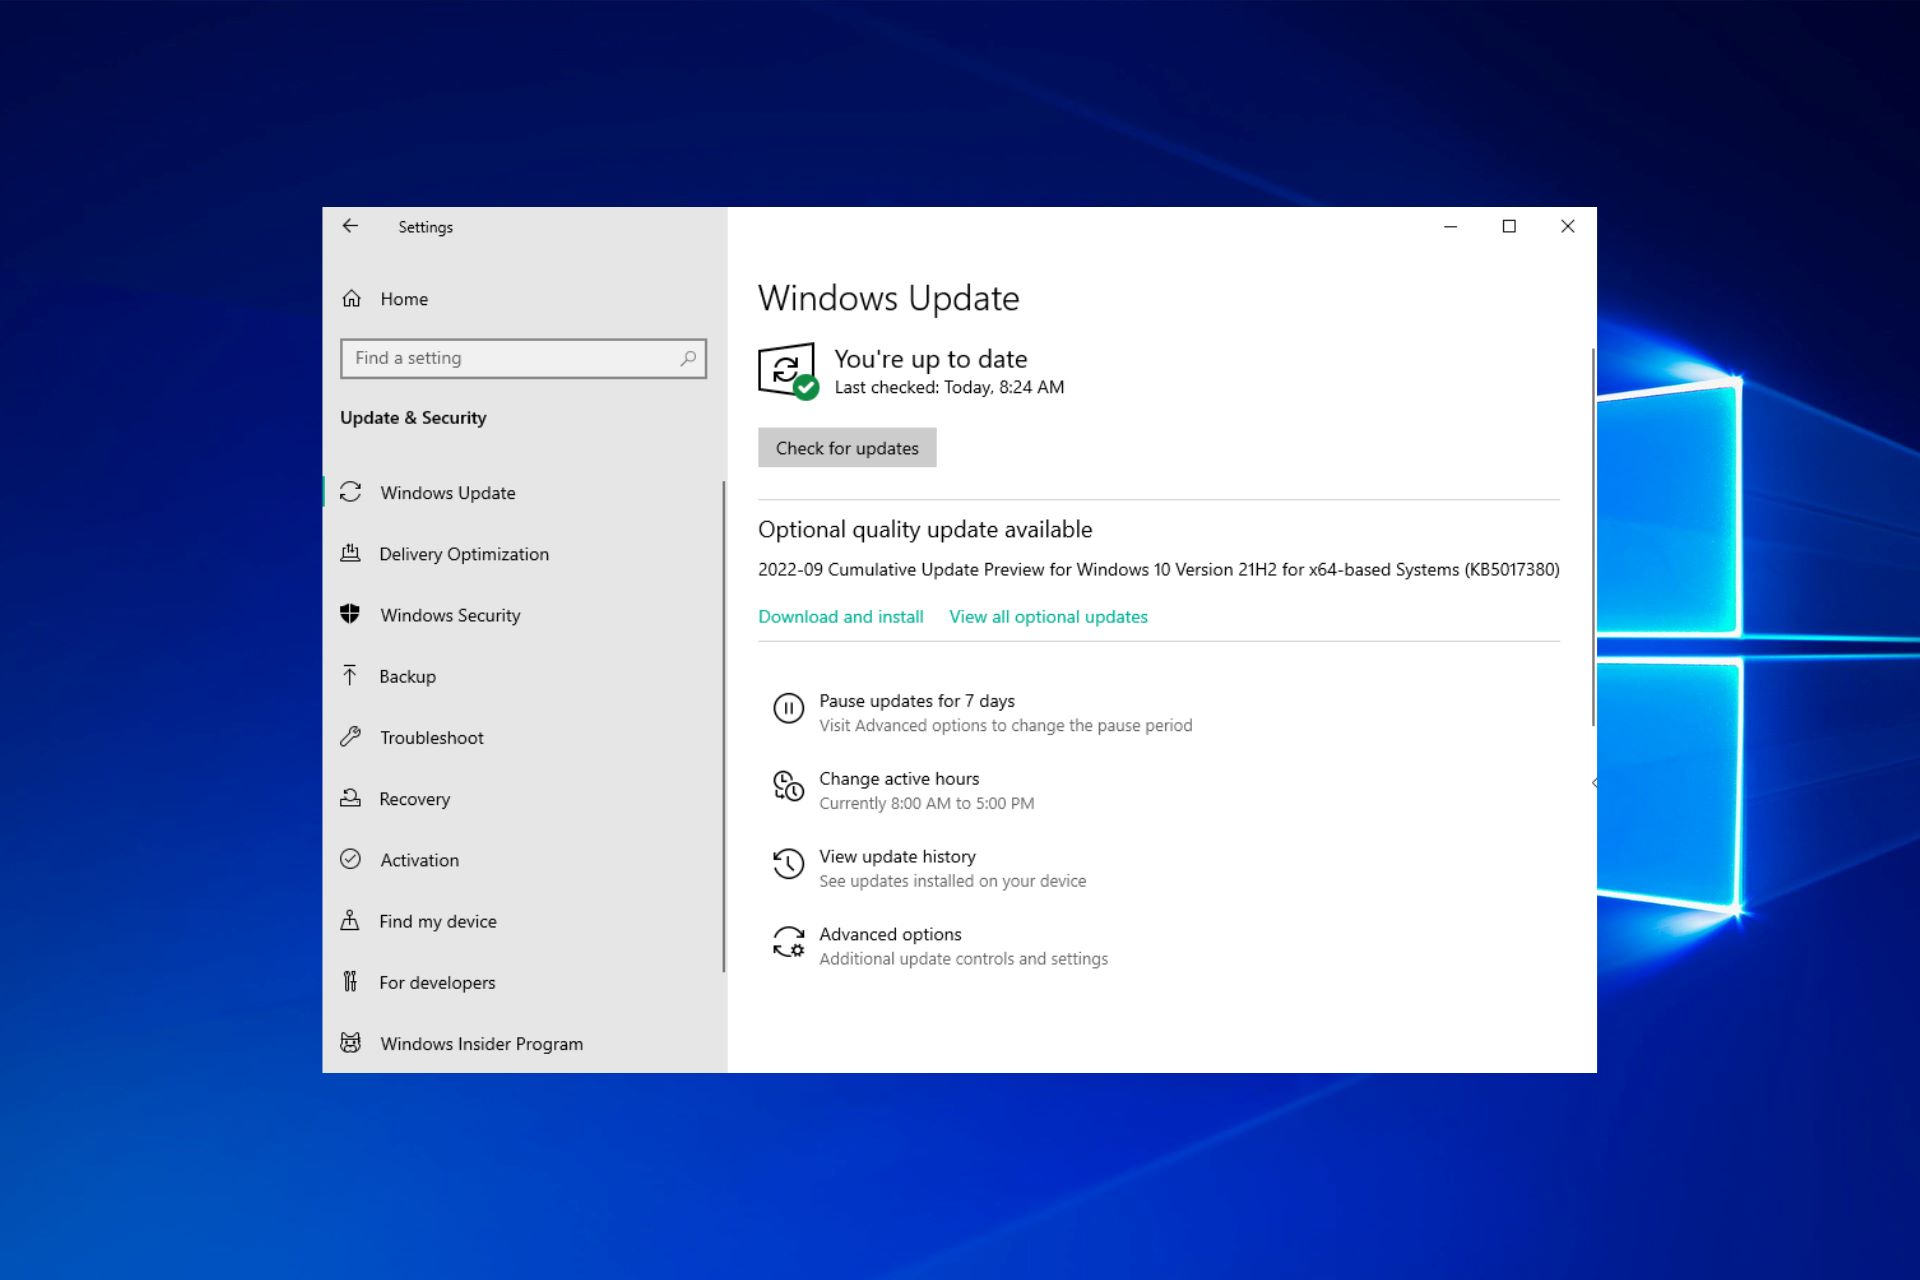
- Open the Get Windows 10 app: Look for the Windows icon in the system tray located at the bottom right corner of your screen. Click on it to open the Get Windows 10 app. If you don’t see the icon, you may need to update your Windows 8.1 operating system to the latest version using Windows Update.
- Check compatibility: Once the app is open, click on the “Check your PC” option. This will initiate a scan that evaluates your computer’s hardware and installed software to determine if they are compatible with Windows 10. The scan usually takes a few moments to complete.
- Review the compatibility report: After the scan is complete, the app will display a compatibility report that informs you about any potential issues or incompatibilities. Carefully review the report and take note of any items that need attention.
- Resolve compatibility issues: If the compatibility report highlights any issues, it’s important to resolve them before proceeding with the upgrade. This may involve updating device drivers, uninstalling incompatible software, or contacting the software manufacturer for compatibility updates or alternatives.
It’s worth mentioning that even if the compatibility scan shows no issues, it’s still a good idea to ensure that all your software and hardware have the latest updates installed. Visit the manufacturers’ websites for your peripherals and software to download any necessary drivers or updates for Windows 10 compatibility.
If your computer passes the compatibility check and all necessary updates are in place, you can proceed with confidence to the next steps – downloading and installing Windows 10. By taking the time to check for compatibility, you’re ensuring a seamless upgrade process and minimizing the chances of encountering any unexpected complications.
Downloading Windows 10
Now that you have confirmed compatibility and resolved any issues, it’s time to download the Windows 10 installation files. There are a few options available, depending on your preference and situation:
- Using the “Get Windows 10” app: If you have completed the compatibility check using the Get Windows 10 app, you can use it to initiate the download. Within the app, click on the option to reserve your free upgrade. This will queue your device to download Windows 10 in the background when it becomes available. You will receive a notification when the download is ready, allowing you to proceed with the installation.
- Using the Media Creation Tool: If you want to download the Windows 10 installation files directly or create a bootable USB drive, you can utilize the Media Creation Tool provided by Microsoft. Visit the official Microsoft website and search for “Windows 10 Media Creation Tool.” Download the tool, run it, and follow the on-screen instructions to either directly upgrade your system or create an installation media for later use.
- Using a Windows 10 ISO file: If you prefer to have a copy of the Windows 10 ISO file for future installations or if you want to perform a clean installation, you can download the ISO file from the Microsoft website. This option is useful if you have multiple devices to upgrade or if you want to create a bootable USB drive. Once you have the ISO file, you can use various software, such as Rufus or Windows USB/DVD Download Tool, to create a bootable USB drive.
During the download process, make sure you have a stable internet connection to avoid any interruptions. The file size for downloading Windows 10 can vary, so it’s recommended to have a high-speed internet connection for faster downloads.
It’s important to note that if you are upgrading from a genuine copy of Windows 8.1, Windows 10 should automatically activate using your existing product key. However, it’s always a good practice to keep a record of your product key, just in case it is needed during the installation process.
Once the download is complete, you’re ready to move on to the next step – installing Windows 10 on your computer. Let’s explore the installation process in the next section.
Installing Windows 10
After successfully downloading the Windows 10 installation files, it’s time to proceed with the installation process. Here’s a step-by-step guide on how to install Windows 10:
- Backup your data: Before proceeding with the installation, it’s essential to ensure that your important files and data are backed up. This will safeguard against any potential loss during the installation process.
- Insert the installation media: If you downloaded the Windows 10 installation files onto a USB drive or DVD, insert the media into your computer’s USB port or DVD drive, respectively.
- Restart your computer: Next, restart your computer and boot from the installation media. You may need to change the boot order in the system BIOS settings to prioritize the USB drive or DVD drive.
- Follow the on-screen instructions: Once the computer boots from the installation media, you will be prompted to select your language, time zone, and keyboard preferences. Follow the on-screen instructions to proceed.
- Select “Install Now”: On the installation screen, click on the “Install Now” button to begin the installation process.
- Enter your product key: If prompted, enter your Windows 10 product key. If you upgraded from a genuine copy of Windows 8.1, your product key should automatically be detected and entered for you.
- Read and accept the license terms: Read and accept the license terms and conditions to proceed with the installation.
- Select the installation type: Choose whether you want to perform a clean installation of Windows 10 or upgrade your existing Windows 8.1 installation. For this guide, we will focus on the upgrade process.
- Wait for the installation process: The installation process may take some time, depending on your computer’s hardware specifications. Your computer may restart multiple times during the installation.
- Set up Windows 10: After the installation is complete, you will be prompted to personalize your Windows 10 experience. You can choose your desired settings, such as privacy options, user accounts, and computer name.
Once you have completed the installation process and customized your Windows 10 settings, you’re ready to explore the new features and functionality offered by this advanced operating system. In the next sections, we will guide you through setting up Windows 10 and transferring your files and settings.
Setting up Windows 10
Now that you have successfully installed Windows 10, it’s time to set up your new operating system for a personalized and optimized experience. Here are the steps to guide you through the initial setup of Windows 10:
- Sign in with your Microsoft account: If you have a Microsoft account, it’s recommended to sign in using that account during the initial setup. This will allow you to access various Microsoft services, such as OneDrive and Microsoft Store, with ease. If you don’t have a Microsoft account, you can create a new one or choose to use a local account instead.
- Customize your privacy settings: Windows 10 provides various privacy settings that allow you to control the data you share with Microsoft and other apps. Take the time to review and customize these settings according to your preferences. You can choose to enable or disable features such as location, personalized ads, and diagnostic data.
- Choose your preferred browser and default apps: Windows 10 comes with Microsoft Edge as the default web browser. However, you have the freedom to choose your preferred browser such as Google Chrome or Mozilla Firefox. You can also set your default apps for various tasks like email, media playback, and photo viewing.
- Explore Cortana: Cortana, Microsoft’s virtual assistant, is available on Windows 10 and can assist you with various tasks. Take the time to set up Cortana according to your preferences, such as voice activation and personalized reminders.
- Customize your desktop: Windows 10 offers various customization options for your desktop. You can personalize your wallpaper, color scheme, taskbar settings, and more. Take the opportunity to make your desktop visually appealing and tailored to your preferences.
- Install essential software: After setting up Windows 10, it’s a good practice to install essential software that you regularly use. This may include productivity tools, antivirus software, media players, and any other applications you rely on for your daily tasks. Always ensure that you download software from reputable sources to prevent malware or security risks.
- Set up security features: Windows 10 offers robust security features to protect your system and data. Take the time to review and customize these settings, such as Windows Defender and Windows Firewall, to enhance your system’s security.
By following these steps, you’ll be able to set up Windows 10 according to your preferences and optimize your experience. Remember to explore the various features and settings available in Windows 10 to fully utilize its capabilities.
In the next section, we will guide you through the process of transferring your files and settings from your previous Windows 8.1 installation to Windows 10.
Transferring your files and settings
When upgrading to Windows 10 from Windows 8.1, you have the option to transfer your files, folders, and settings to the new operating system. This allows you to seamlessly continue working with your previous data without any disruptions. Here’s how you can transfer your files and settings:
- Use the Windows Migration Assistant: Windows provides a migration tool called “Windows Migration Assistant” that can help you transfer your files, folders, and settings from Windows 8.1 to Windows 10. This tool simplifies the process by guiding you through the necessary steps and ensuring a smooth transition. You can find the Windows Migration Assistant on the official Microsoft website.
- Manually transfer your files: If you prefer a more customized approach, you can manually transfer your files and folders. Start by identifying the important files and folders you want to transfer, such as documents, photos, music, and videos. Copy these files to an external storage device (such as a USB drive or external hard drive) or upload them to a cloud storage service (such as OneDrive or Google Drive). Once you have installed Windows 10, you can then copy the files back to your new operating system.
- Reinstall your software: After transferring your files, you will need to reinstall the software applications that you were using in Windows 8.1. Make a list of the essential software and download the latest versions from their official websites or use installation media if you have it available. It’s worth noting that some software applications may not be fully compatible with Windows 10, so ensure that you check for compatibility beforehand or consider alternative software options.
- Reconfigure your settings: In addition to files and software, you may also want to transfer specific settings or preferences from your Windows 8.1 installation. This can include customizations in applications, browser bookmarks, email accounts, and more. Take note of these settings and reconfigure them in Windows 10 to ensure a familiar and tailored environment.
- Verify the transferred files: Once the transfer process is complete, take the time to verify that all your files and settings are intact and functioning correctly in Windows 10. Open and test your files, applications, and settings to ensure everything transferred successfully.
By following these steps, you can easily transfer your files, folders, and settings from your previous Windows 8.1 installation to Windows 10. This will allow you to seamlessly continue your work and maintain a familiar computing environment.
In the next section, we will provide troubleshooting tips for common issues that you might encounter during the Windows 8.1 to Windows 10 upgrade process.
Restoring your files and settings
After upgrading from Windows 8.1 to Windows 10 and transferring your files and settings, it’s time to restore them in your new operating system. Restoring your files and settings ensures that you can pick up where you left off and have access to all your important data. Here’s how you can restore your files and settings:
- Import your files and folders: If you used an external storage device or cloud storage service to transfer your files, simply copy them back into the appropriate folders in your new Windows 10 installation. Ensure that you organize your files in a way that makes sense to you, making it easier to find and access them in the future.
- Reinstall your software applications: As mentioned earlier, you will need to reinstall the software applications that you were using in Windows 8.1. Use the installation files or setup programs that you saved or downloaded. Follow the installation prompts and enter any necessary license keys or activation codes as required. This will ensure that all your essential software is installed and ready to use.
- Configure your settings and preferences: Take the time to configure your settings and preferences in Windows 10 to match your previous Windows 8.1 setup. This may include customizing your desktop wallpaper, display settings, theme, power options, and more. Additionally, check your browser settings, email accounts, and other applications to ensure they are set up according to your preferences.
- Verify the functionality of your restored files and settings: After restoring your files and settings, it’s important to verify that everything is functioning as expected. Open your files, test your software applications, and ensure that your customized settings are working correctly. If you encounter any issues, troubleshoot them accordingly using the tips provided in the next section of this guide.
By following these steps, you can successfully restore your files and settings in your new Windows 10 operating system. This will allow you to seamlessly continue your work and enjoy the benefits of the upgraded operating system.
In the final section of this guide, we will provide troubleshooting tips for common issues that you may encounter during the Windows 8.1 to Windows 10 upgrade process.
Troubleshooting common issues
During the Windows 8.1 to Windows 10 upgrade process, you may encounter common issues that could potentially disrupt the smooth transition. Here are some troubleshooting tips to help you address these issues:
- Compatibility issues with software: If you encounter compatibility issues with certain software applications after the upgrade, try running them in compatibility mode. Right-click on the application’s icon or shortcut, select “Properties,” go to the “Compatibility” tab, and enable compatibility mode for the previous operating system version.
- Driver problems: Outdated or incompatible drivers can cause issues with hardware devices in Windows 10. To resolve this, visit the manufacturer’s website for each device and download the latest drivers compatible with Windows 10. Alternatively, use Windows Update to search for and install updated drivers automatically.
- Activation issues: If Windows 10 fails to activate with your product key, ensure that you have entered the correct key. If you upgraded from a genuine copy of Windows 8.1, the product key should be automatically detected during the installation. If activation still fails, contact Microsoft Support for assistance.
- System instability or crashes: If you experience system instability or frequent crashes after the upgrade, it may be due to incompatible or corrupt software or drivers. Perform a clean boot to identify the source of the issue by disabling startup programs and non-Microsoft services. After identifying the cause, update or uninstall the problematic software or driver.
- Missing files or settings: If you notice that some files or settings were not transferred or restored correctly, double-check that you copied all the necessary files to the new Windows 10 installation or performed the restoration process correctly. Restore from your backup if needed or go back to your Windows 8.1 installation to retrieve the missing files or settings.
If you are experiencing other issues during the Windows 8.1 to Windows 10 upgrade, consider seeking help from the official Microsoft support forums or contacting Microsoft Support directly for further assistance. They can provide specific guidance tailored to your situation and help you troubleshoot and resolve any issues you may be facing.
By following these troubleshooting tips, you can overcome common issues and ensure a successful upgrade from Windows 8.1 to Windows 10.
Now that you have completed the upgrade process and resolved any issues, you can enjoy all the benefits and features that Windows 10 has to offer. With its advanced functionality and improved performance, Windows 10 provides a modern and seamless computing experience.
Conclusion
Congratulations! You have successfully upgraded from Windows 8.1 to Windows 10, unlocking a world of new features, improved performance, and enhanced security. Throughout this guide, we have covered the essential steps for a smooth and successful upgrade process.
We started with the importance of checking compatibility and ensuring that your system meets the minimum requirements for Windows 10. We emphasized the significance of backing up your data to protect against potential loss during the upgrade. Then, we walked you through the process of downloading and installing Windows 10, as well as setting up the operating system to match your preferences.
We also discussed how to transfer and restore your files and settings from Windows 8.1 to Windows 10. By following these steps, you ensured a seamless transition, allowing you to continue working with your important data without any disruptions.
Additionally, we provided troubleshooting tips to address common issues that may arise during the upgrade process. These tips will help you overcome compatibility issues, driver problems, activation challenges, system instability, and missing files or settings, ensuring a smooth experience with Windows 10.
Remember, upgrading to Windows 10 is an opportunity to take advantage of the latest technology and features offered by Microsoft. It provides a user-friendly interface, seamless integration with Microsoft services, and advanced capabilities to enhance your productivity and enjoyment.
As you explore and familiarize yourself with Windows 10, don’t hesitate to utilize online resources, forums, and official support channels for any further assistance or clarifications you may need.
Thank you for choosing Windows 10 and following this guide. We hope you have a fantastic experience with your upgraded operating system!