Introduction
The Surface Pro 4 is a versatile and powerful device that caters to the needs of both professionals and casual users. Its compact design, impressive performance, and advanced features have made it a popular choice among tech enthusiasts. However, if you have been using the Surface Pro 4 for a while, you might have noticed that its storage capacity is starting to fill up. Upgrading the Surface Pro 4 SSD (Solid State Drive) can be a smart solution to enhance its performance and increase storage space.
The SSD is responsible for storing all your data, from operating system files to documents, media files, and applications. Over time, as you accumulate more data, it can slow down the device and limit your ability to install new software or save files. By upgrading the SSD, you can not only enjoy faster performance but also have more room to store your files and applications.
In this guide, we will walk you through the process of upgrading the SSD on your Surface Pro 4 step by step. We will cover everything from preparing for the upgrade to troubleshooting common issues. Whether you are a tech-savvy user or new to hardware upgrades, this guide will provide you with the necessary information and instructions to successfully upgrade your Surface Pro 4 SSD.
If you’re ready to boost the performance and storage capacity of your Surface Pro 4, let’s get started with the pre-upgrade preparations.
Why Upgrade the Surface Pro 4 SSD?
The decision to upgrade the SSD of your Surface Pro 4 can bring several benefits and improve your overall user experience. Here are some compelling reasons to consider upgrading your Surface Pro 4 SSD:
- Increased Storage Space: One of the primary advantages of upgrading the SSD is the ability to expand your storage capacity. The standard SSD that comes with the Surface Pro 4 might not be sufficient for users who work with large files, media content, or heavy applications. Upgrading to a higher capacity SSD allows you to store more data and applications without worrying about running out of space. This is particularly beneficial for professionals who require ample storage for their work-related files and projects.
- Improved Performance: Upgrading the SSD can significantly enhance the performance of your Surface Pro 4. SSDs are known for their faster read and write speeds compared to traditional hard drives. This means that data can be accessed and transferred more quickly, resulting in shorter boot times, faster application launches, and smoother overall performance. If you have been experiencing sluggishness or delays when using your Surface Pro 4, upgrading the SSD can provide a noticeable improvement in speed and responsiveness.
- Efficient Data Management: As your storage needs grow, it becomes essential to organize and manage your data effectively. Upgrading the SSD enables you to better organize your files, create separate partitions for different types of data, and maintain an efficient file system. With more storage available, you can easily keep track of your files, projects, and multimedia content, ensuring a clutter-free and streamlined data management system.
- Future-Proofing: Technology is constantly evolving and new applications and software updates often require more storage space. By upgrading the SSD, you are future-proofing your Surface Pro 4 and ensuring that it can handle the demands of future software updates and programs. With a larger and faster SSD, you won’t have to worry about running into storage limitations or experiencing performance bottlenecks when using the latest software or applications.
Overall, upgrading the SSD of your Surface Pro 4 offers a range of benefits including increased storage capacity, improved performance, efficient data management, and future-proofing your device. Now that you understand the advantages, let’s move on to the next section, which covers the preparations before upgrading your Surface Pro 4 SSD.
Preparing for the Upgrade
Before you begin the process of upgrading the SSD on your Surface Pro 4, it is important to follow a few essential steps to ensure a smooth and successful upgrade. Here are some important preparations to consider:
- Backup Your Data: Prior to upgrading the SSD, it is crucial to backup all your important data and files to prevent any potential loss. This can be done by either creating a backup on an external hard drive or using cloud-based storage services. By taking this precautionary step, you can rest assured that your valuable data will not be lost during the upgrade process.
- Check Compatibility: It is crucial to verify the compatibility of the new SSD with your Surface Pro 4. Not all SSDs are compatible with every device, and using an incompatible SSD can cause issues or even damage your Surface Pro 4. Consult the manufacturer’s specifications and recommendations to ensure that you choose a compatible SSD that meets the necessary requirements.
- Ensure Adequate Tools: To successfully complete the SSD upgrade, you will need a few tools such as a small screwdriver, spudger, and pry tool. These tools are commonly available in electronic repair kits. Having the right tools handy will make the process easier and reduce the risk of damaging the Surface Pro 4 during the upgrade.
- Create a Work Area: Find a clean and well-lit workspace where you can comfortably work on your Surface Pro 4. Clear the area of any unnecessary clutter and ensure that you have enough space to lay out the tools and components. Working in a clean and organized environment will help prevent accidents and ensure the smooth execution of the SSD upgrade.
- Read the Instructions: Familiarize yourself with the instructions provided by the SSD manufacturer. Each SSD might have specific installation steps and requirements, so make sure to read the user manual or installation guide carefully. Understanding the instructions in advance will help you proceed confidently during the upgrade process.
By following these preparatory steps, you will be well-equipped and ready to upgrade the SSD on your Surface Pro 4. Now that you are prepared, let’s proceed to the next section, which provides a step-by-step guide for the SSD upgrade process.
Step-by-Step Guide to Upgrade Surface Pro 4 SSD
Now that you have completed the necessary preparations, it’s time to dive into the step-by-step process of upgrading the SSD on your Surface Pro 4. Follow these instructions carefully to ensure a successful upgrade:
- Power Off and Disconnect: Start by turning off your Surface Pro 4 and disconnecting any cables or accessories connected to it. This will prevent any accidental damage or interference during the upgrade process.
- Remove the Kickstand: Gently lift and remove the kickstand from the back of your Surface Pro 4. Set it aside in a safe place as you will need it later.
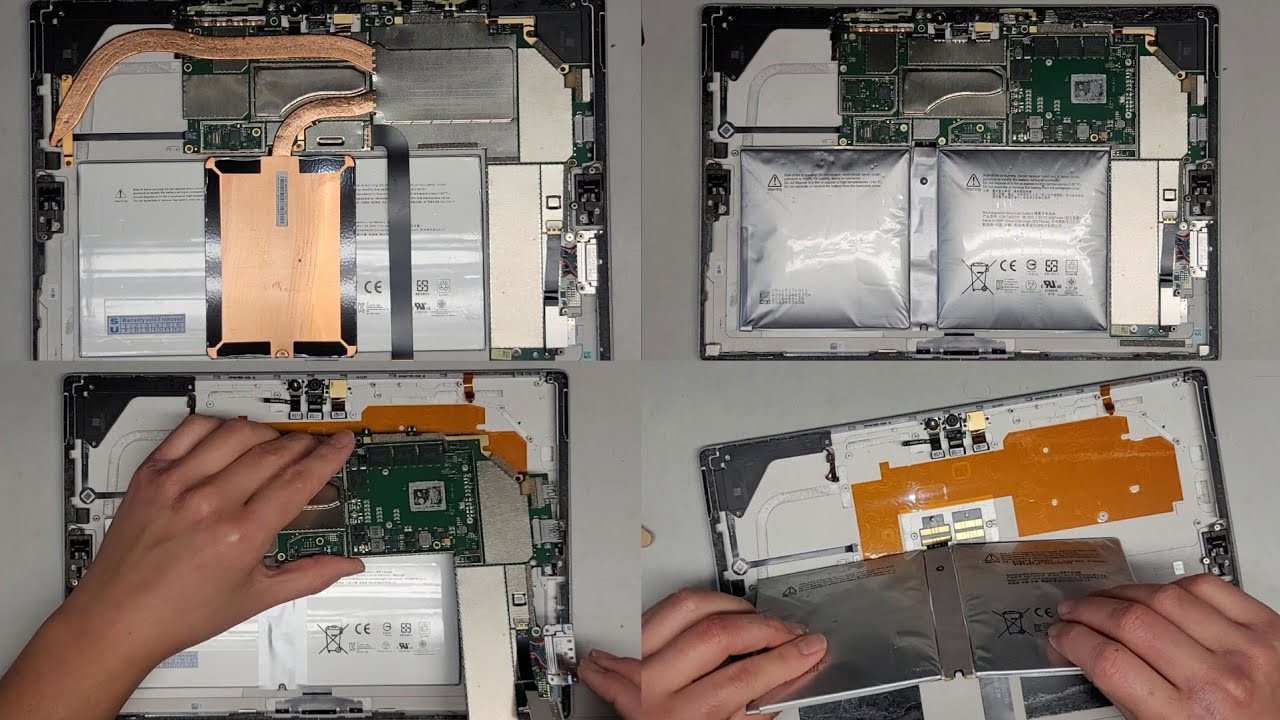
- Detach the Display: Use a pry tool or your fingers to carefully detach the display from the base of the Surface Pro 4. Start from one corner and gradually move along the edges until the display is completely separated. Be cautious and apply gentle pressure to avoid damaging the device.
- Disconnect the Battery: Locate the battery connector on the motherboard and disconnect it by gently pulling the connector clip upwards. This will ensure that there is no power running through the device during the upgrade.
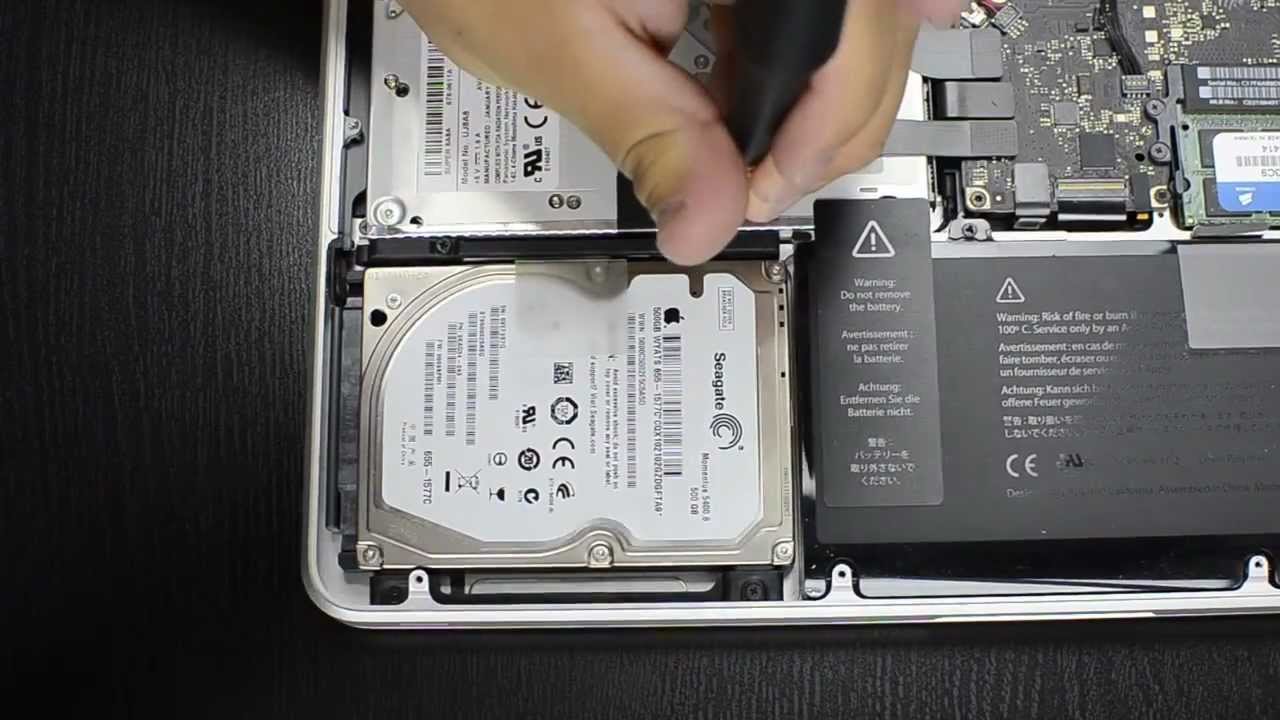
- Remove the SSD: Locate the SSD module on the motherboard, which will be secured with screws. Use a small screwdriver to remove the screws and carefully lift out the old SSD from its position.
- Install the New SSD: Take the new SSD and align it with the slot on the motherboard. Carefully insert it into the slot and secure it in place with the screws previously removed.
- Reconnect the Battery: Connect the battery connector back into its slot on the motherboard, ensuring it is properly secured.
- Attach the Display: Reattach the display to the base of your Surface Pro 4 by aligning the edges and applying gentle pressure until it snaps back into place.
- Reattach the Kickstand: Place the kickstand back on the rear of your Surface Pro 4 and press it firmly until it is securely attached.
- Power On and Test: Finally, power on your Surface Pro 4 and verify that the new SSD is recognized and functioning properly. You can do this by checking the storage details in the device settings or running a performance test.
Following these step-by-step instructions will enable you to successfully upgrade the SSD on your Surface Pro 4. If you encounter any issues or have questions during the process, refer to the troubleshooting section in this guide or consult the SSD manufacturer’s support resources. Now that you have completed the upgrade, let’s move on to the post-upgrade steps to ensure a seamless transition.
Removing the Old SSD
Before installing the new SSD into your Surface Pro 4, you need to carefully remove the old SSD. Follow these steps to ensure a proper removal of the old SSD:
- Power Off and Disconnect: Start by turning off your Surface Pro 4 and disconnecting any cables or accessories connected to it. This will ensure your safety and prevent any accidental damage.
- Remove the Kickstand: Gently lift and remove the kickstand from the back of your Surface Pro 4. Set it aside in a safe place.
- Detach the Display: Use a pry tool or your fingers to carefully detach the display from the base of the Surface Pro 4. Start from one corner and gradually move along the edges until the display is completely separated. Take your time and apply gentle pressure to avoid damaging the device.
- Locate the SSD: Once the display is detached, you will see the SSD module on the motherboard. It will typically be a small rectangular component with screws securing it in place.
- Remove the Screws: Use a small screwdriver to remove the screws that are holding the SSD in place. Take note of their location and keep them in a safe place for later use.
- Lift out the SSD: With the screws removed, gently lift out the old SSD from its slot on the motherboard. Be careful not to bend or damage any of the connectors.
You have now successfully removed the old SSD from your Surface Pro 4. Take a moment to inspect the motherboard and make sure there is no damage or debris in the SSD slot. If everything looks good, you are ready to proceed with the installation of the new SSD. Refer to the next section for detailed instructions on how to install the new SSD into your Surface Pro 4.
Installing the New SSD
Now that you have successfully removed the old SSD from your Surface Pro 4, it’s time to install the new SSD. Follow these steps to ensure a proper installation:
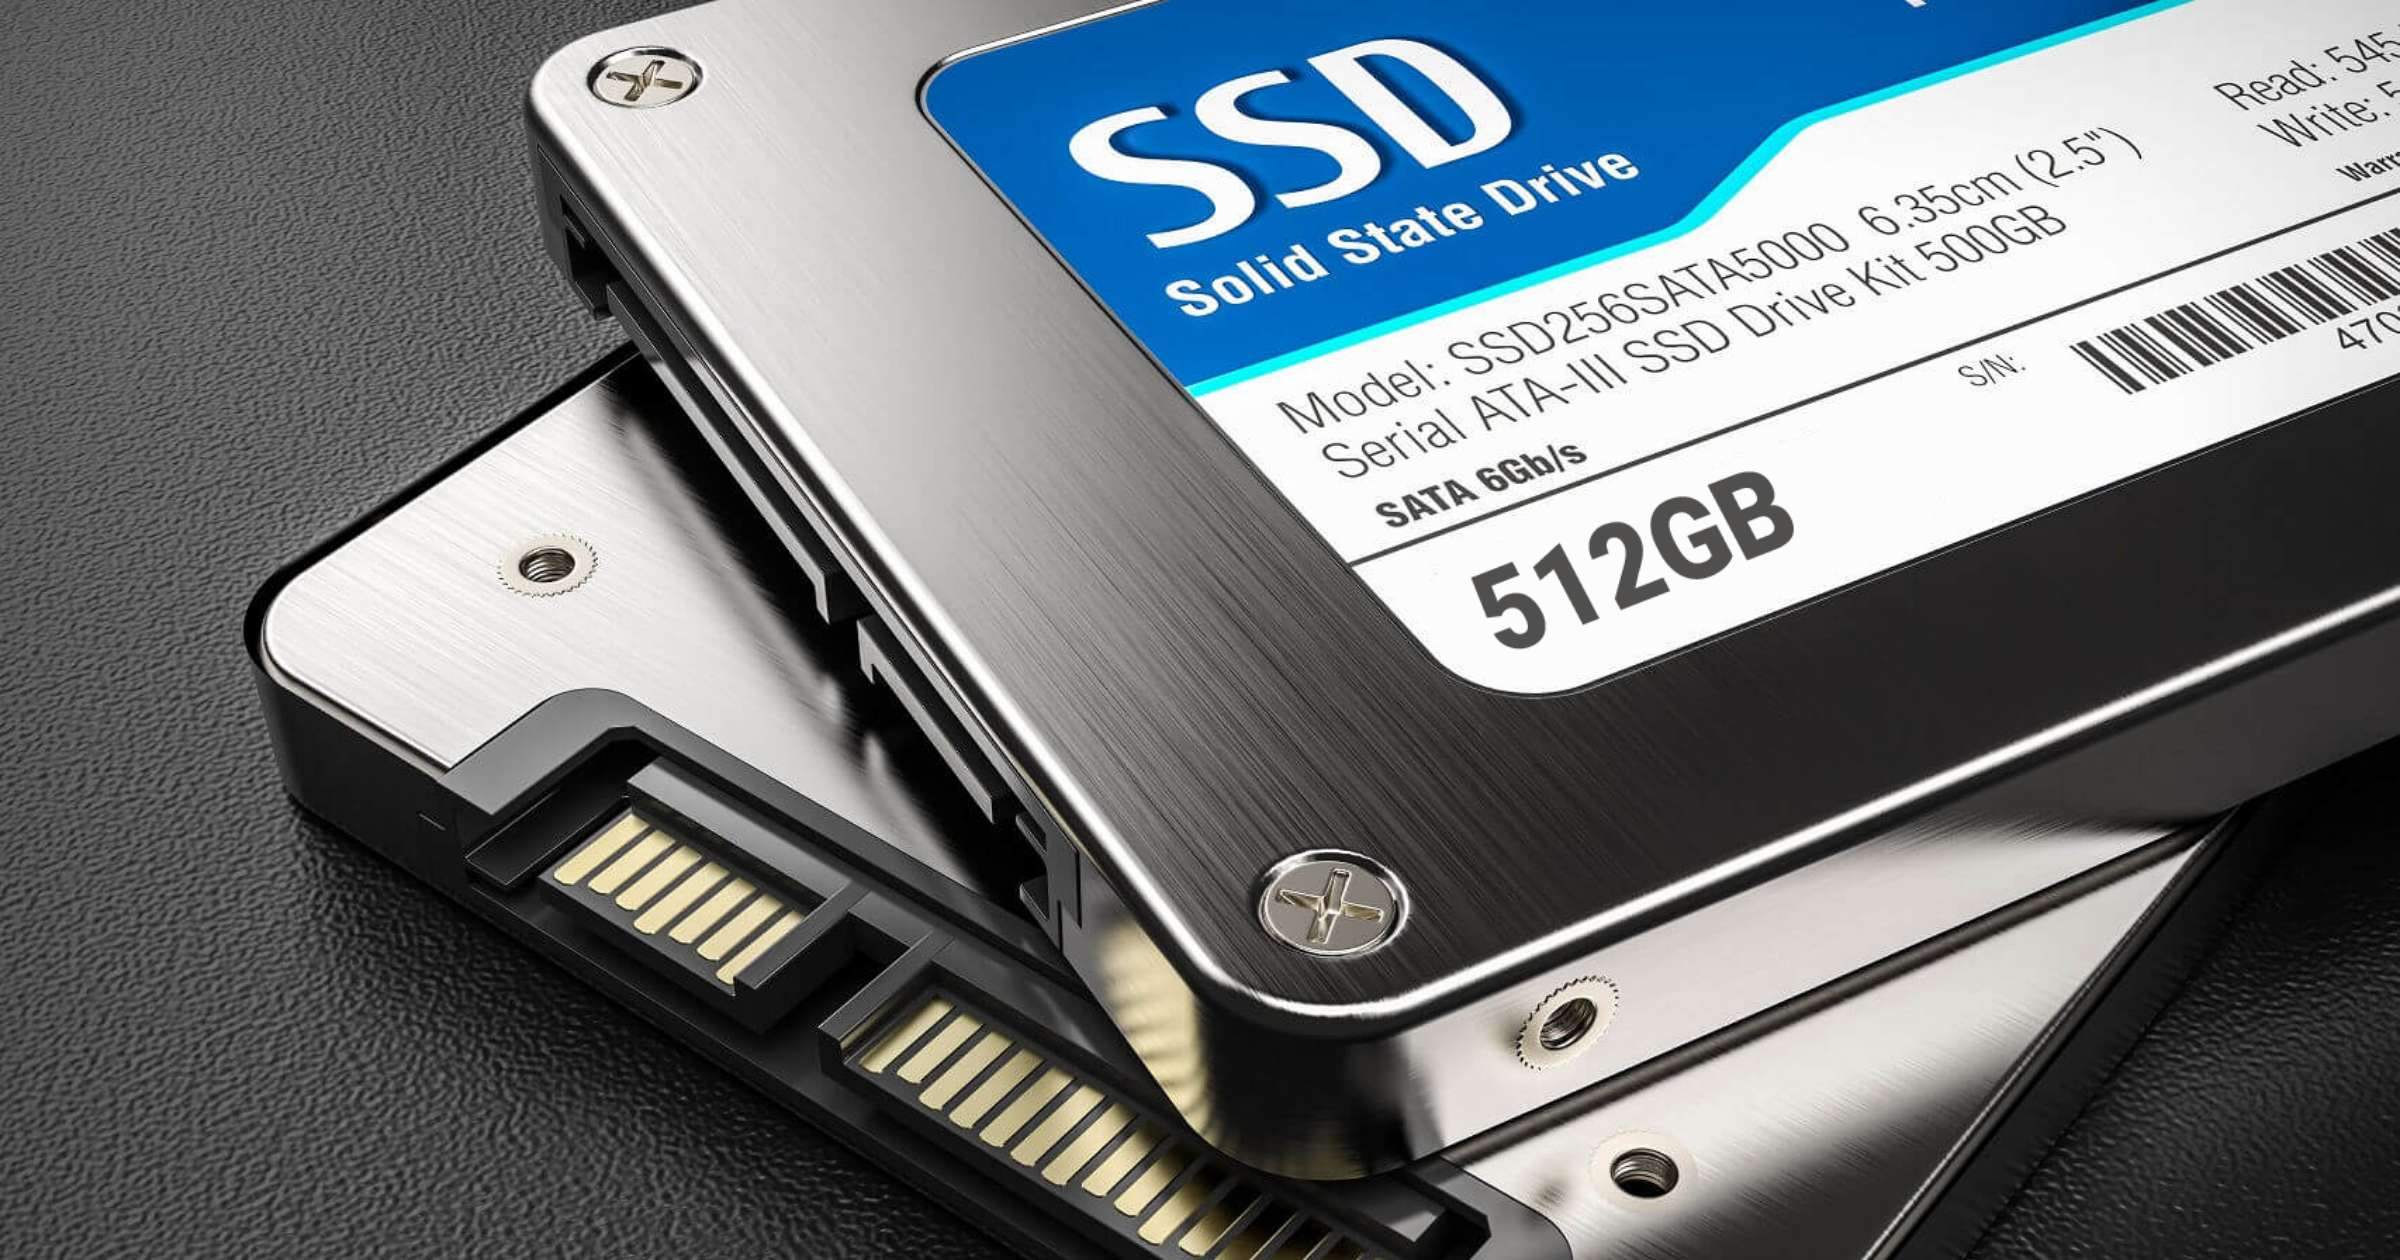
- Prepare the New SSD: Take the new SSD and ensure that it is compatible with your Surface Pro 4. Make sure it matches the specifications and requirements specified by the manufacturer.
- Align the SSD: Locate the slot on the motherboard where the SSD will be installed. Align the connectors on the SSD with the slot on the motherboard. Be sure to align them properly to avoid any damage during the installation.
- Secure the SSD: Once the SSD is aligned, gently insert it into the slot on the motherboard. Apply a light pressure until the SSD is securely in place. Take care not to force it or use excessive pressure.
- Secure with Screws: Using the screws that you removed earlier, secure the new SSD in place. Make sure the screws are tightened properly but be careful not to strip the threads or overtighten them.
Congratulations! You have successfully installed the new SSD into your Surface Pro 4. Double-check that the SSD is securely fastened and properly aligned. Now, proceed to the next section for post-upgrade steps to ensure a smooth transition and optimal performance after the SSD installation.
Post-Upgrade Steps
After successfully installing the new SSD into your Surface Pro 4, there are a few important post-upgrade steps to take to ensure everything is functioning optimally. Follow these steps to complete the upgrade process:
- Reassemble the Surface Pro 4: Carefully reattach the display to the base of your Surface Pro 4 by aligning the edges and applying gentle pressure until it snaps back into place. Make sure it is securely attached.
- Attach the Kickstand: Place the kickstand back on the rear of your Surface Pro 4 and press it firmly until it is securely attached.
- Power On and Test: Power on your Surface Pro 4 and ensure that it boots up properly. Check the device settings to verify that the new SSD is recognized and functioning correctly. You can also run performance tests or open applications to gauge the enhanced speed and responsiveness of your upgraded device.
- Restore Backup Data: If you had previously created a backup of your data, now is the time to restore it. Connect your external hard drive or access your cloud storage to retrieve your files and transfer them back to your Surface Pro 4.
- Update Drivers and Firmware: It is essential to keep your Surface Pro 4 up to date with the latest drivers and firmware. Visit the official Microsoft website or use the Windows Update feature to check for and install any available updates for your device.
- Organize Files and Applications: With the upgraded storage capacity, take the time to organize your files, applications, and folders. Create separate folders for specific types of data and remove any unnecessary files to optimize your new SSD’s space.
By completing these post-upgrade steps, you can ensure a seamless transition and enjoy the improved performance and storage capacity of your upgraded Surface Pro 4. If you encounter any issues or have questions, refer to the troubleshooting section in this guide or consult the support resources provided by the manufacturers. Now that you have completed the upgrade process, you are ready to make the most of your enhanced Surface Pro 4 experience.
Troubleshooting and FAQs
During the process of upgrading the SSD on your Surface Pro 4, you may encounter some challenges or have questions. Here are some common troubleshooting tips and frequently asked questions to help address any issues that may arise:
Troubleshooting
- Issue: SSD not recognized after installation. Check the connections and make sure the SSD is properly seated in the slot. If the issue persists, try removing and reinstalling the SSD, ensuring proper alignment and secure attachment.
- Issue: Slow boot times or performance issues after SSD upgrade. Ensure that you have updated the drivers and firmware for your Surface Pro 4. Also, check if there are any software conflicts or background processes consuming excessive resources. It may be helpful to perform a clean installation of the operating system.
- Issue: Insufficient storage capacity even after SSD upgrade. Take a look at your drive partitions and ensure that the new SSD is fully utilized. Sometimes, the operating system may not automatically allocate the entire available space. Adjust the partitions accordingly to utilize the complete storage capacity of the upgraded SSD.
FAQs
- Q: Can I upgrade the SSD on my Surface Pro 4?
A: Yes, the SSD on the Surface Pro 4 is upgradeable, allowing you to increase storage capacity and improve performance. - Q: What type of SSD should I choose for my Surface Pro 4?
A: Ensure that you select an SSD that is compatible with your Surface Pro 4. Look for SSDs that use the correct form factor (M.2) and interface (e.g., SATA or NVMe) as specified by the manufacturer. - Q: Will upgrading the SSD void my warranty?
A: It is essential to review the warranty terms and conditions provided by the manufacturer. In some cases, opening the device and performing upgrades may void the warranty. Take care to perform the upgrade without damaging any components to preserve your warranty if applicable. - Q: Can I reinstall my operating system on the new SSD?
A: Yes, you can reinstall the operating system on the new SSD. Create a bootable USB drive with the installation media, and follow the instructions provided by Microsoft to reinstall Windows on your upgraded Surface Pro 4.
If you encounter any other issues or have specific questions regarding the SSD upgrade process for your Surface Pro 4, refer to the support resources provided by the manufacturers or contact their customer support directly. They will be able to provide you with detailed assistance tailored to your specific situation.
Conclusion
Upgrading the SSD on your Surface Pro 4 can significantly enhance its performance and storage capacity, allowing you to enjoy a faster and more efficient computing experience. By following the step-by-step guide provided in this article, you can successfully upgrade the SSD and reap the benefits it brings.
Increased storage space, improved performance, and efficient data management are just a few of the advantages you can expect from upgrading your Surface Pro 4 SSD. With a larger and faster SSD, you’ll have the flexibility to store more files and applications while enjoying faster boot times, quicker application launches, and overall improved responsiveness.
Remember to take the necessary precautions, such as backing up your data and verifying compatibility, before initiating the upgrade process. It’s also important to have the proper tools and a clean workspace to ensure a smooth and safe upgrade.
After the upgrade is complete, don’t forget to test your Surface Pro 4 to ensure that the new SSD is recognized and functioning correctly. Take the time to restore your backed-up data, update drivers and firmware, and organize your files and applications for optimal usage.
If you encounter any issues or have questions along the way, refer to the troubleshooting section or consult the support resources provided by the manufacturers for further assistance.
By upgrading the SSD on your Surface Pro 4, you’re maximizing its potential and future-proofing your device. Enjoy the new storage capacity and enhanced performance that will enable you to accomplish more with your Surface Pro 4.