Introduction
Welcome to this guide on how to update a Roku TV! Roku is a popular streaming platform that allows you to access a wide range of entertainment options through your television. Just like any other software, it’s important to keep your Roku TV up to date to ensure you have access to the latest features, bug fixes, and security enhancements.
Updating your Roku TV is a straightforward process that can be done with just a few simple steps. In this guide, we will walk you through the process, ensuring that you have the most recent software version installed on your device.
By updating your Roku TV, you can enjoy an improved streaming experience with added functionality and better performance. Regular updates also help to keep your device and personal information secure, protecting against potential vulnerabilities.
So, without further ado, let’s dive into the steps required to update your Roku TV and ensure you are getting the most out of your entertainment experience!
Step 1: Connect to the internet
The first step to update your Roku TV is to ensure that it is connected to the internet. Without a stable internet connection, you won’t be able to download and install the latest software updates.
To connect your Roku TV to the internet, follow these simple steps:
- Using your Roku TV remote, press the Home button to navigate to the home screen.
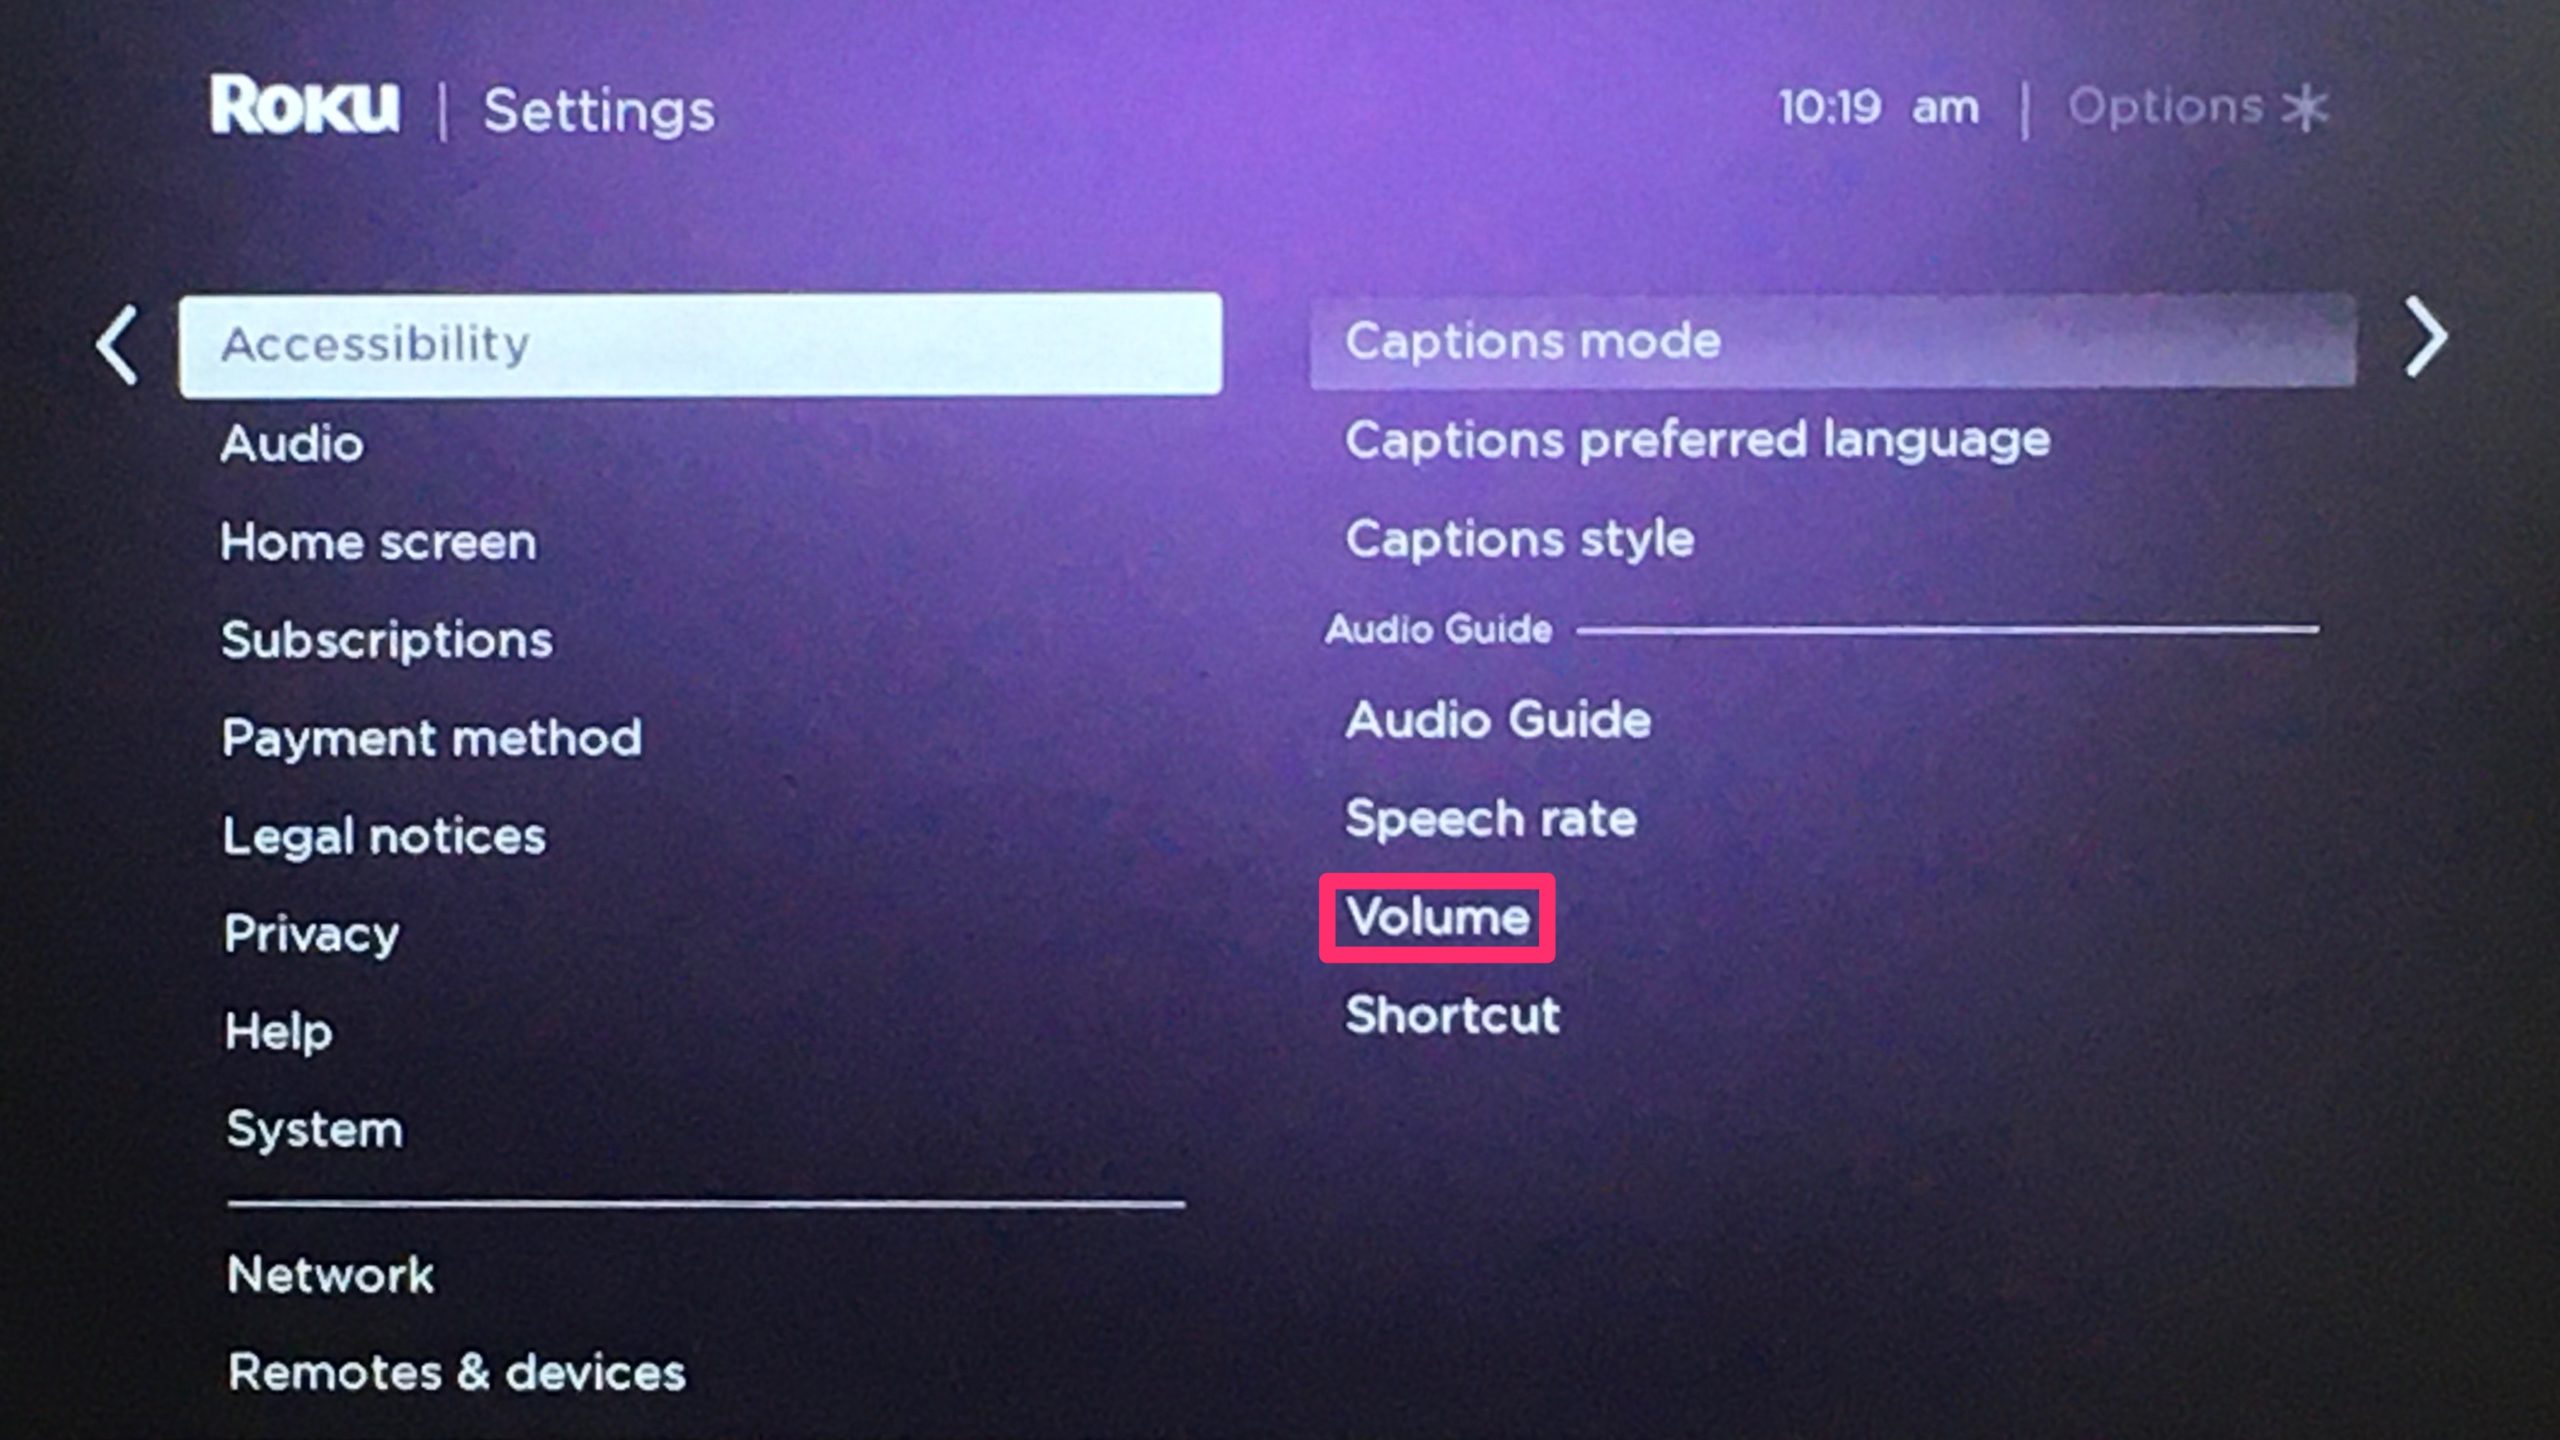
- Scroll up or down and select “Settings” using the arrow buttons on your remote.
- In the Settings menu, select “Network” and choose the option that matches your connection type (either wired or wireless).
- If you have a wired connection, connect one end of an Ethernet cable to your Roku TV and the other end to your router or modem. Your Roku TV should automatically detect the wired connection.
- If you have a wireless connection, select the “Wireless” option and choose your Wi-Fi network from the list of available networks. Enter your Wi-Fi password if prompted.
- Wait for your Roku TV to establish a connection to the internet. Once connected, you will see a confirmation message on the screen.
It’s important to ensure that your internet connection is stable and reliable for a smooth update process. If you’re experiencing any connectivity issues, try restarting your router or contacting your internet service provider for assistance.
Once you have successfully connected your Roku TV to the internet, you’re ready to proceed to the next step: accessing the settings menu.
Step 2: Go to the settings menu
Now that your Roku TV is connected to the internet, the next step is to navigate to the settings menu, where you can access the necessary options to update the software.
To access the settings menu on your Roku TV, follow these steps:
- Using your Roku TV remote, press the Home button to return to the home screen if you’re not already there.
- Using the arrow buttons on your remote, scroll up or down to navigate to the top of the home screen.
- Select the gear icon labeled “Settings” and press the OK button on your remote.
You will now be taken to the settings menu, where you can customize various aspects of your Roku TV. This menu provides access to a variety of options, including network settings, display settings, and more.
Take a moment to familiarize yourself with the settings menu, as you may find other features and configurations that can enhance your Roku TV experience. For now, our focus is on updating the software, so let’s proceed to the next step.
Step 3: Select “System”
Once you are in the settings menu of your Roku TV, the next step is to navigate to the “System” option. This is where you will find the necessary settings to update the software.
To select the “System” option on your Roku TV, follow these simple steps:
- Using your Roku TV remote, scroll down or up to navigate through the different options on the settings menu.
- Look for the option labeled “System” and press the OK button on your remote to select it.
By selecting “System,” you will have access to various system-related settings, including software updates, system restart, system information, and more.
Now that you have successfully selected the “System” option, you are one step closer to updating your Roku TV’s software. The next step will guide you through the process of choosing the “Software Update” option.
Step 4: Choose “Software Update”
After selecting the “System” option in your Roku TV’s settings menu, the next step is to navigate to the “Software Update” section. This is where you can check for and install any available updates for your Roku TV’s software.
To choose the “Software Update” option on your Roku TV, follow these steps:
- Using your Roku TV remote, scroll down or up to navigate through the different options in the “System” menu.
- Locate and select the “Software Update” option by pressing the OK button on your remote.
In the “Software Update” section, you will find information about the current software version installed on your Roku TV, as well as options to check for updates, install updates, and enable automatic updates.
Keep in mind that it’s essential to regularly check for software updates to ensure you have the latest features, bug fixes, and security enhancements. Roku often releases updates to improve performance and user experience, so it’s recommended to update your Roku TV whenever new updates are available.
Now that you have successfully chosen the “Software Update” option, you’re ready to move on to the next step: checking for updates.
Step 5: Check for updates
Once you have accessed the “Software Update” section on your Roku TV, the next step is to check for any available updates. This will allow you to determine whether there are new software versions that can be downloaded and installed.
Follow these steps to check for updates on your Roku TV:
- In the “Software Update” section, select the option labeled “Check Now” or “Check for Updates” using your Roku TV remote. Press the OK button to initiate the update check process.
Your Roku TV will now connect to the Roku servers and check for any available updates. This process may take a few moments, so be patient and ensure that your internet connection is stable.
During the update check, your Roku TV will compare the installed software version with the latest version available. If a newer version is found, you will be prompted to download and install the update.
If no updates are available, your Roku TV will display a message indicating that your software is up to date. In this case, you can proceed to the next step. However, if updates are found, you can proceed to download and install them by following the on-screen prompts.
Regularly checking for updates is crucial to ensure that your Roku TV remains up to date with the latest features, improvements, and security patches. It’s recommended to check for updates periodically or enable automatic updates for a hassle-free experience.
Now that you have checked for updates on your Roku TV, let’s move on to the next step: downloading and installing the updates.
Step 6: Download and install updates
Once you have checked for updates on your Roku TV and newer software versions are found, the next step is to download and install the updates. This process will ensure that your Roku TV is equipped with the latest features and improvements.
Follow these steps to download and install updates on your Roku TV:
- After checking for updates, if a newer version is available, you will be prompted to download and install it. Select the “Download” or “Install” option using your Roku TV remote and press the OK button to start the process.
- Depending on the size of the update and your internet connection, the download process may take several minutes. During this time, ensure that your Roku TV remains connected to the internet and avoid turning off the device.
- Once the download is complete, your Roku TV will automatically begin the installation process. This may involve restarting the device, so follow the on-screen prompts if necessary.
- During the installation, your Roku TV will display a progress bar to indicate the status of the update. Do not interrupt this process, as it may cause issues with the software.
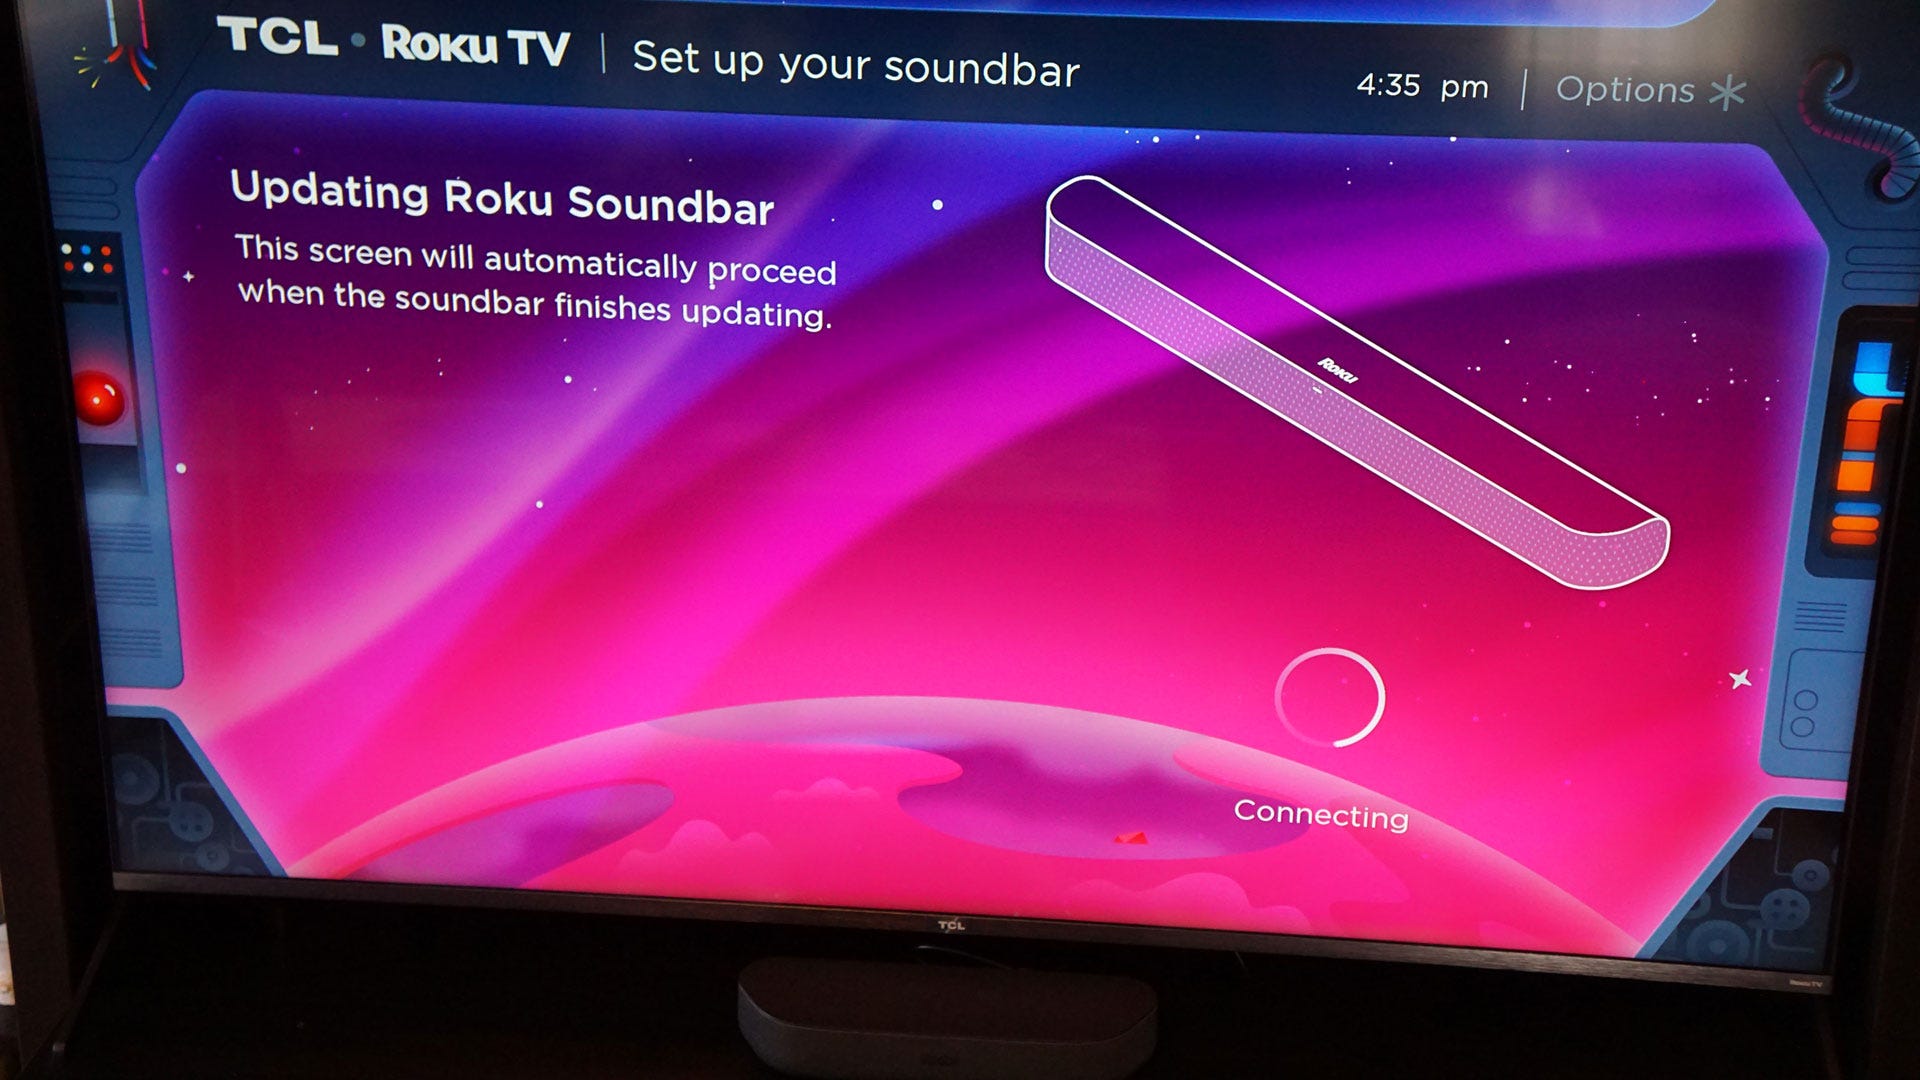
- Once the installation is complete, your Roku TV will restart to apply the updates. This may take a few moments, and you may see the Roku logo or a loading screen during this time.
After the restart, your Roku TV should be updated with the latest software version. You can verify the successful installation of the updates by checking the system information in the settings menu.
It’s important to note that during the update process, your Roku TV may temporarily be unavailable for streaming or other activities. However, once the updates are installed and the device restarts, you can resume enjoying your favorite content on your Roku TV.
Congratulations! You have now successfully downloaded and installed the updates on your Roku TV. We’re almost there – just a couple more steps to go! Next up, we’ll confirm that the update was successful.
Step 7: Restart the Roku TV
After the updates have been downloaded and installed on your Roku TV, it’s essential to restart the device. Restarting allows the software changes to take effect and ensures that your Roku TV is fully updated and ready to use.
Follow these steps to restart your Roku TV:
- Press the Home button on your Roku TV remote to navigate to the home screen.
- Using the arrow buttons on your remote, scroll up or down and select “Settings.”
- In the Settings menu, scroll down and select “System.”
- Choose the option labeled “System Restart” and press the OK button on your remote.
- A confirmation message will appear on the screen, asking if you want to restart your Roku TV. Select “Restart” and wait for the device to shut down and turn back on.
During the restart process, your Roku TV may display the Roku logo or a loading screen. This is normal, and it shouldn’t take more than a minute or two for your device to fully restart.
After the restart is complete, your Roku TV will be up and running with the newly installed software updates. You can now proceed to the final step to confirm that the update was successful.
Restarting your Roku TV is an essential step to ensure that the updates are fully applied and that any performance improvements or bug fixes are implemented. It also allows your Roku TV to initialize with the updated software version, providing you with the best possible streaming experience.
Great job! Your Roku TV has now been restarted, and we’re almost done. Let’s move on to the final step to confirm the successful update.
Step 8: Confirm successful update
After restarting your Roku TV, the final step in the update process is to confirm that the updates were successfully installed. This will ensure that your Roku TV is running the latest software version and that you can enjoy all the new features and improvements.
Follow these steps to confirm the successful update on your Roku TV:
- Press the Home button on your Roku TV remote to navigate to the home screen.
- Using the arrow buttons on your remote, scroll up or down and select “Settings.”
- In the Settings menu, scroll down and select “System.”
- Choose the option labeled “About.” Here, you will find details about your Roku TV, including the software version.
- Verify that the software version listed in the “About” section matches the latest version available from Roku. This confirms that the update was successfully installed.
If the software version matches the latest version, congratulations! Your Roku TV is now updated and ready to provide you with the latest streaming experience. You can now enjoy the enhanced features, bug fixes, and security enhancements that the update brings.
If the software version doesn’t match the latest version, you may need to repeat the update process or contact Roku support for further assistance.
Remember, keeping your Roku TV updated is crucial for optimal performance and security. It’s recommended to periodically check for updates and install them to ensure you have access to the latest features and improvements.
Well done! You have successfully confirmed the update on your Roku TV. Now you can sit back, relax, and enjoy a seamless streaming experience!
Conclusion
Updating your Roku TV is a simple yet important process that allows you to stay up to date with the latest features, bug fixes, and security enhancements. By following the easy steps outlined in this guide, you can ensure that your Roku TV is running the most current software version.
Throughout this guide, we covered the essential steps to update your Roku TV:
- Connect to the internet: Make sure your Roku TV is connected to a stable internet connection.
- Go to the settings menu: Access the settings menu on your Roku TV.
- Select “System”: Navigate to the “System” option within the settings menu.
- Choose “Software Update”: Select the “Software Update” option to check for new updates.
- Check for updates: Initiate the update check process to see if any updates are available.
- Download and install updates: Download and install any available updates for your Roku TV.
- Restart the Roku TV: Restart your device to ensure the updates are fully applied.
- Confirm successful update: Verify that the software version in the “About” section matches the latest version.
By following these steps, you can keep your Roku TV running smoothly, with access to the latest features and improvements. Regularly updating your Roku TV ensures that you have the best streaming experience possible, with enhanced performance and necessary security updates.
Remember, it’s a good practice to periodically check for updates and install them as they become available. You can also enable automatic updates to ensure your Roku TV stays up to date without any manual intervention.
We hope that this guide has been helpful in assisting you with updating your Roku TV. Now that you’re equipped with the knowledge to keep your device up to date, you can sit back, relax, and enjoy all the entertainment options that Roku has to offer!


