Introduction
Using the webcam on your MacBook can open up a world of possibilities, whether you need to join a video conference, capture precious moments with loved ones, or start your own vlogging channel. However, if you are new to using a MacBook or encountering difficulties with your webcam, you may feel unsure about how to turn it on and get it working properly. Don’t worry, we’ve got you covered!
In this article, we will provide you with a step-by-step guide on how to turn on the webcam on your MacBook. From checking the hardware requirements to troubleshooting common issues, we will walk you through the entire process, ensuring that you are equipped with the knowledge you need to make the most out of your webcam experience.
Before we dive into the steps, it’s important to note that the instructions provided here are specifically for MacBooks running the latest software versions, including macOS Catalina and macOS Big Sur. If you have an older MacBook model or a different operating system, the steps might vary slightly.
Now, let’s get started!
Step 1: Check hardware requirements
Before you can start using the webcam on your MacBook, it’s essential to ensure that your device meets the necessary hardware requirements. Fortunately, most MacBook models come equipped with built-in webcams, commonly known as FaceTime cameras. However, it’s still worth confirming that your MacBook has a functional webcam.
To check if your MacBook has a webcam:
- Go to the Apple menu in the top-left corner of your screen.
- Select “About This Mac” from the drop-down menu.
- In the window that appears, click on the “System Report” button.
- Scroll down on the left-hand side until you find the “Camera” category.
- Click on “Camera” to see if your MacBook has a built-in webcam.
If you see a description of your webcam and its specifications, congratulations! Your MacBook is equipped with a webcam. However, if there is no “Camera” category or if it states that there is no built-in camera, it’s possible that your MacBook does not have a webcam.
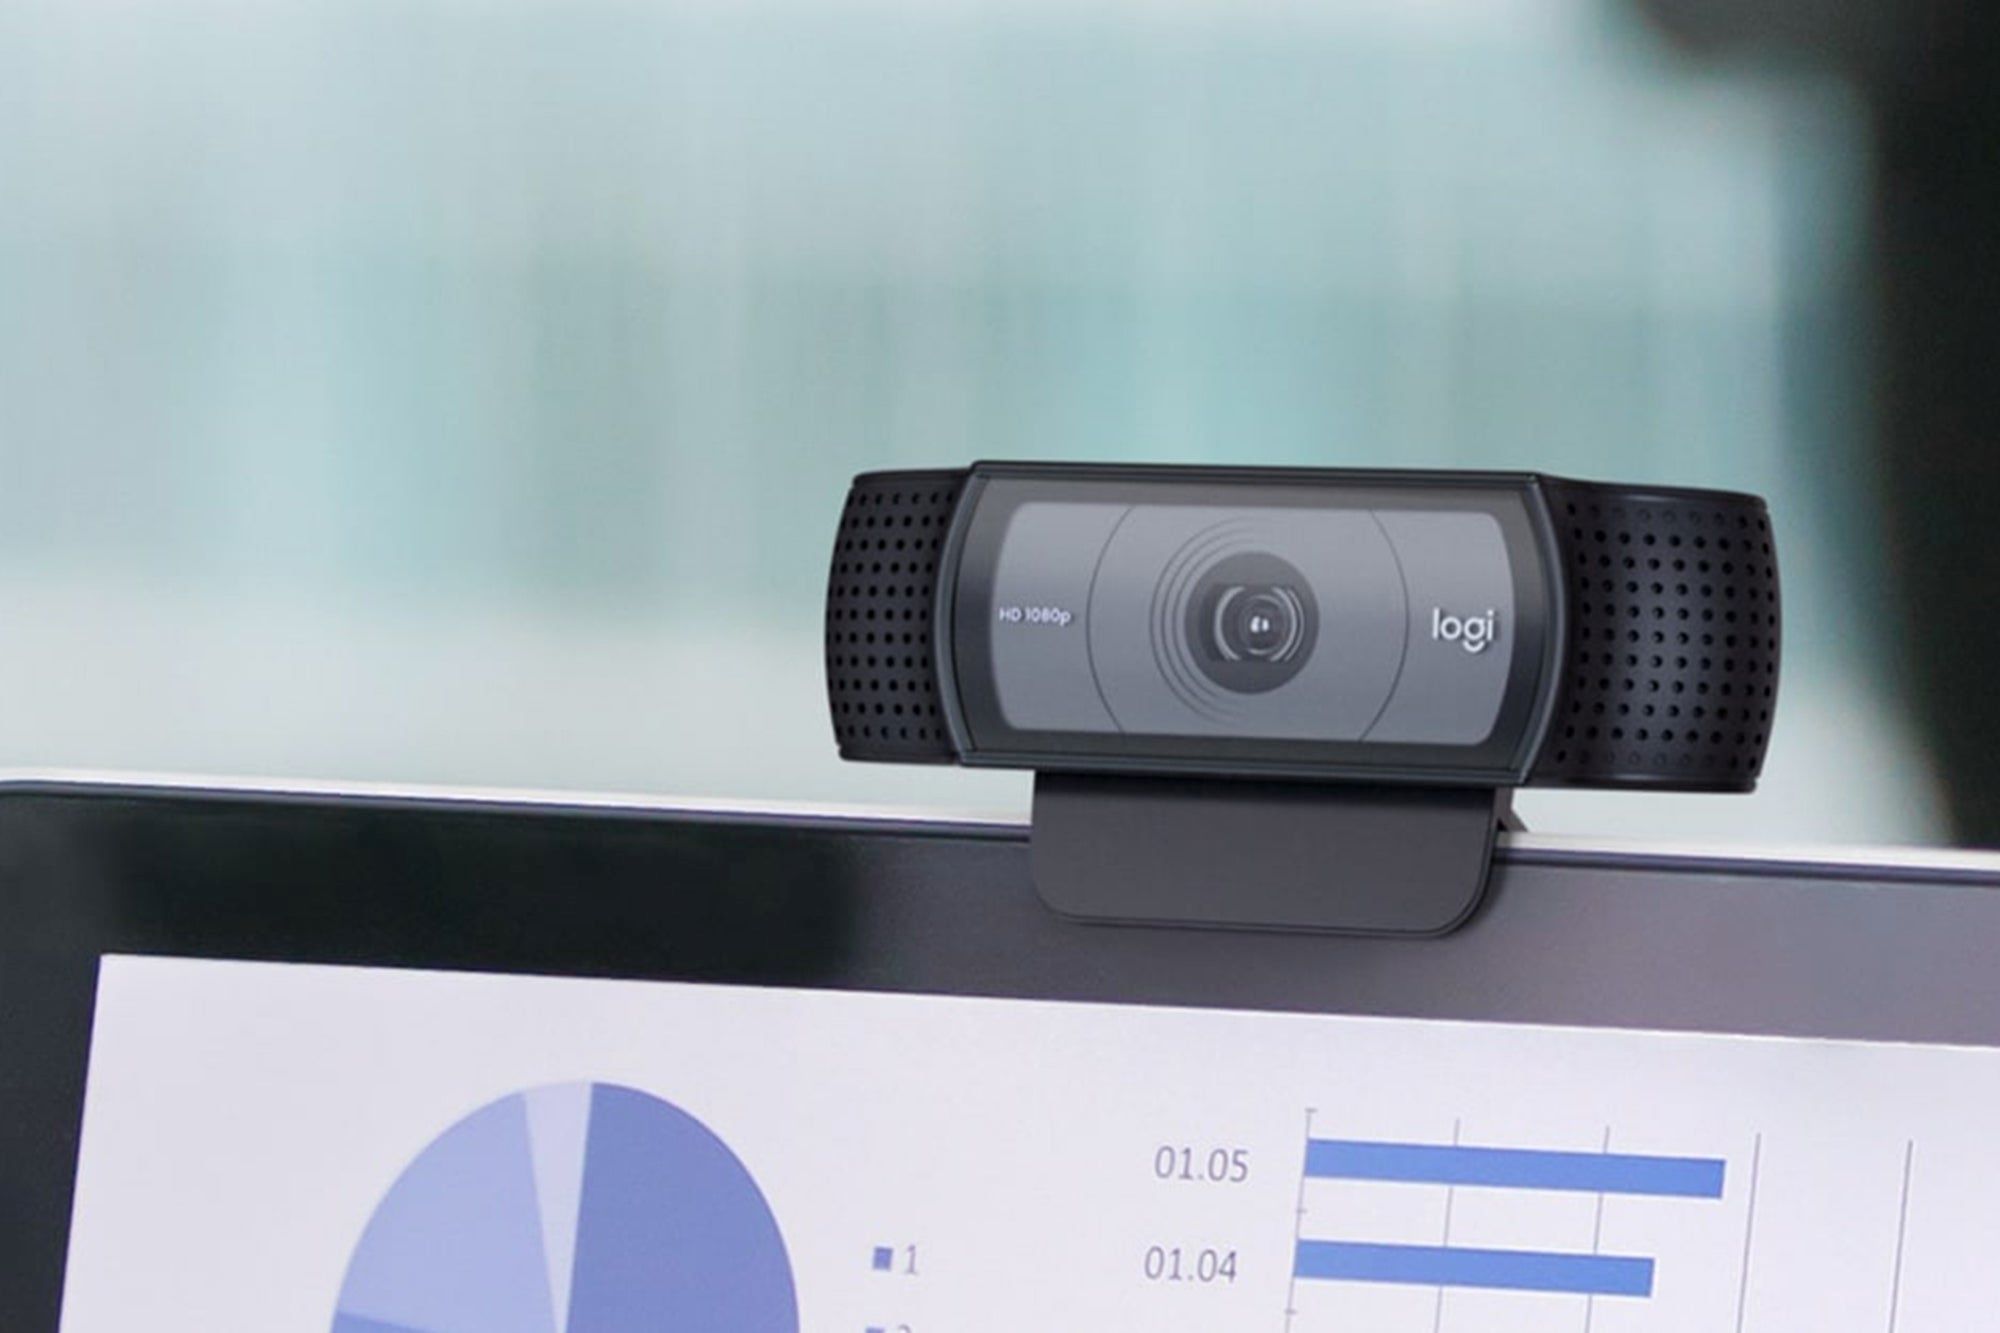
In such cases, you can still use an external webcam by connecting it to your MacBook through a USB port. External webcams offer flexibility and additional features, so you can still enjoy video calls and other webcam-related activities.
Now that you’ve confirmed that your MacBook has a functional webcam, it’s time to move on to the next step: updating your MacBook software.
Step 2: Update your MacBook software
Keeping your MacBook software up to date is crucial for ensuring the proper functioning of your webcam, as well as for accessing the latest features and security improvements. Apple regularly releases software updates, which may include fixes for webcam-related issues. Therefore, it’s important to check for and install any available updates before proceeding.
To update your MacBook software:
- Click on the Apple menu in the top-left corner of your screen.
- Select “System Preferences” from the drop-down menu.
- In the System Preferences window, click on “Software Update.”
- If there are any available updates, click on the “Update Now” button.
- Follow the on-screen instructions to install the updates.
- Once the updates are installed, restart your MacBook to ensure that the changes take effect.
After updating your MacBook software, your webcam should be ready to use. However, if you continue to experience issues, proceed to the next step to enable webcam access in the privacy settings.
Remember, it’s a good practice to regularly check for software updates to keep your MacBook running smoothly and to address any potential webcam-related problems.
Now that your MacBook software is up to date, let’s move on to the next step: enabling webcam access in the privacy settings.
Step 3: Enable webcam access in privacy settings
To ensure that applications on your MacBook can access your webcam and use it without any limitations, it’s important to grant the necessary permissions in the privacy settings. By default, macOS prompts you to allow or deny access to the webcam when a new application attempts to use it. However, it’s possible that you may have accidentally denied access to a specific application or that the permissions need to be configured for optimal functionality.
To enable webcam access in the privacy settings:
- Click on the Apple menu in the top-left corner of your screen.
- Select “System Preferences” from the drop-down menu.
- In the System Preferences window, click on “Security & Privacy.”
- Navigate to the “Privacy” tab.
- In the left-hand sidebar, click on “Camera.”
- Check the box next to the applications that you want to grant webcam access to.
After enabling webcam access for the desired applications, you can close the System Preferences window. Now, when you use those applications, your MacBook will allow them to access and utilize the webcam.
If you encounter any issues with granting webcam access or if the specific application you want to use doesn’t appear in the list, make sure that the application is up to date. Additionally, consider checking the application’s documentation or contacting the developer for further assistance.
Now that you have successfully enabled webcam access in the privacy settings, it’s time to move on to the next step: testing your webcam in different applications.
Step 4: Test your webcam in different applications
Now that you have enabled webcam access in the privacy settings, it’s time to test your webcam in different applications to ensure that it’s functioning properly. Testing your webcam in various applications will help you identify any specific issues with a particular app and allow you to troubleshoot accordingly.
Here’s how you can test your webcam:
- Launch the application or software that you want to use with your webcam. Examples include FaceTime, Zoom, Skype, or your preferred video conferencing app.
- In the application’s settings or preferences, locate the camera or video settings/options. This section may be called “Camera,” “Video,” or something similar.
- Look for a preview or test feature within the camera settings. This feature allows you to view your webcam’s output and make any necessary adjustments.
- Click on the preview or test button to initiate the webcam feed.
- If the webcam is working properly, you should see a live feed from your webcam displayed within the application. Take a moment to observe the image quality and ensure there are no issues.
If you encounter any problems during the testing process, such as no video feed, poor image quality, or error messages, there are a few troubleshooting steps you can try:
- Close the application and relaunch it to refresh the connection with the webcam.
- Restart your MacBook to resolve any temporary software glitches.
- Ensure that no other applications or processes are using the webcam simultaneously, as this may cause conflicts.
- Check if there are any available updates for the application and install them, as they may contain bug fixes or improvements related to the webcam functionality.
By testing your webcam in different applications and following the troubleshooting steps, you can identify and address any issues that may be affecting its performance.
Now that you have tested your webcam and ensured that it’s working correctly, let’s move on to the final step: troubleshooting common webcam issues.
Step 5: Troubleshooting common webcam issues
Even with the proper setup and configuration, you may still encounter some common issues with your MacBook webcam. Don’t worry, as there are several troubleshooting steps you can take to resolve these problems.
Here are some common webcam issues and their potential solutions:
No image or video feed:
- Make sure that the webcam lens is clean and free from any dirt or smudges.
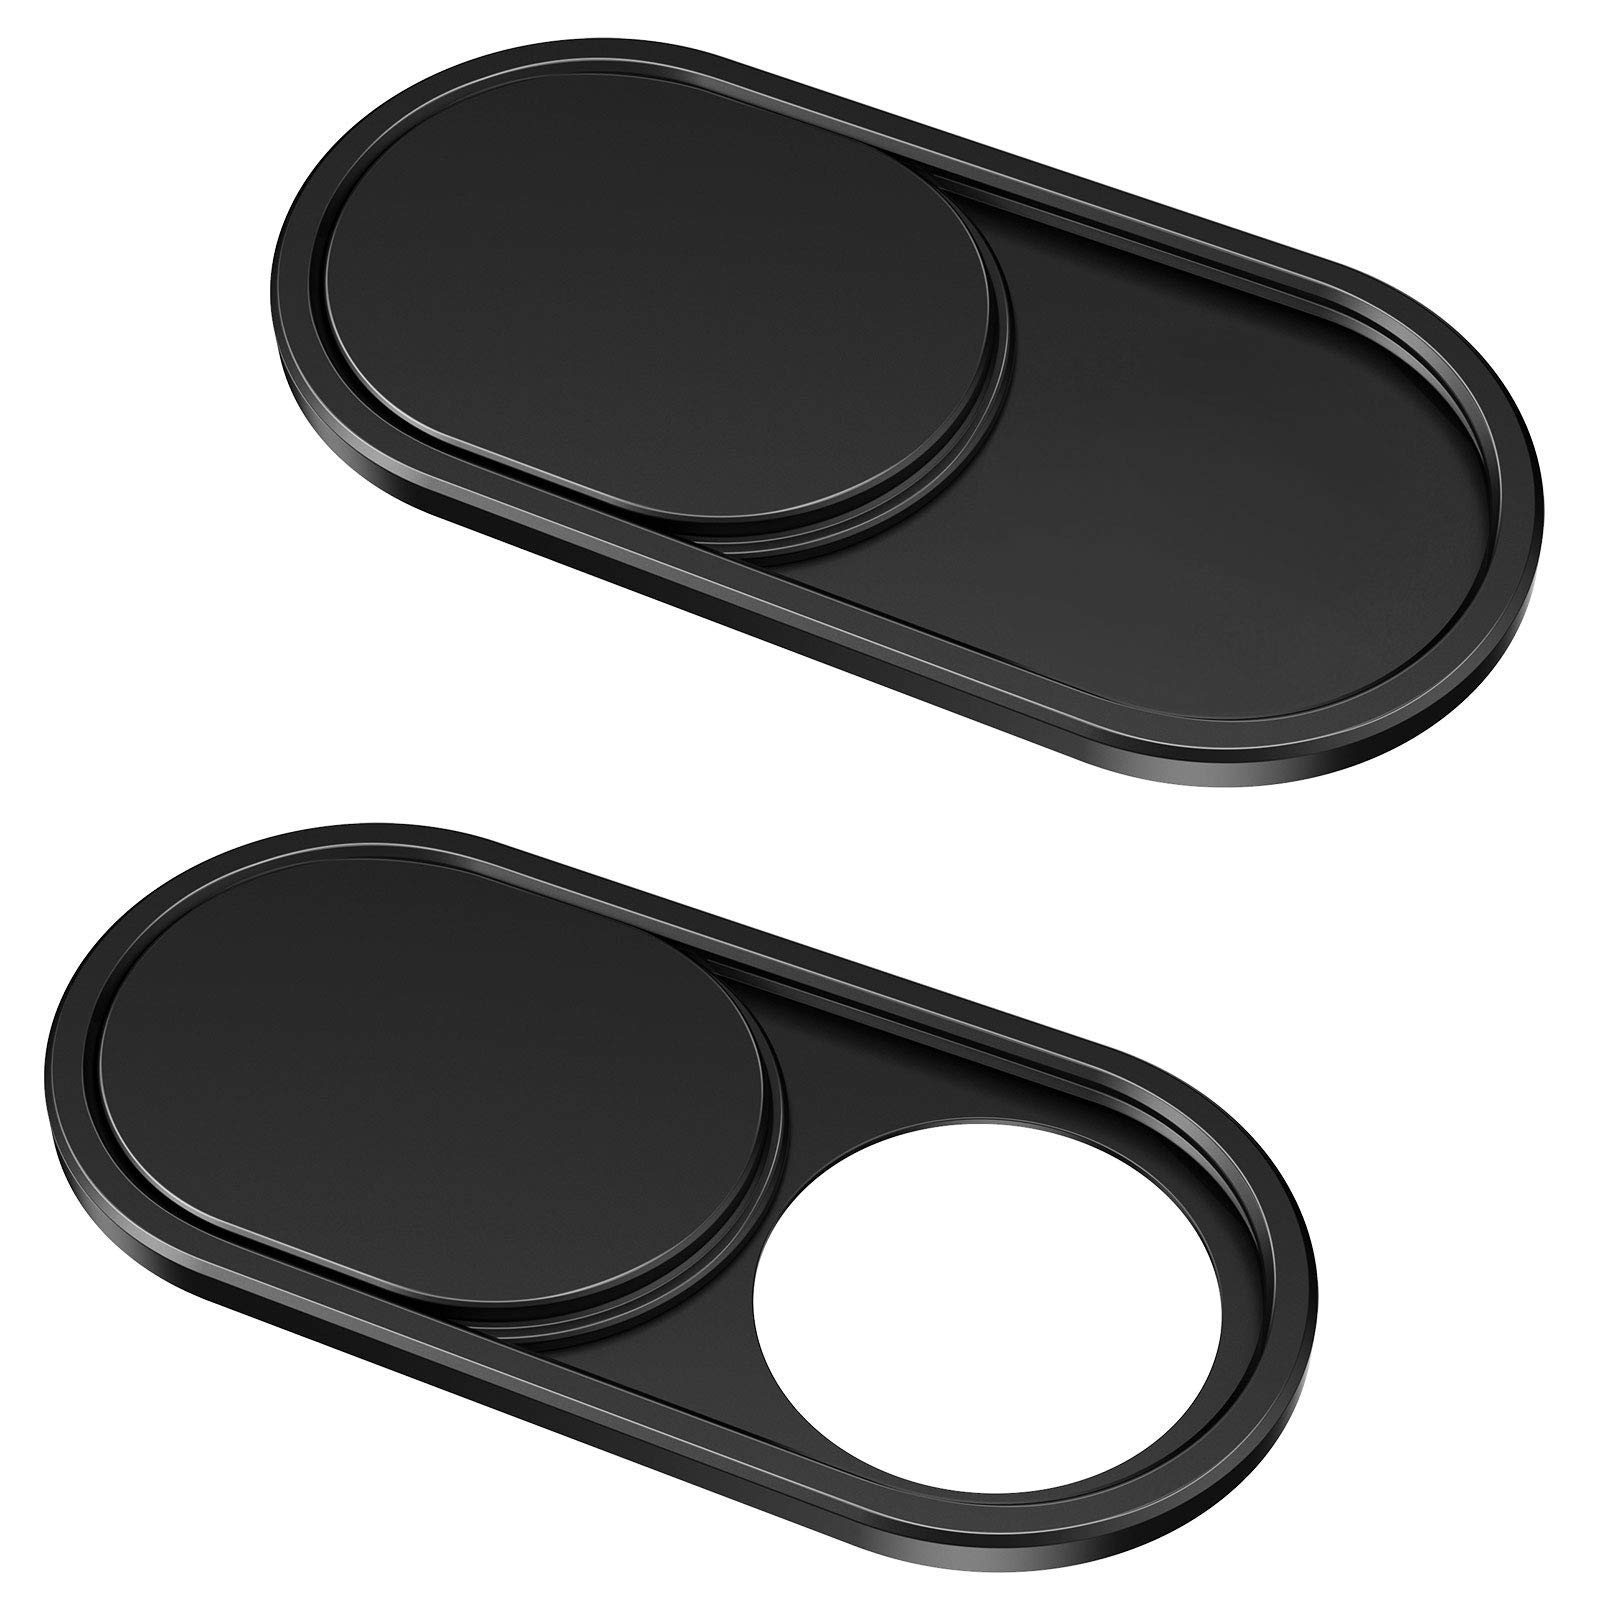
- Check if the webcam is physically covered by a sticker or a removable cover and remove it if necessary.
- Restart your MacBook and relaunch the application to establish a fresh connection.
- Try unplugging any external webcams and testing the built-in webcam again.
Poor image quality or blurry video:
- Ensure that there is sufficient lighting in the room. Insufficient lighting can result in grainy or pixelated images.
- If you are using a built-in webcam, try adjusting the camera settings within the application to improve the image quality.
- If you are using an external webcam, check its settings or options for any image enhancement features.
Application-specific issues:
- Confirm that the application you are using is compatible with your MacBook and the operating system version you have.
- Check if there are any available updates for the application and install them to resolve any compatibility issues.
- If the issue persists, consider uninstalling and reinstalling the application to resolve any software conflicts.
If you have tried the troubleshooting steps above and are still experiencing issues with your webcam, it may be helpful to consult Apple Support or contact the application’s support team for further guidance.
Remember, each troubleshooting step may vary depending on the specific issue and the application you are using. Patience and persistence are key in resolving webcam issues effectively.
Congratulations! You have reached the end of our guide on how to turn on the webcam on your MacBook and troubleshoot common problems. By following these steps, you should now be able to use your webcam with confidence.
Conclusion
Turning on and using the webcam on your MacBook is an essential skill that can greatly enhance your communication and productivity. By following the step-by-step guide outlined in this article, you have learned how to check the hardware requirements, update your MacBook software, enable webcam access in privacy settings, test your webcam in different applications, and troubleshoot common webcam issues.
Remember to regularly check for software updates, as they can provide important fixes and improvements for your webcam functionality. Additionally, keep your webcam lens clean and ensure adequate lighting for optimal image quality.
If you encounter any difficulties along the way, don’t hesitate to reach out to Apple Support or the support team of the specific application you are using. They can provide further assistance and guide you through any advanced troubleshooting steps.
Now that you have the knowledge and tools to utilize your MacBook’s webcam effectively, you can confidently join video conferences, capture memorable moments, and embark on new creative ventures. Enjoy the seamless and visually engaging experience that your MacBook’s webcam has to offer!