Overview
Welcome to the wonderful world of aerial photography and videography with the DJI Mavic Air! This compact and powerful drone offers an incredible flying experience and opens up a whole new realm of creative possibilities. Whether you are a seasoned professional or a beginner, this guide will help you get started on turning on and setting up your DJI Mavic Air.
The DJI Mavic Air comes with a range of impressive features, including a 3-axis gimbal, a 4K camera, and intelligent flight modes. Before you embark on your aerial adventure, it’s essential to follow the correct setup process to ensure a safe and successful flight.
In the following steps, we will cover everything from unboxing the drone to taking off for your first flight. By the end of this guide, you will have a thorough understanding of how to turn on your DJI Mavic Air and be ready to capture breathtaking aerial shots.
So, let’s dive in and get started on unlocking the full potential of your DJI Mavic Air!
Step 1: Unboxing the DJI Mavic Air
Before you can start using your DJI Mavic Air, you need to unbox it and familiarize yourself with its components. The Mavic Air comes neatly packaged, ensuring that all the essential parts are well-protected during transportation.
When you first open the box, you’ll find the drone itself, along with the remote controller, propellers, battery charger, power cable, and other accessories. Take a moment to carefully remove each item from the packaging, ensuring that nothing is damaged.
Once you have everything out of the box, it’s a good idea to lay out all the components in front of you. This will help you get an overview of what you have and make it easier to identify each part during the setup process.
Next, locate the battery compartment on the drone and remove it from the protective cover. Insert the battery into the drone by sliding it in until it clicks into place. It’s important to ensure that the battery is properly inserted to avoid any issues during flight.
Now, connect the propellers to the drone by screwing them on in a clockwise direction. Each propeller is labeled with a letter (A or B) and an arrow indicating the direction of rotation. Match the propellers to the corresponding markings on the drone, aligning the arrow with the lock symbol, and rotate them until securely fastened.
At this point, it’s also a good idea to attach the propeller guards if you have them. These guards help protect the propellers and prevent any accidental contact with objects or people, particularly when flying indoors or in tight spaces.
Once all the components are securely in place, you’re ready to move on to the next step in setting up your DJI Mavic Air.
Step 2: Charging the Batteries
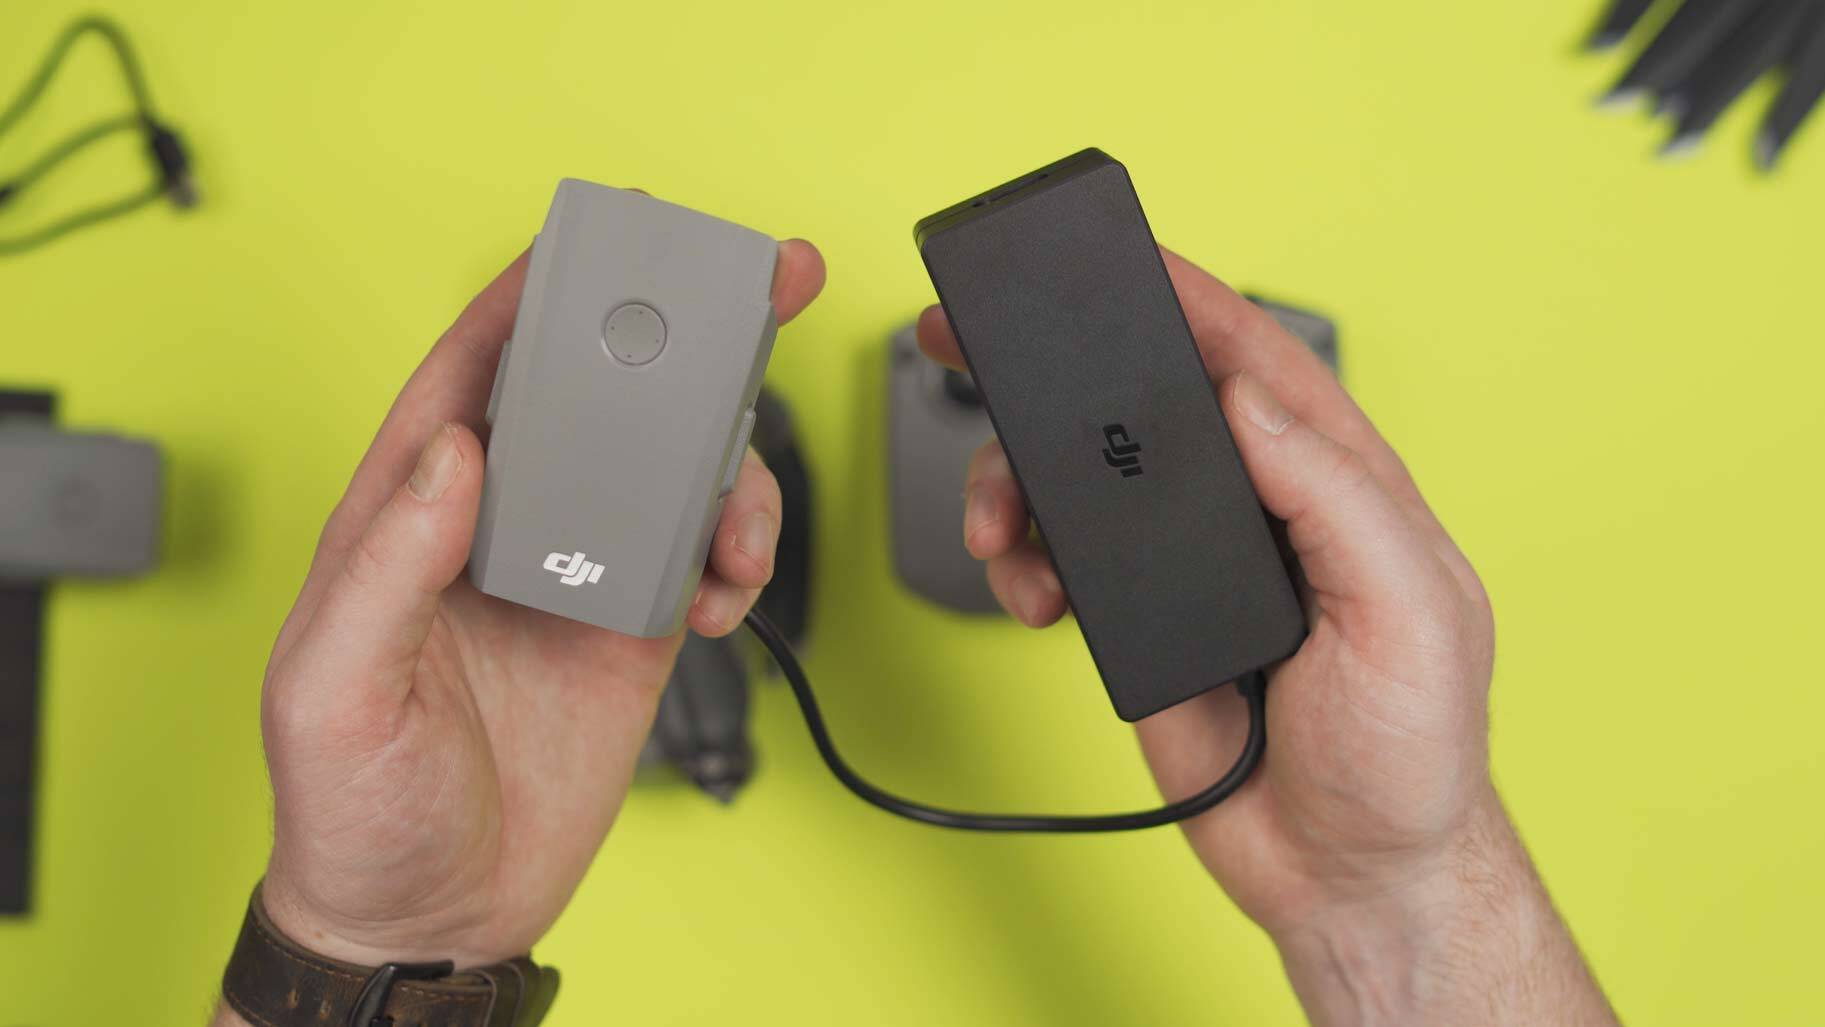
Before taking flight with your DJI Mavic Air, it’s crucial to ensure that the batteries are fully charged. The Mavic Air comes with intelligent flight batteries that provide a decent flight time and require proper charging for optimal performance.
To charge the batteries, locate the battery charger included in the package. Connect the charger to a power source using the provided power cable. The intelligent charger can accommodate up to four batteries at a time.
Insert the battery into the charger, making sure to align the charging contacts on both the battery and the charger. The charger’s LED indicator will display the current battery level and the charging progress. It is recommended to charge the batteries fully to maximize flight time.
The charging time may vary depending on the battery level and the number of batteries being charged simultaneously. It’s important to note that using the official DJI charger is the safest and most reliable way to charge your Mavic Air batteries.
While the batteries are charging, take this time to prepare for your upcoming flight. Familiarize yourself with the DJI Fly app, which you can download on your smartphone or tablet. This app allows you to control and monitor your Mavic Air, access intelligent flight modes, and capture stunning photos and videos.
Also, ensure that you have a suitable microSD card available for your Mavic Air. The drone’s camera records footage and captures photos, which are stored on the microSD card. It’s recommended to use a high-quality, high-speed microSD card to ensure smooth recording and reliable storage of your media.
Once the batteries are fully charged, disconnect them from the charger, and insert them into the battery compartment of your Mavic Air. Ensure that they are securely inserted and locked into place.
With fully charged batteries, you’re now ready to proceed to the next step and install the propellers on your DJI Mavic Air.
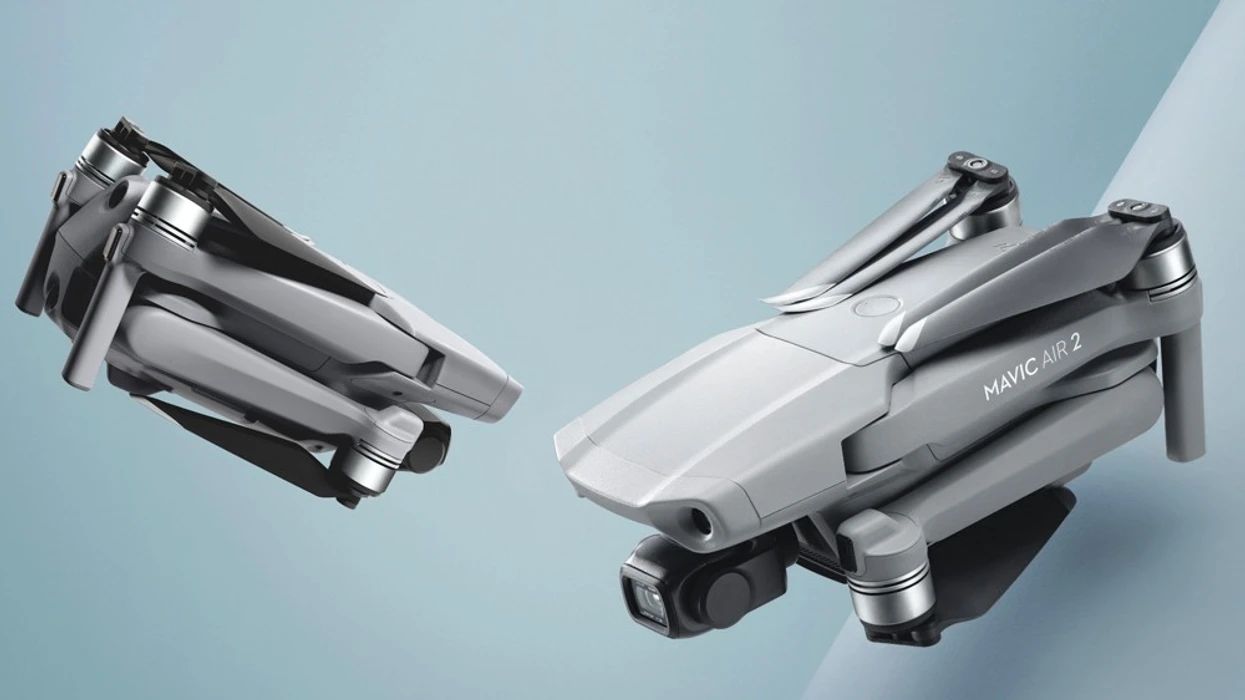
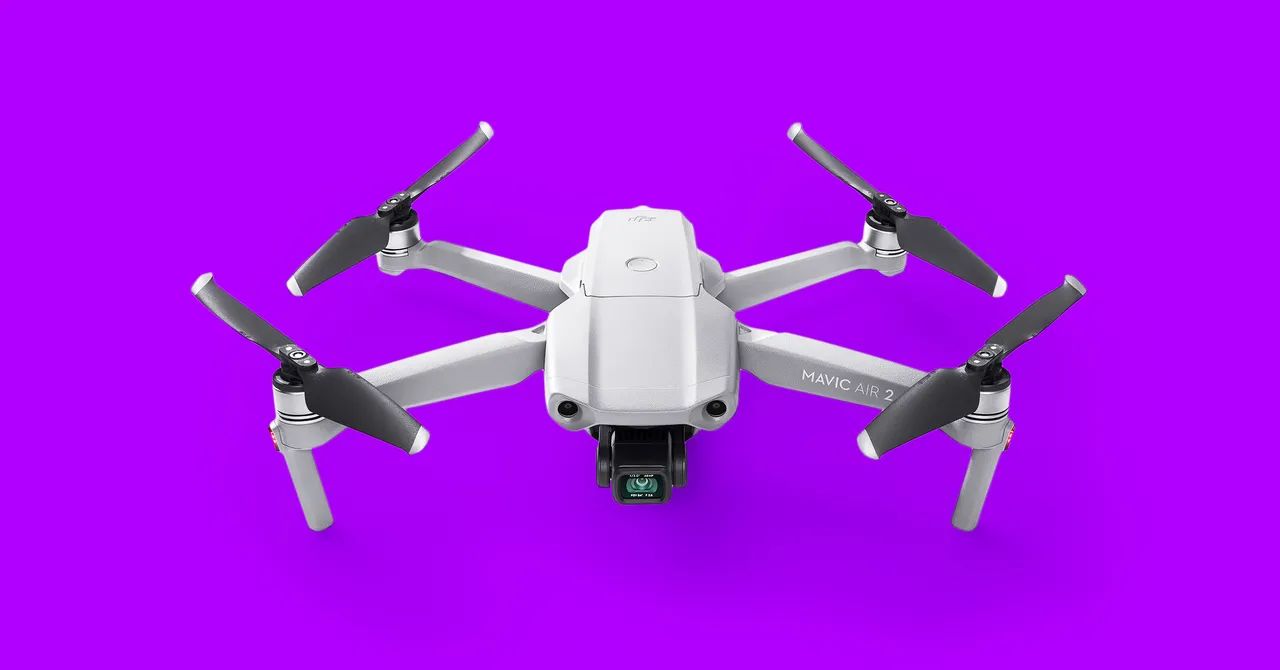
Step 3: Installing the Propellers
Installing the propellers correctly is crucial for safe and efficient flight with your DJI Mavic Air. The propellers are responsible for generating lift and thrust, allowing the drone to take off and maneuver in the air.
To install the propellers, start by locating the four propellers provided in the packaging. Each propeller is labeled with a letter (A or B) and an arrow indicating the direction of rotation. It’s essential to match the propellers to the corresponding markings on the drone.
Hold the drone firmly and locate the motor arms. On each motor arm, you’ll find a small locking mechanism. Rotate the locking mechanism in the direction indicated by the arrow to unlock it.
With the locking mechanism unlocked, position the propeller on the motor shaft. Align the propeller with the corresponding marking on the motor arm, ensuring that the propeller’s letter and arrow match the marking on the drone.
Once aligned, press down firmly on the propeller and rotate it in a counterclockwise direction until it is securely fastened. The propeller should not be loose and should spin freely without any obstructions. Repeat this process for all four propellers.
It’s crucial to ensure that the propellers are correctly mounted to prevent them from detaching during flight, which could lead to loss of control and potentially damaging the drone. Take an extra moment to double-check that all propellers are securely fastened before moving on to the next step.
If you are using the propeller guards, make sure to attach them now. The propeller guards provide an additional layer of protection and can help prevent damage to the propellers if the drone accidentally bumps into obstacles during flight.
Now that the propellers are installed, you’re one step closer to experiencing the thrill of flying your DJI Mavic Air. In the next step, we will cover how to insert the memory card into the drone and prepare it for capturing stunning aerial footage.
Step 4: Inserting the Memory Card
To capture and store your amazing aerial shots, it’s important to properly insert a memory card into your DJI Mavic Air. The drone’s camera records photos and videos onto a microSD card, providing a convenient way to save and transfer your media.
Locate the memory card slot on the side of your Mavic Air. It is a small compartment that requires opening to access the slot. Gently push and slide the compartment cover in the direction indicated by the arrow to open it.
Once the compartment is open, retrieve your microSD card and insert it into the memory card slot with the gold contacts facing down. Push the card in until it clicks into place, ensuring it is securely inserted.
It’s important to use a high-quality and high-speed microSD card to ensure the proper recording and storage of your media. The DJI Mavic Air is compatible with microSD cards up to a certain capacity, so be sure to check the drone’s specifications for the recommended card size.
Before closing the memory card slot compartment, take a moment to confirm that the microSD card is correctly inserted. You can do this by powering on the drone and checking if the device recognizes the memory card.
Once everything is properly set, gently close the memory card slot compartment by pushing the cover in the opposite direction of the arrow until it clicks into place. Ensure that the cover is securely closed to prevent any potential damage to the memory card during flight.
Now that the memory card is inserted and ready to go, you can move on to the next step, which involves powering on your DJI Mavic Air and preparing it for flight.
Step 5: Powering On the DJI Mavic Air
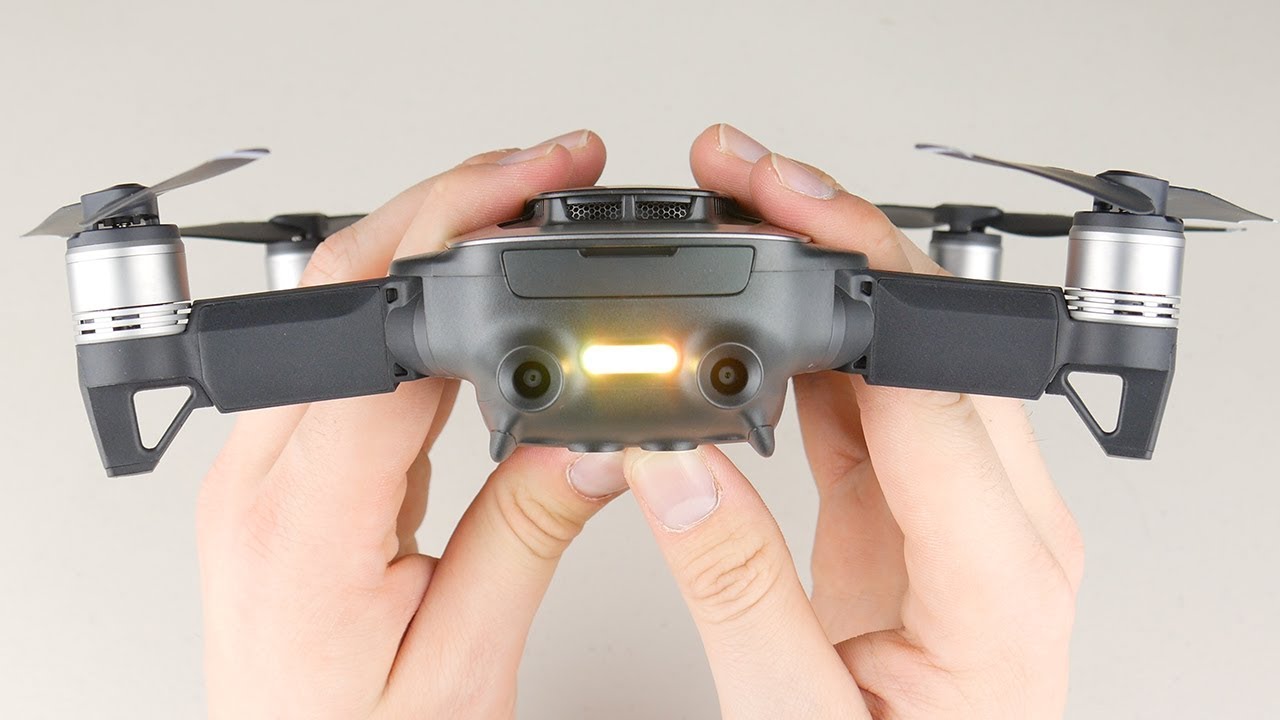
Now that you’ve set up the physical components of your DJI Mavic Air, it’s time to power it on and prepare for flight. The power button is located on the top of the drone, near the rear. Before pressing the power button, ensure that the drone is placed on a flat and stable surface.
To power on the Mavic Air, press and hold the power button for a few seconds until you see the LED indicators on the aircraft light up. The LEDs will blink rapidly to indicate that the drone is booting up.
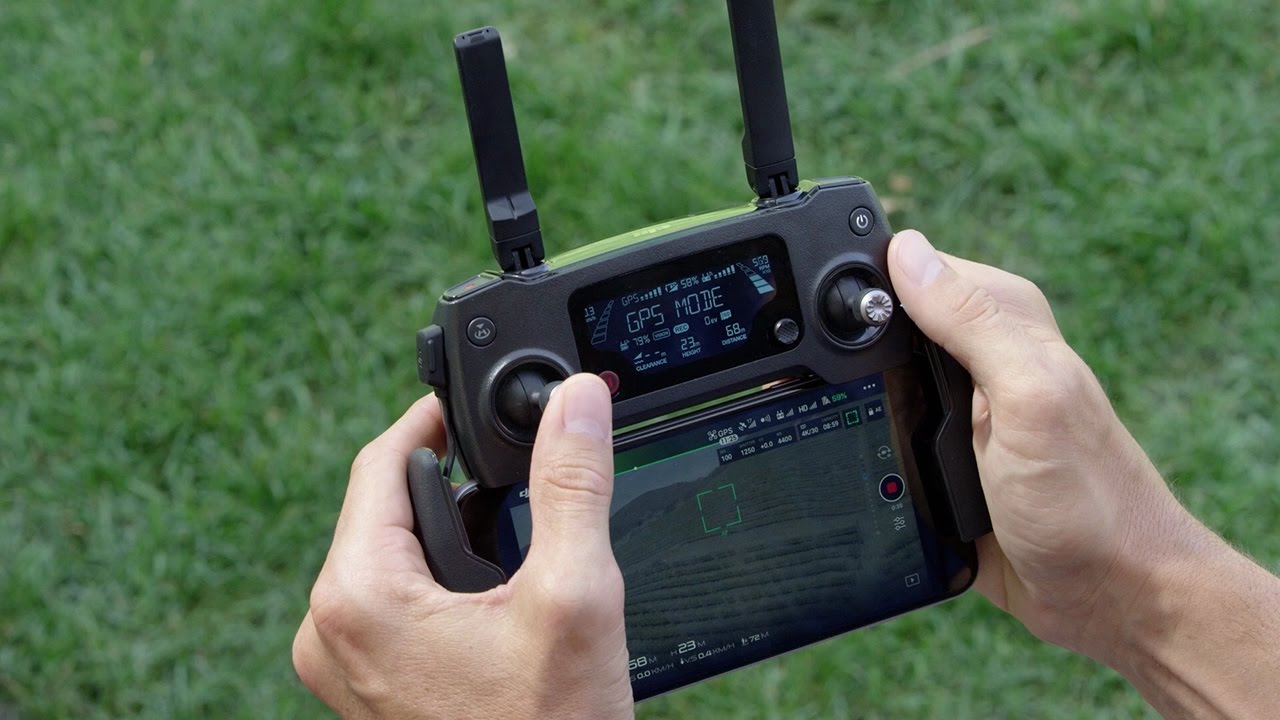
While the Mavic Air is powering on, you can prepare your smartphone or tablet by connecting it to the remote controller. The Mavic Air utilizes the DJI Fly app to provide a seamless user experience and real-time access to the drone’s camera feed, flight controls, and intelligent flight modes.
Once the drone has finished booting up and the LED indicators have stabilized, open the DJI Fly app on your device. Follow the on-screen prompts to connect your smartphone or tablet to the Mavic Air’s remote controller via the provided USB cable.
The DJI Fly app will automatically detect the connected drone and establish a secure connection. Be patient during this process as it may take a few moments for the devices to establish a stable connection.
Once the connection is established, you will have full access to the drone’s features and settings through the app. You can view the live video feed from the drone’s camera, adjust camera settings, switch between flight modes, and more.
With the DJI Mavic Air powered on and connected to the remote controller, you’re now ready to move on to the next step, which involves pairing the remote controller with the drone.
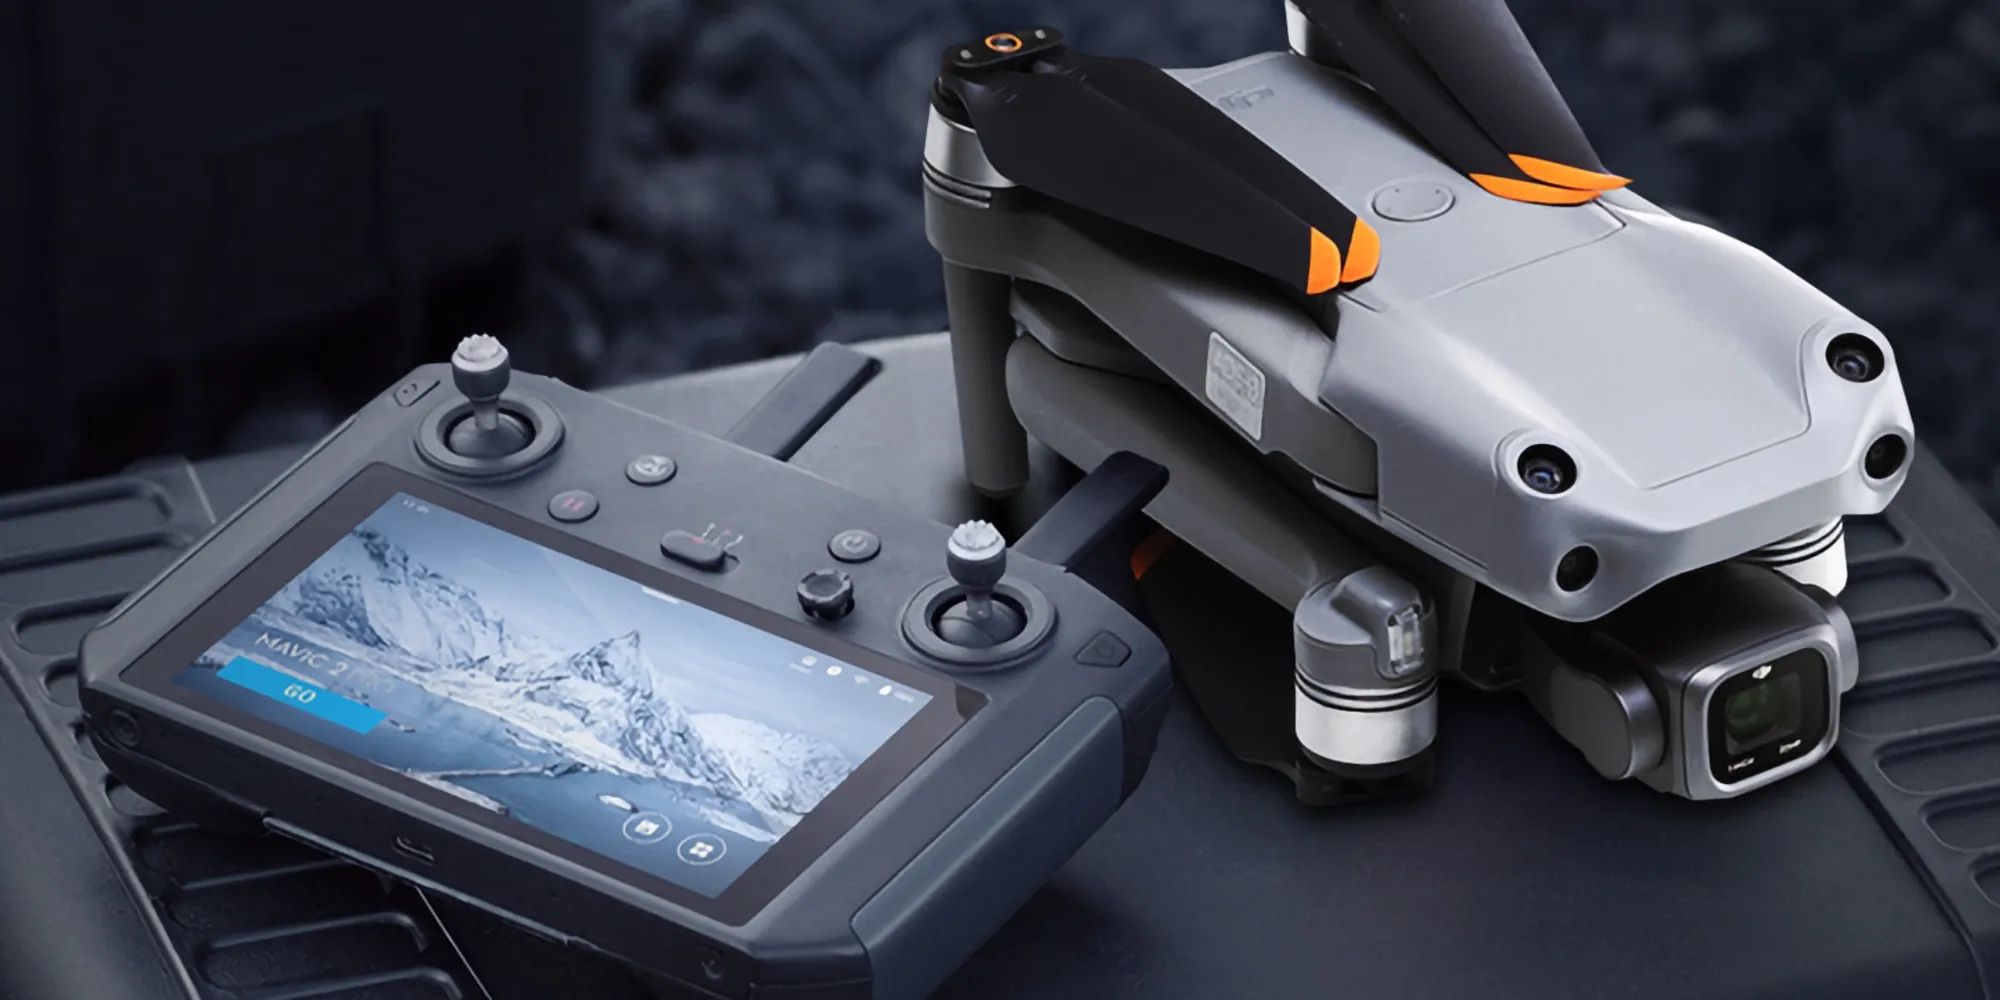
Step 6: Pairing the Remote Controller
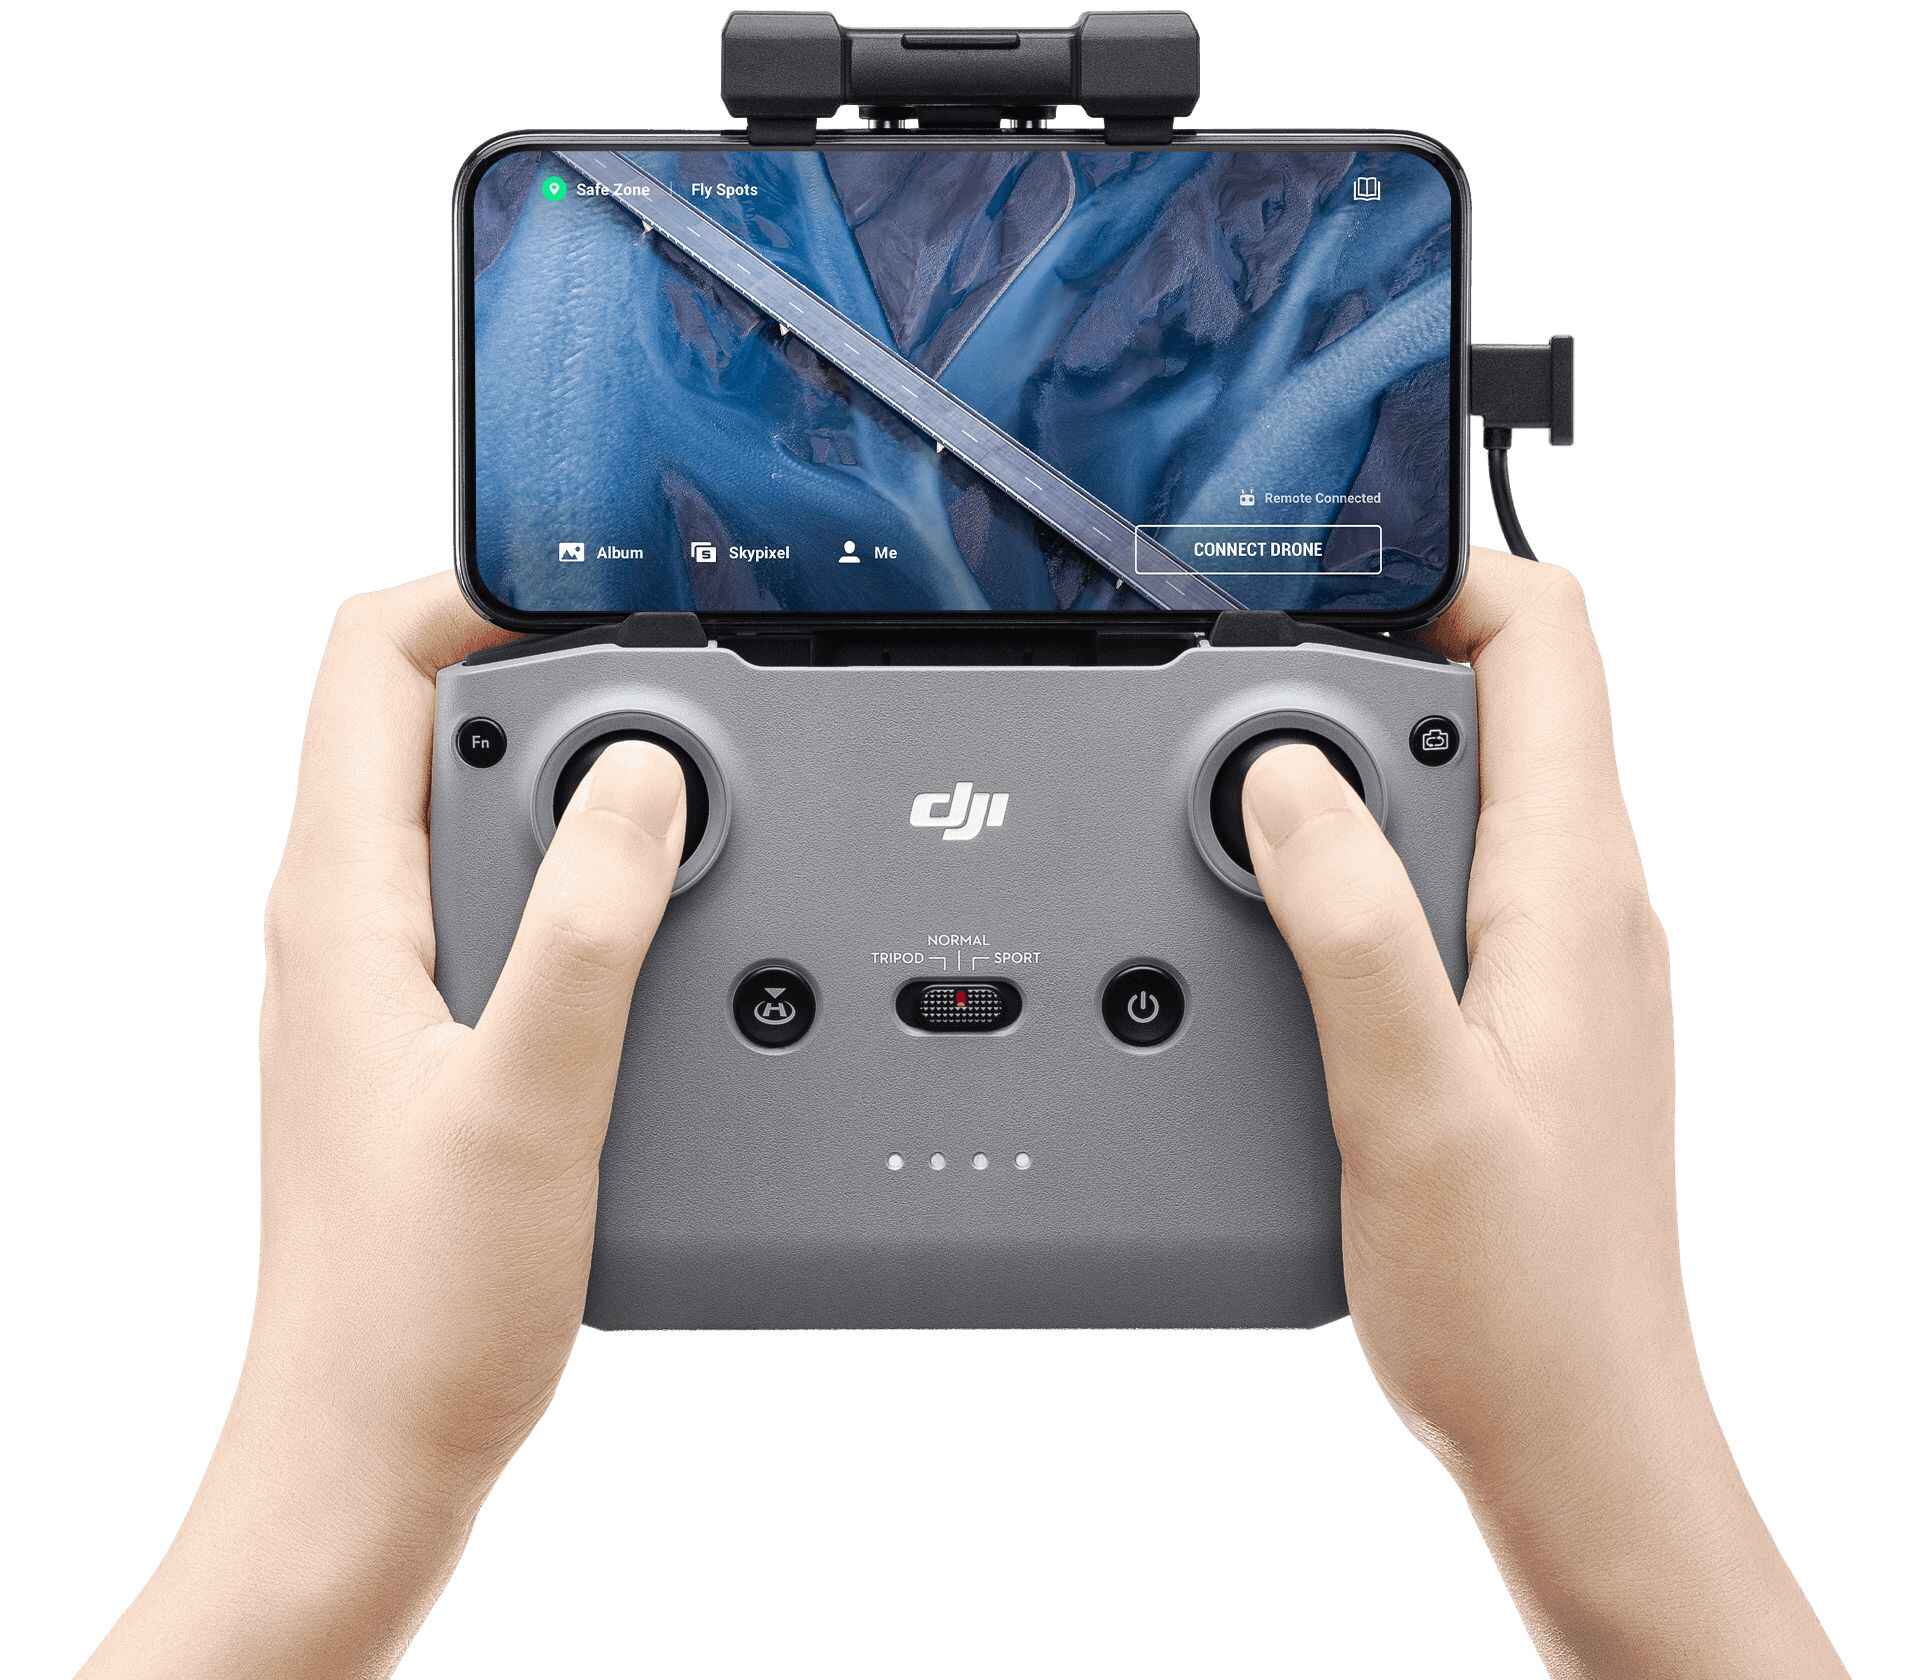
In order to control your DJI Mavic Air and navigate its flight, you need to pair the remote controller with the drone. The remote controller plays a vital role in providing a stable and responsive connection between you and your Mavic Air.
To begin the pairing process, ensure that both the remote controller and the Mavic Air are powered on and within close proximity to each other. Make sure the antennas on the remote controller are properly positioned and free from any obstructions.
On your smartphone or tablet, open the DJI Fly app and tap the “Connect Aircraft” button. The app will search for available drones in the vicinity. Once the Mavic Air is detected, it will appear on the app’s screen. Simply tap on the Mavic Air icon to start the pairing process.
Follow the on-screen prompts to establish a connection between the remote controller and the drone. This involves selecting the correct remote controller model, verifying the Wi-Fi connection, and allowing the app to pair the devices.
During the pairing process, you may be prompted to enter a password. By default, the password is usually 12345678. However, it’s essential to check the instruction manual or contact DJI support to confirm the correct password for your specific model of the Mavic Air.
Once the remote controller and drone are successfully paired, you will see a “Connected” notification on the DJI Fly app. At this point, you can perform a quick check to ensure that the remote controller is properly connected by checking the indicator lights on both the remote controller and the drone.
Now that the remote controller and the Mavic Air are successfully paired, you have full control over the drone’s movements and can navigate its flight using the intuitive controls on the remote controller and the DJI Fly app.
Proceed to the next step, where we will cover the importance of updating the firmware on your DJI Mavic Air.
Step 7: Updating the Firmware
Keeping the firmware on your DJI Mavic Air up to date is crucial for ensuring optimal performance and stability. Firmware updates often include important improvements, bug fixes, and new features that enhance the overall functionality of your drone.
To update the firmware on your Mavic Air, ensure that both the drone and the DJI Fly app are connected to the internet. Open the DJI Fly app on your smartphone or tablet and navigate to the settings menu.
Within the settings menu, you will find an option for firmware updates. Tap on this option to check for any available updates for your Mavic Air. The app will scan for the latest firmware version and prompt you to download and install it if an update is available.
It’s crucial to have a stable and reliable internet connection during the firmware update process. It may take some time to download and install the update, depending on its size and your internet speed.
While the firmware is updating, it’s important not to power off the drone or disconnect the remote controller. Interrupting the firmware update process may result in a failed update or potential issues with the drone’s performance.
Once the firmware update is completed, the Mavic Air will automatically restart. It’s recommended to perform a quick inspection of the drone to ensure that all systems are functioning correctly, and there are no error messages or indications of any issues.
Regularly checking for firmware updates and installing them promptly is essential for keeping your DJI Mavic Air up to date with the latest improvements and features. This will not only enhance the overall performance of the drone but also ensure a safe and enjoyable flying experience.
In the next step, we will cover how to calibrate the compass on your DJI Mavic Air.
Step 8: Calibrating the Compass
Calibrating the compass on your DJI Mavic Air is an essential step to ensure accurate and reliable navigation. The compass helps the drone determine its heading and maintain stability during flight. It’s important to calibrate the compass in a location free from magnetic interference, such as metal objects or electronic devices.
To calibrate the compass, first, find an open area away from any potential interference. Power on the Mavic Air and remote controller, ensuring that both are connected. Open the DJI Fly app on your smartphone or tablet, and tap on the compass icon to access the calibration menu.
Follow the on-screen prompts to initiate the calibration process. Typically, you will be asked to rotate the drone along each axis (yaw, pitch, and roll) while keeping it level, following the instructions provided by the app. It’s important to perform these movements slowly and smoothly for an accurate calibration.
The app will display visual cues to guide you through the process. Pay attention to the on-screen instructions and ensure that you complete the calibration steps as accurately as possible.
During the calibration process, be aware of any magnetic sources nearby, such as metal structures, vehicles, or electronic equipment. These objects can interfere with the compass calibration, resulting in inaccurate readings.
Once the calibration is complete, the DJI Fly app will notify you of the successful calibration. It’s recommended to power off the drone and the remote controller and then power them back on again to ensure that the calibration settings are properly applied.
It’s important to note that you may need to calibrate the compass again if you change the flying location or if you encounter any odd flight behavior. Regularly calibrating the compass will help ensure accurate navigation and a stable flight experience with your DJI Mavic Air.
Now that you have successfully calibrated the compass, it’s time to perform a pre-flight checklist to ensure that everything is in order before taking off. This will be covered in the next step.
Step 9: Pre-flight Checklist
Before taking off with your DJI Mavic Air, it’s important to go through a pre-flight checklist to ensure that everything is in order and that you are prepared for a safe and successful flight. This checklist serves as a reminder to check critical components and settings before launching your drone into the air.
1. Check the Physical Condition: Inspect your DJI Mavic Air for any visible damage, loose parts, or abnormalities. Ensure that the propellers are securely fastened, the battery is properly inserted, and the memory card is correctly installed.
2. Check the Battery Level: Verify that the battery of the Mavic Air is adequately charged and has sufficient power for the intended flight duration. You can check the battery level on the DJI Fly app or the LED indicators on the drone.
3. Verify the GPS Signal: Ensure that the Mavic Air has acquired a strong GPS signal. This is crucial for accurate positioning, stable flight, and the proper functioning of intelligent flight modes. Check the GPS signal strength indicator on the DJI Fly app.
4. Review Flight Restrictions: Familiarize yourself with the local regulations and any flight restrictions in the area where you plan to fly your drone. Observe any restrictions on altitude, no-fly zones, or other limitations that may be in place.
5. Check Weather Conditions: Assess the current weather conditions and forecast for the duration of your intended flight. Avoid flying in adverse weather conditions such as strong winds, rain, or fog that may affect the safety and stability of your Mavic Air.
6. Perform a Compass Calibration: If you have changed location since the last flight or if you encounter any odd flight behavior, consider calibrating the compass again to ensure accurate navigation.
7. Verify Home Point: Set the home point by ensuring that the GPS signal is strong and stable. This will enable your Mavic Air to return to its takeoff location in case of emergency or if the return-to-home function is activated.
8. Verify Camera Settings: Check and adjust the camera settings according to your preferences and the shooting conditions. Ensure that the camera is focused, the exposure settings are appropriate, and any desired effects or modes are selected.
9. Briefly Review Flight Controls: Familiarize yourself with the control layout and functions of the remote controller. Ensure that you understand how to maneuver the Mavic Air, switch between flight modes, and activate features such as gesture control or follow me mode.
By diligently following this pre-flight checklist, you can help mitigate potential risks and ensure that you are well-prepared for a safe and enjoyable flight with your DJI Mavic Air.
Now that you’ve completed the pre-flight checklist, it’s time to take off and fly your DJI Mavic Air. The next step will guide you through the process of launching your drone into the air.
Step 10: Taking Off and Flying the DJI Mavic Air
Finally, it’s time to take off and experience the thrill of flying your DJI Mavic Air! With the pre-flight checks completed and all systems ready, you’re now prepared to launch your drone into the sky.
1. Find a Suitable Takeoff Area: Choose an open and clear area with ample space for takeoff and landing. Ensure there are no obstacles or people nearby that may pose a risk during flight.
2. Prepare for Launch: Hold the remote controller firmly and ensure that the antennas on the controller and Mavic Air are properly positioned. Double-check that the propellers are securely fastened and that the GPS signal is strong.
3. Takeoff: To initiate takeoff, push the left control stick (throttle stick) upwards gently. The Mavic Air will ascend vertically. Release the stick once the drone is at your desired height. Keep an eye on the drone’s altitude using the altitude indicator on the DJI Fly app.
4. Control the Flight: Use the control sticks to maneuver the Mavic Air in different directions. The right stick controls the drone’s movement (forward, backward, left, right), while the left stick controls altitude (up, down) and rotation. Fly the drone smoothly and avoid sudden, jerky movements.
5. Use Intelligent Flight Modes: Take advantage of the intelligent flight modes available on your Mavic Air. These modes, such as ActiveTrack or QuickShots, add creativity and ease of use to your aerial photography and videography. Explore the DJI Fly app to access and activate these features.
6. Monitor Battery Life: Keep an eye on the battery level during flight. Return to home or land the drone before the battery level becomes too low. It’s important to maintain a safe buffer for a safe landing.
7. Observe Flight Time Limit: The DJI Mavic Air has a limited flight time per charge. It’s essential to be aware of this and plan your flight accordingly. Take note of how much time you have remaining and always leave enough battery for the return trip or any unforeseen circumstances.
8. Maintain Visual Line of Sight: Always keep your Mavic Air within visual sight during flight. It’s important to be able to see and monitor the drone’s movements to ensure a safe and controlled flight. Avoid flying beyond your line of sight or in conditions with poor visibility.
9. Land Safely: When returning and landing the Mavic Air, reduce the altitude slowly using the left control stick. Aim for a smooth and controlled descent. Touchdown gently on a flat and stable surface.
10. Power Down and Secure: After landing, power off the DJI Mavic Air, disconnect the remote controller, and secure all components in their respective positions. This will help preserve the lifespan of your drone and ensure its readiness for future flights.
With these steps, you’re now equipped to take off and fly your DJI Mavic Air confidently. Always follow local regulations and guidelines, prioritize safety, and continue to practice and explore the various features and capabilities of your drone.
Conclusion
Congratulations! You have successfully learned how to turn on and set up your DJI Mavic Air. From unboxing the drone to taking off and flying, each step has brought you closer to soaring through the skies and capturing breathtaking aerial footage.
By following the detailed instructions in this guide, you have familiarized yourself with the physical components of the Mavic Air, such as the batteries, propellers, and memory card. You have also learned about essential tasks like charging the batteries, calibrating the compass, and updating the firmware.
Moreover, you have gained valuable insights into the pre-flight checklist and the necessary precautions to take before launching your drone into the air. This checklist will help ensure a safe and enjoyable flight experience while adhering to local regulations and weather conditions.
As you venture into the world of aerial photography and videography, remember to fly responsibly and respect the privacy and safety of others. Stay informed about the latest updates and advancements in drone technology to enhance your flying skills and capture stunning imagery.
Always remember to practice good flight etiquette, maintain a visual line of sight with your Mavic Air, and fly within your skill level and comfort zone. Take advantage of the intelligent flight modes and explore the creative possibilities they offer.
Now, it’s time for you to spread your wings and embrace the exhilarating adventure that awaits you with your DJI Mavic Air. Strap on your seatbelt, fasten your propellers, and take flight into the limitless possibilities of aerial exploration.
Happy flying!