Introduction
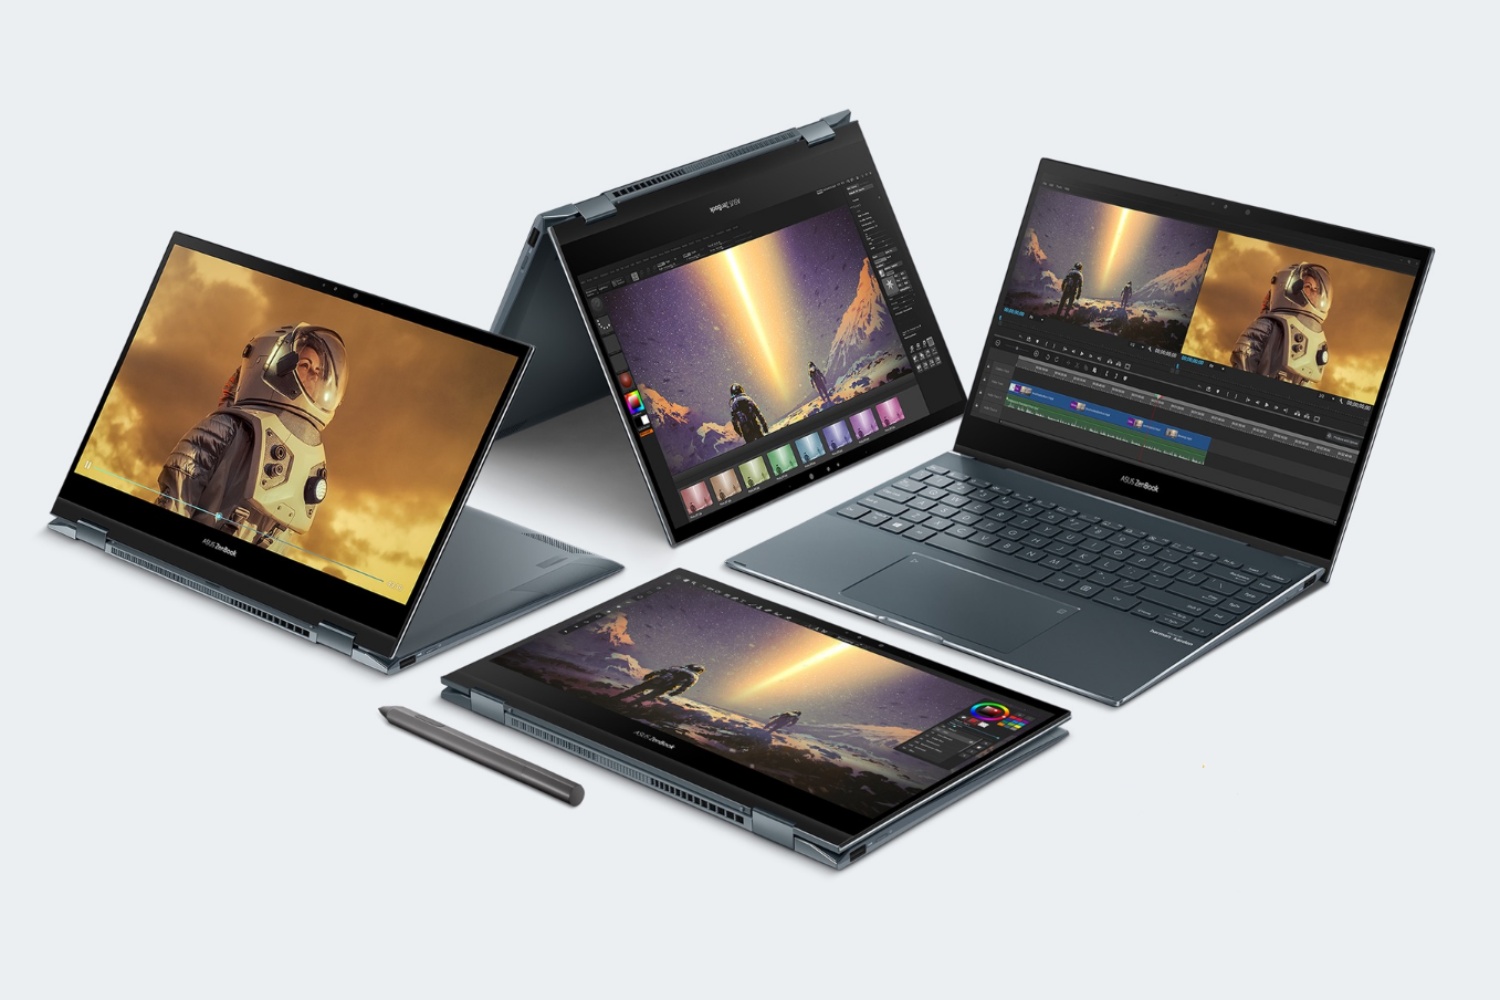
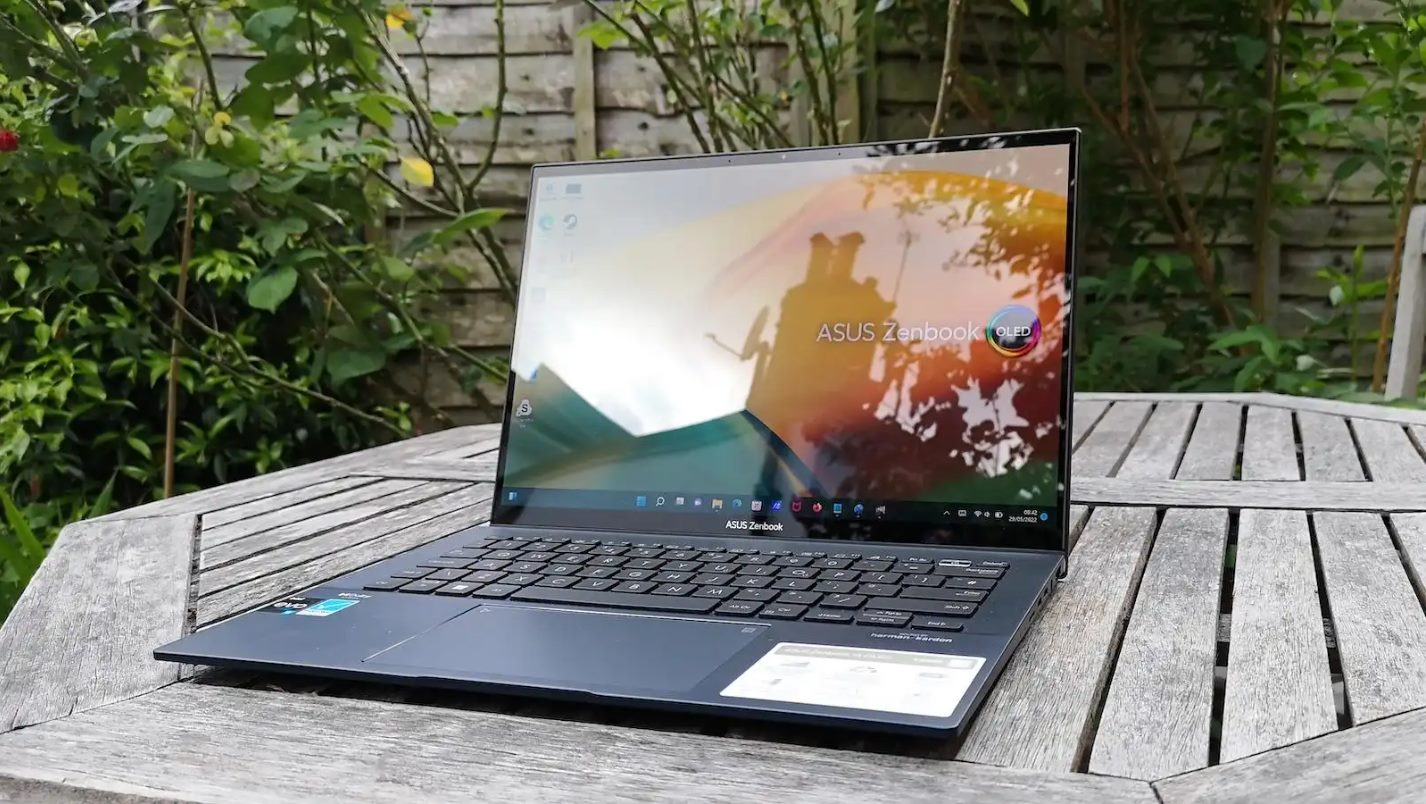
Welcome to the world of ASUS Ultrabooks, where sleek design meets cutting-edge technology. These lightweight and powerful devices are perfect for multitasking, whether it’s for work, entertainment, or creative pursuits. One feature that sets ASUS Ultrabooks apart is their touch screen capability, allowing you to navigate and interact with your device using your fingertips.
However, there can be instances where you may want to turn off the touch screen on your ASUS Ultrabook. Maybe you prefer using a mouse and keyboard for certain tasks, or perhaps you want to conserve battery life by disabling the touch screen when not needed. Whatever the reason may be, we’ve got you covered with several methods to turn off the touch screen on your ASUS Ultrabook.
In this article, we will explore four different methods to disable the touch screen on your ASUS Ultrabook. Whether you’re comfortable with tweaking settings in the device manager or prefer making changes through the Registry Editor or group policy editor, we have step-by-step instructions to guide you through each approach. Additionally, if you prefer a more user-friendly method, we will also cover how to disable the touch screen using the Windows Tablet PC Settings.
It’s important to note that the methods mentioned in this article are specifically for ASUS Ultrabooks running on the Windows operating system. The steps may vary slightly depending on the model and version of your Ultrabook, but the general process remains the same.
Now that we’ve set the stage, let’s dive into the methods to disable the touch screen on your ASUS Ultrabook, so you can customize your device to suit your preferences and needs.
Why would you want to turn off the touch screen on your ASUS Ultrabook?
The touch screen feature on ASUS Ultrabooks offers a convenient and intuitive way to interact with your device. However, there may be situations where you find it beneficial to disable the touch screen. Let’s explore some common reasons why you might want to turn off the touch screen on your ASUS Ultrabook:
- Increased precision: While touch screens are great for certain tasks, such as navigating through apps or scrolling through webpages, they may not offer the same level of precision as a mouse or trackpad. If you’re working on detailed tasks that require pinpoint accuracy, disabling the touch screen can help you achieve more precise movements.
- Extended battery life: Touch screens consume more power compared to other input methods like mouse or keyboard. By disabling the touch screen when it’s not needed, you can conserve battery life and extend the usage time of your ASUS Ultrabook. This can be particularly useful when you’re working on tasks that don’t require touch input, such as writing documents or coding.
- Preventing accidental touches: Have you ever experienced frustration when your palm or fingers accidentally trigger an action on the touch screen while you’re typing or using the keyboard? Disabling the touch screen can help prevent these unintended touches, enhancing your overall typing and navigating experience.
- Compatibility with specific applications: Certain software applications or games may not be optimized for touch screen input or may work better with traditional input methods. By disabling the touch screen, you can ensure compatibility and enjoy a seamless experience with these applications.
- Preference for keyboard and mouse: Some users simply prefer using a keyboard and mouse for their workflow. Whether it’s due to personal preference or familiarity, disabling the touch screen allows you to rely solely on these tried-and-true input methods.
These are just a few examples of why you might choose to turn off the touch screen on your ASUS Ultrabook. Ultimately, it boils down to personal preference, specific tasks, and optimizing your overall user experience. Now, let’s explore the various methods to disable the touch screen on your ASUS Ultrabook.
Method 1: Using the Device Manager
If you’re comfortable navigating through system settings and making changes at a device level, using the Device Manager is a straightforward method to disable the touch screen on your ASUS Ultrabook. Here’s how you can do it:
- Press the Windows key + X on your keyboard and select Device Manager from the menu that appears.
- In the Device Manager window, expand the “Human Interface Devices” category.
- Locate the touch screen device in the list. It is usually labeled as “HID-compliant touch screen” or something similar.
- Right-click on the touch screen device and select Disable device from the context menu.
- A confirmation window may appear. Click Yes to proceed with disabling the touch screen.
- Once disabled, the touch screen functionality will be turned off. You can verify this by touching the screen and noticing that it does not respond to your touch anymore.
Disabling the touch screen through the Device Manager provides a quick and effective way to turn off the touch input on your ASUS Ultrabook. If you ever want to enable it again, simply repeat the steps above and select Enable device instead of Disable device.
It’s important to note that depending on your specific Ultrabook model, the touch screen device may be listed under a different category in the Device Manager. If you’re having trouble locating it, refer to your device’s user manual or the ASUS support website for further instructions.
Now that we’ve covered one method to turn off the touch screen, let’s move on to Method 2, where we will explore using the Registry Editor to disable the touch screen on your ASUS Ultrabook.
Method 2: Using the Registry Editor
If you’re comfortable making changes to the Windows Registry, using the Registry Editor is another method to disable the touch screen on your ASUS Ultrabook. Here’s a step-by-step guide:
- Press the Windows key + R on your keyboard to open the Run dialog box.
- Type “regedit” in the Run dialog box and press Enter to open the Registry Editor.
- In the Registry Editor window, navigate to the following path:
HKEY_CURRENT_USER\Software\Microsoft\Wisp\Touch - Right-click on the “TouchGate” folder (if it exists) in the left pane and select Delete to remove it.
- Close the Registry Editor window and restart your ASUS Ultrabook.
- After the restart, the touch screen functionality should be disabled, and you should no longer be able to interact with the screen through touch input.
It’s important to note that modifying the Windows Registry can have unintended consequences if not done correctly. Therefore, it’s always recommended to create a backup of your registry or create a system restore point before making any changes.
If you ever want to enable the touch screen again in the future, you can follow the same steps above and re-create the “TouchGate” folder in the Registry Editor.
The Registry Editor method provides a more permanent solution to disable the touch screen on your ASUS Ultrabook. However, always exercise caution when making changes to the registry, as any incorrect modification can cause system instability.
Now that we’ve explored disabling the touch screen using the Registry Editor, let’s move on to Method 3, which involves using the Group Policy Editor.
Method 3: Using the Group Policy Editor
If you’re using a Windows version that includes the Group Policy Editor, you can use this method to disable the touch screen on your ASUS Ultrabook. Follow the steps below:
- Press the Windows key + R on your keyboard to open the Run dialog box.
- Type “gpedit.msc” in the Run dialog box and press Enter to open the Group Policy Editor.
- In the Group Policy Editor window, navigate to the following path:
Computer Configuration\Administrative Templates\System\Device Installation\Device Installation Restrictions - Double-click on the “Prevent installation of devices not described by other policy settings” setting.
- Select the “Enabled” option and click Apply and then OK.
- Close the Group Policy Editor window.
- Restart your ASUS Ultrabook for the changes to take effect.
By enabling the “Prevent installation of devices not described by other policy settings” option, you effectively disable the touch screen driver from being installed or recognized by your Ultrabook. As a result, the touch screen functionality will be turned off.
It’s important to note that the Group Policy Editor is not available in all Windows editions. This method might not be applicable if you’re using a Home edition of Windows that does not include the Group Policy Editor. In such cases, consider using one of the other methods mentioned in this article.
If you ever want to re-enable the touch screen in the future, you can go back to the Group Policy Editor and set the “Prevent installation of devices not described by other policy settings” option to “Not Configured” or “Disabled“.
Now that we’ve covered using the Group Policy Editor to disable the touch screen, let’s move on to Method 4, where we will explore using the Windows Tablet PC Settings.
Method 4: Using the Windows Tablet PC Settings
If you prefer a more user-friendly approach to disabling the touch screen on your ASUS Ultrabook, you can use the Windows Tablet PC Settings. Here’s how:
- Open the Settings on your ASUS Ultrabook by pressing the Windows key + I on your keyboard.
- In the Settings window, click on System.
- In the left sidebar, select Tablet Mode.
- Under the “When I sign in” section, choose either “Use desktop mode” or “Use tablet mode”. Selecting “Use desktop mode” will disable the touch screen functionality.
- After selecting your preferred mode, close the Settings window.
By setting your Ultrabook to use desktop mode, you effectively disable the touch screen functionality. This allows you to use your ASUS Ultrabook as a traditional laptop without any touch input.
The Windows Tablet PC Settings method offers a convenient way to quickly toggle between touch screen and non-touch screen modes, without having to dig into complex settings or make changes at a system level.
If you ever want to re-enable the touch screen, simply go back to the Tablet PC Settings and select “Use tablet mode” or adjust the settings according to your preference.
Now that you know how to use the Windows Tablet PC Settings to disable the touch screen, let’s summarize the methods we’ve covered so far for your ASUS Ultrabook.
Conclusion
Disabling the touch screen on your ASUS Ultrabook can offer several benefits, such as increased precision, extended battery life, prevention of accidental touches, compatibility with specific applications, and preference for traditional input methods. Fortunately, there are multiple methods to turn off the touch screen on your Ultrabook, allowing you to customize your device to suit your needs and preferences.
In this article, we explored four different methods:
- Using the Device Manager: This method involves disabling the touch screen device through the Device Manager settings.
- Using the Registry Editor: This method requires making changes to the Windows Registry to remove the touch screen functionality.
- Using the Group Policy Editor: If available, the Group Policy Editor can be used to prevent the installation and recognition of the touch screen driver.
- Using the Windows Tablet PC Settings: This user-friendly method allows you to toggle between touch screen and non-touch screen modes using the Windows settings.
Remember to exercise caution when making changes to your device’s settings or system files. Always back up your data and create restore points before proceeding with any modifications.
Now that you’re equipped with the knowledge of these methods, you can confidently choose the one that suits your comfort level and preferences. Whether you’re a tech-savvy user who prefers tweaking settings or someone who prefers a user-friendly approach, there’s a method for everyone.
So go ahead and disable the touch screen on your ASUS Ultrabook if it aligns with your needs. Enjoy the precise control, enhanced battery life, and seamless user experience that comes with it!