Introduction
Welcome to our guide on how to turn off sync in Google Photos. Google Photos is a popular cloud-based service that allows users to store, organize, and share their photos and videos. By default, Google Photos automatically syncs your media files to the cloud, ensuring that they are safely backed up and accessible across all your devices. However, there may be instances where you want to disable this feature, whether it’s to conserve mobile data, free up storage space on your device, or simply have more control over your media files.
In this article, we will walk you through the step-by-step process of turning off sync in Google Photos. Whether you’re using an Android device or an iOS device, the steps are straightforward and easy to follow. By disabling sync, you can personalize your Google Photos experience and choose when and how your photos and videos are uploaded to the cloud.
Before we dive into the steps, it’s important to note that turning off sync will only affect the automatic backup feature of Google Photos. You will still be able to view and access your existing photos and videos in the app. Additionally, any changes made to your media files, such as editing or deleting, will not be synced across devices once you disable the feature.
Now, let’s get started and learn how to turn off sync in Google Photos.
Step 1: Open Google Photos
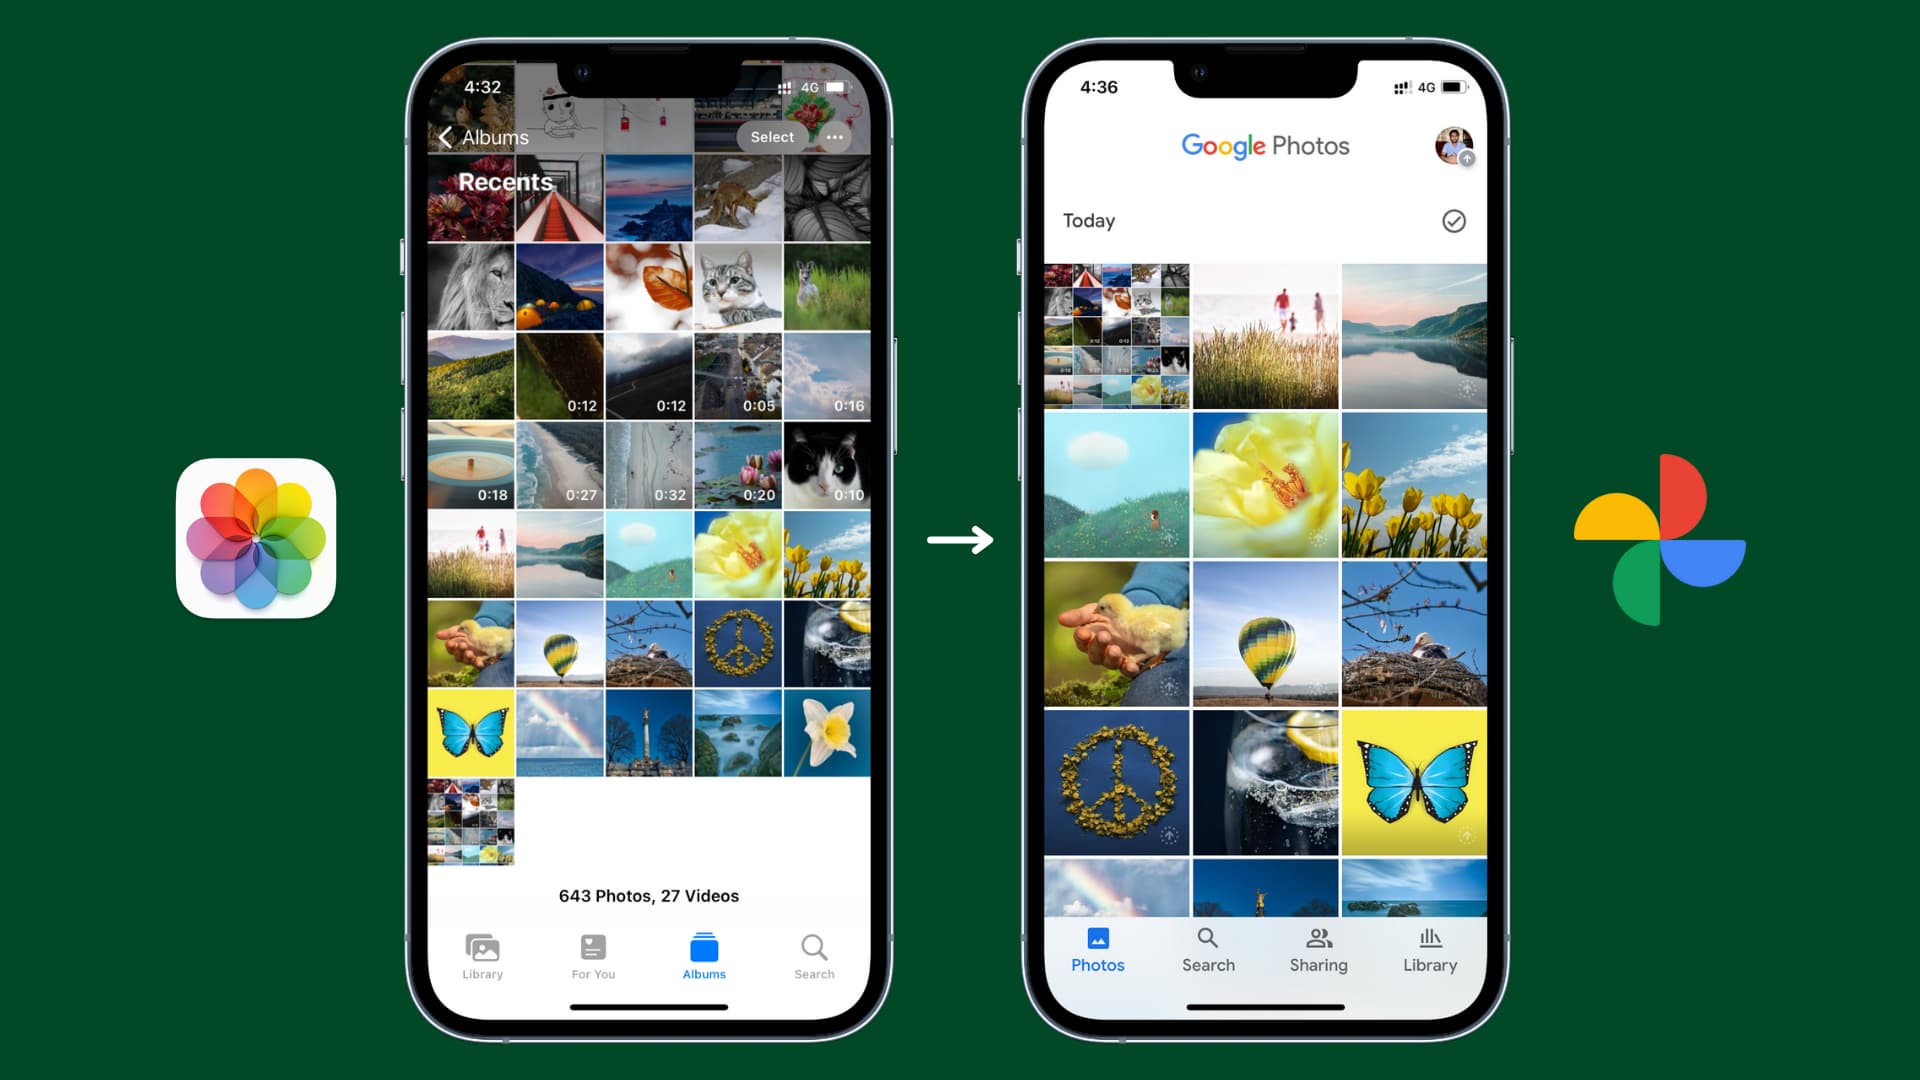
The first step in turning off sync in Google Photos is to open the app on your device. Find the Google Photos icon on your home screen or app drawer, which typically looks like a multi-colored pinwheel. Tap on the icon to launch the app.
Once the app is open, you will be greeted with your photo library, displaying all the photos and videos stored on your device. Google Photos conveniently organizes your media files by date and location, making it easy to navigate through your collection.
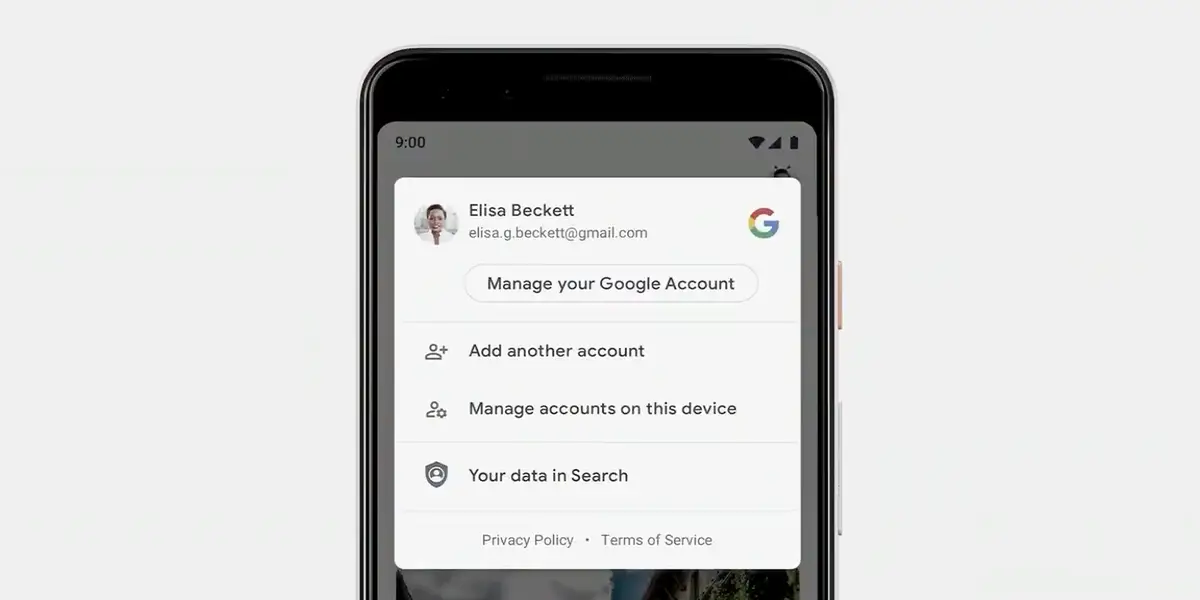
If you haven’t used Google Photos before, you may need to sign in with your Google account. Simply follow the prompts to enter your email address and password. Once signed in, you will have access to all the features and settings of the app.
It’s worth mentioning that Google Photos is available for both Android and iOS devices. While the interface may have slight variations, the overall steps to turn off sync remain the same.
Now that you have opened Google Photos on your device, let’s move on to the next step to disable sync and gain more control over your media files.
Step 2: Tap on the Menu Icon
After opening Google Photos, the next step is to access the main menu where you can find various options and settings. To do this, look for the menu icon in the app’s interface. The menu icon typically consists of three horizontal lines or three dots, located in the top-left or top-right corner of the screen.
Tap on the menu icon, and a drop-down or slide-out menu will appear, providing you with access to different features and settings of Google Photos.
In some versions of the app, the menu icon may be replaced by a tab or a navigation bar at the bottom of the screen. If that’s the case, look for a labeled option like “Library,” “More,” or “Settings.” Tapping on this option will bring you to the menu or settings page.
The menu in Google Photos serves as a central hub where you can navigate through different sections, such as your photo library, albums, shared media, and more. It’s also where you can access the settings to customize your Google Photos experience.
Now that you have tapped on the menu icon and accessed the menu page, let’s move on to the next step to continue the process of turning off sync in Google Photos.
Step 3: Select “Settings”
Once you have opened the menu in Google Photos, the next step is to locate and select the “Settings” option. The exact placement of the “Settings” option may vary slightly depending on the app version and device you are using.
Scroll through the menu options, and look for the label that says “Settings.” It is usually positioned towards the bottom of the menu.
Once you have found the “Settings” option, tap on it to open the settings page. This is where you can customize various aspects of Google Photos, including the backup and sync settings that we will be modifying in the following steps.
The settings page in Google Photos is divided into different sections, each containing specific options. Explore the various sections to familiarize yourself with the available settings, as you can adjust other preferences in addition to turning off sync.
Now that you have selected the “Settings” option, let’s proceed to the next step and disable the “Back up & sync” feature.
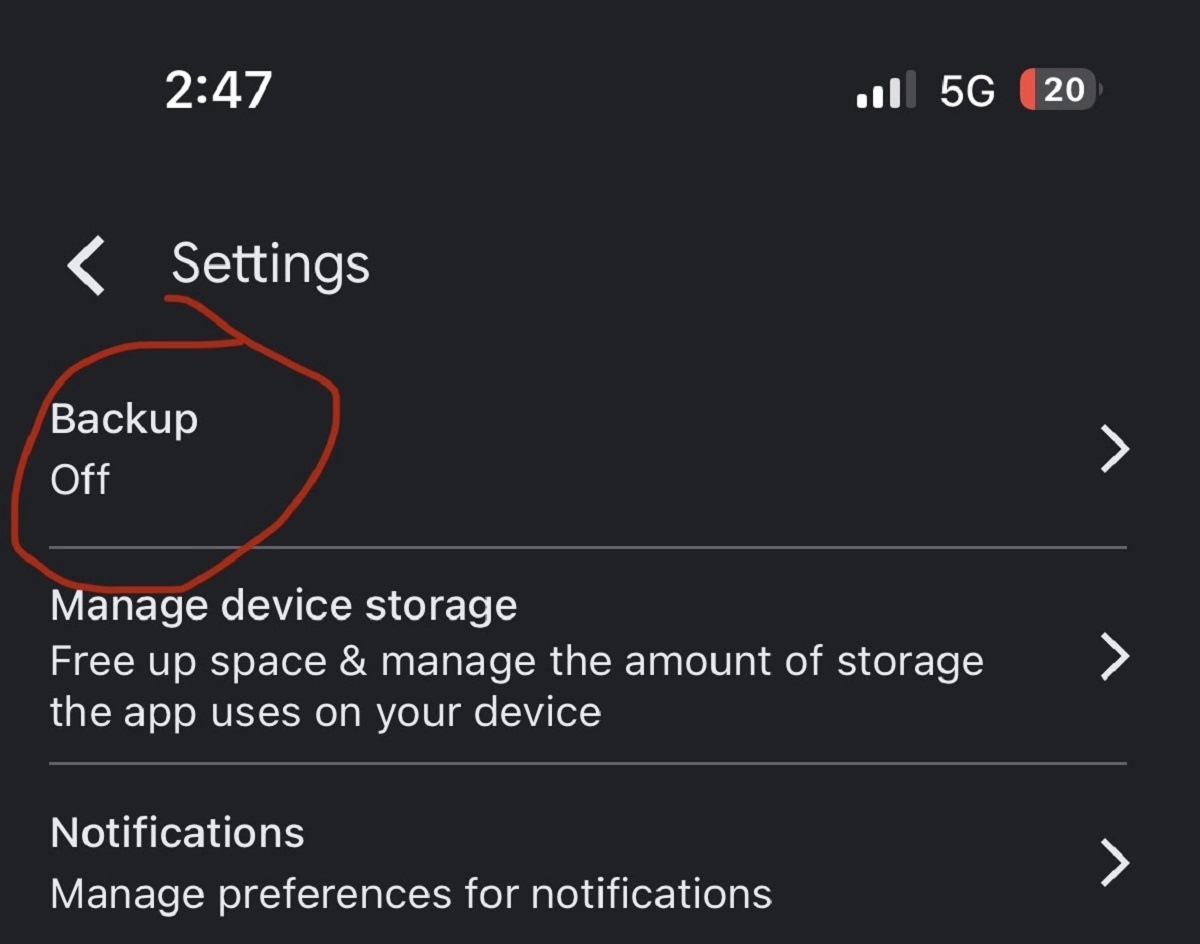
Step 4: Tap on “Back up & sync”
After accessing the settings page in Google Photos, the next step is to locate and tap on the “Back up & sync” option. This option allows you to control the automatic backup of your photos and videos to the cloud.
Scroll through the settings page until you find the section labeled “Back up & sync.” On some versions of the app, it may be labeled simply as “Backup.” Tap on this section to proceed.
Once you have tapped on “Back up & sync,” you will be taken to a new screen where you can manage the backup settings. This screen provides you with options to enable or disable backup, as well as adjust other related preferences.
Google Photos offers the flexibility to customize your backup and sync settings according to your preferences. You can choose to back up your photos and videos using Wi-Fi only or also include mobile data if desired. You can also choose the upload size for your media files, including the option for original quality with limited storage.
Now that you have located and tapped on the “Back up & sync” option, let’s proceed to the next step and disable the automatic backup feature to turn off sync in Google Photos.
Step 5: Disable “Back up & sync”
Now that you have accessed the “Back up & sync” settings in Google Photos, the next step is to disable the automatic backup feature. This will effectively turn off sync and prevent your photos and videos from being automatically uploaded to the cloud.
On the “Back up & sync” screen, you will see a toggle switch next to the label that says “Back up & sync.” By default, this switch is turned on, indicating that automatic backup is enabled.
To disable sync and turn off automatic backup, simply tap on the toggle switch. Once tapped, the switch will move to the off position, indicating that the feature has been disabled.
Disabling sync means that any new photos or videos you capture will not be automatically backed up to the cloud. Instead, they will remain on your device until you manually choose to back them up or enable sync.
However, please note that disabling backup and sync does not delete or remove any previously backed up photos or videos. Your existing media files will still be accessible and viewable in Google Photos.
Now that you have disabled the “Back up & sync” feature, let’s move on to the final step to confirm the turn off sync in Google Photos.
Step 6: Confirm Turn Off Sync
After disabling the “Back up & sync” feature in Google Photos, the final step is to confirm the turn off sync to ensure that the changes take effect.
Upon disabling sync, you may see a pop-up or a confirmation message asking for your confirmation to turn off sync. This is an additional precautionary step to prevent accidental disabling of sync.
Read the message carefully and make sure it states that you are turning off sync. If the message is unclear or does not confirm the action you intended, double-check your settings and try again.
Once you are presented with the confirmation message, proceed by tapping on the “Confirm” or “Turn off” button. This will finalize the process and turn off sync in Google Photos.
After confirming the turn off sync, you will no longer have automatic backup and synchronization of your photos and videos. Your media files will stay on your device, and you will have more control over when and how you back them up to the cloud.
Remember that you can always re-enable sync and automatic backup in the future if you decide to resume the feature.
Now that you have successfully confirmed the turn off sync in Google Photos, you are in complete control of your media files and can choose how to manage them as you prefer.
Conclusion
Congratulations! You have successfully learned how to turn off sync in Google Photos. By following the simple steps outlined in this guide, you were able to disable the automatic backup and synchronization feature, giving you more control over your media files.
Turning off sync in Google Photos can be useful in various scenarios. It allows you to conserve mobile data by preventing automatic uploads of photos and videos. It also helps free up storage space on your device, as media files will not be duplicated in the cloud.
Remember that disabling sync does not delete any already backed up media files. Your existing photos and videos will still be accessible and viewable in Google Photos, just without any automatic updates.
If you ever decide to resume sync and automatic backup, you can easily do so by following similar steps in the Google Photos settings.
Now that you have the knowledge to turn off sync in Google Photos, take control of your media and customize your backup preferences to suit your needs. Enjoy managing your photos and videos with ease and flexibility!