Introduction
Transferring playlists from one music streaming platform to another has become a common need for many music enthusiasts. If you’re an Apple Music user looking to switch to Spotify, you might be wondering how to transfer your carefully curated playlists. While the process may seem daunting at first, it is actually quite simple with the right tools and steps.
In this article, we will guide you through the process of transferring your playlist from Apple Music to Spotify seamlessly. Whether you’ve spent hours curating the perfect workout playlist or have a collection of nostalgic tunes, we’ve got you covered.
Before we dive into the steps, it’s worth noting that there are a few requirements you’ll need to fulfill. You’ll need an active subscription to both Apple Music and Spotify, as well as a computer with internet access. Additionally, make sure you’re using the latest versions of both the Apple Music and Spotify applications.
Now, let’s get started on transferring your playlist from Apple Music to Spotify.
This process involves exporting your Apple Music playlist, converting the exported file into a format that Spotify can read, and then importing the converted playlist to your Spotify account. We’ll also provide some tips on organizing and editing your Spotify playlist once it’s imported.
So, without further ado, let’s embark on this playlist transferring journey and ensure that your favorite tracks continue to accompany you wherever you go!
Step 1: Exporting your Apple Music playlist
The first step in transferring your Apple Music playlist to Spotify is to export your playlist from the Apple Music application. Follow these simple steps:
- Open the Apple Music application on your computer and make sure you’re signed in with your Apple ID.
- Navigate to the playlist you want to export. You can find your playlists under the “Library” or “Playlists” tab.
- Right-click on the playlist and select the “Export as File” option from the drop-down menu. Choose a suitable location on your computer to save the exported file.
- Apple Music will export the playlist in XML format, which is not directly compatible with Spotify. To convert it into a format that Spotify can read, we’ll use a third-party tool in the next step.
It’s important to note that if your Apple Music playlist contains songs that are not available on Spotify, they will not be transferred. Furthermore, any playlist artwork or customizations will also not carry over to Spotify. You may need to manually adjust or replace certain songs and customize your Spotify playlist after the transfer.
Remember to keep the exported playlist file handy, as you’ll need it for the next step. With the playlist exported, we can now move on to converting the file for Spotify in the next step.
Step 2: Converting the exported file for Spotify
Now that you have exported your Apple Music playlist as an XML file, we need to convert it into a format that Spotify can recognize. Follow these steps to convert the exported file:
- Open a web browser on your computer and search for “Apple Music to Spotify converter”. You will find multiple online tools that can assist you in converting the XML file. Choose a reliable converter that suits your needs.
- Visit the chosen converter website and follow their instructions to upload the exported XML file. Depending on the converter, you may need to sign in with your Apple ID or authorize access to your Apple Music library.
- Once the converter has finished processing the file, it will provide you with a converted file in a Spotify-compatible format. Download this file to your computer.
It’s important to note that not all converters may perfectly convert every song in your playlist, especially if the songs are not available on Spotify. Double-check the converted file to ensure most, if not all, of the songs are successfully converted.
With the converted file ready, we can now move on to the next step – importing the playlist into Spotify.
Step 3: Importing the converted playlist to Spotify
Now that you have the converted playlist file in a Spotify-compatible format, it’s time to import it into your Spotify account. Follow these steps to import the playlist:
- Open the Spotify application on your computer and make sure you’re logged in with your Spotify account credentials. If you don’t have the application installed, you can download it from the Spotify website.
- In the Spotify application, click on the “File” tab in the top-left corner of the window.
- From the dropdown menu, select the “Import Playlist” option.
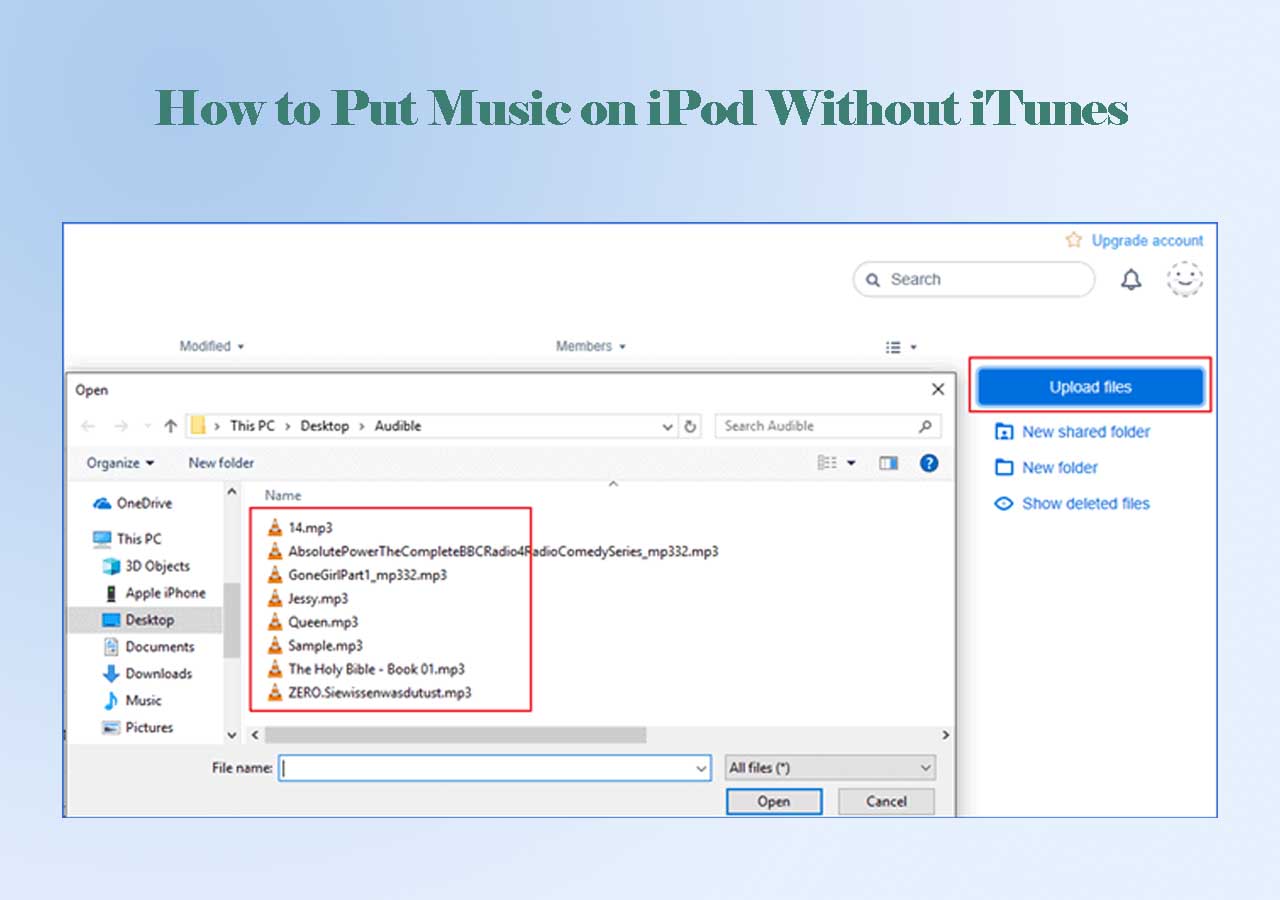
- Navigate to the location where you saved the converted playlist file and select it. Click “Open” to begin the import process.
- Spotify will start importing the playlist, and you will see a progress bar indicating the process. Depending on the size of the playlist, it may take some time to complete the import.
Once the import is finished, you should be able to see your Apple Music playlist in your Spotify application. Note that the song order, customizations, and artwork may not be identical to the original playlist, so you may need to make some adjustments to ensure it looks and sounds the way you want it to.
Congratulations! You have successfully imported your Apple Music playlist into Spotify. Now, let’s proceed to the next step – organizing and editing your Spotify playlist to make it truly your own.
Step 4: Organizing and editing your Spotify playlist
Now that you have successfully imported your Apple Music playlist into Spotify, it’s time to organize and customize it to your liking. Follow these steps to make your Spotify playlist truly your own:
- Open the Spotify application on your computer and navigate to the playlist you imported. You can find it under the “Playlists” tab in the left sidebar.
- Review your playlist and ensure that all the songs have been imported correctly. If you notice any missing or incorrect songs, you can manually search for and add them using the search bar within Spotify.
- To rearrange the song order, simply click and drag a song to the desired position within the playlist. You can also use the “Sort Playlist” option in the “…” menu to sort the songs by various criteria, such as title, artist, or album.
- To customize your playlist, you can add or remove songs by right-clicking on a song and selecting the appropriate option. You can also rename the playlist, add a description, or change the playlist artwork by clicking on the pencil icon at the top of the playlist.
- Take advantage of Spotify’s features to enhance your playlist. You can create folders to better organize your playlists, collaborate with others, or even share your playlist with friends and social media platforms.
Remember to regularly update and maintain your playlist to keep it fresh and exciting. Discover new songs, remove ones you no longer enjoy, and continue to curate a playlist that reflects your musical preferences.
With these steps, you’ve successfully completed the process of transferring your Apple Music playlist to Spotify and making necessary adjustments. Enjoy your newly customized Spotify playlist and continue to discover and enjoy your favorite music in an entirely new platform!
Conclusion
Transferring your Apple Music playlist to Spotify might have seemed like a challenging task initially, but with the right steps, it can be done smoothly. By following the steps outlined in this guide, you can seamlessly migrate your carefully curated playlist from Apple Music to Spotify.
Remember, the process involves exporting your Apple Music playlist, converting the exported file for Spotify compatibility, and importing it into your Spotify account. Additionally, organizing and editing your playlist within Spotify allows you to personalize it to your preferences.
By making use of specific online converters, you can easily transition from Apple Music to Spotify while preserving most of your favorite tracks. Keep in mind that some songs may not be available on both platforms, requiring manual adjustments and replacements.
Once your playlist is successfully imported, take advantage of Spotify’s features to enhance your music experience. Explore the vast library, discover new songs, and share your playlist with friends and social media platforms.
Remember to regularly update and maintain your playlist, adding new tracks and removing ones that no longer resonate with you. A well-curated and personalized Spotify playlist can bring countless hours of enjoyment and cater to your evolving musical taste.
So, what are you waiting for? Start the process of transferring your Apple Music playlist to Spotify and continue enjoying your favorite tunes in a new and exciting platform.






![How To Download Music Safe and Fast [GUIDE]](https://robots.net/wp-content/uploads/2022/04/how-to-download-music-featured-300x175.jpg)
