Introduction
Transferring pictures from your iPhone to an SD card can be a convenient way to free up storage space on your device or backup your precious memories. Whether you want to transfer photos for safekeeping or simply to share them with friends and family, the process is relatively straightforward.
In this guide, we will walk you through the step-by-step process of transferring pictures from your iPhone to an SD card. No matter which model of iPhone you have or which operating system it runs on, this method works universally. All you need is a computer, an SD card reader, and a compatible SD card.
By transferring your pictures to an SD card, you can easily organize them into folders, access them on other devices, or even print them without needing to rely on your iPhone’s limited storage or wireless connectivity. Plus, it gives you an extra layer of protection in case something happens to your phone.
In the following sections, we will break down the process into simple, easy-to-follow steps. Whether you’re a novice or a tech-savvy individual, you’ll be able to transfer your pictures from your iPhone to an SD card with ease. So, let’s get started!
Step 1: Connect your iPhone to your computer
The first step to transferring pictures from your iPhone to an SD card is to connect your iPhone to your computer using a Lightning-to-USB cable. Make sure your computer is turned on and unlocked before proceeding with the following steps:
1. Locate the Lightning port on your iPhone. It is typically located at the bottom of the device.
2. Connect one end of the Lightning-to-USB cable to the Lightning port on your iPhone.
3. Connect the other end of the cable to an available USB port on your computer.
Once you have connected your iPhone to your computer, you may see a prompt on your iPhone asking you to “Trust This Computer.” Tap “Trust” to establish a secure connection between your iPhone and your computer. This step ensures that your computer can access the photos on your iPhone.
Depending on your computer’s operating system, different apps or software may open automatically upon connecting your iPhone. For Windows users, the Photos app or File Explorer may open. For Mac users, the Photos app or Image Capture may launch.
If no app opens automatically, you can manually open the Photos app or any other image management software on your computer.
Once your iPhone is successfully connected to your computer, you’re ready to proceed to the next step and start transferring your pictures.
Step 2: Open the Photos app on your computer
After connecting your iPhone to your computer, the next step is to open the Photos app or any other image management software on your computer. This will allow you to access and view the pictures stored on your iPhone. Follow these steps:
1. If the Photos app or any other image management software does not open automatically upon connecting your iPhone, navigate to the Applications folder on your computer and open the Photos app (on macOS) or any other software you prefer to use for managing photos.
2. Once the app is open, it will automatically detect your connected iPhone. You should see your iPhone listed as a device or as an option in the navigation panel of the software.
3. Click on your iPhone’s name or icon to view the device’s contents. This will display all the albums and photos stored on your iPhone.
The Photos app will categorize your pictures into albums such as Camera Roll, Screenshots, Selfies, and more. You can browse through these albums to locate the specific pictures you want to transfer to the SD card.
Alternatively, you can use the search functionality or apply filters to easily find the desired pictures.
Once you can see your iPhone’s pictures in the Photos app or the image management software, you’re ready to proceed to the next step and select the pictures you want to transfer.
Step 3: Select the pictures you want to transfer
Now that you have opened the Photos app or your preferred image management software on your computer, it’s time to select the pictures you want to transfer to the SD card. Follow these steps:
1. Navigate to the album or folder where the pictures are located. For example, if you want to transfer pictures from the Camera Roll, click on the “Camera Roll” album.
2. Browse through the pictures and click on the first picture you want to transfer. To select multiple pictures, hold down the Ctrl key (Windows) or the Command key (Mac) while clicking on each picture.
3. As you select the pictures, you will notice that they become highlighted or marked in some way, indicating that they have been selected.
4. If you want to select all the pictures within a particular album or folder, you can use the Select All option. This can typically be found under the Edit menu or by using the Ctrl+A (Windows) or Command+A (Mac) shortcut.
5. Once you have finished selecting your desired pictures, double-check to ensure that all the intended pictures are indeed selected before moving on to the next step.
It’s important to note that the exact steps and options for selecting pictures may vary depending on the image management software you are using. However, most software will offer similar methods for selecting multiple pictures.
By following these steps, you have successfully selected the pictures that you want to transfer from your iPhone to the SD card. Now, it’s time to proceed to the next step and export the selected pictures to a chosen folder on your computer.
Step 4: Export the selected pictures to a chosen folder on your computer
After selecting the pictures you want to transfer from your iPhone, the next step is to export them to a chosen folder on your computer. This will create a copy of the selected pictures on your computer, which can then be easily transferred to the SD card. Follow these steps:
1. In the Photos app or image management software on your computer, locate the option to export or save the selected pictures. This option may be available in the File menu, the toolbar, or with a right-click on the selected pictures.
2. Click on the export or save option to open the export dialog box.
3. In the export dialog box, you will have the option to choose the destination folder on your computer where you want to save the selected pictures. You can select an existing folder or create a new one specifically for these pictures.
4. Navigate to the desired folder or create a new one by clicking on the “New Folder” button or using the appropriate option in the export dialog box.
5. Once you have selected the destination folder, review the settings and options available in the export dialog box. These settings may include image format, quality, file naming conventions, and more. Adjust these settings as needed.
6. After reviewing the settings, click on the export or save button to begin the process of exporting the selected pictures to the chosen folder on your computer.
7. Depending on the number of pictures and your computer’s processing speed, the export process may take some time. You may see a progress bar or an indicator of the export progress.
8. Once the export is complete, you will find the copied pictures in the chosen folder on your computer. You can verify this by navigating to the destination folder and ensuring that the pictures are present.
By following these steps, you have successfully exported the selected pictures from your iPhone to a chosen folder on your computer. Next, it’s time to insert the SD card into your computer and transfer the pictures to the SD card.
Step 5: Insert the SD card into your computer
With the selected pictures exported to a folder on your computer, it’s time to insert the SD card into your computer. This will allow you to transfer the pictures from your computer to the SD card for safekeeping or sharing. Follow these steps:
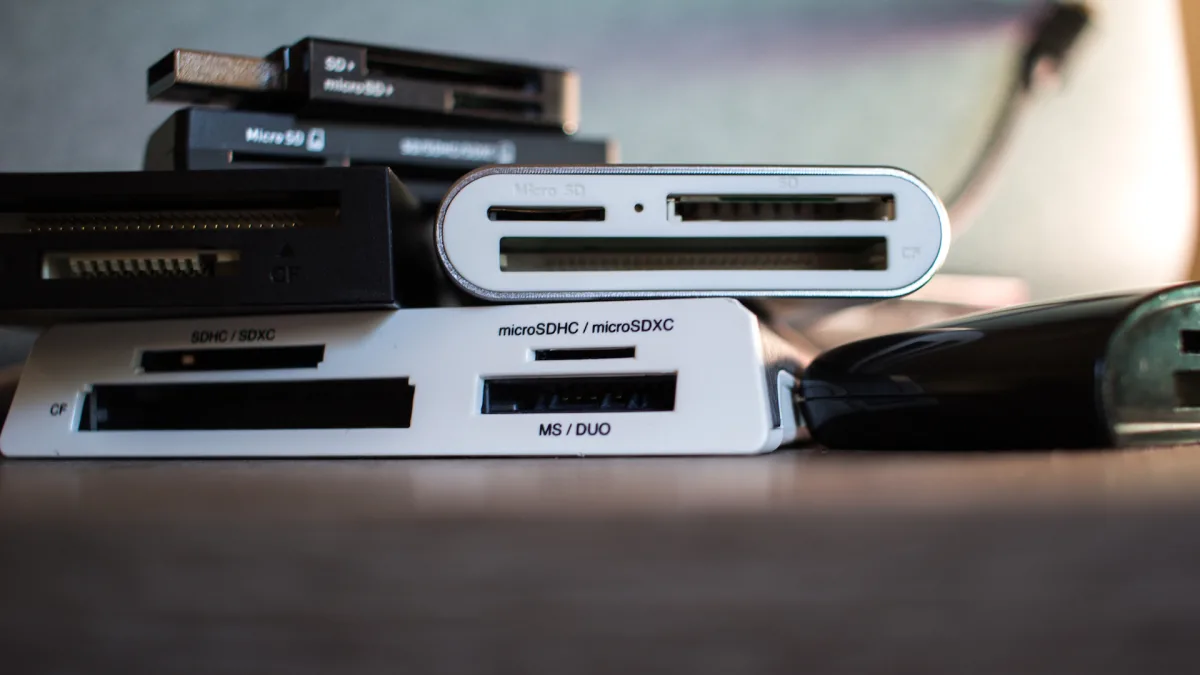
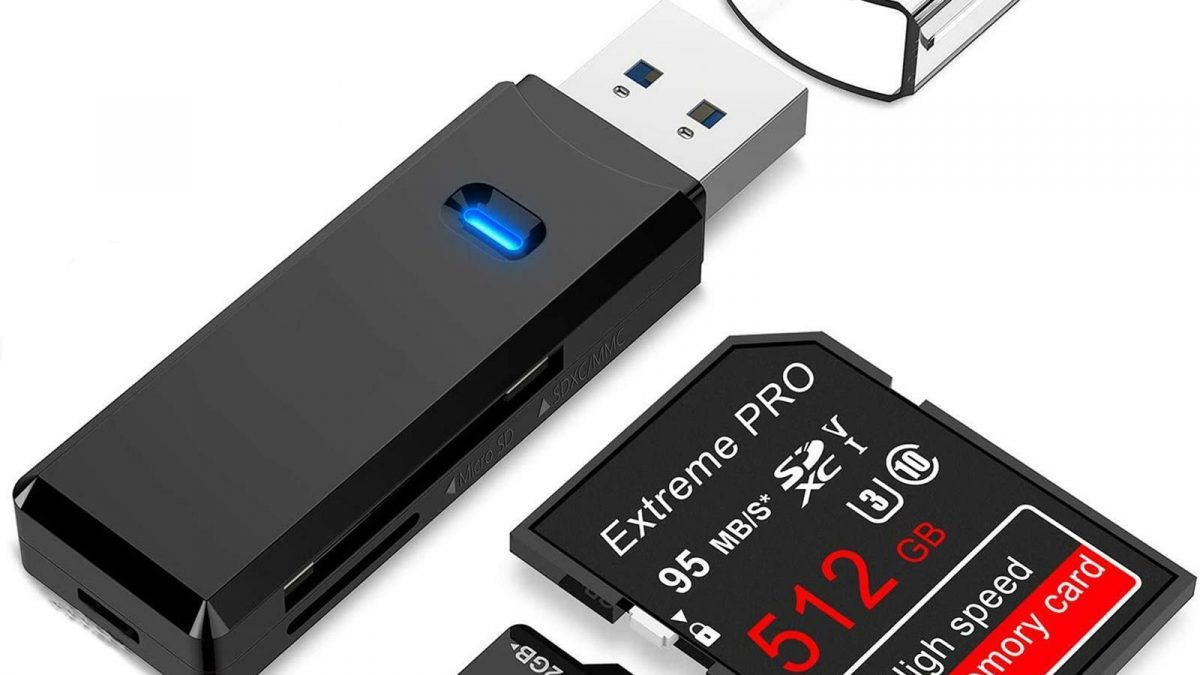
1. Locate the SD card slot on your computer. This slot is usually located on the side or front of laptops or on the front or back of desktop computers. If your computer doesn’t have an SD card slot, you can use an external USB adapter with an SD card slot.
2. Ensure that the SD card is properly formatted and compatible with your computer. If you have used the SD card before and it is already formatted, you can skip this step. Otherwise, format the SD card to a compatible file system like FAT32 using your computer’s built-in disk formatting tools.
3. Carefully insert the SD card into the SD card slot on your computer. Make sure to align the card correctly with the slot and gently push it in until it clicks into place. If you are using an external USB adapter, connect the adapter to an available USB port on your computer, and then insert the SD card into the adapter.
4. Once inserted, your computer should recognize the SD card and assign it a drive letter or name. This allows you to access and transfer files to and from the SD card.
It’s worth noting that some computers may require specific drivers or software to work with SD cards. If prompted, follow the on-screen instructions to install any necessary drivers or software for your computer to recognize the SD card properly.
If your computer doesn’t recognize the SD card, try removing and reinserting it or using a different SD card slot or USB adapter. You can also try inserting the SD card into another computer to determine if the issue is with the card or your computer’s compatibility.
With the SD card successfully inserted into your computer, you’re ready to proceed to the next step and copy the selected pictures from your computer to the SD card.
Step 6: Copy and paste the selected pictures from your computer to the SD card
Now that the SD card is inserted into your computer, it’s time to transfer the selected pictures from your computer to the SD card. By copying and pasting the pictures, you can easily move them to the SD card for storage or sharing. Follow these steps:
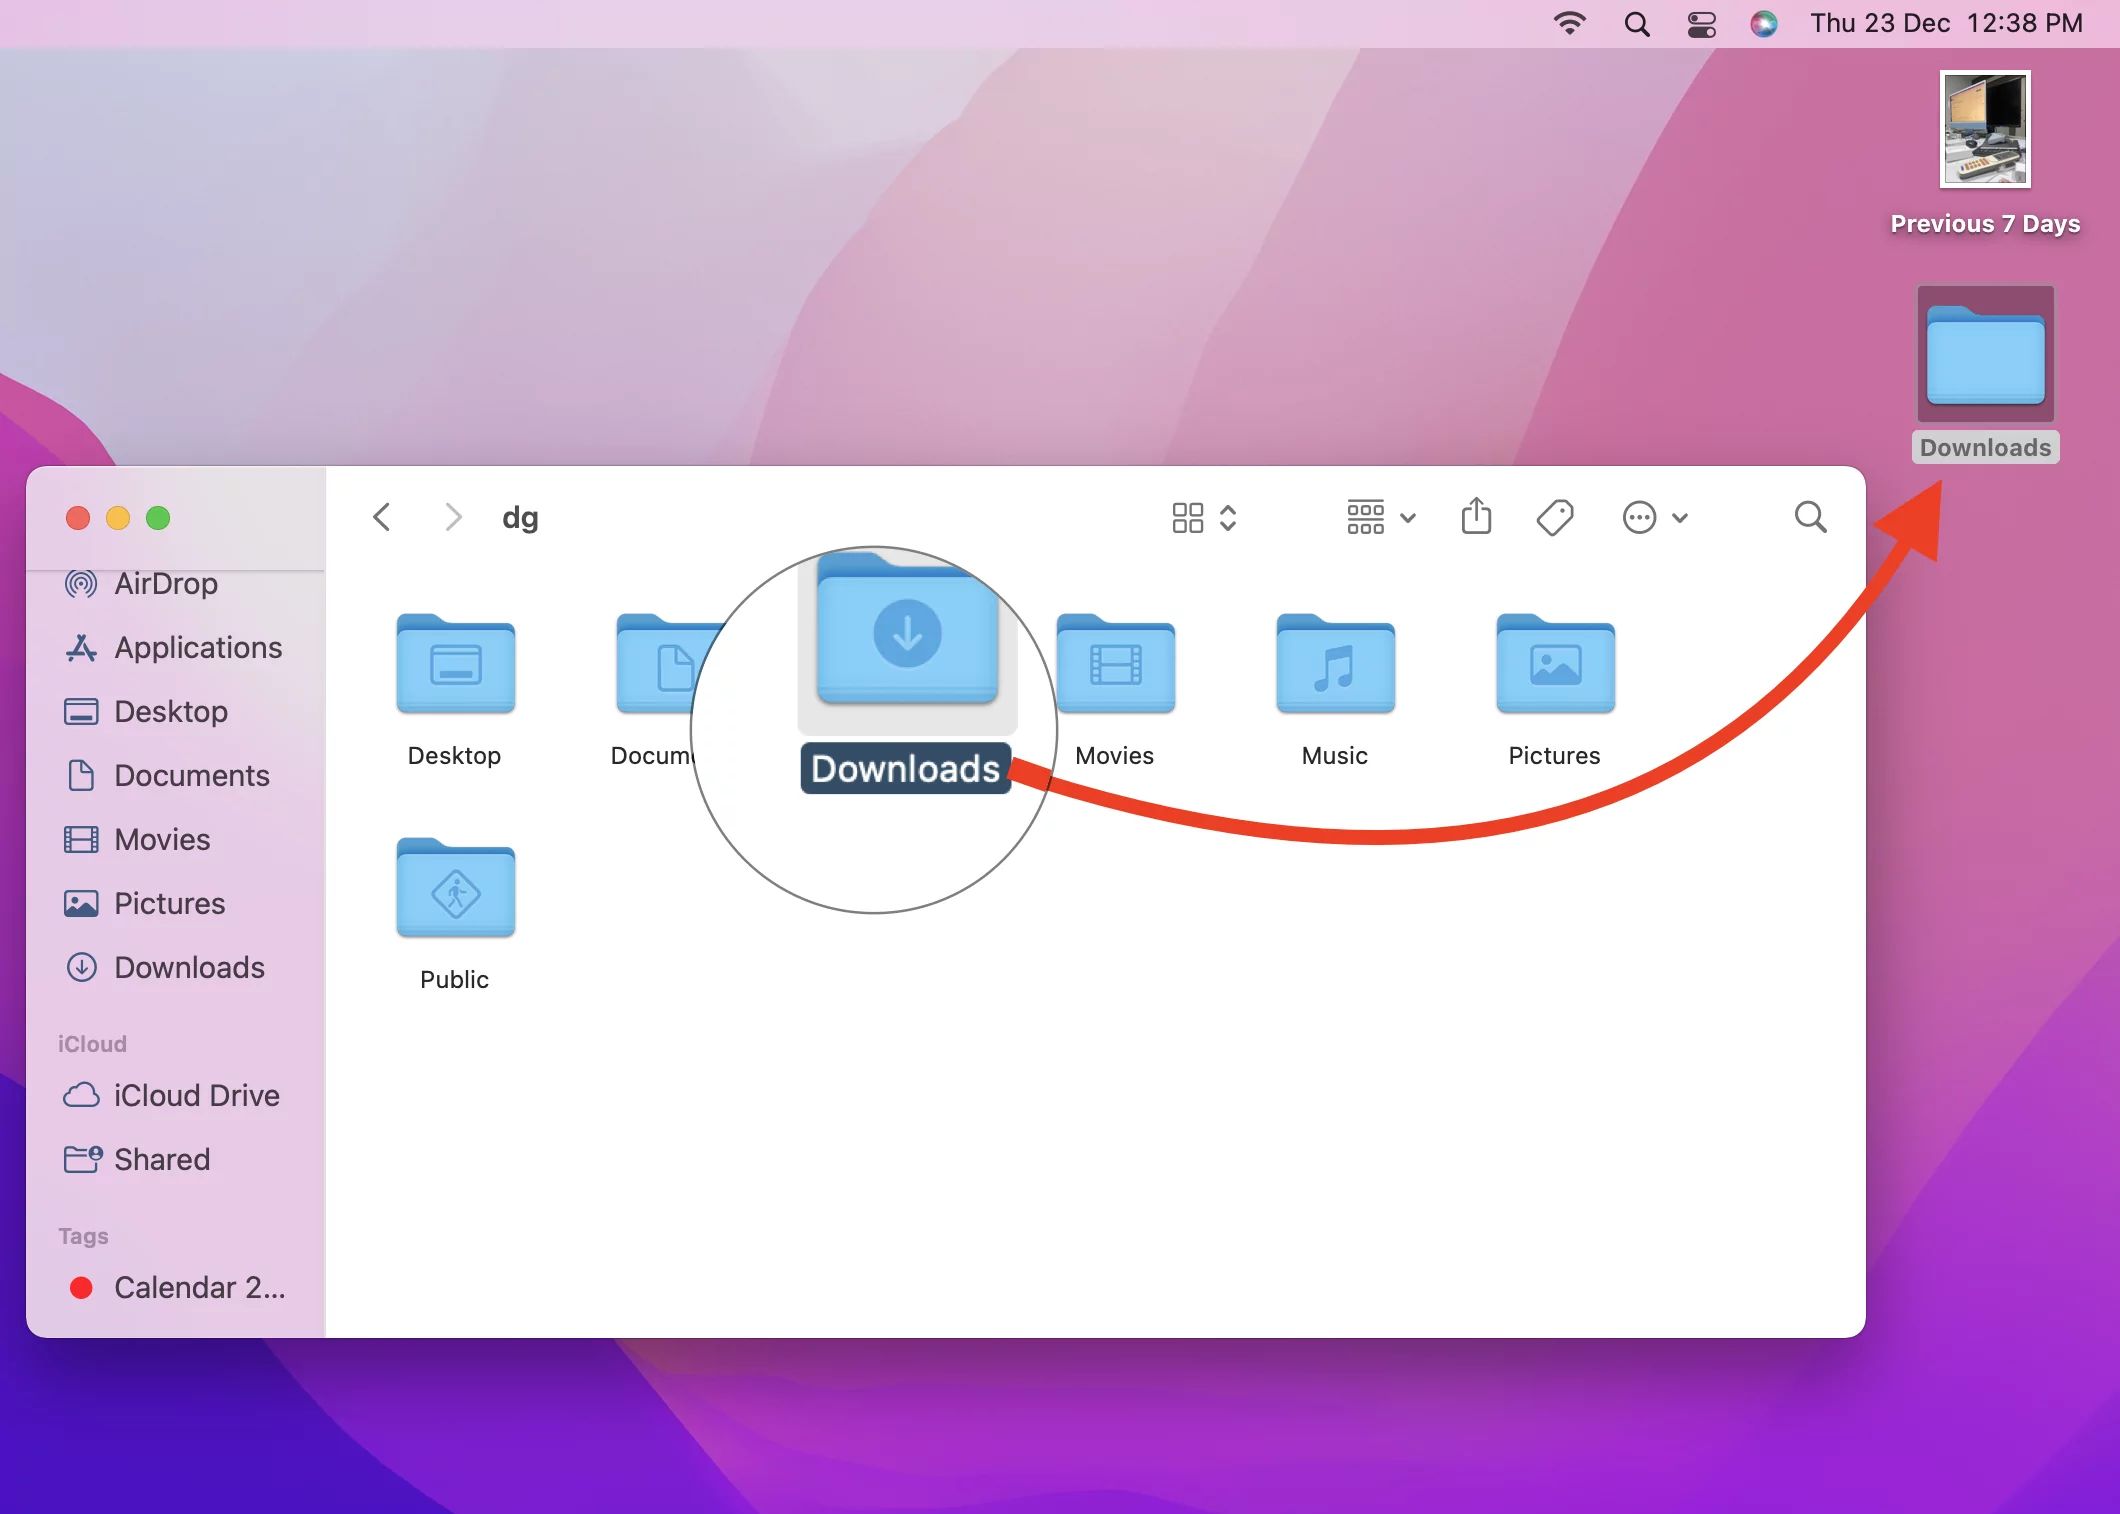
1. Open the File Explorer (Windows) or Finder (Mac) on your computer. These applications allow you to navigate and manage files and folders.
2. Locate the folder where you exported the selected pictures in the previous step. You can navigate to the folder by clicking on the corresponding drive letter or path in the file navigation pane.
3. With the folder open, you will see the exported pictures listed. Select all the pictures by pressing Ctrl+A (Windows) or Command+A (Mac), or individually select the pictures by holding down the Ctrl (Windows) or Command (Mac) key while clicking on the pictures.
4. Once the pictures are selected, right-click on one of the selected pictures and choose “Copy” from the context menu. Alternatively, you can use the Ctrl+C (Windows) or Command+C (Mac) keyboard shortcut.
5. Navigate to the SD card drive or name in the file navigation pane. This is the destination where you want to transfer the selected pictures.
6. Right-click on an empty space within the SD card drive and choose “Paste” from the context menu. Alternatively, you can use the Ctrl+V (Windows) or Command+V (Mac) keyboard shortcut.
7. The selected pictures will start copying from your computer to the SD card. You may see a progress bar or an indicator of the copying process. The time required will vary depending on the number and size of the pictures.
8. Once the copying process is complete, verify that the pictures have been successfully transferred to the SD card by navigating to the SD card drive and viewing the pictures.
It’s recommended to double-check that all the selected pictures have been transferred to the SD card before proceeding. You can compare the number of pictures in the folder on your computer with the number of pictures on the SD card to ensure that nothing was missed.
By following these steps, you have successfully copied and pasted the selected pictures from your computer to the SD card. Next, it’s important to safely eject the SD card from your computer before removing it.
Step 7: Safely eject the SD card from your computer
After transferring the selected pictures to the SD card, it’s important to safely eject the SD card from your computer to avoid data corruption or loss. Properly ejecting the SD card ensures that all the files have been written and that it is safe to physically remove the card. Follow these steps:
1. On your computer, locate the SD card icon or name in the file navigation pane or on the desktop. This indicates that the SD card is currently connected and accessible.
2. Before ejecting the SD card, ensure that all file operations involving the card have been completed. This includes any copying or transferring of files.
3. Right-click on the SD card icon or name and select the “Eject” option from the context menu. Alternatively, you can drag the SD card icon to the trash bin (Mac) or use the “Safely Remove Hardware” feature (Windows) to eject the card.
4. Wait for the computer to finish the ejecting process. This may take a few seconds. During this time, avoid physically removing the SD card from the computer.
5. Once the computer indicates that it is safe to do so, gently remove the SD card from the card slot or USB adapter. If you are using an external USB adapter, unplug the adapter from the computer before removing the SD card.
Ejecting the SD card ensures that any files or folders still being accessed or written are properly closed, preventing data loss or corruption. Removing the SD card without ejecting it may lead to errors or data inconsistencies.
If you encounter any issues when trying to eject the SD card, such as an error message indicating that the card is still in use, close any applications or processes that may be accessing the card and try ejecting it again.
By following these steps, you have safely ejected the SD card from your computer. Now, it’s time to proceed to the next step and prepare the SD card for use with your iPhone.
Step 8: Insert the SD card into your iPhone-compatible SD card reader
In order to transfer the pictures from the SD card to your iPhone, you will need to use an SD card reader that is compatible with your iPhone. Follow these steps to insert the SD card into the SD card reader:
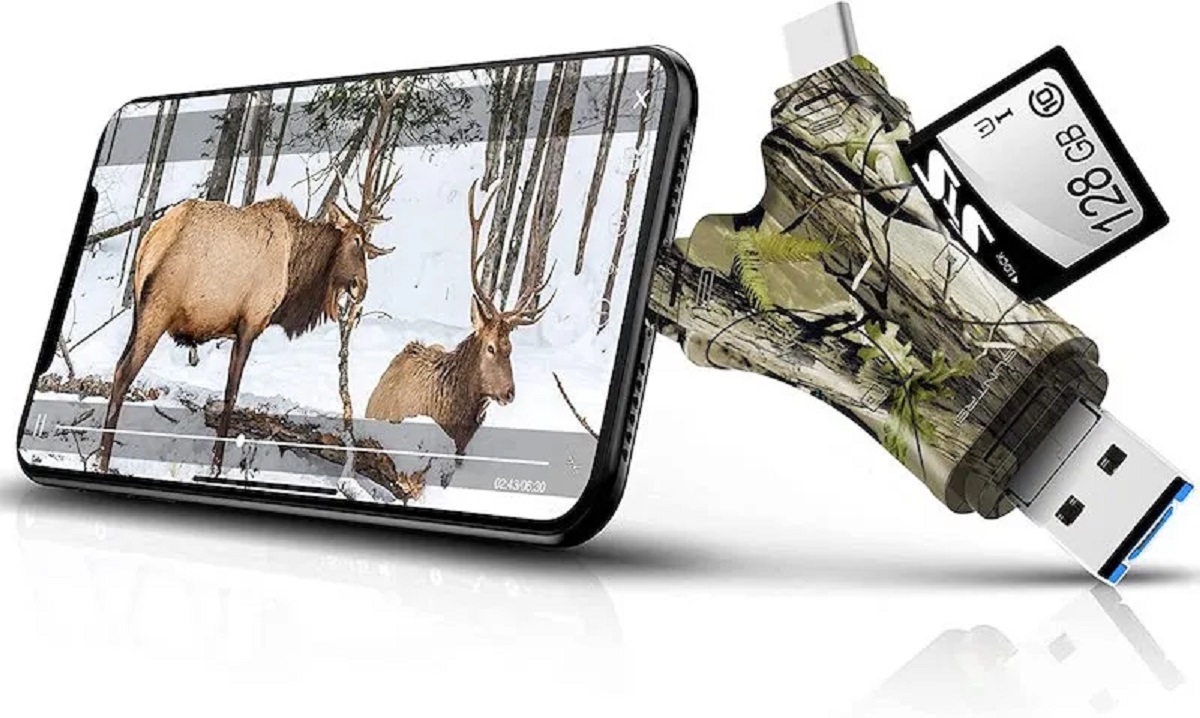
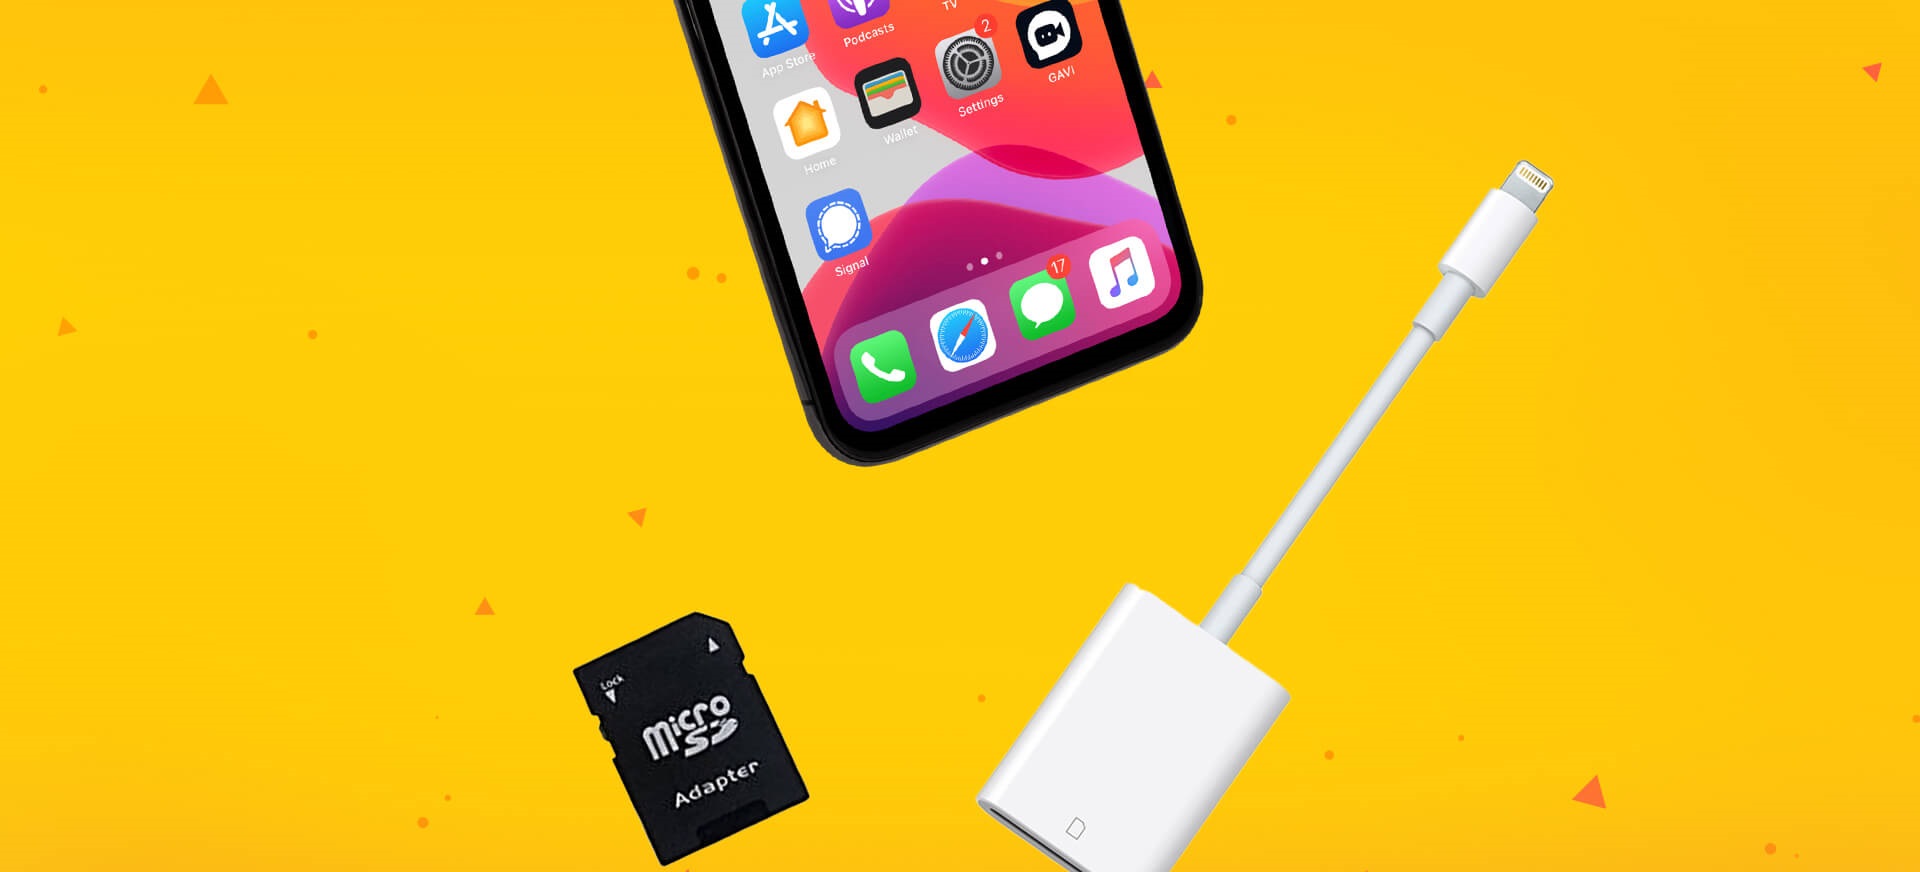
1. Locate the SD card reader that is compatible with your iPhone model. There are various options available, such as Lightning to SD card readers or USB-C to SD card readers, depending on the type of iPhone you have.
2. Connect the SD card reader to your iPhone. For Lightning-compatible SD card readers, simply plug the Lightning connector into the charging port on the bottom of your iPhone. For USB-C-compatible SD card readers, connect the USB-C end into the corresponding port on your iPhone.
3. Once the SD card reader is connected to your iPhone, the Photos app or the Files app may open automatically to provide access to the contents of the SD card. If not, you can manually open the Photos app or Files app to view the SD card’s content.
4. If prompted, grant necessary permissions to allow the Photos or Files app to access the SD card and the imported pictures.
5. The SD card contents should be displayed within the app, showing the pictures and any other files stored on the card.
It’s important to note that not all iPhones have built-in support for SD card readers. If your iPhone model does not have a compatible SD card reader, you can use third-party SD card readers that connect to your iPhone via Bluetooth or Wi-Fi, or you can transfer the pictures to your iPhone using a computer and then proceed to the next step.
By following these steps, you have successfully inserted the SD card into the iPhone-compatible SD card reader. Now, it’s time to open the Photos app on your iPhone and import the pictures from the SD card.
Step 9: Open the Photos app on your iPhone
After inserting the SD card into the iPhone-compatible SD card reader, the next step is to open the Photos app on your iPhone. This will allow you to import the pictures from the SD card and store them directly on your iPhone. Follow these steps:
1. Locate the Photos app on your iPhone’s home screen. The Photos app icon resembles a multicolored flower.
2. Tap on the Photos app icon to open the app. The app will load and display your iPhone’s photo library.
3. If prompted, grant necessary permissions to allow the Photos app to access your iPhone’s storage and the connected SD card reader.
4. Once the Photos app is open, you should see various tabs at the bottom of the screen, such as Photos, For You, Albums, and more.
5. Tap on the “Albums” tab to view your albums. Scroll through the albums until you find the “Recently Added” album, which is where the imported pictures will be placed by default.
6. If the “Recently Added” album is not visible, scroll to the top and tap on the “Photos” tab instead. This will display all the photos and videos on your iPhone, including the imported pictures from the SD card.
It’s worth noting that the organization of the Photos app may vary slightly depending on your iPhone model and software version. However, the general steps for opening the Photos app and locating the imported pictures remain the same across most iPhones.
By following these steps, you have successfully opened the Photos app on your iPhone. Next, it’s time to import the pictures from the SD card to the Photos app on your iPhone.
Step 10: Import the pictures from the SD card to your iPhone’s Photos app
Now that the Photos app is open on your iPhone, you can proceed to import the pictures from the SD card and save them directly to your iPhone’s Photos library. Follow these steps:
1. Within the “Recently Added” album or the “Photos” tab in the Photos app, scroll to the bottom to reveal the “Import” option. Tap on “Import”.
2. The Photos app will detect the connected SD card reader and display a list of the pictures available for import. You can scroll through the list to preview the pictures.
3. To select specific pictures for import, tap on each picture. A blue checkmark will appear on the selected pictures. You can choose to import all pictures by tapping on “Import All” or individually select the pictures by tapping on each desired picture.
4. After selecting the pictures you want to import, tap on the “Import” button. The import process will begin, and a progress bar will show the status of the import. The time it takes to import the pictures will depend on the number and size of the selected pictures.
5. Once the import process is complete, the imported pictures will be saved to the “Recently Added” album or integrated into your existing photo library, depending on the settings of your iPhone’s Photos app.
6. You can confirm that the pictures have been successfully imported by checking the “Recently Added” album or the specific album that you want to organize them into within the Photos app.
7. If desired, you can further organize the imported pictures into albums, add captions, edit or share them using the various options available within the Photos app.
It’s important to note that after importing the pictures, you can disconnect the SD card reader from your iPhone. The imported pictures are now saved directly on your iPhone, allowing you to access and manage them anytime, even without the SD card.
By following these steps, you have successfully imported the pictures from the SD card to your iPhone’s Photos app. Congratulations! You can now enjoy your pictures and make use of various features offered by the Photos app.
Conclusion
Transferring pictures from your iPhone to an SD card can be a straightforward process that allows you to free up storage space on your device, backup your photos, or easily share them with others. By following the steps outlined in this guide, you can successfully transfer your pictures from your iPhone to an SD card and vice versa.
We started by connecting the iPhone to a computer using a Lightning-to-USB cable. Then, we opened the Photos app on the computer and selected the desired pictures for transfer. After exporting the pictures to a chosen folder on the computer, we inserted the SD card into the computer and copied the pictures to it. Finally, we safely ejected the SD card from the computer and inserted it into an iPhone-compatible SD card reader, where we opened the Photos app on the iPhone and successfully imported the pictures.
Remember to always follow the proper steps for safely ejecting the SD card from your computer and granting necessary permissions on your iPhone to access the imported pictures. Additionally, be cautious when handling the SD card and ensure it is properly inserted and removed to prevent any damage or data corruption.
By leveraging the power of an SD card, you can easily manage and access your pictures, regardless of their size or quantity. Whether you want to keep precious memories safe, transfer pictures to another device, or share your photos with others, the ability to transfer pictures from your iPhone to an SD card provides you with flexibility and convenience.
Take advantage of this method whenever you need to make more space on your iPhone or want to have an additional backup of your pictures. Enjoy the flexibility and peace of mind that comes with managing your photo library using an SD card.