Introduction
Transferring files from your tablet to a flash drive can be a convenient way to backup important documents, photos, videos, and other files. Whether you need to free up storage space on your tablet or want to keep a duplicate copy of your files for safekeeping, the process is relatively simple and can be done in a few easy steps.
By transferring files from your tablet to a flash drive, you can also easily share them with others or transfer them to another device. This can be particularly useful when you need to access your files on a computer or transfer them to a friend’s device without relying on internet connectivity.
In this article, we will guide you through the process of transferring files from your tablet to a flash drive. We will provide step-by-step instructions to ensure a smooth and hassle-free experience. Whether you’re using an Android tablet or an iPad, this guide will help you transfer your files in no time.
Keep in mind that the process may vary slightly depending on the operating system and model of your tablet. However, the general steps remain the same, regardless of the device you’re using.
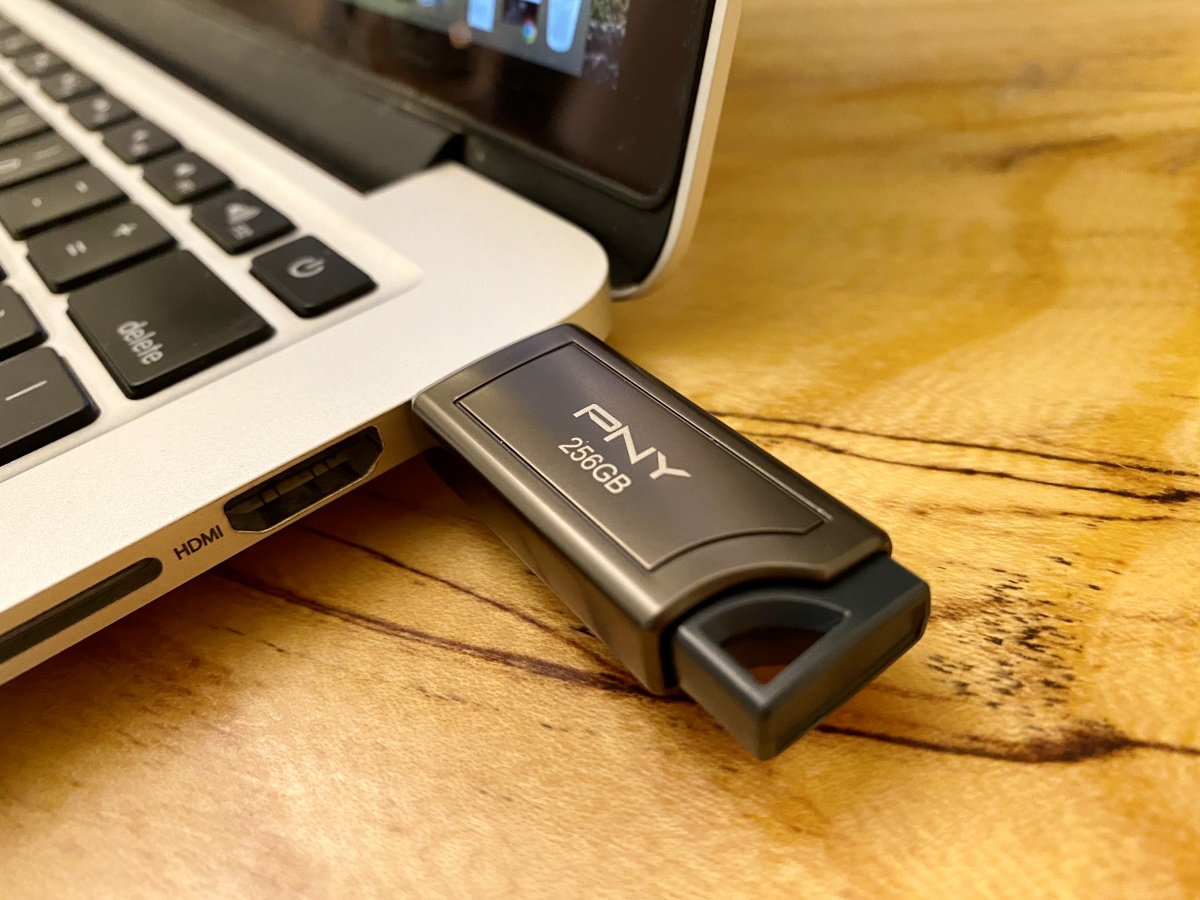
Before we dive into the steps, make sure you have a USB flash drive with sufficient storage capacity to accommodate the files you want to transfer. Additionally, ensure that your tablet has a USB port or supports USB OTG (On-The-Go) functionality, which allows you to connect external devices like flash drives.
Now, let’s delve into the step-by-step process of transferring files from your tablet to a flash drive.
Step 1: Connect the flash drive to your tablet
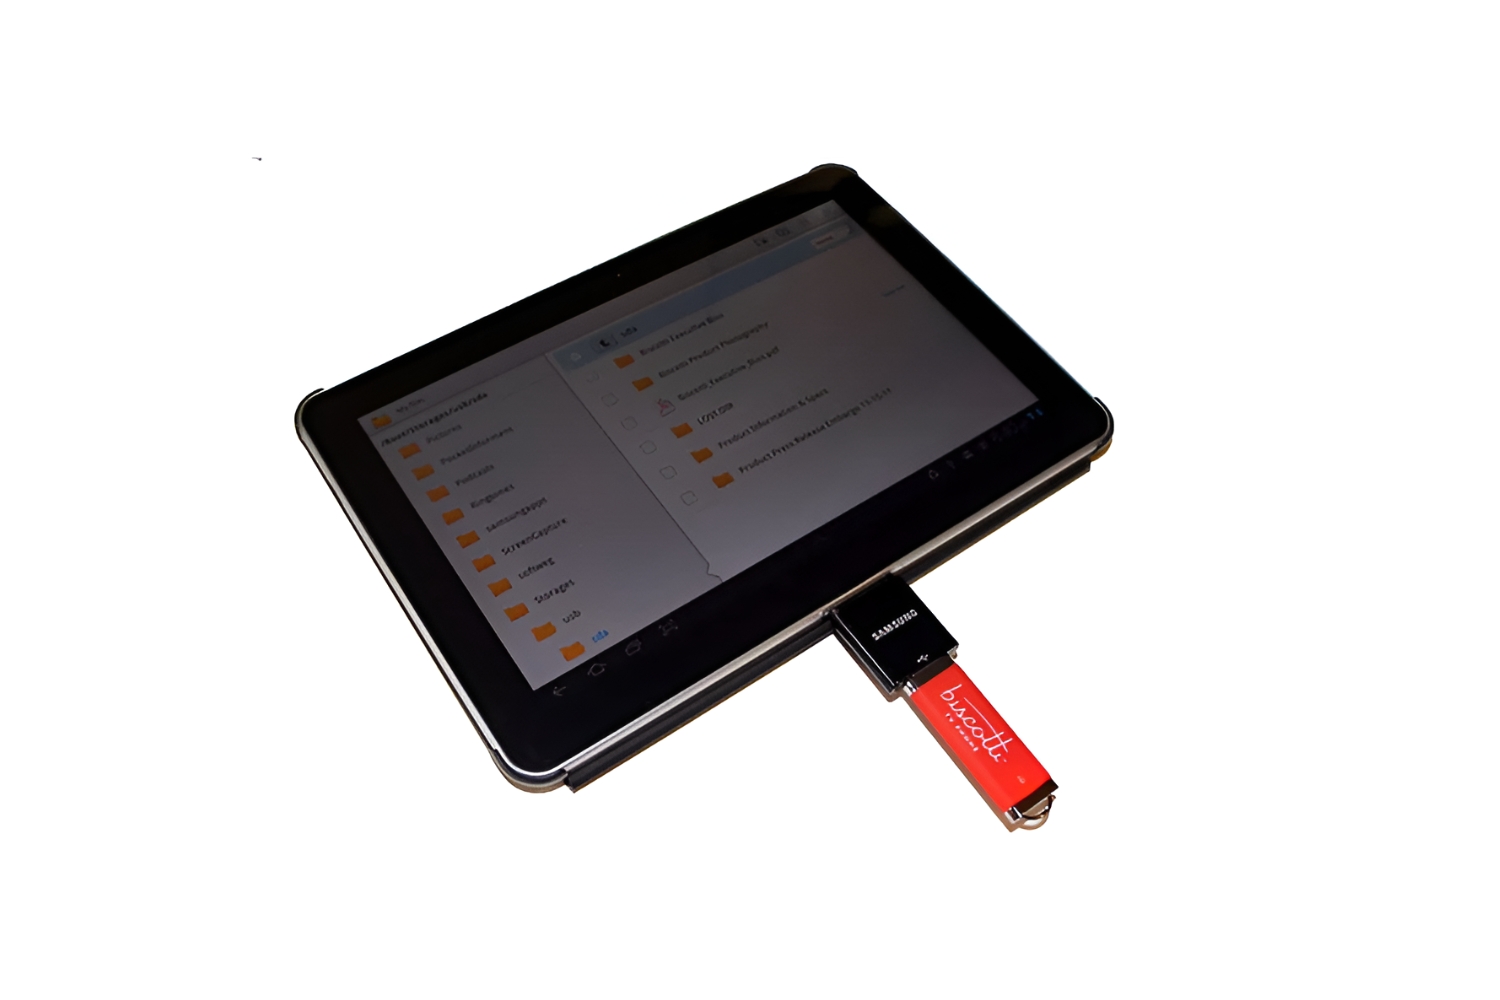
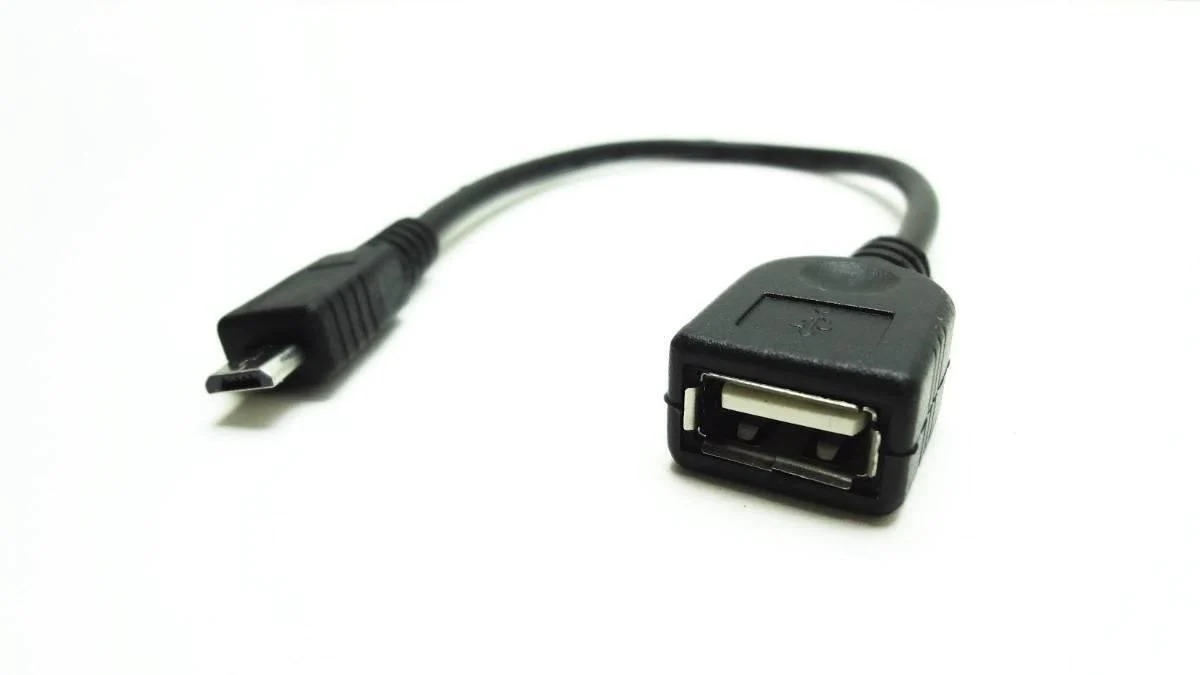
The first step in transferring files from your tablet to a flash drive is to physically connect the flash drive to your tablet. To do this, you will need a USB OTG adapter or a tablet that has a built-in USB port.
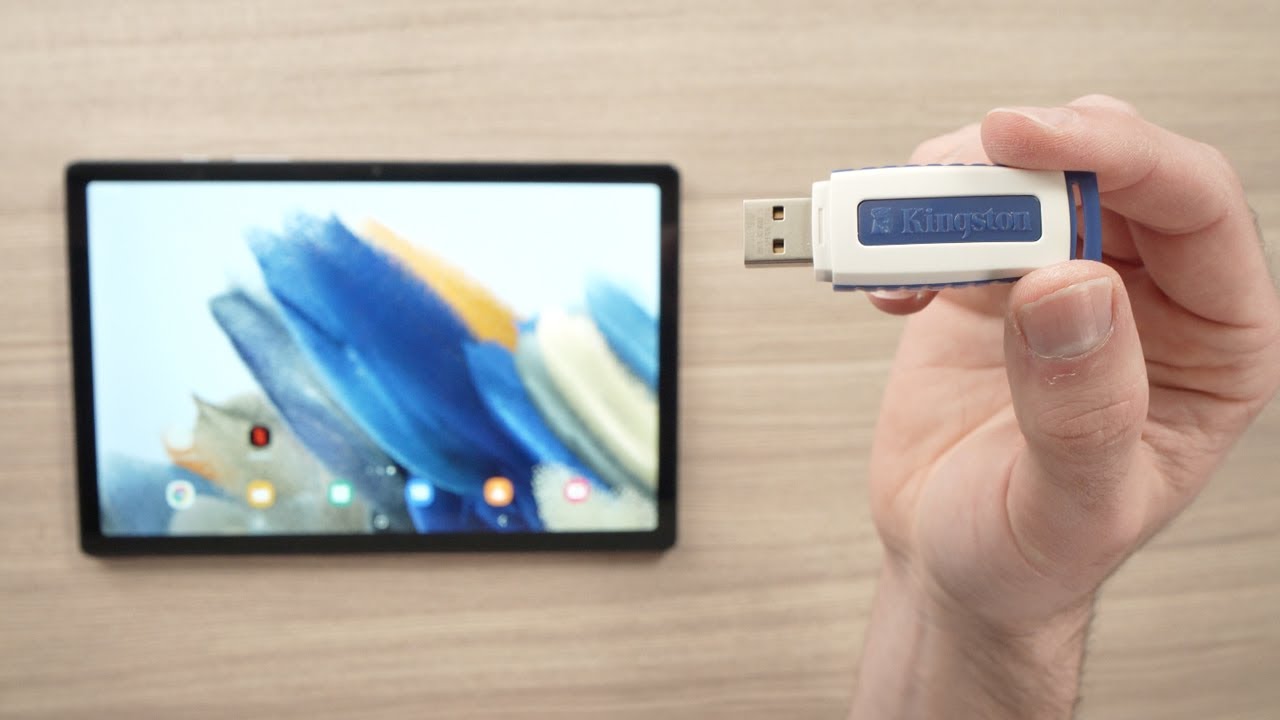
If your tablet has a USB port, simply plug the flash drive directly into the port. If your tablet does not have a USB port, you can use a USB OTG adapter. This adapter allows you to connect a full-sized USB flash drive to your tablet’s charging port or micro USB port.
Once the flash drive is connected, your tablet should recognize it as a removable storage device. You may receive a notification on your tablet indicating that a USB device has been connected.
If your tablet does not automatically recognize the flash drive, you can try the following troubleshooting steps:
- Ensure that the flash drive is properly inserted into the USB port or adapter.
- Restart your tablet and try connecting the flash drive again.
- If the flash drive still does not work, try connecting it to another device to check if the issue is with the flash drive itself.
- Consult your tablet’s user manual or manufacturer’s website for specific instructions on connecting external devices.
Once your tablet recognizes the flash drive, you are ready to proceed to the next step of the file transfer process.
Step 2: Open the file manager app
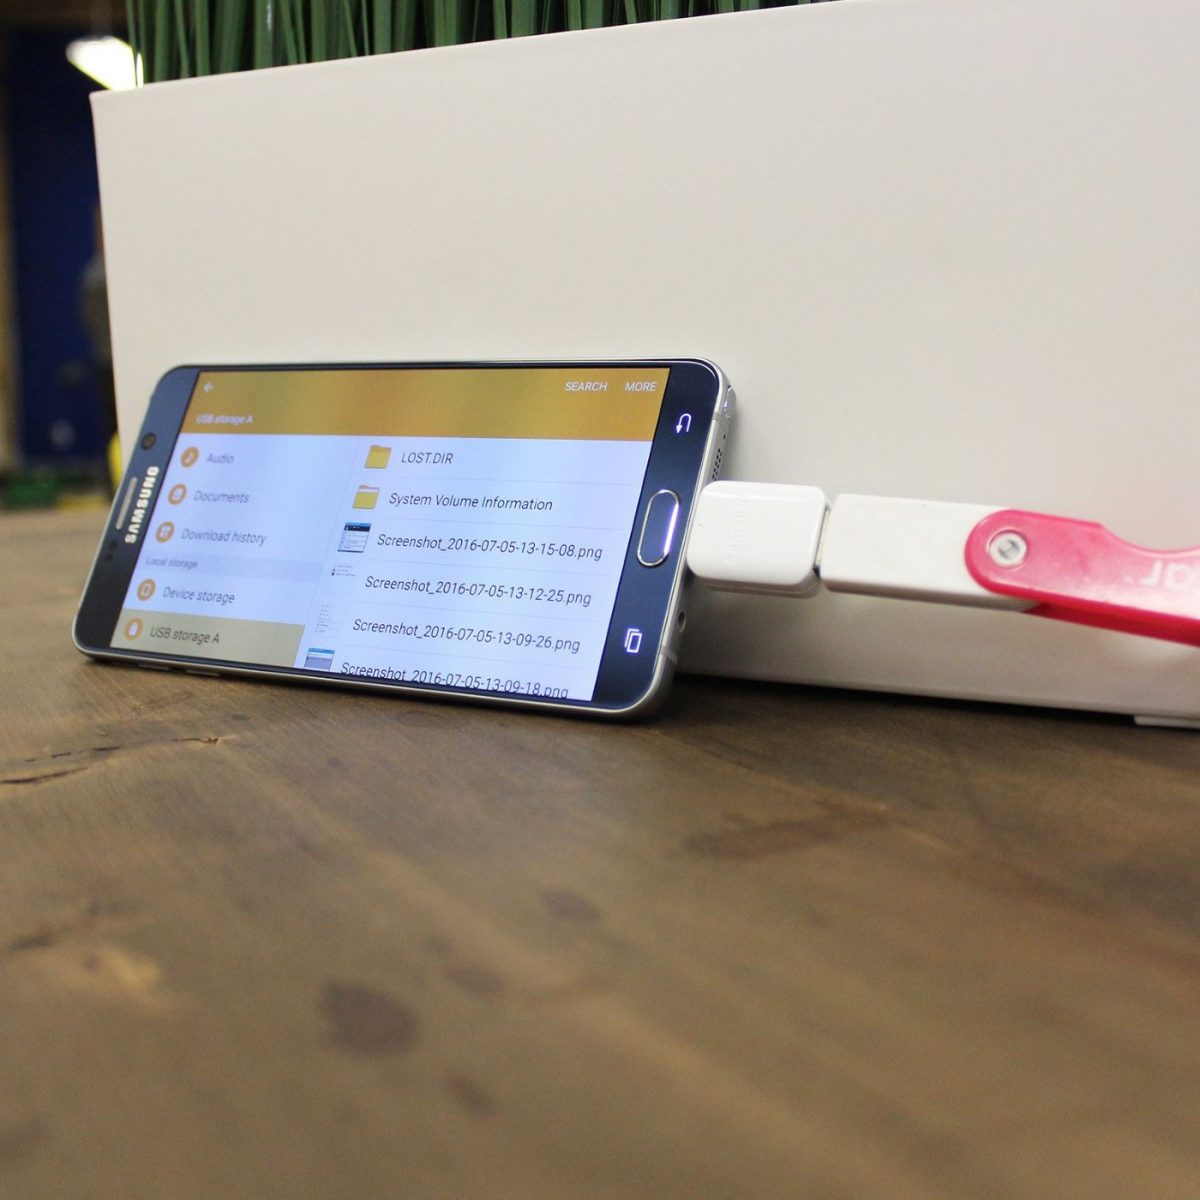
After connecting the flash drive to your tablet, the next step is to open the file manager app on your tablet. The file manager app allows you to navigate through the files and folders on your tablet as well as any connected external storage devices, such as the flash drive.
Most tablets come with a pre-installed file manager app, but if you don’t have one, you can download one from the app store. Popular file manager apps for Android tablets include ES File Explorer, Solid Explorer, and Astro File Manager. For iPad users, the Files app is the built-in file manager.
Once you have the file manager app open, you should see a list of available storage locations, including your tablet’s internal storage and the connected flash drive. The flash drive may be listed as a separate device or under a generic name like “USB Drive” or “Removable Storage”.
To access the files on the flash drive, simply tap on its name or icon in the file manager app. This will open the flash drive folder and display its contents, including any files and subfolders stored on it.
If you are unable to locate the flash drive in the file manager app, try the following troubleshooting steps:
- Disconnect and reconnect the flash drive to your tablet to ensure it is properly recognized.
- Restart the file manager app and check if the flash drive appears.
- Check if the file manager app has permissions to access external storage. You can do this by going to your tablet’s settings and finding the app in the list of installed apps. From there, you can adjust app permissions to allow access to external storage.
Once you have successfully opened the file manager app and located the flash drive, you are ready to move on to the next step of the file transfer process.
Step 3: Select and copy the files you want to transfer
Now that you have opened the file manager app and accessed the flash drive folder, it’s time to select and copy the files you want to transfer.
Navigate to the folder or location on your tablet’s internal storage where the files you want to transfer are located. You can browse through the folders and subfolders using the file manager app’s interface.
Once you have found the files you want to transfer, tap and hold on the first file to select it. You will see options appear for selecting multiple files or all files in the folder. Choose the appropriate option based on your needs.
If you want to select multiple files, you can tap on each file individually to select them, or you can use the “Select all” option to choose all the files in the folder at once.
After selecting the desired files, you will find options at the top or bottom of the file manager app’s interface, such as “Copy”, “Cut”, or “Move”. Tap on the “Copy” option to copy the selected files.
Copying the files ensures that the original files remain on your tablet’s internal storage while creating a duplicate copy on the flash drive. If you prefer to move the files (cut and paste), you can choose the “Cut” or “Move” option instead.
Once you have copied or moved the files, a small indicator or notification may appear to show that the action is in progress. The time it takes to complete the copying or moving process will vary depending on the size and number of files being transferred.
During the file transfer process, it is important to avoid disconnecting the flash drive or interrupting the transfer. Doing so may result in file corruption or incomplete transfers. Be patient and allow the file manager app to complete the task.
Once the file transfer is complete, you can proceed to the next step to paste the files into the flash drive folder.
Step 4: Open the flash drive folder in the file manager app
After selecting and copying the files you want to transfer, the next step is to open the flash drive folder in the file manager app where you will paste the files.
In the file manager app, navigate back to the main screen or the list of available storage locations. Look for the flash drive name or icon and tap on it to open the flash drive folder.
Once you have opened the flash drive folder, you will see its contents, which may include files and subfolders already stored on the flash drive.
If the flash drive folder is empty, that’s perfectly fine. You can proceed to the next step and paste the files you copied from your tablet. If the flash drive already has files or subfolders in it, you can either paste the files directly into the flash drive folder or create a new subfolder to organize them.
To create a new subfolder in the flash drive, open the flash drive folder and look for an option such as “New Folder” or “Create Folder” in the file manager app’s interface. Tap on that option, provide a name for the new subfolder, and tap “Create”.
Once you have the flash drive folder or subfolder open and ready, you are prepared to paste the files you previously copied from your tablet.
Keep in mind that the file manager app may display a “Paste” option at the top or bottom of the interface, or you may need to tap and hold within the flash drive folder to access a context menu with the “Paste” option. Select the appropriate option to paste the files.
The file transfer process will begin, and the file manager app will copy the files from your tablet’s internal storage to the flash drive folder. Depending on the size and number of files being transferred, this process may take some time. Be patient and do not disconnect the flash drive during the transfer.
Once the file transfer is complete, you can proceed to the final step to safely remove the flash drive from your tablet.
Step 5: Paste the files into the flash drive folder
Now that you have opened the flash drive folder in the file manager app, it’s time to paste the files you previously copied from your tablet.
First, ensure that you are still within the flash drive folder in the file manager app’s interface. If you navigated away from the flash drive folder, go back to it by selecting its name or icon in the list of available storage locations.
Once you are in the flash drive folder, you can proceed to paste the files. Look for the “Paste” option, which may be located at the top or bottom of the file manager app’s interface, or within a context menu after tapping and holding within the flash drive folder.
Tap on the “Paste” option to initiate the file transfer from your tablet’s internal storage to the flash drive folder. The file manager app will copy the files over, and the time it takes to complete the process will depend on the size and number of files being transferred.
During the file transfer, it is crucial to avoid disconnecting the flash drive or interrupting the process. Doing so may result in data loss or corrupted files. Allow the file manager app to finish the transfer without interference.
Once the file transfer is complete, you can check the flash drive folder to confirm that the files have been successfully pasted. You should see the copied files within the flash drive folder, either mixed in with existing files or organized within a new subfolder if you created one.
It is always a good practice to double-check the files in the flash drive folder to ensure they transferred correctly and are intact. Open a few files or preview them if possible to confirm their integrity.
Once you have verified that the files are in the flash drive folder and are accessible, you are now ready to safely remove the flash drive from your tablet, which is explained in the next step.
Step 6: Safely remove the flash drive from your tablet
After successfully transferring the files to the flash drive, it is important to properly eject or safely remove the flash drive from your tablet to avoid data loss or corruption.
Before removing the flash drive, make sure that all file transfer processes or operations involving the flash drive are completed. This ensures that no files are in the process of being copied, moved, or accessed from the flash drive.
To safely remove the flash drive, follow these steps:
- Close any apps or file manager windows that are currently accessing the flash drive or its contents.
- Locate the USB symbol or notification icon on your tablet’s screen, usually found in the notification panel or status bar. Tapping on this symbol will open a menu of available connected devices.
- In the device menu, find the name or icon representing the flash drive and tap on it.
- A prompt or message will appear, indicating that it’s safe to remove the flash drive. This message may vary depending on your tablet’s operating system.
- Tap on the option that says “Eject,” “Safely Remove,” or a similar term to safely disconnect the flash drive from your tablet.
- Wait for the confirmation message that the flash drive has been successfully ejected.
- Physically disconnect the flash drive from your tablet by gently pulling it out of the USB port or USB OTG adapter.
It is important to note that removing the flash drive without following these steps can result in data loss or damage to the files stored on the flash drive. Therefore, always make sure to safely eject the flash drive from your tablet.
Once you have safely removed the flash drive, you can now use it on other devices, share it with others, or keep it as a backup of your files. Congratulations! You have successfully transferred files from your tablet to a flash drive.
Conclusion
Transferring files from your tablet to a flash drive is a straightforward process that allows you to backup, share, or free up storage space on your device. By following the steps outlined in this guide, you can easily transfer your files in just a few simple steps.
Starting with connecting the flash drive to your tablet and opening the file manager app, you can select and copy the desired files from your tablet’s internal storage. Then, navigate to the flash drive folder in the file manager app and paste the files into it.
Remember to always safely remove the flash drive from your tablet to avoid any data loss or corruption. Following these steps ensures that your files are securely transferred and ready for use on other devices or as a backup.
Whether you need to transfer important documents, cherished photos, entertaining videos, or other files, the process remains the same. With a reliable file manager app and a compatible flash drive, you can easily transfer files from your tablet in no time.
By transferring your files to a flash drive, you enhance your data management capabilities and ensure the safety of your important files. Additionally, it allows for easy sharing with others or transferring files to other devices without relying on internet connectivity.
So, the next time you need to transfer files from your tablet to a flash drive, simply follow these steps and enjoy the convenience and versatility it brings. Take control of your files and keep them safely stored and accessible whenever and wherever you need them.