Introduction
RAM (Random Access Memory) is an important component of any computer system. It serves as the temporary storage for data and instructions that are actively being used by the CPU. Over time, RAM modules can become faulty or develop issues, resulting in system instability, crashes, and overall degraded performance.
Testing the RAM memory on your computer is crucial to identify any potential issues and ensure that your system is running smoothly. In this article, we will explore various methods to test your RAM memory and determine if it is functioning correctly.
By following these tests, you can diagnose potential RAM problems and take appropriate action, which may include replacing the faulty RAM module or seeking technical assistance to rectify the issue. The earlier you identify and address RAM problems, the better the performance and stability of your computer.
Whether you are a casual user, a gamer, or a professional, understanding how to test your RAM memory can save you from frustrating system crashes and lost data. Let’s dive into the different tests you can perform to assess the health of your computer’s RAM memory.
Why it is important to test RAM memory
RAM memory plays a vital role in the overall performance and stability of your computer system. When it comes to diagnosing and troubleshooting computer issues, RAM is often one of the first components to consider. Here’s why it is important to test your RAM memory:
- System Stability: Faulty RAM can cause system crashes, sudden reboots, and freezes. By testing your RAM, you can identify and resolve potential stability issues, ensuring a smoother and reliable computing experience.
- Performance Optimization: RAM plays a key role in the speed and efficiency of your computer. Insufficient or faulty RAM can significantly slow down your system, leading to lagging applications and sluggish performance. Testing your RAM can help you identify any performance-related issues and maximize the speed and responsiveness of your computer.
- Data Integrity: RAM is responsible for storing and retrieving data that is actively used by the CPU. Faulty RAM can corrupt data or cause data loss, risking the integrity of your files and documents. Regularly testing your RAM helps ensure the reliability and integrity of your data, reducing the chances of any data-related issues.
- Compatibility Issues: Different hardware and software components in your computer system rely on proper compatibility with RAM. Incompatible RAM modules or incorrect configuration can lead to system instability and conflicts. Testing your RAM can help identify any compatibility issues and allow you to make necessary adjustments or upgrades to ensure optimal compatibility.
- Cost Savings: Identifying and resolving RAM issues early can potentially save you money. Instead of replacing the entire computer or spending money on unnecessary hardware upgrades, testing your RAM can pinpoint the specific problem and allow you to replace only the faulty module, which is a more cost-effective solution.
Overall, testing your RAM memory is crucial for maintaining system stability, optimizing performance, safeguarding your data, ensuring compatibility, and saving money. By proactively assessing the health of your RAM, you can address any issues promptly, leading to a more efficient and reliable computer system.
Common symptoms of faulty RAM memory
Faulty RAM memory can manifest in various ways, causing a range of issues on your computer. It’s important to be aware of the common symptoms of faulty RAM so that you can identify potential issues and take appropriate action. Here are some common signs that may indicate faulty RAM:
- Frequent system crashes: If your computer reboots unexpectedly or frequently crashes while performing even simple tasks, it could be due to faulty RAM. Inconsistent and unpredictable system crashes are often a clear indication of RAM-related problems.
- Blue Screen of Death (BSOD) errors: RAM issues can trigger the infamous Blue Screen of Death errors on your computer. These errors typically display a blue screen with an error message and cause your system to crash. Such errors can be caused by faulty RAM modules that fail to store or retrieve data properly.
- Application freezes and crashes: If certain programs frequently freeze, become unresponsive, or crash unexpectedly, it could be due to faulty RAM. RAM-related issues can disrupt the flow of data between the CPU and the programs, leading to instability and crashes.
- Slow and sluggish performance: Faulty RAM can significantly impact the overall performance of your computer. If you notice a noticeable decrease in speed, slow boot times, or unresponsiveness, RAM issues may be the culprit. The lack of sufficient and reliable RAM can hinder the smooth running of applications and lead to a sluggish overall performance.
- Random system reboots: If your computer restarts on its own without any apparent reason or warning, it may indicate a problem with your RAM. Faulty RAM can cause unexpected system reboots as the system tries to recover from data errors or instability.
- Missing or corrupted files: RAM errors can result in data corruption or loss. If you frequently encounter missing or corrupted files, especially after system crashes, it is worth considering RAM as a potential cause.
If you experience any of these symptoms, it is recommended to test your RAM to confirm if it is the source of the problem. By identifying faulty RAM early on, you can take the necessary steps to replace or repair the affected modules, ensuring a stable and reliable computing experience.
Test 1: Using Windows Memory Diagnostic Tool
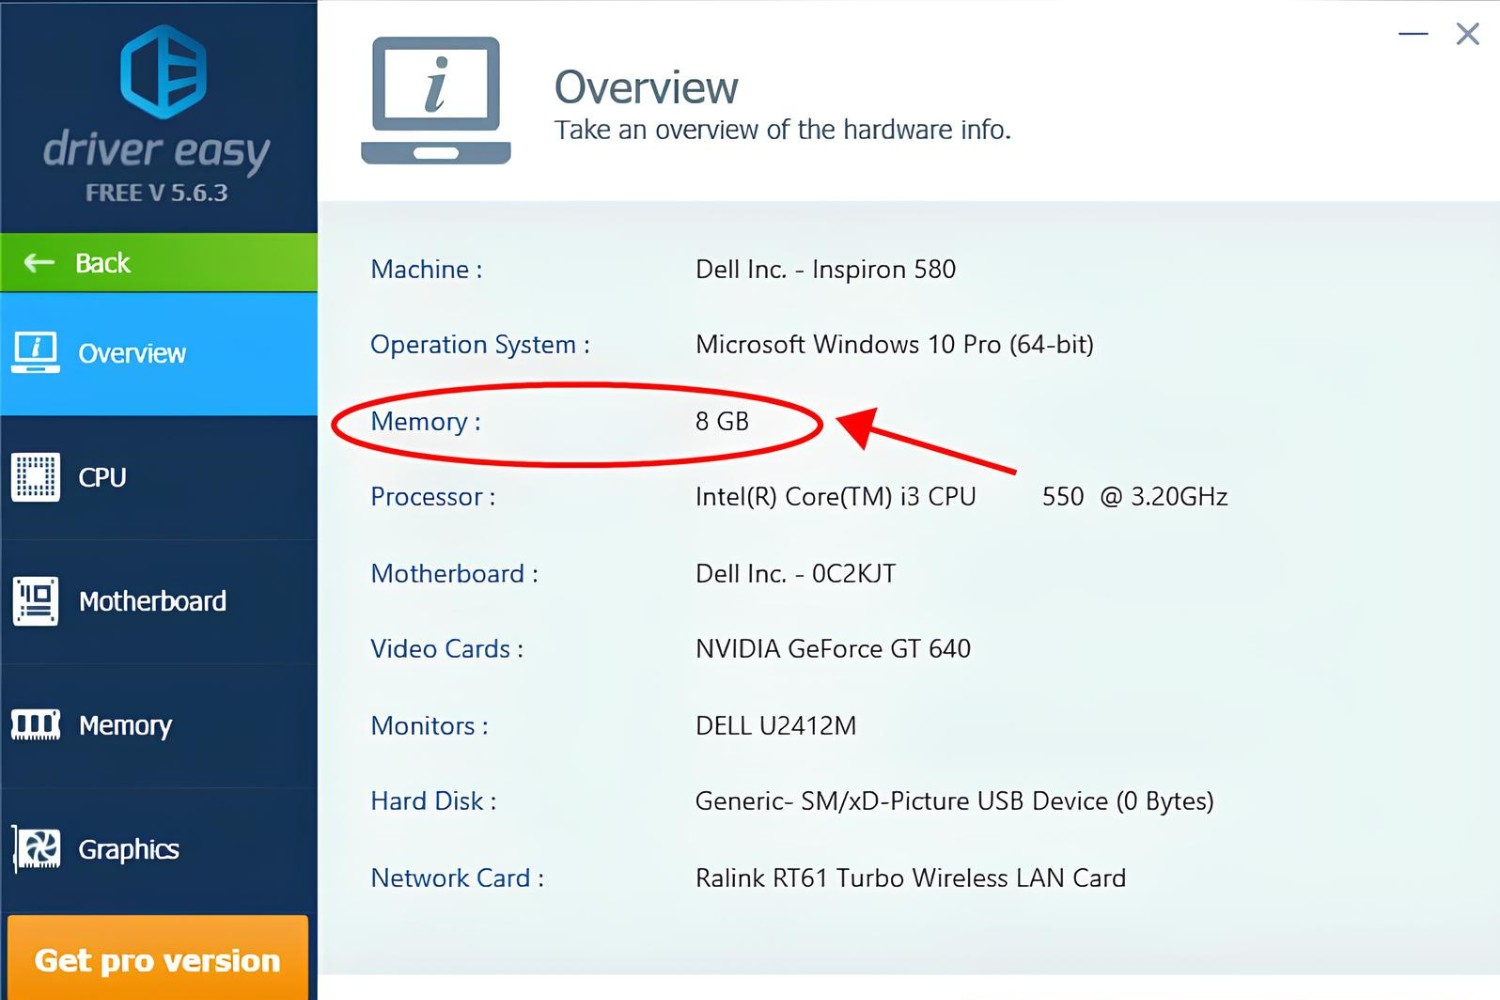
Windows provides a built-in tool called Windows Memory Diagnostic that can help you test your RAM without the need for any third-party software. Here’s how you can use it:
- Close all open programs and save your work to avoid any data loss during the testing process.
- Click on the Start menu and search for “Windows Memory Diagnostic”. Click on the suggested result to launch the tool.
- In the Windows Memory Diagnostic window, you will be presented with two options: “Restart now and check for problems (recommended)” and “Check for problems the next time I start my computer.” Choose the appropriate option based on your preference.
- If you select the first option, Windows will restart your computer and automatically run the memory diagnostic tool. During the restart process, the tool will scan and test your RAM for any errors or issues.
- If you choose the second option, Windows will schedule the memory diagnostic tool to run the next time you start your computer.
- Once the memory diagnostic tool completes its scan, your computer will restart and display the results. If any issues are found, Windows will provide details about the specific memory problems detected.
- Based on the results, you can determine if your RAM is faulty and needs to be replaced or repaired.
It is important to note that the Windows Memory Diagnostic tool only checks the RAM during the boot process and might not detect all possible issues. If you suspect more advanced or persistent RAM problems, you may want to consider using additional third-party software for a more comprehensive test.
By utilizing the Windows Memory Diagnostic tool, you can get a basic assessment of the health of your RAM without the need for any additional software. It is a convenient and user-friendly option to start with when testing your RAM memory.
Test 2: Using Memtest86
When it comes to thorough and comprehensive RAM testing, Memtest86 is a widely trusted and powerful tool. It is a standalone software that operates outside of the operating system, allowing for a more accurate and reliable assessment of your RAM. Here’s how you can use Memtest86 to test your RAM:
- Visit the Memtest86 website (www.memtest86.com) and download the latest version of Memtest86. You can choose to download the free version or opt for the paid version with additional features.
- Create a bootable USB or CD/DVD using the downloaded Memtest86 image file. Various utilities are available to create a bootable device, such as Rufus (for USB) or ImgBurn (for CD/DVD).
- Insert the bootable device into your computer and restart it.
- During the boot process, access your computer’s BIOS settings by pressing the designated key (often Esc, Del, F2, or F12) and change the boot order to prioritize the USB or CD/DVD drive.
- Save the changes and exit the BIOS settings. Your computer will now boot from the Memtest86 bootable device.
- Memtest86 will automatically start testing your RAM modules by performing a series of comprehensive tests. The process may take some time depending on the size of your RAM and the testing options you choose.
- Once the testing is complete, Memtest86 will display a detailed report with information about any errors or issues detected during the test. This report will help you identify the problematic RAM modules.
- If Memtest86 detects errors, note the specific address and other details mentioned in the report. This information can be helpful if you want to seek further assistance or replace the faulty RAM modules.
- If Memtest86 does not report any errors, it is likely that your RAM modules are functioning correctly.
Using Memtest86 offers a deeper and more thorough analysis of your RAM compared to the built-in Windows Memory Diagnostic tool. It is especially useful for identifying and diagnosing persistent or advanced RAM issues that may cause frequent crashes or system instability.
By performing a Memtest86 RAM test, you can gain a comprehensive understanding of your RAM’s health and make informed decisions regarding potential replacements or repairs.
Test 3: Using software utility
In addition to the built-in Windows Memory Diagnostic and Memtest86, there are several reliable third-party software utilities available that can help you test your RAM memory. These software tools offer advanced features and customization options, allowing for a more detailed analysis of your RAM. Here’s how you can use a software utility to test your RAM:
- Search for reputable RAM testing software utilities online. Some popular options include MemTest, PassMark Memtest86, and HCI Memtest.
- Download and install the software utility of your choice.
- Launch the software and select the RAM testing options you prefer. You can typically choose the number of test cycles, the amount of RAM to test, and the type of tests to perform.
- Start the RAM test and allow the software utility to perform its analysis. The duration of the test will vary depending on the selected options and the size of your RAM.
- Once the test is complete, the software utility will provide a detailed report with information about any errors or issues detected during the analysis. Take note of the errors to identify the problematic RAM modules.
- Based on the report, you can decide whether to replace or repair the faulty RAM modules. If the errors persist even after reseating or cleaning the RAM modules, it is recommended to consult a professional or contact the manufacturer for further assistance.
Using a software utility dedicated to RAM testing is a reliable and effective way to evaluate your RAM’s performance and identify any potential issues. These tools often provide more extensive testing options and detailed reports, giving you a better understanding of the health of your RAM.
Remember to choose a reputable and trustworthy software utility from a reliable source to ensure accurate results and avoid any potential security risks.
Test 4: Physical inspection of RAM modules
In addition to software-based tests, performing a physical inspection of your RAM modules can provide valuable insights into their condition. Here’s how you can conduct a physical inspection of your RAM:
- Power off your computer and unplug it from the power source to ensure your safety.
- Open your computer case or laptop as per the manufacturer’s instructions.
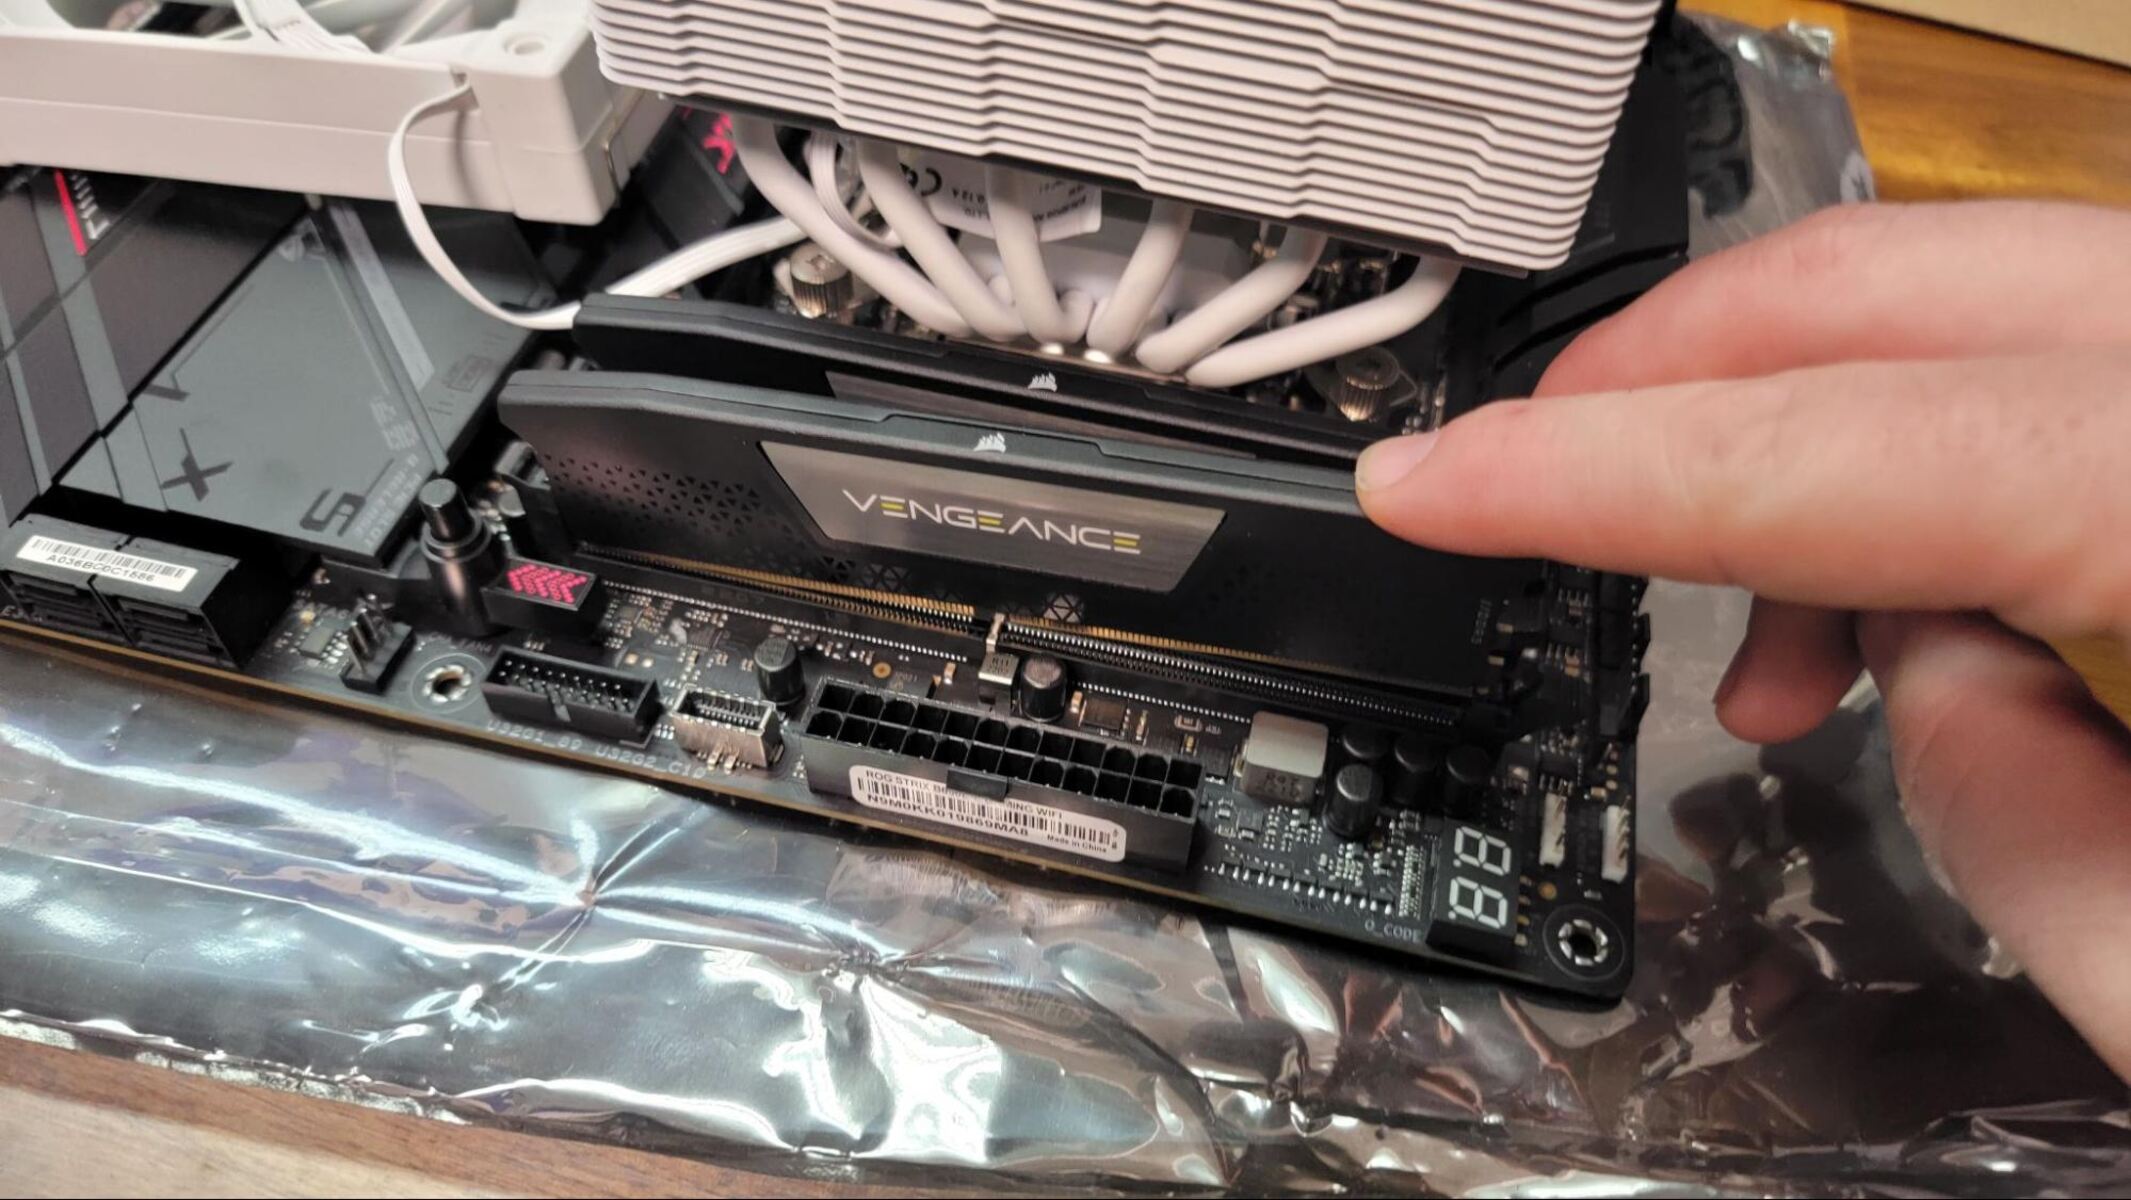
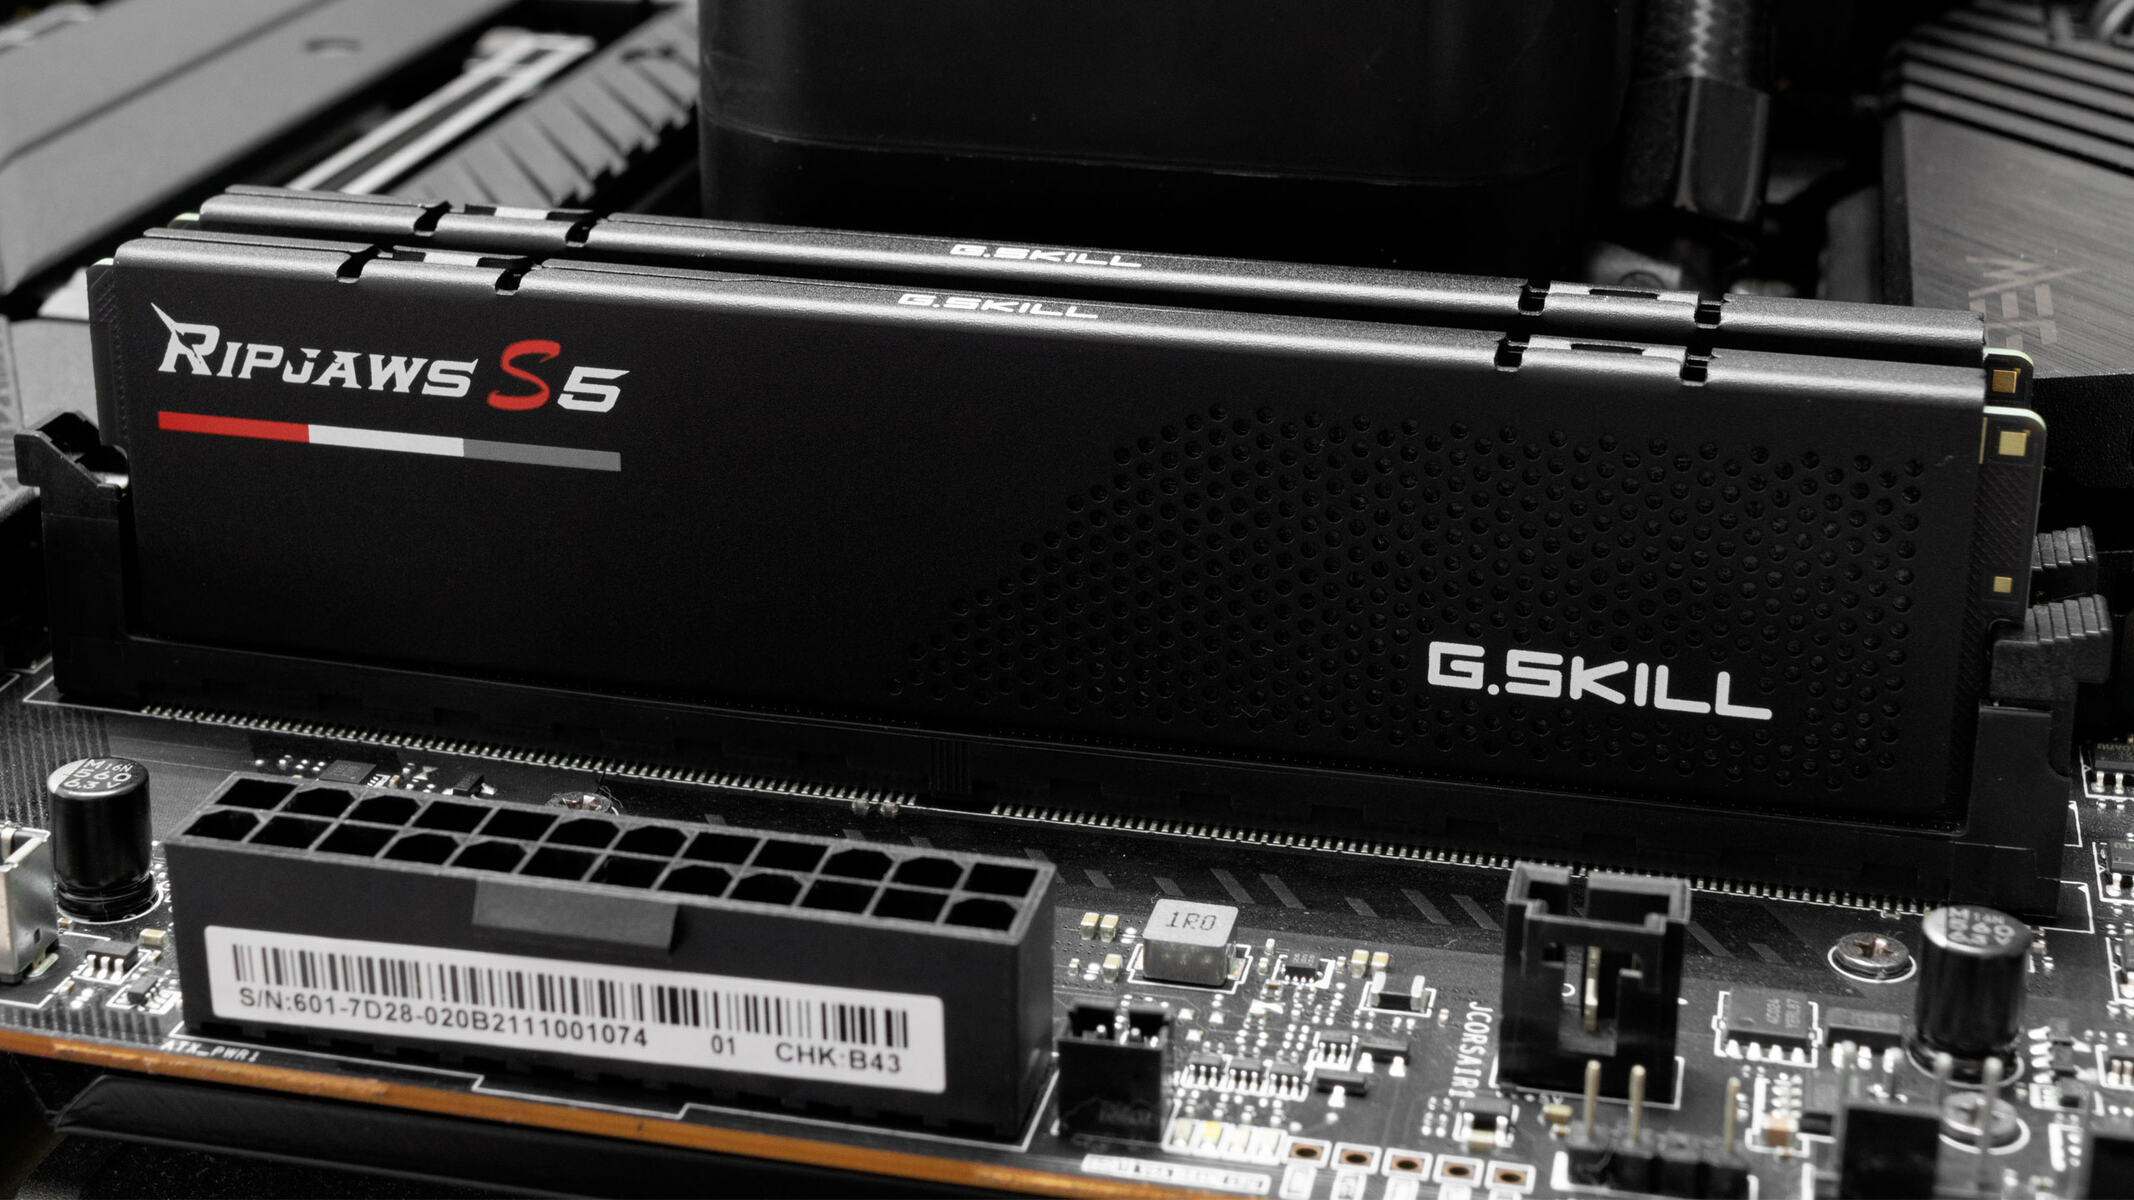
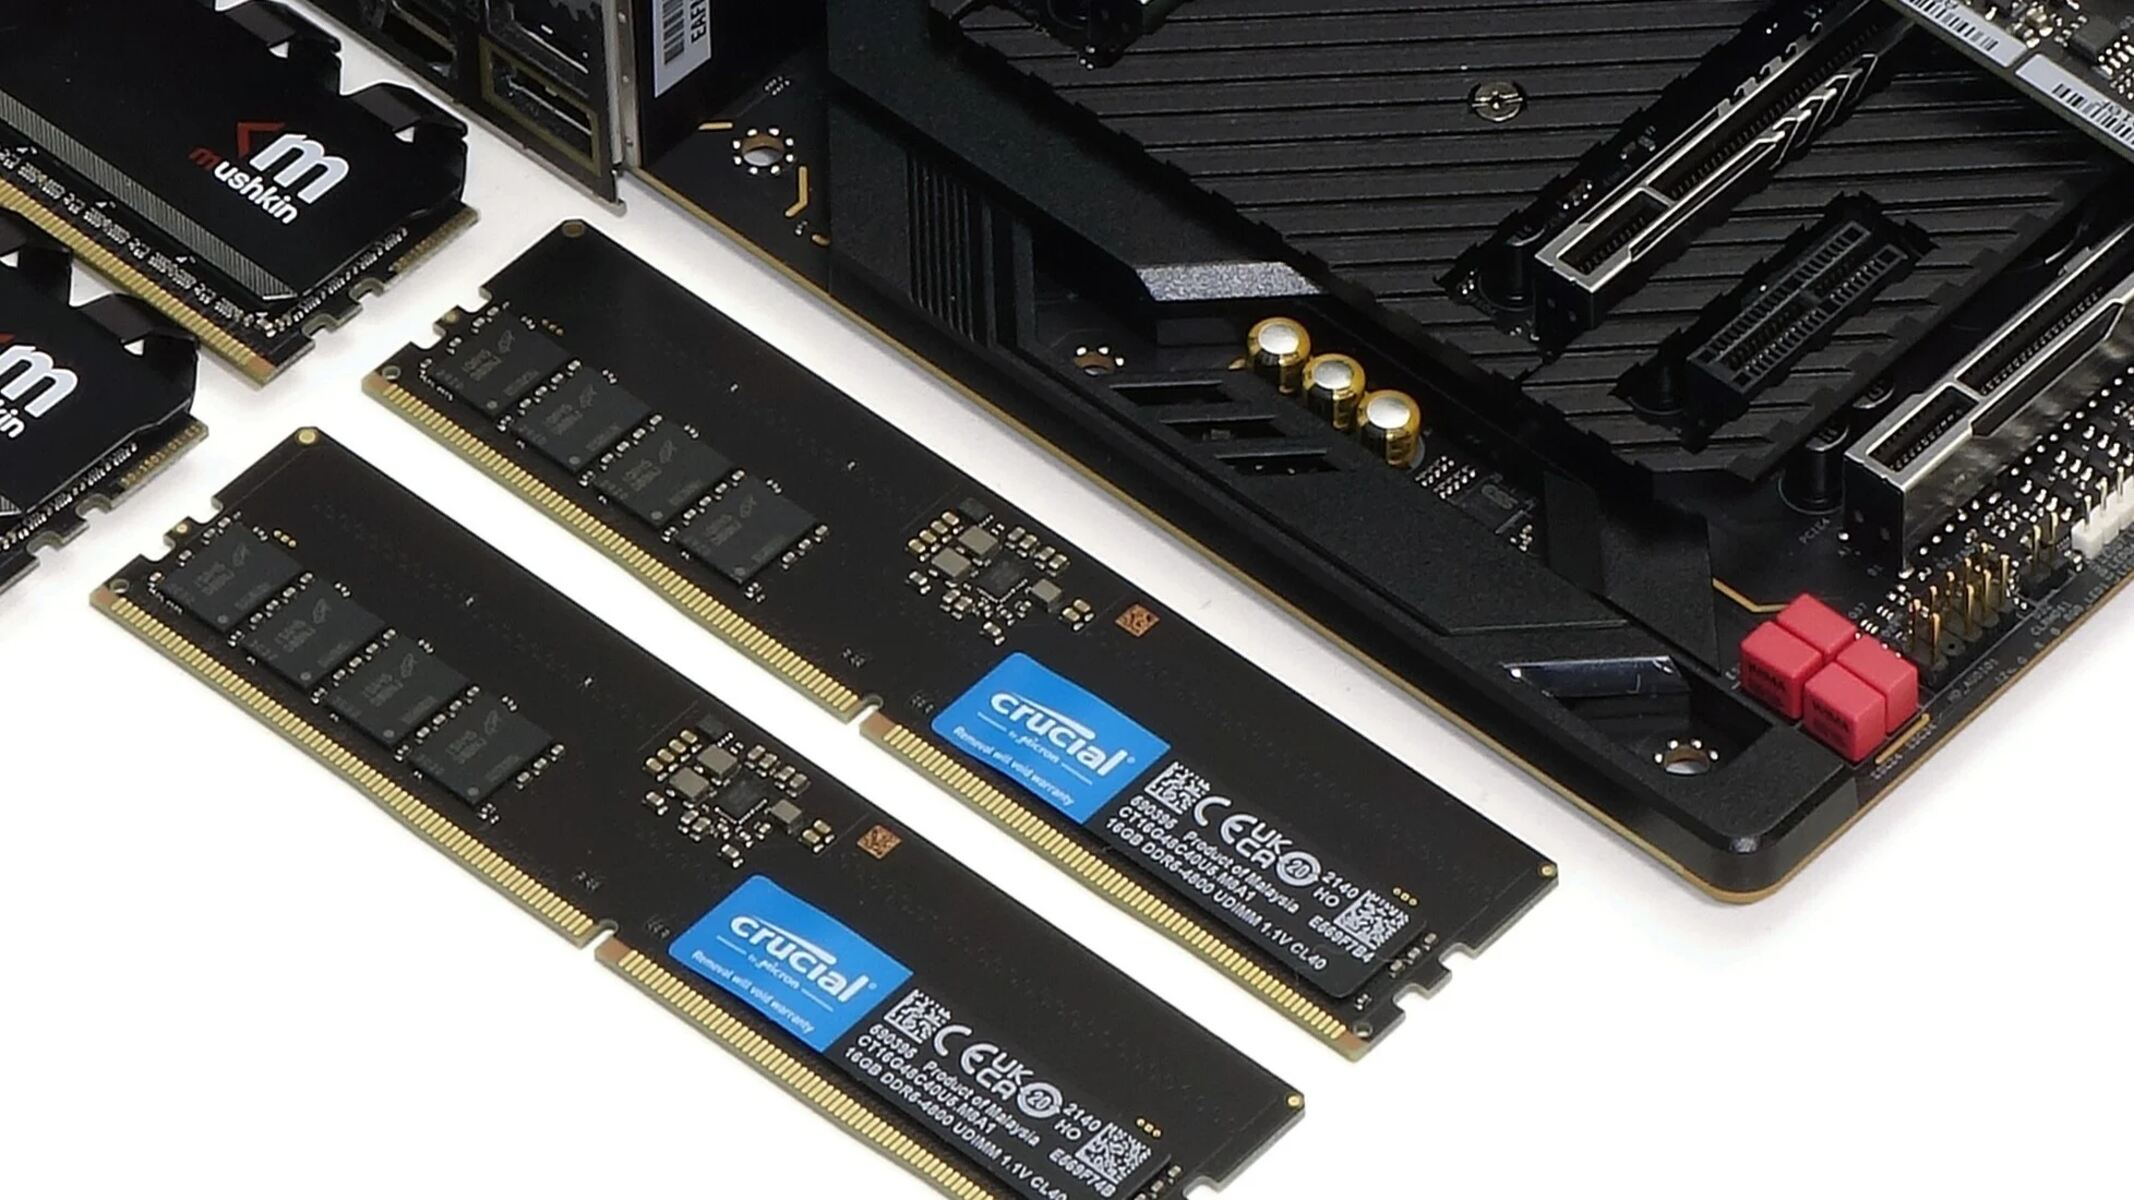
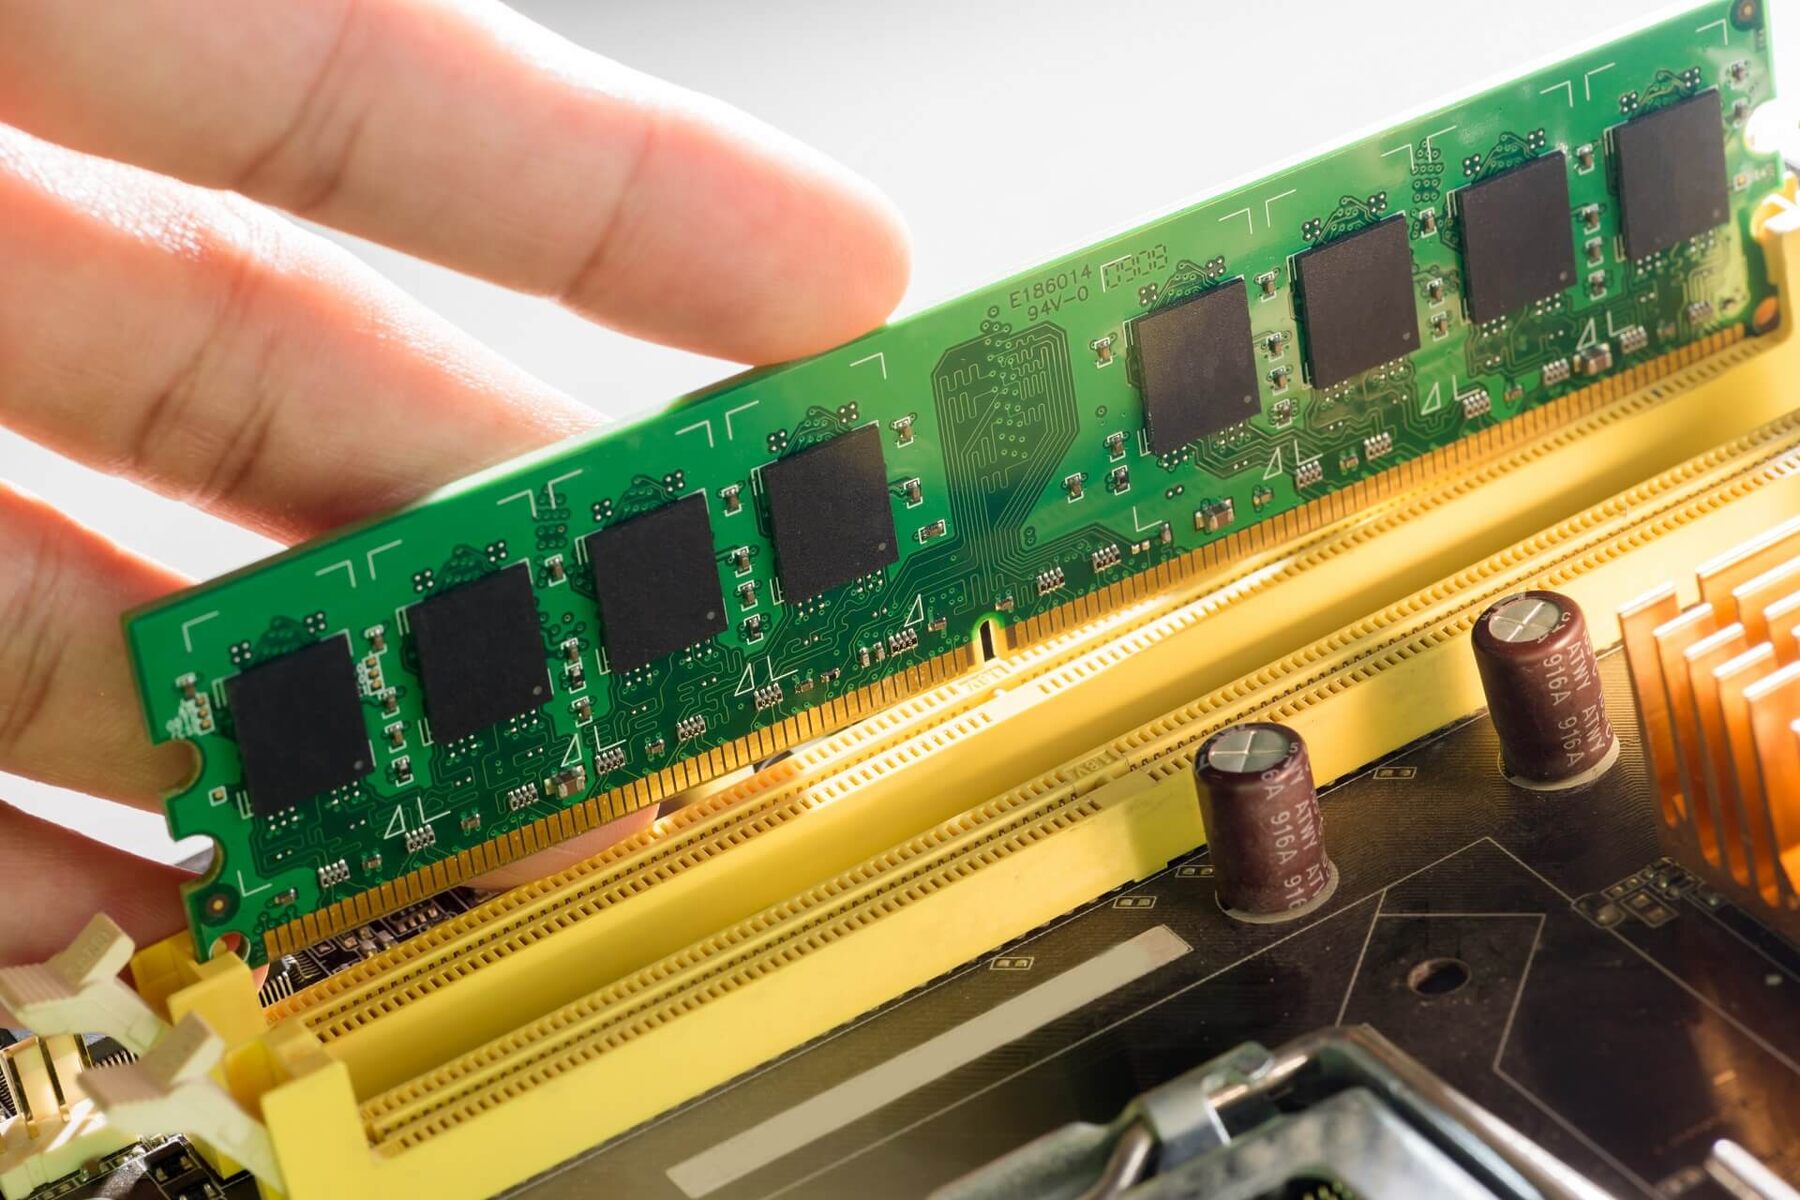
- Locate the RAM modules. These are typically long, rectangular-shaped circuit boards inserted into slots on the motherboard.
- Carefully examine the RAM modules for any visible signs of physical damage or corrosion. Look for bent or damaged pins, discolored or burnt areas, or loose connections.
- If you encounter any damaged pins, try gently straightening them with a non-conductive tool. Be extremely cautious to avoid further damage.
- Check for any accumulation of dust or debris on the RAM modules or in the RAM slots on the motherboard. If present, use compressed air or a soft brush to clean them carefully.
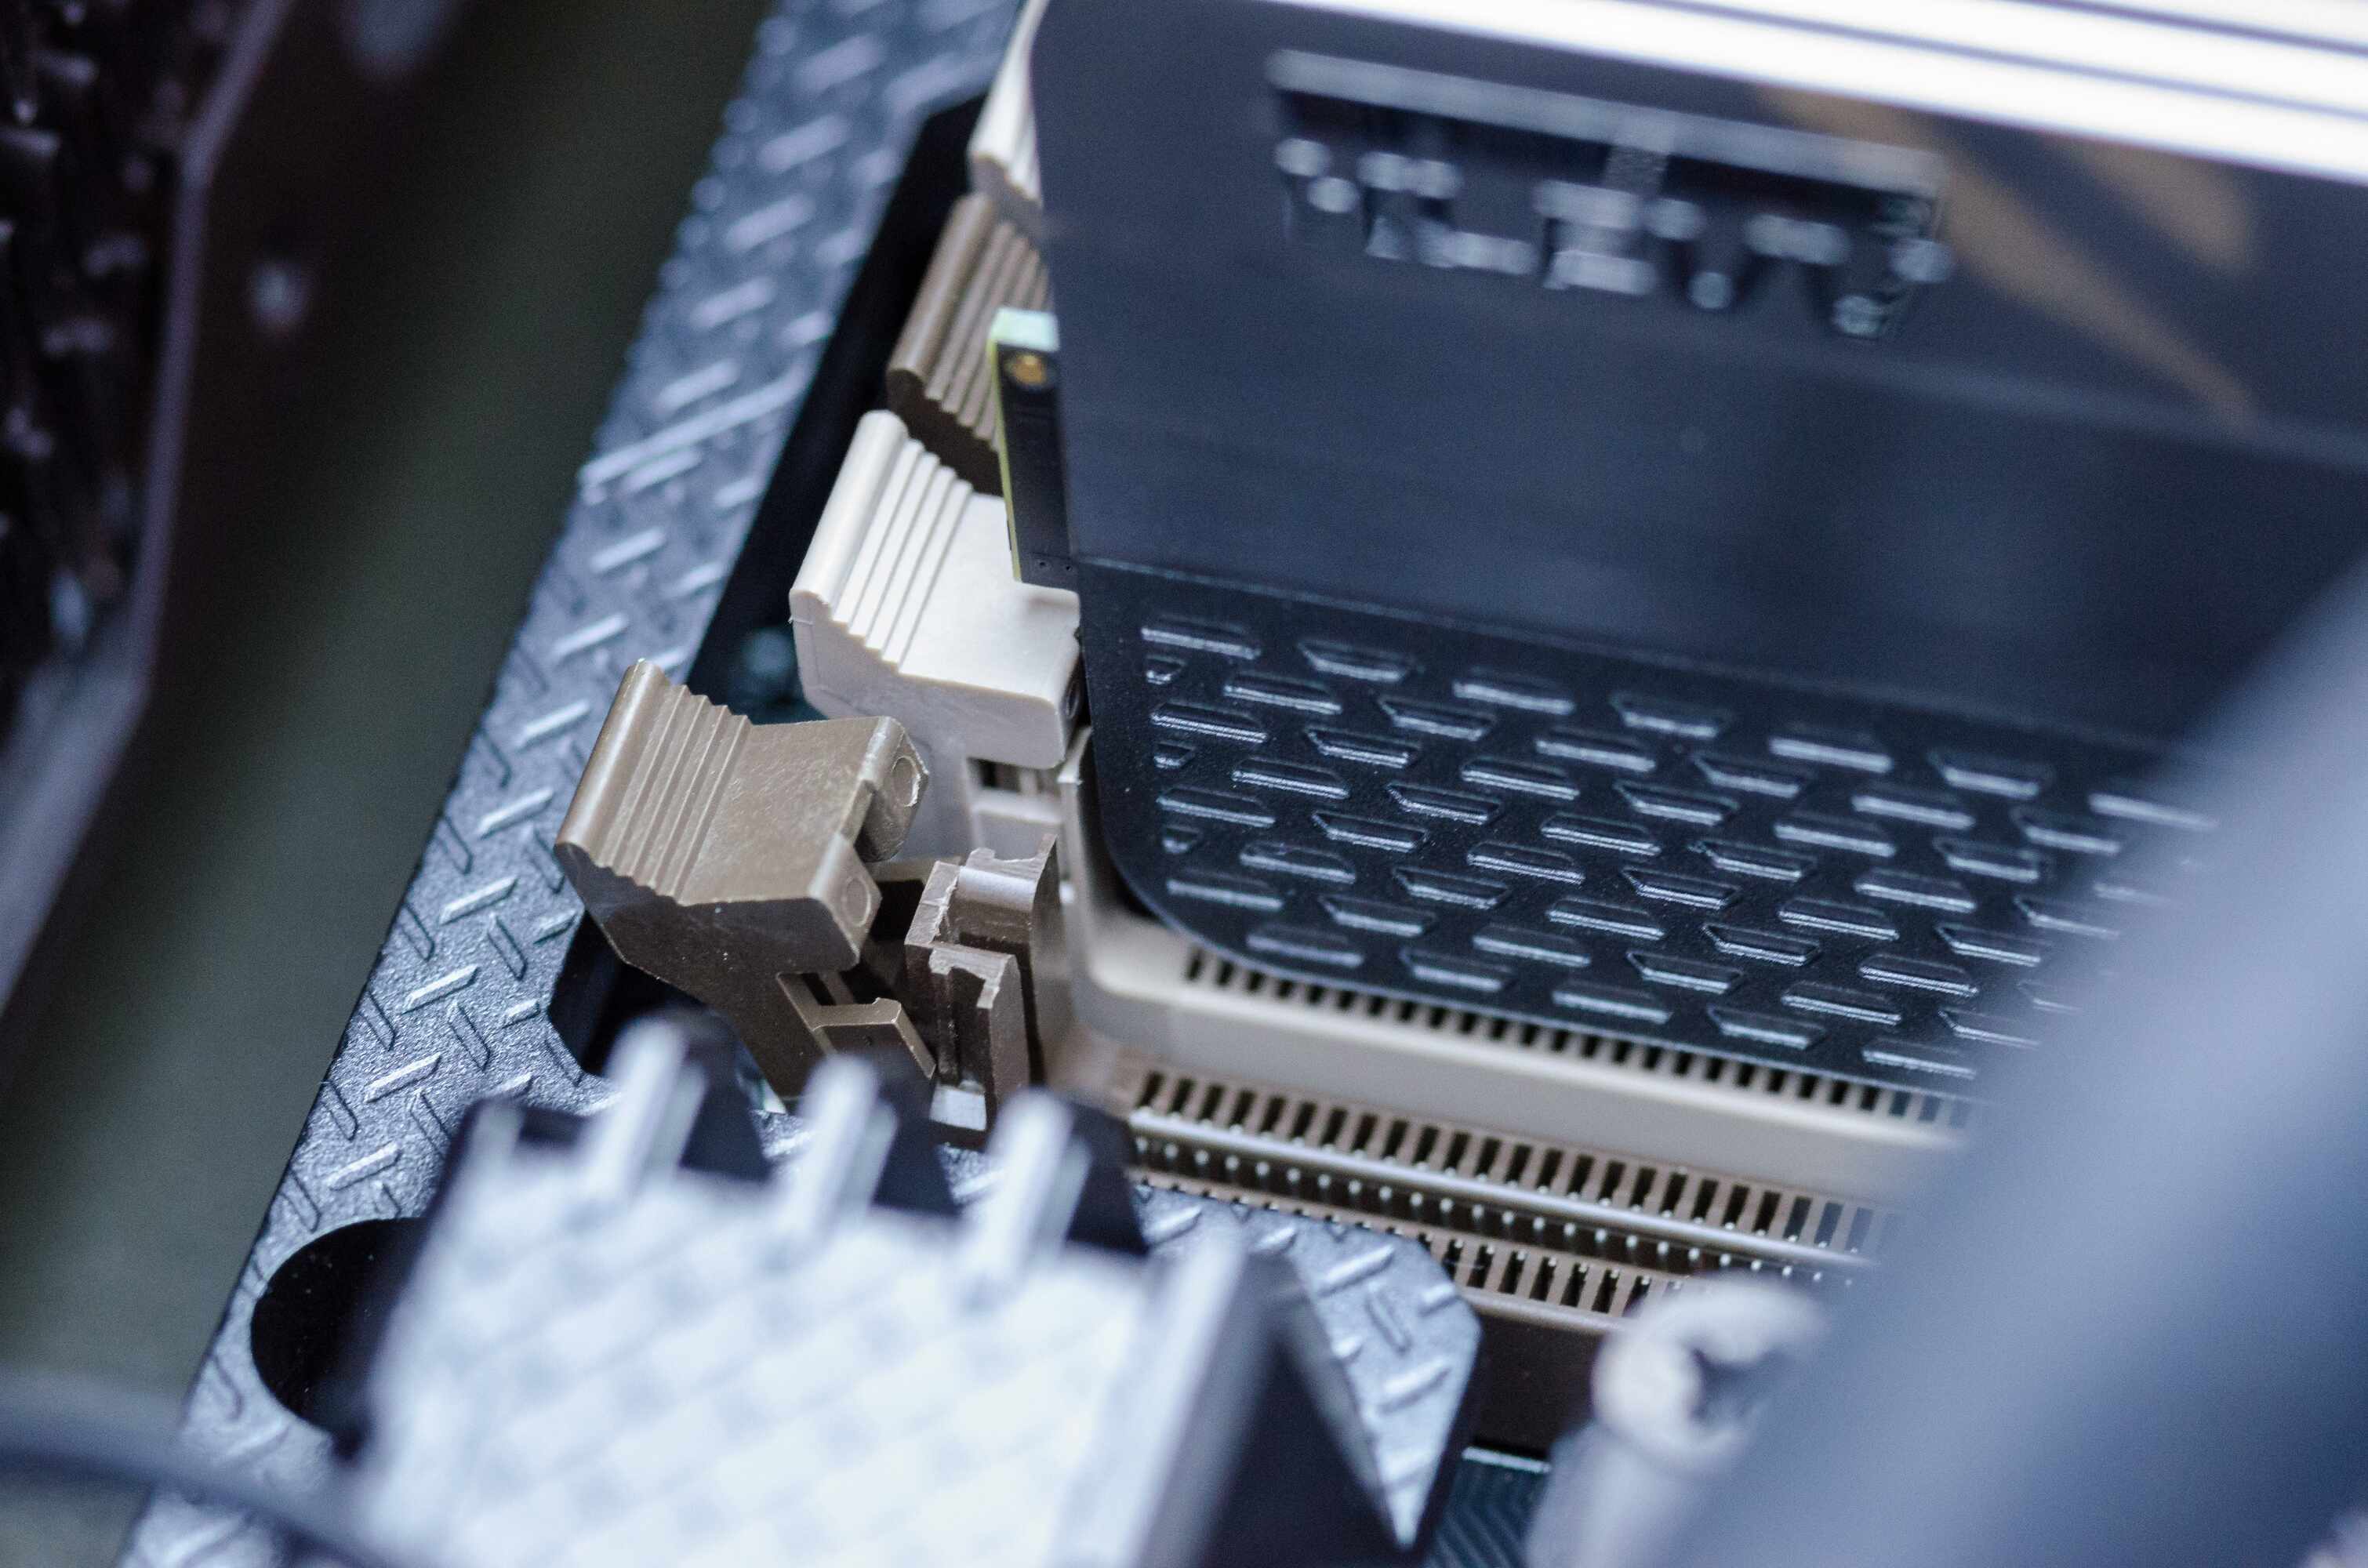
- Ensure that the RAM modules are securely seated in their slots. If they appear loose or not properly inserted, remove and reinsert them firmly.
- If you have multiple RAM modules, try removing one at a time and testing the computer’s performance to determine if any specific module is causing issues.
- After completing the physical inspection and necessary adjustments, close your computer case or reassemble your laptop.
- Power on your computer and observe if any noticeable improvements or changes in performance occur.
Performing a physical inspection of your RAM modules is a simple yet effective way to identify any visible damage or connectivity issues that may be affecting their performance. By cleaning and reseating the RAM modules properly, you may be able to resolve certain RAM-related problems without the need for replacement.
If you notice ongoing issues or if the physical inspection reveals severe damage, it is recommended to consider replacing the faulty RAM module(s) to ensure optimal system performance and stability.
Conclusion
Testing your RAM memory is an essential step in maintaining a stable and high-performing computer system. By identifying and addressing potential RAM issues early on, you can avoid frequent crashes, system instability, and data loss. In this article, we explored four different methods to test your RAM: using the Windows Memory Diagnostic tool, utilizing Memtest86, employing software utilities, and performing a physical inspection of the RAM modules.
The Windows Memory Diagnostic tool is a convenient built-in option for basic RAM testing. It can quickly assess the health of your RAM without the need for additional software. However, for more comprehensive and detailed analysis, Memtest86 is a powerful standalone tool that operates outside the operating system, providing accurate and reliable results.
Software utilities dedicated to RAM testing offer advanced features and customization options, allowing for a thorough examination of your RAM. These tools provide comprehensive reports on any errors or issues detected during the testing process.
Additionally, a physical inspection of the RAM modules can reveal visible damage, loose connections, or accumulation of dust and debris. By properly cleaning and reseating the RAM modules, you may resolve certain issues without having to replace them.
Remember, proactive testing and maintenance of your RAM are crucial for optimizing system performance, ensuring data integrity, and minimizing unexpected crashes or freezes. By understanding the common symptoms of faulty RAM and utilizing the appropriate testing methods, you can take the necessary steps to address any issues and maintain a stable and efficient computer system.