Introduction
Welcome to our guide on how to switch PlayStation accounts. Whether you are sharing your console with a family member, upgrading to a new PlayStation, or simply want to change the account associated with your console, it’s essential to know the correct steps to follow. By following this comprehensive guide, you will learn how to successfully switch PlayStation accounts and ensure a smooth transition without losing any data or access to your games.
PlayStation is not only a gaming console; it’s an entire gaming ecosystem that allows players to access online multiplayer, communicate with friends, and purchase and download games digitally. Each user account is linked to an individual PlayStation Network (PSN) account, which contains personal information, game library, trophies, and other essential data. Therefore, if you want to switch accounts, it’s crucial to understand the necessary procedures to avoid any complications.
In this guide, we will outline the step-by-step process of switching PlayStation accounts in a clear and concise manner. You don’t need to be a tech expert or have years of gaming experience to follow along. We will provide detailed instructions and tips to ensure that you can confidently make the switch and enjoy your gaming experience with your new account.
Before we dive into the process, it’s important to note that switching accounts can have some consequences. You may lose access to certain purchased games, downloadable content, or in-game progress associated with the previous account. Additionally, any saved data or progress specific to the previous account may not transfer to the new one. It’s essential to take these factors into consideration before initiating the account switch.
Now that we’ve covered the basics, let’s move on to the step-by-step process of switching PlayStation accounts. Make sure to read and follow each step carefully to ensure a seamless transition between accounts without any loss of data or access to your beloved games.
Step 1: Sign Out of Current Account
The first step in switching PlayStation accounts is signing out of your current account. This will allow you to free up the console and prepare it for the new account. Here’s how you can do it:
- Start by turning on your PlayStation console and selecting the user profile associated with your current account.
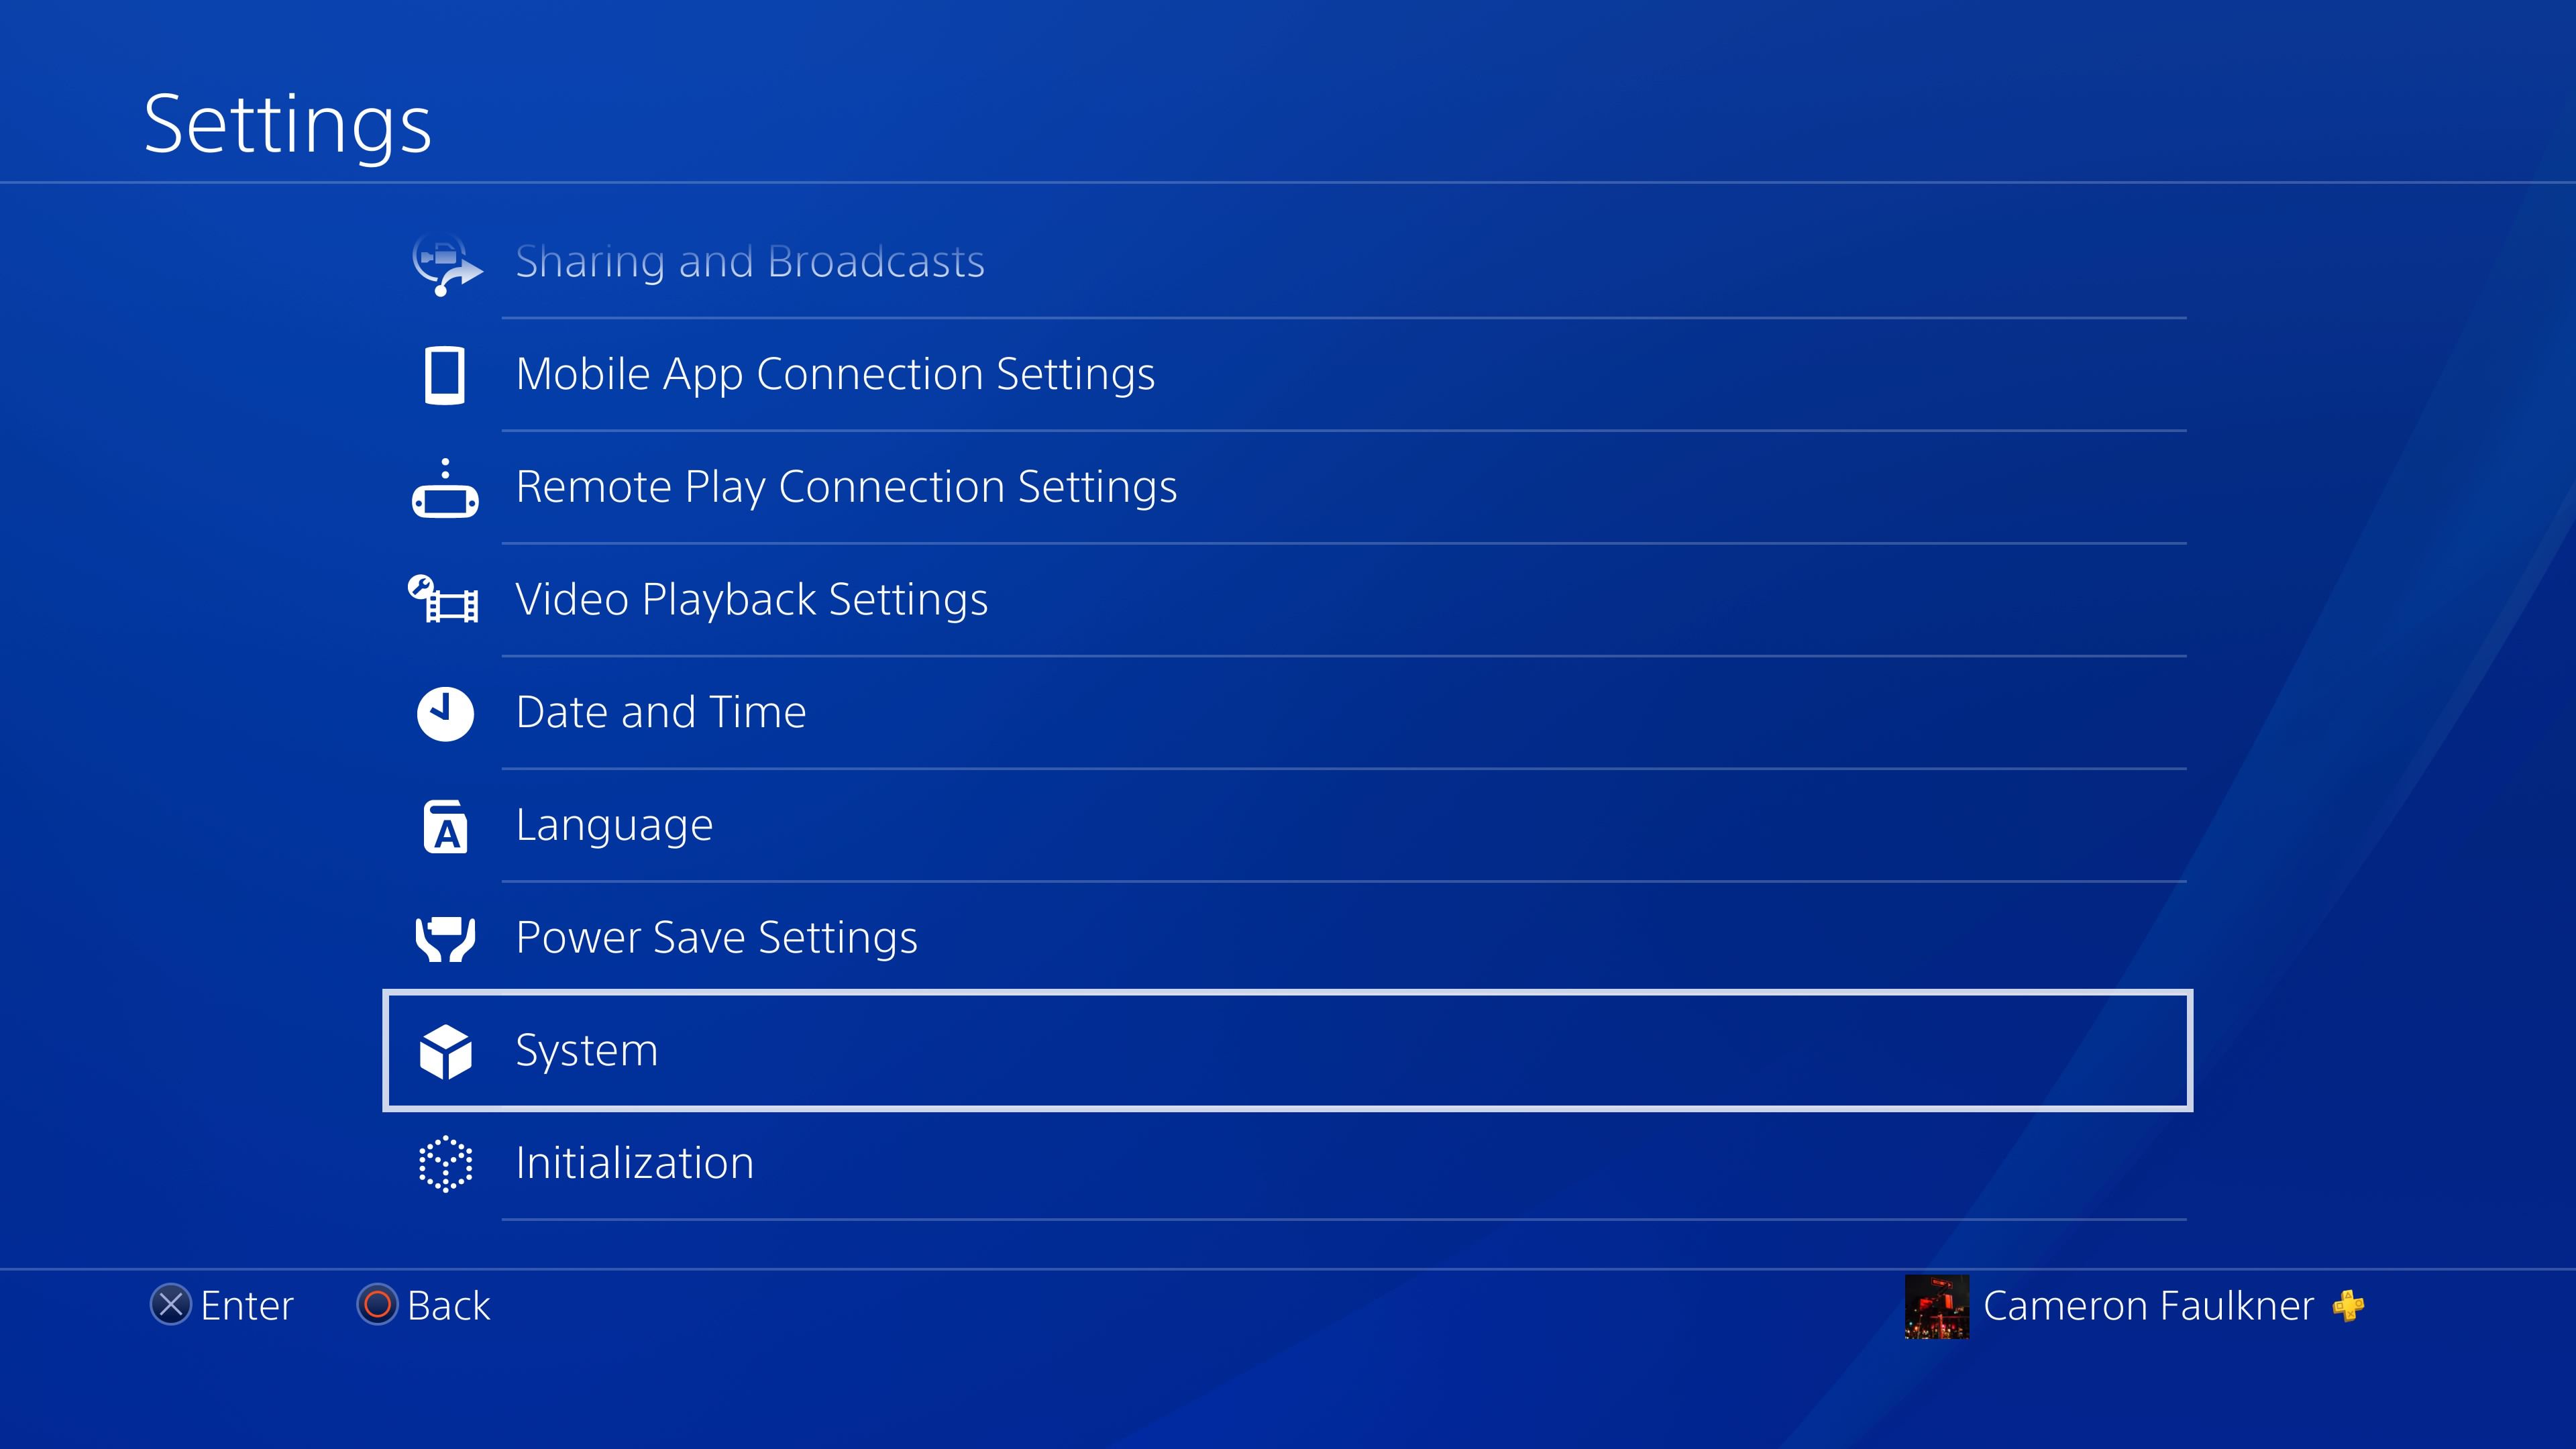
- Once you’re on the home screen, navigate to the top-right corner and select the “Settings” icon, represented by a gear symbol.
- In the Settings menu, scroll down and locate the “Account Management” option. Select it to proceed.
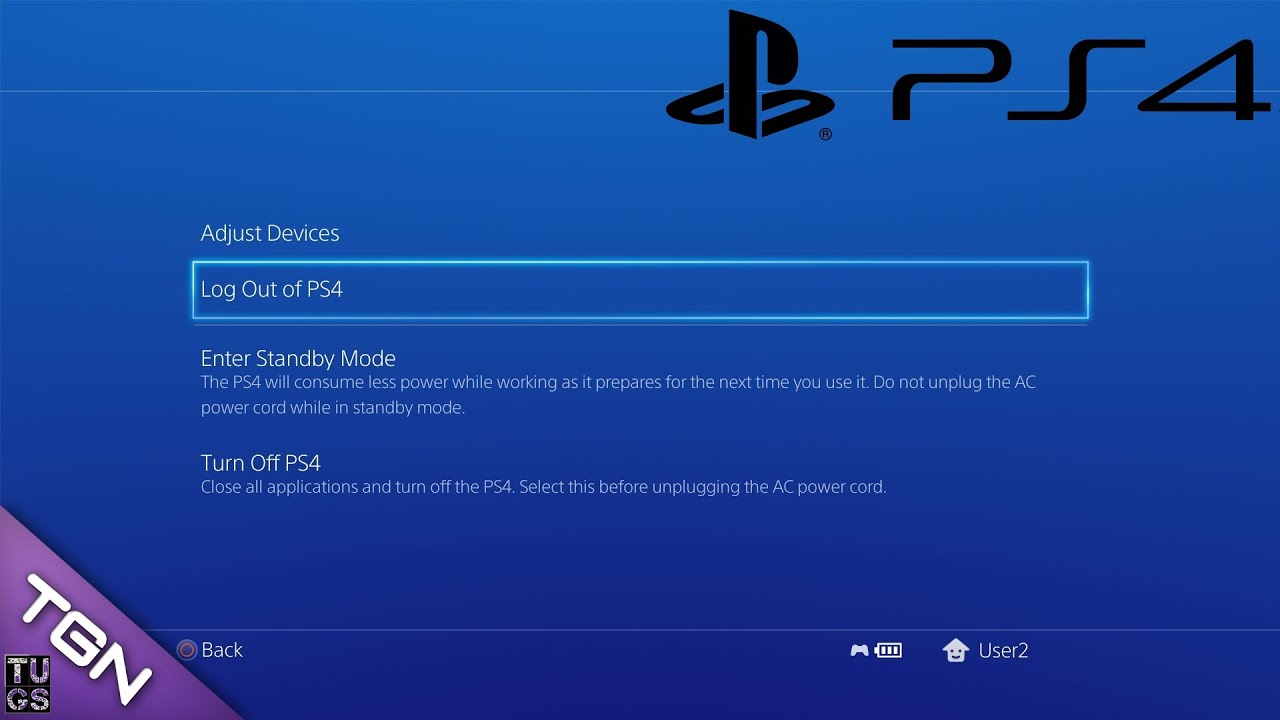
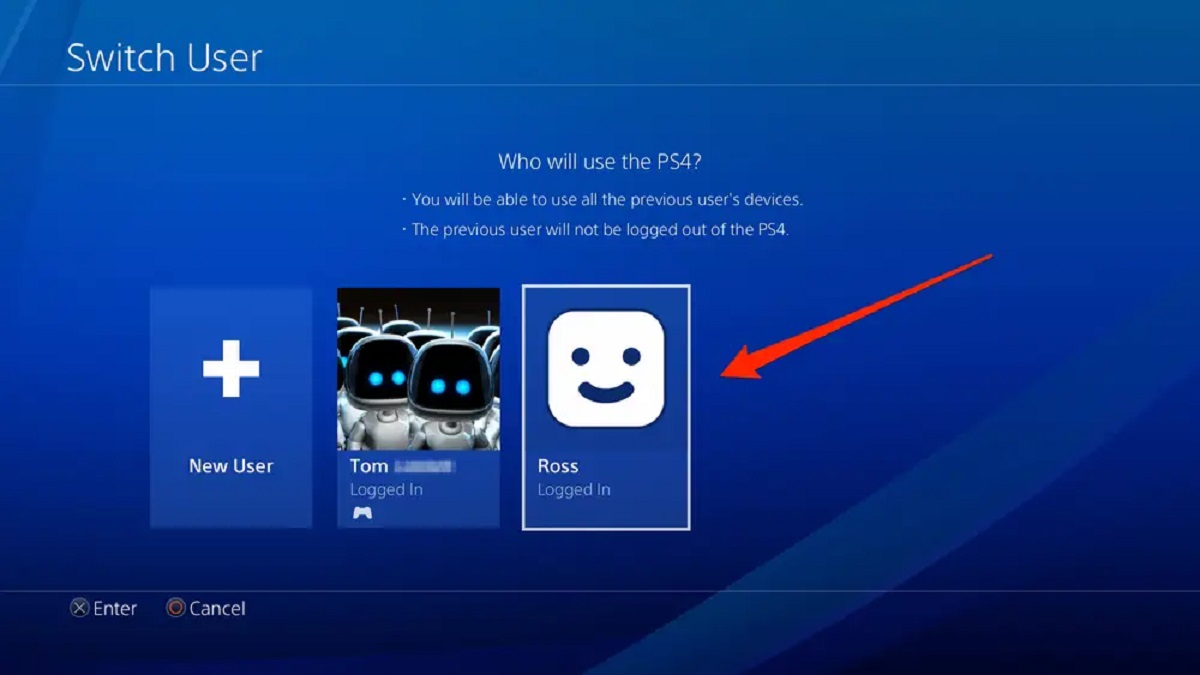
- Under Account Management, choose the “Switch User” option to access the account switching menu.
- Select “Log Out” from the list of available options to sign out of your current account.
After following these steps, you will be successfully signed out of your current PlayStation account. You will now be ready to sign in with your new account in the next step.
It’s worth noting that signing out of your account will not delete any of your saved data or game progress. These will remain intact and can be accessed when you log back in with the same account in the future. However, any account-specific purchases, such as digital games or DLC, may not be accessible when switching to a different account.
Now that you’ve completed the first step, let’s move on to the next one: signing in with your new PlayStation account.
Step 2: Sign In with New Account
After signing out of your current PlayStation account, it’s time to sign in with your new account. Here are the steps to follow:
- On the PlayStation home screen, navigate to the top-right corner and select the “Settings” icon, represented by a gear symbol.
- In the Settings menu, scroll down and choose “Account Management.”
- Under Account Management, select “Sign In.”
- You will now see two options: “Use an Existing Account” and “Create a New Account.” Since you already have a new account, select “Use an Existing Account.”
- Enter the email address and password associated with your new PlayStation account. If you have two-step verification enabled, you may need to enter the verification code as well.
- Once you have entered the correct credentials, select “Sign In” to log in with your new account.
After following these steps, you will be successfully signed in with your new PlayStation account. This means you can now access all the features and benefits associated with your new account, including your game library, online multiplayer, and friends list.
It’s important to note that signing in with a new account means you will no longer have access to the content and features associated with your previous account. This includes any purchased games or DLC. Before proceeding, make sure you have considered all the consequences and have made the necessary backups or arrangements for your previous account’s content.
With your new account signed in, you are one step closer to switching PlayStation accounts. In the next step, we will guide you through setting your new account as the primary account on your PlayStation console.
Step 3: Set New Account as Primary
After signing in with your new PlayStation account, the next step is to set it as the primary account on your console. This ensures that all downloaded content and benefits are accessible to all users on the same console. Follow the steps below to set your new account as the primary:
- From the PlayStation home screen, go to the top-right corner and select the “Settings” icon represented by a gear symbol.
- In the Settings menu, scroll down and choose “Account Management.”
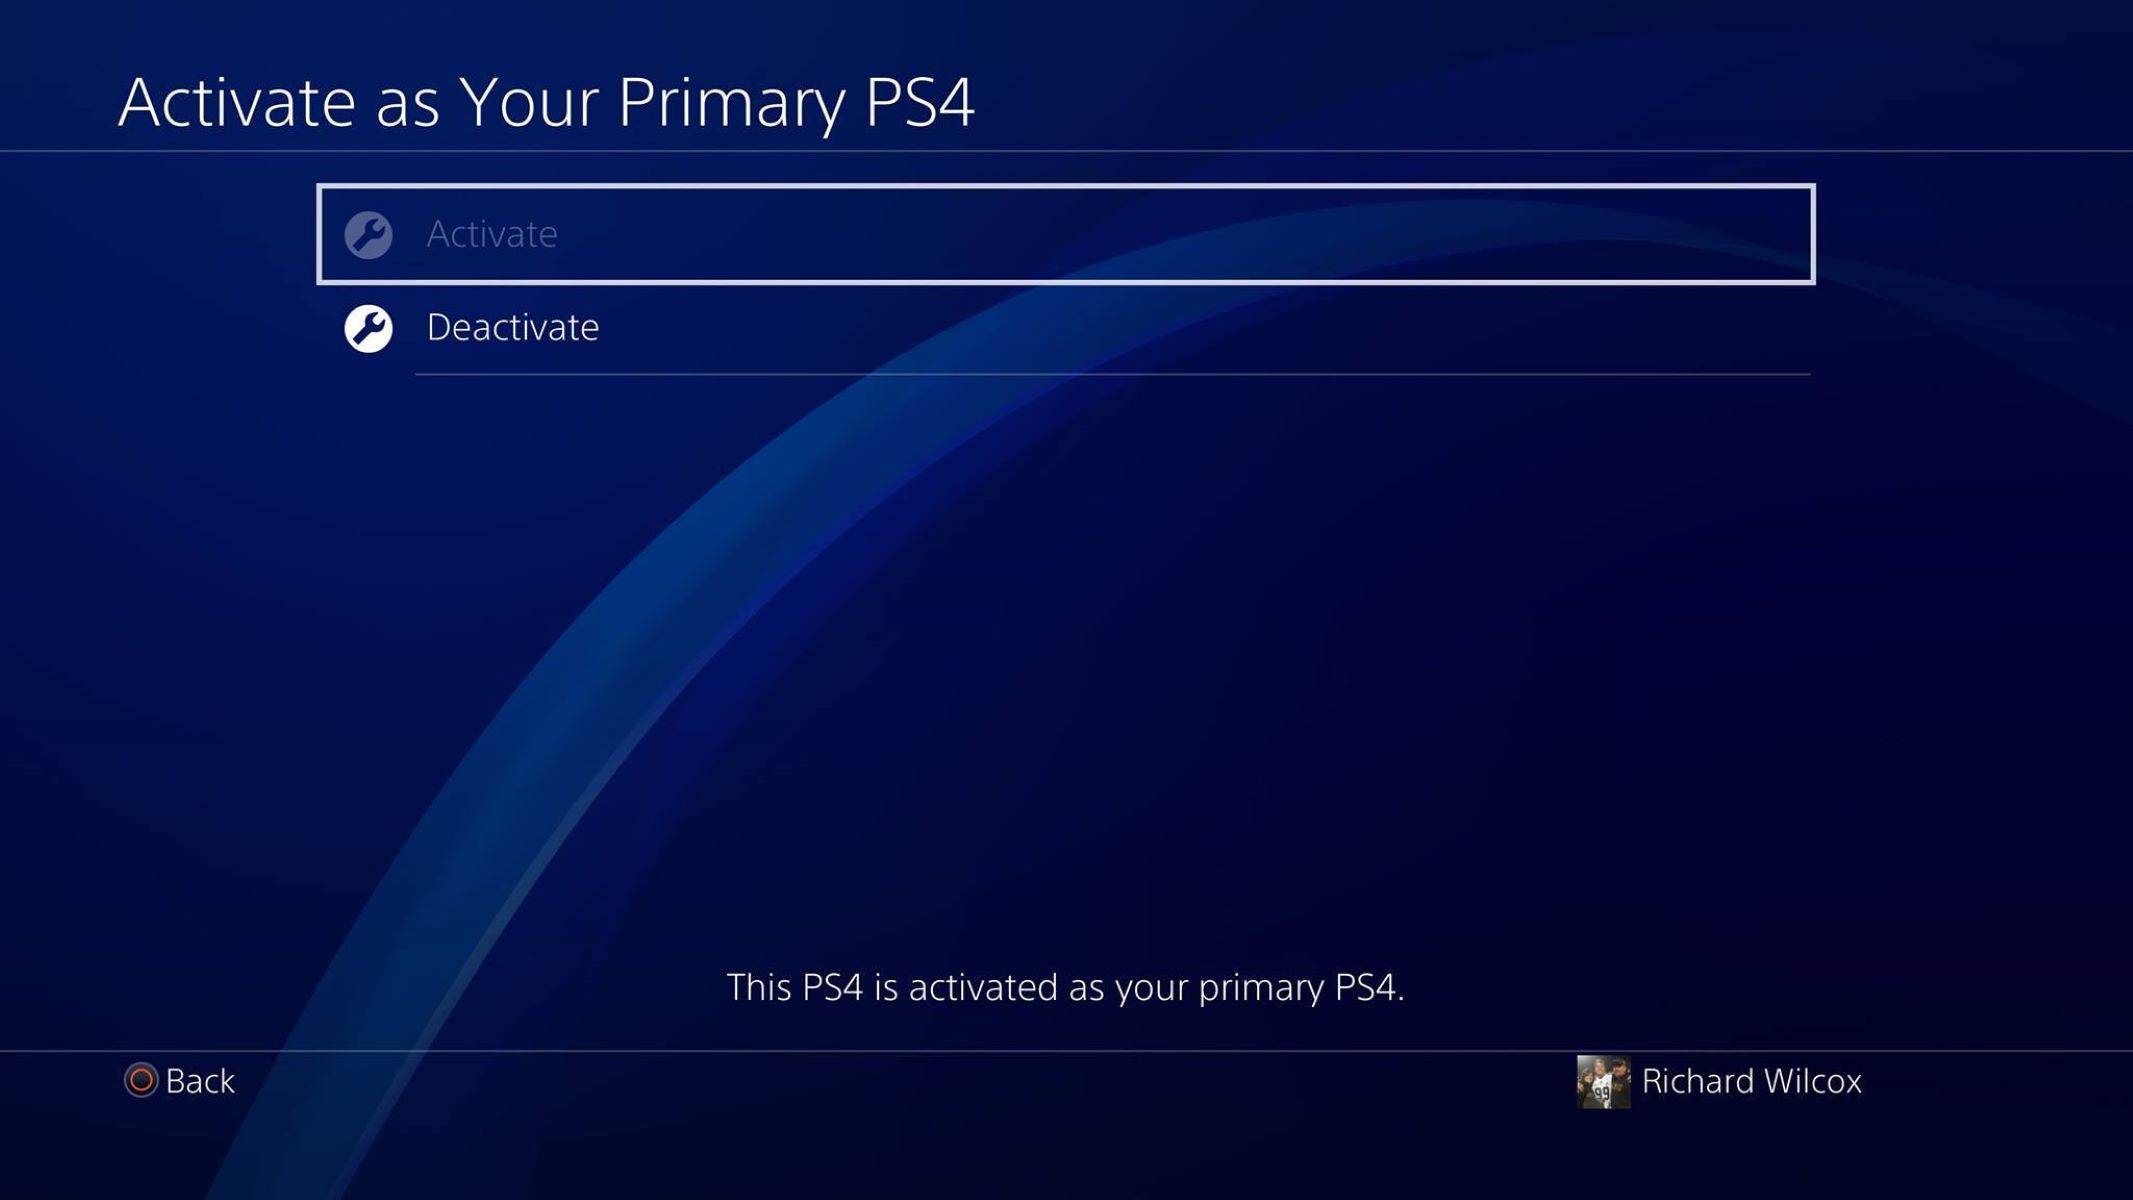
- Under Account Management, select “Activate as Your Primary PS4.”
- You will now see a screen displaying the option to “Activate.” Select this option to proceed.
By setting your new account as the primary account on your PlayStation console, you will grant access to all the content associated with the account to other users on the same console. This means that any games, DLC, or other content purchased with your new account will be available to all other user profiles on the console.
It’s important to note that you can only have one primary account activated on a PlayStation console at a time. If you have already set a primary account, you will need to deactivate it before activating a new one. Keep in mind that deactivating a primary account may limit access to certain content or features associated with that account.
Once you have successfully set your new account as the primary account, you are ready to move on to the final step: downloading and accessing any previous purchases or content associated with your previous account.
Step 4: Download and Access Previous Purchases
Now that you have switched to your new PlayStation account and set it as the primary account, it’s time to download and access any previous purchases or content that were associated with your previous account. Follow the steps below to do so:
- From the PlayStation home screen, navigate to the “Library” option, located at the top of the screen.
- In the Library menu, select “Purchased.”
- You will see a list of all the games and content that you have previously purchased with your previous account. Scroll through the list and select the content that you want to download and access with your new account.
- Once you have selected the desired content, choose the “Download” or “Start” option to initiate the download process.
- Allow the download to complete. Depending on the size of the content and your internet connection speed, this process may take some time.
- Once the download is complete, you can access and enjoy your previously purchased content with your new PlayStation account.
Please note that while you can download and access previously purchased content with your new account, any in-game progress or saved data specific to your previous account may not transfer over. You may need to start the game from scratch or use separate save files associated with your new account.
It’s also important to remember that any downloadable content (DLC) or additional purchases made with your previous account will not transfer to your new account. These purchases are tied to the account that made them and cannot be transferred between accounts.
Congratulations! You have successfully switched PlayStation accounts and downloaded your previous purchases. You can now enjoy your games and content with your new account. Remember to always sign in with the correct account to ensure you have access to your desired content and features.
Conclusion
Switching PlayStation accounts can be a necessary step when you want to change the user profile associated with your console or upgrade to a new PlayStation. By following the steps outlined in this guide, you can easily navigate the process and ensure a smooth transition between accounts.
Remember, signing out of your current account, signing in with the new account, setting the new account as the primary, and downloading any previous purchases are the key steps involved in switching PlayStation accounts. By following these steps carefully, you can avoid any complications and ensure that you have access to all your desired content with your new account.
It’s important to note that while switching accounts allows you to access games and content associated with the new account, any progress or saved data specific to your previous account may not transfer over. Additionally, any DLC or additional purchases made with the previous account cannot be transferred to the new account.
Before switching accounts, consider the consequences and make any necessary backups or arrangements for your previous account’s content. It’s always a good idea to understand the implications of switching accounts to ensure a smooth and hassle-free experience.
We hope this guide has been helpful in assisting you with switching PlayStation accounts. Now that you know the process, feel free to switch accounts as needed and enjoy your gaming experience with your new profile. Happy gaming!