Introduction
Welcome to the world of streaming! Streaming content from your iPad to your Apple TV opens up a new world of entertainment possibilities. Whether you want to enjoy your favorite movies, TV shows, or even presentations on a bigger screen, this guide will show you how to effortlessly stream from your iPad to your Apple TV.
With the advancement of technology, streaming has become a popular way to consume media. Thanks to Apple’s innovative AirPlay feature, you can wirelessly mirror your iPad’s screen on your Apple TV, allowing for a seamless and immersive viewing experience. Whether you have friends over for a movie night or want to showcase your work to a larger audience, streaming from your iPad to your Apple TV provides the perfect solution.
In this step-by-step guide, we will walk you through the entire process of streaming from your iPad to your Apple TV. From setting up your devices to choosing what to stream, you’ll become a pro in no time. So, grab your iPad and let’s get started!
Step 1: Ensure your devices are connected
Before you begin streaming from your iPad to your Apple TV, it’s crucial to ensure that both devices are properly connected. This will ensure a smooth and uninterrupted streaming experience. Here’s how to do it:
- Firstly, make sure that your iPad and Apple TV are powered on and functioning correctly.
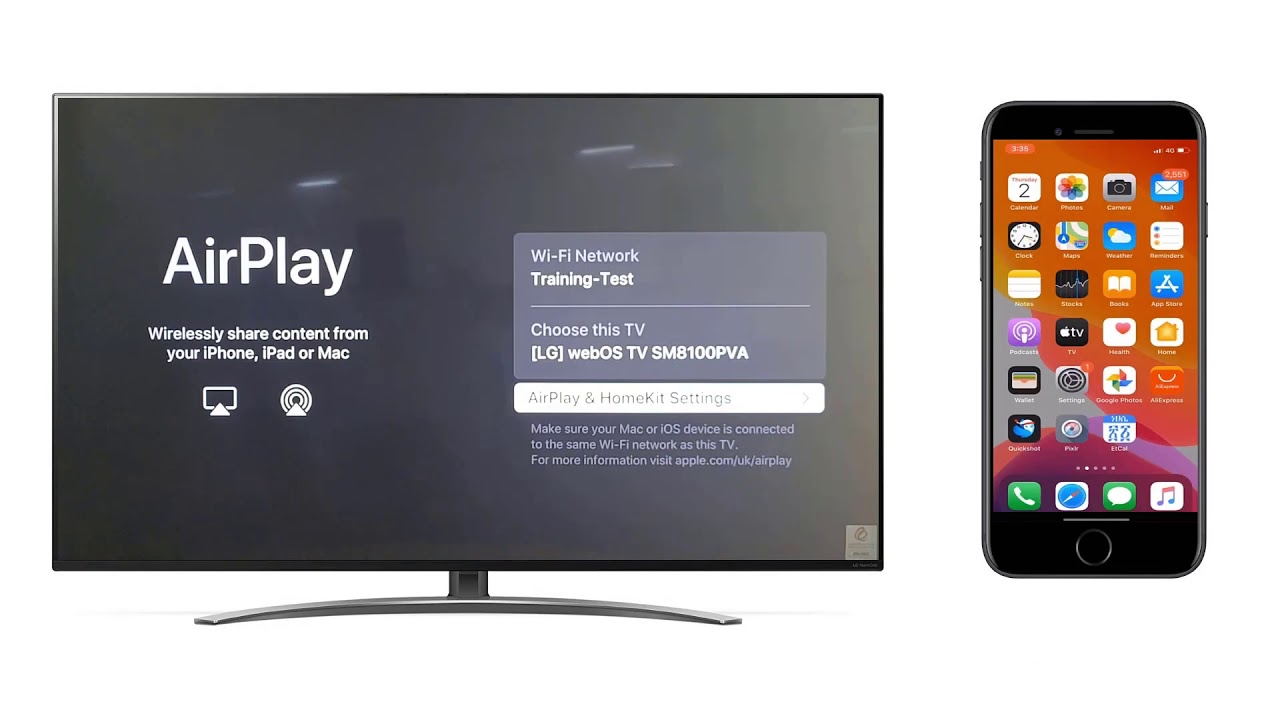
- Ensure that both devices are connected to the same Wi-Fi network. Streaming requires the devices to be on the same network in order to establish a connection.
- If you haven’t set up your Apple TV yet, follow the manufacturer’s instructions to connect it to your television and home network.
- Double-check the HDMI or any other cables connecting your Apple TV to your television to ensure they are securely plugged in on both ends.
- For better connectivity and performance, consider placing both your iPad and Apple TV in close proximity to your Wi-Fi router. This will minimize any potential Wi-Fi signal interference.
Once you have confirmed that both devices are connected and properly set up, you can proceed to the next step of the streaming process. Remember, a stable and reliable connection is essential for a seamless streaming experience.
Step 2: Set up your Apple TV
Setting up your Apple TV is an essential step in preparing it to receive the streaming content from your iPad. Follow the instructions below to get your Apple TV up and running:
- Connect your Apple TV to your television using an HDMI cable. Power it on by plugging it into a power outlet.
- Use your television remote to navigate to the HDMI input that corresponds to your Apple TV connection. You should see the Apple TV setup screen displayed on your television.
- Using your Apple TV remote, follow the on-screen instructions to select your preferred language and country settings.
- Connect your Apple TV to your home Wi-Fi network by selecting it from the available networks and entering the network password if prompted.
- Once connected, you may be asked to sign in with your Apple ID. This step is optional but recommended if you want to access additional features and content.
- Agree to the terms and conditions presented on-screen. You may have to scroll through the document before proceeding.
- Choose whether you want your Apple TV to automatically update its software. It is recommended to enable automatic updates to ensure that your device is running the latest features and improvements.
- Finally, personalize your Apple TV by selecting options such as screen saver preferences and app layout.
Once you have completed the setup process, your Apple TV will be ready to receive streaming content from your iPad. Let’s move on to the next step to ensure that your iPad is connected to the same Wi-Fi network as your Apple TV.
Step 3: Connect your iPad to the same Wi-Fi network as your Apple TV
In order for your iPad to stream content to your Apple TV, both devices need to be connected to the same Wi-Fi network. Follow these steps to ensure they are on the same network:
- On your iPad, go to the Settings app.
- Tap on the Wi-Fi option.
- Make sure that Wi-Fi is turned on if it isn’t already.
- Select the Wi-Fi network that your Apple TV is connected to. Ensure that the network name matches that of your Apple TV’s network.
- Enter the Wi-Fi password if prompted, and tap on Join or Connect to connect your iPad to the Wi-Fi network.
Once your iPad is connected to the same Wi-Fi network as your Apple TV, you have established the foundation for streaming content seamlessly to your television. However, there is one more step to enable the streaming capability on your iPad. Let’s move on to the next step.
Step 4: Enable AirPlay on your iPad
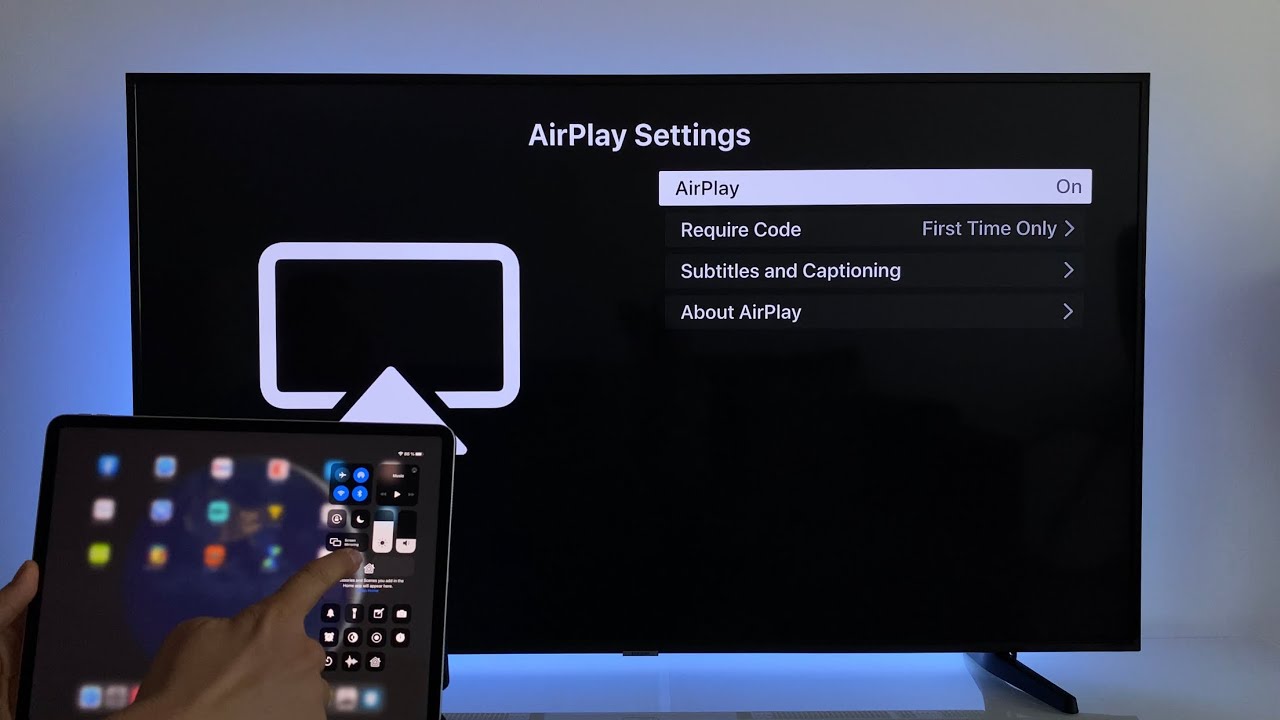
In order to stream content from your iPad to your Apple TV, you need to enable the AirPlay feature on your iPad. AirPlay allows you to wirelessly mirror your iPad’s screen or stream specific content to your Apple TV. Follow these steps to enable AirPlay:
- Swipe up from the bottom of your iPad screen to access the Control Center.
- Locate the AirPlay icon, which resembles a rectangle with a triangle at the bottom.
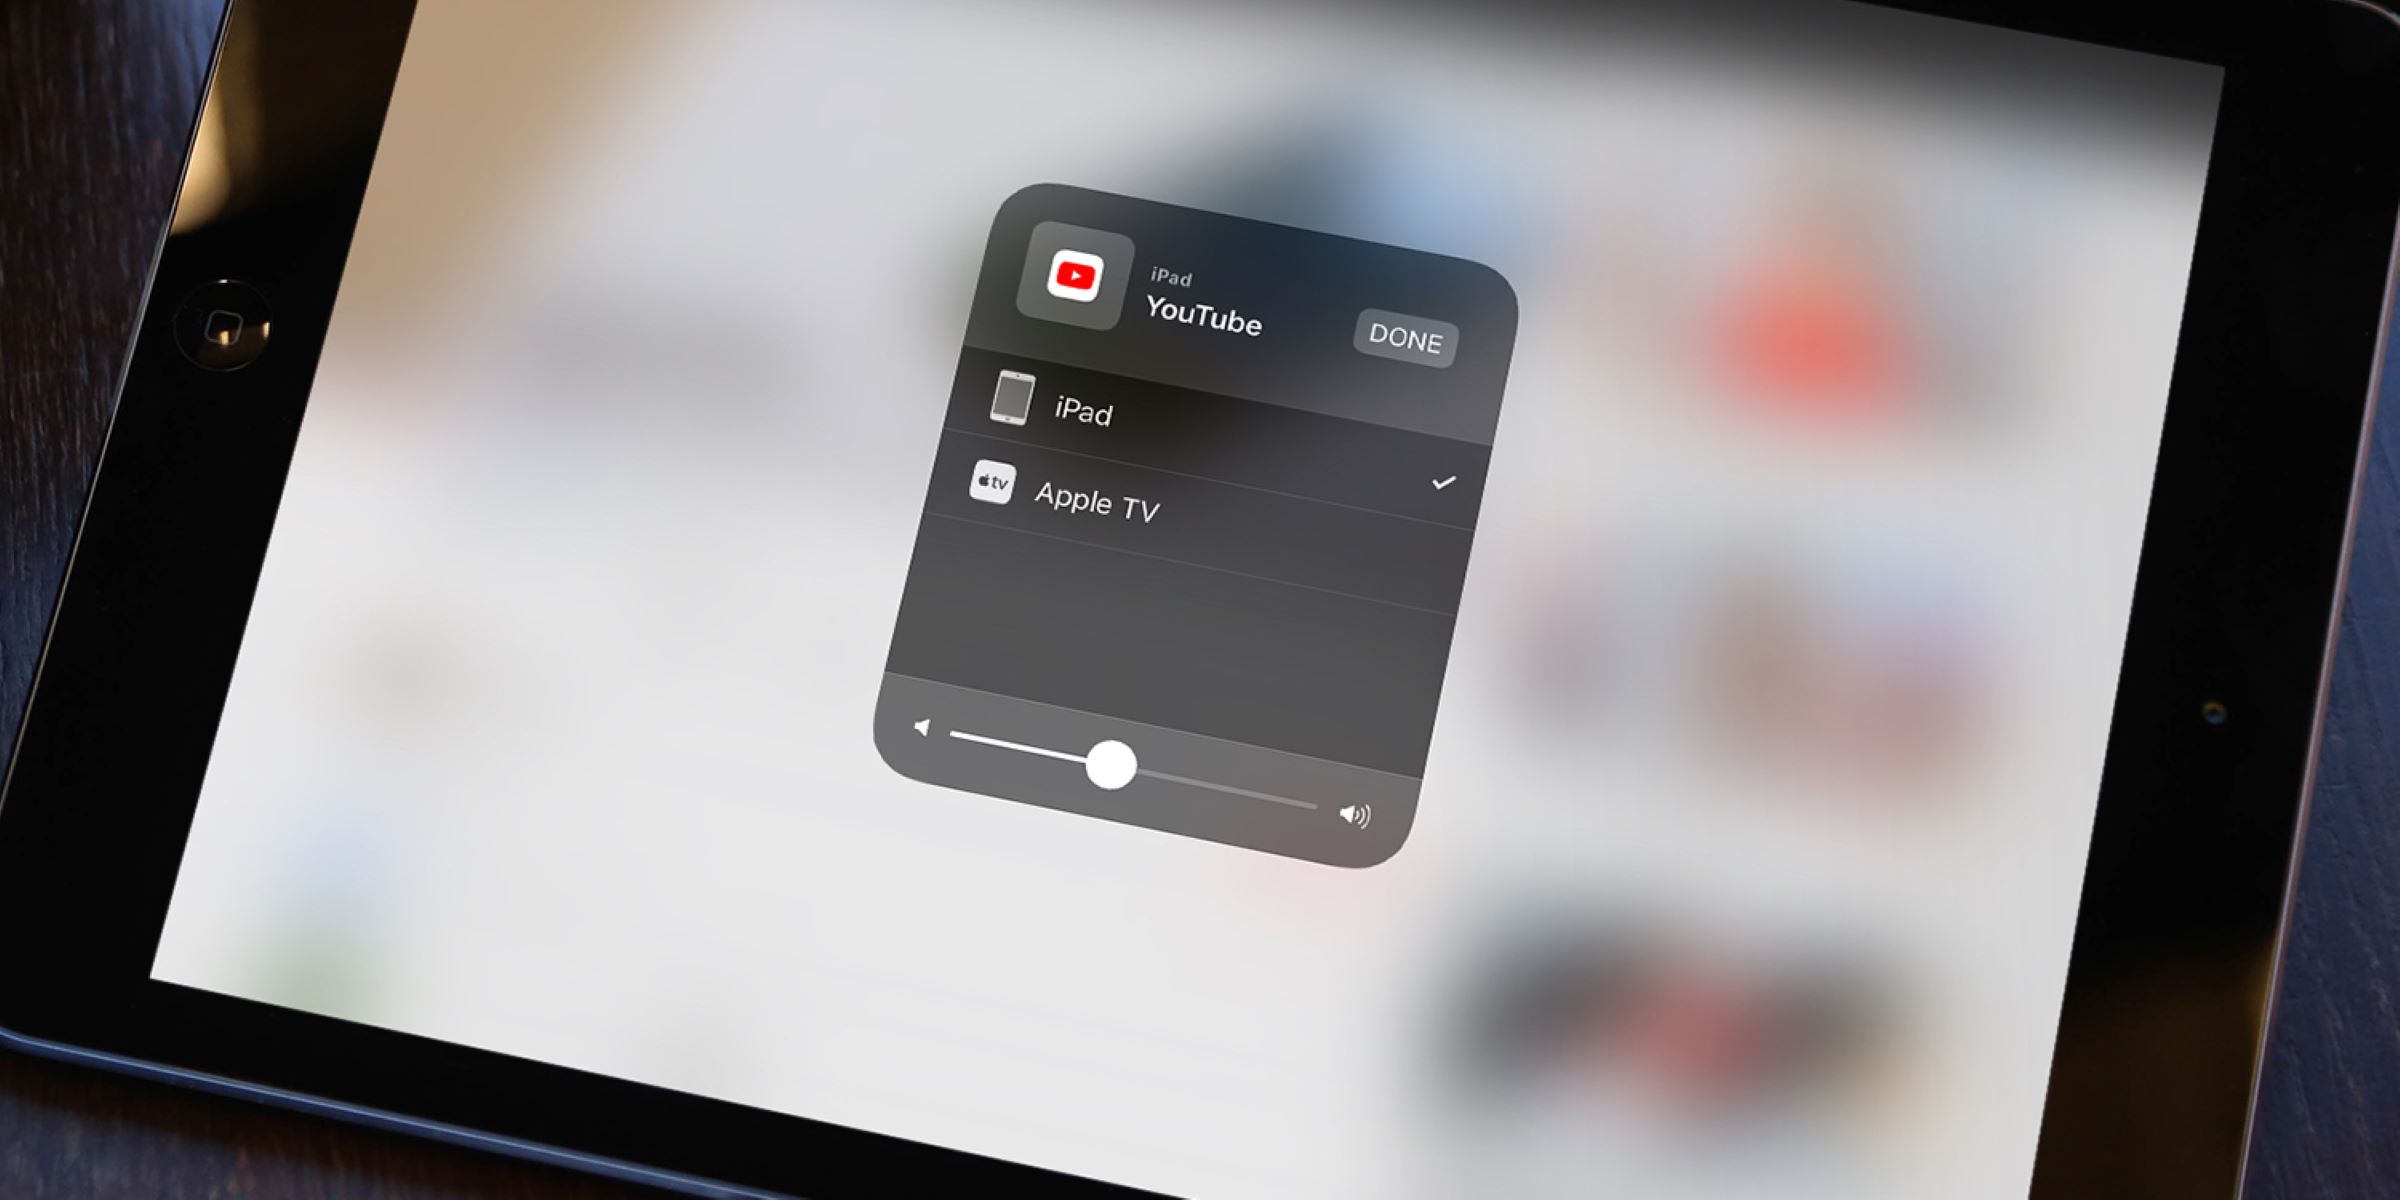
- Tap on the AirPlay icon to open the AirPlay menu.
- From the AirPlay menu, you should see a list of available devices to connect to. Select your Apple TV from the list. If prompted, enter the AirPlay passcode displayed on your TV screen.
- Once connected, you have the option to enable mirroring or simply stream specific content. To mirror your iPad’s screen on your TV, toggle the Mirroring option to ON. Your iPad’s screen will now be mirrored on your television.
- If you want to stream specific content, such as a video or presentation, open the desired app or file on your iPad. Look for the AirPlay icon within the app or file playback controls, and tap on it. Choose your Apple TV from the list to start streaming.
Now that you have successfully enabled AirPlay on your iPad, you are ready to choose what content to stream from your iPad to your Apple TV. Let’s move on to the next step.
Step 5: Choose what to stream on your iPad
Now that you have your iPad connected to your Apple TV and AirPlay enabled, it’s time to choose what content you want to stream. Whether it’s your favorite movie, a TV show, or a presentation, follow these steps to select and start streaming:
- On your iPad, open the app or file that contains the content you want to stream. It could be a video streaming app, a photo gallery, a presentation software, or any other media-related app.
- Navigate to the specific content that you want to stream. For example, if you are using a video streaming app, browse to the movie or TV show episode you wish to watch.
- Once you have selected the content, look for the AirPlay icon within the app or file playback controls. The AirPlay icon typically looks like a rectangle with a triangle at the bottom.
- Tap on the AirPlay icon to bring up the list of available AirPlay devices.
- From the list, select your Apple TV. If you have multiple Apple TVs, ensure you choose the correct one that is connected to your television.
- Depending on the app or content, you may see additional options or settings specific to AirPlay on your iPad. Make any necessary adjustments, such as video quality or playback controls, as desired.
- Once you are ready to start streaming, tap on the play button or initiate playback within the app. The content will now be streamed to your Apple TV, appearing on your television screen.
Congratulations! You have successfully chosen and started streaming content from your iPad to your Apple TV. Enjoy the immersive viewing experience on the big screen!
Step 6: Start streaming to your Apple TV
You’re almost there! Now that you have selected the content you want to stream on your iPad, it’s time to start streaming to your Apple TV. Follow these final steps to begin the streaming process:
- Make sure that your Apple TV is turned on and displaying the home screen on your television.
- Ensure that your iPad is connected to the same Wi-Fi network as your Apple TV.
- Double-check that AirPlay is still enabled on your iPad by swiping up from the bottom of the screen to access the Control Center and confirming that the AirPlay icon is selected.
- Once you have confirmed these settings, start playing the content on your iPad. This can be a video, a slideshow, a presentation, or any other media format.
- As the content begins playing on your iPad, it will simultaneously start streaming to your Apple TV. The content will now be displayed on your television screen, offering a larger and more immersive viewing experience.
- Use your iPad’s playback controls to pause, rewind, or adjust the volume of the streaming content. These controls will affect the playback on your Apple TV as well.
- Enjoy the seamless streaming experience and make the most of the enhanced visuals and audio that your Apple TV provides.
Congratulations! You have successfully started streaming content from your iPad to your Apple TV. Sit back, relax, and immerse yourself in the entertainment on the big screen.
Conclusion
Streaming from your iPad to your Apple TV opens up a whole new world of entertainment possibilities. With just a few simple steps, you can enjoy your favorite movies, TV shows, presentations, and more on the big screen, enhancing your viewing experience and making it more immersive.
In this guide, we have walked you through the process of streaming from your iPad to your Apple TV. We started by ensuring that your devices are connected, setting up your Apple TV, connecting your iPad to the same Wi-Fi network, enabling AirPlay on your iPad, choosing what to stream, and finally, starting the streaming process.
Remember to always double-check your connections, ensure that both devices are on the same Wi-Fi network, and have AirPlay enabled on your iPad. These steps are essential to ensuring a smooth streaming experience.
Whether you’re hosting a movie night, giving a presentation, or simply enjoying your favorite content, streaming from your iPad to your Apple TV is a convenient and enjoyable way to enhance your entertainment experience. So, grab your iPad, get your Apple TV set up, and start streaming to unlock a whole new world of possibilities.
Happy streaming!


