Introduction
Being able to access hidden files on your Windows 10 computer can be crucial in various situations. Hidden files are often system files or sensitive files that are intentionally hidden from view to prevent accidental modification or deletion. However, there are times when you may need to view or modify these hidden files to troubleshoot issues or perform certain tasks.
In this article, we will explore several methods that you can use to show hidden files in Windows 10. Whether you are a novice user or an experienced professional, these methods will allow you to easily access and manage hidden files on your computer.
By default, Windows 10 hides certain files and folders to ensure the smooth operation of the operating system. This helps to prevent accidental modification or deletion of essential files, which could potentially lead to system instability or malfunction.
However, there are instances when you may need to access these hidden files. For example, you may want to modify certain system files to personalize your computer or troubleshoot an issue. Or, you may need to access hidden files that contain important data for a specific application or software.
Luckily, there are multiple methods to show hidden files in Windows 10, and we will cover them all in this article. Whether you prefer using File Explorer, the Control Panel, Command Prompt, or even the Registry Editor, we’ve got you covered. Just continue reading to find the method that suits you best.
Before we dive into the different methods, it’s important to note that modifying or deleting system files without proper knowledge can have serious consequences for your computer’s stability and security. Therefore, exercise caution when working with hidden files and always make sure you know what you are doing.
Now that we have covered the importance of hidden files and the need to be cautious, let’s move on to the different methods you can use to show hidden files in Windows 10.
Method 1: Using File Explorer
File Explorer is the default file management tool in Windows 10, and it provides a simple and straightforward way to show hidden files.
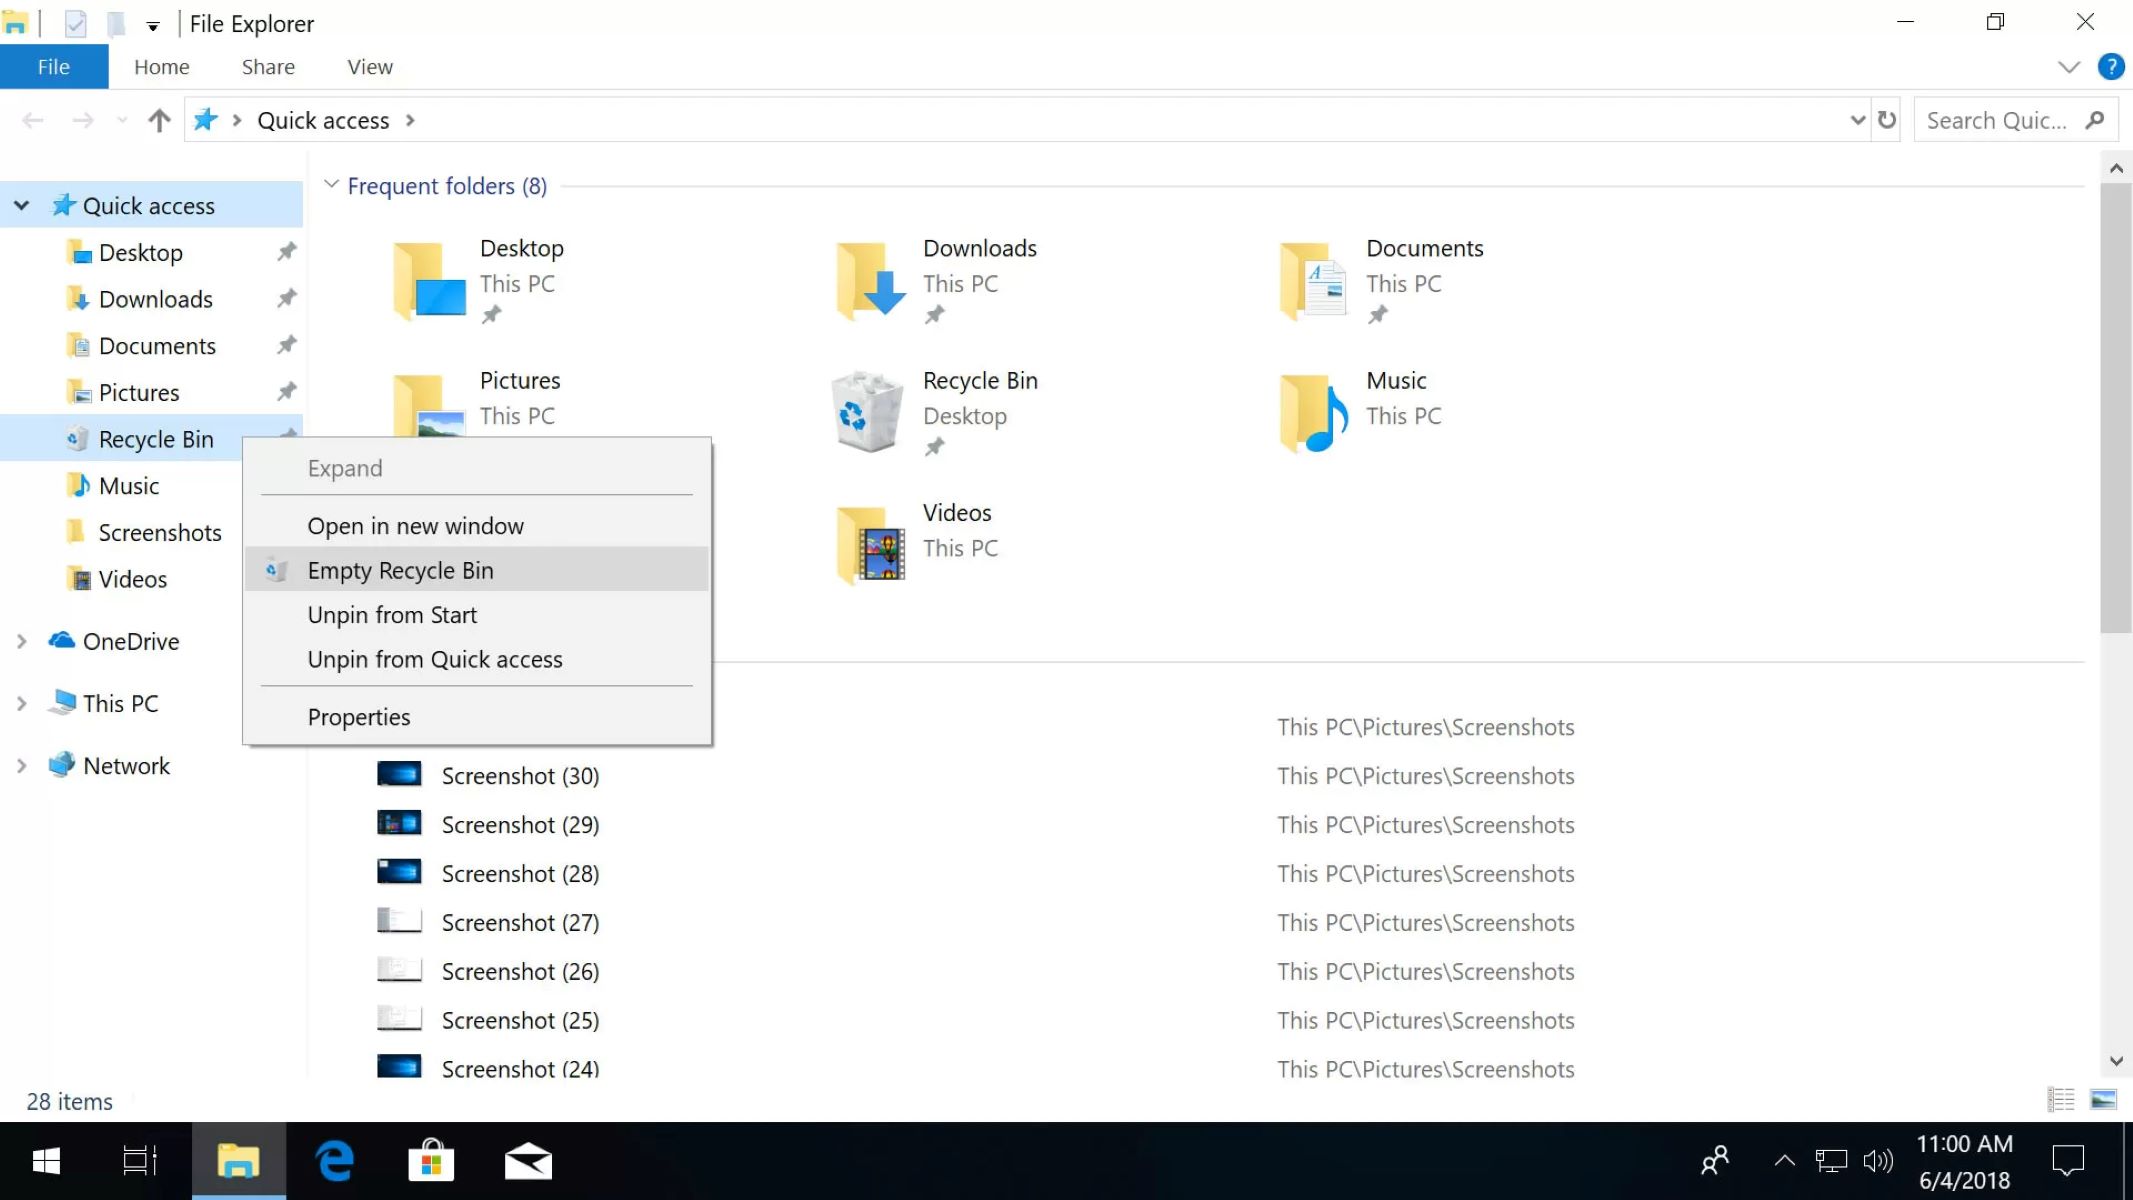
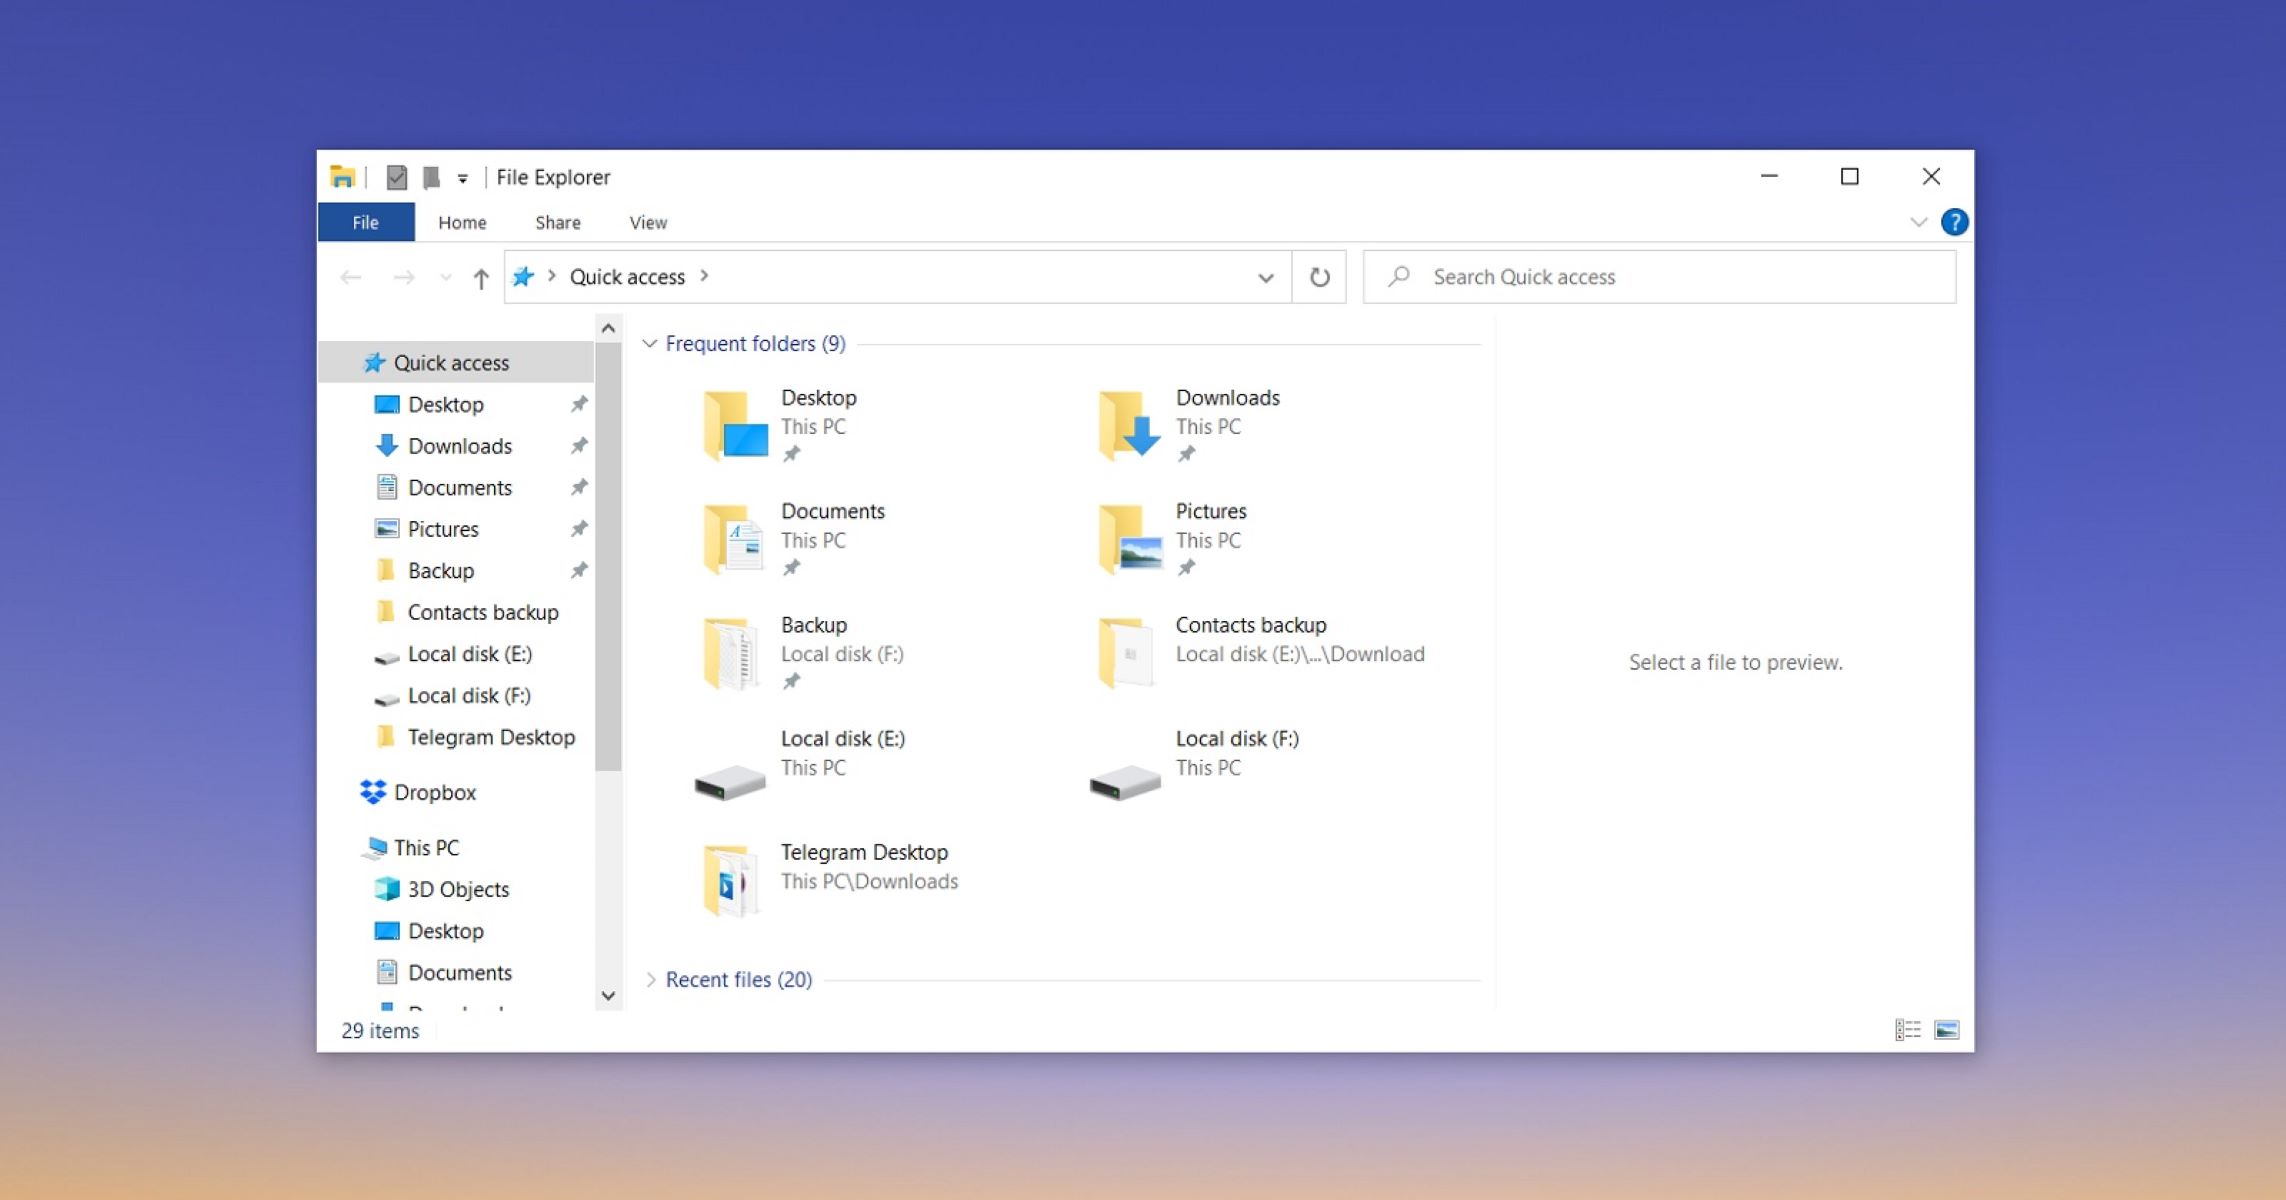
To begin, open File Explorer by clicking on the folder icon in the taskbar or by pressing the Windows key + E on your keyboard.
Once File Explorer is open, navigate to the folder where you suspect the hidden files are located.
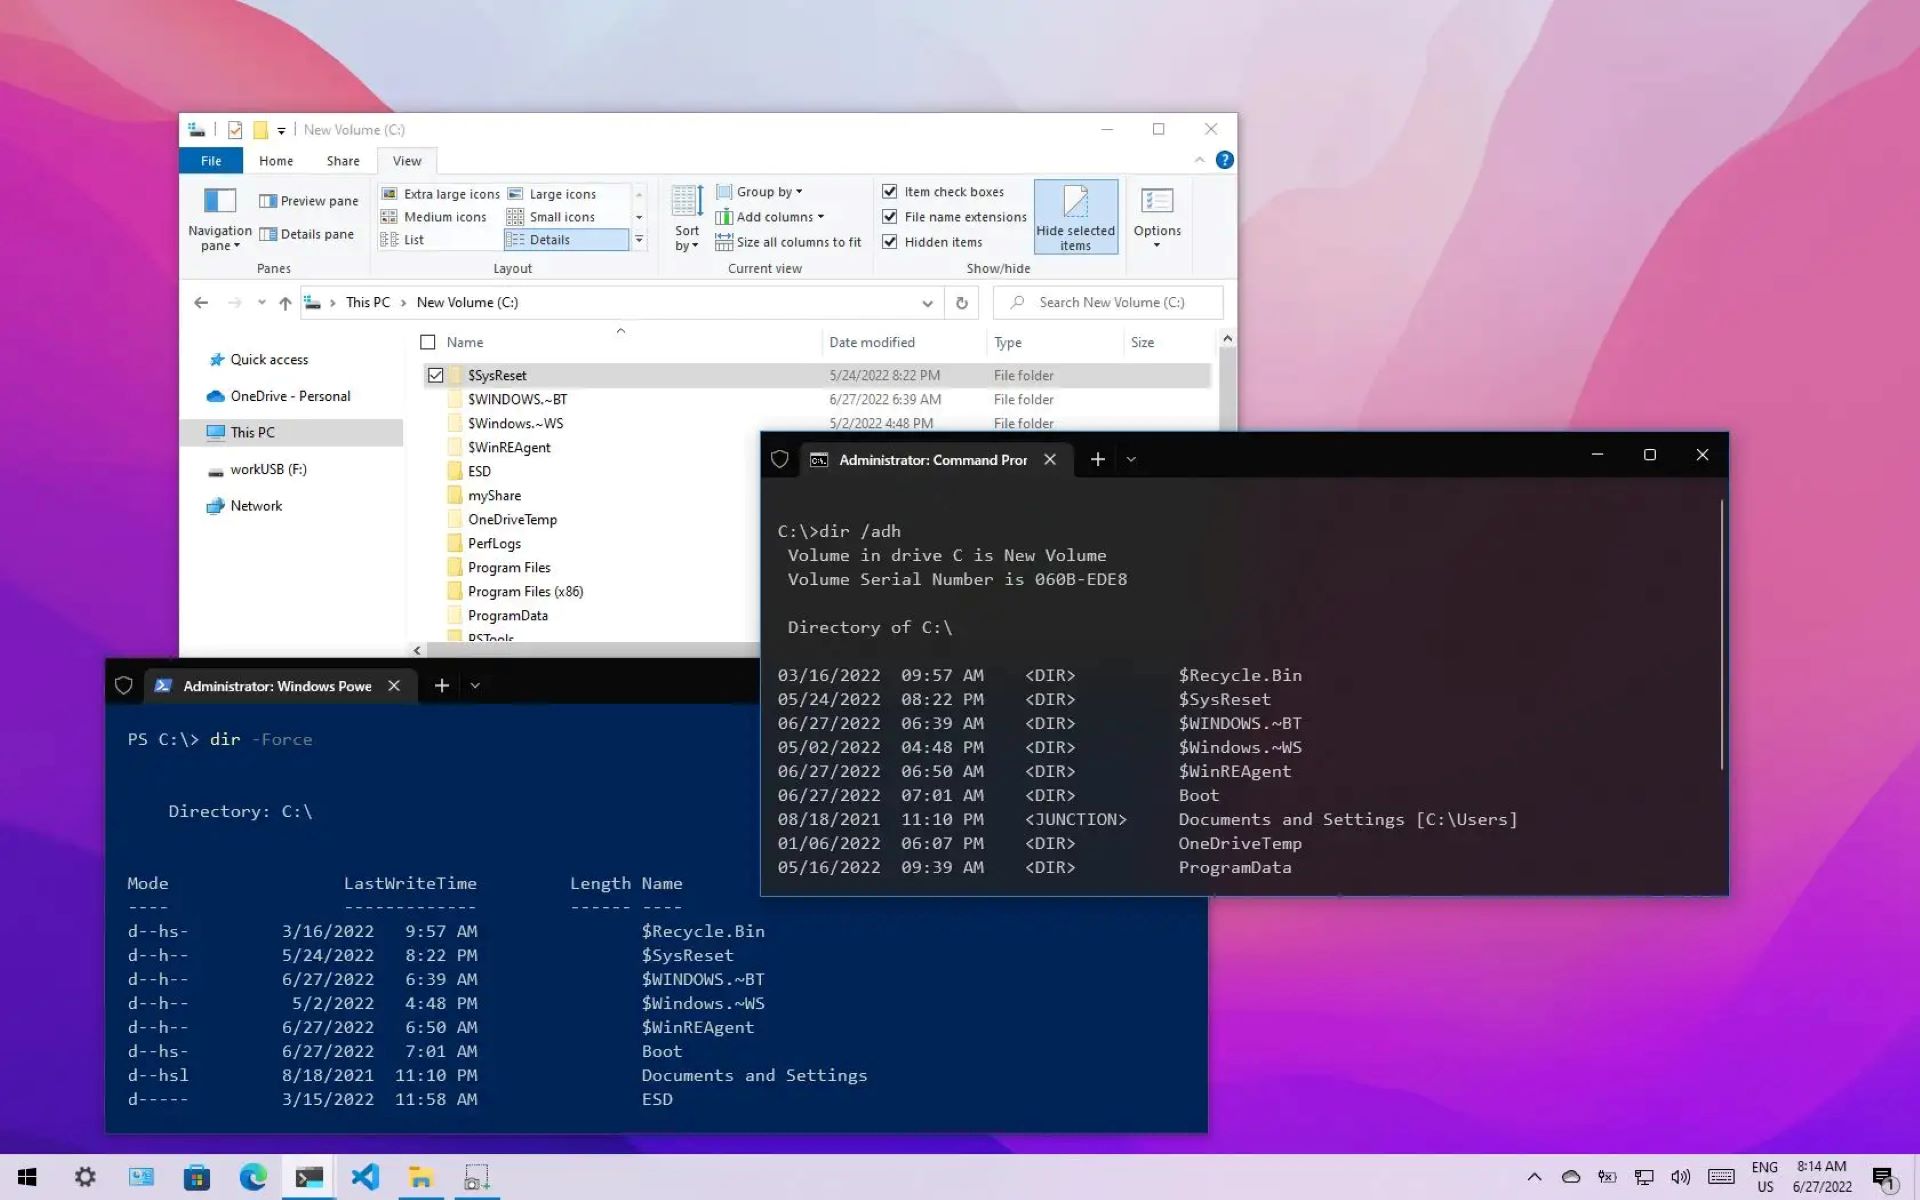
Next, click on the “View” tab at the top of the File Explorer window. In the resulting toolbar, locate the “Show/hide” section.
In this section, you will find a checkbox labeled “Hidden items.” Click on this checkbox to enable the display of hidden files and folders.
After enabling the display of hidden items, you should now see the hidden files and folders in the selected directory. They will be slightly faded or translucent compared to the visible files.
If you want to revert to the default setting of hiding hidden files, simply uncheck the “Hidden items” checkbox in the “Show/hide” section of the View tab.
Using File Explorer is the most convenient and user-friendly method for showing hidden files in Windows 10. However, if you prefer a different approach, there are other methods available. Let’s explore another method using the Control Panel.
Method 2: Using Control Panel
The Control Panel in Windows 10 provides access to various system settings and configurations, including the option to show hidden files.
To access the Control Panel, click on the Start button and type “Control Panel”. Then, click on the corresponding search result to open the Control Panel.
Once the Control Panel is open, change the view to “Large icons” or “Small icons” to easily locate the desired setting.
Locate and click on the “File Explorer Options” or “Folder Options” icon, depending on your Control Panel view.
In the Folder Options window, navigate to the “View” tab.
Scroll through the list of Advanced settings until you find the “Hidden files and folders” section.
In this section, you will see three options:
- “Don’t show hidden files, folders, or drives”
- “Show hidden files, folders, and drives”
- “Don’t show hidden files, folders, or drives” (selected)
Select the second option, “Show hidden files, folders, and drives”, to enable the display of hidden files.
Click “Apply” and then “OK” to save the changes.
Now, when you navigate through File Explorer, you will be able to see the hidden files and folders. They will appear slightly faded or translucent compared to the visible files.
If you want to revert to the default setting of hiding hidden files, simply go back to the Folder Options window and select the first option, “Don’t show hidden files, folders, or drives”. Click “Apply” and then “OK” to save the changes.
Using the Control Panel is another effective way to show hidden files in Windows 10. However, if you prefer a different approach, there are still more methods available. Let’s explore another method using the Command Prompt.
Method 3: Using Command Prompt
Command Prompt is a powerful command-line tool in Windows that allows you to execute commands and perform various tasks. You can also use Command Prompt to show hidden files on your Windows 10 computer.
To open Command Prompt, press the Windows key + R on your keyboard to open the Run dialog box. Type “cmd” and then press Enter or click on the “OK” button.
Once Command Prompt is open, you can use the “attrib” command to show hidden files. The syntax is as follows:
attrib +h "file/folder path"
In the above command, replace “file/folder path” with the actual path of the file or folder you want to show. For example, if you want to show a hidden folder located in the Documents directory, the command would be:
attrib +h "C:\Users\YourUsername\Documents\HiddenFolder"
After entering the command, press Enter to execute it. The hidden file or folder should now be visible in the specified location.
If you want to hide a file or folder, you can use the same command but with a “-” instead of a “+”. For example:
attrib -h "C:\Users\YourUsername\Documents\VisibleFolder"
This command will hide the specified file or folder.
Using Command Prompt provides a more advanced method of showing hidden files in Windows 10. However, if you prefer a different approach, there is still one more method to explore. Let’s take a look at using the Registry Editor.
Method 4: Using Registry Editor
The Registry Editor is a powerful tool in Windows that allows you to make changes to the Windows Registry, which contains important system settings. By modifying certain values in the Registry, you can show hidden files on your Windows 10 computer.
Before proceeding, it’s important to note that editing the Registry can have serious consequences if not done correctly. Make sure to follow the instructions carefully and create a backup of your Registry before making any changes.
To open the Registry Editor, press the Windows key + R on your keyboard to open the Run dialog box. Type “regedit” and then press Enter or click on the “OK” button.
Once the Registry Editor is open, navigate to the following key:
HKEY_CURRENT_USER\Software\Microsoft\Windows\CurrentVersion\Explorer\Advanced
In the right pane, you should see a value called “Hidden”. Double-click on it to modify its value.
In the “Value data” field, enter “1” to show hidden files or “2” to hide them. Then, click on the “OK” button to save the changes.
After modifying the “Hidden” value, close the Registry Editor. The changes should take effect immediately, and you will be able to see hidden files in File Explorer.
If you want to revert to the default setting of hiding hidden files, simply open the Registry Editor again and change the “Hidden” value to “2”.
Using the Registry Editor provides an advanced method of showing hidden files in Windows 10. However, it is important to exercise caution when editing the Registry, as incorrect changes can cause system instability or other issues.
Now that you know four different methods to show hidden files in Windows 10, you can choose the one that is most convenient and suitable for your needs. Whether you prefer using File Explorer, the Control Panel, Command Prompt, or the Registry Editor, you have the tools to access and manage hidden files on your computer.
Conclusion
Accessing hidden files in Windows 10 is essential for various purposes, such as troubleshooting issues, customizing your computer, or accessing important data. Thankfully, there are multiple methods available to show hidden files, each with its own advantages.
Using File Explorer provides a user-friendly and convenient approach, allowing you to easily toggle the display of hidden files with just a few clicks. The Control Panel offers a more comprehensive option for configuring file settings, including the ability to show or hide hidden files and folders.
If you prefer a command-line interface, Command Prompt allows you to execute commands to show or hide hidden files within specific directories. For users comfortable with advanced settings, the Registry Editor provides a powerful method to modify system settings and reveal hidden files throughout the operating system.
Remember, when working with hidden files, exercise caution to avoid unintended modifications that could harm your system’s stability or security. Always make sure to know what you’re doing and consider creating a backup of your files or Registry before making any changes.
By following the methods discussed in this article, you can confidently navigate and manage hidden files in Windows 10. Whether you’re an experienced user or a beginner, these techniques will help you accomplish your tasks efficiently and effectively.
Now that you have the knowledge and tools at your disposal, go ahead and explore the hidden files on your Windows 10 computer. Discover new customization options, troubleshoot stubborn issues, and access important data that may have been hidden away. Embrace the power and flexibility that comes with being able to access hidden files on your Windows 10 system.


