Introduction
Welcome to this comprehensive guide on how to set up your Zyxel wireless router. A wireless router allows you to connect multiple devices to the internet simultaneously, providing you with the convenience of a wireless network. Setting up a Zyxel wireless router is a relatively simple process that can be completed by following a few steps.
Before we proceed, it’s important to note that this guide assumes you have already purchased a Zyxel wireless router and have it in your possession. If you haven’t acquired a router yet, make sure to choose one that suits your needs and budget. Once you have your router, you’re ready to begin the setup process.
In this guide, we will walk you through the step-by-step process of unboxing and physically setting up your Zyxel wireless router. We will then show you how to connect to the network and access the router’s web-based configuration interface. From there, we will cover configuring the basic settings, setting up wireless connectivity, and configuring advanced settings. Additionally, we will discuss enabling security features to protect your network.
Finally, we will address common troubleshooting issues you may encounter during the setup process. By following this guide, you will have a fully functional Zyxel wireless router that can provide reliable and secure internet connectivity to all your devices.
It’s important to note that the exact steps and options may vary slightly depending on the specific model of your Zyxel wireless router. However, the general process remains the same. Consult the user manual or Zyxel’s support resources for any model-specific instructions or troubleshooting assistance if necessary.
Now that we have a brief overview of what to expect, let’s get started with the physical setup of your Zyxel wireless router.
Step 1: Unboxing and Physical Setup
Before you can begin setting up your Zyxel wireless router, you need to unbox it and perform the initial physical setup. Follow these steps to get started:
- Remove the Zyxel wireless router from its packaging and ensure that all the necessary components are included. Typically, this will include the router itself, a power adapter, an Ethernet cable, and any other accessories or documentation.
- Choose a suitable location for your router. It should be placed in a central area of your home or office to ensure optimal signal coverage. Keep in mind that the router should be positioned away from obstacles such as walls or large furniture to avoid signal interference.
- Connect the power adapter to the router and plug it into a nearby power outlet. Ensure that the power source is stable and reliable.
- Using an Ethernet cable, connect one end to the WAN or Internet port on the back of the router. The other end of the cable should be connected to your modem or Internet service provider’s outlet.
- Make sure that all the connections are secure and properly plugged in. Check that the power LED indicator on the router is illuminated, indicating that it’s receiving power.
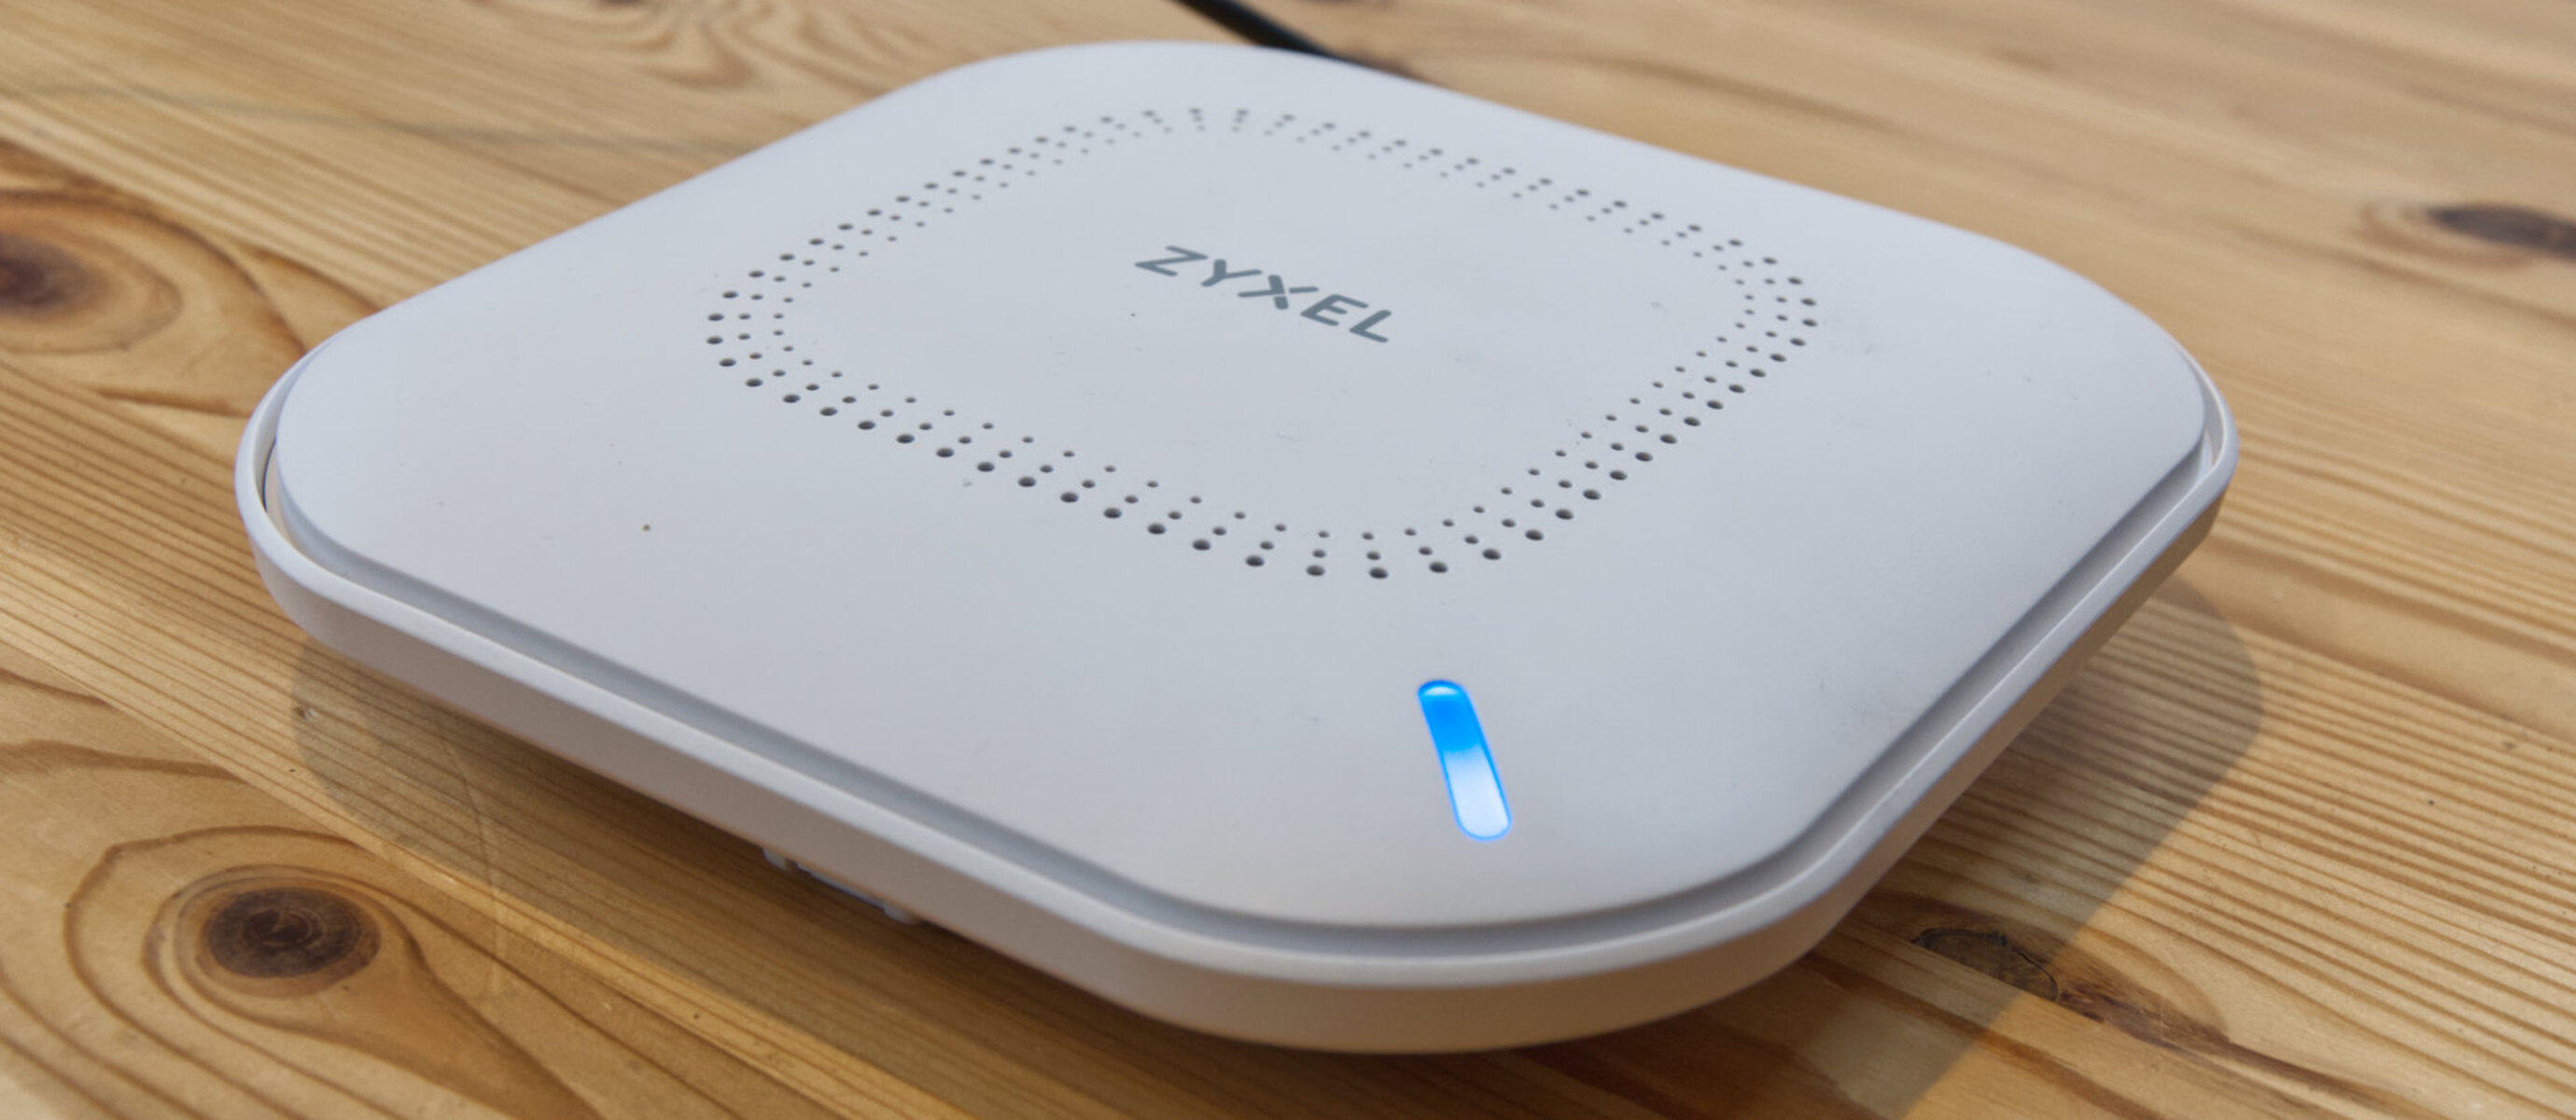
- Take a moment to familiarize yourself with the different ports and buttons on the router. This will come in handy when configuring the router’s settings later on.
Once you have completed the physical setup, you are now ready to move on to the next step: connecting to the network. This will allow you to access the router’s web-based configuration interface and proceed with the setup process.
Note that some Zyxel wireless routers may have additional physical setup requirements or steps. Consult the user manual or documentation that came with your specific model for any specific instructions.
Step 2: Connecting to the Network
Now that you have completed the physical setup of your Zyxel wireless router, it’s time to connect to the network. By connecting to the network, you will be able to access the router’s configuration settings and proceed with the setup process. Follow these steps to connect to the network:
- Ensure that your computer or device is connected to the router either via an Ethernet cable or through a wireless connection. If you are using an Ethernet cable, connect one end to your computer’s Ethernet port and the other end to one of the LAN ports on the back of the router.
- If you are connecting wirelessly, check the Wi-Fi settings on your device and select the network name (SSID) of your Zyxel router. Enter the network password if prompted and wait for your device to establish a connection.
- Open a web browser on your connected device and enter the default IP address for accessing the router’s configuration interface. The default IP address is typically something like “192.168.1.1” or “192.168.0.1”.
- A login page will appear, prompting you to enter the administrator username and password. By default, the username is usually “admin” and the password is either left blank or “1234”. Refer to the user manual or documentation to confirm the default login credentials for your specific model.
- After successfully logging in, you will have access to the router’s web-based configuration interface. This interface allows you to customize various settings and features of your Zyxel wireless router.
Once you have successfully connected to the network and accessed the router’s configuration interface, you are now ready to proceed with setting up the basic settings of your Zyxel wireless router. This includes configuring the network name (SSID), password, and other essential parameters.
Keep in mind that the steps for connecting to the network may vary slightly depending on your device and operating system. Consult the user manual or Zyxel’s support resources for any specific instructions or troubleshooting assistance if needed.
Step 3: Accessing the Router’s Web-Based Configuration Interface
Once you have connected to the network, the next step in setting up your Zyxel wireless router is accessing the router’s web-based configuration interface. This interface allows you to customize and adjust various settings to optimize your network. Follow these steps to access the configuration interface:
- Open a web browser on your computer or device that is connected to the network.
- In the address bar of the web browser, enter the default IP address for your Zyxel router. The default IP address is typically something like “192.168.1.1” or “192.168.0.1”. Refer to the user manual or documentation to confirm the default IP address for your specific model.
- Press Enter or Return to load the login page for the router’s web-based configuration interface.
- You will be prompted to enter the administrator username and password. By default, the username is usually “admin” and the password is either left blank or set to “1234”. Note that these login credentials may vary depending on the specific model of your Zyxel wireless router. Refer to the user manual or documentation to confirm the default login credentials for your router.
- After entering the correct login credentials, click on the “Login” or “Submit” button to proceed.
Upon successful login, you will gain access to the router’s web-based configuration interface. This interface provides you with a dashboard where you can configure and customize various settings, including network name (SSID), password, wireless channels, and more. It’s important to explore the different options and settings available to customize your network according to your preferences.
Keep in mind that the web-based configuration interface may have a different appearance or layout depending on the specific model of your Zyxel wireless router. However, the core functionality and options should be similar. Refer to the user manual or Zyxel’s support resources for any specific instructions or troubleshooting assistance if needed.
Now that you have successfully accessed the router’s web-based configuration interface, you can proceed to the next step of setting up the basic settings for your Zyxel wireless router. This includes configuring the network name (SSID), password, and other essential parameters to ensure a secure and stable network connection.
Step 4: Configuring the Basic Settings
After accessing the web-based configuration interface of your Zyxel wireless router, the next step is to configure the basic settings. These settings determine the fundamental parameters of your network, including the network name (SSID), password, and other crucial details. Follow these steps to configure the basic settings:
- On the configuration interface, locate the section that allows you to modify the network name (SSID). The SSID is the name that appears when users search for available Wi-Fi networks. Enter a unique and easily identifiable name for your network.
- Next, set a strong and secure password for your wireless network. This password will be required for any device to connect to your network. Ensure that your password is a combination of upper and lower case letters, numbers, and special characters to enhance security.
- Review the other basic settings options, such as the IP address range and subnet mask. Usually, the default settings will work fine for most users, but you can modify them if necessary. Make sure not to change any settings unless you are familiar with their purpose.
- Save the changes you made to the basic settings and wait for the router to apply them. This process may take a few moments, so be patient.
Configuring the basic settings is essential to personalize your network and ensure its security. Additionally, it allows you to make your network easily identifiable and accessible to authorized users.
Once you have completed configuring the basic settings, you can proceed to the next step of setting up wireless connectivity for your Zyxel wireless router. This step will enable you to establish a wireless connection between your devices and the router, providing you with the convenience of Wi-Fi access.
Remember to consult the user manual or Zyxel’s support resources for any specific instructions or troubleshooting assistance related to the basic settings configuration process of your specific Zyxel wireless router.
Step 5: Setting up Wireless Connectivity
Now that you have configured the basic settings of your Zyxel wireless router, it’s time to set up wireless connectivity. This will allow you to connect your devices to the router’s Wi-Fi network and enjoy wireless internet access. Follow these steps to set up wireless connectivity:
- Navigate to the wireless settings section on the router’s web-based configuration interface. This section is where you can customize various options related to your wireless network.
- Locate the option to enable Wi-Fi and make sure it is turned on. This will activate the wireless functionality of your Zyxel router.
- You will also find an option to set the wireless network mode. Select the appropriate mode based on your network requirements. In most cases, “802.11n” or “802.11ac” will provide the best performance and compatibility.
- Choose a wireless channel that is less congested in your area. The automatic selection option usually works well, but you can manually select a channel if desired.
- Consider enabling guest network access if you want to provide internet access to visitors without giving them access to your main network. Guest networks have their own separate security settings.
- Save the changes you made to the wireless settings and wait for the router to apply them. This may take a few moments as the router restarts wireless service.
Once the changes have been applied, your Zyxel wireless router will be broadcasting a Wi-Fi network. You can now connect your devices to this network by searching for the network name (SSID) you configured earlier. Enter the wireless password you set during the basic settings configuration process to establish the connection.
It is important to note that different Zyxel router models may have variations in the user interface and available options for wireless connectivity. Ensure you consult the user manual or Zyxel’s support resources for any specific instructions or troubleshooting assistance related to setting up wireless connectivity for your particular Zyxel wireless router.
With wireless connectivity successfully set up, you can now enjoy the convenience of wireless internet access on your devices. However, there are still some advanced settings you may want to configure to enhance your network’s performance and security. Let’s proceed to the next step to explore these advanced settings.
Step 6: Configuring Advanced Settings
Once you have completed the initial setup and configured the basic and wireless settings of your Zyxel wireless router, you can move on to configuring the advanced settings. These settings allow you to fine-tune your network for optimal performance and customize additional features. Follow these steps to configure the advanced settings:
- Access the advanced settings section of the router’s web-based configuration interface. This section will provide you with a range of options to customize and optimize your network.
- Consider adjusting the Quality of Service (QoS) settings. QoS allows you to prioritize certain types of internet traffic, ensuring a smoother experience for activities such as streaming or online gaming.
- Explore the DHCP settings to manage how IP addresses are assigned to devices on your network. You can set a specific range of addresses or reserve specific addresses for certain devices.
- Configure port forwarding if you need to allow external devices or services to access specific ports on your network. This is useful for activities such as hosting a website or setting up a remote desktop connection.
- Enable parental controls if you want to restrict internet access for specific devices or set schedules for when devices can access the network.
- Consider enabling firewall features to enhance the security of your network by filtering out malicious traffic and unauthorized access attempts.
- Save the changes you made to the advanced settings and allow the router to apply them. This may involve a brief restart or reconfiguration of the router’s services.
Configuring the advanced settings allows you to customize your network according to your specific needs and preferences. It empowers you with additional control and security features that can enhance your overall networking experience.
It’s important to note that advanced settings and options may vary depending on the specific model of your Zyxel wireless router. Consult the user manual or Zyxel’s support resources for any specific instructions or troubleshooting assistance related to the advanced settings configuration process.
With the advanced settings configured to your liking, you have taken the necessary steps to optimize your network and enhance your overall internet experience. However, it’s always recommended to regularly update the firmware of your router and keep an eye out for any security patches or firmware upgrades released by Zyxel to ensure the highest level of network performance and protection.
Step 7: Enabling Security Features
Ensuring the security of your network is vital to protect your data and maintain privacy. In this step, we will walk you through enabling security features on your Zyxel wireless router. By activating these features, you can safeguard your network against unauthorized access and potential cyber threats. Follow these steps to enable security features:
- Access the security settings section of your router’s web-based configuration interface. This is where you can customize various security options.
- Start by enabling encryption for your wireless network. The most commonly used and recommended encryption protocol is WPA3 or WPA2. Select the highest level of encryption supported by your router.
- Set a strong and unique passphrase for your wireless network. This passphrase acts as the key to access your network, so make sure it is a combination of upper and lower case letters, numbers, and special characters.
- Consider activating MAC address filtering. With MAC address filtering enabled, only devices with specific MAC addresses (unique identifiers of network devices) will be allowed to connect to your network.
- Enable the firewall feature on your router. A firewall helps to monitor and filter incoming and outgoing network traffic, adding an extra layer of security to your network.
- Regularly change your router’s administrative password to prevent unauthorized access to the router’s configuration interface. Use a strong password and avoid reusing passwords from other accounts.
- Save the changes you made to the security settings and allow the router to apply them. This may involve a brief restart or reconfiguration of the router’s services.
Enabling these security features will significantly enhance the protection of your network and prevent intrusions and unauthorized access attempts. It is crucial to regularly review and update security settings to stay ahead of potential security risks.
While configuring security features, it’s important to remember that network security is an ongoing process. It is recommended to keep your router’s firmware up to date by checking for any available firmware updates from Zyxel. These updates often include security patches and feature enhancements that can help safeguard your network.
By enabling and configuring the security features on your Zyxel wireless router, you have taken a key step in strengthening the security of your network and ensuring a safer online experience for all your connected devices.
Step 8: Troubleshooting Common Issues
Even with proper setup and configuration, you may encounter common issues when setting up and using your Zyxel wireless router. In this step, we will address some of these common issues and provide troubleshooting tips to help you resolve them. If you’re experiencing any of these issues, follow these steps:
- Check the physical connections: Ensure that all cables are securely connected to the appropriate ports on both the router and your modem. If using a wireless connection, make sure your device is within range of the router.
- Restart your router and modem: Power off both your router and modem, wait for a few seconds, and then power them back on. This can often resolve connectivity issues.
- Reset the router to factory defaults: If you’re experiencing persistent issues, you can try resetting the router to its factory default settings. Consult the user manual for instructions on how to perform a reset.
- Update firmware: Check if there are any firmware updates available for your router on Zyxel’s website. Updating the firmware can address known issues and improve performance.
- Double-check your settings: Review the settings in the web-based configuration interface, particularly the wireless settings, to ensure they are configured correctly.
- Disable conflicting devices: If you have other devices that may interfere with the wireless signal, such as cordless phones or microwave ovens, try moving them away from the router or turning them off temporarily.
- Reset network settings on your devices: If your devices are experiencing connectivity issues, try resetting their network settings or forgetting the network and reconnecting.
- Contact Zyxel support: If you’ve tried the above steps and are still facing issues, reach out to Zyxel’s customer support for further assistance. They can provide additional troubleshooting steps or determine if there’s a hardware issue.
By following these troubleshooting steps, you can address common issues and ensure a smooth and reliable connection with your Zyxel wireless router. It’s important to be patient and methodical when troubleshooting, as it may take a few attempts to identify and resolve the underlying issue.
If you find that the troubleshooting steps are not resolving the problem or if you encounter any other issues not covered in this guide, it’s always best to refer to the user manual or contact Zyxel support for specific guidance and assistance tailored to your router model.
Remember, troubleshooting is a normal part of managing network devices, and with patience and persistence, you can overcome any issues and enjoy a seamless and secure network experience.
Conclusion
Congratulations! You have successfully set up and configured your Zyxel wireless router. By following the steps outlined in this guide, you have established a secure and reliable network that can provide seamless wireless connectivity to all your devices.
We began with the unboxing and physical setup of the router, ensuring all connections were secure and the router was positioned optimally. From there, we moved on to connecting to the network and accessing the router’s web-based configuration interface. Configuring the basic settings allowed us to personalize the network name, password, and other essential parameters.
We then delved into setting up wireless connectivity, enabling devices to connect wirelessly to the router for convenient internet access. Configuring advanced settings allowed for further customization and optimization of the network, while enabling security features ensures protection against unauthorized access and potential threats.
Finally, we addressed common issues that may arise during the setup process and provided troubleshooting tips to help you overcome them. If further assistance is needed, don’t hesitate to reach out to Zyxel’s customer support for specific guidance.
Remember, network setup and management are ongoing processes, and it is important to regularly update firmware, review security settings, and address any emerging issues to maintain an optimal network experience.
With your Zyxel wireless router set up and running smoothly, you can now enjoy seamless and secure internet connectivity throughout your home or office. Whether you’re browsing the web, streaming videos, or working online, your Zyxel router will provide you with a reliable and fast connection.
Thank you for choosing Zyxel, and we hope this guide has been helpful in setting up your wireless router. Enjoy your connected world!


