Introduction
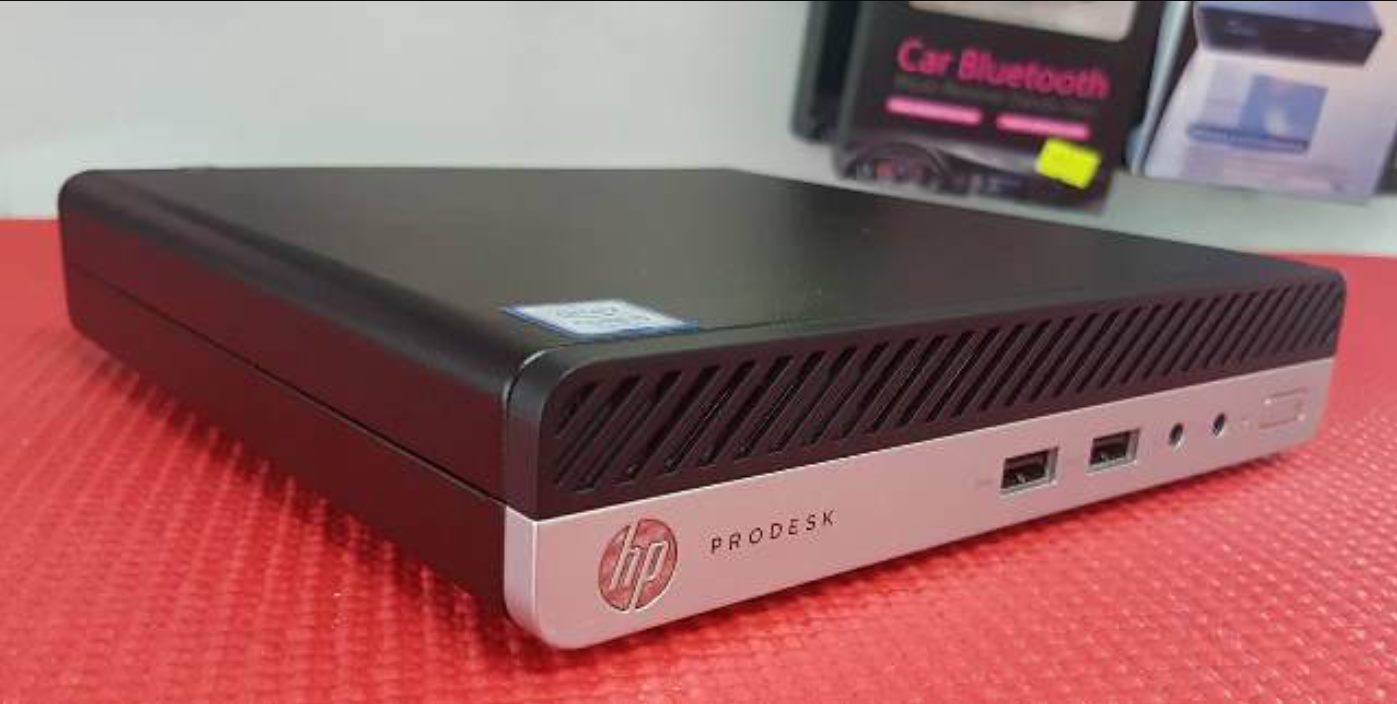
Welcome to the comprehensive guide on how to set up the HP ProDesk 400 G3 Desktop Mini PC. Whether you’re a tech enthusiast or a business professional, this compact yet powerful computer is designed to meet your computing needs. With its sleek design and impressive performance, the HP ProDesk 400 G3 Desktop Mini PC is ideal for both home and office use.
In this article, we will walk you through the step-by-step process of setting up this desktop mini PC, from unboxing to initial configuration. We will also cover the installation of the operating system, additional software, and drivers, as well as troubleshooting common issues that may arise during the setup process.
Before we dive into the setup process, let’s take a look at the system requirements for the HP ProDesk 400 G3 Desktop Mini PC. It’s important to ensure that your current setup meets these requirements to ensure seamless and optimal performance.
Now, let’s get started with the setup process of the HP ProDesk 400 G3 Desktop Mini PC and unleash the full potential of this powerful computing device.
System Requirements
Before setting up the HP ProDesk 400 G3 Desktop Mini PC, it’s important to ensure that your system meets the necessary requirements. This will ensure optimal performance and compatibility with the hardware and software of the desktop mini PC.
Here are the system requirements for the HP ProDesk 400 G3 Desktop Mini PC:
- Processor: The desktop mini PC requires a compatible processor, such as an Intel Core i5 or i7 processor, to handle demanding tasks and provide smooth performance.
- Memory: It is essential to have sufficient memory (RAM) to handle multitasking and resource-intensive applications. The minimum recommended RAM for the HP ProDesk 400 G3 Desktop Mini PC is 8GB.
- Storage: The desktop mini PC comes with built-in storage, but if you require additional storage capacity, make sure the system has an available SATA or M.2 slot for adding a secondary storage device.
- Graphics: Depending on your usage requirements, the HP ProDesk 400 G3 Desktop Mini PC offers various graphics options, from integrated Intel graphics to dedicated graphics cards. Choose a configuration that best suits your needs.
- Operating System: The HP ProDesk 400 G3 Desktop Mini PC is compatible with different operating systems, including Windows 10, Linux, and others. Make sure to choose the appropriate operating system based on your preferences and software compatibility.
- Ports and Connectivity: Check for the availability of USB ports, HDMI or DisplayPort for connecting external displays, Ethernet port for wired internet connection, and wireless connectivity options like Wi-Fi and Bluetooth.
These are the basic system requirements you need to consider when setting up the HP ProDesk 400 G3 Desktop Mini PC. By ensuring that your system meets these requirements, you can enjoy smooth performance and maximize the benefits of this compact powerhouse.
Unboxing the HP ProDesk 400 G3 Desktop Mini PC
Congratulations on your purchase of the HP ProDesk 400 G3 Desktop Mini PC! Now, let’s dive into the exciting process of unboxing and exploring what’s inside.
When you receive your package, carefully remove the outer packaging and open the box. You will find the HP ProDesk 400 G3 Desktop Mini PC securely nestled inside. Take a moment to appreciate its sleek and compact design, which makes it suitable for any workspace.
Inside the box, you will also find the following items:
- Power adapter: This is the essential component that powers your HP ProDesk 400 G3 Desktop Mini PC. Make sure to connect it to a power source before proceeding.
- Keyboard and mouse: The package includes a keyboard and a mouse, allowing you to control and navigate your desktop mini PC effortlessly.
- Documentation: You will find user manuals, warranty information, and any additional documentation provided by HP. It is advisable to read through these documents to familiarize yourself with the product and its features.
- Cables: Depending on your configuration, you may find additional cables such as HDMI or DisplayPort cables for connecting to monitors, and USB cables for peripherals.
Now that you have unboxed the HP ProDesk 400 G3 Desktop Mini PC and familiarized yourself with the contents, it’s time to move on to the next step: connecting the necessary peripherals.
Remember to keep the packaging and accessories in a safe place in case you need to pack and transport your desktop mini PC in the future or refer back to the documentation for troubleshooting or warranty claims.
Connecting Peripherals
Now that you have unboxed the HP ProDesk 400 G3 Desktop Mini PC, it’s time to connect the necessary peripherals to unleash its full functionality. Follow these steps to ensure a seamless peripheral setup:
- Keyboard and Mouse: Connect the keyboard and mouse to the designated USB ports on the desktop mini PC. Ensure that they are securely plugged in to avoid any connectivity issues.
- Monitor: Connect your monitor to the desktop mini PC using an HDMI or DisplayPort cable. Make sure to choose the appropriate port based on your monitor’s compatibility. This will enable you to view and navigate the desktop environment.
- Audio: If you have external speakers or headphones, connect them to the audio output port on the desktop mini PC. This will allow you to enjoy high-quality audio output.
- Network Connection: If you prefer a wired network connection, connect an Ethernet cable to the LAN port on the desktop mini PC. Alternatively, you can connect to a wireless network by enabling the Wi-Fi functionality through the settings.
- Additional Peripherals: If you have any additional peripherals, such as printers, scanners, or external hard drives, connect them using the available USB ports on the desktop mini PC. This will enable you to utilize these devices seamlessly.
Once you have connected all the necessary peripherals, the HP ProDesk 400 G3 Desktop Mini PC is ready to be powered on and further configured. However, before proceeding, double-check all the connections to ensure they are secure and properly plugged in.
Now that your peripherals are connected, it’s time to power on the desktop mini PC and move on to the next step of the setup process.
Powering on the Desktop Mini PC
With the peripherals connected, it’s time to power on your HP ProDesk 400 G3 Desktop Mini PC. Follow these steps to get your desktop mini PC up and running:
- Ensure that the power adapter is connected to a power source and to the designated power port on the desktop mini PC.
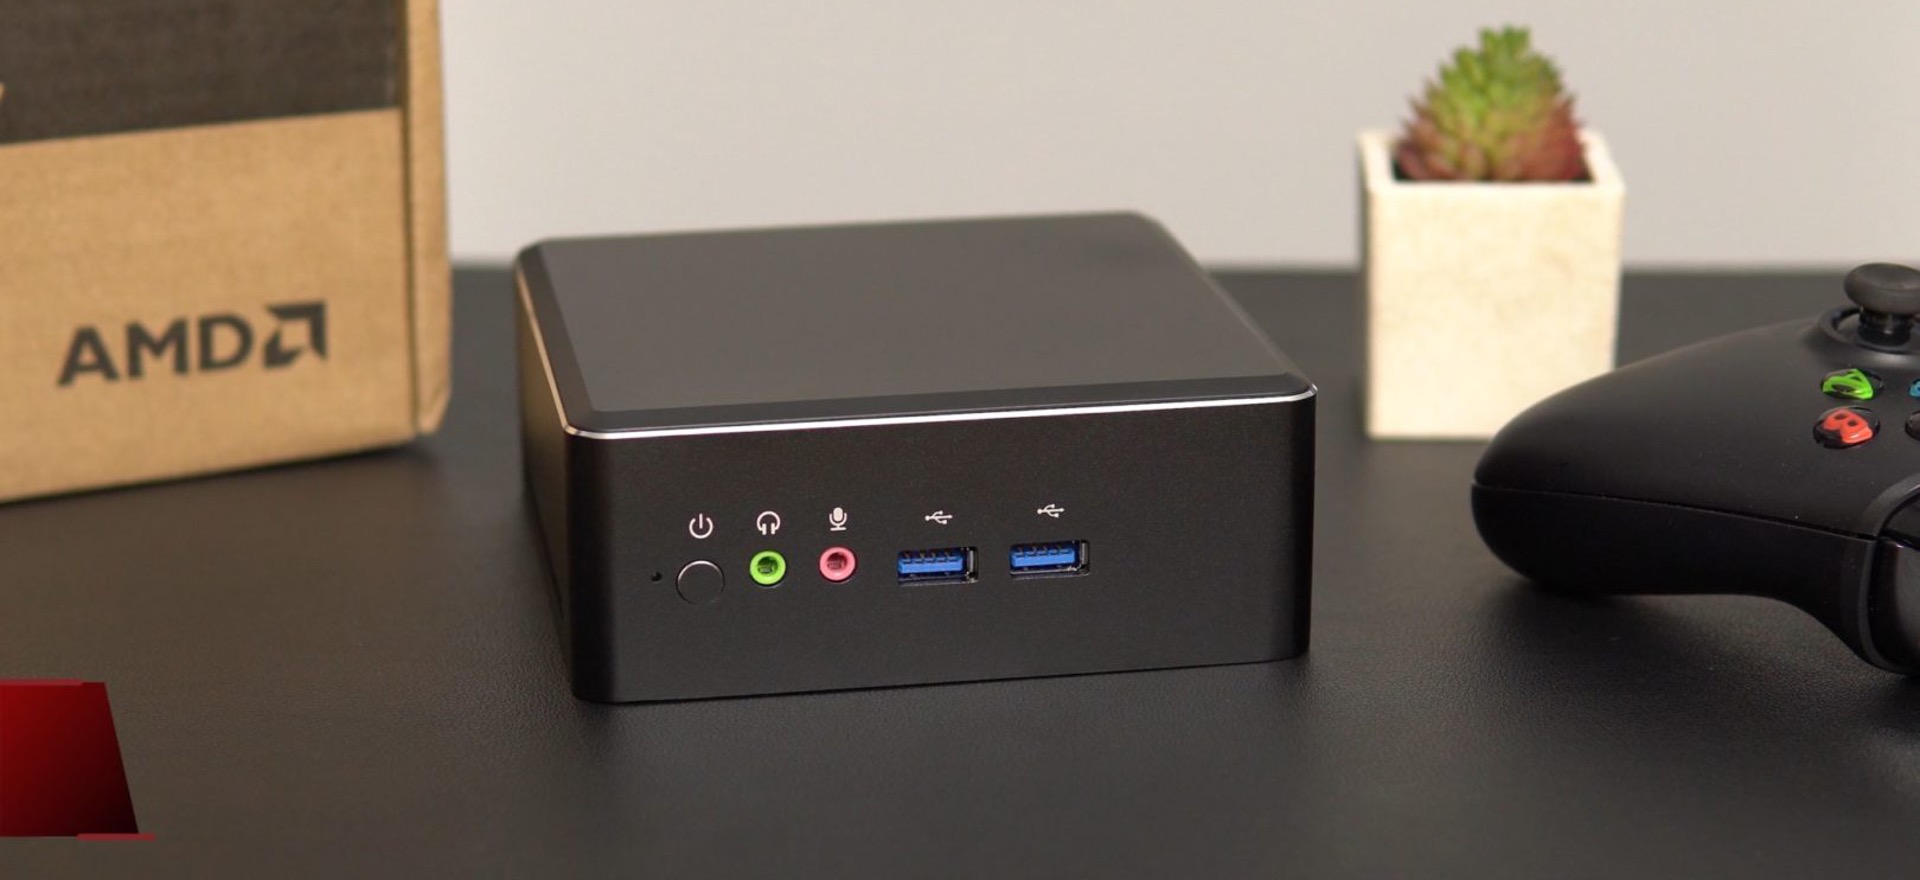
- Locate the power button on the front or top panel of the desktop mini PC.
- Press the power button to turn on the device.
- Wait for the startup process to begin. You may see the HP logo or a loading screen during this time.
- Once the operating system loads, you will be prompted to log in or set up your user account, depending on your specific configuration.
During the initial startup process, the desktop mini PC may perform system checks and updates. This might take a few minutes, so it’s crucial to be patient and not interrupt the process.
If the desktop mini PC does not power on or display any sign of activity, double-check the power connections and ensure that the power source is functioning correctly. If the issue persists, consult the user manual or contact HP support for further assistance.
Once you have successfully powered on your HP ProDesk 400 G3 Desktop Mini PC, you’re ready to proceed with the initial setup and configuration.
Initial Setup and Configuration
Now that your HP ProDesk 400 G3 Desktop Mini PC is powered on, it’s time to proceed with the initial setup and configuration process. Follow these steps to get your desktop mini PC ready for use:
- Language and Region Selection: On the initial setup screen, choose your preferred language and region. This will determine the default language and region settings for your desktop mini PC.
- Network Setup: Select your preferred network connection method. If you’re using a wired connection, ensure that the Ethernet cable is connected and detected. If you prefer a wireless connection, select your Wi-Fi network and enter the network password when prompted.
- User Account Creation: Create a user account for yourself by entering your name, desired username, and password. This will be your primary account for accessing the desktop mini PC.
- Privacy Settings: Review and adjust the privacy settings according to your preferences. This includes options such as location services, diagnostics, and usage reporting.
- Customize Settings: Customize various settings, such as the desktop background, theme, and accessibility options, to suit your preferences.
- Updates and Activation: Check for and install any available updates for the operating system and activate your copy of Windows, if required.
Once you have completed the initial setup and configuration process, your HP ProDesk 400 G3 Desktop Mini PC will be ready to use. You can now explore the features and functionalities of your new desktop mini PC to enhance your productivity and computing experience.
Keep in mind that you may need to install additional software and drivers to optimize the performance of your desktop mini PC, which we will cover in the next section.
Installing or Upgrading the OS
When setting up your HP ProDesk 400 G3 Desktop Mini PC, you may need to install or upgrade the operating system to ensure you have the latest features and security patches. Here are the steps to install or upgrade the OS:
- Backup Your Data: Before proceeding with the OS installation or upgrade, it’s advisable to backup your important files and data to prevent any potential loss during the process. You can use an external storage device or cloud-based solutions for this purpose.
- Choose the Operating System: Decide on the operating system you want to install or upgrade to, such as Windows 10 or a Linux distribution. Ensure that the operating system is compatible with your desktop mini PC.
- Obtain the Installation Media: If you are upgrading your existing OS, check for any available updates or upgrade options provided by the OS vendor. If you are performing a fresh installation, you will need to obtain the installation media, which could be a DVD, USB drive, or a downloadable ISO file.
- Boot from the Installation Media: Insert the installation media into the appropriate drive or connect the USB drive to your desktop mini PC. Access the BIOS or UEFI settings by pressing the designated key during the startup process (usually F2, F10, or Delete). Configure the boot device priority to prioritize the installation media and save the changes. Restart your desktop mini PC.
- Follow the Installation Wizard: The installation wizard will guide you through the process of installing or upgrading the OS. Follow the on-screen instructions, select the preferred language, agree to the terms and conditions, and choose the installation type (fresh installation or upgrade).
- Complete the Installation: Proceed with the installation process, allowing the system to copy files, install necessary components, and configure settings. This may take some time, so be patient.
- Set Up the OS: Once the installation or upgrade process is complete, you will be prompted to set up the OS by creating a user account, selecting preferences, and personalizing the system settings.
After the OS installation or upgrade is complete, make sure to install the necessary updates, drivers, and software specific to your HP ProDesk 400 G3 Desktop Mini PC to ensure optimal performance and compatibility.
By following these steps, you can successfully install or upgrade the operating system on your HP ProDesk 400 G3 Desktop Mini PC and enjoy the enhanced features and functionality it brings.
Installing Additional Software and Drivers
After installing or upgrading the operating system on your HP ProDesk 400 G3 Desktop Mini PC, it’s important to install the necessary software and drivers to ensure optimal performance and compatibility. Here’s how you can go about it:
- Identify Required Software: Determine the additional software you need based on your specific needs and preferences. This may include productivity tools, media players, antivirus software, or any other applications that help you accomplish tasks efficiently.
- Visit the Official Website: Go to the official website of your software and driver providers to access the latest versions and downloads. Ensure that you choose the right software and drivers compatible with your operating system.
- Download and Install: Download the software and drivers and follow the installation instructions provided by the respective vendors. Make sure to read any documentation or user manuals accompanying the software for any additional instructions or configuration options.
- Driver Updates: It’s crucial to keep your drivers up to date to ensure smooth functioning and compatibility with your hardware components. Check for driver updates periodically on the official website or use driver update software to simplify the process.
- Configure Software Settings: Once the software installation is complete, take some time to configure the settings according to your preferences. Customize options, such as default file locations, notification settings, and automatic updates, to ensure the software functions exactly as you desire.
- Security Software: Install reliable antivirus software to protect your desktop mini PC from potential threats. Update the antivirus software regularly and schedule periodic scans to ensure the safety of your system and data.
By installing the necessary software and keeping your drivers up to date, you can optimize the performance of your HP ProDesk 400 G3 Desktop Mini PC and make the most of its capabilities.
Remember to regularly check for updates and newer versions of the installed software to benefit from the latest features and security patches. Additionally, uninstall any unnecessary or outdated software to declutter your system and improve its overall performance.
Troubleshooting Common Issues
While setting up and using your HP ProDesk 400 G3 Desktop Mini PC, you may encounter some common issues. Here are some troubleshooting steps you can follow to resolve these issues:
- Power Issues: If your desktop mini PC does not power on or fails to start, double-check all the power connections and ensure that the power source is working correctly. Try a different power outlet or power cable if necessary.
- Display Issues: If you are not getting any display on your monitor, make sure the monitor is powered on and connected properly to the desktop mini PC. Check the cables for any damage and try using a different display port or cable.
- Network Connectivity Issues: If you are experiencing network connectivity issues, check your network cables to ensure they are securely connected. Restart your router or modem and try connecting to a different network to isolate the issue.
- Software Crashes or Errors: If you encounter frequent software crashes or errors, try updating the respective software to the latest version. If the issue persists, check for any conflicting software or incompatible drivers and try disabling or reinstalling them.
- Peripheral Connection Issues: If your keyboard, mouse, or other peripherals are not functioning correctly, ensure they are properly connected to the appropriate ports. Try reconnecting them or using different USB ports. Update the drivers for the peripherals if necessary.
- Overheating Issues: If your desktop mini PC is overheating, ensure that the ventilation vents are not obstructed. Clean any dust or debris from the vents and consider using a cooling pad or external fan to improve airflow.
- Unresponsive System: If your desktop mini PC becomes unresponsive or freezes, try restarting the system. Close any unnecessary applications or processes that may be causing the issue. If the problem persists, consider performing a system reboot or restore.
If you continue to experience issues with your HP ProDesk 400 G3 Desktop Mini PC, it is advisable to consult the user manual or contact HP support for further assistance. They will be able to provide specific guidance based on your situation.
Remember, troubleshooting can sometimes require advanced technical knowledge, so take caution and seek professional help if needed. Resolving issues promptly will ensure a smooth and enjoyable experience with your desktop mini PC.
Conclusion
Congratulations! You have successfully set up your HP ProDesk 400 G3 Desktop Mini PC and are ready to enjoy its powerful performance and features. Throughout this guide, we covered the step-by-step process of unboxing the desktop mini PC, connecting peripherals, powering it on, and performing the initial setup and configuration. We also discussed how to install or upgrade the operating system, install additional software and drivers, and troubleshoot common issues that may arise during the setup process.
By following these instructions and best practices, you can ensure a smooth and optimized experience with your HP ProDesk 400 G3 Desktop Mini PC. Remember to periodically update the operating system, software, and drivers to benefit from the latest features, patches, and enhancements.
If you encounter any difficulties or have further questions, consult the user manual provided by HP or reach out to their customer support for additional assistance. They will be able to provide you with the necessary guidance and support to resolve any issues you may encounter.
Now that you have successfully set up and configured your HP ProDesk 400 G3 Desktop Mini PC, it’s time to make the most of its capabilities and enjoy the seamless performance it offers. Whether for work or leisure, this compact yet powerful device will surely meet and exceed your computing needs.