Introduction
Welcome to the world of M2 SSDs, where blazing-fast storage speeds and compact form factors meet. If you’re looking to upgrade your computer’s storage capabilities, you’ve come to the right place. In this guide, we’ll walk you through the process of setting up an M2 SSD, from choosing the right one to troubleshooting common issues. So buckle up, as we take you on a journey to supercharge your data storage.
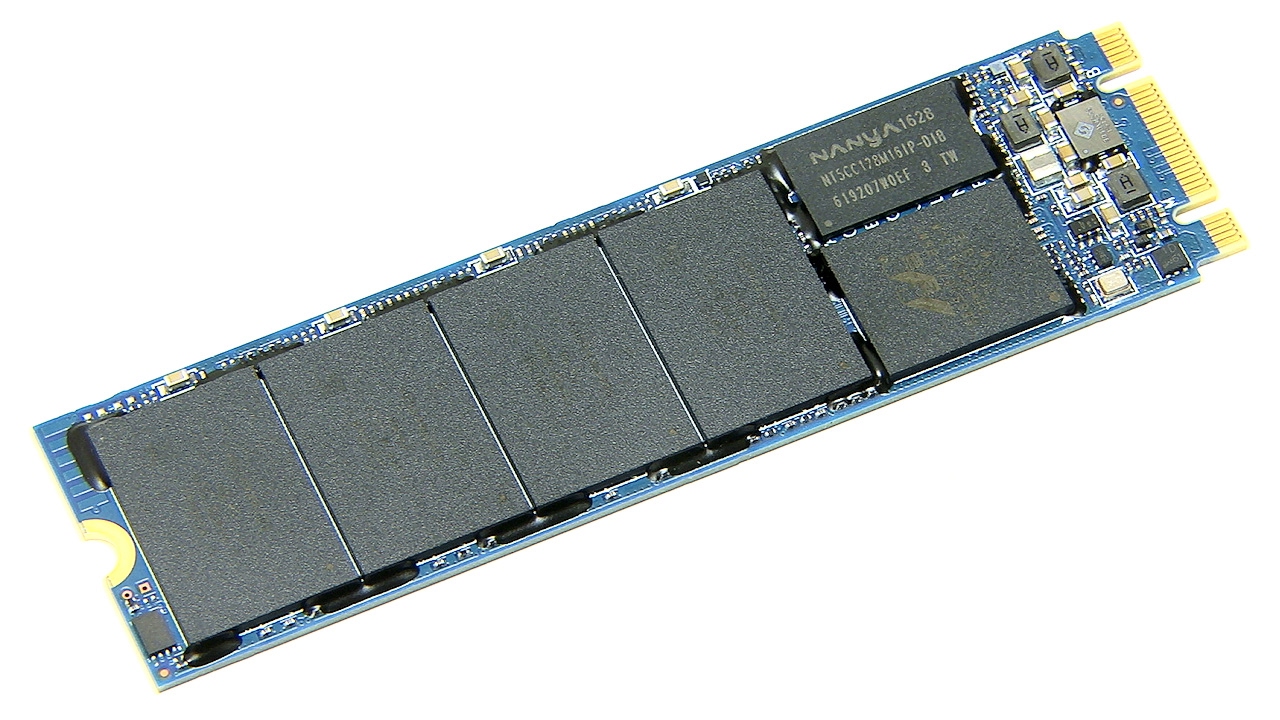
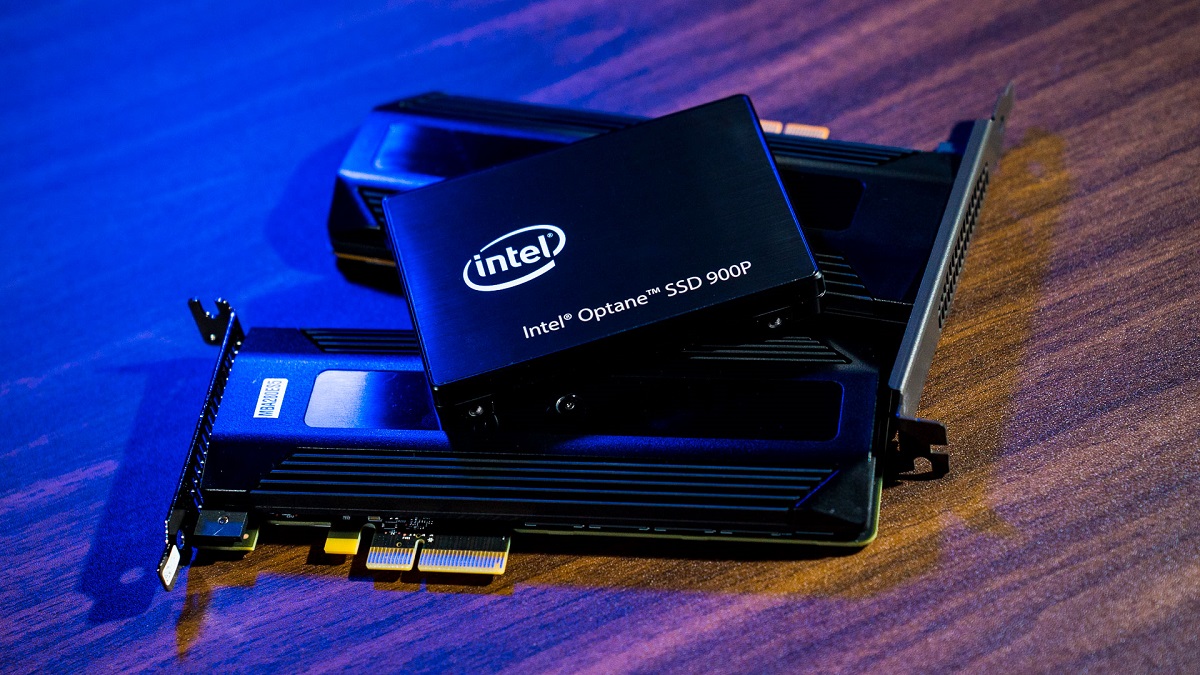
As technology continues to advance, traditional hard drives are becoming increasingly outdated and slow. Enter M2 SSDs, which utilize the PCIe interface to provide lightning-fast read and write speeds, making them ideal for operating systems, applications, and data-intensive tasks. The compact form factor of M2 SSDs also makes them a perfect choice for laptops and small form factor PCs, where space is a precious commodity.
Before jumping into the installation process, it’s essential to understand that not all M2 SSDs are created equal. There are different types and specifications to consider, such as the interface type (SATA or NVMe) and the storage capacity. Choosing the right M2 SSD ensures compatibility with your motherboard and meets your storage requirements.
Once you’ve selected the perfect M2 SSD, the next step is to check compatibility with your system and install it correctly. Some older motherboards may not support NVMe SSDs, so it’s important to verify this before making a purchase. Installing an M2 SSD requires careful handling to avoid damage, and the correct slot on the motherboard must be identified.
After physically installing the M2 SSD, you’ll need to configure the BIOS settings to recognize and prioritize the new drive. This step is crucial to ensure that your system boots from the M2 SSD and takes full advantage of its speed.
Once the drive is recognized by the system, it needs to be formatted and prepared for use. This involves partitioning the drive and formatting it with a file system that is compatible with your operating system. Additionally, optimizing the M2 SSD by enabling features such as TRIM can improve its performance and longevity.
Finally, if you’re upgrading from an existing storage drive, you’ll need to transfer your data to the new M2 SSD. This can be done through various methods, such as cloning the drive or manually transferring files. We’ll provide you with step-by-step instructions to ensure a smooth data migration process.
Throughout this guide, we’ll also address common issues that may arise during the setup process and provide troubleshooting tips to resolve them. We understand that setting up an M2 SSD for the first time may seem daunting, but with our comprehensive guide, you’ll have the knowledge and confidence to tackle the task.
So, without further ado, let’s dive into the world of M2 SSDs and discover how to harness their power for improved storage performance.
Choosing the Right M2 SSD
When it comes to choosing the right M2 SSD, there are a few factors to consider that will ensure compatibility with your system and meet your storage needs. Let’s dive into the key considerations that will guide your decision-making process.
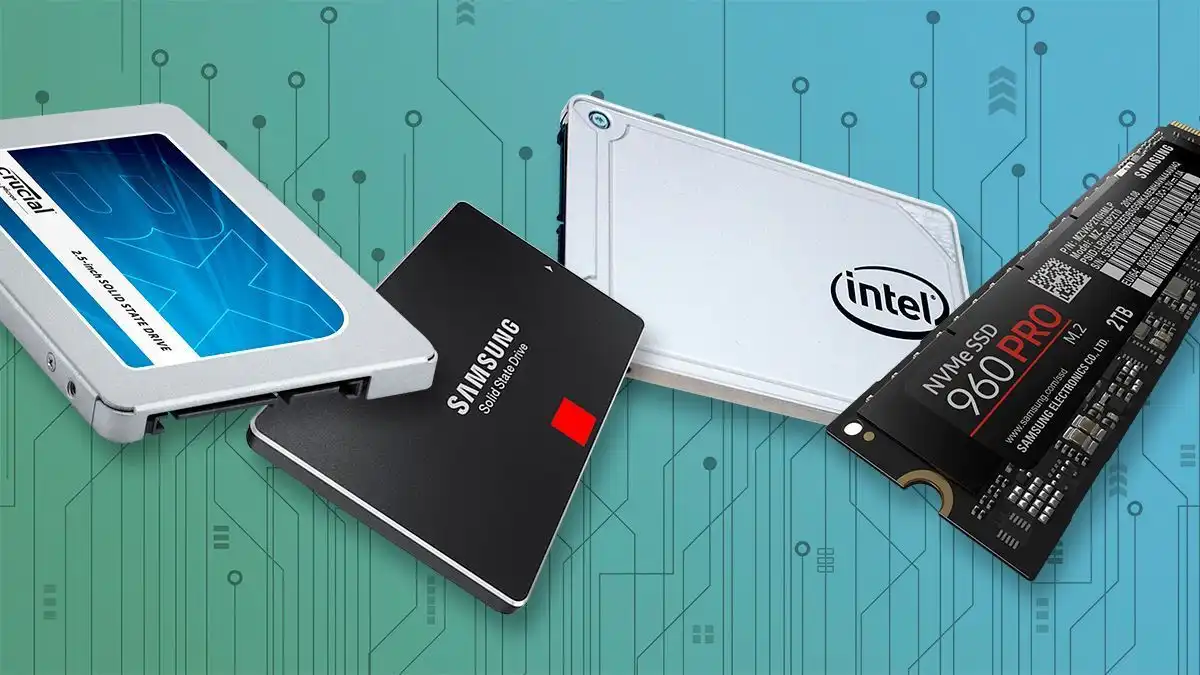
First and foremost, you need to determine the interface type of the M2 SSD. The two most common interface types are SATA and NVMe. SATA M2 SSDs offer faster speeds compared to traditional hard drives but are limited by the SATA interface’s maximum speed. On the other hand, NVMe M2 SSDs leverage the PCIe interface, providing significantly faster transfer speeds, making them the preferred choice for high-performance storage solutions.
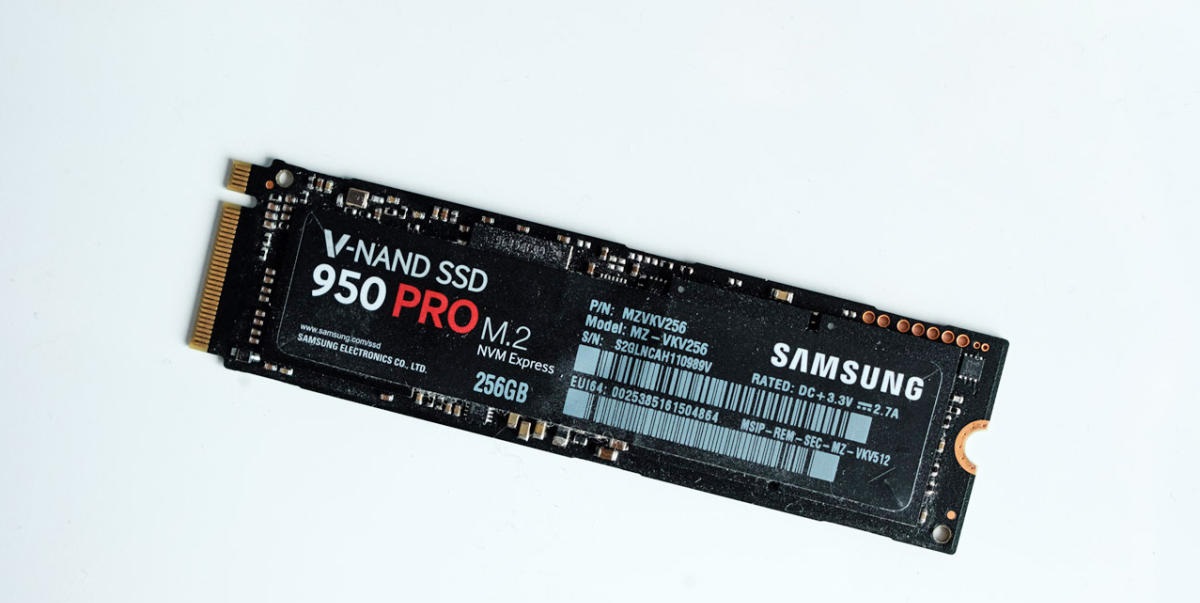
Next, consider the storage capacity you require. M2 SSDs come in a variety of sizes, ranging from 128GB to 2TB or more. It’s essential to evaluate your storage needs and choose a capacity that can accommodate your operating system, applications, games, and other files with room for future growth.
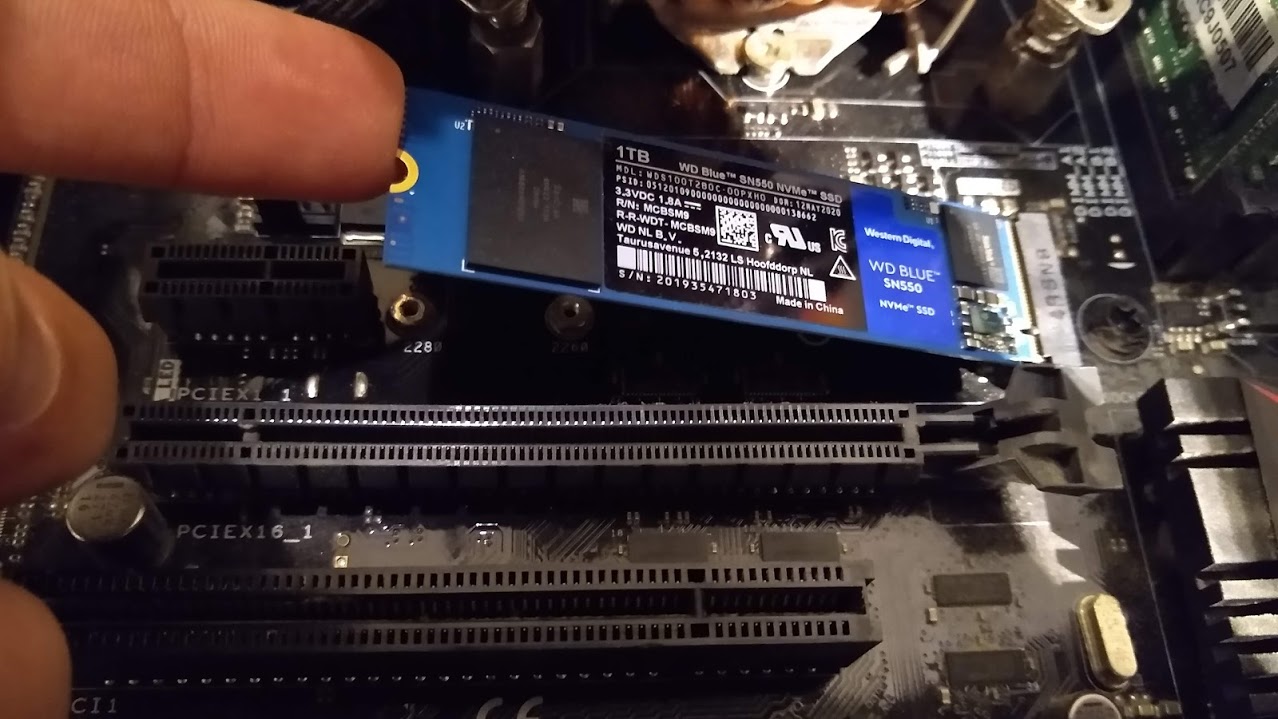
Another vital consideration is the form factor of the M2 SSD. Most motherboards support the 2280 form factor, which refers to a length of 80mm and a width of 22mm. However, it’s crucial to check your motherboard specifications to ensure compatibility. Some motherboards may also support other form factors, such as 2242 or 2260, so be sure to verify this information beforehand.
Performance is another crucial aspect to consider. Look for M2 SSDs that offer high read and write speeds to maximize your storage performance. These speeds directly impact the time it takes for your system to boot, applications to load, and files to transfer. Pay attention to the manufacturer’s specifications for sequential read and write speeds, as well as random read and write speeds, to ensure optimal performance for your specific use case.
Reliability and durability are essential considerations, especially if you’re storing valuable data. Research the manufacturer’s reputation for reliability, warranty coverage, and the lifespan of the M2 SSD. Reviews from other users can offer valuable insights into the long-term performance and reliability of different M2 SSD models.
Finally, consider your budget. M2 SSDs come in a wide range of price points, so it’s important to set a budget and look for options that provide the best value for your money. While high-end models may offer top-of-the-line performance, they may not be necessary for every user’s needs. Strike a balance between performance, capacity, and cost to find the best M2 SSD that fits your budget.
By considering these factors – interface type, storage capacity, form factor, performance, reliability, and budget – you’ll be well-equipped to choose the right M2 SSD for your system. So take your time, do your research, and select an M2 SSD that will take your storage performance to new heights.
Checking Compatibility and Installing the M2 SSD
Before installing your new M2 SSD, it’s essential to check compatibility with your system and ensure a smooth installation process. Let’s explore the steps to verify compatibility and install the M2 SSD correctly.
The first step is to consult your motherboard’s manual or specifications to determine if it supports M2 SSDs and, if so, which types are compatible. Modern motherboards typically have at least one M2 slot, but it’s crucial to confirm this information to avoid any surprises.
Once you’ve confirmed compatibility, it’s time to locate the M2 slot on your motherboard. M2 slots are typically situated near the PCIe slots, but their exact placement varies depending on the motherboard model. Check the motherboard manual or visual guides provided by the manufacturer to pinpoint the M2 slot’s location. It’s essential to handle the M2 SSD with care to avoid damaging the delicate pins and connectors.
Before installing the M2 SSD, ensure that your computer is powered off and disconnected from the power source. Opening the case and working on the internals of your computer should always be done with caution and safety in mind.
Now, gently insert the M2 SSD into the M2 slot at a slight angle, aligning the notches on the SSD with those on the slot. Apply gentle pressure to secure the drive in place, making sure it is firmly seated. It’s important not to force the M2 SSD into the slot – if it doesn’t fit easily, double-check that you have aligned it correctly.
Once the M2 SSD is properly installed, use the provided screw or standoff to secure it in place. Some motherboards may have dedicated screw holes for M2 SSDs, while others may require you to use a standoff and screw to secure the drive. Consult your motherboard manual for guidance on securing the M2 SSD.
After securing the M2 SSD, it’s time to close your computer’s case and reconnect the power supply. Double-check that all cables are properly connected and secure before powering on your system.
Upon booting up your system, enter the BIOS settings by pressing the designated key (typically Del, F2, or F12, depending on the motherboard model) during the boot-up process. Navigate to the “Storage” or “Boot” section of the BIOS and ensure that the M2 SSD is recognized. Depending on your motherboard, you may need to enable the M2 slot in the BIOS settings.
Save the changes and exit the BIOS settings, allowing your system to boot up with the newly installed M2 SSD. Congratulations! You have successfully checked compatibility and installed your M2 SSD.
Remember to consult your motherboard manual and manufacturer’s instructions for specific details and any additional steps that may be required for your particular system. Taking the time to ensure compatibility and correctly install your M2 SSD will ensure optimal performance and a seamless integration with your computer.
Configuring the BIOS
Once you have installed the M2 SSD on your system, it’s crucial to configure the BIOS settings to recognize and prioritize the new drive. Configuring the BIOS will ensure that your system boots from the M2 SSD and takes full advantage of its speed. Let’s explore the steps to configure the BIOS.
To access the BIOS settings, restart your computer and press the designated key during the boot-up process (commonly Del, F2, or F12, depending on the motherboard model). This key is typically displayed on the screen during the boot-up sequence or mentioned in the motherboard manual.
Once in the BIOS settings, look for the section related to storage or boot settings. The exact location and labeling may vary depending on the motherboard’s manufacturer, but it is usually easily identifiable.
In the storage or boot settings, find the option related to selecting the boot device or boot priority. This setting determines the order in which storage devices are checked for the operating system during startup. Select the M2 SSD as the primary boot device to ensure that your system boots from it.
If you’re using Windows as your operating system, it’s important to enable the UEFI mode in the BIOS settings. UEFI (Unified Extensible Firmware Interface) replaces the traditional BIOS and provides improved security, flexibility, and compatibility. Look for the UEFI/BIOS mode option and switch it to UEFI mode.
Save the changes you made in the BIOS settings and exit. The computer will restart, and the M2 SSD will now be recognized as the boot drive.
It’s worth mentioning that some newer motherboards may have additional features and settings related to M2 SSDs, such as PCIe lane configuration or RAID options. These advanced settings allow you to optimize the performance or connect multiple M2 SSDs in RAID configurations. Consult your motherboard manual or manufacturer’s website for specific instructions and best practices regarding these advanced features.
Once you have successfully configured the BIOS settings, your system will prioritize booting from the M2 SSD, taking advantage of its high-speed capabilities. Enjoy the improved boot times and enhanced application loading speeds that the M2 SSD provides.
Remember to periodically check for BIOS updates from your motherboard’s manufacturer. These updates often include bug fixes, performance improvements, and compatibility enhancements for various hardware components. Keeping your BIOS up to date ensures that you’re getting the best possible performance and stability from your system.
Now that you have configured the BIOS settings for your M2 SSD, you’re ready to move on to the next step: formatting and preparing the M2 SSD for use.
Formatting and Preparing the M2 SSD for Use
After successfully configuring the BIOS settings for your M2 SSD, the next step is to format and prepare it for use. Formatting the M2 SSD involves partitioning the drive and formatting it with a compatible file system. Let’s dive into the steps to format and prepare your M2 SSD.
Before proceeding with formatting, ensure that your M2 SSD is detected by your operating system. You can do this by opening the Disk Management utility on Windows or the Disk Utility on macOS. If the M2 SSD is detected, it will be displayed in the list of available drives.
Once you have confirmed the presence of the M2 SSD, it’s time to partition the drive. This involves dividing the M2 SSD into one or more logical partitions, which will each have a drive letter or mount point assigned to them. Right-click on the unallocated space of the M2 SSD and select the option to create a new partition.
In the partition creation wizard, choose the size and file system format for the new partition. For most users, the default options of NTFS on Windows or APFS on macOS are suitable. Assign a drive letter or mount point to the new partition and follow the prompts to create it.
Repeat the above steps if you want to create additional partitions on the M2 SSD. By creating multiple partitions, you can organize your data and allocate separate areas for your operating system, applications, and personal files.
Once the partitions are created, proceed to format them with the chosen file system. Formatting prepares the partition for data storage and ensures compatibility with your operating system. The formatting process may take a few moments, depending on the size of the partition and the speed of your M2 SSD.
After the formatting process is complete, your M2 SSD is now ready to use. Each partition will appear as a separate drive in your operating system, and you can begin transferring files and installing applications.
It’s worth noting that if you’re using the M2 SSD as the primary boot drive, the operating system installation process usually includes partitioning and formatting the drive. In such cases, you don’t need to manually perform these steps.
Aside from partitioning and formatting, there are a few additional considerations to optimize your M2 SSD for the best performance. Enabling the TRIM feature is essential, as it helps maintain the drive’s performance over time by allowing your operating system to communicate with the SSD regarding deleted data blocks.
On Windows, TRIM is typically enabled automatically. However, it’s a good idea to double-check by opening the Command Prompt and entering the command “fsutil behavior query DisableDeleteNotify.” If the result is “DisableDeleteNotify = 0,” TRIM is enabled. If it’s “DisableDeleteNotify = 1,” you can enable TRIM by entering the command “fsutil behavior set DisableDeleteNotify 0” and restarting your computer.
On macOS, TRIM is also typically enabled automatically for Apple-supported SSDs. To verify the TRIM status, open the Terminal and enter the command “sudo trimforce enable.” Follow the prompts, enter your Administrator password, and restart your computer if prompted.
By formatting and preparing the M2 SSD correctly, along with optimizing it for performance, you can fully unleash the capabilities of your storage drive. Now it’s time to transfer your data to the M2 SSD, which we will cover in the next section.
Transferring Data to the M2 SSD
Now that you have formatted and prepared your M2 SSD, it’s time to transfer your data from your old storage drive to the new M2 SSD. This process ensures that your files, applications, and operating system are migrated to the faster and more efficient storage solution. Let’s explore the steps to transfer data to the M2 SSD.
There are several methods you can use to transfer data, depending on your specific needs and preferences.
One of the most common methods is to clone your existing storage drive to the M2 SSD. Cloning creates an exact copy of your existing drive, including the operating system, applications, and files. You can use specialized software such as Clonezilla, Macrium Reflect, or Acronis True Image to perform the cloning process. Simply follow the instructions provided by the software to clone the drive to the M2 SSD.
Another option is to manually transfer your files and reinstall your operating system and applications on the M2 SSD. This method requires more time and effort but allows for a fresh start with the new drive. Begin by connecting both the M2 SSD and the old storage drive to your computer. Copy your personal files, such as documents, pictures, and videos, from the old drive to the corresponding folders on the M2 SSD. Furthermore, reinstall your operating system and applications on the M2 SSD, ensuring that you select the M2 SSD as the installation destination.
If you have a large amount of data and prefer a more selective approach, you can manually copy and paste your files from the old drive to the M2 SSD. Identify the files and folders you want to transfer and copy them to the corresponding locations on the M2 SSD. This method allows you to exclude unnecessary files or folders that you may not need on the new drive.
Regardless of the method you choose, it’s important to double-check that all your essential data has been successfully transferred before disconnecting the old drive. Make sure to verify the integrity of your files and test the functionality of your operating system and applications on the M2 SSD to ensure a seamless transition.
Remember to update any settings or shortcuts that may point to the old storage drive. For example, if you had specific folders or libraries mapped to the old drive, update those locations to point to the corresponding folders on the M2 SSD.
Once you have successfully transferred your data to the M2 SSD, you can enjoy the benefits of faster access times and improved overall performance. Take advantage of the increased speed and responsiveness of your operating system, applications, and files that the M2 SSD provides.
Before concluding this guide, let’s take a look at troubleshooting common issues that may arise during the M2 SSD setup process.
Troubleshooting Common Issues
Setting up an M2 SSD may encounter a few hurdles along the way. In this section, we will address some common issues that you may encounter and provide troubleshooting steps to overcome them.
1. M2 SSD not recognized: If your M2 SSD is not being detected by your system, ensure that it is properly installed in the M2 slot and securely connected. Check the BIOS settings to verify that the M2 SSD is enabled and configured correctly. If the issue persists, try updating your BIOS firmware to the latest version provided by the motherboard manufacturer.
2. Compatibility issues: Ensure that your motherboard supports the type of M2 SSD you have installed – either SATA or NVMe. Additionally, check the size and form factor compatibility of the M2 SSD with your motherboard. Consult the motherboard manual or manufacturer’s website for detailed compatibility information.
3. Boot order issues: If your system is not booting from the M2 SSD, revisit the BIOS settings and ensure that the M2 SSD is set as the primary boot device. Additionally, check that the boot mode is set to UEFI if you are using Windows as your operating system. Save the changes in the BIOS settings and restart the system.
4. Slow transfer speeds: If you notice significantly slower than expected transfer speeds, ensure that your M2 SSD is correctly connected to a compatible PCIe slot. Some motherboards may limit the PCIe bandwidth if certain slots are in use. Consult your motherboard manual for PCIe slot configuration recommendations. Additionally, install the latest drivers for both your motherboard and M2 SSD from the respective manufacturer’s websites.
5. Data migration issues: If you are experiencing issues during data migration, double-check that you have followed the appropriate steps for the chosen method. If you are cloning the drive, ensure that the software is compatible with your source and target drives. If manually transferring files, ensure that the files are properly copied to the appropriate locations on the M2 SSD.
6. Incompatible operating system: Some older operating systems may not support M2 SSDs out of the box. Ensure that your operating system is up to date and supports the specific M2 SSD you have installed. Check the manufacturer’s website for any necessary drivers or firmware updates for your operating system compatibility.
If you encounter any other issues during the setup process or experience unexpected behavior with the M2 SSD, it’s always a good idea to refer to the manufacturer’s documentation, support forums, or seek assistance from technical support. They can provide more specific recommendations based on your specific hardware and software configuration.
By troubleshooting common issues and taking the appropriate steps, you can ensure a smooth and successful setup of your M2 SSD. Congratulations on unlocking the full potential of your storage performance.
Conclusion
Setting up an M2 SSD can greatly enhance your computer’s storage performance, providing faster data transfer speeds and improved overall responsiveness. In this guide, we have covered the essential steps to help you successfully install and configure an M2 SSD in your system.
We began by discussing the importance of choosing the right M2 SSD, considering factors such as interface type, storage capacity, form factor, performance, reliability, and budget. Selecting a compatible and suitable M2 SSD ensures an optimal experience.
We then moved on to checking compatibility and installing the M2 SSD, emphasizing the importance of verifying motherboard support and securely installing the drive in the designated M2 slot. Configuring the BIOS settings to recognize and prioritize the M2 SSD was also explored, ensuring proper boot order and maximizing performance.
Formatting and preparing the M2 SSD for use involved partitioning the drive, selecting a file system, and enabling features like TRIM to maintain performance and longevity. We then discussed the various methods to transfer data to the M2 SSD, including cloning, manual file transfer, and reinstalling the operating system and applications.
Lastly, we addressed common issues that may arise during the setup process and provided troubleshooting steps to overcome them. These included M2 SSD detection problems, compatibility issues, boot order configuration, slow transfer speeds, data migration complications, and operating system compatibility concerns.
By following the steps and guidance outlined in this guide, you can successfully set up an M2 SSD in your system and unlock its full potential for faster and more efficient storage. Whether you’re using it for gaming, content creation, or general computing, the benefits of an M2 SSD are undeniable.
We hope that this guide has empowered you with the knowledge and confidence to embark on your M2 SSD installation journey. Remember to consult the documentation provided by your motherboard and M2 SSD manufacturers for specific instructions and recommendations.
With your new M2 SSD installed and optimized, enjoy the speed, reliability, and improved performance it brings to your computing experience. Say goodbye to slow loading times and laggy file transfers, and welcome the efficiency and responsiveness of your new storage solution.