Introduction
Welcome to the world of laser engraving! If you’re looking to add a personal touch to your crafts or create stunning designs on various materials, a laser engraver is the perfect tool for you. Whether you’re a hobbyist or a professional, learning how to set up and use a laser engraver will open up a world of creative possibilities.
A laser engraver is a device that uses focused beams of light to engrave or cut through materials such as wood, acrylic, leather, glass, and more. It offers precision and accuracy, allowing you to create intricate designs, patterns, or even personalized items with ease. The versatility and efficiency of laser engravers have made them a popular choice among artists, designers, and entrepreneurs.
In this guide, we will walk you through the process of setting up a laser engraver, from choosing the right machine for your needs to installing the necessary software and adjusting the settings. We will also cover essential safety precautions to ensure a secure working environment. By the end, you’ll have all the knowledge you need to bring your creative ideas to life using a laser engraver.
If you’re new to laser engraving, don’t worry! This guide is designed to be beginner-friendly, providing step-by-step instructions and tips to help you get started. Even if you already have some experience, you may still find valuable insights and tricks that will enhance your engraving journey.
So, grab your safety goggles and let’s dive into the fascinating world of laser engraving!
What is a Laser Engraver?
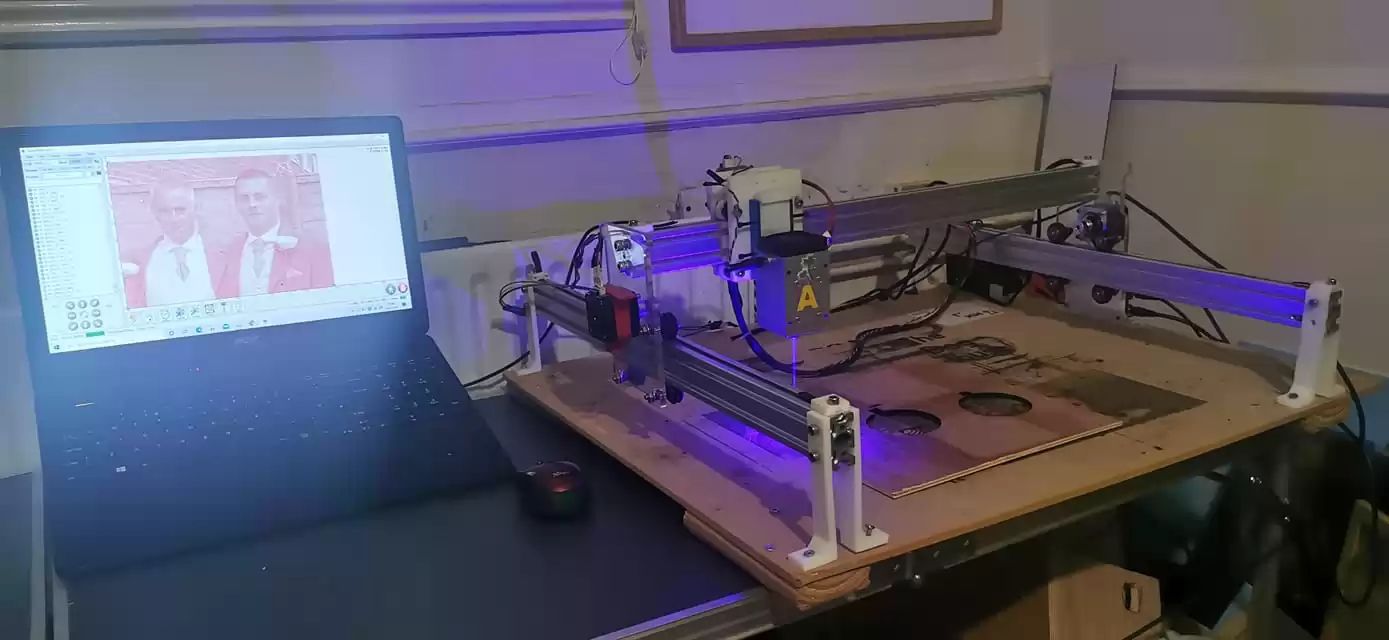
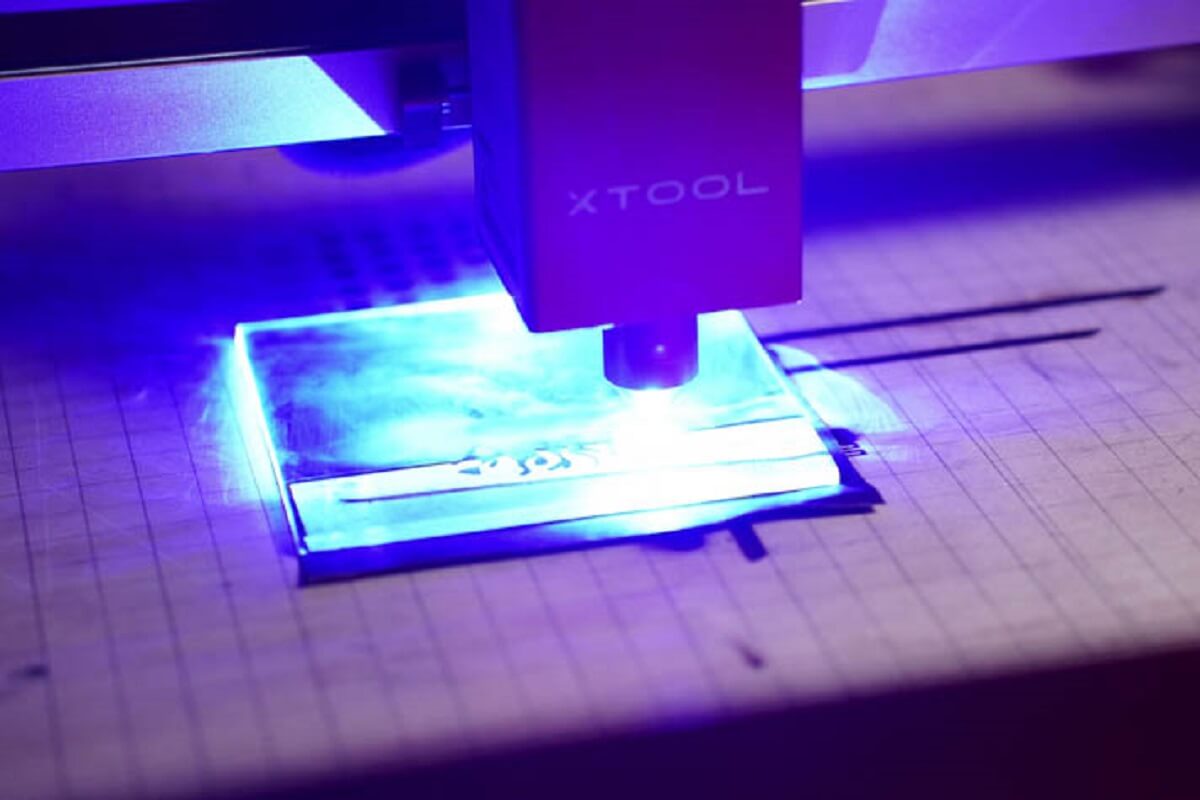
A laser engraver is a powerful tool that utilizes a laser beam to create precise and intricate designs or engrave patterns onto various materials. It works by emitting a focused beam of light that interacts with the surface of the material, either vaporizing it to create an engraved mark or cutting through it, depending on the desired effect.
One of the key advantages of using a laser engraver is its ability to work with a wide range of materials. From wood and acrylic to metal and leather, a laser engraver can create detailed designs with exceptional precision. Whether you want to personalize gifts, create custom signage, or add intricate patterns to your crafts, a laser engraver can help you achieve professional-looking results.
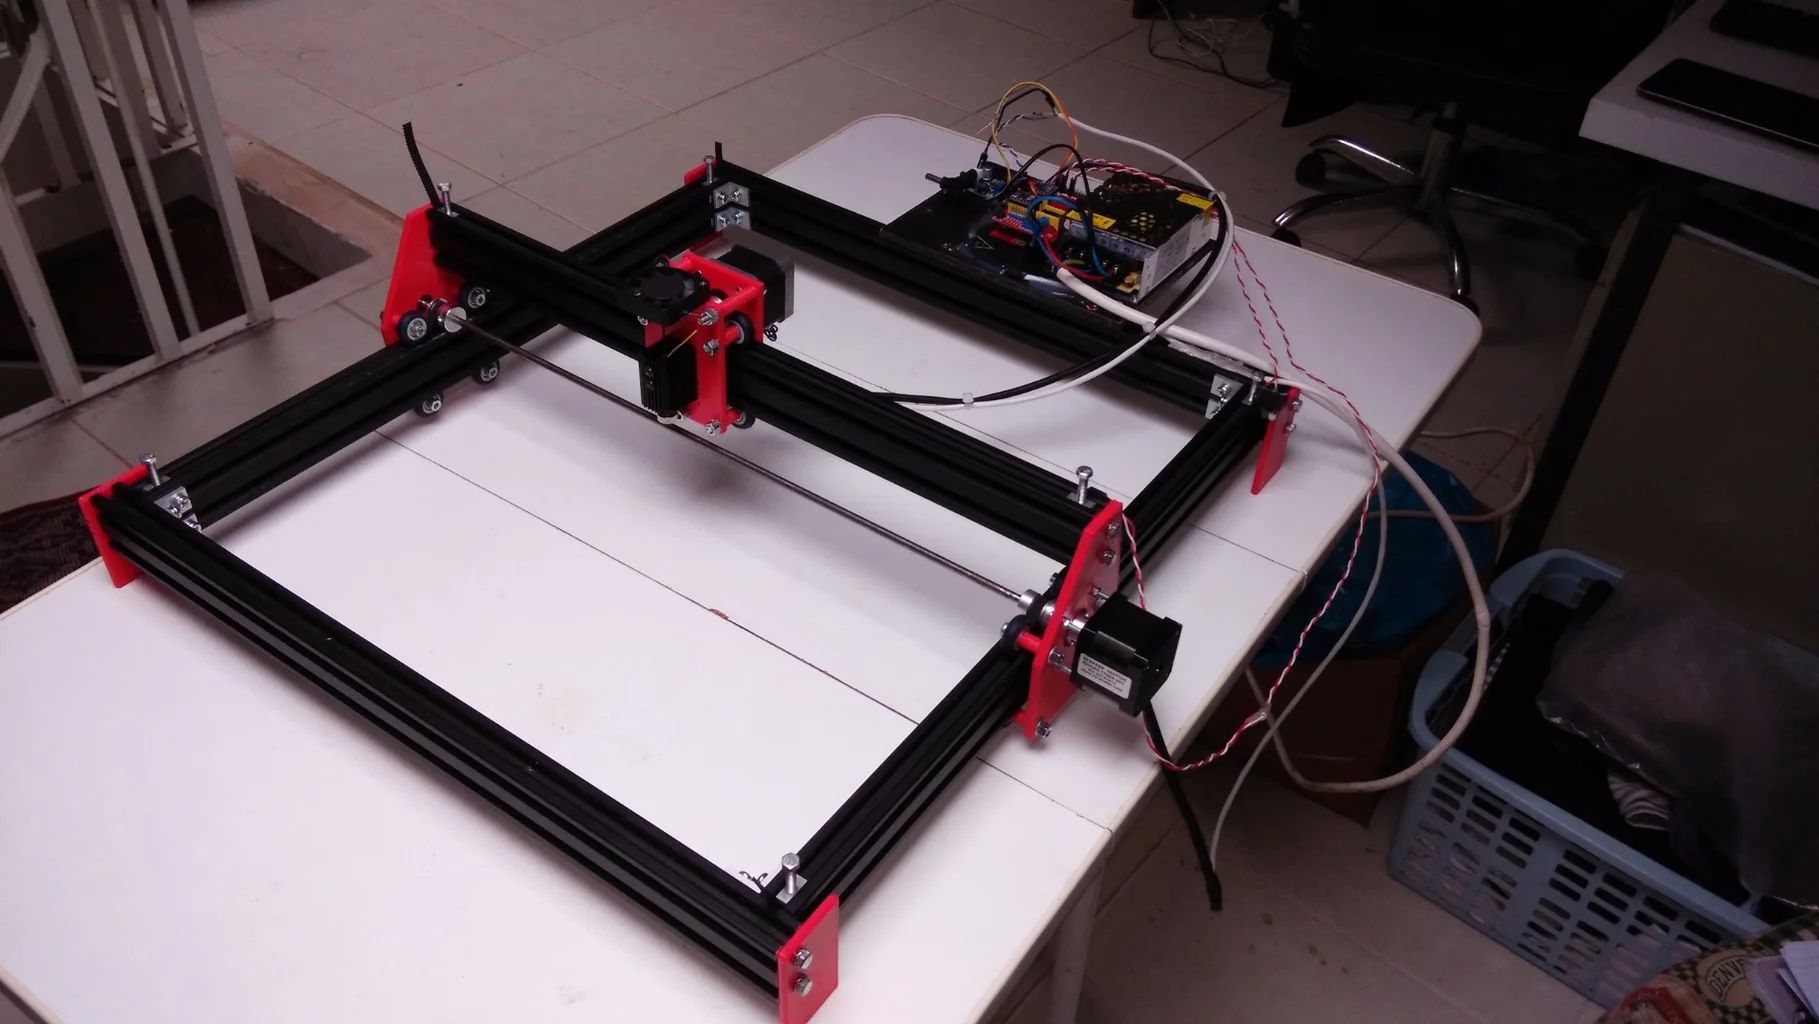
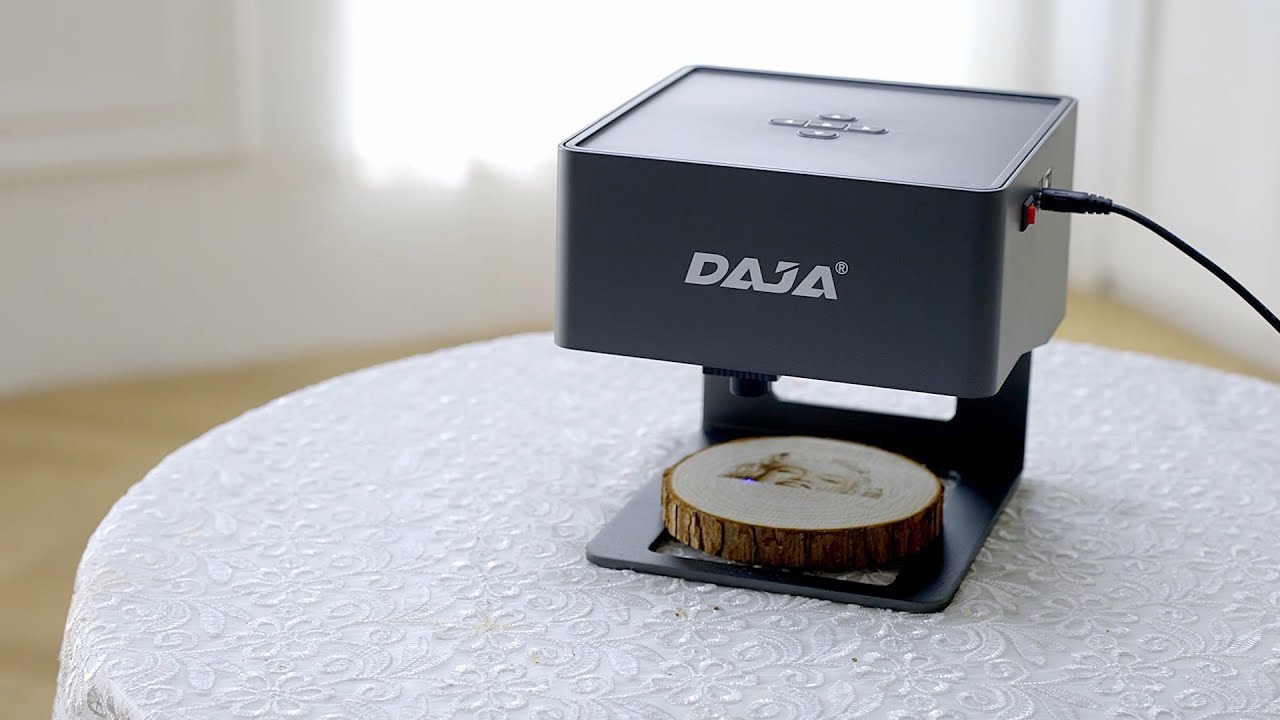
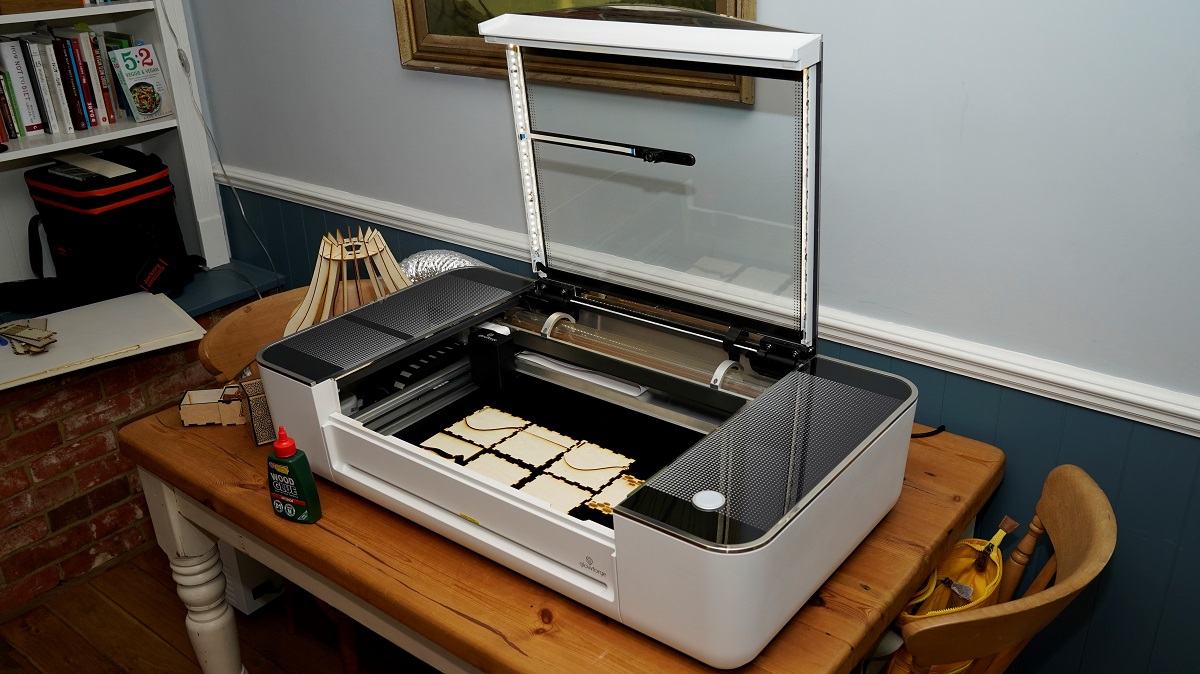
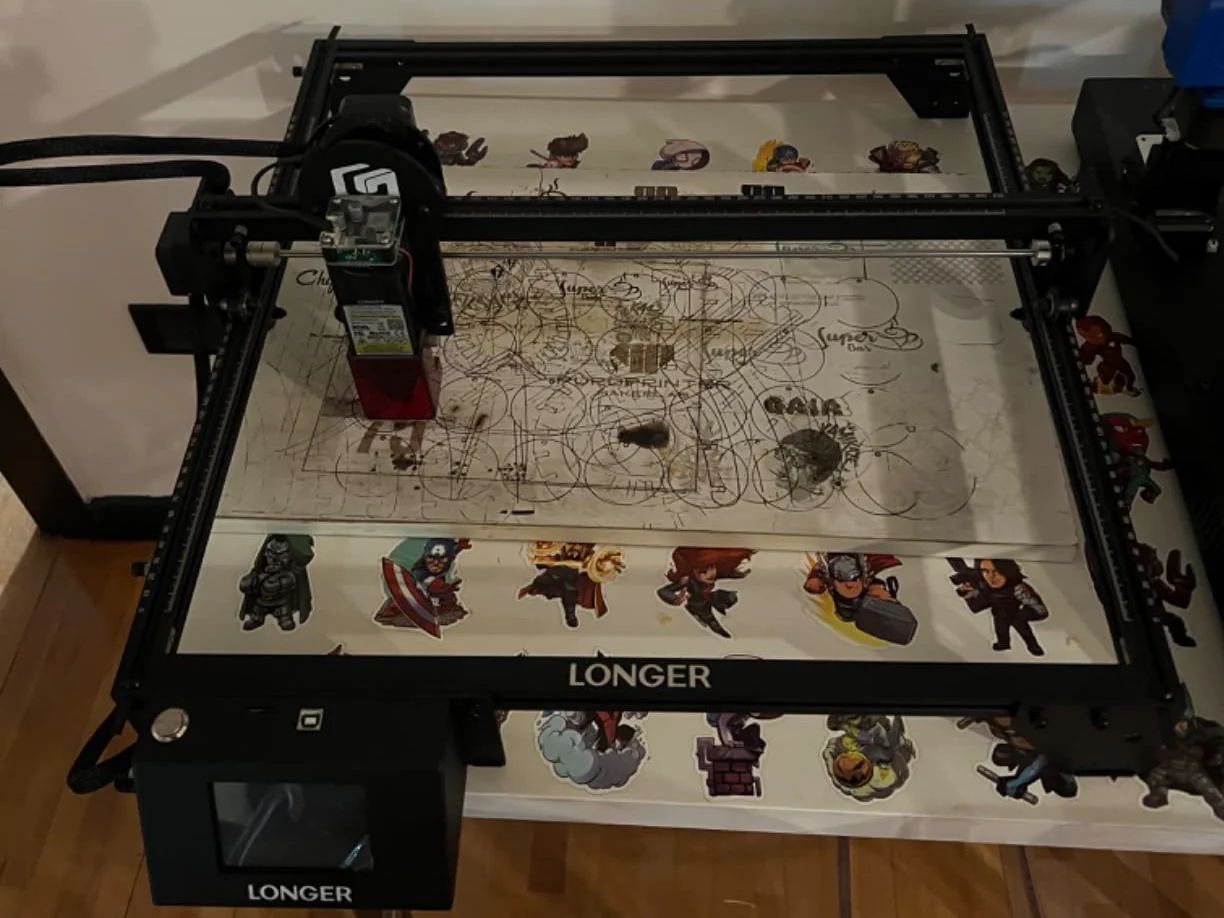
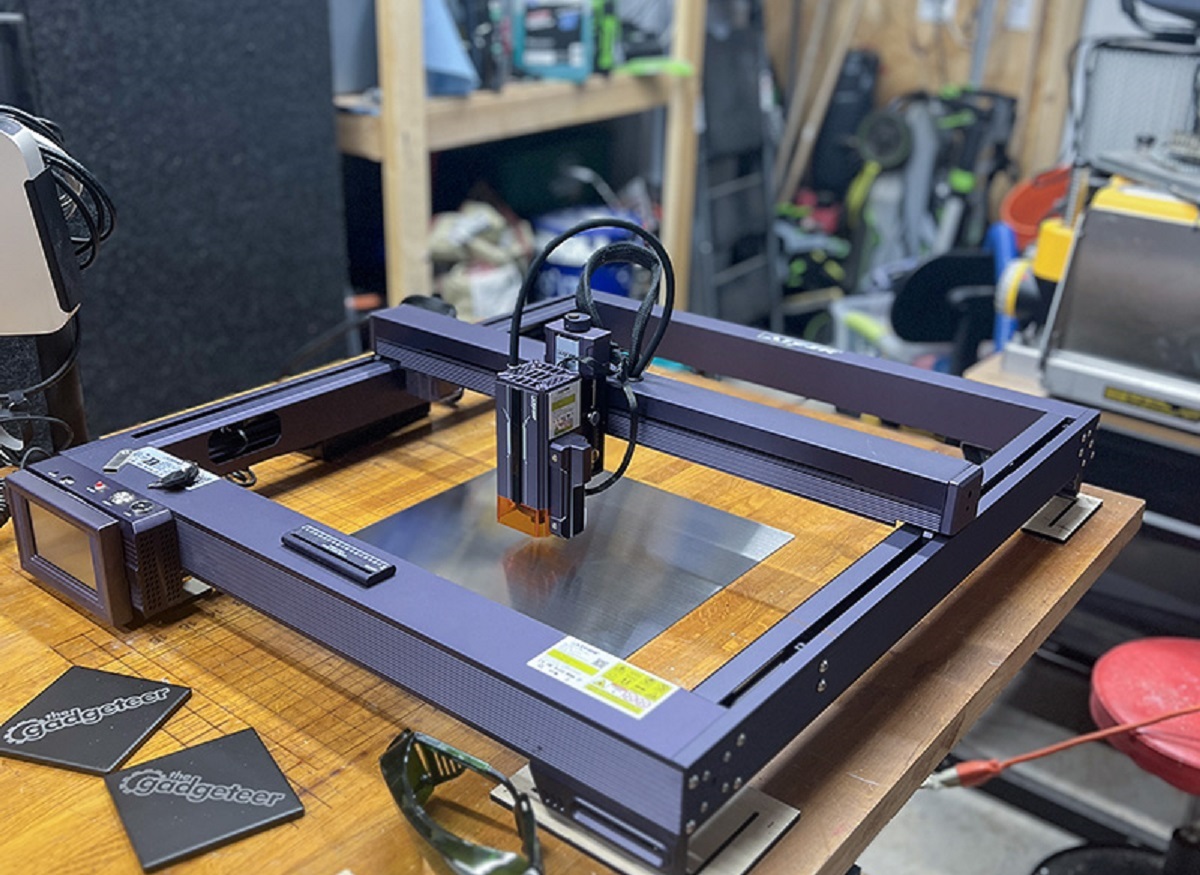
There are different types of laser engravers available in the market, each with its own specific features and capabilities. Some laser engravers are desktop-sized, making them suitable for small-scale projects or home use, while others are industrial-grade machines designed to handle large-scale production and heavy-duty materials.
Core components of a laser engraver include the laser tube, mirrors, lenses, and a computer-controlled system that determines the movement and intensity of the laser beam. The laser tube is responsible for generating the laser beam, which is then directed and focused by the mirrors and lenses onto the material being engraved.
With advancements in technology, laser engravers have become more user-friendly and accessible. They often come with intuitive software interfaces that allow users to upload designs or create their own through vector-based graphics programs. This makes it easier for both beginners and experts to work with laser engravers without needing extensive technical knowledge.
Whether you’re an artist, crafter, or business owner, a laser engraver can be a valuable asset to expand your creative capabilities. It offers unmatched precision, speed, and versatility, giving you the freedom to turn your ideas into reality. So, let’s delve deeper into the world of laser engraving and explore the different types of laser engravers available.
Types of Laser Engravers
When it comes to laser engravers, there are several types available, each with its own unique features and capabilities. Understanding the different types will help you choose the right machine for your specific needs and intended applications.
1. CO2 Laser Engravers:
CO2 laser engravers are the most common type, known for their versatility and affordability. They use a carbon dioxide laser to engrave or cut through materials. This type of engraver is ideal for working with materials like wood, acrylic, leather, fabric, glass, and paper. CO2 laser engravers are available in a range of power levels, allowing you to choose one that suits your intended use.
2. Fiber Laser Engravers:
Fiber laser engravers are designed specifically for working with metal materials. They use a high-powered fiber laser to create permanent marks, engravings, or cuts on materials like stainless steel, aluminum, brass, and more. Fiber laser engravers are known for their exceptional precision and speed, making them a popular choice in industrial and commercial settings.
Diode laser engravers are compact and portable machines that are best suited for marking or engraving on smaller objects or materials. They use semiconductor diode lasers, which are smaller and less powerful compared to CO2 or fiber lasers. Diode laser engravers are commonly used for engraving on plastics, ceramics, or certain types of metals.
4. Galvo Laser Engravers:
Galvo laser engravers are high-speed machines used for marking or engraving on curved or irregular surfaces. They use galvanometer scanners to quickly move the laser beam across the material’s surface, achieving precise and detailed results. Galvo laser engravers are mostly used in industrial applications, such as automotive and jewelry manufacturing.
5. Hybrid Laser Engravers:
Hybrid laser engravers combine the functionalities of multiple laser types. For example, some machines incorporate both CO2 and fiber lasers, allowing users to switch between the two for different applications. These versatile machines are ideal for those who want to work with a wide range of materials and achieve diverse engraving effects.
Each type of laser engraver has its own strengths and limitations, so it’s essential to consider your specific requirements before making a decision. Factors such as the materials you will be working with, the level of precision needed, and your budget will influence your choice of laser engraver type.
Now that you have an understanding of the various types of laser engravers available, let’s move on to the next step: selecting the right laser engraver that suits your specific needs.
Choosing the Right Laser Engraver for Your Needs
Now that you are familiar with the different types of laser engravers available, it’s time to choose the one that best fits your needs. Several factors should be taken into consideration when selecting the right laser engraver for your specific requirements.
1. Material Compatibility:
The first and most crucial factor to consider is the type of materials you will be working with. Different laser engravers are designed to handle specific materials. If you plan to work primarily with wood, acrylic, or leather, a CO2 laser engraver would be suitable. For metal engraving, a fiber laser engraver would be the better choice. Ensure that the laser engraver you select can effectively engrave or cut through the materials you intend to work with.
2. Engraving Area and Dimensions:
Consider the size of the objects or materials you will be working with and the maximum engraving area required. Laser engravers come in various sizes, so choose one that fits your needs. If you plan to work on smaller, more delicate items, a desktop-sized engraver would suffice. However, for larger items or commercial production, you may need a larger, more industrial-grade machine.
3. Power and Speed:
The power and speed of a laser engraver determine its efficiency and versatility. Higher power and speed allow for faster and deeper engraving, which is especially important when working with dense or thick materials. Consider the power and speed specifications of the machine to ensure it can handle your desired projects effectively.
4. Software Compatibility:
Check the compatibility of the laser engraving software with your computer’s operating system. Most laser engravers come with proprietary software or are compatible with popular design programs like CorelDRAW or Adobe Illustrator. Ensure that the software is user-friendly and provides the necessary features for your design requirements.
5. Budget:
Set a budget based on your requirements and research laser engravers within that price range. While it might be tempting to opt for a cheaper option, consider the long-term value and quality of the machine. Investing in a reliable laser engraver that meets your needs will save you time and money in the long run.
6. User Support and Warranty:
Look for a laser engraver that comes with good customer support and a warranty. It’s important to have access to technical assistance and troubleshooting resources when needed. A warranty ensures that you are covered in case of any defects or malfunctions.
By considering these factors, you can narrow down your options and select the laser engraver that best matches your needs and budget. Taking the time to research and make an informed decision will enable you to make the most of your laser engraving journey.
Setting Up a Laser Engraver Workspace
Creating a dedicated workspace for your laser engraver is essential for ensuring optimal performance, safety, and efficiency. Here are some key considerations when setting up your laser engraver workspace:
1. Ventilation:
Laser engravers produce fumes and smoke during operation, particularly when working with certain materials. It is crucial to have proper ventilation in your workspace to remove harmful particles and gases. Ensure that your workspace has adequate ventilation, such as a ventilation fan or an exhaust system, to maintain a clean and safe environment.
2. Lighting:
Good lighting is crucial for precision work. Make sure your workspace is well-lit, ideally with natural lighting or a combination of ambient and task lighting. This will help you see the details of your work clearly and ensure accurate alignment when placing materials for engraving.
3. Work Surface:
Choose a sturdy and stable work surface for your laser engraver. It should be large enough to accommodate the size of your machine and provide ample space for positioning materials. A level surface is essential to prevent any misalignment that could affect the quality of the engravings.
4. Fire Safety:
Due to the laser’s high intensity and ability to generate heat, it is essential to have fire safety measures in place. Keep a fire extinguisher nearby and ensure it is easily accessible. Clear any flammable materials away from the laser engraver and have a non-combustible surface beneath the machine to reduce the risk of fire.
5. Power Supply:
Ensure that your workspace has a stable and reliable power supply. Laser engravers typically require a dedicated electrical circuit to avoid overloading and prevent power fluctuations that could damage the machine. Consult the manufacturer’s guidelines for the appropriate power requirements and ensure your space meets those requirements.
6. Organization and Storage:
Keep your workspace organized and clutter-free. Have designated storage areas for tools, spare parts, and materials. This will not only ensure a clean and efficient working environment but also make it easier to locate items when needed.
7. Safety Measures:
Implement safety measures to protect yourself and others while operating the laser engraver. This includes wearing protective eyewear to shield your eyes from the laser beam and using gloves when handling materials or objects that may have sharp edges or become hot during engraving.
Setting up a suitable workspace for your laser engraver will create a conducive environment for creativity and productivity. Take the time to carefully arrange and organize your space, ensuring that safety measures are in place, to fully enjoy the experience of laser engraving.
Safety Precautions for Using a Laser Engraver
While laser engraving is a fascinating and versatile process, it is important to prioritize safety precautions to ensure a secure working environment. Here are some essential safety measures to follow when using a laser engraver:
1. Protective Eyewear:
Always wear appropriate protective eyewear when operating a laser engraver. This will shield your eyes from the intense laser beam and protect them from potential damage or injury.
2. Ventilation:
Ensure that your workspace has proper ventilation. Laser engravers can produce fumes and smoke when engraving certain materials, which may contain harmful particles or gases. Proper ventilation will help maintain air quality and remove any potentially hazardous substances.
3. Fire Safety:
Keep a fire extinguisher within easy reach of your workspace. Laser engravers generate heat, and if materials are combustible or if there is a malfunction, a fire can occur. Be prepared by having the proper fire safety equipment nearby.
4. Material Compatibility:
Use only materials that are recommended for laser engraving. Some materials, such as PVC or polycarbonate, can release toxic fumes when exposed to laser heat. Always read the material guidelines and ensure that the materials you are using are suitable and safe for laser engraving.
5. Secure Workspace:
Ensure that your workspace is free from clutter and potential hazards. Keep flammable materials away from the laser engraver, maintain a clean work area, and secure the machine to prevent it from accidentally tipping over or causing injuries.
6. Training and Familiarization:
Before using a laser engraver, undergo proper training and familiarize yourself with the machine’s operation. Understand how to handle materials, load and unload them safely, and adjust the laser settings properly. This will minimize the risk of accidents or damage.
7. Emergency Stop Button:
Familiarize yourself with the location and function of the emergency stop button on your laser engraver. This button should be easily accessible and can quickly halt the machine’s operation in case of an emergency.
8. Maintenance and Cleaning:
Regularly maintain and clean your laser engraver according to the manufacturer’s instructions. This includes proper cleaning of the laser lens, mirrors, and ventilation system to ensure optimal performance and reduce the risk of potential issues.
By following these safety precautions, you can create a safe working environment and minimize the risk of accidents or injuries. Safety should always be the top priority when operating a laser engraver, allowing you to enjoy the benefits of this powerful tool with peace of mind.
Installing Laser Engraver Software
Once you have set up your laser engraver and prepared your workspace, the next step is to install the necessary software to control and operate the machine. Here’s a step-by-step guide on how to install laser engraver software:
1. Check the Software Requirements:
Before downloading any software, make sure to check the system requirements specified by the manufacturer. Ensure that your computer meets these requirements in terms of operating system compatibility, processor speed, memory (RAM), and available storage space.
2. Download the Software:
Visit the manufacturer’s website or access the provided installation media to download the laser engraver software. Follow the instructions provided to initiate the download and save the software to your computer.
3. Install the Software:
Locate the downloaded software file and double-click on it to begin the installation process. Follow the on-screen prompts and select the desired installation options, such as the installation location and additional software components. Click “Next” or “Install” to proceed with the installation.
4. Configure Installation Settings:
During the installation process, you may be prompted to select specific settings or options for your laser engraver software. This can include language preferences, default file formats, or additional plug-ins or drivers. Review and select the appropriate settings based on your needs and preferences.
5. Complete the Installation:
After the installation process is complete, the software should be ready to use. Ensure that the software icon or shortcut is accessible from your desktop or start menu. Double-click on the software icon to launch it and proceed to the next step of connecting your laser engraver.
6. Update the Software:
Once the software is installed, it is important to check for any available updates. Manufacturers often release updates to improve functionality, fix bugs, or introduce new features. Check the manufacturer’s website or the software’s built-in update feature to ensure you have the latest version installed.
7. User Manual and Tutorials:
Take the time to read the user manual and explore any available tutorials or documentation provided by the manufacturer. This will help you familiarize yourself with the software’s features, settings, and troubleshooting procedures.
By following these steps, you can successfully install the laser engraver software and be ready to utilize its full potential. Remember to periodically update the software to ensure you have the latest improvements and features for an optimized laser engraving experience.
Connecting the Laser Engraver to Your Computer
Once you have installed the software for your laser engraver, the next step is to establish a connection between the machine and your computer. Follow these steps to connect the laser engraver:
1. Check the Interface:
Determine the type of interface your laser engraver uses to connect to your computer. Common interfaces include USB, Ethernet, or Wi-Fi. Refer to the manufacturer’s instructions or specifications to identify the specific interface used by your machine.
2. Connect the Interface Cable:
Connect the interface cable (such as a USB cable) to the corresponding ports on both your computer and the laser engraver. Ensure a secure connection by firmly inserting the cable into the ports. Depending on the interface type, you may need to use a specific cable or adapter.
3. Power On the Laser Engraver:
Switch on the laser engraver and allow it to power up. Follow the manufacturer’s instructions for powering on the machine, as it may vary depending on the specific model. Make sure the laser engraver is connected to a stable power source and that all power cables are properly plugged in.
4. Launch the Software:
Open the laser engraver software on your computer. Locate the software icon or shortcut and double-click to launch it. Wait for the software to initialize and establish a connection with the laser engraver.
5. Select the Laser Engraver:
Within the software, navigate to the settings or device selection menu. Select the laser engraver from the list of available devices. The software should detect the connected laser engraver automatically, but if not, consult the user manual or software documentation for troubleshooting steps.
6. Test the Connection:
Once the laser engraver is selected within the software, perform a test to ensure the connection is successfully established. This can include sending a test command, checking the machine status, or running a simple engraving job on a scrap material.
7. Troubleshooting:
If you encounter any issues with the connection, refer to the troubleshooting section of the user manual or contact the manufacturer’s support for assistance. Ensure that both the computer and the laser engraver are properly connected and powered on before troubleshooting.
By following these steps, you can successfully connect your laser engraver to your computer and begin utilizing its functionality through the software interface. Always refer to the specific instructions provided by the manufacturer for your particular laser engraver model to ensure a smooth and hassle-free connection process.
Loading Materials and Objects into the Laser Engraver
Once your laser engraver is connected and ready, it’s time to load the materials or objects you want to engrave. Follow these steps to properly load materials into the laser engraver:
1. Prepare the Materials:
Ensure that the materials you plan to engrave are properly prepared. This may involve cutting them into suitable sizes, removing protective film or coating, or securing them in place if they are small or lightweight.
2. Open the Engraving Area:
Depending on the design of your laser engraver, open the engraving area by sliding open the door, lifting the lid, or removing any protective covers. This will give you access to the engraving bed or platform where you will place your materials.
3. Position the Materials:
Place your materials onto the engraving bed or platform in the desired position. Ensure that they are flat, level, and secured to prevent any movement during the engraving process. If necessary, use masking tape or other appropriate methods to hold the materials in place without causing damage.
4. Adjust the Focus:
Depending on the specific laser engraver model, you may need to adjust the focus of the laser beam to achieve optimal results. Follow the manufacturer’s instructions on how to adjust the focus, which generally involves raising or lowering the engraving bed or using a manual focus tool.
5. Set the Engraving Parameters:
Within the laser engraver software, set the appropriate engraving parameters for your specific materials. These parameters can include power level, engraving speed, and number of passes. Consult the material settings guide provided by the manufacturer for recommended starting points, and adjust as needed for your desired outcome.
6. Close and Secure the Engraving Area:
Once the materials are in position and the engraving parameters are set, close and secure the engraving area. This ensures the safety of the surrounding environment while the laser engraver is in operation. Follow the manufacturer’s instructions on how to properly secure the engraving area.
7. Start the Engraving Process:
Within the laser engraver software, initiate the engraving process. Depending on the complexity and size of your design, the engraving time can vary. Always monitor the process and ensure that the engraving is proceeding smoothly without any issues or errors.
8. Remove the Engraved Materials:
Once the engraving is complete, open the engraving area and carefully remove the engraved materials. Take caution, as the materials may still be hot or have sharp edges. Use appropriate tools, gloves, or safety equipment when handling the freshly engraved items.
By following these steps, you can effectively load materials into your laser engraver and achieve precise and accurate engravings. Always refer to the manufacturer’s guidelines and recommendations for loading specific materials and objects to ensure optimal results and prevent any damage to the machine or the materials being engraved.
Adjusting Laser Engraver Settings
Adjusting the settings of your laser engraver is crucial to achieve the desired results and optimize the engraving process. Here are the key steps to effectively adjust the laser engraver settings:
1. Material Selection:
Identify the specific material you will be engraving. Different materials require different settings for optimal engraving results. Some laser engraver software may provide pre-defined settings for various materials, making it easier for you to select the appropriate settings.
2. Power Level:
The power level determines the intensity of the laser beam and its ability to engrave or cut through the material. Adjust the power level based on the material’s characteristics. Start with a lower power level and gradually increase it until you achieve the desired results. Avoid setting the power level too high to prevent excessive burning or scorching.
3. Engraving Speed:
The engraving speed refers to the rate at which the laser beam moves across the material. Adjust the engraving speed depending on the material and the level of detail required. Slower engraving speeds allow for more intricate designs and deeper engraving, while higher speeds are suitable for larger areas or outlines.
4. Frequency and PPI:
The frequency, measured in pulses per inch (PPI), determines the density of the laser pulses. Higher frequency leads to finer details and smoother engraving. Adjust the frequency and PPI settings to achieve the desired level of detail, balancing it with the engraving speed and power level for optimal results.
5. Line Width and Scan Gap:
Line width refers to the thickness of lines or strokes in the design. Adjusting the line width settings allows you to control the level of detail and visibility of the engraved lines. The scan gap determines the spacing between each engraved line. Smaller gaps create denser engravings, while larger gaps produce more delicate and open designs.
6. Test Engraving:
Before engraving the final design, perform test engravings on a small area of the material. This will help you evaluate the settings and make any necessary adjustments. Analyze the depth, precision, and overall appearance of the test engravings to ensure they meet your expectations.
7. Fine-tuning:
If necessary, make incremental adjustments to the settings to achieve the desired results. Fine-tuning may involve tweaking the power level, engraving speed, or other parameters to optimize the engraving quality. Take note of the adjustments made to maintain consistency for future projects.
8. Consider Material Characteristics:
Sensitive materials, such as acrylic or thin plastics, may require additional settings adjustments. Some materials may benefit from using a lower power level or reducing the engraving speed to prevent melting or warping. Experiment with different settings to find the optimal balance for each material type.
By carefully adjusting the laser engraver settings, you can achieve precise and high-quality engravings on different materials. It may require some experimentation and fine-tuning to perfect the settings, but with practice, you will be able to consistently produce outstanding results with your laser engraver.
Test Printing and Troubleshooting
Before diving into your final project, it is crucial to perform a test print to ensure that everything is set up correctly and your laser engraver is functioning as expected. Here’s a guide to conducting a test print and troubleshooting any potential issues:
1. Select a Test Design:
Choose a simple design or text that can be quickly engraved. This will allow you to evaluate the engraver’s performance and make any necessary adjustments. You can create your own test design or use pre-made templates provided by the software.
2. Load the Test Material:
Place a scrap piece of the material you intend to use for your project into the laser engraver. Make sure it is securely positioned and properly aligned to achieve accurate engraving results.
3. Set the Test Parameters:
Based on the material and requirements of your test design, adjust the laser engraver settings accordingly. Pay attention to the power level, engraving speed, and other relevant parameters. Ensure that the settings are appropriate for the specific material being tested.
4. Run the Test Print:
Initiate the engraving process for the test design using the predetermined settings. Monitor the progress closely to ensure that the engraving is proceeding accurately and without any issues. Observe the quality of the engraved lines, the depth of the engraving, and the overall appearance of the test print.
5. Evaluate the Test Print:
Carefully examine the test print and evaluate its quality. Check for any imperfections, such as inconsistent engraving depth, distortions, or smudging. Assess if the design matches the intended outcome in terms of detail, clarity, and overall appearance.
6. Troubleshoot Issues:
If the test print does not meet your expectations, it’s time to troubleshoot. Verify that the laser engraver is clean and free from debris or residue that could affect the engraving quality. Double-check the settings to ensure they are correct and appropriate for the material. Consider adjusting the power level, engraving speed, or other parameters to correct any issues you have identified.
7. Consult the User Manual and Support:
If troubleshooting on your own does not yield satisfactory results, consult the user manual provided by the manufacturer. Check for specific troubleshooting guidelines to address common issues. If necessary, contact the manufacturer’s support team for further assistance and guidance.
8. Repeat the Test Printing Process:
After making any necessary adjustments based on your troubleshooting efforts, repeat the test printing process. Evaluate the results to determine if the issue has been resolved and if the print quality meets your expectations. Continue fine-tuning the settings if needed until you are satisfied with the test print results.
Conducting a test print and troubleshooting any issues beforehand ensures that your final project will be successful. It allows you to identify and resolve any potential problems, guaranteeing that you achieve the desired engraving quality and clarity with your laser engraver.
Maintenance and Care for Your Laser Engraver
To keep your laser engraver in optimal condition and ensure its longevity, regular maintenance and proper care are essential. Follow these maintenance guidelines to keep your machine running smoothly:
1. Clean the Optics:
The laser engraver’s optics, including the lens and mirrors, can accumulate dirt, dust, or residue over time, affecting the engraving quality. Clean these components gently using a lint-free cloth and a mild cleaner specifically designed for optics. Follow the manufacturer’s instructions for the appropriate cleaning procedure and frequency.
2. Check and Clean the Ventilation System:
Regularly inspect the ventilation system of your laser engraver to ensure proper airflow and prevent the build-up of debris or blockages. Clean or replace any filters according to the manufacturer’s recommendations to maintain adequate ventilation and prevent overheating.
3. Secure and Inspect the Connections:
Periodically check the connections and cables of your laser engraver to ensure they are securely plugged in and functioning properly. Loose or damaged connections can affect the machine’s performance. Repair or replace any faulty cables or connectors immediately.
4. Lubrication:
If your laser engraver has moving parts or a mechanical system, follow the manufacturer’s guidelines for lubrication. Regularly lubricate these components with the recommended lubricant to reduce friction and ensure smooth operation.
5. Regular Calibration:
Check the calibration of your laser engraver to ensure accurate and precise engraving. Follow the calibration procedures provided by the manufacturer, which may involve checking the alignment of the laser beam, adjusting the focus, or calibrating the bed or platform. Regular calibration will help maintain consistent and high-quality engravings.
6. Store Materials Properly:
Store your engraving materials in a controlled environment, away from excessive heat, humidity, or direct sunlight. Improper storage can lead to warping, discoloration, or deterioration of the materials, affecting the engraving quality and accuracy.
7. Follow Manufacturer’s Maintenance Schedule:
Refer to the manufacturer’s recommended maintenance schedule and guidelines for your specific laser engraver model. This will outline regular maintenance tasks, such as cleaning or replacing specific parts, checking electrical connections, or performing system diagnostics. Adhering to the manufacturer’s schedule will help prevent major issues and ensure the machine’s longevity.
8. Follow Safety Practices:
Always operate your laser engraver in accordance with the manufacturer’s instructions and safety guidelines. This includes using appropriate protective gear, maintaining a safe working environment, and following proper shutdown and startup procedures. Adhering to safety practices ensures your well-being and prevents damage to the machine.
By following these maintenance and care practices, you can prolong the lifespan of your laser engraver and ensure optimal performance and engraving quality. The proper maintenance of your machine will allow you to continue creating beautiful, precise, and professional engravings for years to come.
Conclusion
Congratulations! You have reached the end of this guide on setting up and using a laser engraver. We have covered various aspects of laser engraving, from understanding what a laser engraver is to selecting the right machine for your needs, setting up a workspace, and adjusting settings for optimal results.
By now, you should have a good understanding of how to install the necessary software, connect the laser engraver to your computer, load materials, and adjust the settings to achieve precise and high-quality engravings. You have also learned about the importance of safety precautions, maintenance, and troubleshooting to ensure a safe and effective engraving process.
Laser engraving is not only a creative outlet but also a valuable tool for artists, crafters, and entrepreneurs looking to add personalized and professional touches to their work. With practice and experimentation, you can unlock the full potential of your laser engraver and create stunning designs on a variety of materials.
Remember to always prioritize safety when working with a laser engraver, follow the manufacturer’s guidelines, and continuously improve your skills through learning and experimentation. As you become more proficient, you can expand your horizons and explore new possibilities in laser engraving.
Thank you for joining us on this journey through the world of laser engraving. We hope this guide has provided you with the knowledge and confidence to embark on your own laser engraving adventures. Get ready to unleash your creativity and create unique, personalized pieces that will amaze and delight others.
Happy engraving!


