Introduction
Setting up direct deposit in QuickBooks Desktop can be a convenient and efficient way to pay your employees. With direct deposit, you can eliminate the need for paper checks and save time on manual payroll processing. By following a few simple steps, you can ensure that your employees receive their pay directly into their bank accounts, making the payment process seamless and hassle-free.
In this article, we will guide you through the process of setting up direct deposit in QuickBooks Desktop. From setting up employee profiles to transmitting direct deposit files to the bank, we will cover each step in detail, providing you with the necessary information to streamline your payroll process.
Before getting started, it’s important to note that setting up direct deposit in QuickBooks Desktop requires a few prerequisites. First, you will need a supported version of QuickBooks Desktop software. Additionally, you will need an active payroll subscription and a Direct Deposit service enabled. Finally, you will need to ensure that you have the necessary banking information for each employee, including their bank account number and routing number.
Now, let’s dive into the step-by-step process of setting up direct deposit in QuickBooks Desktop, so you can start enjoying the convenience and efficiency of electronic payroll payments.
Step 1: Set Up Employees
The first step in setting up direct deposit in QuickBooks Desktop is to ensure that you have accurate and up-to-date employee information. This includes their personal details, employment information, and most importantly, their banking information.
To begin, navigate to the Employees menu in QuickBooks Desktop and select Employee Center. Here, you can add new employees or edit existing employee profiles. Make sure to include all relevant information such as their name, address, Social Security number, and employee identification number.
Next, click on the Payroll Info tab within the employee profile. Here, you will find the option to set up direct deposit. Click on the Direct Deposit button and enter the employee’s bank account details, including the bank name, account number, and routing number. It’s essential to verify the accuracy of this information to avoid any payment issues.
If you have multiple employees who use the same bank for direct deposit, you can create a template for their banking information. This will save time during the employee setup process, as you can simply select the template and make minor adjustments as necessary.
It’s important to note that employees must provide written authorization and consent for direct deposit. Ensure that you have obtained the necessary signed forms from each employee before proceeding.
Step 2: Set Up Payroll Items
Once you have set up your employees and their direct deposit information, the next step in enabling direct deposit in QuickBooks Desktop is to set up payroll items. Payroll items are used to calculate the amounts that will be deposited directly into your employees’ bank accounts.
To begin, navigate to the Lists menu in QuickBooks Desktop and select Payroll Item List. Here, you can add new payroll items or edit existing ones. There are two types of payroll items that you will need to set up for direct deposit: additions and deductions.
Additions are items that increase an employee’s net pay, such as bonuses or commissions. To create an addition, click on the Item menu in the Payroll Item List and select New. Choose the Addition option and follow the prompts to enter the necessary information, including the name of the item, the expense account, and the calculation method.
Deductions, on the other hand, are items that decrease an employee’s net pay, such as tax withholdings or insurance premiums. To create a deduction, click on the Item menu in the Payroll Item List and select New. Choose the Deduction option and enter the relevant details, including the name of the deduction, the liability account, and the calculation method.
During the setup process, you will have the option to assign each payroll item to specific employees or employee groups. This allows you to tailor the direct deposit calculations to the unique needs of each individual or group within your organization.
Once you have set up the necessary payroll items for direct deposit, you can assign them to your employees’ profiles. Simply navigate to the employee profile, select the Payroll Info tab, and choose the appropriate payroll items under the Earnings and Deductions sections.
By accurately setting up payroll items, you ensure that the correct amounts are deposited into your employees’ bank accounts, further streamlining your payroll process and minimizing errors.
Step 3: Set Up Direct Deposit Account
In order to process direct deposit payments in QuickBooks Desktop, you need to set up a direct deposit account. This account serves as the intermediary between your business and the employees’ banks, facilitating the secure and efficient transfer of funds.
To set up the direct deposit account, start by navigating to the Employees menu and selecting My Payroll Services, followed by Account/Billing Information. Log in to your Intuit account, and then choose the Direct Deposit option.
Next, you will need to provide the necessary information to set up the direct deposit account. This includes details such as your business’s bank account information, company details, and contact information. Make sure to double-check the accuracy of this information before proceeding.
Once you have submitted the required information, Intuit will review and verify your account within a few business days. You will receive a confirmation email once your account has been successfully set up.
It’s important to note that there may be certain fees associated with using the direct deposit service. Make sure to review the pricing details and any applicable charges before setting up the direct deposit account to ensure it aligns with your business’s financial needs.
By setting up a direct deposit account, you establish a secure and reliable connection between your business and the employees’ banks, enabling seamless and timely transfer of funds for payroll purposes.
Step 4: Enter Direct Deposit Information for Employees
Once you have set up the direct deposit account, the next step in the process is to enter the direct deposit information for your employees in QuickBooks Desktop. This step ensures that the correct amounts are deposited into each employee’s bank account.
To begin, navigate to the Employees menu and select Employee Center. Locate the employee profile for whom you want to enter the direct deposit information.
Within the employee profile, click on the Payroll Info tab and select the Direct Deposit button. Here, you will be able to enter the employee’s bank account details, including the bank name, account number, and routing number.
It’s important to verify the accuracy of the direct deposit information for each employee. Any mistakes in the bank account details can lead to payment errors or delays. Double-check the account and routing numbers to ensure they are entered correctly.
If you have multiple employees who use the same bank for direct deposit, you can save time by using a template. To do this, create a template with the banking information that is common to all employees. Then, select the template when entering direct deposit information for each employee. This helps to streamline the process and avoid repetitive data entry.
Before proceeding with direct deposit, make sure that each employee has provided written authorization and consent. This is a crucial step to ensure compliance and protect the privacy and security of your employees’ banking information.
By accurately entering the direct deposit information for your employees, you can ensure that they receive their pay on time and in the correct amounts, making the payment process smooth and efficient.
Step 5: Prepare Paychecks with Direct Deposit
With the direct deposit information for your employees entered in QuickBooks Desktop, you are now ready to prepare paychecks for direct deposit. This step involves generating the necessary payroll information and verifying the payment amounts before initiating the deposit process.
To prepare paychecks with direct deposit, start by navigating to the Employees menu and selecting Pay Employees. Choose the appropriate pay schedule and select the employees for whom you want to generate paychecks.
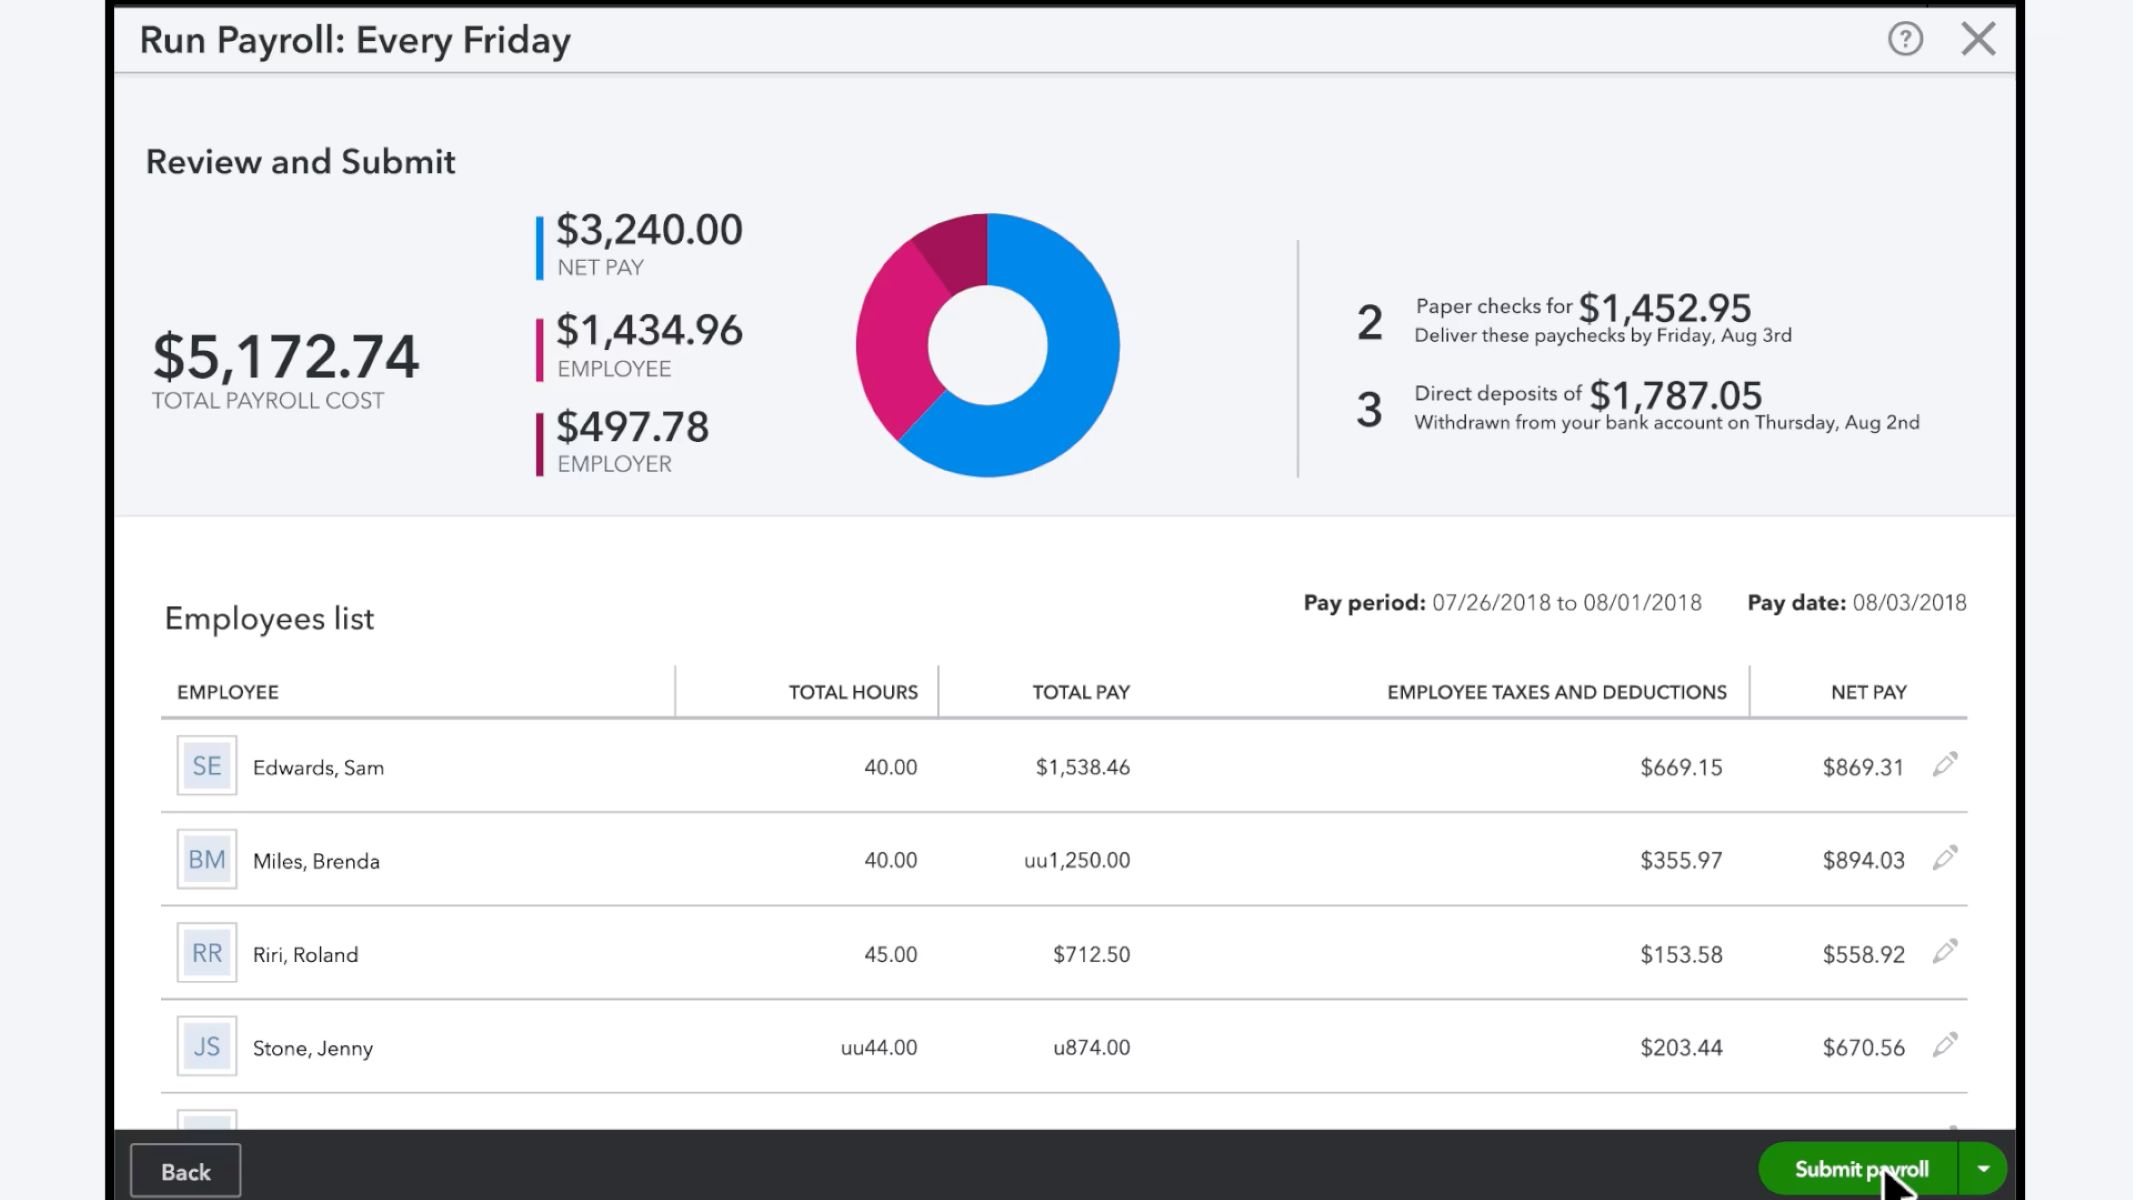
Once you have selected the employees, QuickBooks Desktop will display the Paycheck Details window. Here, you can review and verify the earnings, deductions, and taxes for each employee before proceeding.
Ensure that the paychecks are accurate and reflect the correct payment amounts for each employee. Verify that the appropriate payroll items, such as additions and deductions, are included in the calculations. This step is crucial in maintaining payroll accuracy and ensuring that your employees receive the correct payments.
After reviewing the paycheck details, click on the Continue button to proceed. QuickBooks will generate the paychecks and calculate the net pay for each employee. The net pay amount is the final amount that will be deposited into the employee’s bank account.
It’s important to note that QuickBooks Desktop allows you to preview and print the paychecks if needed. This can be useful for record keeping purposes or if some employees prefer physical copies of their pay stubs. However, with direct deposit, there is no need to physically distribute the paychecks.
By preparing paychecks with direct deposit, you streamline your payroll process and ensure that your employees receive their payments accurately and efficiently.
Step 6: Create a Direct Deposit File
Once you have prepared the paychecks with direct deposit in QuickBooks Desktop, the next step is to create a direct deposit file. This file contains the necessary information for the bank to process the direct deposit payments to your employees’ accounts.
To create a direct deposit file, start by navigating to the Employees menu and selecting Payroll Center. Choose the Pay Liabilities tab and select the Payroll Liability Payment option.
In the Select Payment Method window, choose the option for Direct Deposit and click on the Create File button. QuickBooks Desktop will generate a direct deposit file, which contains the payment details for each employee who is set up for direct deposit.
You will have the option to save the direct deposit file to your computer or other external storage mediums. It’s advisable to maintain a backup of the direct deposit file for future reference or in case there are any issues with the transmission or processing of the file.
Make sure to review the direct deposit file to ensure that all the necessary payment information is included and accurate. This includes verifying the employee’s bank account details, the payment amounts, and any applicable tax withholdings or deductions.
The direct deposit file uses the standard Automated Clearing House (ACH) format, which is the electronic network used by banks to process direct deposits. This format ensures secure and efficient transmission of the payment information to the banks.
By creating a direct deposit file, you are one step closer to transferring the payment amounts to your employees’ bank accounts, making the direct deposit process seamless and convenient for all parties involved.
Step 7: Transmit Direct Deposit File to the Bank
After creating the direct deposit file in QuickBooks Desktop, the next crucial step is to transmit the file to the bank. This process ensures that the payment amounts are transferred from your business’s account to your employees’ bank accounts securely and efficiently.
To transmit the direct deposit file to the bank, you will need to access your bank’s online banking portal or use a designated banking software. Each bank may have specific instructions or a preferred method for submitting direct deposit files.
Follow the instructions provided by your bank to upload and transmit the direct deposit file. Most banks have a secure file transfer option or an integration with accounting software, making the process straightforward and secure.
Double-check the file transmission to ensure that the direct deposit file has been successfully uploaded and transmitted to the bank. This step is crucial to ensure that your employees receive their payments on time and without any issues.
Once the direct deposit file is successfully transmitted, the bank will process the payments and initiate the transfer of funds to your employees’ bank accounts. Banks typically require a lead time to process the direct deposit file, so make sure to submit it in advance of the designated paycheck date to allow for sufficient processing time.
It’s important to note that some banks may charge fees for processing direct deposit payments. Familiarize yourself with your bank’s fee structure to understand any associated costs. These fees are typically minimal compared to the convenience and efficiency of direct deposit processing.
By transmitting the direct deposit file to the bank, you complete the process of transferring the payment amounts to your employees’ bank accounts, ensuring a smooth and timely payment process.
Step 8: Record the Direct Deposit in QuickBooks
After transmitting the direct deposit file to the bank and initiating the transfer of funds, the final step is to record the direct deposit in QuickBooks Desktop. This step ensures that you have a clear record of the payment transactions and that your accounts accurately reflect the direct deposit payments made to your employees.
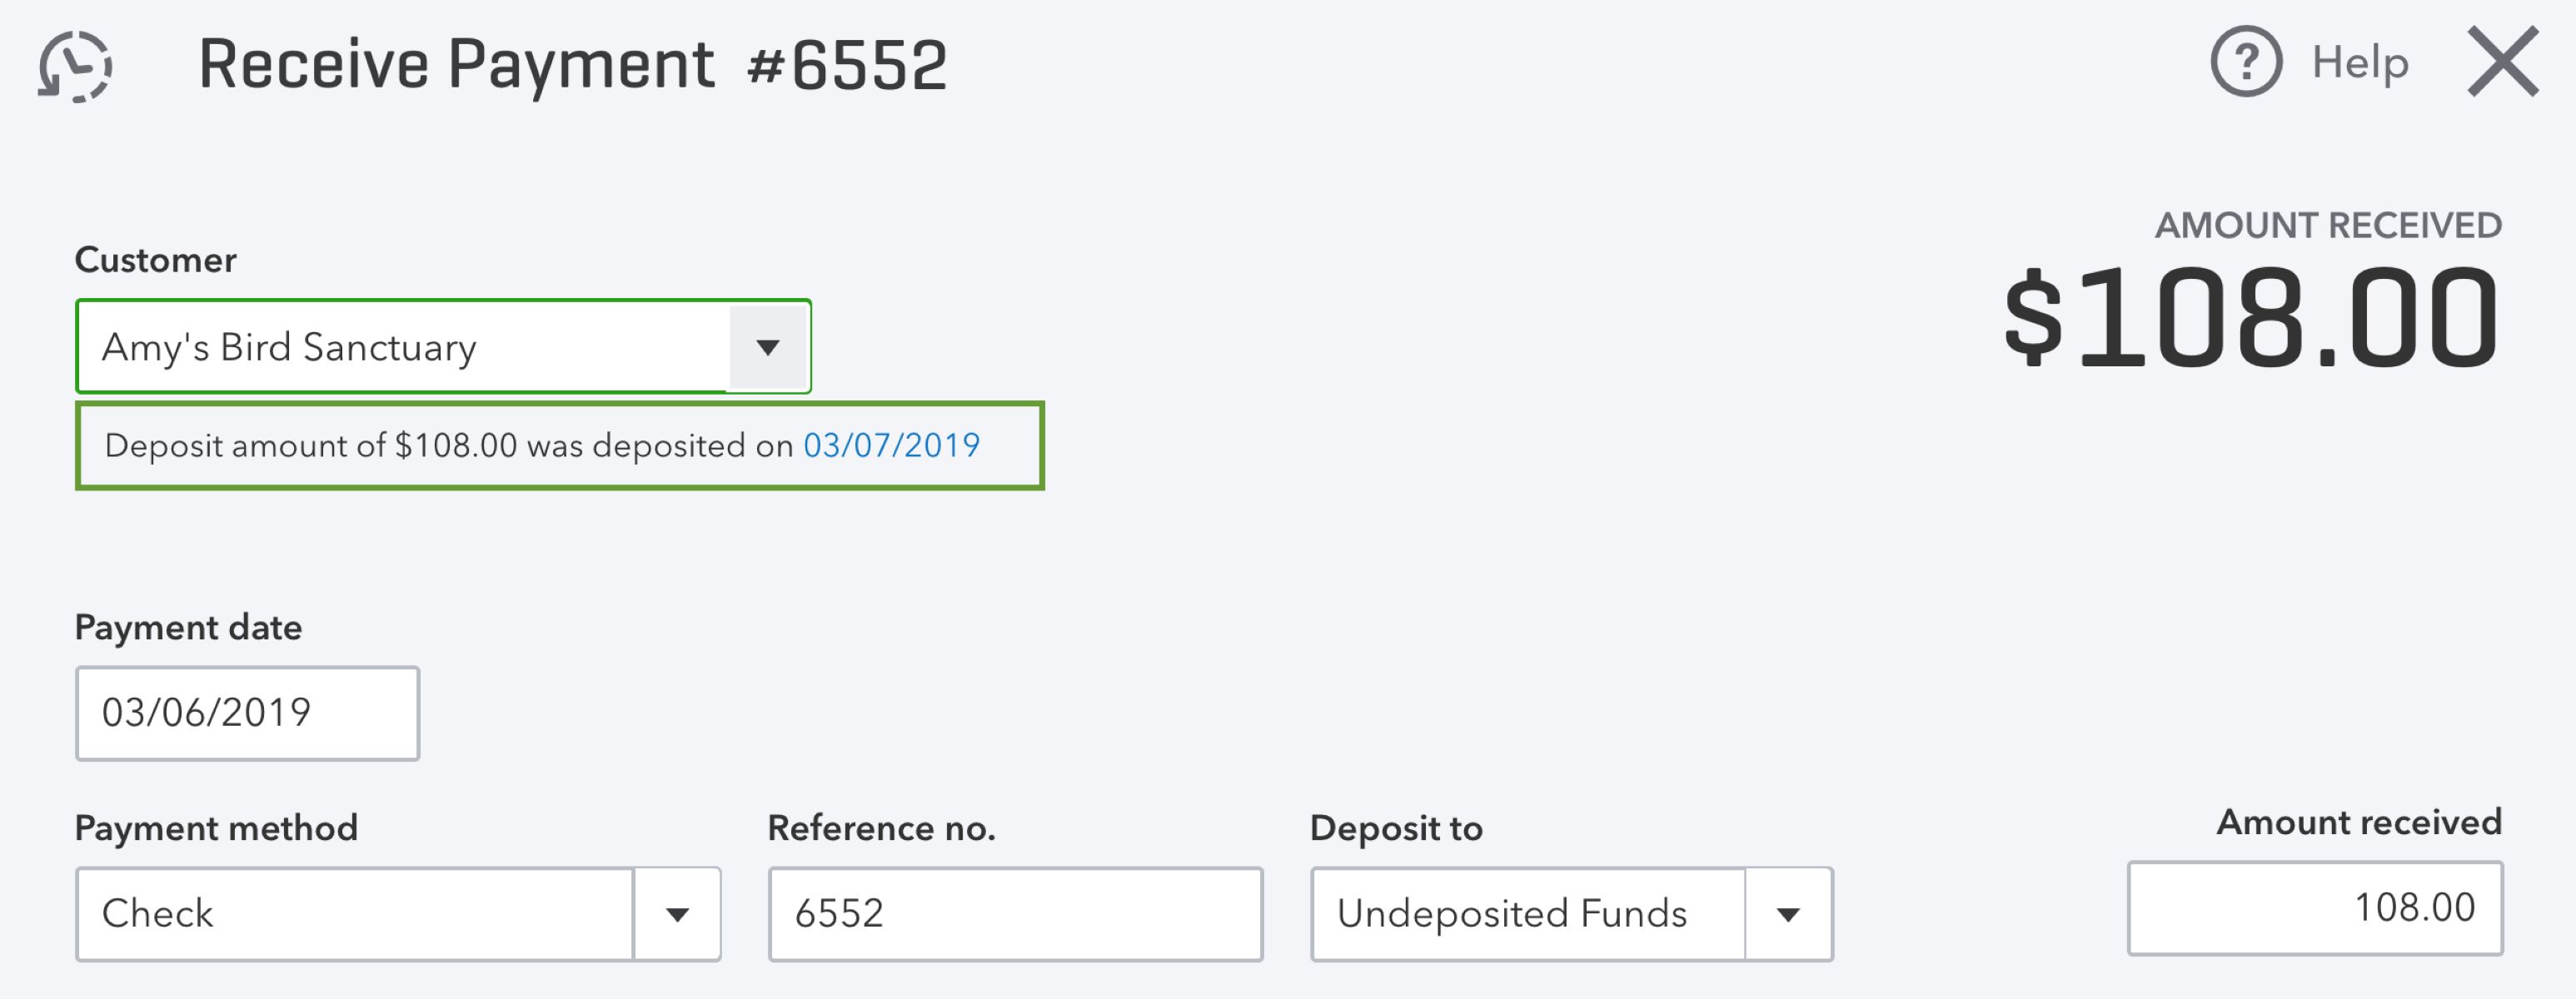
To record the direct deposit in QuickBooks, start by navigating to the Banking menu and selecting Make Deposits. Choose the bank account from which the direct deposit funds were drawn.
In the Make Deposits window, you will see a list of the direct deposit transactions that have been processed. Select and highlight the transactions that correspond to the direct deposit payments made to your employees.
Once you have selected the appropriate transactions, click on the OK or Save button to record the direct deposit in QuickBooks.
It’s important to review the recorded transactions to ensure that they accurately reflect the payment amounts and the corresponding employee accounts. Double-check the information before saving the transactions to maintain accurate records.
QuickBooks will automatically update your accounts, including the bank account and the employee’s payroll liability account, to reflect the direct deposit payments. This ensures that your financial statements and reports are accurate and up-to-date.
Finally, it’s recommended to generate and save a report that summarizes the direct deposit transactions for future reference or reconciliation purposes. This report can serve as a record of the payments made and provide a clear overview of the direct deposit activity in your QuickBooks account.
By recording the direct deposit in QuickBooks, you finalize the payment process and maintain accurate financial records of the direct deposit transactions made to your employees.


