Introduction
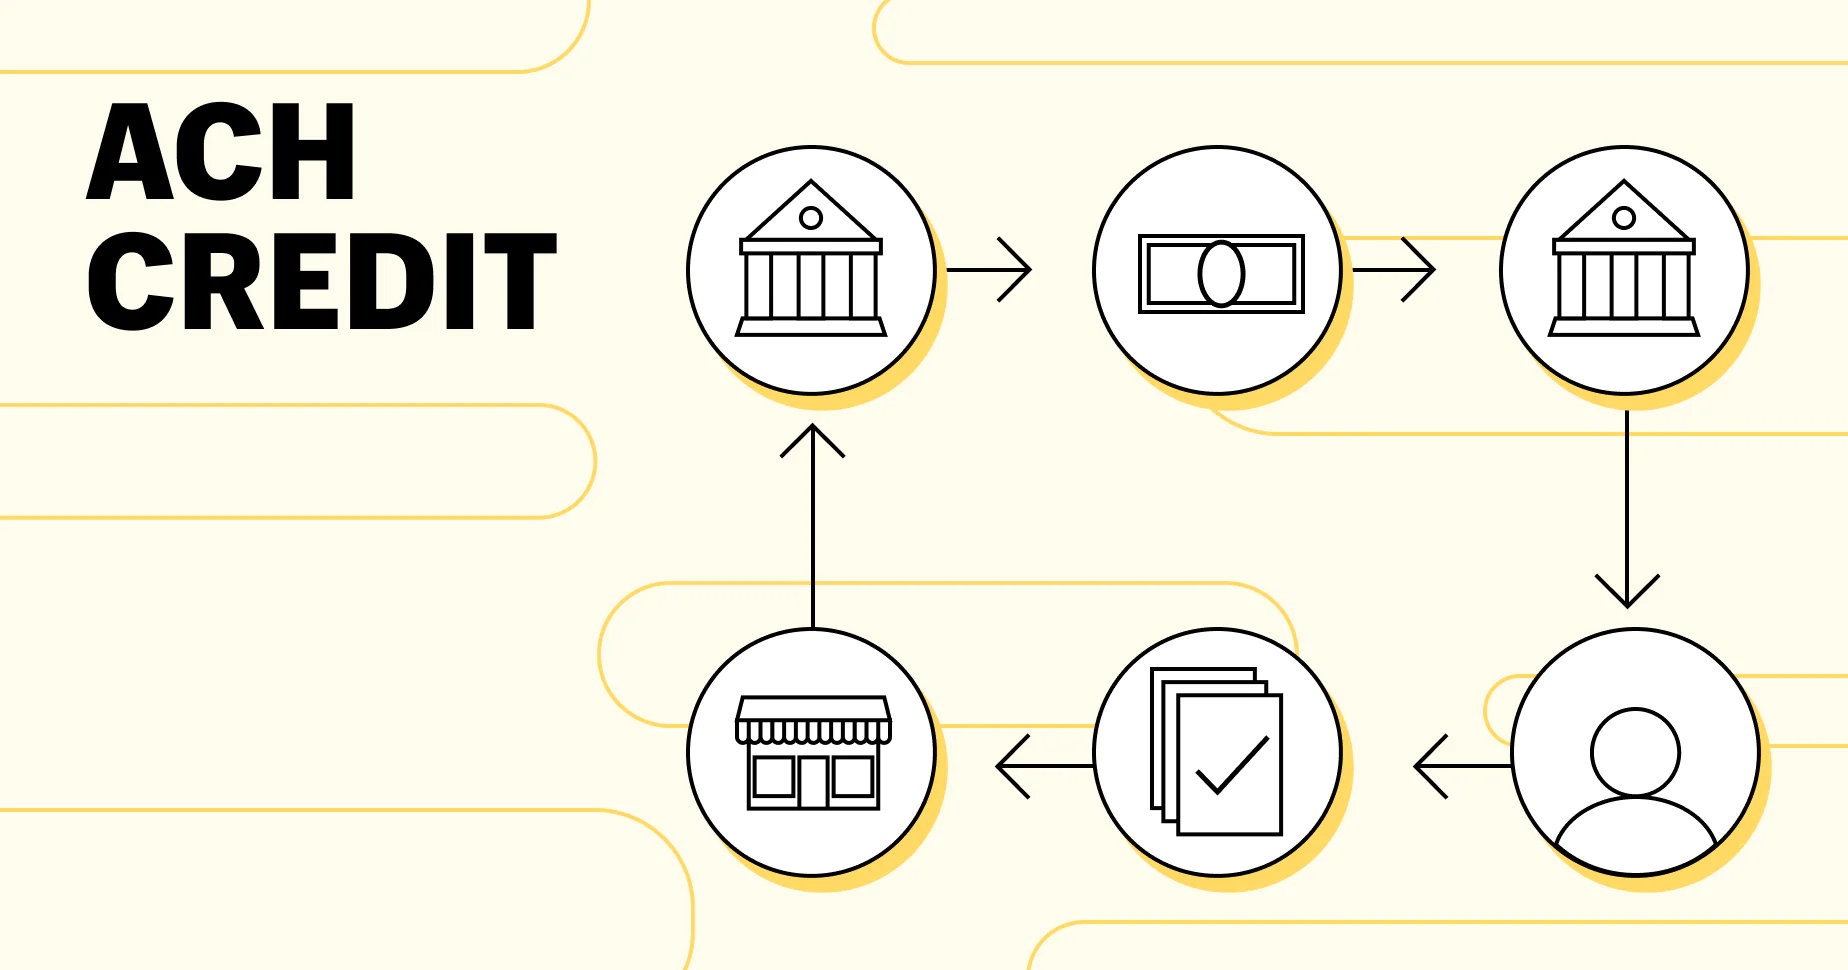
Welcome to this guide on how to set up ACH payment in QuickBooks, a popular accounting software used by businesses of all sizes. ACH (Automated Clearing House) payments provide a convenient, secure, and efficient way to process electronic payments directly from your customers’ bank accounts. By accepting ACH payments, you can streamline your payment processes, save time, and improve cash flow management.
Implementing ACH payment in QuickBooks is a straightforward process that requires a few simple steps. In this guide, we’ll walk you through each step to ensure a smooth transition to ACH payments within your QuickBooks account.
Before we get started, it’s important to note that you should verify with your bank that they offer ACH payment services. ACH payments require coordination between your bank and QuickBooks, so it’s essential to ensure that your bank supports this payment method.
Now, let’s dive in and learn how to set up ACH payments in QuickBooks.
Step 1: Verify that your bank offers ACH payments
Before you can start accepting ACH payments in QuickBooks, it’s crucial to verify that your bank supports this payment method. ACH payments involve the transfer of funds electronically between banks using the Automated Clearing House network.
To verify ACH payment availability, reach out to your bank’s customer support or visit their website. Inquire about their ACH payment services and ask if they provide integration services with QuickBooks. Some banks may require additional enrollment or documentation to enable ACH payments.
Once you have confirmed that your bank offers ACH payment services, proceed to the next step of setting up the Chart of Accounts in QuickBooks.
It’s worth noting that ACH payments can provide significant benefits for both you and your customers. By accepting ACH payments, you can eliminate the need for paper checks, reduce processing costs, and improve payment processing speed. On the other hand, customers can enjoy the ease and convenience of direct bank transfers without the hassle of writing and mailing physical checks.
Ensure that your bank supports ACH payments and then proceed to the next step to set up the necessary Chart of Accounts in QuickBooks.
Step 2: Set up the Chart of Accounts in QuickBooks
Setting up the Chart of Accounts in QuickBooks is an essential step before enabling ACH payments. The Chart of Accounts is a complete list of all the accounts used in your business, including assets, liabilities, income, and expenses.
To set up the Chart of Accounts:
- Login to your QuickBooks account and select “Chart of Accounts” from the “Lists” menu.
- Click on the “+New” button to add a new account.
- Select the appropriate account type for ACH payments, such as “Bank” or “Other Current Assets”.
- Provide a name for the account, such as “ACH Payments Receivable”.
- Enter the current balance, typically zero since you’re just setting up the account.
- Save the account and repeat the steps if you need to set up additional ACH-related accounts.
By setting up the Chart of Accounts, you create a dedicated account to track ACH payments within QuickBooks. This allows for accurate tracking and reporting of all ACH payment activity.
Now that the Chart of Accounts is in place, proceed to the next step to enable the ACH payment feature in QuickBooks, making it possible to process ACH payments within the system.
Step 3: Enable the ACH payment feature in QuickBooks
Enabling the ACH payment feature in QuickBooks is a crucial step to start accepting ACH payments from your customers. By enabling this feature, you ensure that QuickBooks has the necessary functionality to process ACH transactions seamlessly.
Here’s how to enable the ACH payment feature in QuickBooks:
- Open QuickBooks and go to “Preferences” from the “Edit” menu.
- Select “Payments” from the left navigation menu.
- Click on the “Company Preferences” tab.
- Check the box that says “Enable ACH payments.”
- Provide any additional information requested by QuickBooks to complete the setup.
- Save your changes.
Once you have enabled the ACH payment feature, QuickBooks will be ready to process ACH transactions. With this feature enabled, you can easily set up ACH payments for your customers and begin accepting electronic payments directly from their bank accounts.
Enabling the ACH payment feature in QuickBooks streamlines the payment process, improves efficiency, and provides a convenient way to collect funds from your customers. Now that you have enabled ACH payments in QuickBooks, it’s time to verify and update your bank account information.
Step 4: Verify your bank account information
Before you can start processing ACH payments in QuickBooks, it’s essential to verify and update your bank account information. This step ensures that your ACH payments are directed to the correct account and that the funds are securely deposited.
To verify your bank account information:
- Log in to your QuickBooks account and go to the “Banking” menu.
- Select “Bank Feeds” and choose “Set Up Bank Feed for an Account.”
- Follow the on-screen prompts to select your bank and provide the necessary login credentials.
- Once connected, QuickBooks will display the bank accounts associated with your login credentials.
- Verify that the bank account(s) listed in QuickBooks match your actual bank account(s) for receiving ACH payments.
- If there are any discrepancies, edit or add the correct bank account(s) within QuickBooks.
Ensuring that your bank account information is accurate and up to date is crucial to avoid any delays or issues with your ACH payment processing. Double-check that the bank account(s) listed in QuickBooks align with the actual accounts you wish to use for receiving ACH payments from your customers.
By verifying your bank account information, you can have peace of mind knowing that your ACH payments will be deposited into the correct account, streamlining your cash flow management and making reconciliation easier.
Now that you have verified your bank account information, you’re ready to proceed to the next step and enter customer payment information in QuickBooks.
Step 5: Enter customer payment information
Once you have set up ACH payment processing in QuickBooks and verified your bank account information, it’s time to enter your customer payment information. This step enables you to associate your customers with their respective bank accounts, making it easier to process ACH payments.
To enter customer payment information in QuickBooks:
- Open QuickBooks and go to the “Customers” menu.
- Select “Customer Center” to view a list of your customers.
- Choose the customer you want to enter payment information for.
- Click on the “Payment Settings” tab.
- Enter the customer’s bank account details, including the bank name, account number, and routing number.
- Save the changes.
- Repeat these steps for each customer you want to enable ACH payments for.
By entering customer payment information in QuickBooks, you establish a direct connection between your customers and their bank accounts. This allows you to easily initiate ACH payments for future transactions, improving efficiency and reducing manual input.
Remember to ensure the accuracy of the bank account details entered for each customer. Any inaccuracies could lead to issues when processing ACH payments, so it’s crucial to double-check all information before saving the changes.
With the customer payment information entered, you’re now ready to schedule ACH payments in QuickBooks for a seamless and automated payment process.
Step 6: Schedule ACH payments
Now that you have entered your customer’s payment information in QuickBooks, you can easily schedule ACH payments and streamline your payment process. Scheduling ACH payments allows you to automate the payment collection from your customers’ bank accounts on the specified due dates.
To schedule ACH payments in QuickBooks:
- Open QuickBooks and go to the “Customers” menu.
- Select “Receive Payments” to view the list of customers with outstanding invoices.
- Choose the customer you want to schedule an ACH payment for.
- Select the appropriate invoice for payment.
- Click on the “Receive Payment” button.
- In the payment method drop-down menu, choose “ACH.”
- Review the payment details to ensure accuracy.
- Click “Save” to schedule the ACH payment.
By scheduling ACH payments in QuickBooks, you eliminate the manual process of collecting payments and reduce the chance of errors. The system will initiate the payment on the specified date, ensuring a seamless and efficient payment collection process.
Keep in mind that scheduled ACH payments will only process if there are sufficient funds available in your customers’ bank accounts. It’s essential to communicate the payment schedule with your customers to ensure they have adequate funds in their accounts to avoid any payment failures.
With ACH payments scheduled, you can focus on other aspects of your business, knowing that your payment collection is automated and will be processed on the agreed-upon dates.
The next step will guide you on printing or emailing ACH payment receipts to provide your customers with confirmation of their payment.
Step 7: Print or email ACH payment receipts
After successfully processing ACH payments in QuickBooks, it’s important to provide your customers with payment receipts for their records. These receipts serve as confirmation of the transaction, ensuring transparency and professionalism in your business dealings.
To print or email ACH payment receipts in QuickBooks:
- Navigate to the “Customers” menu in QuickBooks.
- Select “Invoice” from the dropdown menu.
- Locate and open the invoice associated with the ACH payment.
- Review the invoice details to ensure accuracy.
- Click on the “Print” button to generate a physical copy of the receipt.
- Alternatively, click on the “Email” button to send the receipt to the customer’s email address on file.
When printing ACH payment receipts, ensure that you have a printer set up and connected to your QuickBooks account. Double-check the print settings to ensure clarity and legibility of the receipt document.
If you choose to email ACH payment receipts, make sure that you have the correct email address for the customer in QuickBooks. Customize the message if needed and attach the receipt as a PDF file for easy viewing and record-keeping.
Providing ACH payment receipts demonstrates professionalism and reinforces trust with your customers. It serves as proof of payment and can be useful for their accounting and reconciliation purposes.
With ACH payment receipts printed or emailed, you have successfully completed the process of setting up and managing ACH payments in QuickBooks.
Conclusion
Congratulations! You have successfully learned how to set up ACH payments in QuickBooks, enabling a streamlined and efficient payment process for your business. By implementing ACH payment capabilities, you can save time, reduce costs, and improve cash flow management.
Throughout this guide, we covered the essential steps involved in setting up ACH payments:
- Verifying that your bank supports ACH payments.
- Setting up the Chart of Accounts in QuickBooks.
- Enabling the ACH payment feature in QuickBooks.
- Verifying your bank account information for accurate deposit of ACH payments.
- Entering customer payment information to associate them with their bank accounts.
- Scheduling ACH payments to automate payment collection.
- Printing or emailing ACH payment receipts for customer confirmation.
By following these steps, you have successfully integrated ACH payment processing into your QuickBooks account. This allows you to conveniently receive payments from your customers directly into your designated bank accounts.
Remember to communicate the ACH payment process with your customers and educate them on the benefits of this secure and convenient payment method. Providing excellent customer service and a seamless payment experience will help strengthen your business relationships.
Now that you are well-equipped with the knowledge of setting up ACH payments in QuickBooks, you can take full advantage of this feature to improve your payment processes. Enjoy the efficiency, accuracy, and convenience that ACH payments bring to your business!


