Introduction
Video RAM, also known as VRAM, is a crucial component of your computer’s graphics system. It is a type of memory specifically designed to store and process graphical data, including textures, images, and 3D models. The amount of dedicated video RAM in your system can have a significant impact on your computer’s graphics performance and overall gaming experience.
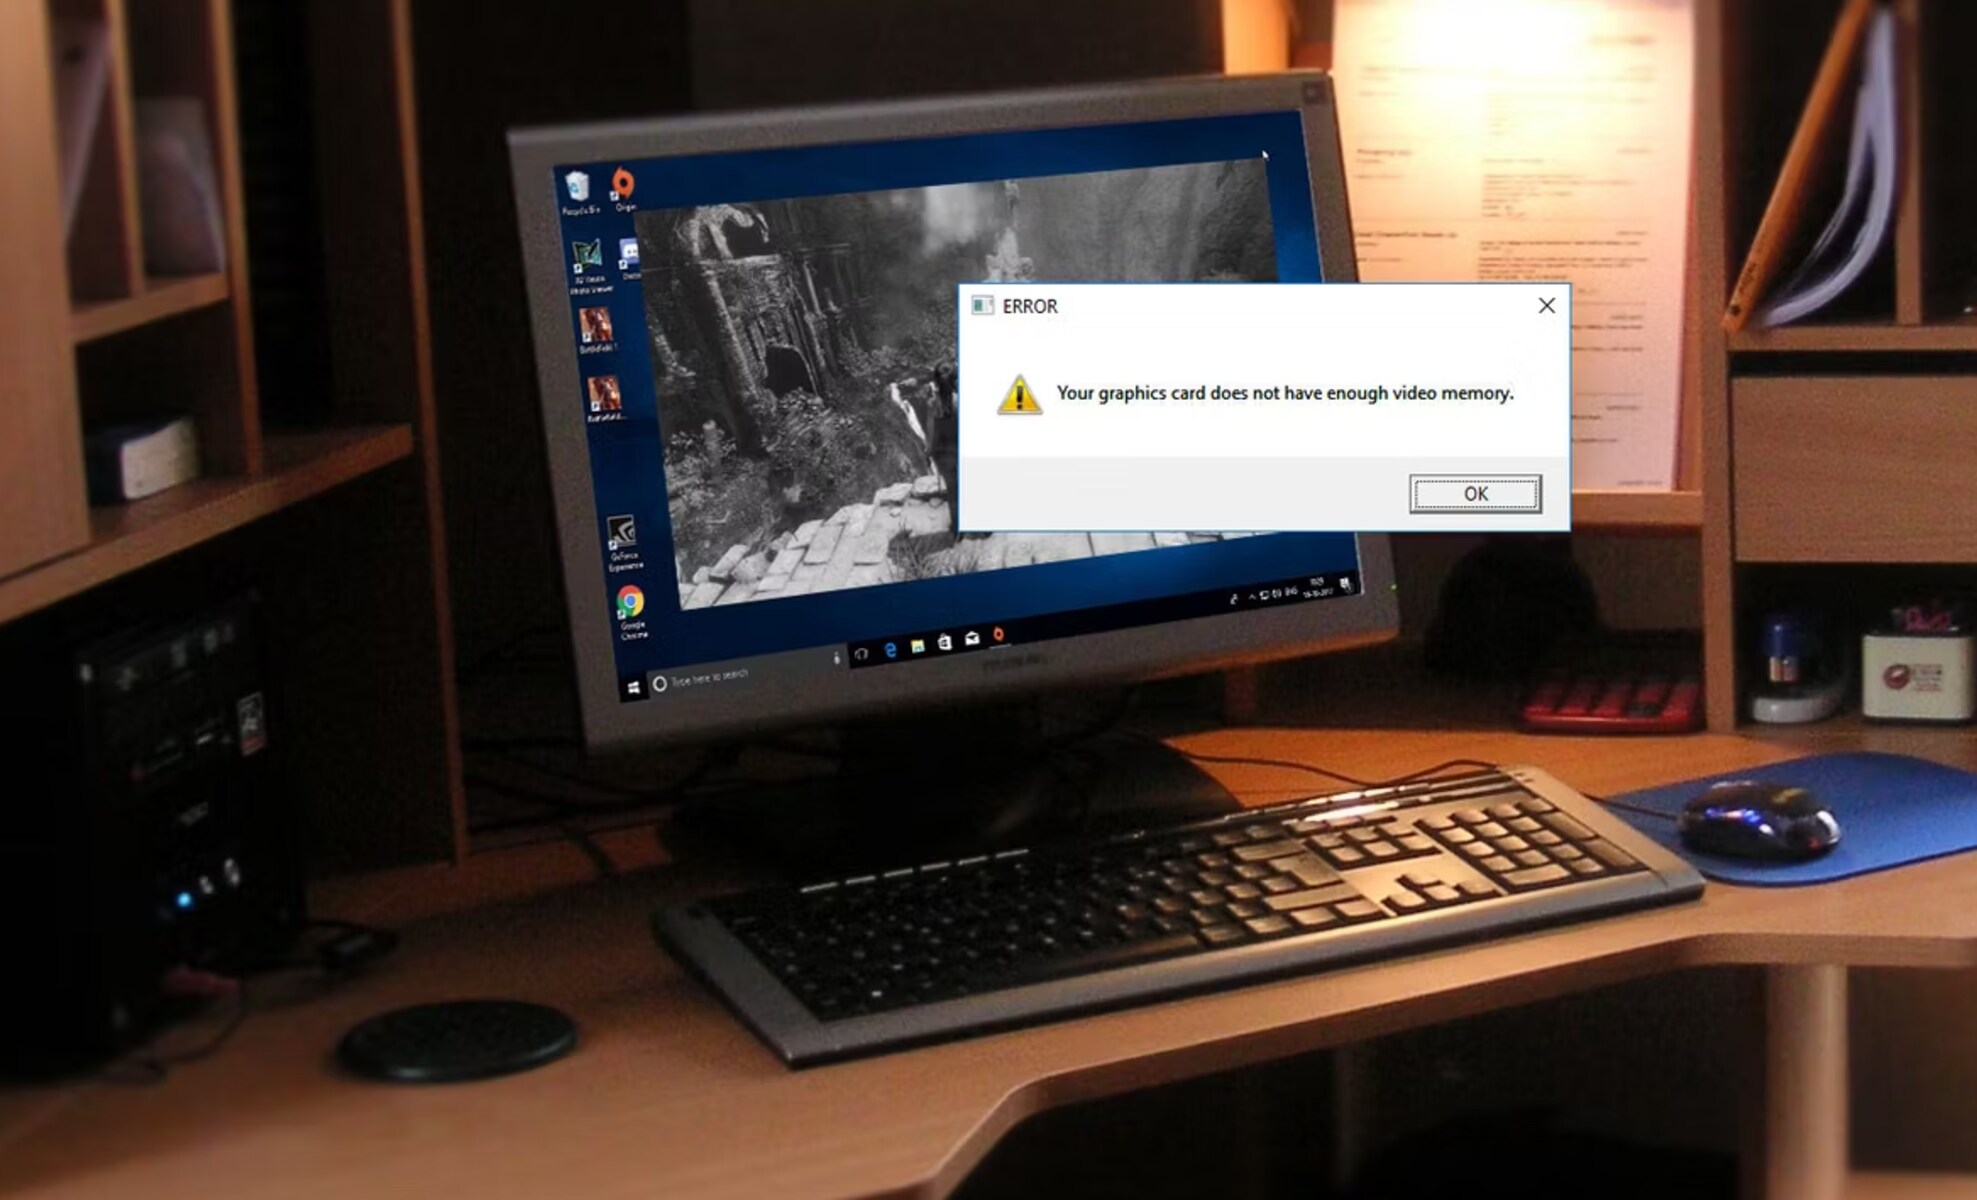
When it comes to playing graphically-intensive games or working with resource-demanding applications, having sufficient dedicated video RAM becomes paramount. Without enough VRAM, your system may struggle to render high-resolution graphics or experience lag and stuttering during gameplay or video playback.
Fortunately, most modern computers allow users to adjust the amount of dedicated video RAM allocated to their graphics system. By optimizing this setting, you can enhance your computer’s graphics capabilities and maximize its performance. In this article, we will explore various methods of setting dedicated video RAM, including adjustments in BIOS and operating system settings.
Before diving into the configuration details, let’s first understand why adjusting dedicated video RAM is essential and how it can positively impact your computer’s performance.
By increasing the amount of dedicated video RAM, you can provide your graphics system with more memory to efficiently process and store graphical data. This allows your computer to handle complex graphics tasks more smoothly, reducing the chances of frame drops, lag, and visual artifacts. Additionally, allocating more VRAM can improve the rendering of high-resolution textures and models, resulting in sharper and more detailed graphics.
Moreover, having adequate dedicated video RAM can also benefit content creators who work with video editing software, 3D modeling applications, or graphic design programs. These types of software often require significant amounts of VRAM to render and manipulate complex visual elements effectively. Therefore, increasing the dedicated video RAM can enhance the performance and responsiveness of these tools, enabling smoother workflows and faster project completion.
Now that we understand the importance of dedicated video RAM and the benefits of optimizing it, let’s move on to the next sections to learn how to check the current video RAM and the system requirements, and find out how to allocate more dedicated video RAM.
What is Dedicated Video RAM?
Dedicated Video RAM, often abbreviated as VRAM, is a specific type of memory that serves as a dedicated buffer for storing and processing graphical data on a computer. Unlike regular system RAM, which is used for general computing tasks, dedicated video RAM is solely dedicated to handling graphics-related operations.
The purpose of VRAM is to provide a fast and efficient method of storing and accessing the vast amount of data required for rendering high-quality graphics, such as textures, shaders, and frame buffers. By having dedicated video RAM, the graphics card or integrated GPU (Graphics Processing Unit) can access the necessary data quickly, resulting in smoother and more responsive graphics performance.
Dedicated video RAM comes in different types, such as GDDR (Graphics Double Data Rate) or HBM (High Bandwidth Memory). These types of memory offer higher bandwidth, meaning they can transfer data to the GPU at faster rates, further enhancing overall graphics performance.
The amount of dedicated video RAM varies depending on the graphics hardware used in the computer. Entry-level or integrated graphics systems typically have a lower amount of VRAM, usually ranging from 1GB to 2GB. On the other hand, high-end gaming GPUs or professional graphics cards may come with several gigabytes, or even terabytes, of dedicated video RAM.
It is essential to note that dedicated video RAM is separate from the system RAM, and the two do not share memory resources. While the system RAM is used for general computing tasks like running applications and storing temporary data, VRAM is specifically reserved for graphical operations. This separation allows for better performance and prevents conflicts between graphics processing and other tasks.
In summary, dedicated video RAM is a specialized memory buffer that stores and processes graphical data exclusively. It provides faster access to graphical elements and enhances overall graphics performance on a computer. By having dedicated VRAM, the system can render high-quality graphics, run demanding games, and handle resource-intensive graphic design or video editing applications more effectively.
Why Set Dedicated Video RAM?
Setting dedicated video RAM is crucial for optimizing your computer’s graphics performance, especially when it comes to gaming, multimedia editing, or any graphics-intensive tasks. Here are several key reasons why you should consider adjusting dedicated video RAM:
Improved Graphics Performance: Allocating more video RAM provides your graphics system with additional memory to store and process graphical data. This allows for smoother rendering of high-resolution textures, faster loading times, and reduced lag during gameplay or video playback. By increasing dedicated video RAM, you can experience enhanced graphics performance with better frame rates and improved visual quality.
Maximized Gaming Experience: Many modern games have increasingly advanced graphics and demand more VRAM to run smoothly. By setting a higher amount of dedicated video RAM, you ensure that your system has enough memory to handle the graphical demands of the games you play. This can result in a more immersive and enjoyable gaming experience without performance bottlenecks or visual artifacts.
Optimized Multimedia Editing: If you frequently work with video editing software, graphic design applications, or 3D modeling tools, having sufficient dedicated video RAM is crucial. These programs rely heavily on GPU acceleration and require ample VRAM to efficiently handle the rendering and manipulation of complex graphical elements. By allocating more video RAM, you can improve the overall performance and responsiveness of these applications, allowing for smoother workflows and faster project completion.
Support for Multiple Displays: If you use multiple monitors or plan to connect additional displays to your system, increasing dedicated video RAM can be beneficial. Each display requires its own portion of VRAM to render the graphics independently. By setting a higher amount of dedicated video RAM, you ensure that each display has sufficient memory for smooth graphics performance without compromising the overall system performance.
Future-Proofing: As technology advances, so do the graphical demands of applications and games. By setting higher dedicated video RAM allocation now, you future-proof your system to some extent. This means that as new, more graphics-intensive software becomes available, your system will be better equipped to handle it without requiring immediate hardware upgrades.
Compatibility and Stability: Some outdated or poorly optimized software may have compatibility issues or stability problems if the system has inadequate dedicated video RAM. By ensuring that your system meets the recommended video RAM requirements, you can avoid such issues and ensure smoother operation of various software and applications.
By considering these reasons and adjusting the dedicated video RAM according to your needs, you can optimize your computer’s graphics performance and unlock its full potential for gaming, multimedia editing, and other graphics-intensive tasks.
Checking Current Video RAM
Before adjusting the amount of dedicated video RAM, it is essential to determine the current allocation on your system. Here are a few methods to check the current video RAM:
1. System Information: On Windows, you can use the built-in System Information utility to check the allocated video RAM. Press Win + R to open the Run dialog box, type “msinfo32”, and hit Enter. In the System Information window, navigate to “Components” and expand the “Display” category. Here, you will find the information about your graphics card, including the allocated video RAM.
2. Graphics Settings: On Windows, you can also check the allocated video RAM through the Graphics Settings. Right-click on the desktop and select “Graphics Settings” from the context menu. Under the “Display” tab, you will find the information regarding the allocated video RAM.
3. Graphics/Display Control Panel: Graphics card manufacturers usually provide control panel software that allows you to manage various graphics settings. Look for a specific control panel utility for your graphics card, such as NVIDIA Control Panel or AMD Radeon Settings. Within these control panels, you can find information about the dedicated video RAM allocation.
4. System Report: On macOS, you can check the allocated video RAM through the System Report. Click on the Apple menu, select “About This Mac,” and click on the “System Report” button. In the left sidebar, navigate to “Graphics/Displays,” and you will find the information about your graphics card, including the allocated video RAM.
5. Online System Scanners: There are various online tools and scanners available that can analyze your system and provide detailed information about its components, including the allocated video RAM. These tools often provide easy-to-understand reports with comprehensive hardware information.
By using any of these methods, you can check the current allocation of dedicated video RAM on your computer. This information serves as a starting point for determining whether the current allocation is sufficient for your needs or if adjustment is required. Once you have the necessary information, you can proceed to adjust the dedicated video RAM accordingly.
Checking System Requirements
Before adjusting the dedicated video RAM on your system, it is vital to ensure that your computer meets the requirements for allocating more memory. Here are the steps to check the system requirements:
1. Check GPU Specifications: Start by identifying the graphics card or integrated GPU model installed in your computer. Open the device manager on Windows by pressing Win + X and selecting “Device Manager.” Expand the “Display Adapters” category, and you will find the name of your graphics card. On macOS, click on the Apple menu, select “About This Mac,” and navigate to the “Displays” section to find the GPU information.
2. Manufacturer Documentation: Once you have the GPU model, visit the manufacturer’s website to find the specifications for that particular graphics card. Look for details such as the recommended video RAM allocation, system requirements for optimal performance, and any specific guidelines or limitations for adjusting video RAM on that GPU.
3. Game or Software Requirements: If you are adjusting video RAM for gaming purposes, check the system requirements for the specific games you plan to play. Game developers usually list the recommended hardware specifications, including the amount of video RAM needed for optimal performance. Ensure that your system meets or exceeds these requirements to avoid performance issues.
4. Application Recommendations: If you are adjusting video RAM for specific software applications such as video editing or 3D modeling programs, check the recommended system requirements provided by the software developer. Look for information related to the recommended video RAM allocation and system specifications for smooth operation.
5. Consider Operating System Limitations: Keep in mind that the allocated video RAM is shared system-wide, meaning it is not solely dedicated to graphics tasks. Certain operating systems impose limitations on the amount of video RAM that can be allocated, which may vary depending on the version and edition of the operating system. Take this into account when determining the maximum video RAM allocation for your system.
By thoroughly checking the GPU specifications, consulting manufacturer documentation, reviewing game or software requirements, and considering any operating system limitations, you can ensure that your system meets the necessary requirements for adjusting the dedicated video RAM. Following these steps will help you make informed decisions and ensure optimal performance and compatibility when allocating additional video RAM to your graphics system.
Allocating More Dedicated Video RAM
Allocating more dedicated video RAM can be a straightforward process, allowing you to enhance your computer’s graphics performance. Here are the steps to allocate more video RAM:
1. BIOS/UEFI Settings: Restart your computer and access the BIOS/UEFI settings by pressing the designated key during startup (often displayed on the screen). Navigate to the “Advanced” or “Performance” settings and look for an option related to video memory or shared memory. Here, you can adjust the allocated video RAM by selecting a higher value. Keep in mind that not all BIOS/UEFI versions have this option, especially on laptops or pre-built systems.
2. Windows Settings: On Windows, you can adjust the allocated video RAM through the Graphics Settings. Right-click on the desktop and select “Graphics Settings” from the context menu. Under the “Display” tab, click on “Graphics performance preference” and choose the “High performance” option to allocate more video RAM to the system. Restart your computer for the changes to take effect.
3. macOS Settings: On macOS, adjusting the allocated video RAM requires a different approach. Unfortunately, macOS does not provide a built-in method to allocate video RAM. However, you can optimize the VRAM usage by closing unnecessary applications and reducing graphics-intensive processes. This frees up the available video RAM for the active applications and improves performance.
4. Third-Party Tools: In some cases, third-party software or utilities may offer more advanced options for adjusting dedicated video RAM. These tools provide additional customization options and allow you to fine-tune the video RAM allocation according to your specific requirements. However, be cautious when using third-party software and ensure that they come from reputable sources.
Note: It is important to remember that increasing the allocated video RAM does not physically add more memory to your system. Instead, it reserves a larger portion of system memory for graphics operations. Be mindful of the overall system memory capacity and consider the impact of allocating more video RAM on other tasks and applications that rely on system memory.
Once you have adjusted the dedicated video RAM, monitor the system’s performance and assess the impact of the changes. You should notice improved graphics performance and smoother operation, especially when running graphics-intensive games or applications.
However, if you experience any instability or unintended consequences after adjusting the video RAM, revert the changes back to the default settings or allocate a lower amount of video RAM.
Remember to consult the documentation and resources specific to your computer and graphics hardware for detailed instructions on adjusting the dedicated video RAM, as the process may vary depending on the system configuration.
Adjusting Dedicated Video RAM in BIOS
If you want to adjust the dedicated video RAM on your computer, one way to do so is through the BIOS (Basic Input/Output System) or UEFI (Unified Extensible Firmware Interface) settings. Here’s how you can accomplish this:
1. Restart Your Computer: Start by rebooting your computer. During startup, look for the key specified to access the BIOS settings. The key may vary depending on the manufacturer, but commonly used keys include F2, Del, Esc, or F12. Keep pressing the designated key until the BIOS or UEFI menu appears.
2. Navigate to Advanced Settings: Once you’re in the BIOS/UEFI menu, use the arrow keys to navigate through the options. Look for a section related to “Advanced” or “Performance” settings. The GPU settings may be located under these categories.
3. Find Video Memory or Shared Memory: Within the advanced settings, search for an option related to video memory, shared memory, or graphics settings. The exact wording may vary depending on your BIOS/UEFI version. Look for terms like “Graphics Configuration,” “Graphics Settings,” “Integrated Graphics,” or “Video Adapter Control.”
4. Adjust the Video RAM Allocation: Once you’ve located the video memory or shared memory settings, you can modify the allocated video RAM size. The options might include predetermined values or a slider to adjust the amount. Select a higher value to allocate more video RAM. Be aware that not all BIOS/UEFI versions provide the option to adjust video RAM.
5. Save and Exit: After adjusting the video RAM allocation, save the changes and exit the BIOS/UEFI settings. Look for an option like “Save Changes and Exit” or “Exit and Save Changes.” Your computer will restart, and the new video RAM allocation will take effect.
Note: It’s important to exercise caution when modifying BIOS/UEFI settings, as incorrect changes can cause system instability or even prevent your computer from booting. If you’re unsure about any settings, consult the documentation provided by your computer’s manufacturer or seek assistance from a qualified professional.
Keep in mind that not all systems allow users to adjust the dedicated video RAM in the BIOS/UEFI settings. Some laptops or pre-built systems may have limited options in the BIOS. In such cases, you may need to explore alternative methods, such as adjusting the video RAM in the operating system settings or using third-party software.
By adjusting the dedicated video RAM in the BIOS/UEFI, you can allocate a larger portion of system memory for graphics operations. This can lead to improved graphics performance and smoother operation during gaming or graphics-intensive applications.
Adjusting Dedicated Video RAM in Windows Settings
Windows provides a convenient method for adjusting the dedicated video RAM through the Graphics Settings. Here’s how you can do it:
1. Right-click on the Desktop: Begin by right-clicking on the desktop to open the context menu.
2. Select Graphics Settings: From the context menu, select “Graphics Settings.” This will open the Graphics Settings window.
3. Choose Graphics Performance Preference: In the Graphics Settings window, click on the “Graphics performance preference” link.
4. Select High Performance: The Graphics Performance Preference menu will appear. Choose the “High performance” option.
5. Restart Your Computer: After selecting the “High Performance” option, it is necessary to restart your computer for the changes to take effect.
By selecting the “High performance” option, Windows will allocate more dedicated video RAM to the system. This will enhance the graphics performance, resulting in smoother gameplay, faster video rendering, and improved graphics-intensive applications.
Note: The availability of the Graphics Settings and the option to adjust dedicated video RAM may vary depending on your graphics hardware and Windows version. If you do not see the Graphics Settings option or the “High performance” option, it is possible that your system does not support this feature.
It is important to be mindful of the overall system memory capacity when allocating more video RAM. Allocating a significant portion of system memory for graphics operations may impact other tasks and applications that rely on system memory. Therefore, consider the limitations and requirements of your specific system before making adjustments.
If you experience any unexpected behavior or instability after adjusting the dedicated video RAM, you can revert the changes by returning to the Graphics Settings and selecting the “System default” option. This will set the video RAM allocation back to the default settings.
Adjusting the dedicated video RAM in Windows settings offers a user-friendly method to optimize your computer’s graphics performance. It allows you to allocate more system memory for graphics operations, resulting in improved overall performance and a better experience when running graphics-intensive applications.
Adjusting Dedicated Video RAM in macOS Settings
Unlike Windows, macOS does not provide a built-in method to directly adjust the dedicated video RAM. However, there are still ways to optimize the video RAM usage for better performance. Here’s what you can do:
1. Close Unnecessary Applications: Start by closing any unnecessary applications running in the background. This frees up system resources, including video RAM, for the active applications.
2. Reduce Graphics-Intensive Processes: If you’re running various graphics-intensive processes, such as rendering high-resolution videos or complex 3D modeling, consider pausing or reducing the workload of these tasks. This allows more video RAM to be available for the active application, resulting in better performance.
3. Adjust System Preferences: While you cannot directly allocate dedicated video RAM in macOS, you can adjust specific settings to optimize the usage of video RAM. Go to the Apple menu, select “System Preferences,” and follow these steps:
- In the “System Preferences,” select “Energy Saver”.
- Switch to the “Power Adapter” tab.
- Disable the “Automatic graphics switching” option if available. This forces your system to use the more powerful discrete graphics card, which may have more dedicated video RAM.
- Restart your computer for the changes to take effect.
Note: Not all Mac models have the option to disable the automatic graphics switching. This option is typically available on MacBook Pro models equipped with both integrated and discrete graphics cards.
By disabling the automatic graphics switching, you prioritize the use of the discrete graphics card, which often has a larger amount of dedicated video RAM. This can help improve graphics performance, especially in applications that require more video RAM.
It’s important to note that allocating dedicated video RAM is not possible in macOS as it is managed dynamically by the operating system. macOS intelligently handles the allocation of video RAM based on system requirements, ensuring optimal performance for both graphics-intensive applications and regular tasks.
While you may not have direct control over the dedicated video RAM in macOS, following the above steps allows you to optimize video RAM usage and prioritize graphics performance. This, in turn, can result in smoother rendering, faster video playback, and better overall graphics experience on your Mac.
Tips for Optimizing Video Performance
Aside from adjusting the dedicated video RAM, there are several other tips and techniques you can employ to optimize video performance on your computer. Here are some helpful suggestions:
1. Keep Your Graphics Drivers Updated: Regularly updating your graphics drivers ensures that you have the latest bug fixes and performance improvements. Visit the website of your graphics card manufacturer (such as NVIDIA, AMD, or Intel) to download and install the latest drivers for your specific GPU model.
2. Close Unnecessary Background Applications: Closing unnecessary applications running in the background helps free up system resources, including video RAM. This allows your computer to dedicate more resources to the active video playback or editing software, resulting in smoother performance.
3. Use Hardware Acceleration: Many video players and video editing software support hardware acceleration, which offloads the workload to the GPU. This results in smoother video playback and faster rendering. Ensure that hardware acceleration is enabled in your video player or editing software settings.
4. Adjust Display Settings: Optimizing display settings can also improve video performance. Reduce the resolution of your display if you are experiencing lag or stuttering during video playback. Additionally, disabling visual effects, such as transparency or animations, can free up system resources for better video performance.
5. Clear Temporary Files and Cache: Temporary files and cached data can accumulate over time, hogging system resources. Regularly clearing out these files helps maintain optimal performance. Use disk cleanup tools or manually delete temporary files and clear cache folders.
6. Increase Virtual Memory: Virtual memory, also known as the page file, can supplement system RAM when it becomes limited. Increasing the size of the virtual memory can help improve overall system performance, including video playback. However, keep in mind that virtual memory is not a direct substitute for dedicated video RAM.
7. Optimize Video Codecs and Formats: Some video codecs or formats may be more resource-intensive than others. If you experience performance issues with specific videos, consider converting them to a more optimized format or using hardware-accelerated video codecs like H.264 or HEVC (H.265).
8. Perform Regular System Maintenance: Regular system maintenance, such as disk defragmentation, disk cleanup, and malware scans, can help optimize overall system performance. These tasks improve disk access speeds, remove unnecessary files, and ensure a healthy system environment for efficient video playback.
9. Upgrade Hardware Components: If your system consistently struggles with video performance despite optimization efforts, it may be time to consider upgrading your hardware components. Depending on your budget and requirements, consider upgrading your graphics card, CPU, or increasing the amount of system RAM.
By implementing these tips, you can optimize video performance on your computer, ensuring smoother playback, faster rendering, and better overall video experience. Experiment with each suggestion to find the best combination for your specific hardware and software configuration.
Conclusion
Adjusting the dedicated video RAM is an effective way to optimize your computer’s graphics performance and enhance your overall experience when playing games, working with multimedia, or running graphics-intensive applications. By allocating more video RAM, you provide your system with additional memory to efficiently handle graphical operations, resulting in smoother gameplay, faster video rendering, and improved visuals.
When adjusting the dedicated video RAM, it is crucial to consider the system requirements and limitations of your specific hardware and operating system. Checking the current video RAM allocation, consulting manufacturer documentation, and reviewing game or software requirements can help you determine the necessary adjustments for optimal performance.
On Windows, you can adjust the dedicated video RAM through the Graphics Settings, while macOS offers options to optimize video RAM usage indirectly. Additionally, adjusting the video RAM allocation in the BIOS/UEFI settings provides another method on some systems.
Alongside adjusting the dedicated video RAM, there are other tips for optimizing video performance. Keeping graphics drivers up to date, closing unnecessary background applications, using hardware acceleration, adjusting display settings, clearing temporary files, and performing regular system maintenance can further enhance video performance on your computer.
Remember to approach adjustments with caution and be mindful of the system’s overall memory capacity, as allocating too much video RAM may impact other tasks and applications that rely on system memory.
By combining these techniques and considering your specific hardware and software requirements, you can achieve excellent graphics performance, smoother video playback, and improved overall video experience on your computer.