Introduction
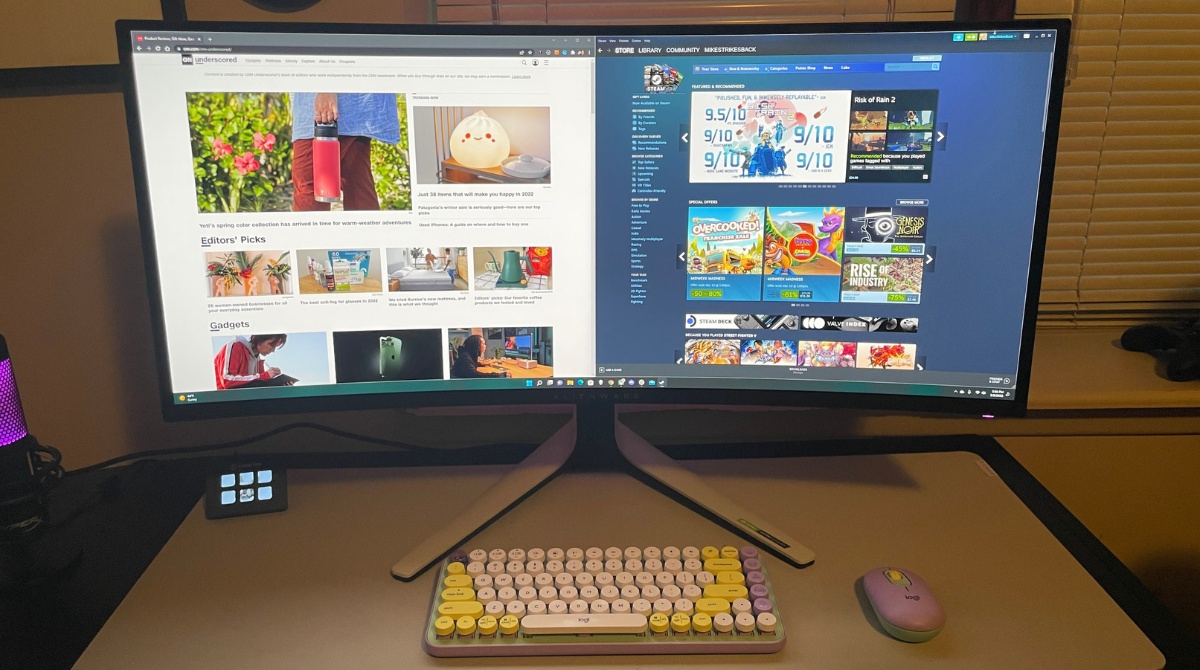
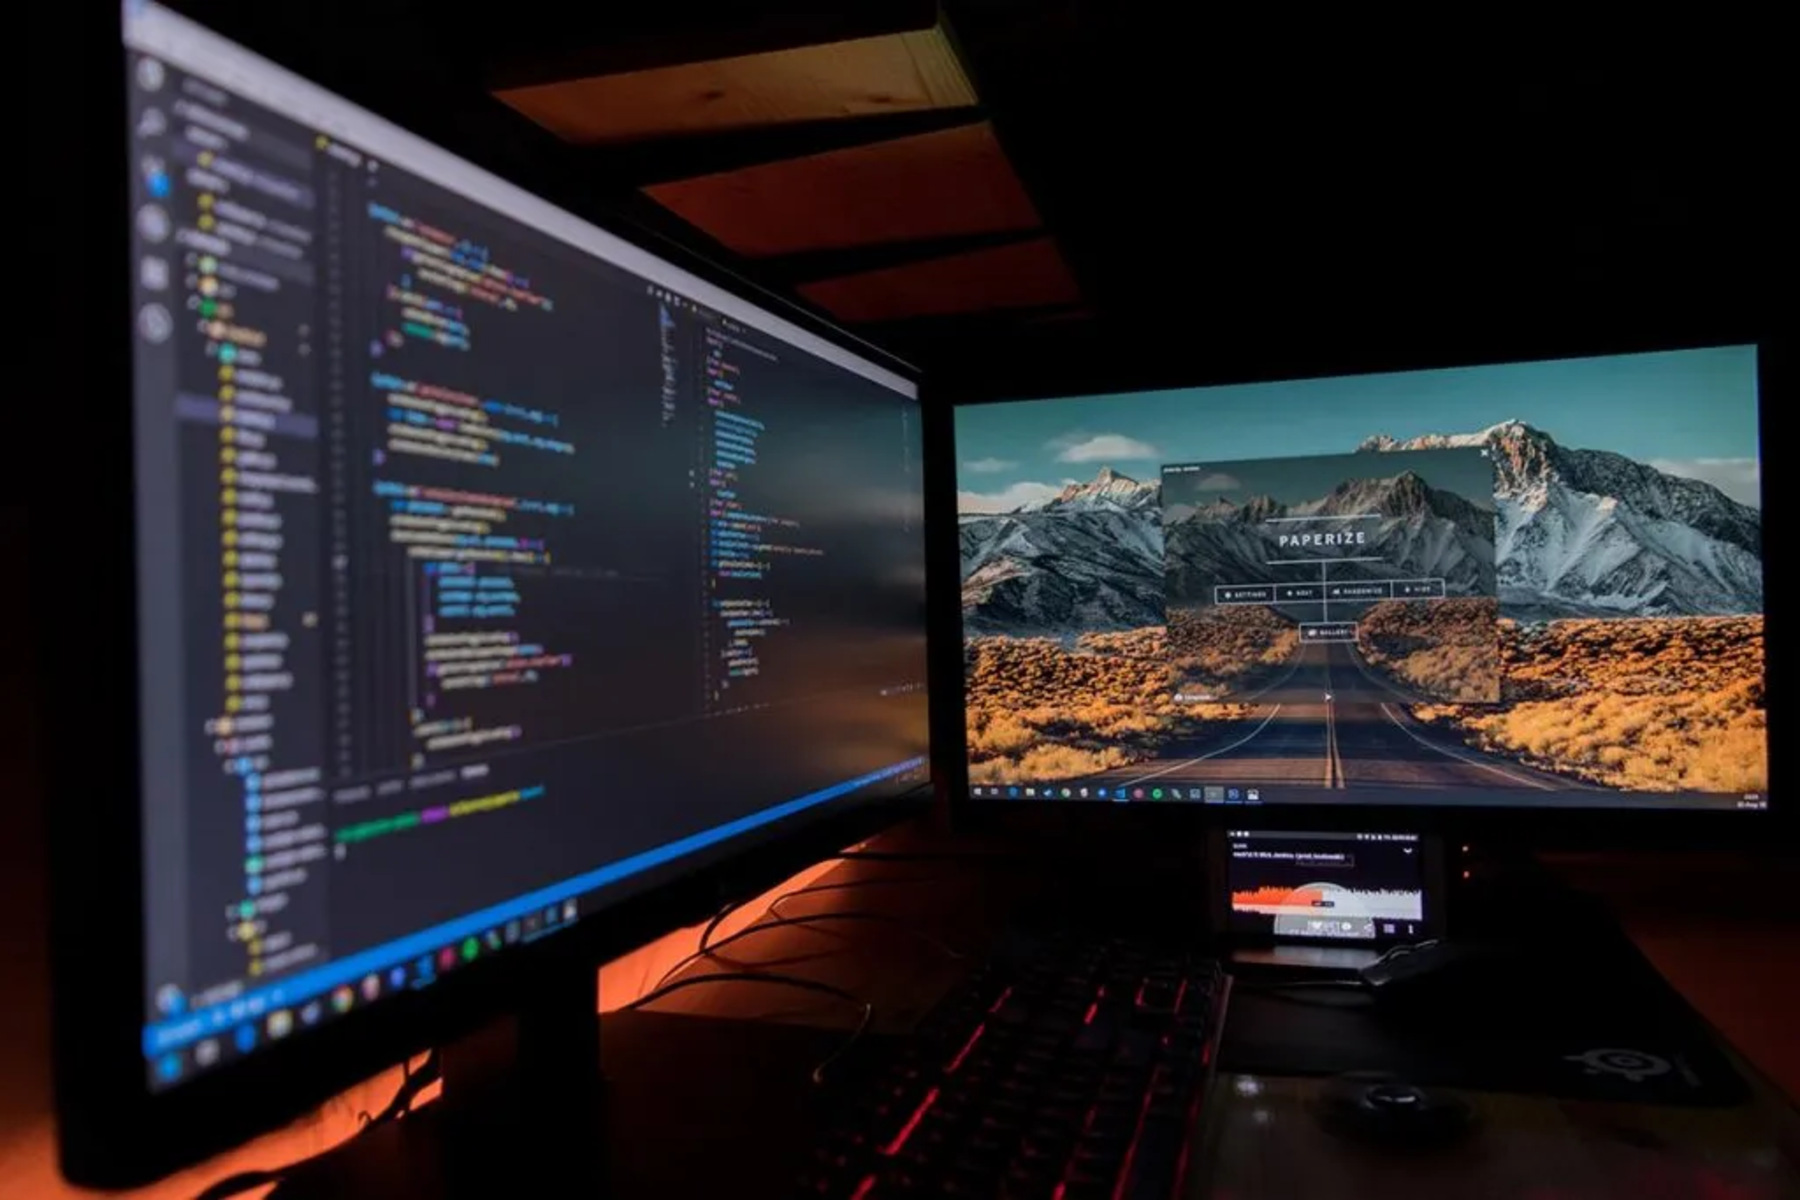
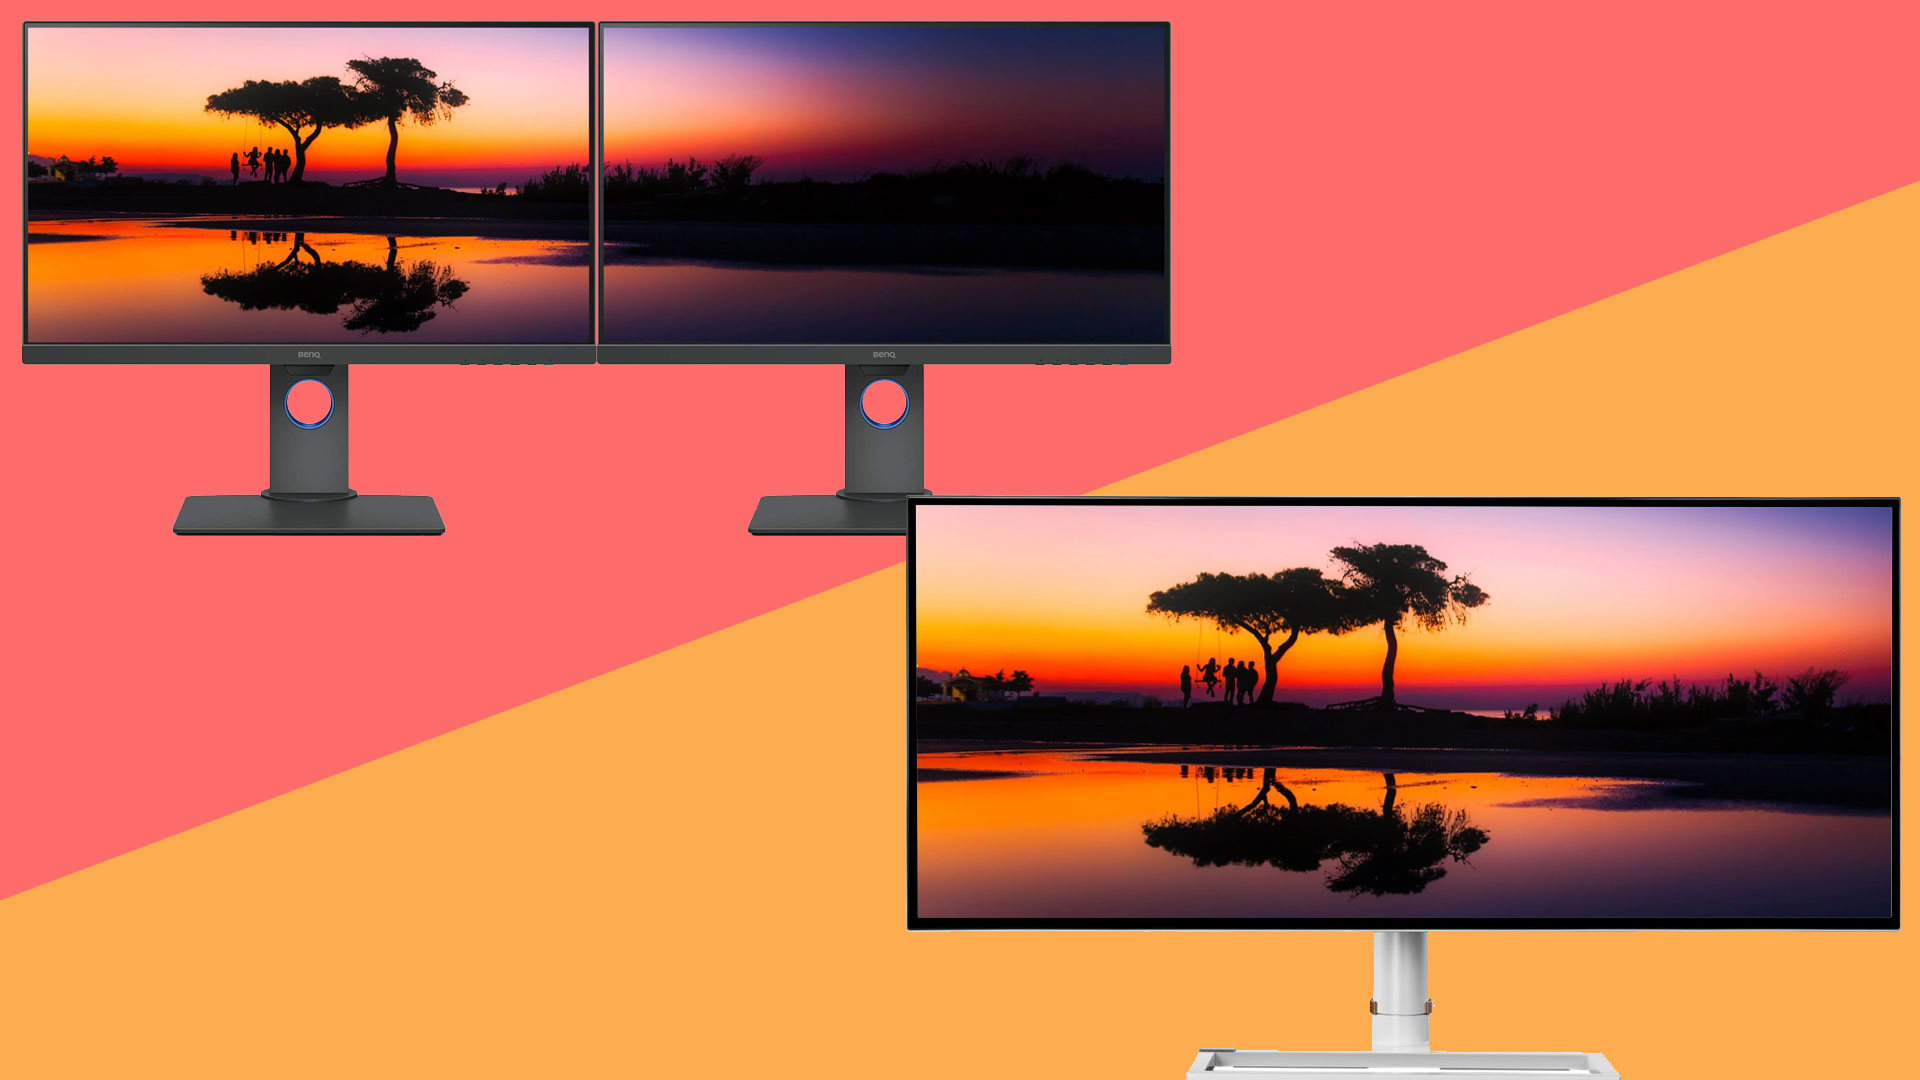
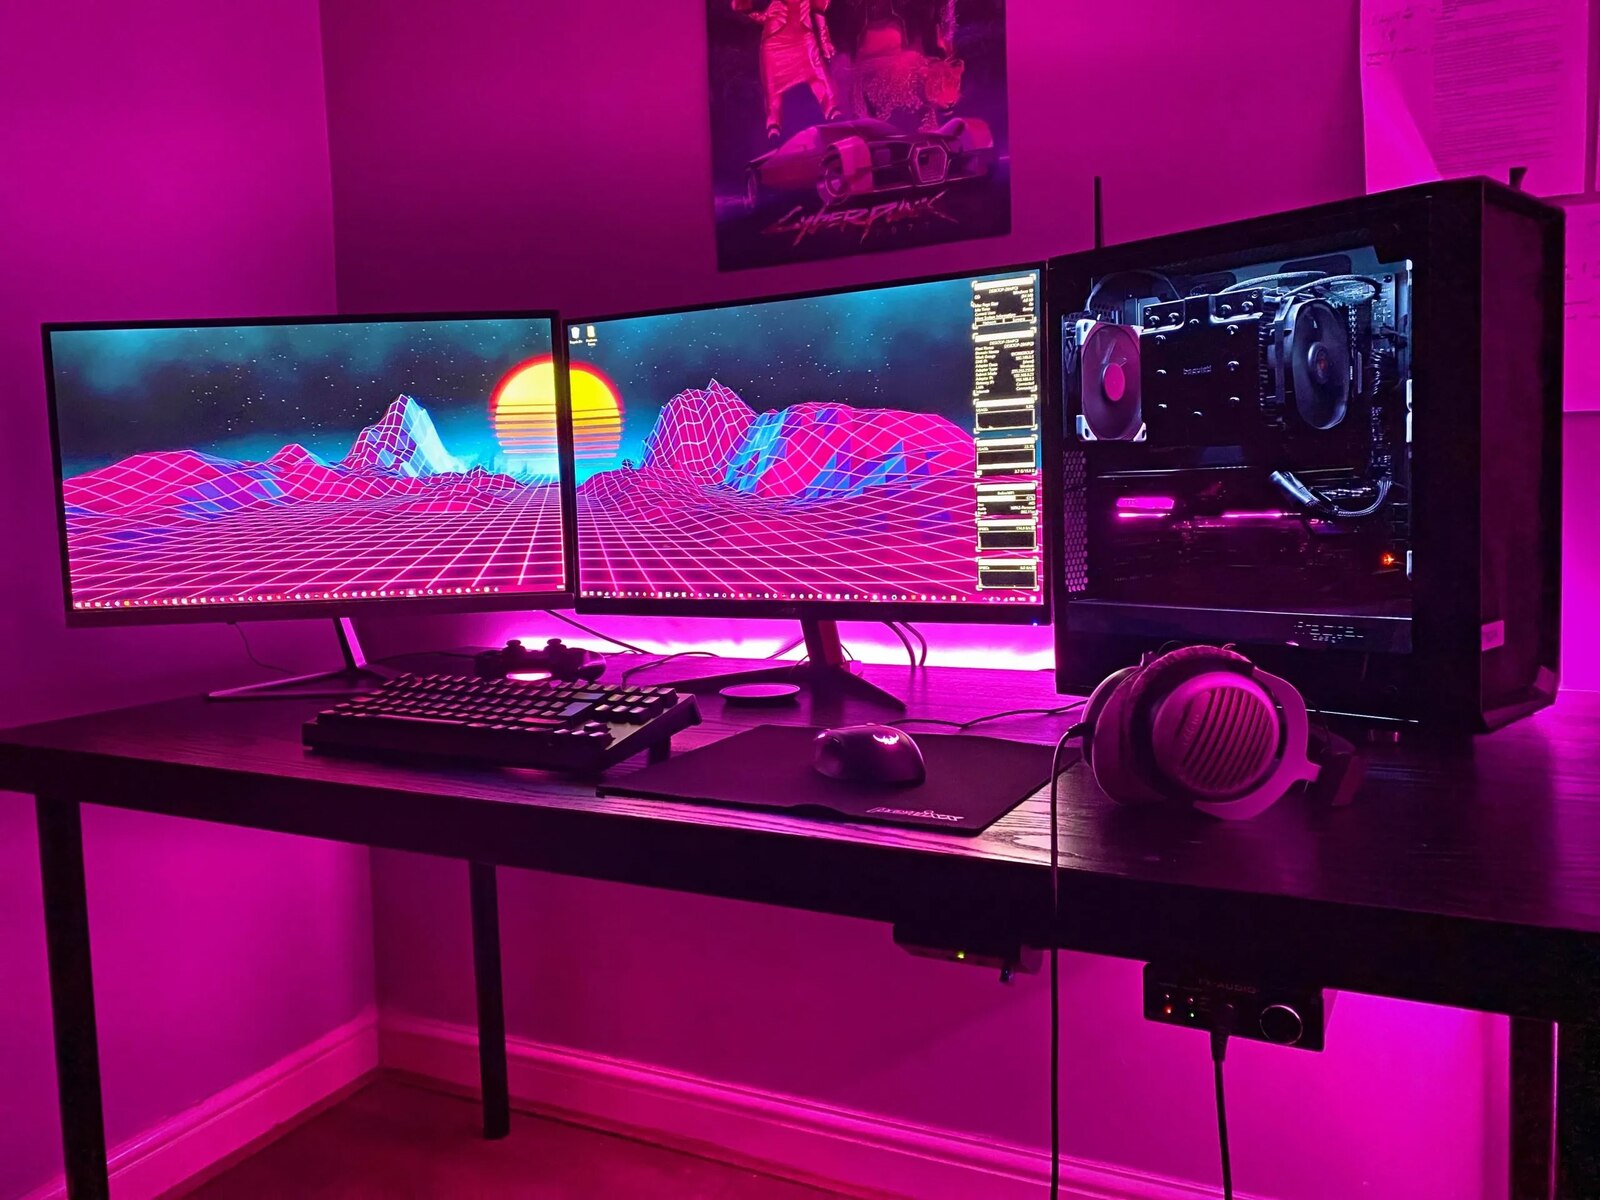
Welcome to the world of gaming, where every frame matters and every detail counts. Whether you’re a casual gamer or a competitive enthusiast, having the right monitor setup can greatly enhance your gaming experience. One popular setup is using two displays, which allows you to have more screen real estate for multitasking or immersing yourself in your game world.
In this article, we will guide you through the steps of setting up a gaming monitor with two displays. We’ll cover everything from connecting the monitors to customizing the settings. By the end, you’ll have a well-optimized and visually stunning gaming setup that will take your gaming experience to new heights.
Before we dive into the steps, it’s important to note that the process may vary depending on the operating system you’re using. We’ll provide instructions for both Windows and Mac systems, so rest assured that you’ll find the information you need, regardless of your setup.
So, whether you’re looking to undertake some serious gaming, stream your gameplay to your audience, or simply enhance your productivity with a dual-screen setup, let’s get started on setting up your gaming monitor with two displays!
Step 1: Connecting the gaming monitor
The first step in setting up your gaming monitor with two displays is to connect the monitors to your computer. Here’s what you need to do:
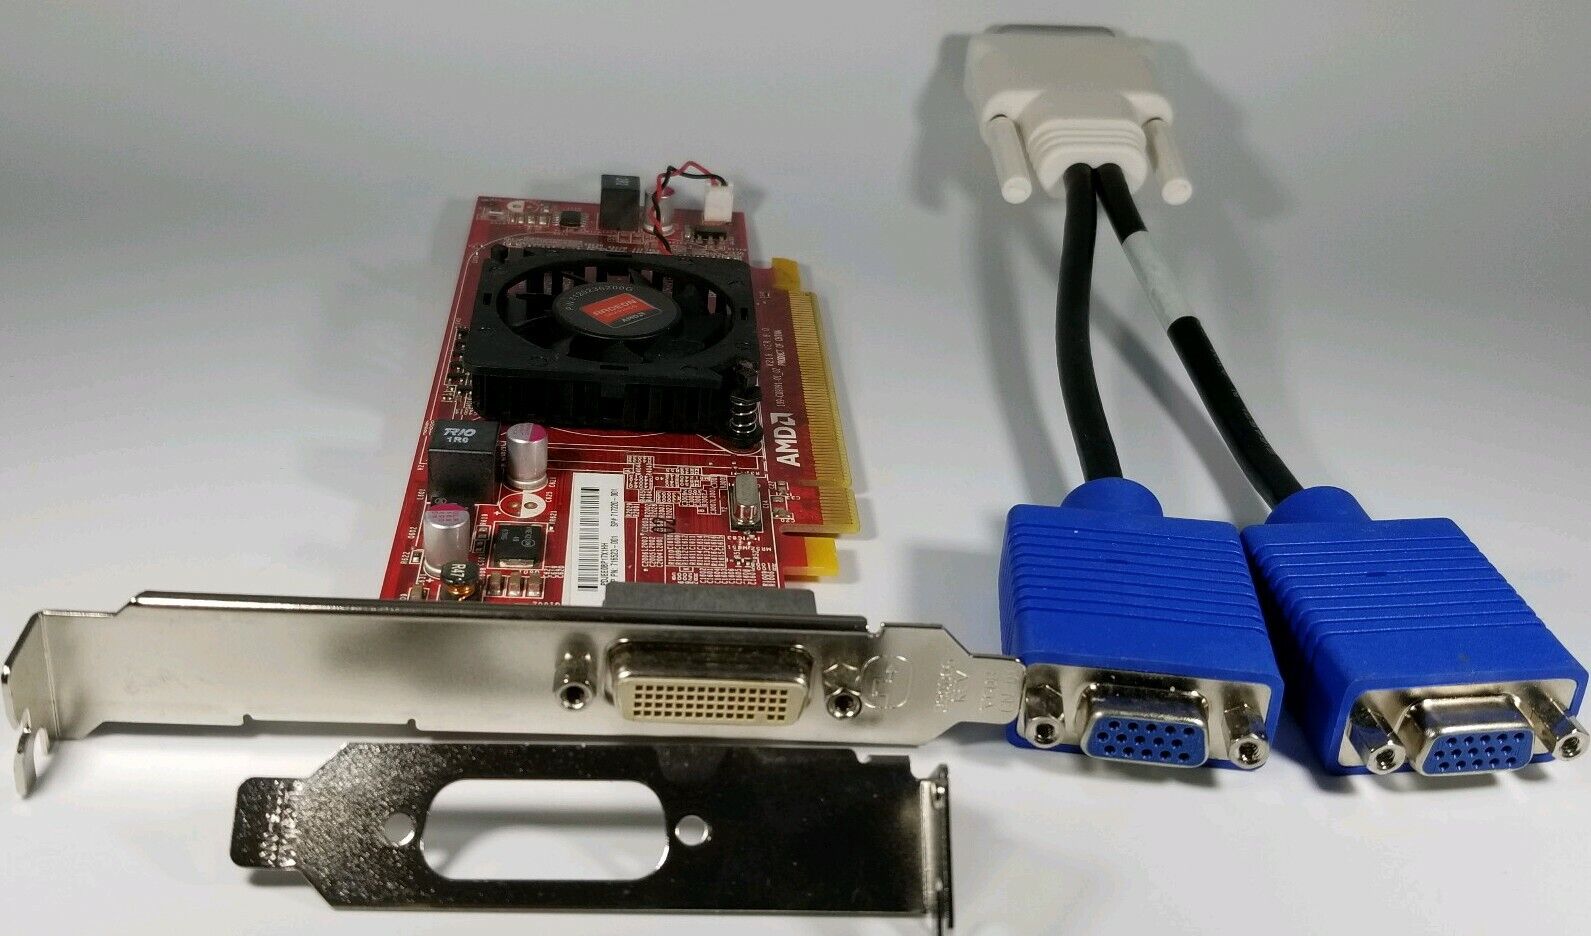
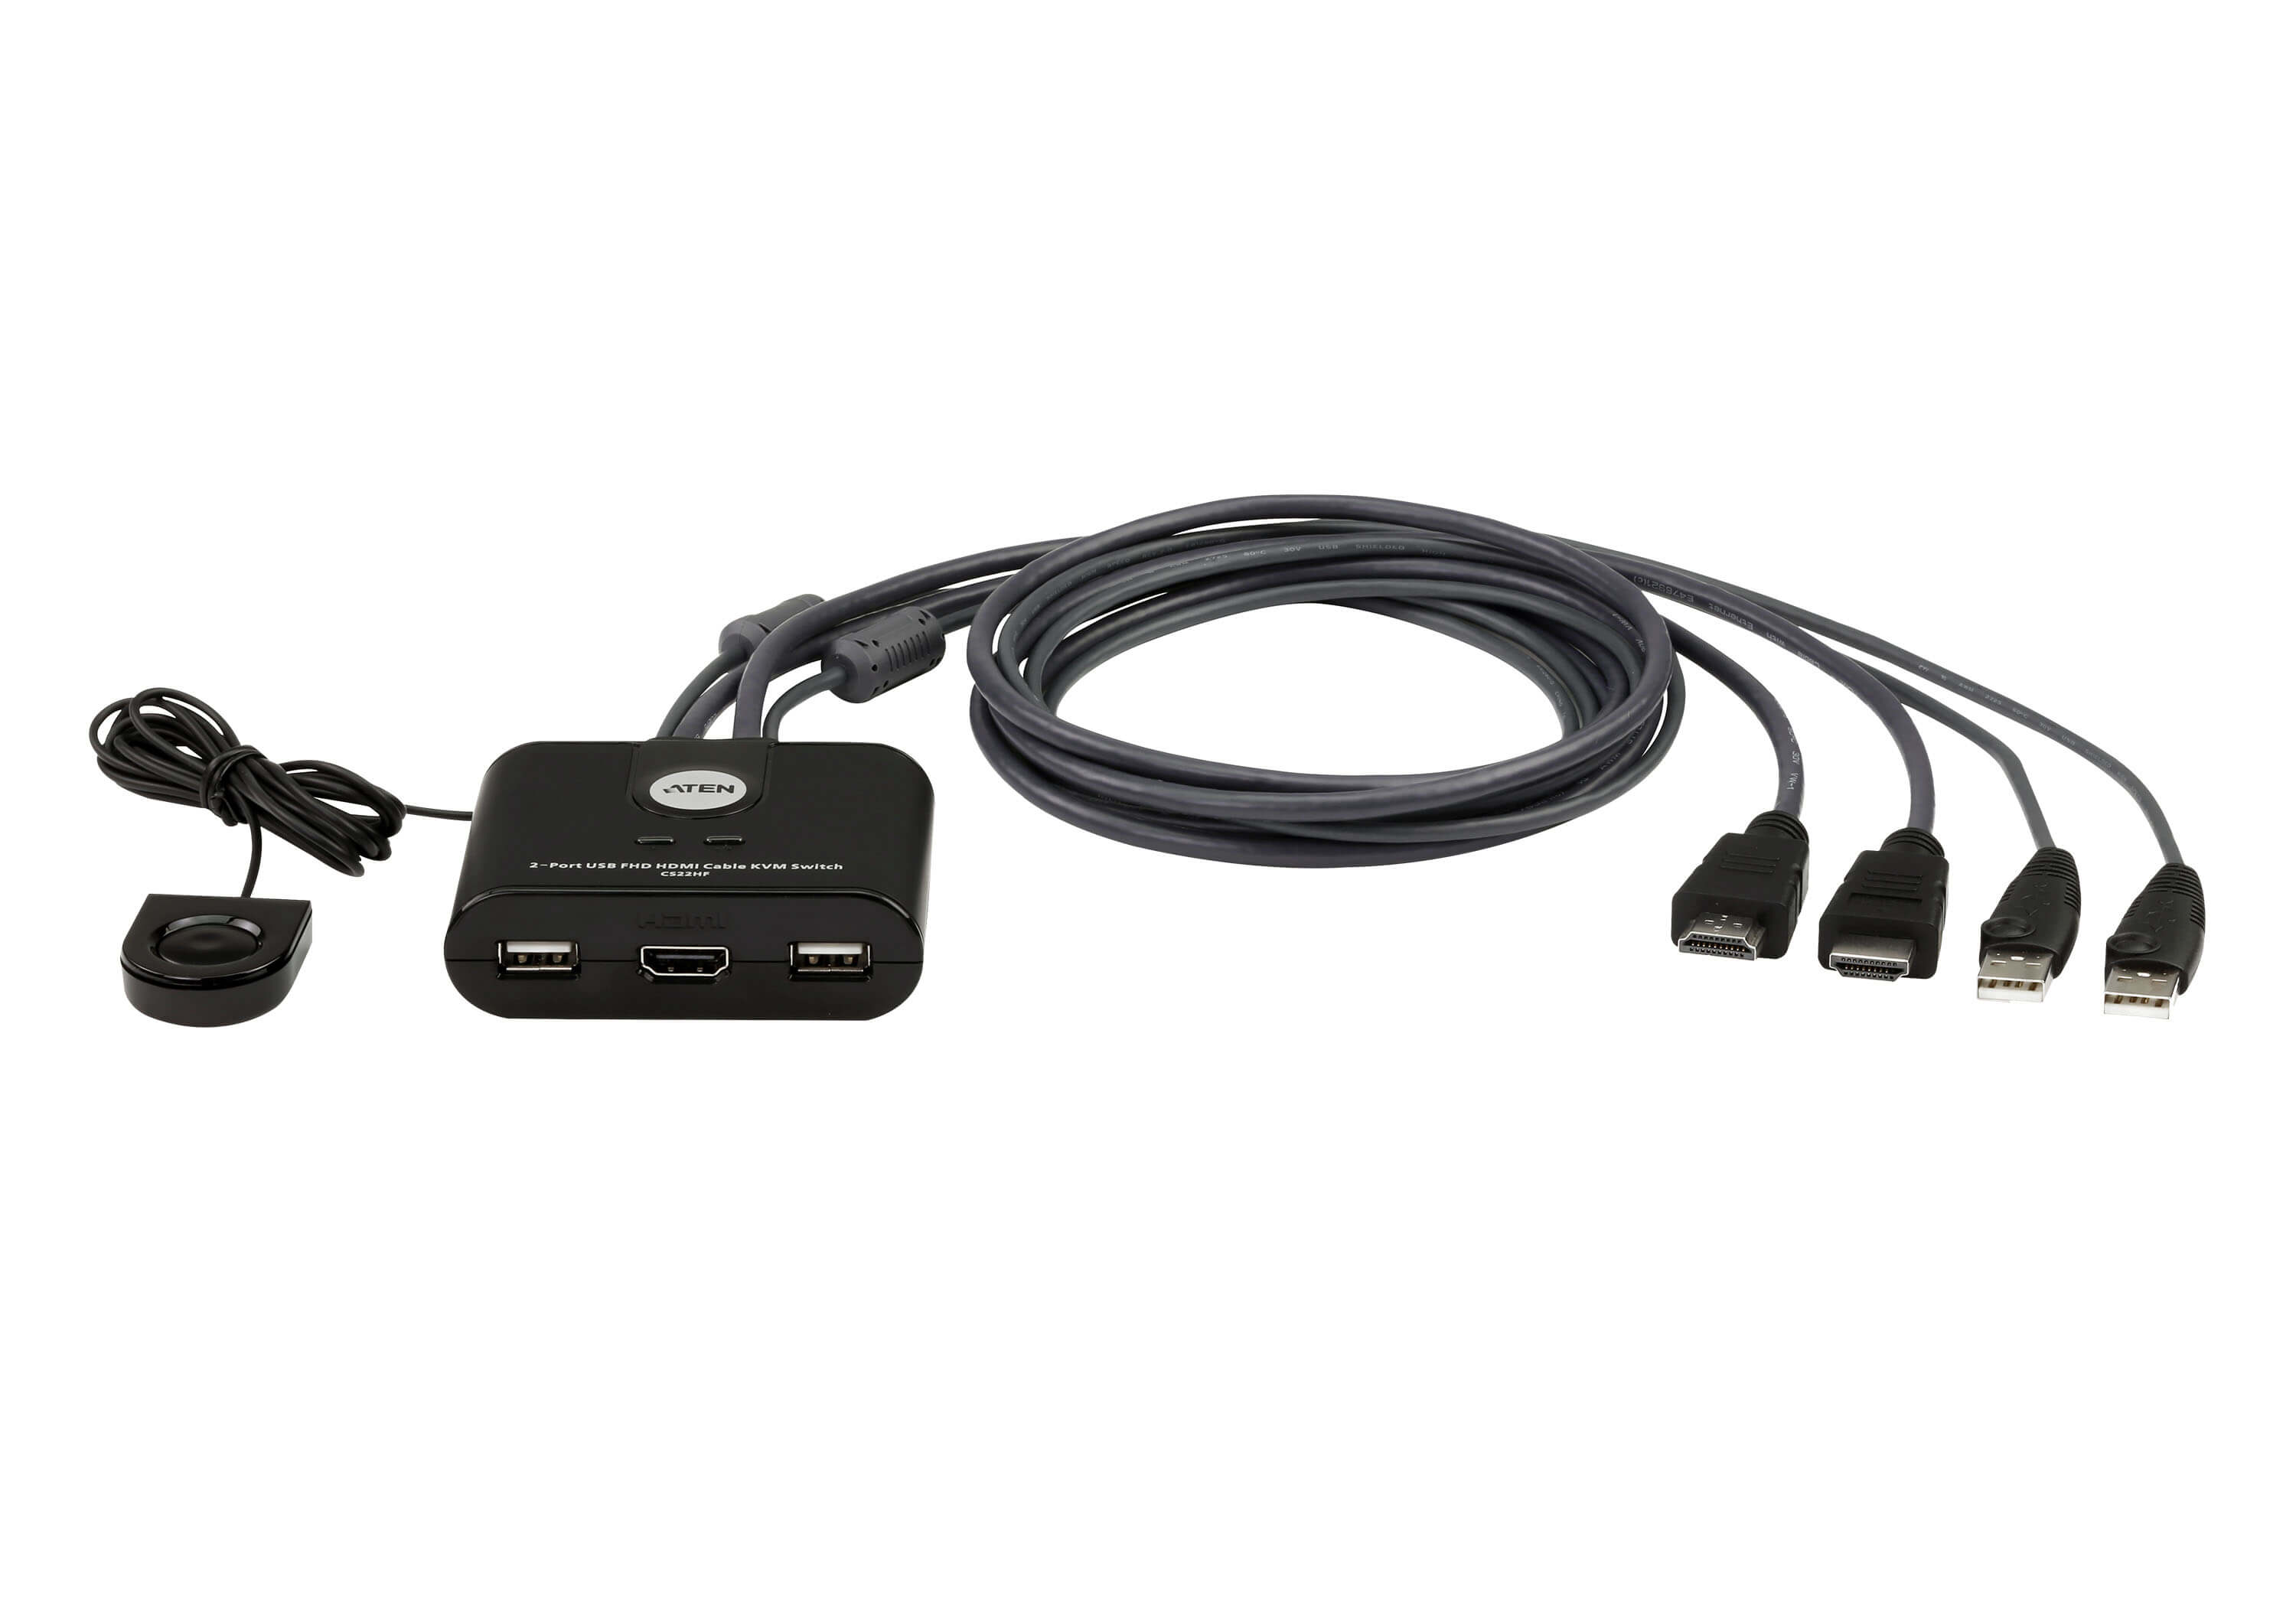
- Check your computer’s video ports: Take a look at the ports on the back of your computer to identify the available video outputs. Common ports include HDMI, DisplayPort, and DVI.
- Identify the video inputs on your monitors: Look for the corresponding video inputs on your gaming monitors. They should match the output ports on your computer. Most monitors support multiple input options to accommodate different devices.
- Use the appropriate cables: Connect the first gaming monitor to your computer using the recommended cable. This usually involves inserting one end of the cable into your computer’s video output port and the other end into the monitor’s video input port. Repeat this process for the second gaming monitor.
- Power on the monitors: Once the connections are made, power on both gaming monitors. Make sure they receive a stable power supply and that they’re set to the correct input source.
- Adjust the monitor positions: Position your gaming monitors side by side or in a configuration that suits your preferences. Ensure that they’re aligned correctly and that there’s no significant gap between the screens.
It’s important to note that your computer’s graphics card needs to have the capability to support multiple monitors. Check your computer’s specifications or consult the manufacturer if you’re unsure about the graphics card’s capabilities.
Once the monitors are connected, move on to the next step, where we’ll guide you through adjusting the display settings to ensure optimal performance and visual quality.
Step 2: Adjusting the display settings
After connecting your gaming monitors, it’s time to adjust the display settings to optimize the visual output. Follow these steps:
- Open the display settings: On Windows, right-click on the desktop and select “Display settings.” On Mac, go to System Preferences and click on “Displays.”
- Arrange the displays: In the display settings, you’ll see a graphical representation of your monitors. Drag and drop them to match their physical arrangement. This ensures that the mouse cursor moves smoothly between the screens.
- Set the primary display: Choose which monitor will serve as your primary display. This is the screen where your desktop icons, taskbar, and notifications will appear by default.
- Adjust resolution and scaling: In the display settings, select the resolution for each monitor. It’s important to choose a resolution that is supported by both monitors. Additionally, adjust the scaling settings to ensure that the content on both displays appears in a consistent size.
- Set orientation: If your monitors have different orientations (e.g., one is landscape and the other is portrait), select the appropriate orientation for each display.
- Apply and save changes: Once you’re satisfied with the display settings, click “Apply” or “Save” to save the changes. The monitors will briefly flicker as the settings are applied.
It’s worth noting that some gaming monitors come with their own display settings and software. These settings may override the system settings, so be sure to check and adjust them as necessary to achieve the desired display configuration and quality.
With the display settings adjusted, it’s time to move on to the next step where we’ll guide you through configuring the multiple displays for optimal performance and functionality.
Step 3: Configuring the multiple displays
Now that you’ve adjusted the display settings, it’s time to configure the multiple displays for optimal performance and functionality. Follow these steps:
- Open the display settings again: On Windows, right-click on the desktop and select “Display settings.” On Mac, go to System Preferences and click on “Displays.”
- Check display modes: In the display settings, you’ll find options for different display modes, such as “Duplicate,” “Extend,” or “Second screen only.” Choose the mode that suits your needs.
- Duplicate mode: In this mode, the same content will be mirrored on both gaming monitors. It’s useful for presentations or when you want to display the same image on multiple screens.
- Extend mode: This mode allows you to extend your desktop across both gaming monitors, effectively giving you a larger workspace. You can drag windows and applications between the screens and multitask more effectively.
- Second screen only: In this mode, your computer will only display content on the second gaming monitor, while the primary monitor remains inactive. This is useful when you want to use the second monitor for specific tasks.
- Configure additional settings: Depending on your operating system and graphics card, you may have additional options to configure, such as refresh rate, color depth, and aspect ratio. Explore these settings to fine-tune your gaming experience.
- Save and apply changes: Once you’ve configured the multiple displays to your liking, click “Apply” or “Save” to save the changes and activate the configuration.
By configuring the multiple displays, you have now successfully set up your gaming monitor with two displays. In the next step, we’ll guide you through customizing the gaming monitor settings to further enhance your gaming experience.
Step 4: Customizing the gaming monitor settings
Once you have configured the multiple displays, it’s time to customize the settings of your gaming monitors to enhance your gaming experience. Here are a few key steps to follow:
- Access the monitor settings: Each gaming monitor has its own settings menu accessible through physical buttons or an on-screen display (OSD). Locate these buttons or use the OSD menu to access the settings.
- Adjust brightness and contrast: Fine-tune the brightness and contrast levels to ensure optimal visibility and clarity of the screen. Adjusting these settings can enhance the details and overall image quality of your gaming experience.
- Configure color settings: Dive into the color settings of your gaming monitor to achieve accurate and vibrant colors. Adjust the color temperature, saturation, and gamma settings until you find the ideal balance for your gaming needs.
- Enable gaming modes/features: Many gaming monitors come with specific gaming modes or features designed to enhance gaming performance. These could include features like “Game Mode,” “Dynamic Contrast,” or “Overdrive.” Experiment with these options to see what works best for your gaming style.
- Enable blue light filters: Prolonged gaming sessions can strain your eyes, especially with the increased exposure to blue light. Some gaming monitors have built-in blue light filters or modes that reduce eye fatigue. Enable these filters to protect your eyes during long gaming sessions.
- Save the customized settings: Most gaming monitors allow you to save your customized settings into different profiles. This can be useful if you want to switch between different settings depending on the game you’re playing or the content you’re consuming.
Remember, every gaming monitor is different, so the settings and options may vary. Refer to your monitor’s user manual or the manufacturer’s website for specific instructions on customizing the settings for your gaming monitor.
With the gaming monitor settings customized, you’re now ready to move on to the next step: calibrating the colors and contrast to ensure the best possible visual output.
Step 5: Calibrating the colors and contrast
Calibrating the colors and contrast of your gaming monitor is crucial to achieving accurate and vibrant visuals while gaming. Follow these steps to calibrate your monitor:
- Use a calibration tool: To achieve the most accurate results, consider using a color calibration tool or software. These tools can help you adjust the color temperature, gamma, brightness, and contrast settings of your monitor.
- Adjust color temperature: The color temperature determines the warmth or coolness of the colors on your display. Adjust the color temperature to your preferences or follow the recommended settings for optimal color accuracy.
- Set gamma levels: Gamma represents the brightness and contrast relationship of your monitor. Adjust the gamma levels to enhance the visibility of details in dark or bright areas of your gaming content.
- Fine-tune color saturation: Calibrate the color saturation levels to strike the right balance between vibrant and realistic colors. Avoid oversaturating the colors, as it can lead to an unnatural and artificial look.
- Consider contrast ratio: Adjust the contrast ratio of your monitor to optimize the difference between dark and light areas. Finding the right contrast ratio will enhance the overall depth and visual experience of your gaming content.
- Perform visual tests: Once you’ve made adjustments, perform visual tests by viewing a variety of gaming content. Pay attention to the colors, details, and overall visual quality. Make additional tweaks if necessary to achieve the desired results.
Keep in mind that every gamer has different preferences when it comes to color accuracy and visual fidelity. Experiment with the settings until you find the right balance that suits your gaming style and personal preferences.
With your gaming monitor’s colors and contrast properly calibrated, you’re now ready to move on to the final step: testing your gaming monitor setup to ensure everything is working smoothly.
Step 6: Testing the gaming monitor setup
Now that you’ve set up and customized your gaming monitor with two displays, it’s time to put it to the test. Follow these steps to ensure that your gaming monitor setup is working smoothly:
- Launch a game or application: Open a game or any application that you frequently use on your computer.
- Verify screen synchronization: Check if both gaming monitors are displaying the content properly and are synchronized correctly. Move your mouse cursor across the screens to ensure a smooth transition without any delays or glitches.
- Test multi-tasking capabilities: If you’re using the extended display mode, try dragging windows and applications between the screens. Test how well you can efficiently multi-task and work with multiple applications simultaneously.
- Check gaming performance: Play a game and observe the performance on both screens. Ensure that the frame rates are smooth, the colors and details are vibrant and accurate, and there are no noticeable lag or stuttering issues.
- Test video playback: Watch videos or movies on your gaming monitor setup. Verify that the playback is smooth, the colors are vivid, and there are no playback issues like screen tearing or artifacting.
- Perform visual checks: Take a moment to visually inspect both gaming monitors for any dead pixels, backlight bleeding, or other display issues. If any issues are detected, consult the manufacturer’s warranty or support for further assistance.
During the testing phase, it’s essential to pay attention to any abnormalities or inconsistencies that may affect your gaming experience. If any issues arise, refer to the manufacturer’s documentation or support channels for troubleshooting steps or guidance.
By thoroughly testing your gaming monitor setup, you can ensure optimal performance, visual quality, and a seamless gaming experience.
Conclusion
Congratulations! You have successfully set up your gaming monitor with two displays, optimized the display settings, and customized the monitor’s features to suit your gaming preferences. By following the steps outlined in this guide, you’ve created a visually stunning and immersive gaming setup.
The process of connecting, adjusting, configuring, customizing, and testing your gaming monitor setup may have required some time and effort, but the results are worth it. With the increased screen real estate, you can now enjoy enhanced multitasking capabilities, improved productivity, and a more immersive gaming experience.
Remember, every gaming monitor and computer system is unique, so the specific steps and settings may vary. It’s always advisable to consult the user manual of your gaming monitor and refer to the manufacturer’s website or support channels for further assistance if needed.
Now that your gaming monitor setup is complete, make sure to regularly maintain and update your system to ensure optimal performance. Keep an eye out for new graphics card drivers, firmware updates for your monitor, and other software updates that can further enhance your gaming experience.
Now it’s time to sit back, relax, and enjoy your gaming sessions on your newly set up and fully customized gaming monitor setup. Remember to take breaks, practice healthy gaming habits, and have fun exploring the vast world of gaming!