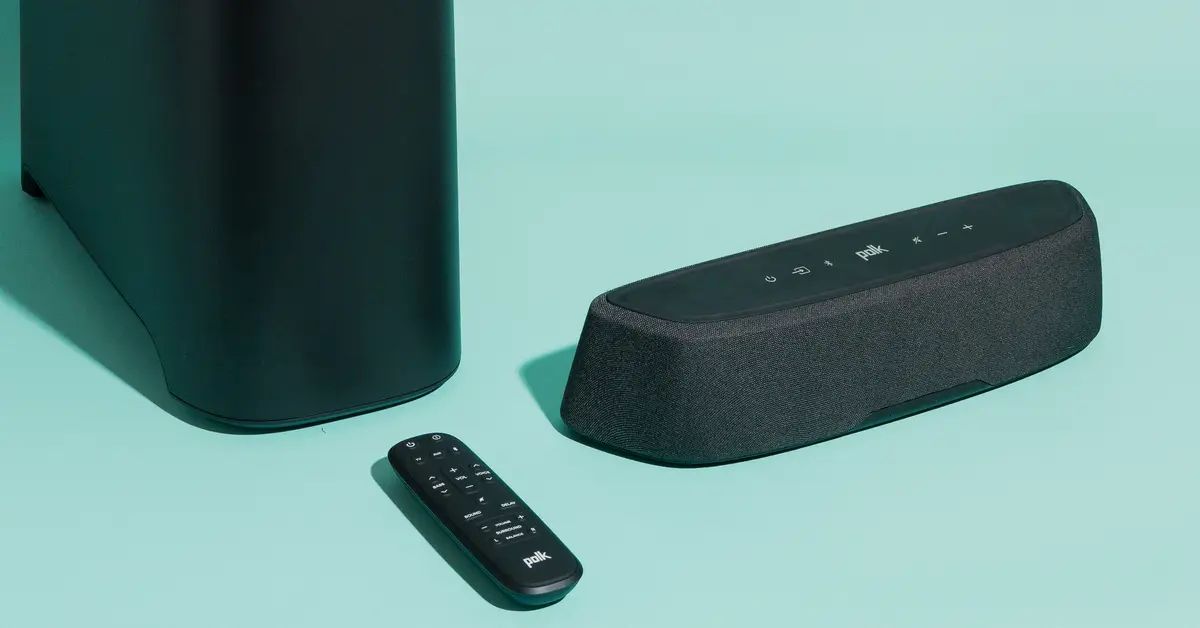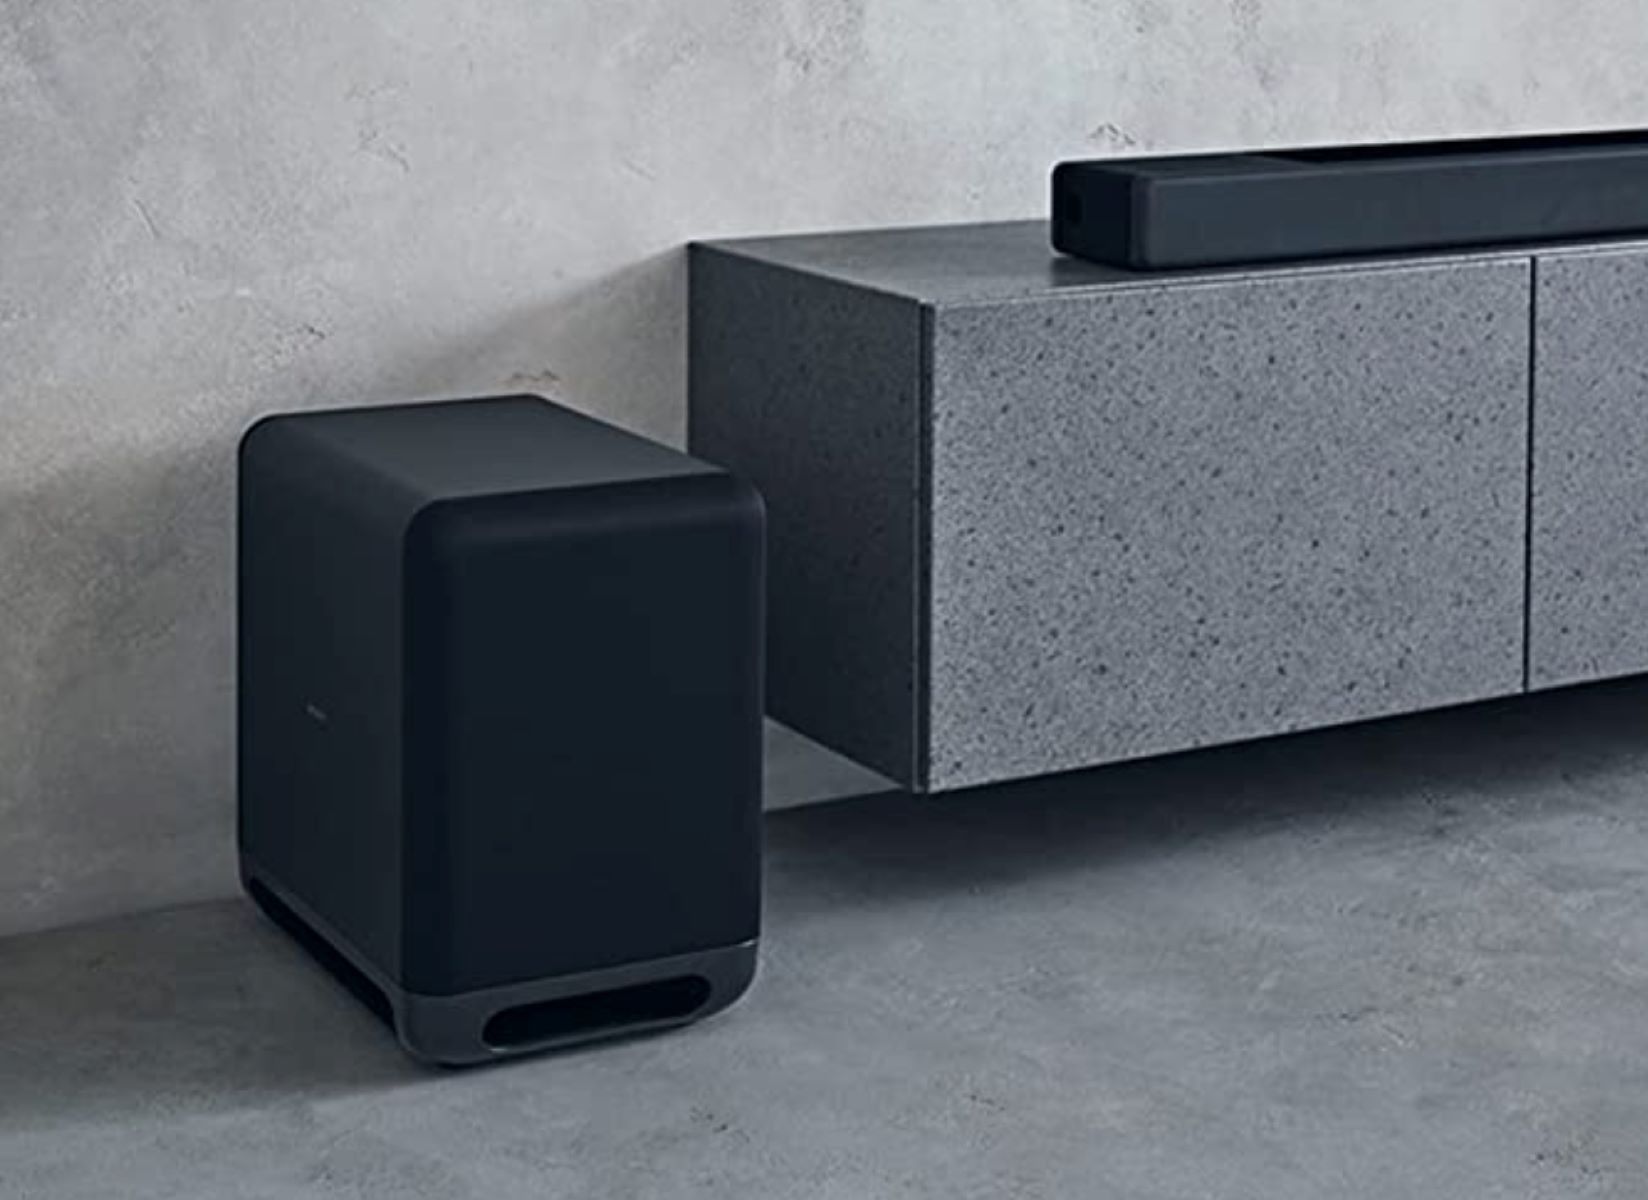
Introduction
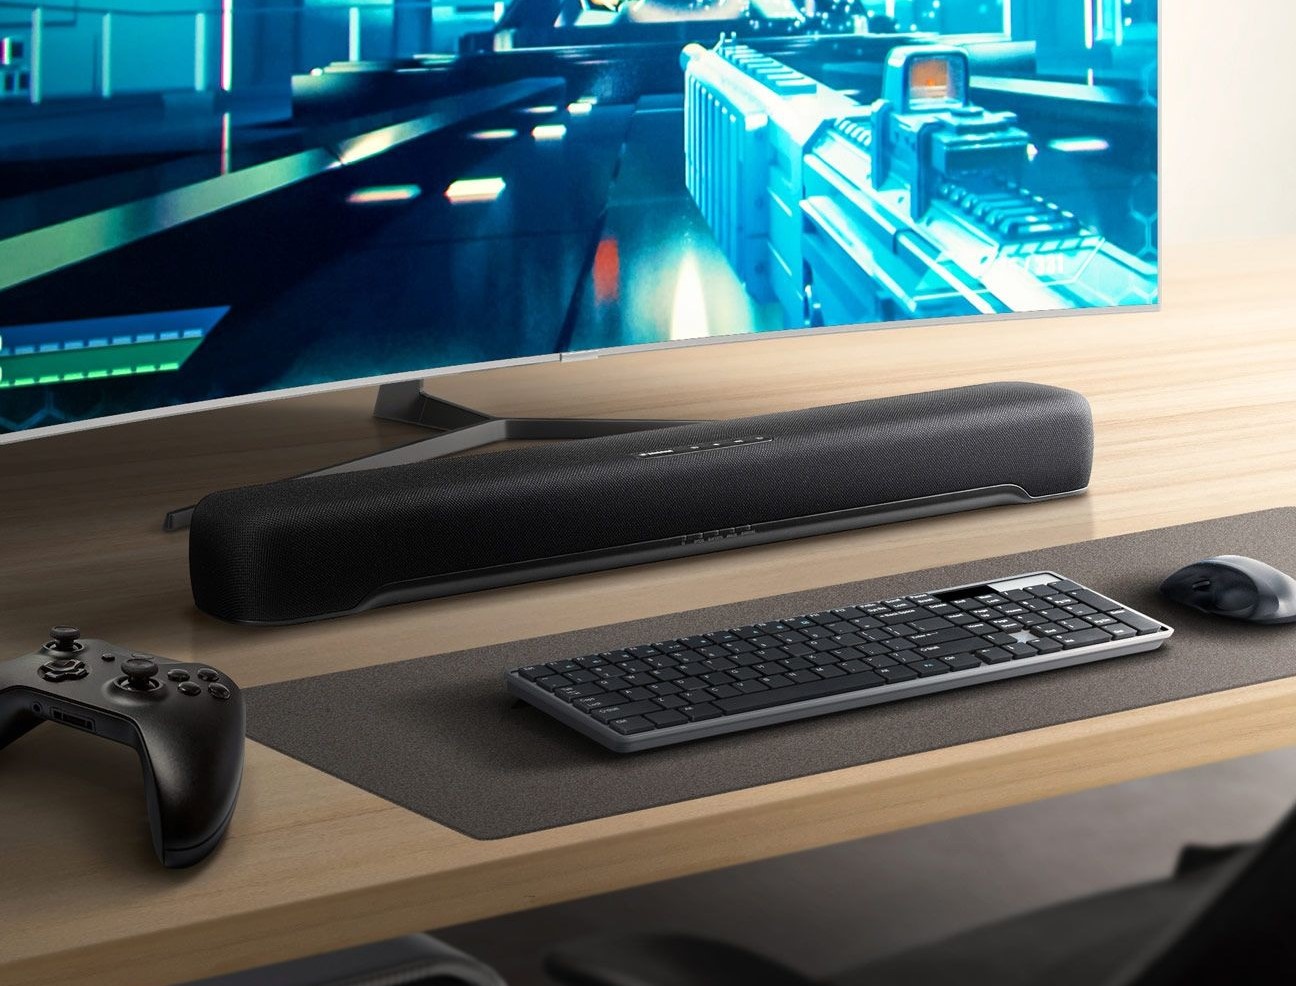
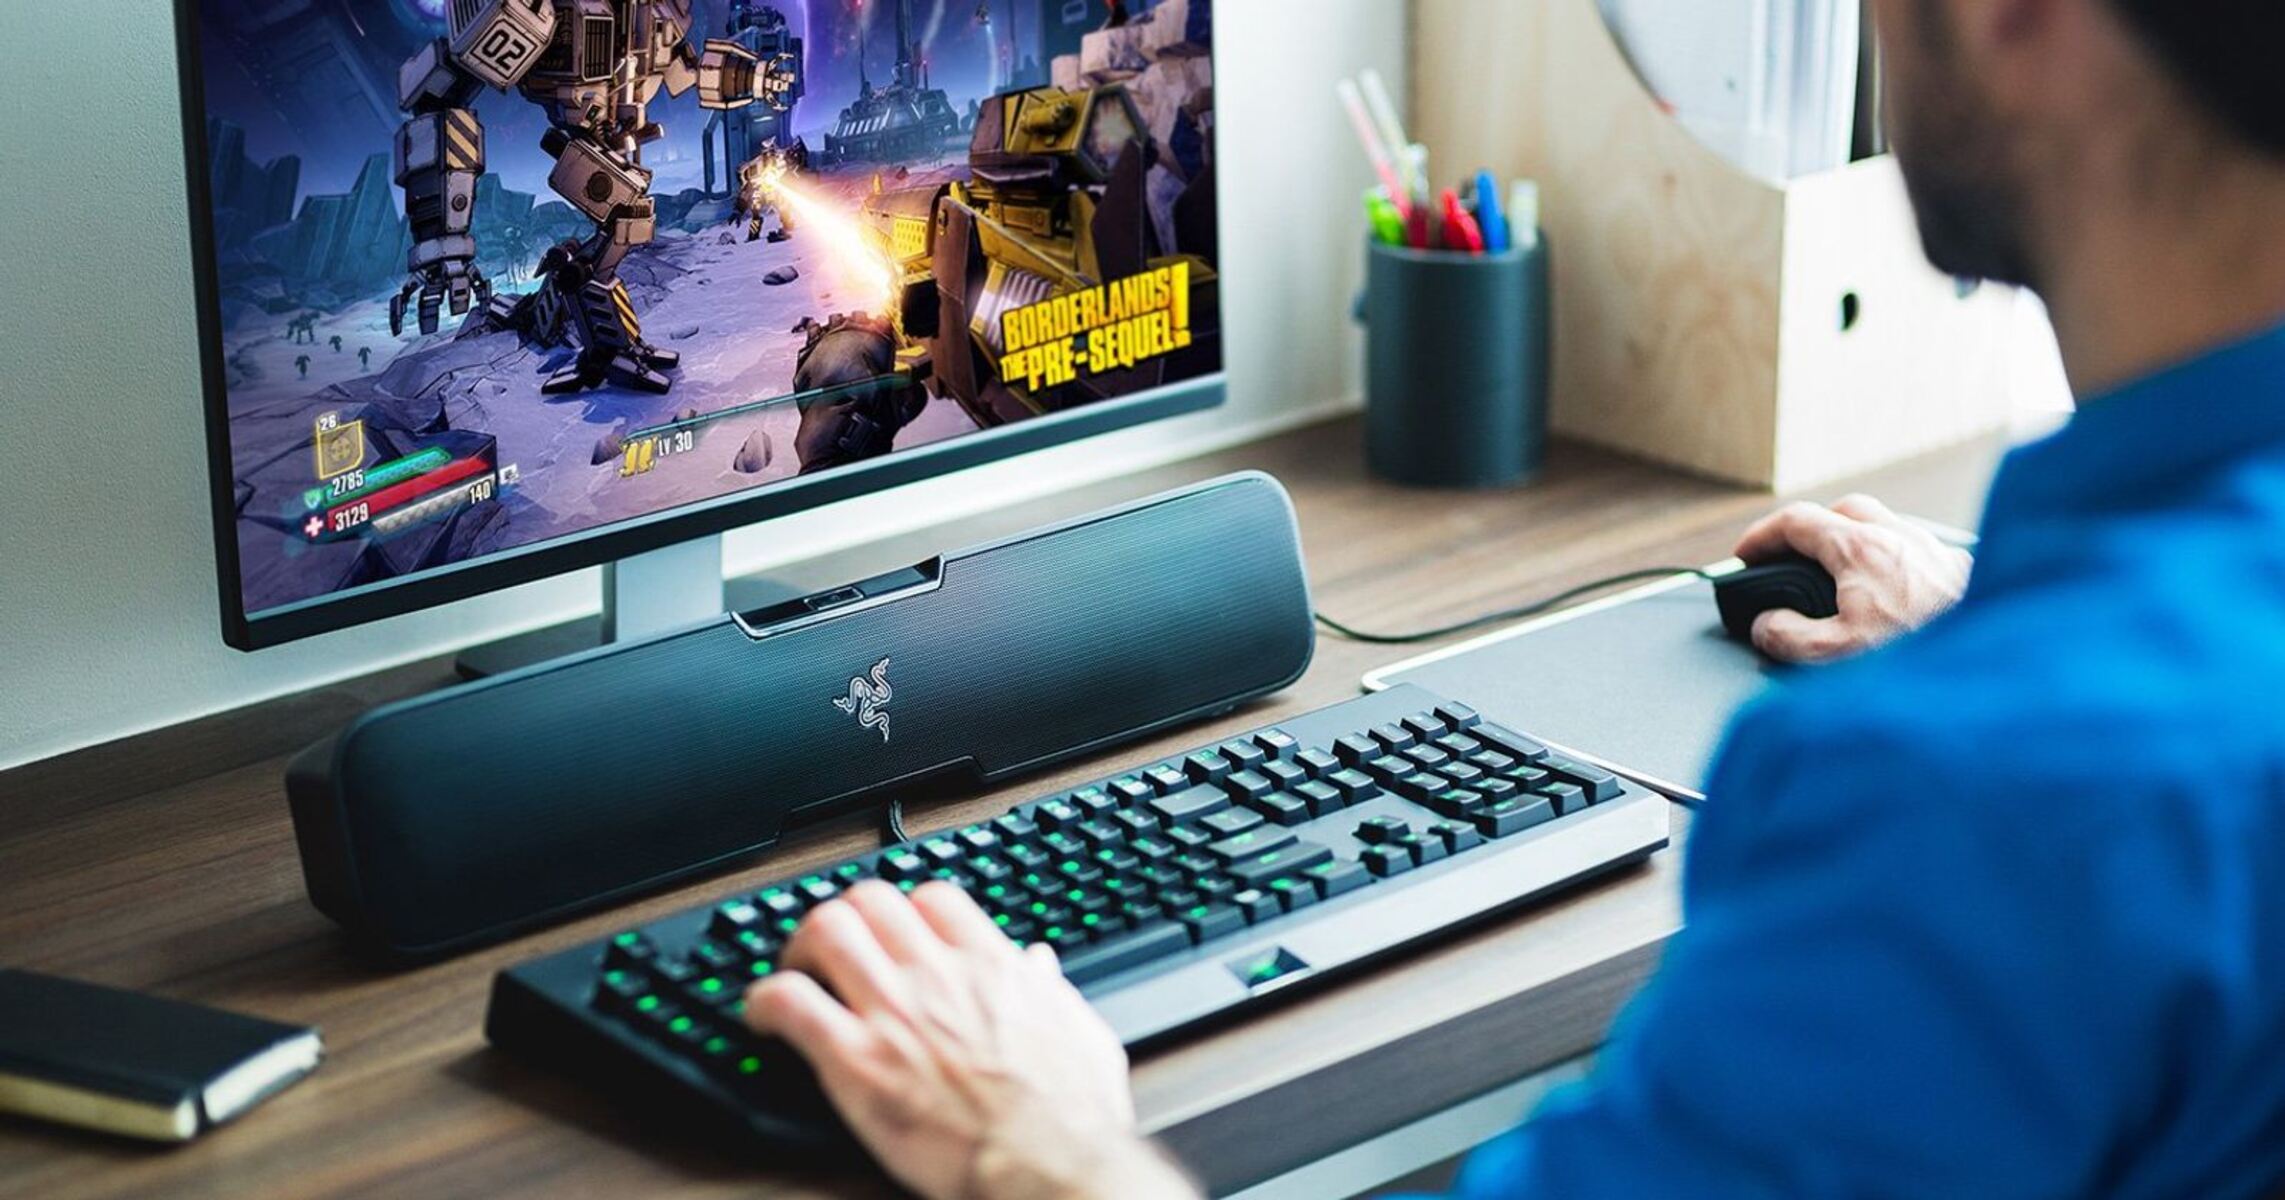
Connecting a soundbar to a gaming monitor can greatly enhance your gaming experience by providing immersive audio quality. While monitors are known for their crisp visuals, they often lack inbuilt speakers or offer subpar sound quality. By integrating a soundbar into your gaming setup, you can enjoy enhanced audio that complements the stunning visuals on your monitor.
However, connecting a soundbar to a gaming monitor may seem like a daunting task if you’re not familiar with the process. Don’t worry – in this guide, we’ll walk you through the steps to connect your soundbar to a gaming monitor and ensure optimal audio performance.
Before you begin, it’s essential to check the compatibility between your soundbar and gaming monitor. Different models and brands may have specific compatibility requirements or limitations. It’s crucial to make sure that your monitor has the necessary audio output options and your soundbar has the corresponding inputs.
In this guide, we’ll provide you with step-by-step instructions and tips to connect your soundbar to a gaming monitor successfully. We’ll also cover troubleshooting common issues that may arise during the process. So, let’s dive in and get your soundbar up and running with your gaming monitor!
Step 1: Check the soundbar and gaming monitor compatibility
Before you start connecting your soundbar to your gaming monitor, it’s crucial to ensure compatibility between the two devices. Not all soundbars and gaming monitors are designed to work together seamlessly, so it’s essential to check for compatibility before proceeding.
First, examine your gaming monitor for available audio output options. Common audio output connections include HDMI, 3.5mm audio jack, optical audio, or HDMI-ARC (Audio Return Channel). Take note of the audio output ports available on your gaming monitor as this will determine the type of cable or connector you’ll need to connect your soundbar.
Next, check your soundbar for the corresponding audio input options. Common audio input connections include HDMI, digital optical audio, RCA, HDMI-ARC, or Bluetooth. Ensure that your soundbar has the necessary audio input option that matches the output option of your gaming monitor.
If your gaming monitor and soundbar have matching audio ports (e.g., HDMI to HDMI, digital optical to digital optical), you’re in luck and can proceed with the connection process using the appropriate cables. However, if the audio ports are not compatible, you may need additional connectors or adapters to establish a connection between the two devices.
It’s also worth mentioning that some gaming monitors may not have built-in speakers or audio output options. In such cases, you’ll need to connect your soundbar directly to the audio source, such as a gaming console or computer, rather than the monitor itself.
Remember that each gaming monitor and soundbar may have its own specific compatibility requirements and limitations. Always refer to the user manuals or the manufacturer’s website for detailed information on compatibility and recommended connection methods.
Now that you’ve checked the compatibility between your soundbar and gaming monitor, it’s time to gather the necessary cables and connectors for the connection process.
Step 2: Gather the necessary cables and connectors
Once you have confirmed the compatibility between your soundbar and gaming monitor, the next step is to gather the necessary cables and connectors for the connection process. The type of cables and connectors you’ll need will depend on the audio output and input options available on your gaming monitor and soundbar.
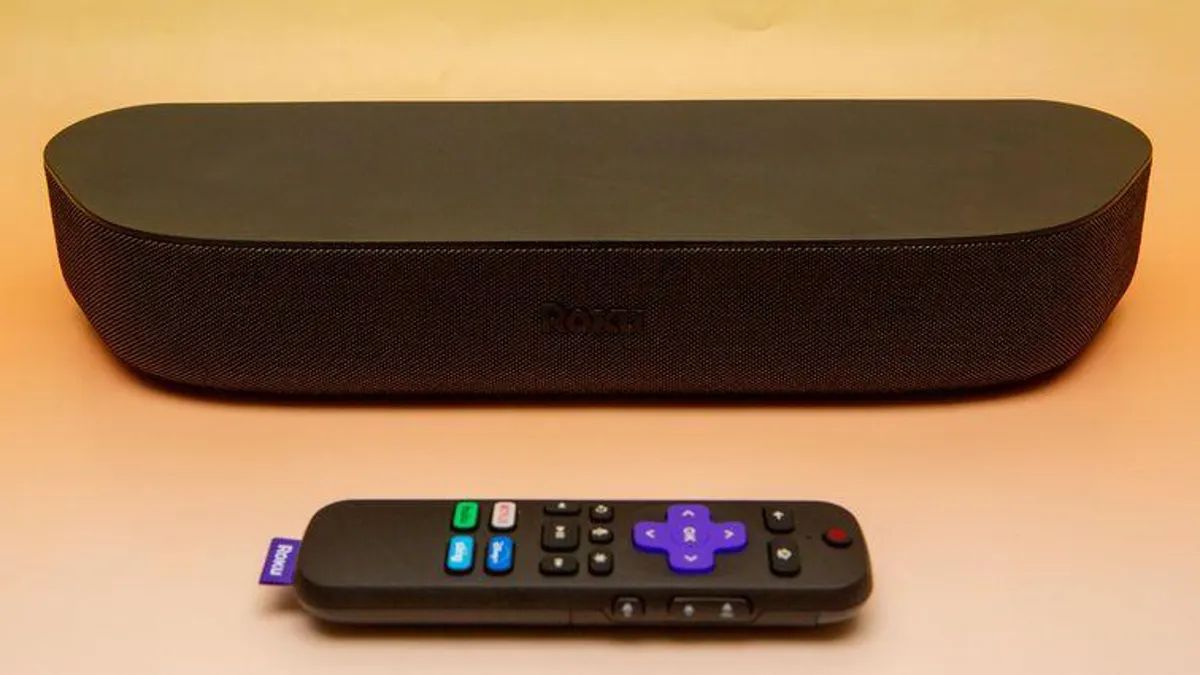
If your gaming monitor has an HDMI-ARC (Audio Return Channel) port, you can use an HDMI cable for a simple and convenient connection. HDMI cables transmit both audio and video signals, eliminating the need for separate audio cables. Ensure that the HDMI cable is of high quality to maintain optimal audio performance.
If your gaming monitor has a 3.5mm audio jack or digital optical audio output, you’ll need an appropriate cable to connect to the soundbar. For a 3.5mm audio jack, use a 3.5mm audio cable with male connectors on both ends. For digital optical audio, use a digital optical audio cable with the appropriate connectors.
If the audio output option on your gaming monitor is RCA (red and white connectors), you’ll need an RCA to 3.5mm audio adapter or cable. Connect the RCA connectors to the audio output ports on your monitor, and connect the 3.5mm audio jack to the soundbar.
For those with Bluetooth-enabled soundbars and gaming monitors, you can establish a wireless connection between the two devices. Ensure that both the soundbar and gaming monitor have Bluetooth capabilities and follow the pairing instructions provided by the manufacturer.
It’s important to note that if your soundbar requires a separate power source, make sure it is plugged into an electrical outlet nearby.
Before moving on to the next step, double-check that you have gathered all the necessary cables and connectors for the specific connection method you’ll be using. Having everything prepared will make the rest of the process much smoother.
With the cables and connectors in hand, it’s time to move on to the next step and connect your soundbar to the gaming monitor.
Step 3: Connect the soundbar to the gaming monitor
Now that you have gathered the necessary cables and connectors, it’s time to connect your soundbar to the gaming monitor. The specific steps may vary depending on the audio output and input options available on your devices, so make sure to follow the instructions that are applicable in your case.
Begin by identifying the audio output port on your gaming monitor. Depending on the type of port, plug in the appropriate cable or connector. If you’re using HDMI, insert one end of the HDMI cable into the HDMI-ARC port on your gaming monitor. If you’re using a 3.5mm audio jack or digital optical audio, plug in the corresponding cable into the audio output port.
Next, locate the audio input port on your soundbar. Depending on the soundbar’s input options, connect the other end of the cable or connector into the appropriate port. If you’re using HDMI, insert the other end of the HDMI cable into the HDMI-ARC or HDMI input of your soundbar. If you’re using a 3.5mm audio jack or digital optical audio, connect the cable to the corresponding input port.
Make sure all connections are secure and fully inserted to ensure a stable audio signal. If you’re using RCA connectors, make sure to connect the red cable to the red input and the white cable to the white input on both the gaming monitor and the soundbar.
If you’re setting up a wireless connection using Bluetooth, ensure that Bluetooth is enabled on both the gaming monitor and the soundbar. Follow the pairing instructions provided by the manufacturer to establish a connection between the two devices.
Once you have completed the connections, turn on both the gaming monitor and the soundbar. Check the audio settings on your monitor to make sure the sound output is directed to the connected soundbar. This step may involve navigating through the on-screen menu of your gaming monitor and selecting the appropriate audio output option.
With everything connected and set up correctly, you should now be able to enjoy enhanced audio from your soundbar while gaming on your monitor. Adjust the volume on your soundbar to your desired level and test the audio by playing a game or video with sound.
If you’re not getting any sound, double-check the connections, ensure that the soundbar is powered on, and review the audio settings on your gaming monitor. If necessary, refer to the troubleshooting section below for common issues and solutions.
Now that your soundbar is successfully connected to your gaming monitor, you can move on to the next step and configure the sound settings on your monitor for optimal audio performance.
Step 4: Configure sound settings on the gaming monitor
Now that your soundbar is connected to your gaming monitor, it’s important to configure the sound settings on the monitor to ensure optimal audio performance.
Start by accessing the menu or settings options on your gaming monitor. This can usually be done by pressing the menu button on your monitor or using the navigation buttons to find the settings menu.
Look for the audio or sound settings in the menu. The available options may vary depending on the make and model of your gaming monitor, but common settings include volume control, equalizer settings, surround sound options, and audio presets.
Adjust the volume control to your preferred level. Test different volume levels to find the balance that suits your preferences and the type of content you are viewing or playing. It’s also a good idea to make sure that the volume settings on your soundbar are not at maximum to avoid distortion or audio imbalance.
Depending on the available options, you may have access to equalizer settings. These settings allow you to fine-tune the audio output by adjusting the levels of specific frequency ranges such as bass, midrange, and treble. Experiment with these settings to find a sound profile that enhances your gaming experience.
If your gaming monitor supports surround sound, such as virtual surround or simulated surround, enable this feature to create a more immersive audio experience. Virtual surround sound can provide a greater sense of depth and directionality to the audio, enhancing your overall gaming experience.
Some gaming monitors also offer audio presets for different types of content, such as gaming, movies, or music. Explore these presets and select the one that best matches your current activity. These presets are usually designed to enhance specific aspects of the audio, such as boosting bass for gaming or optimizing dialogue clarity for movies.
Once you have configured the sound settings on your gaming monitor, play some audio or test it with your favorite game to ensure that the changes you made have had the desired effect. Make any necessary adjustments based on your personal preferences.
Remember, sound settings on gaming monitors may vary, so it’s essential to refer to the user manual or online documentation specific to your monitor model for detailed instructions on accessing and adjusting the audio settings.
With the sound settings on your gaming monitor properly configured, you’re one step closer to enjoying a fully immersive audio experience while gaming. However, don’t forget to optimize the sound settings on your soundbar as well – we’ll cover that in the next step.
Step 5: Adjust sound settings on the soundbar
Now that you’ve configured the sound settings on your gaming monitor, it’s time to fine-tune the audio output on your soundbar for an optimal gaming experience.
Start by accessing the settings or menu options on your soundbar. Depending on the model, this can usually be done by using the remote control or the button controls on the soundbar itself.
Explore the available audio settings on your soundbar. The specific options may vary depending on the manufacturer and model, but common settings include volume control, equalizer settings, sound modes, and audio enhancements.
Adjust the volume control on your soundbar to the desired level. You can test different volume levels while gaming to find a balance that suits your preferences and the specific game or content you are playing.
Equalizer settings on your soundbar allow you to fine-tune the audio by adjusting the levels of different frequency ranges, such as bass, midrange, and treble. Experiment with the equalizer settings to find the sound profile that complements your gaming experience, whether you prefer booming bass for action-packed games or a more balanced audio for a variety of genres.
Many soundbars also feature different sound modes or presets that are specifically designed for different types of content. Explore these modes and select the one that best suits your needs. For gaming, look for a gaming mode or a mode optimized for dialogue and sound effects. These modes often enhance specific audio aspects to immerse you deeper into the gaming world.
In addition to these settings, some soundbars offer audio enhancements like virtual surround sound or 3D audio. These features can provide a wider soundstage and a more immersive gaming experience. Activate these enhancements if available and adjust the settings to your liking.
Once you’ve adjusted the sound settings on your soundbar, play some audio or test it with your favorite game to ensure that the changes you made have had the desired effect. Fine-tune the settings further based on your personal preferences.
Remember to refer to the user manual or online documentation specific to your soundbar model for detailed instructions on accessing and adjusting the audio settings.
With the sound settings on both your gaming monitor and soundbar adjusted to your liking, you’re ready to fully enjoy a rich and immersive gaming experience with enhanced audio quality.
Step 6: Troubleshooting common issues
While connecting a soundbar to a gaming monitor is a relatively straightforward process, there may be instances where you encounter common issues. Here are some troubleshooting tips to help you resolve any problems that may arise:
1. No sound or audio distortion: If you’re not getting any sound or experiencing audio distortion, first double-check all the connections between your soundbar and gaming monitor. Ensure that the cables are securely plugged in and that the correct audio input/output ports are being used. If the issue persists, try using different cables or connectors. Additionally, make sure that the volume levels are properly adjusted on both the soundbar and gaming monitor.
2. Incorrect audio output: If the sound is coming from the gaming monitor’s built-in speakers instead of the soundbar, check the audio output settings on the gaming monitor. Ensure that the sound output is set to the connected soundbar in the monitor’s menu or settings.
3. Compatibility issues: If you are experiencing compatibility issues or the soundbar does not work with your gaming monitor, double-check the compatibility between the two devices. Refer to the user manuals or contact the manufacturers for further assistance in troubleshooting compatibility problems.
4. Soundbar power issues: If your soundbar is not turning on or there is no power, ensure that the soundbar is properly connected to a power source and that the power outlet is functioning correctly. If necessary, try a different power outlet or check the power cable for any damage.
5. Audio delay: If you notice a delay between the visuals on the gaming monitor and the audio from the soundbar, this can be due to various factors, such as Bluetooth latency or processing delays. To address this issue, try connecting your soundbar using a wired connection instead of Bluetooth, as wired connections generally have lower latency rates. You can also refer to the soundbar’s user manual for any audio delay adjustment settings.
6. Limited audio options: Some gaming monitors may have limited audio output options or lack certain features. In such cases, consider connecting the soundbar directly to the audio source, such as a gaming console or computer, rather than relying on the monitor’s audio capabilities.
If you have tried the troubleshooting tips above and are still experiencing issues, consult the user manuals or contact the customer support for your soundbar and gaming monitor. They will provide further guidance and assistance in resolving any specific issues you may encounter.
With these troubleshooting tips, you’ll be better equipped to overcome common issues and ensure that your soundbar is seamlessly integrated with your gaming monitor to deliver an immersive audio experience.
Conclusion
Connecting a soundbar to a gaming monitor can significantly enhance your gaming experience by providing immersive audio quality. By following the steps outlined in this guide, you can successfully connect your soundbar to your gaming monitor and enjoy enhanced audio while gaming.
It’s important to start by checking the compatibility between your soundbar and gaming monitor to ensure that they have corresponding audio input and output options. Gathering the necessary cables and connectors specific to your devices is the next crucial step.
Once you have the cables and connectors ready, connect your soundbar to your gaming monitor using the appropriate ports and make sure all connections are secure. Adjust the sound settings on both your gaming monitor and soundbar to fine-tune the audio to your preferences. Remember to explore options like volume control, equalizer settings, sound modes, and audio enhancements.
If you encounter any issues, refer to the troubleshooting tips provided in this guide to address common problems such as no sound, audio distortion, incorrect audio output, compatibility issues, power issues, and audio delay.
With everything set up, you can now enjoy a fully immersive gaming experience with enhanced audio quality. Immerse yourself in the rich soundscapes of your favorite games, and feel the adrenaline rush as every sound comes to life through your soundbar and gaming monitor combination.
Remember to consult the user manuals or contact the customer support of your soundbar and gaming monitor for specific troubleshooting assistance or for any further guidance.
Now that you have successfully connected your soundbar to your gaming monitor, get ready to embark on exciting gaming adventures filled with immersive audio!