Introduction
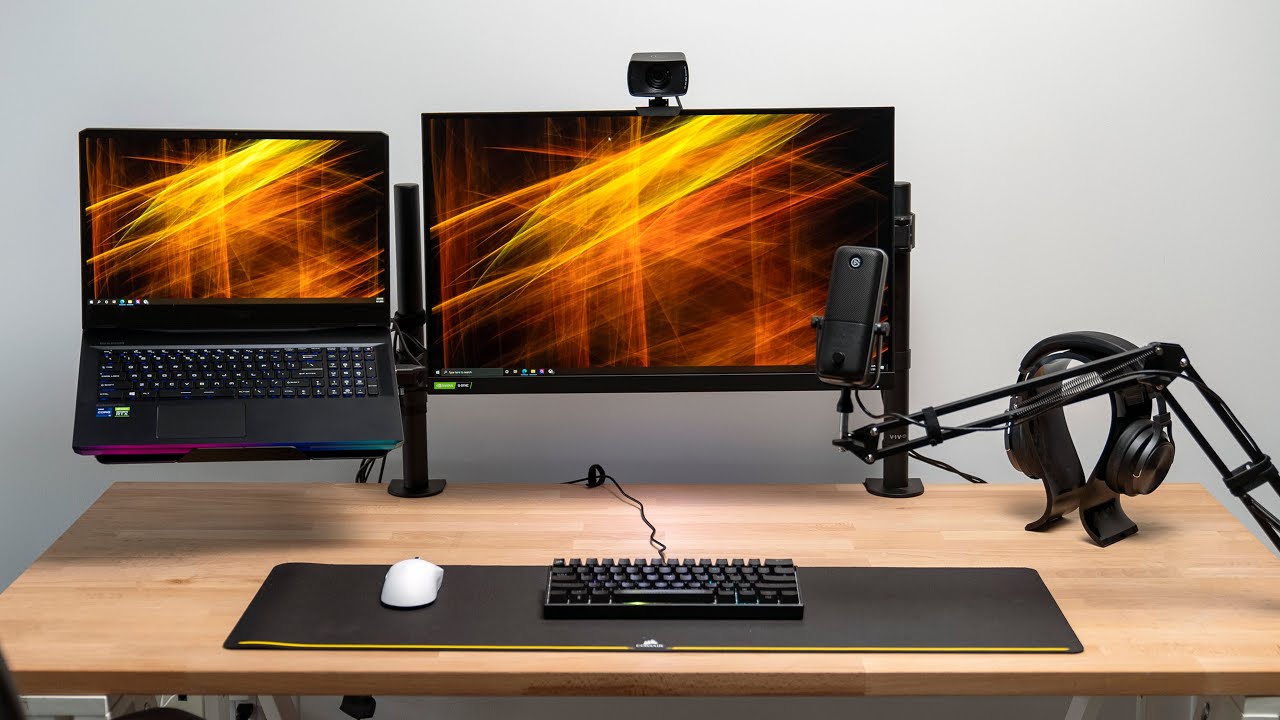
Are you looking to increase your productivity or enhance your gaming experience by using two monitors? If your computer has only one HDMI port, you might think that running two monitors simultaneously is impossible. Fortunately, with the right adapters and configuration, you can easily connect and utilize two monitors with just one HDMI port.
Having multiple monitors can provide several benefits, such as improved multitasking capabilities, enhanced workflow, and a more immersive gaming experience. Whether you’re a writer, designer, programmer, or avid gamer, having dual monitors can significantly boost your efficiency and make your work or gaming sessions more enjoyable.
In this guide, we will walk you through the steps to set up and run two monitors with just one HDMI port on your computer. We will explain the necessary equipment you’ll need, the connections you’ll have to make, and the display settings you’ll have to adjust to get everything working seamlessly.
Before we dive into the details, it’s essential to ensure that your computer’s HDMI port supports dual-monitor functionality. This guide primarily focuses on connecting two monitors via an HDMI port, but some computers may have different options, such as DisplayPort or VGA. Therefore, it’s essential to check what type of port your computer has and make the necessary adjustments to the instructions accordingly.
Now, let’s gather the equipment you need and get started with setting up two monitors with just one HDMI port!
What You’ll Need
Before you begin setting up two monitors with one HDMI port, you’ll need to gather a few essential items. Having these items on hand will ensure a smooth and successful setup process. Here’s what you’ll need:
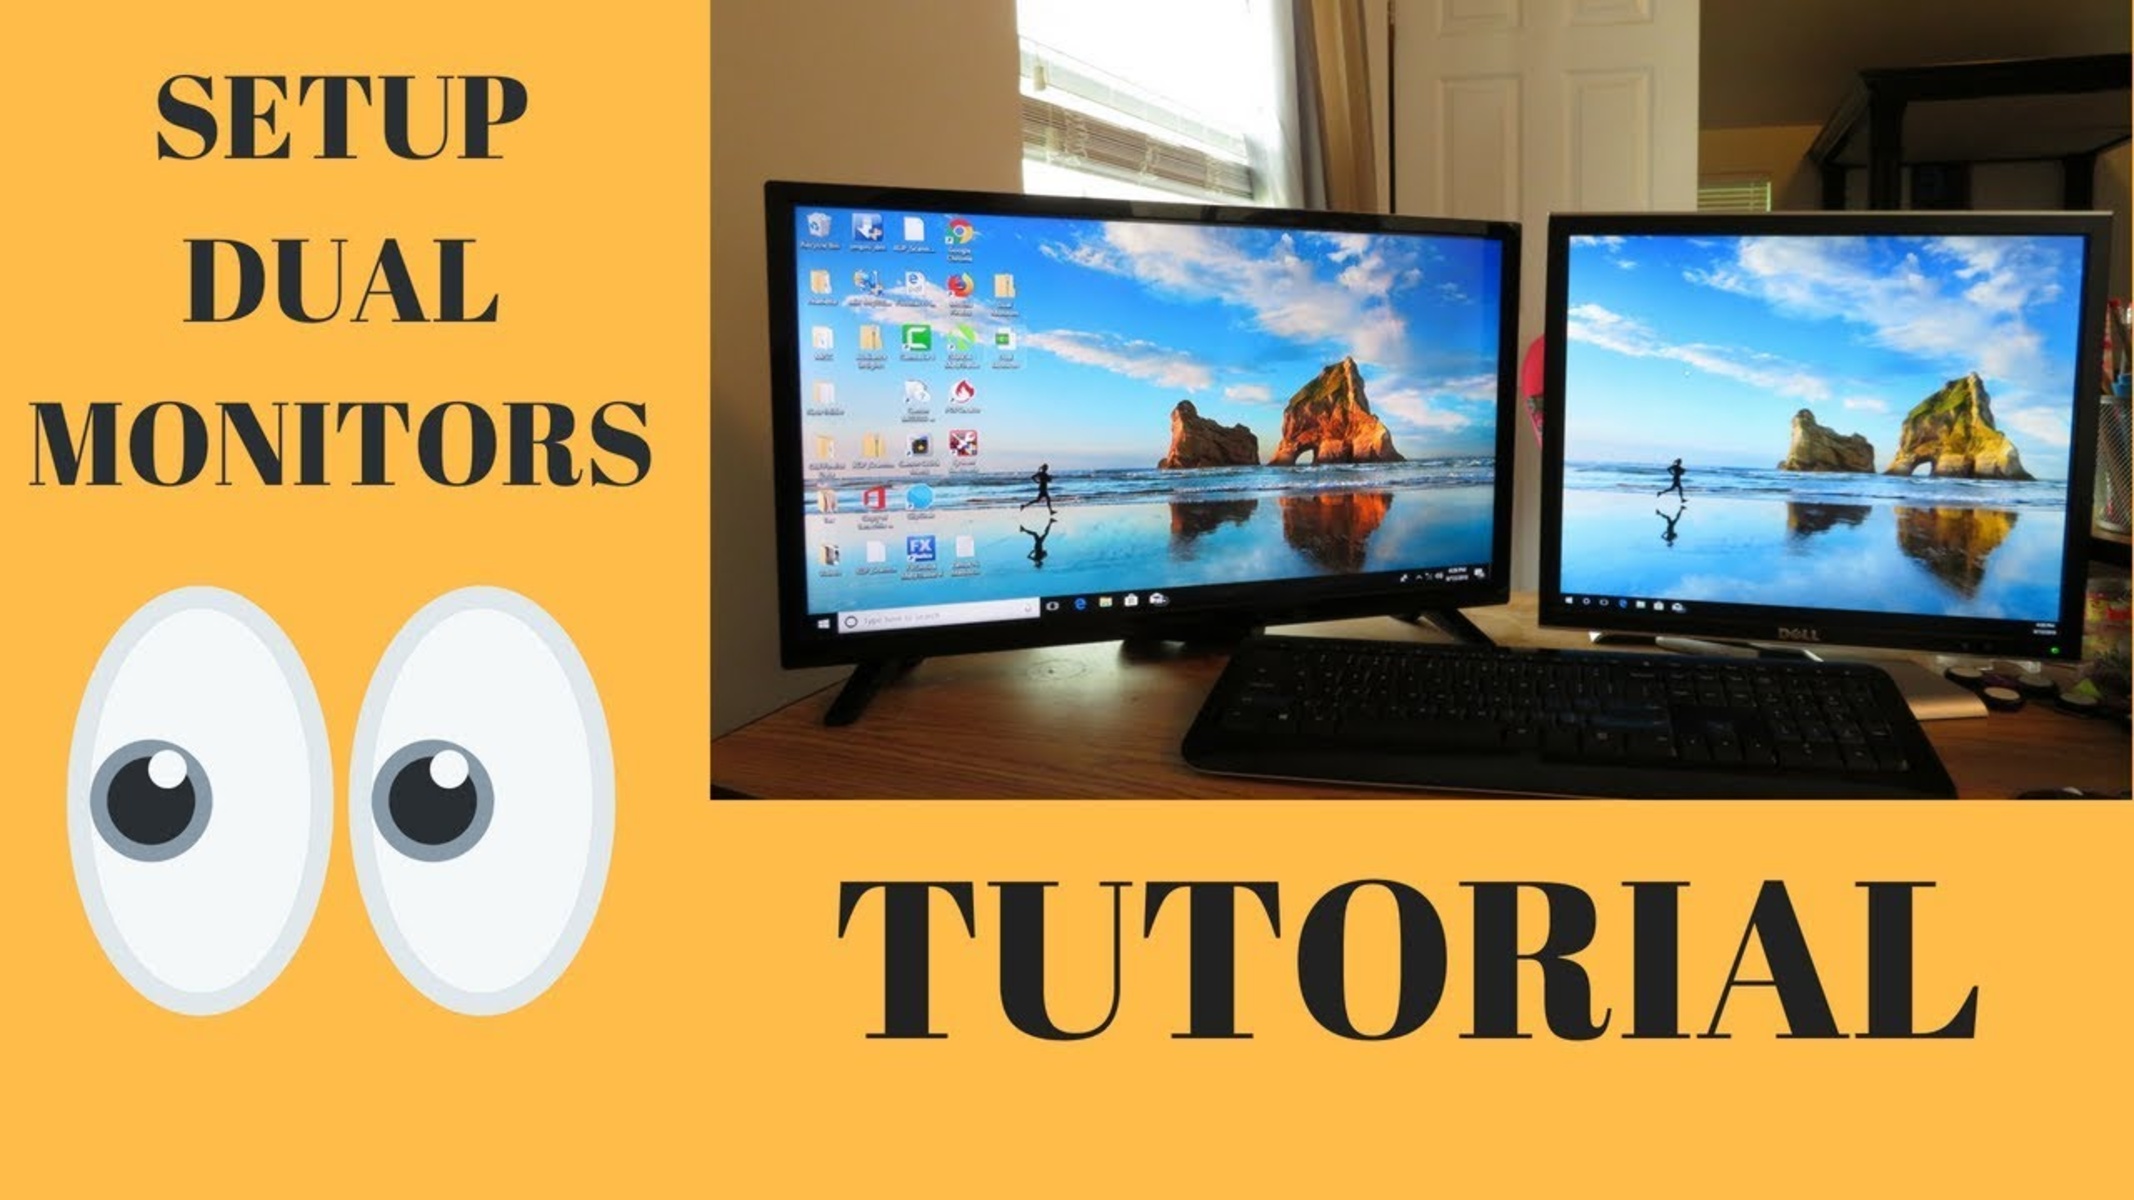
- Two monitors: You’ll obviously need two monitors to connect to your computer. Make sure they have HDMI ports and are in good working condition.
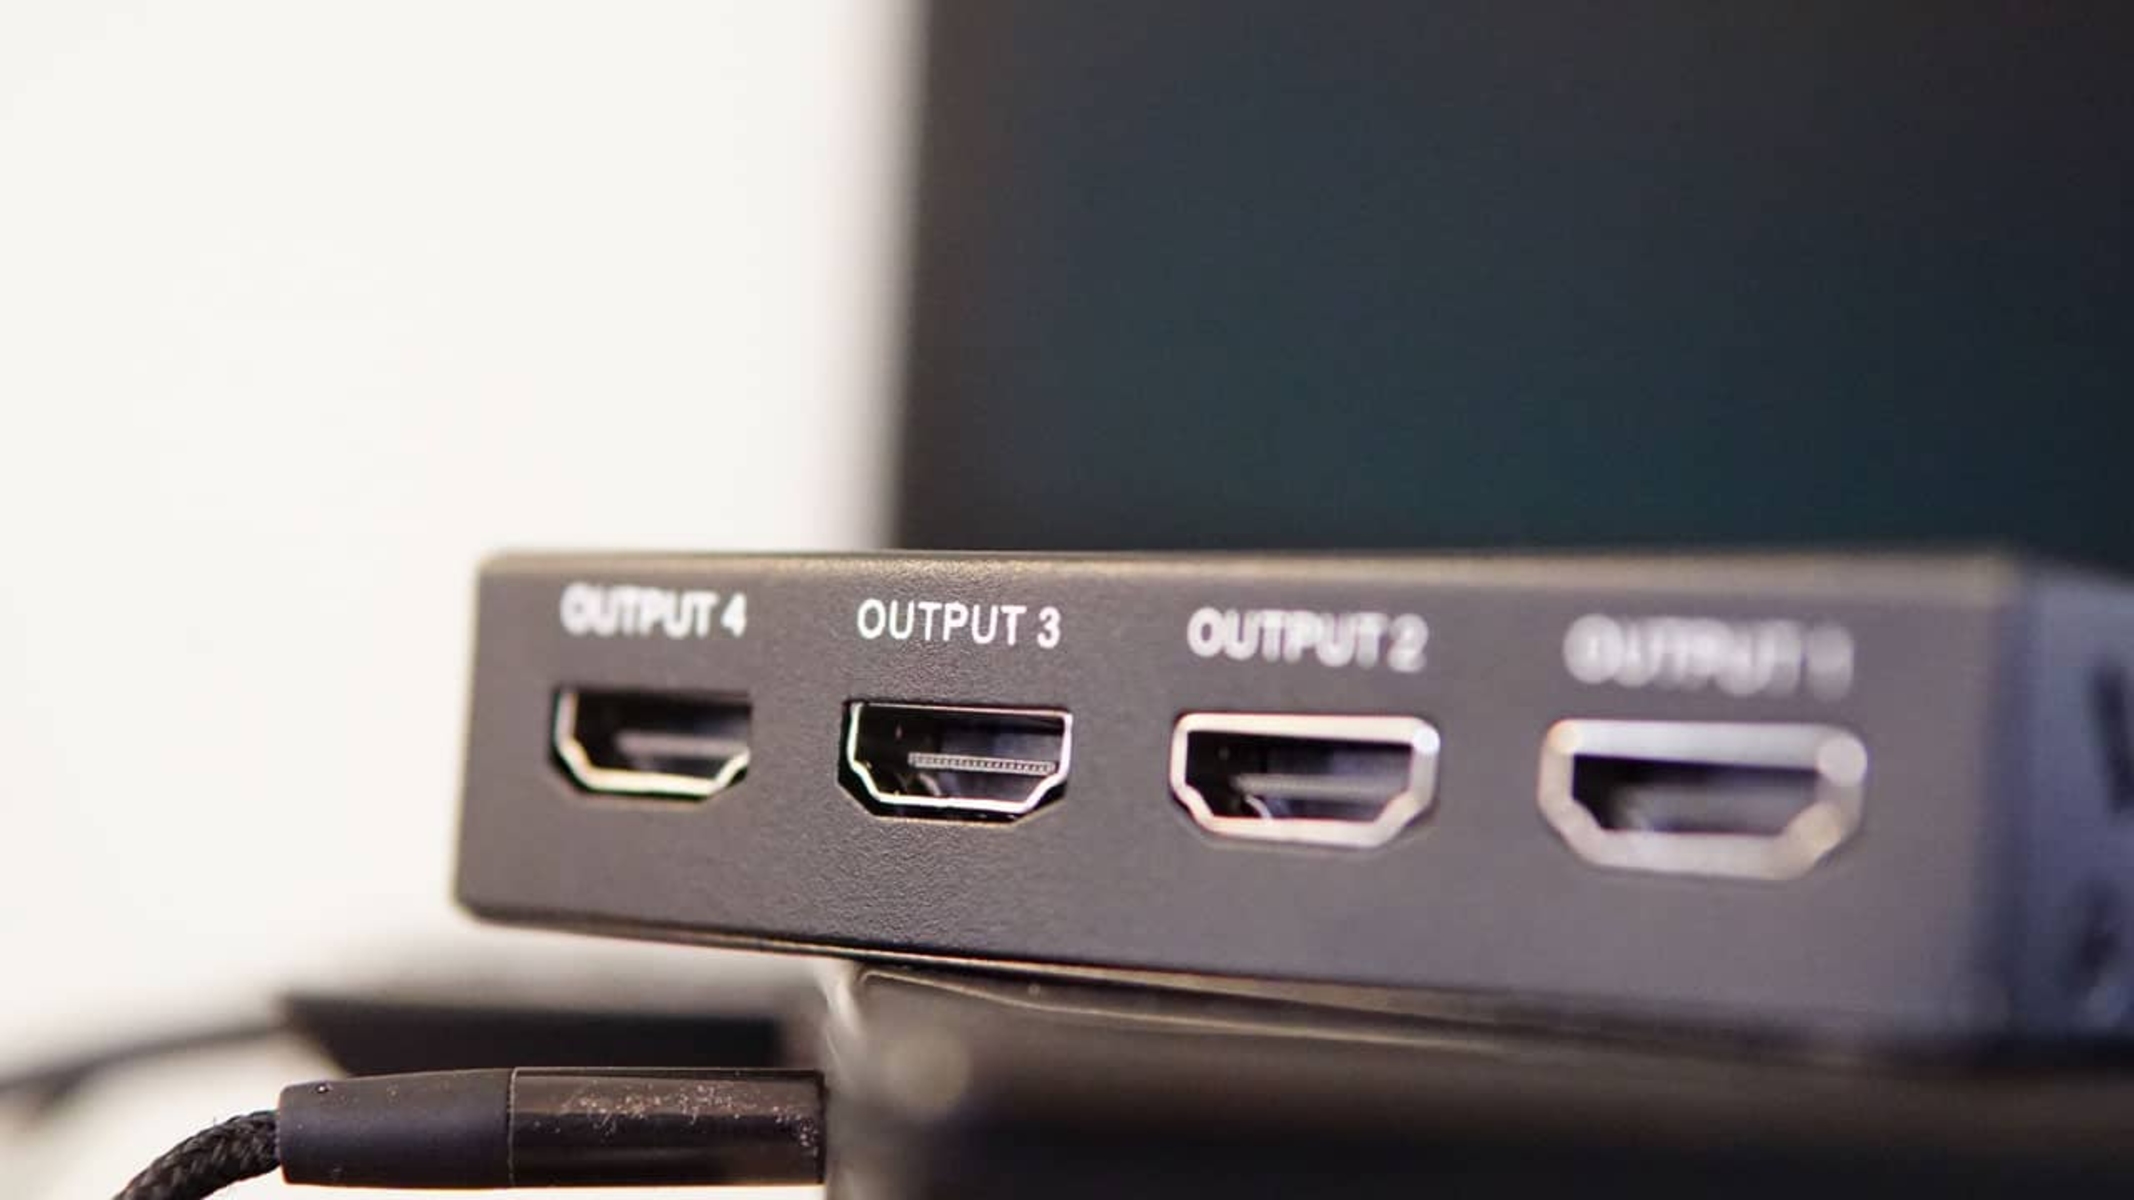
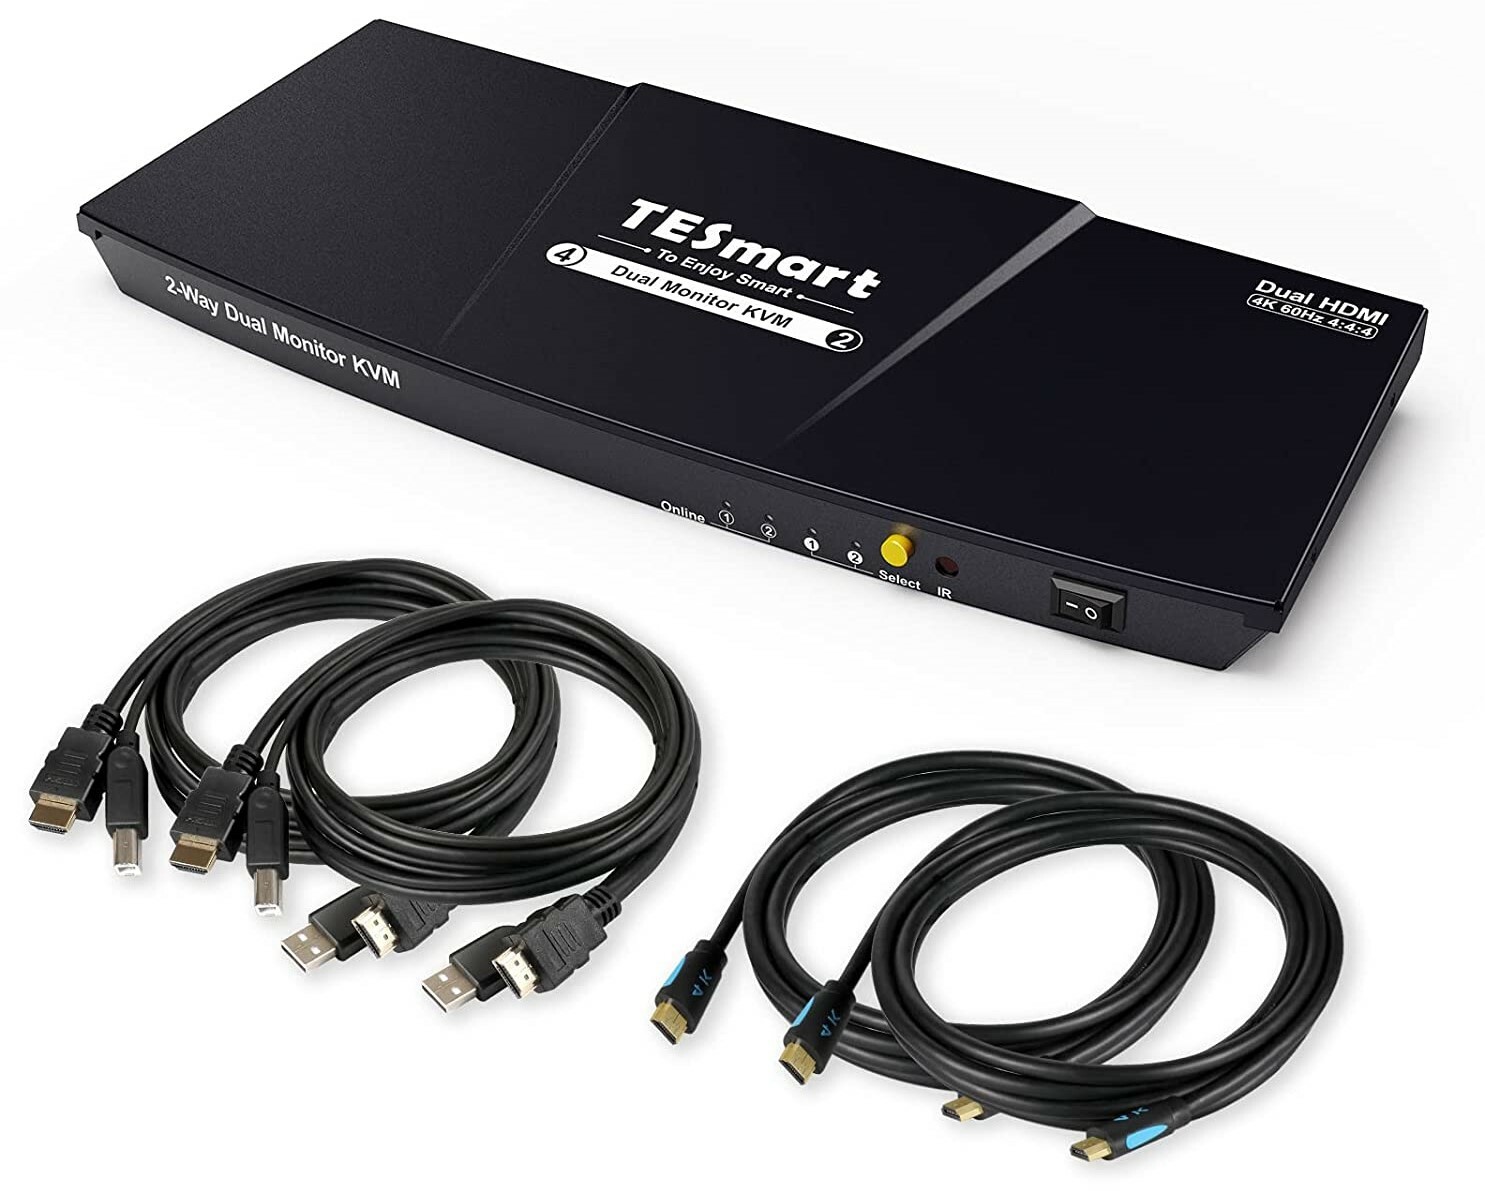
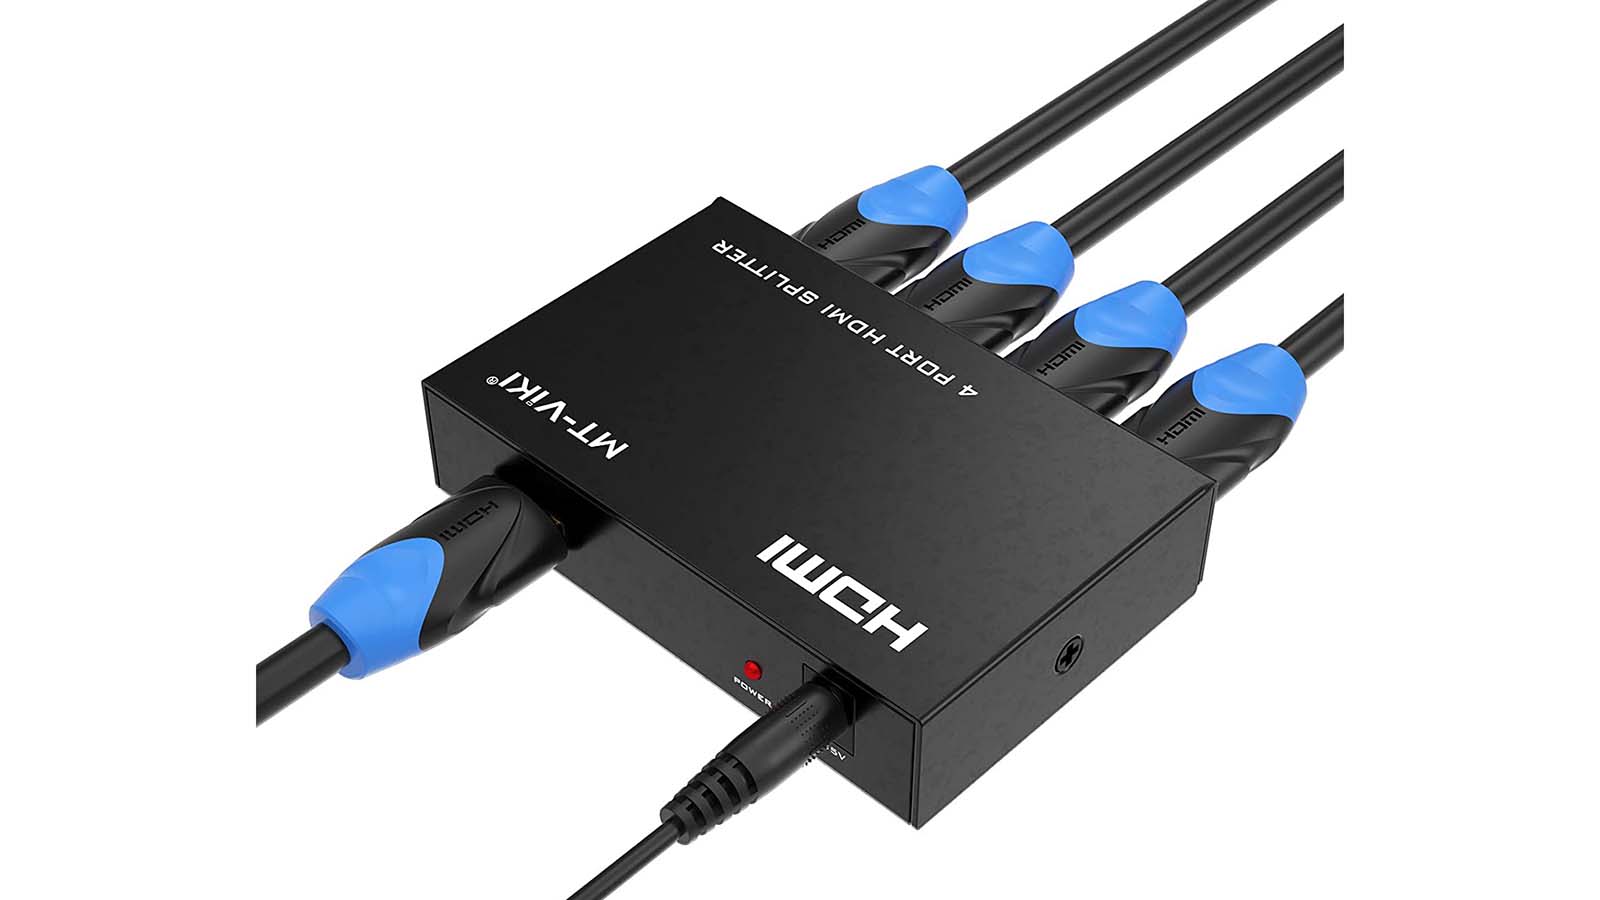
- HDMI splitter or switch: This device allows you to split the HDMI signal from your computer’s HDMI port and send it to both monitors simultaneously. Alternatively, you can use an HDMI switch to toggle between the two monitors if you only need to use one at a time.
- HDMI cables: You’ll need two HDMI cables, one to connect the HDMI splitter/switch to your computer, and the other to connect each monitor to the HDMI splitter/switch.
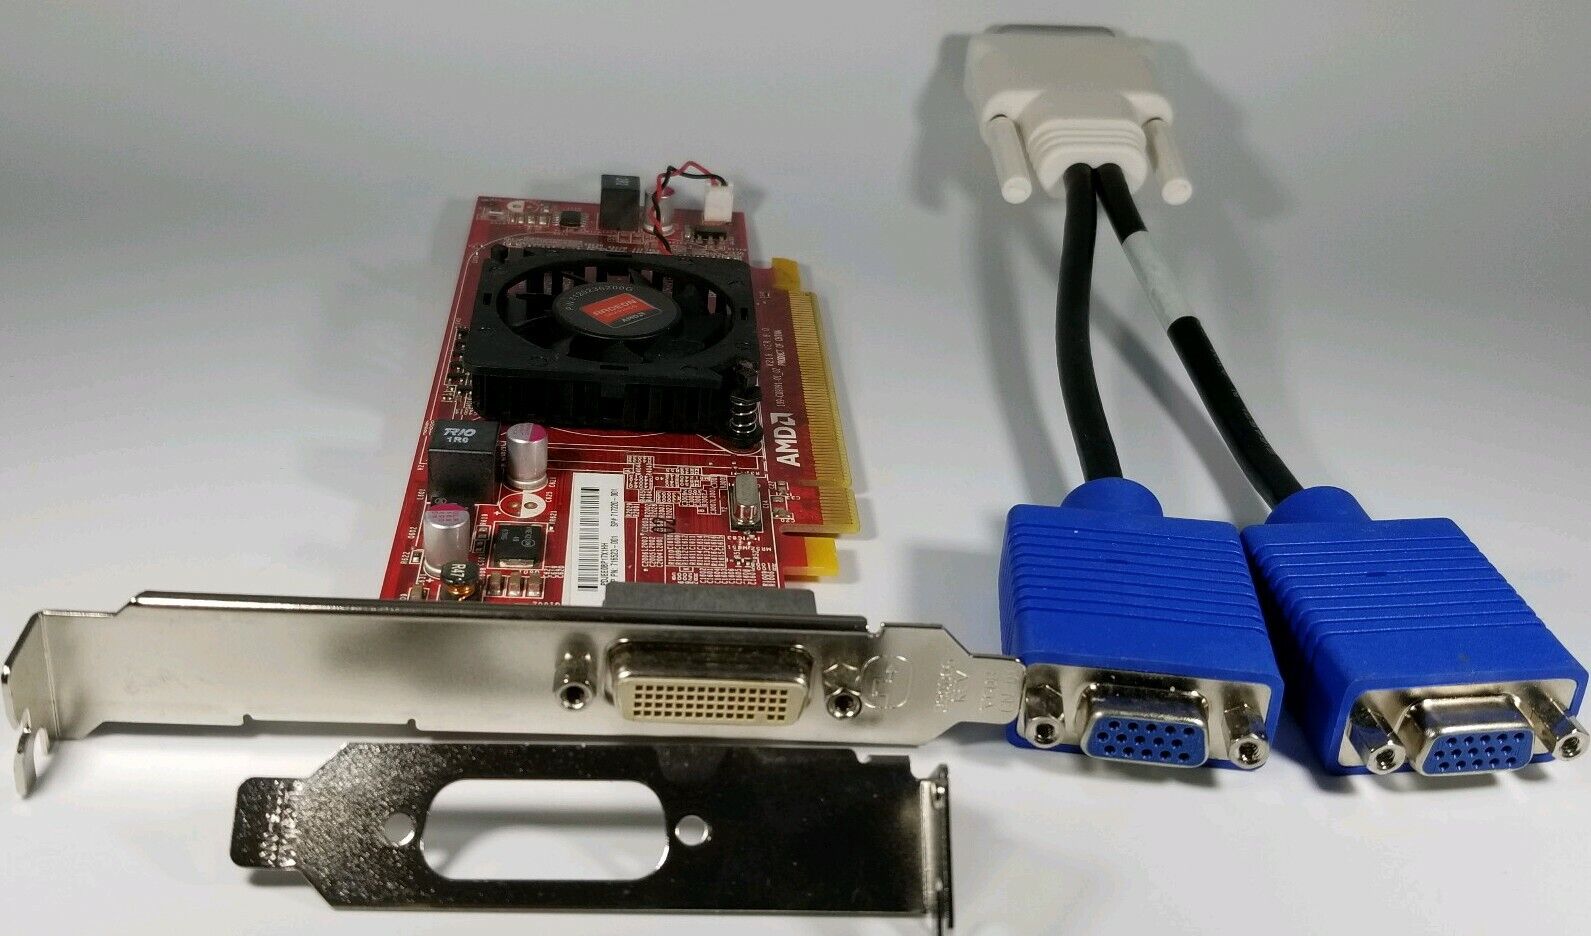
- Adapters (if necessary): Depending on the HDMI ports on your monitors and the HDMI splitter/switch, you may require additional adapters. For example, if one of your monitors has a DisplayPort instead of an HDMI port, you’ll need an HDMI to DisplayPort adapter.
- Power cables: Ensure you have the necessary power cables for both monitors and the HDMI splitter/switch. Make sure they are plugged into a power source.
It’s crucial to ensure that the HDMI splitter/switch you choose supports the resolution and refresh rate of your monitors. This information can usually be found in the specifications of the HDMI splitter/switch. Choose a high-quality splitter/switch to ensure optimal display performance. If you are uncertain about compatibility, consult the product manuals or reach out to the manufacturer for further clarification.
Now that you have all the necessary items, let’s move on to the step-by-step process of setting up two monitors with just one HDMI port.
Step 1: Check your computer’s HDMI port
Before you begin connecting two monitors to your computer’s HDMI port, it’s essential to ensure that your computer supports dual-monitor functionality through HDMI. Here’s how you can check:
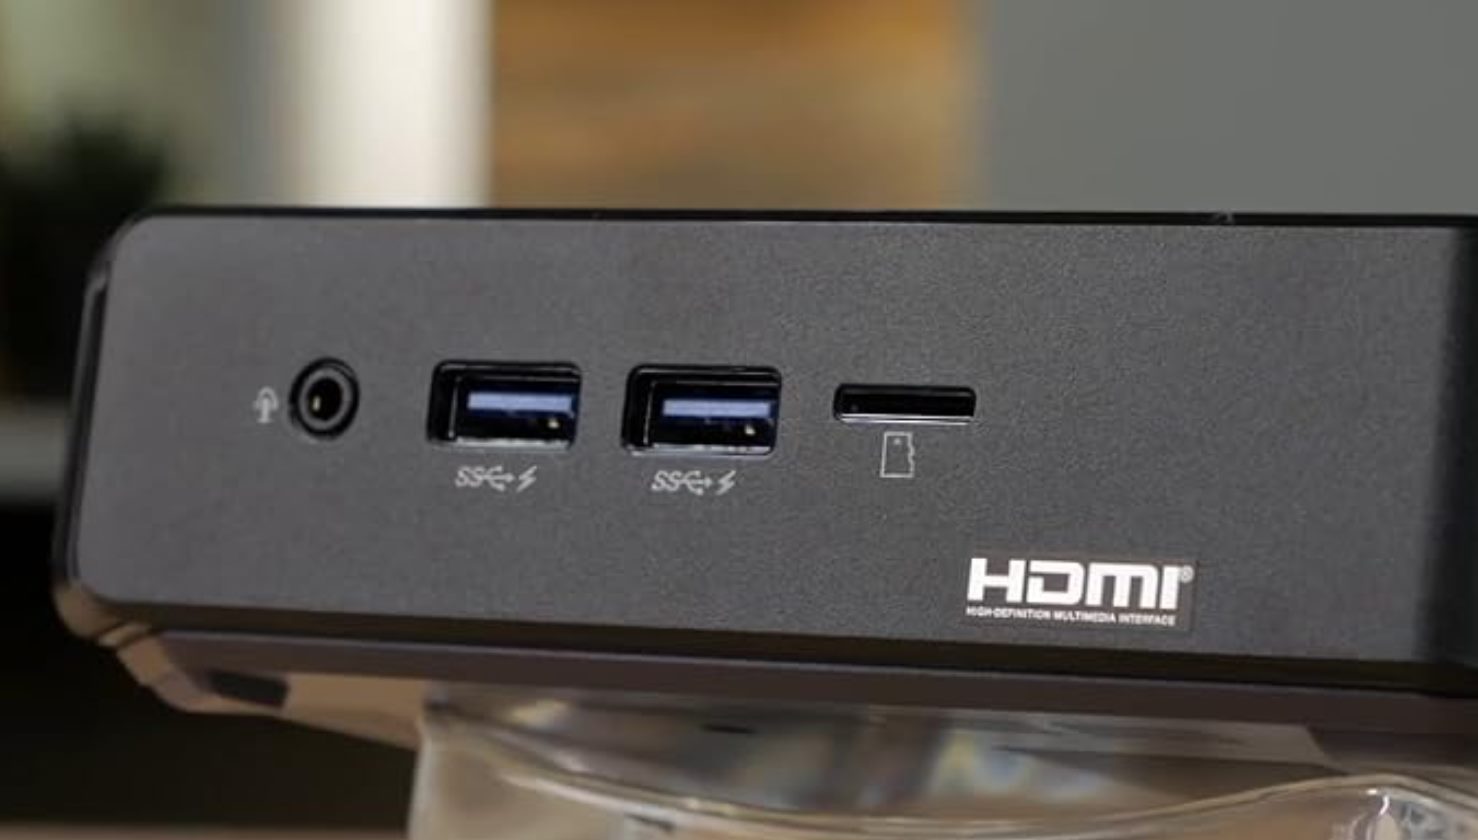
- Locate the HDMI port: Find the HDMI port on your computer. It is usually labeled “HDMI” or represented by an HDMI icon. The location of the HDMI port may vary depending on the computer model. Common locations include the back panel, side panel, or front panel.
- Inspect the HDMI port: Take a close look at the HDMI port to determine if it’s a standard HDMI port or a mini or micro HDMI port. Standard HDMI ports have a rectangular shape, while mini HDMI ports are smaller and have a trapezoid shape. Micro HDMI ports are even smaller and have a different shape.
- Check for HDMI version: If you want to ensure compatibility with your monitors and HDMI splitter/switch, it’s beneficial to determine the HDMI version of your computer’s HDMI port. HDMI versions include HDMI 1.4, HDMI 2.0, HDMI 2.1, etc. You can usually find this information by referring to your computer’s manual or contacting the manufacturer.
Once you have determined the type of HDMI port and the HDMI version of your computer, you can proceed with the setup process. It’s important to note that different HDMI versions may support different resolutions and refresh rates. Make sure that your monitors and HDMI splitter/switch are compatible with the HDMI version of your computer to ensure optimal performance.
If your computer’s HDMI port is different from the standard HDMI port, you may need to use an adapter specific to your HDMI port type. For example, if your computer has a mini HDMI port, you’ll need an HDMI to mini HDMI adapter. Ensure that you have the necessary adapter before moving on to the next steps.
Once you have confirmed that your computer’s HDMI port is compatible, you’re ready to move on to the next step: purchasing the necessary adapters.
Step 2: Purchase the necessary adapters
In order to connect two monitors to your computer’s HDMI port, you may need to purchase certain adapters depending on the compatibility between your computer’s HDMI port and the HDMI ports on your monitors. Here’s what you need to do:
- Identify the required adapters: If your computer’s HDMI port is different from the HDMI ports on your monitors, you’ll need to determine the specific adapters needed for the connection. For instance, if your computer has a mini HDMI port and your monitors have standard HDMI ports, you’ll need an HDMI to mini HDMI adapter.
- Research and find suitable adapters: Once you know which adapters you require, begin your search for reliable and compatible adapters. Look for reputable brands and read customer reviews to ensure the adapters have a good track record of performance and reliability.
- Purchase the adapters: Once you have identified the suitable adapters, make the necessary purchases. You can find adapters at electronics stores, computer hardware retailers, or online marketplaces. Ensure that you purchase the correct quantity of adapters for your setup.
- Consider cable length: Depending on the distance between your computer and the two monitors, you may need to consider the length of the HDMI cables. Measure the distance and purchase HDMI cables of appropriate lengths to avoid any cable management issues during the setup process.
It’s essential to acquire high-quality adapters to maintain the integrity of the video signal and ensure optimal performance. Using subpar adapters may result in signal loss, display issues, or reduced image quality. Always invest in reliable adapters to achieve the best possible dual-monitor experience.
With the necessary adapters in hand, you are now ready to move on to the next step: connecting the first monitor.
Step 3: Connect the first monitor
Now that you have the necessary adapters and cables, you’re ready to connect the first monitor to your computer’s HDMI port. Follow these steps:
- Power off your computer: Before making any connections, it’s always a good idea to turn off your computer to avoid any potential electrical damage.
- Locate the HDMI port on your computer: Identify the HDMI port on your computer. It is usually labeled “HDMI” or has an HDMI icon beside it. If you’re unsure about the location, refer to your computer’s manual or contact the manufacturer for guidance.
- Connect the HDMI cable: Take one end of the HDMI cable and plug it into the HDMI port on your computer. Ensure that the cable is securely inserted into the port to establish a proper connection.
- Connect the other end of the HDMI cable to the first monitor: Locate the HDMI port on the first monitor and plug the other end of the HDMI cable into it. Again, make sure the connection is secure.
- Power on your computer and the first monitor: Once you have made the HDMI connection, power on your computer and the first monitor. The monitor should detect the video signal from your computer and display the appropriate content.
- Adjust display settings if necessary: After connecting the first monitor, you may need to adjust the display settings on your computer to optimize the resolution, orientation, and other aspects of the monitor. Access the display settings through your computer’s operating system and make the necessary adjustments as per your preferences.
Once you have successfully connected and configured the first monitor, you’re ready to proceed to the next step: connecting the second monitor.
Step 4: Connect the second monitor
With the first monitor successfully connected, it’s time to proceed with connecting the second monitor to your computer’s HDMI port. Follow these steps:
- Power off your computer: Before making any connections, ensure that your computer is powered off to avoid any potential electrical damage.
- Locate the HDMI port on your computer: Identify the HDMI port on your computer where you will be connecting the second monitor. It is usually labeled “HDMI” or has an HDMI icon beside it. If you’re uncertain about the port’s location, consult your computer’s manual or contact the manufacturer for assistance.
- Connect the HDMI cable to the HDMI splitter/switch: Take one end of the second HDMI cable and plug it into the HDMI output port of your HDMI splitter/switch.
- Connect the other end of the HDMI cable to the second monitor: Locate the HDMI port on the second monitor and attach the other end of the HDMI cable to it. Ensure that the connection is secure.
- Power on your computer, HDMI splitter/switch, and the second monitor: Once the second monitor is connected, power on your computer followed by your HDMI splitter/switch and then the second monitor. The second monitor should now receive the video signal from your computer.
- Configure display settings (if needed): Depending on your computer’s operating system, you may need to adjust the display settings to optimize the layout and resolution of the second monitor. Access the display settings and configure them according to your preferences.
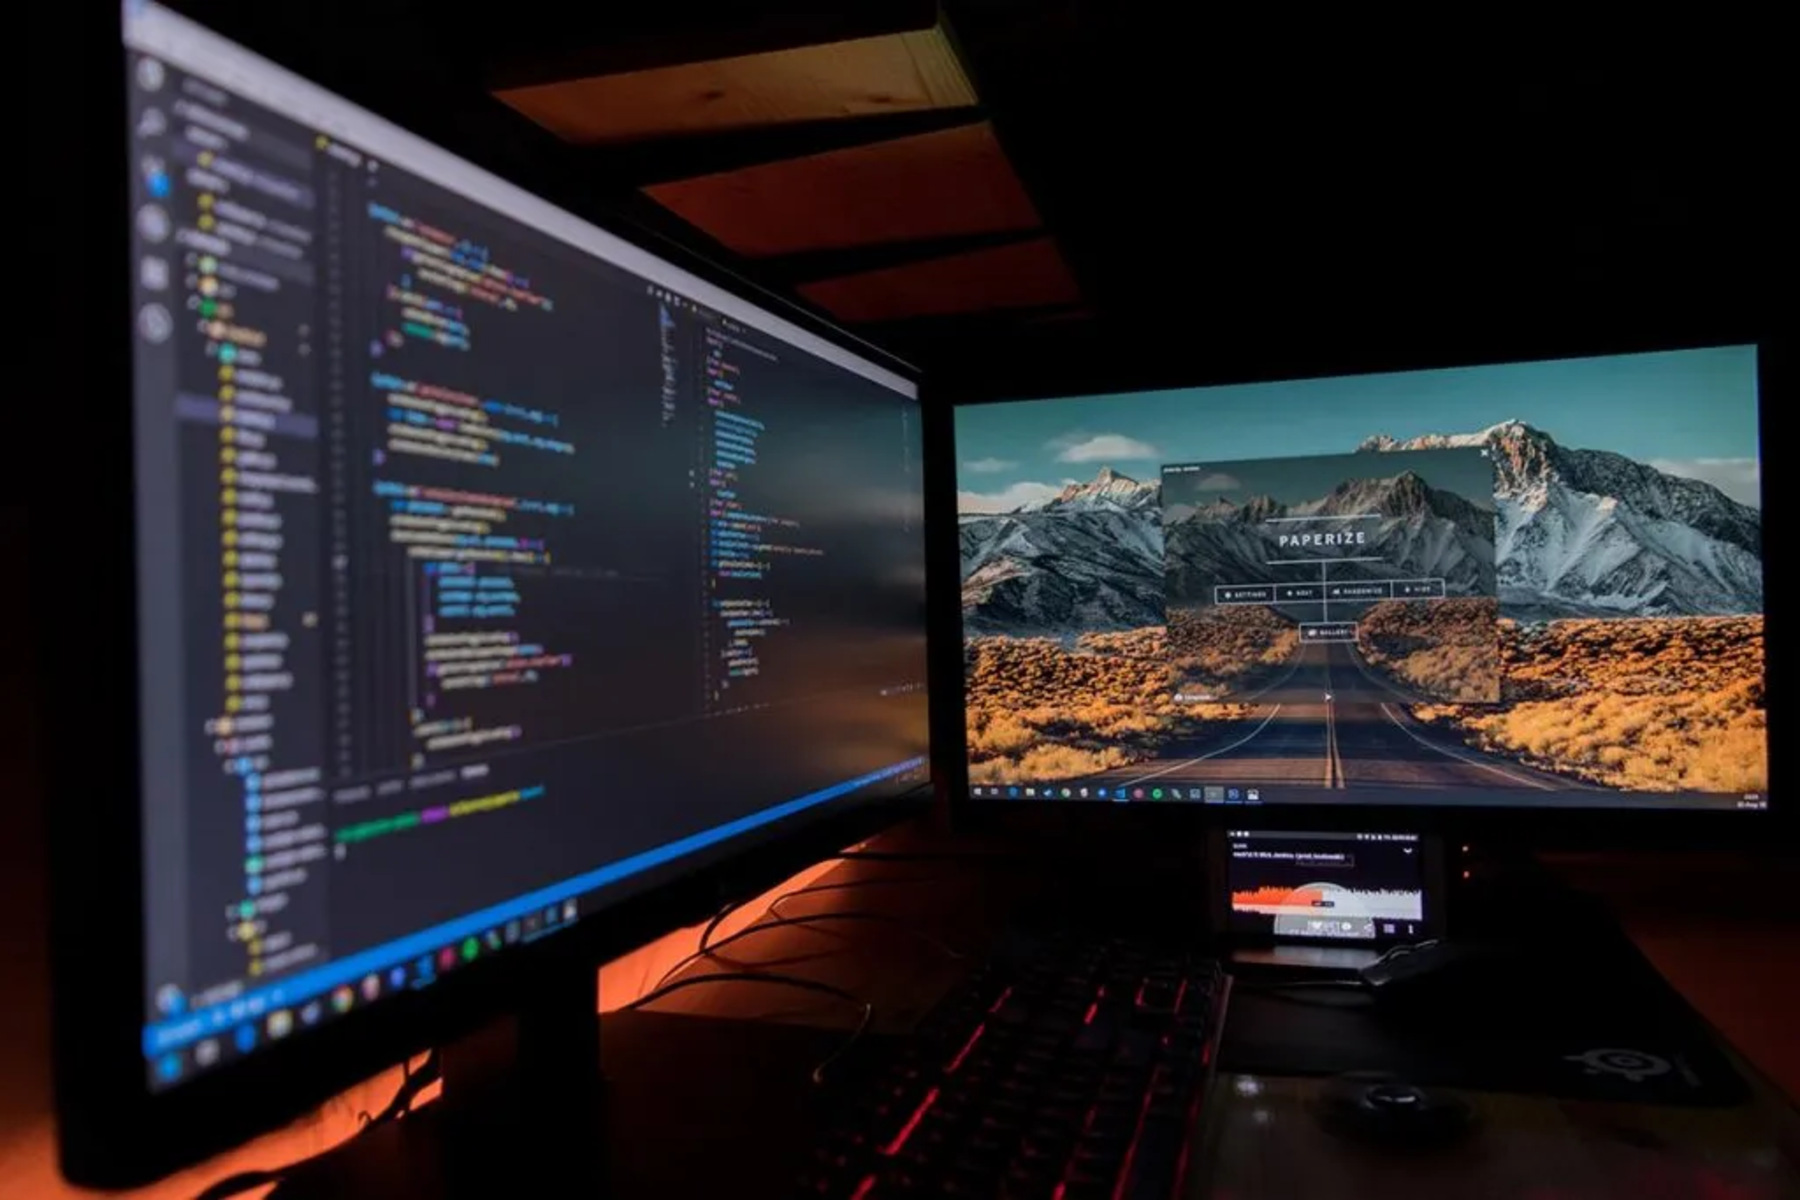
With the second monitor successfully connected and configured, you now have two monitors running simultaneously from a single HDMI port! Make sure to arrange them in your desired orientation and check that both monitors are functioning properly.
In the next step, we will learn how to adjust the display settings on your computer for the dual-monitor setup.
Step 5: Adjust display settings on your computer
Now that you have connected both monitors to your computer’s HDMI port, it’s essential to adjust the display settings to optimize the dual-monitor setup. Follow these steps to configure the display settings on your computer:
- Access the display settings: Depending on your computer’s operating system, right-click on the desktop and select “Display settings” or navigate to the “Display” section within the control panel.
- Identify the connected monitors: In the display settings, you should see both connected monitors listed. They will be labeled as “Monitor 1” and “Monitor 2” or display their respective model names. Note the order in which they are listed.
- Arrange the monitors: Drag and rearrange the monitor icons in the display settings to match the physical placement of your monitors on your desk. This way, the cursor movement will be smooth and intuitive as you navigate across both screens.
- Set the primary monitor (if desired): If you prefer one monitor to be the primary display, select that monitor in the display settings and check the box that says “Make this my main display.” The primary monitor will house the taskbar and will be the default screen for open applications.
- Adjust resolution and orientation: Depending on your preferences and the capabilities of your monitors, you can adjust the resolution, aspect ratio, and screen orientation (landscape or portrait) for each monitor. Select the individual monitor in the display settings and modify the respective settings as needed.
- Apply and save changes: Once you have made the desired adjustments, click on the “Apply” button to apply the changes. If you’re satisfied with the configuration, choose the option to save the changes.
By adjusting the display settings, you can ensure that both monitors are calibrated correctly and provide an optimal viewing experience. Take some time to explore the various options and find the setup that suits your needs and preferences the best.
If you encounter any issues during the display settings adjustment or if the monitors are not working as expected, double-check the connections, ensure that the adapters are correctly installed, and consult the user manuals or support resources provided by the monitor and computer manufacturers.
Congratulations! You have successfully set up and adjusted the display settings for a dual-monitor setup using just one HDMI port.
Additional Tips and Troubleshooting
Setting up and running two monitors with one HDMI port can be a straightforward process, but sometimes you may encounter challenges or want to further optimize your dual-monitor setup. Here are some additional tips and troubleshooting suggestions:
- Use high-quality HDMI cables: Using reliable and high-quality HDMI cables can ensure a stable and optimal display connection. Cheap or damaged cables may result in signal loss or poor image quality.
- Check for driver updates: Make sure that your computer’s graphics card drivers are up to date. Outdated drivers can cause compatibility issues or may not support dual-monitor functionality.
- Test different configurations: Experiment with different monitor orientations, resolutions, and arrangements to find the configuration that suits your workflow or gaming experience best.
- Balance display settings: Adjust the brightness, contrast, and color settings on each monitor to ensure a uniform display appearance. This will result in a seamless viewing experience across both screens.
- Disable mirroring: If your computer initially sets up the two monitors in a mirrored mode, meaning that both monitors display the same content, you can disable mirroring in the display settings to have independent displays.
- Ensure sufficient power supply: Make sure that your computer’s power supply can handle the increased load of running two monitors simultaneously. Insufficient power supply may lead to unexpected shutdowns or system instability.
- Troubleshoot display issues: If you encounter any display issues such as distorted images, flickering screens, or no signal, double-check the HDMI connections, power supply, and adapter compatibility. Restarting your computer or swapping cables may also help resolve any temporary issues.
- Consult manufacturer support: If you are facing persistent issues or need assistance specific to your computer or monitor model, reach out to the respective manufacturers’ support channels. They can provide detailed troubleshooting steps or offer further guidance.
Remember that the steps and recommendations provided in this guide may vary depending on your computer’s hardware, operating system, and monitor models. Always refer to the user manuals or contact the manufacturers for accurate instructions or specific troubleshooting steps.
With these additional tips and troubleshooting suggestions, you should be well-equipped to handle any issues that may arise during the setup or usage of your dual-monitor setup.
Conclusion
Congratulations! You have successfully learned how to set up and run two monitors with just one HDMI port on your computer. By following the step-by-step instructions, you can now enjoy the benefits of a dual-monitor setup, whether it’s for increased productivity or an immersive gaming experience.
Remember to gather all the necessary equipment, including the monitors, HDMI splitter/switch, HDMI cables, and any required adapters. Ensure that your computer’s HDMI port supports dual-monitor functionality and identify the specific adapters you may need.
Take the time to properly connect each monitor, adjusting the display settings and arranging them according to your preferences. With the right configuration, you can optimize your workflow, multitasking abilities, and overall screen real estate.
If you encounter any challenges along the way, refer to the additional tips and troubleshooting section for guidance. Utilize high-quality HDMI cables, keep graphics card drivers up to date, and experiment with different configurations to achieve the best results.
Enjoy the benefits of your dual-monitor setup and make sure to take breaks and maintain a comfortable workspace for prolonged usage. With two monitors at your disposal, you can enhance your productivity, multitasking capabilities, and overall computing experience.
Remember that the instructions provided in this guide are a general overview and may vary depending on your specific computer and monitor models. Always consult the user manuals or reach out to the manufacturers for accurate and detailed instructions tailored to your setup.
Thank you for following our guide, and we hope you find your dual-monitor setup both enjoyable and beneficial!