Introduction
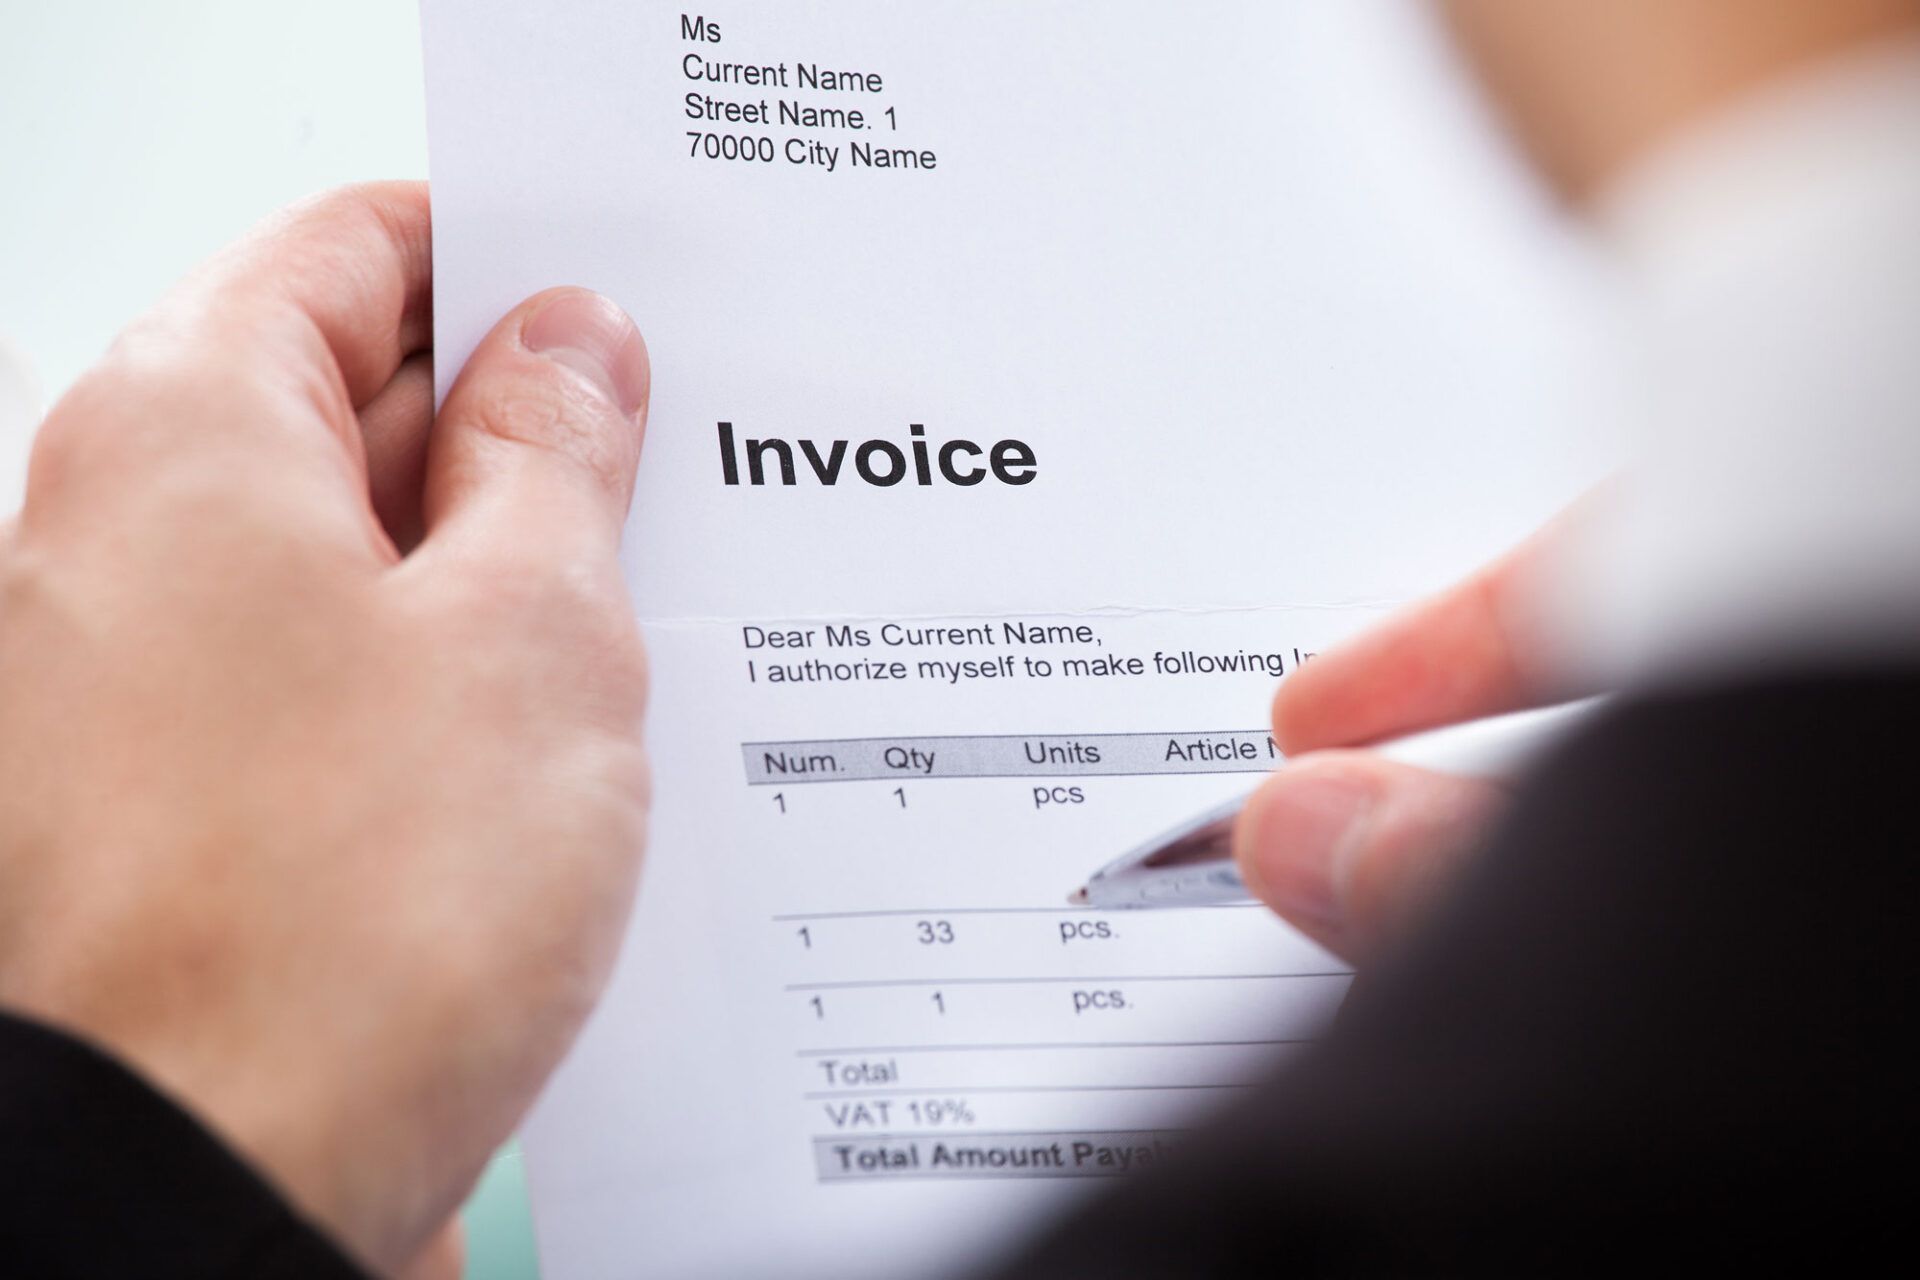
When it comes to running a business, sending invoices is an essential task that ensures you get paid for your products or services. While traditional methods may have involved printing and mailing hard copies of invoices, technology has now made it easier than ever to send invoices through email. Sending invoices via email not only saves time and money but also provides a convenient and efficient way to track and manage your billing.
In this article, we will guide you through the step-by-step process of sending an invoice through email. Whether you are a freelancer, a small business owner, or anyone else needing to send invoices, this guide will help you streamline your invoicing process and ensure prompt payment.
From setting up your email account to writing a professional email message, we will cover all the necessary steps to send an invoice seamlessly. We will also provide tips to make your invoice stand out, ensure accuracy, and increase your chances of getting paid on time. So, let’s dive in and learn how to send an invoice through email!
Step 1: Set up an email account
Before you can send an invoice through email, you’ll need to have a functional email account. If you already have an email account, skip to the next step. If not, follow these simple instructions to set one up:
- Choose an email service provider: There are numerous email service providers available, such as Gmail, Outlook, and Yahoo. Select the one that suits your needs and sign up for an account by providing the necessary information.
- Create a username and password: Choose a unique username that reflects your business or personal identity. Also, create a strong password to ensure the security of your email account.
- Verify your account and set up additional security measures: Once you’ve completed the signup process, you might need to verify your account by clicking on a verification link sent to your provided email address. Additionally, enable any two-factor authentication options available to add an extra layer of security to your account.
- Customize your email settings: Configure your email settings according to your preferences. You can choose a display name that recipients will see when they receive your emails, set up email signature, organize folders, and more.
Once you’ve set up your email account, make sure to familiarize yourself with its features and functionalities. This will help you navigate through the next steps more easily and effectively.
Step 2: Create an invoice
Creating a professional and well-designed invoice is crucial for conveying a sense of professionalism and ensuring clarity in the billing process. Here’s how you can create an invoice:
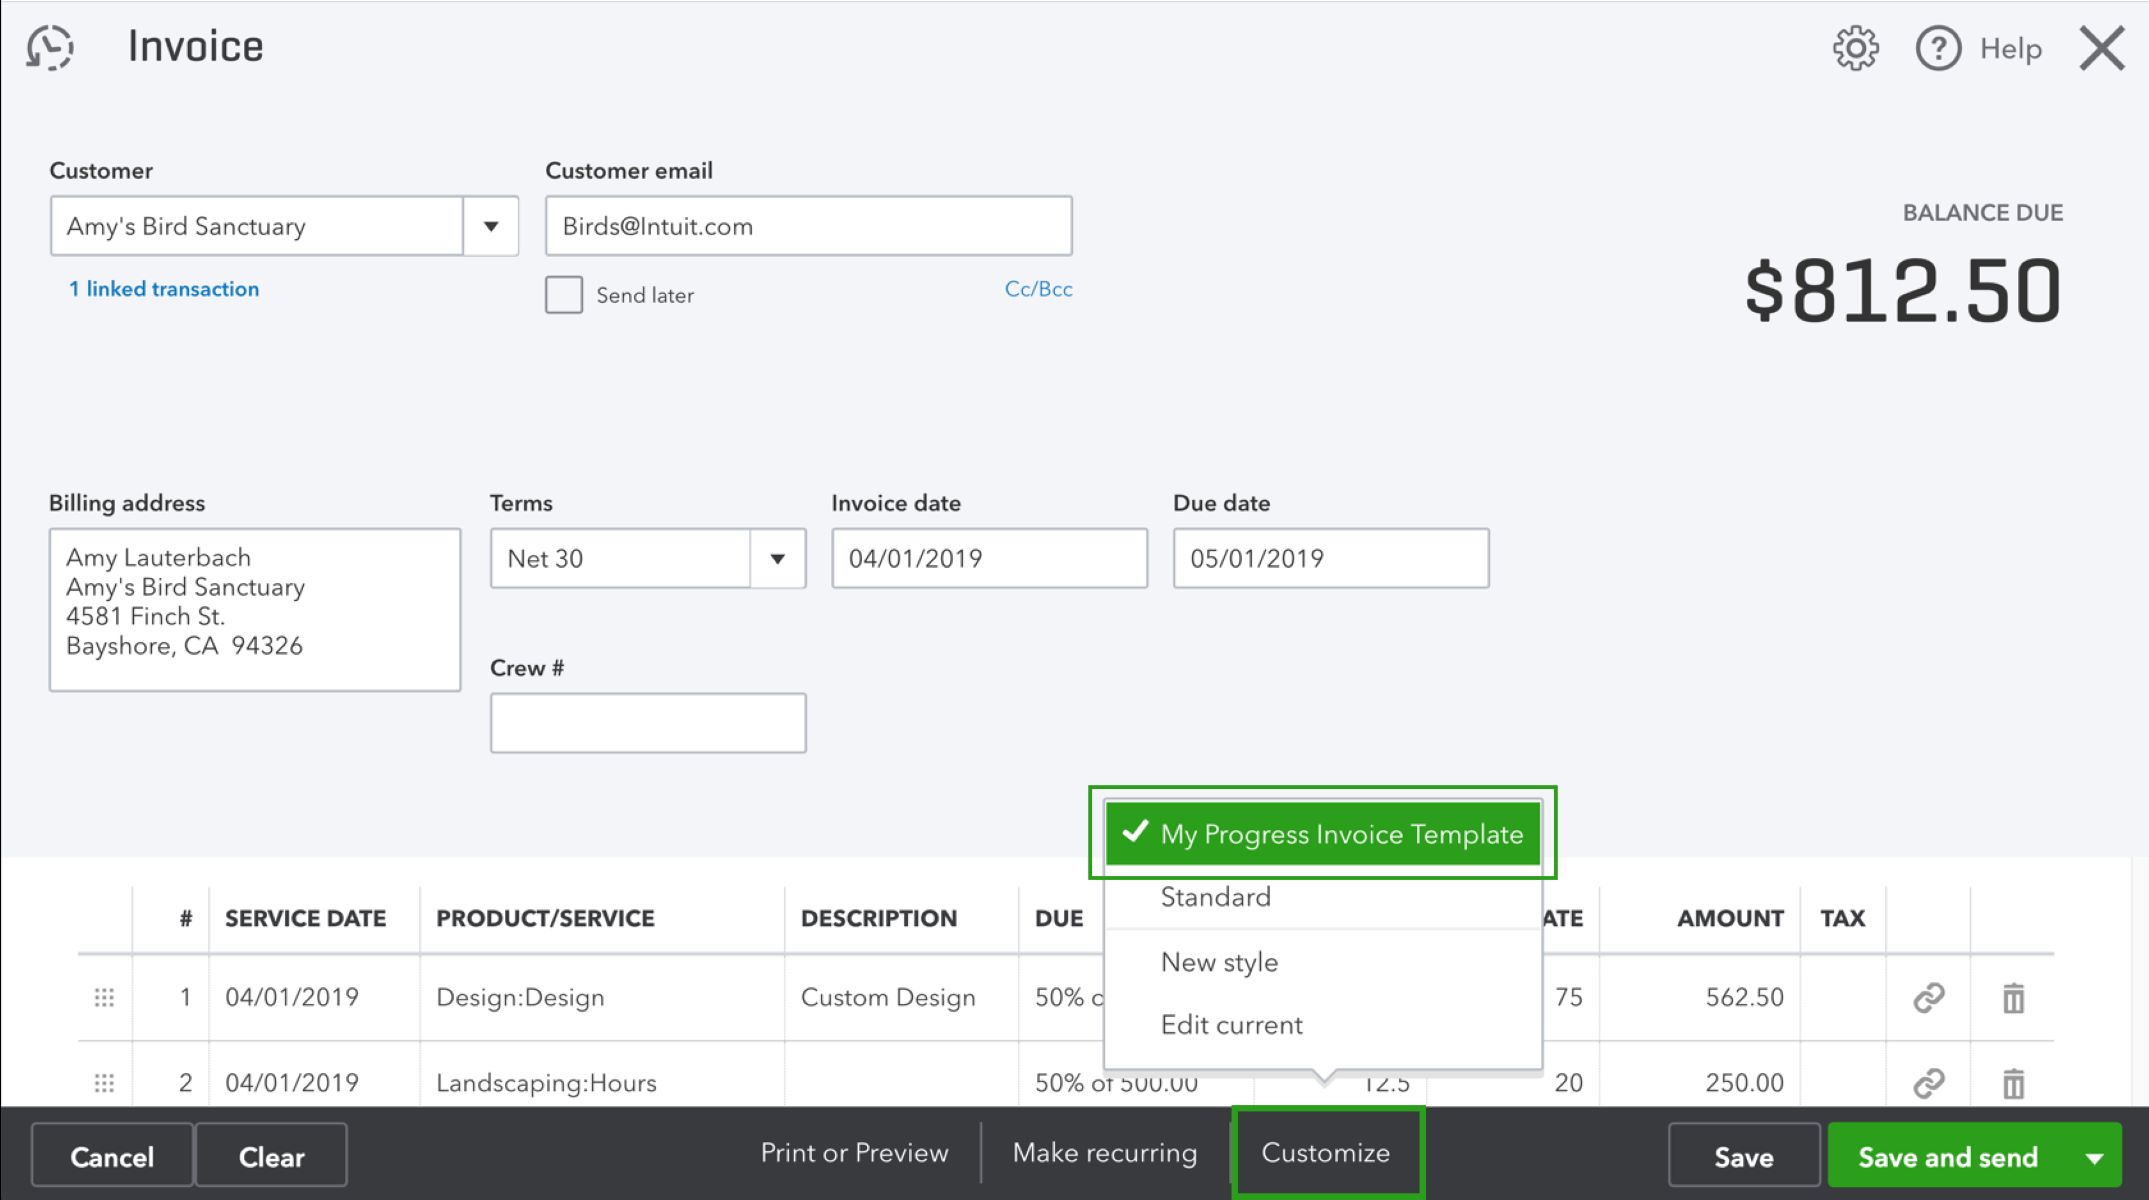
- Choose an invoice template: There are plenty of free invoice templates available online that you can use as a starting point. Look for templates that are easy to customize and include all the necessary information, such as your business name, contact details, customer details, invoice number, payment terms, and itemized list of products or services.
- Add your business information: Personalize the template by adding your business logo, name, and contact details. This will help your clients easily identify your invoice and get in touch with you if needed.
- Add customer information: Fill in the customer’s name, email address, and billing address accurately to ensure that the invoice reaches the right person and location.
- Include invoice details: Specify the invoice number, issuance date, due date, and payment terms clearly. This will help both you and your clients keep track of payment deadlines.
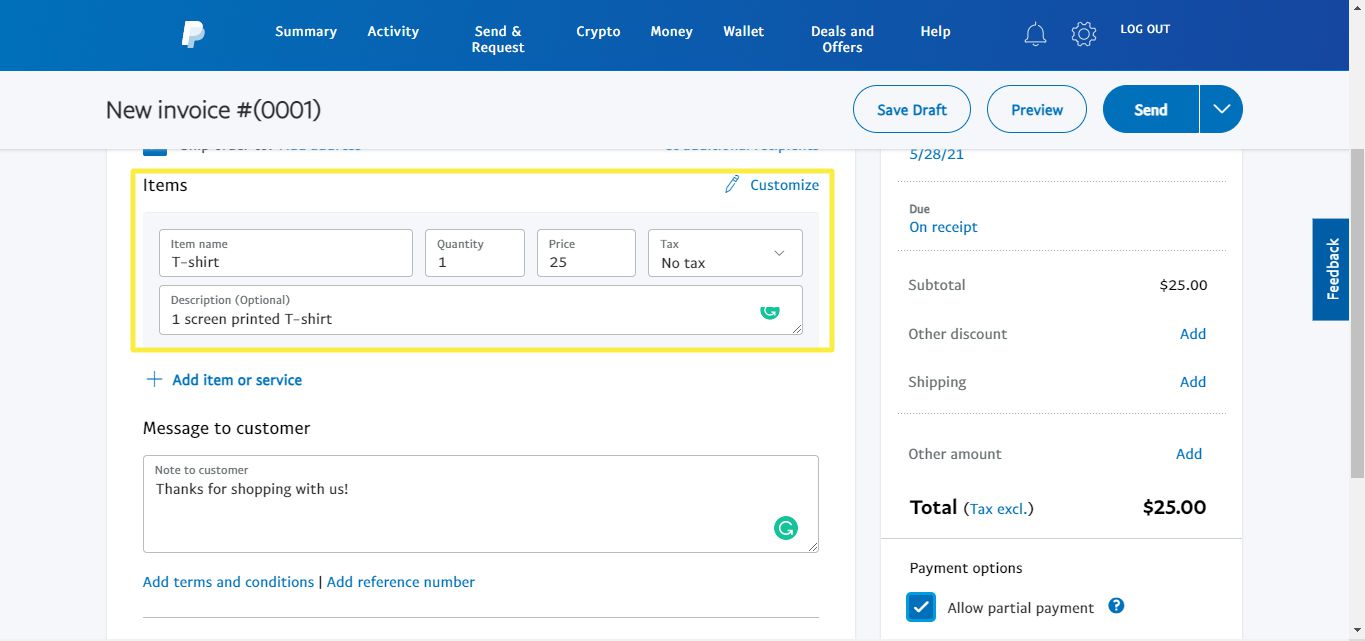
- Itemize products or services: List all the products or services you’re charging for, along with their corresponding prices and quantities. Include a brief description for each item to provide clarity.
- Calculate totals: Include the subtotal, any applicable taxes, discounts, and the final total amount due. Double-check your calculations to avoid errors.
- Add payment instructions: Clearly state your preferred payment methods, such as bank transfer, PayPal, or any other online payment platform you use. Include any necessary account or payment details.
- Review and proofread: Before finalizing the invoice, carefully review all the information for accuracy and ensure that the layout and formatting are neat and professional.
Once you’ve created your invoice, save it in a format that is easily shareable, such as PDF, so that it can be attached to an email in the next step.
Step 3: Convert the invoice to a PDF format
Converting your invoice to a PDF format is essential to ensure that it maintains its formatting and can be easily viewed by your clients. Follow these steps to convert your invoice to PDF:
- Use online conversion tools: There are various online tools available for converting documents to PDF format. Simply upload your invoice file and let the tool convert it for you. Make sure to choose a reliable and secure tool.
- Utilize PDF conversion software: If you frequently need to convert documents to PDF, consider installing dedicated PDF conversion software on your computer. These software programs offer more functionality and control over the conversion process.
- Save as PDF from document editor: If you’re using a document editor like Microsoft Word or Google Docs to create your invoice, you can often save or export the file as a PDF directly from the application. Look for the “Save As” or “Export” options and choose PDF as the desired format.
- Verify the converted PDF: After converting the invoice to PDF, open the file and ensure that all elements, including the layout, formatting, and any embedded images or logos, are preserved properly.
Converting your invoice to PDF ensures that it looks professional and can be easily opened and viewed on various devices and operating systems. PDF files also provide better security, as they are more difficult to edit and alter compared to other document formats.
Step 4: Attach the PDF to an email
Now that you have your invoice in PDF format, it’s time to attach it to an email. Follow these steps to ensure a smooth process:
- Open your email client: Launch the email client or webmail platform of your choice, and sign in with your email account credentials.
- Create a new email: Click on the “Compose” or “New Email” button to start writing a new email.
- Enter the recipient’s email address: In the “To” field, enter the email address of the recipient to whom you want to send the invoice. If you’re sending the invoice to multiple recipients, separate their email addresses with commas.
- Add a relevant subject line: Write a concise and descriptive subject line for your email. For example, “Invoice for [Client’s Name] – [Invoice Number].” This helps the recipient identify the purpose of the email immediately.
- Compose a professional message: Write a polite and professional message in the body of the email. You can include a brief greeting, a reference to the services or products provided, a polite payment request, and any additional information you want to convey.
- Attach the PDF invoice: Look for the “Attach” or paperclip icon in your email client and click on it. Browse through your computer’s files and select the PDF invoice you created in the previous step. Once selected, it will be attached to the email.
- Review the email: Before hitting the send button, take a moment to carefully review the email for any errors or omissions. Double-check the recipient’s email address, the attached invoice, and the content of the message to ensure accuracy.
By attaching the PDF invoice to the email, you are providing a convenient and easily accessible way for your clients to view and download the invoice.
Step 5: Write a professional email message
When sending an invoice through email, it’s important to accompany it with a professional and well-crafted email message. Follow these guidelines to ensure your email message is effective:
- Greet the recipient: Start the email with a polite and appropriate greeting, such as “Dear [Client’s Name]” or “Hello [Client’s Name].” This sets a friendly tone and shows respect for the recipient.
- Reference the invoice: In the body of the email, mention the invoice number and the purpose of the email. For example, “I am writing to send you the invoice for the services provided under invoice number [Invoice Number].”
- Include a summary of the services or products: Provide a brief recap of the services or products provided to remind the client of the work completed. This helps provide context for the invoice.
- Specify the payment due date: Clearly state the payment due date mentioned on the invoice. This ensures that the client is aware of the deadline and can plan accordingly.
- Politely request payment: Ask the client to review the invoice and make the payment by the due date. Use polite language and a professional tone to convey your expectation.
- Provide payment instructions: Include details about the accepted payment methods, such as bank transfer, PayPal, or any other preferred payment platform. Specify any necessary account information or steps the client needs to follow to complete the payment.
- Express gratitude: Show appreciation to the client for their business and for considering timely payment. A simple “Thank you for your prompt attention to this matter” or a similar phrase can go a long way.
- Include contact information: Provide your contact information, such as phone number or email address, in case the client has any questions or concerns related to the invoice or payment.
- Sign off professionally: End the email with a professional sign-off, such as “Best regards,” “Sincerely,” or “Thank you.” Follow it with your name and any additional relevant titles or roles.
A well-written and professional email message not only enhances the invoicing process but also reflects your business’s professionalism and strengthens your relationship with clients.
Step 6: Double-check the details and send the invoice
Before you hit the send button, take a moment to double-check all the details of the invoice and email. Paying attention to these final steps will ensure that the invoice is accurate and increase the chances of prompt payment:
- Review the invoice: Open the attached PDF invoice and carefully review all the information. Check for any errors or inconsistencies in the customer’s details, billing amounts, invoice number, or payment terms. Make sure that the invoice is clear, organized, and reflects the agreed-upon terms.
- Proofread the email: Read through the email message you composed, checking for any grammatical errors, typos, or unclear sentences. Ensure that the tone is professional and the content is concise and easy to understand.
- Verify the email recipients: Double-check the email addresses of the recipients to make sure they are correct. Ensure that you have included all the necessary parties involved in the payment process.
- Check for attachments: Verify that the PDF invoice is properly attached to the email. Open the attachment to confirm that it can be viewed and downloaded without any issues.
- Send a test email: If you have any doubts, consider sending a test email to yourself or a colleague to verify that the email and attachment look as intended. This allows you to identify any formatting or layout issues before sending it to the client.
- Send the email: Once you are confident that everything is accurate and in order, click the send button to dispatch the email and the attached invoice to the client.
By carefully reviewing the invoice and email, you can prevent any potential errors or misunderstandings. This not only saves you from the inconvenience of having to resend the invoice but also demonstrates your professionalism and attention to detail.
Conclusion
Sending invoices through email has become the preferred method for businesses to collect payments efficiently and professionally. By following the step-by-step process outlined in this guide, you can streamline your invoicing workflow and ensure prompt payment from your clients.
Starting with setting up an email account and creating a well-designed invoice, to converting it to PDF format, attaching it to an email, and writing a professional message, each step plays a crucial role in the invoicing process. Taking the time to double-check all the details before sending the invoice will help maintain accuracy and foster positive relationships with your clients.
Remember to use a professional tone throughout the email message, provide clear payment instructions, and express gratitude for your clients’ business. By doing so, you demonstrate your professionalism and leave a positive impression on your clients.
By utilizing email for invoicing, you not only save time and money but also contribute to a more sustainable business practice by reducing paper waste. In addition, using PDF format ensures that your invoice maintains its original formatting and can be easily viewed by clients on various devices.
Incorporating these steps into your invoicing process will help you maintain professionalism, accuracy, and efficiency in managing your billing tasks. By ensuring timely and accurate invoicing, you can improve your cash flow and build stronger relationships with your clients.
So, leverage the power of email and follow these steps to send your invoices seamlessly. Start enjoying the benefits of efficient invoicing and timely payments today!